Wifox Content Solution - WCS
- Getting started
- Page Content Management
- 1. Pages: Overview
- 2. Pages: Features and Use Cases
- 3. Filters in Pages Post
- 4. How to Add a New Page
- 5. How to Edit a Page
- 6. How to Delete a Page
- 7. Tree of Page Categories
- Headlines
- 1. Headlines: Overview
- 2. Key Features of the Headlines Section
- 3. Use Cases
- 4. How to Add a New Event
- 5. How to Edit an Event
- 6. How to Delete an Event
- 7. Tree of Event Categories: Overview
- 8. Adding a New Event Category
- 9. Editing an Event Category
- 10. Deleting an Event Category
- Text Fragments
- 1. Text Fragments: Overview
- 2. Key Features
- 3. Use Cases
- 4. How to Add a New Text Entry
- 5. How to Edit a Text Entry
- 6. How to Delete a Text Entry
- Menus
- 1. Menu Section: Overview
- 2. Use Cases
- 3. How to Add a New Menu or Menu Item
- 4. How to Edit or Delete a Menu Item
- User Management
- Customer Management
- 1. Customers: Overview
- 2. Customers: Use Cases
- 3. How to Add a New Customer
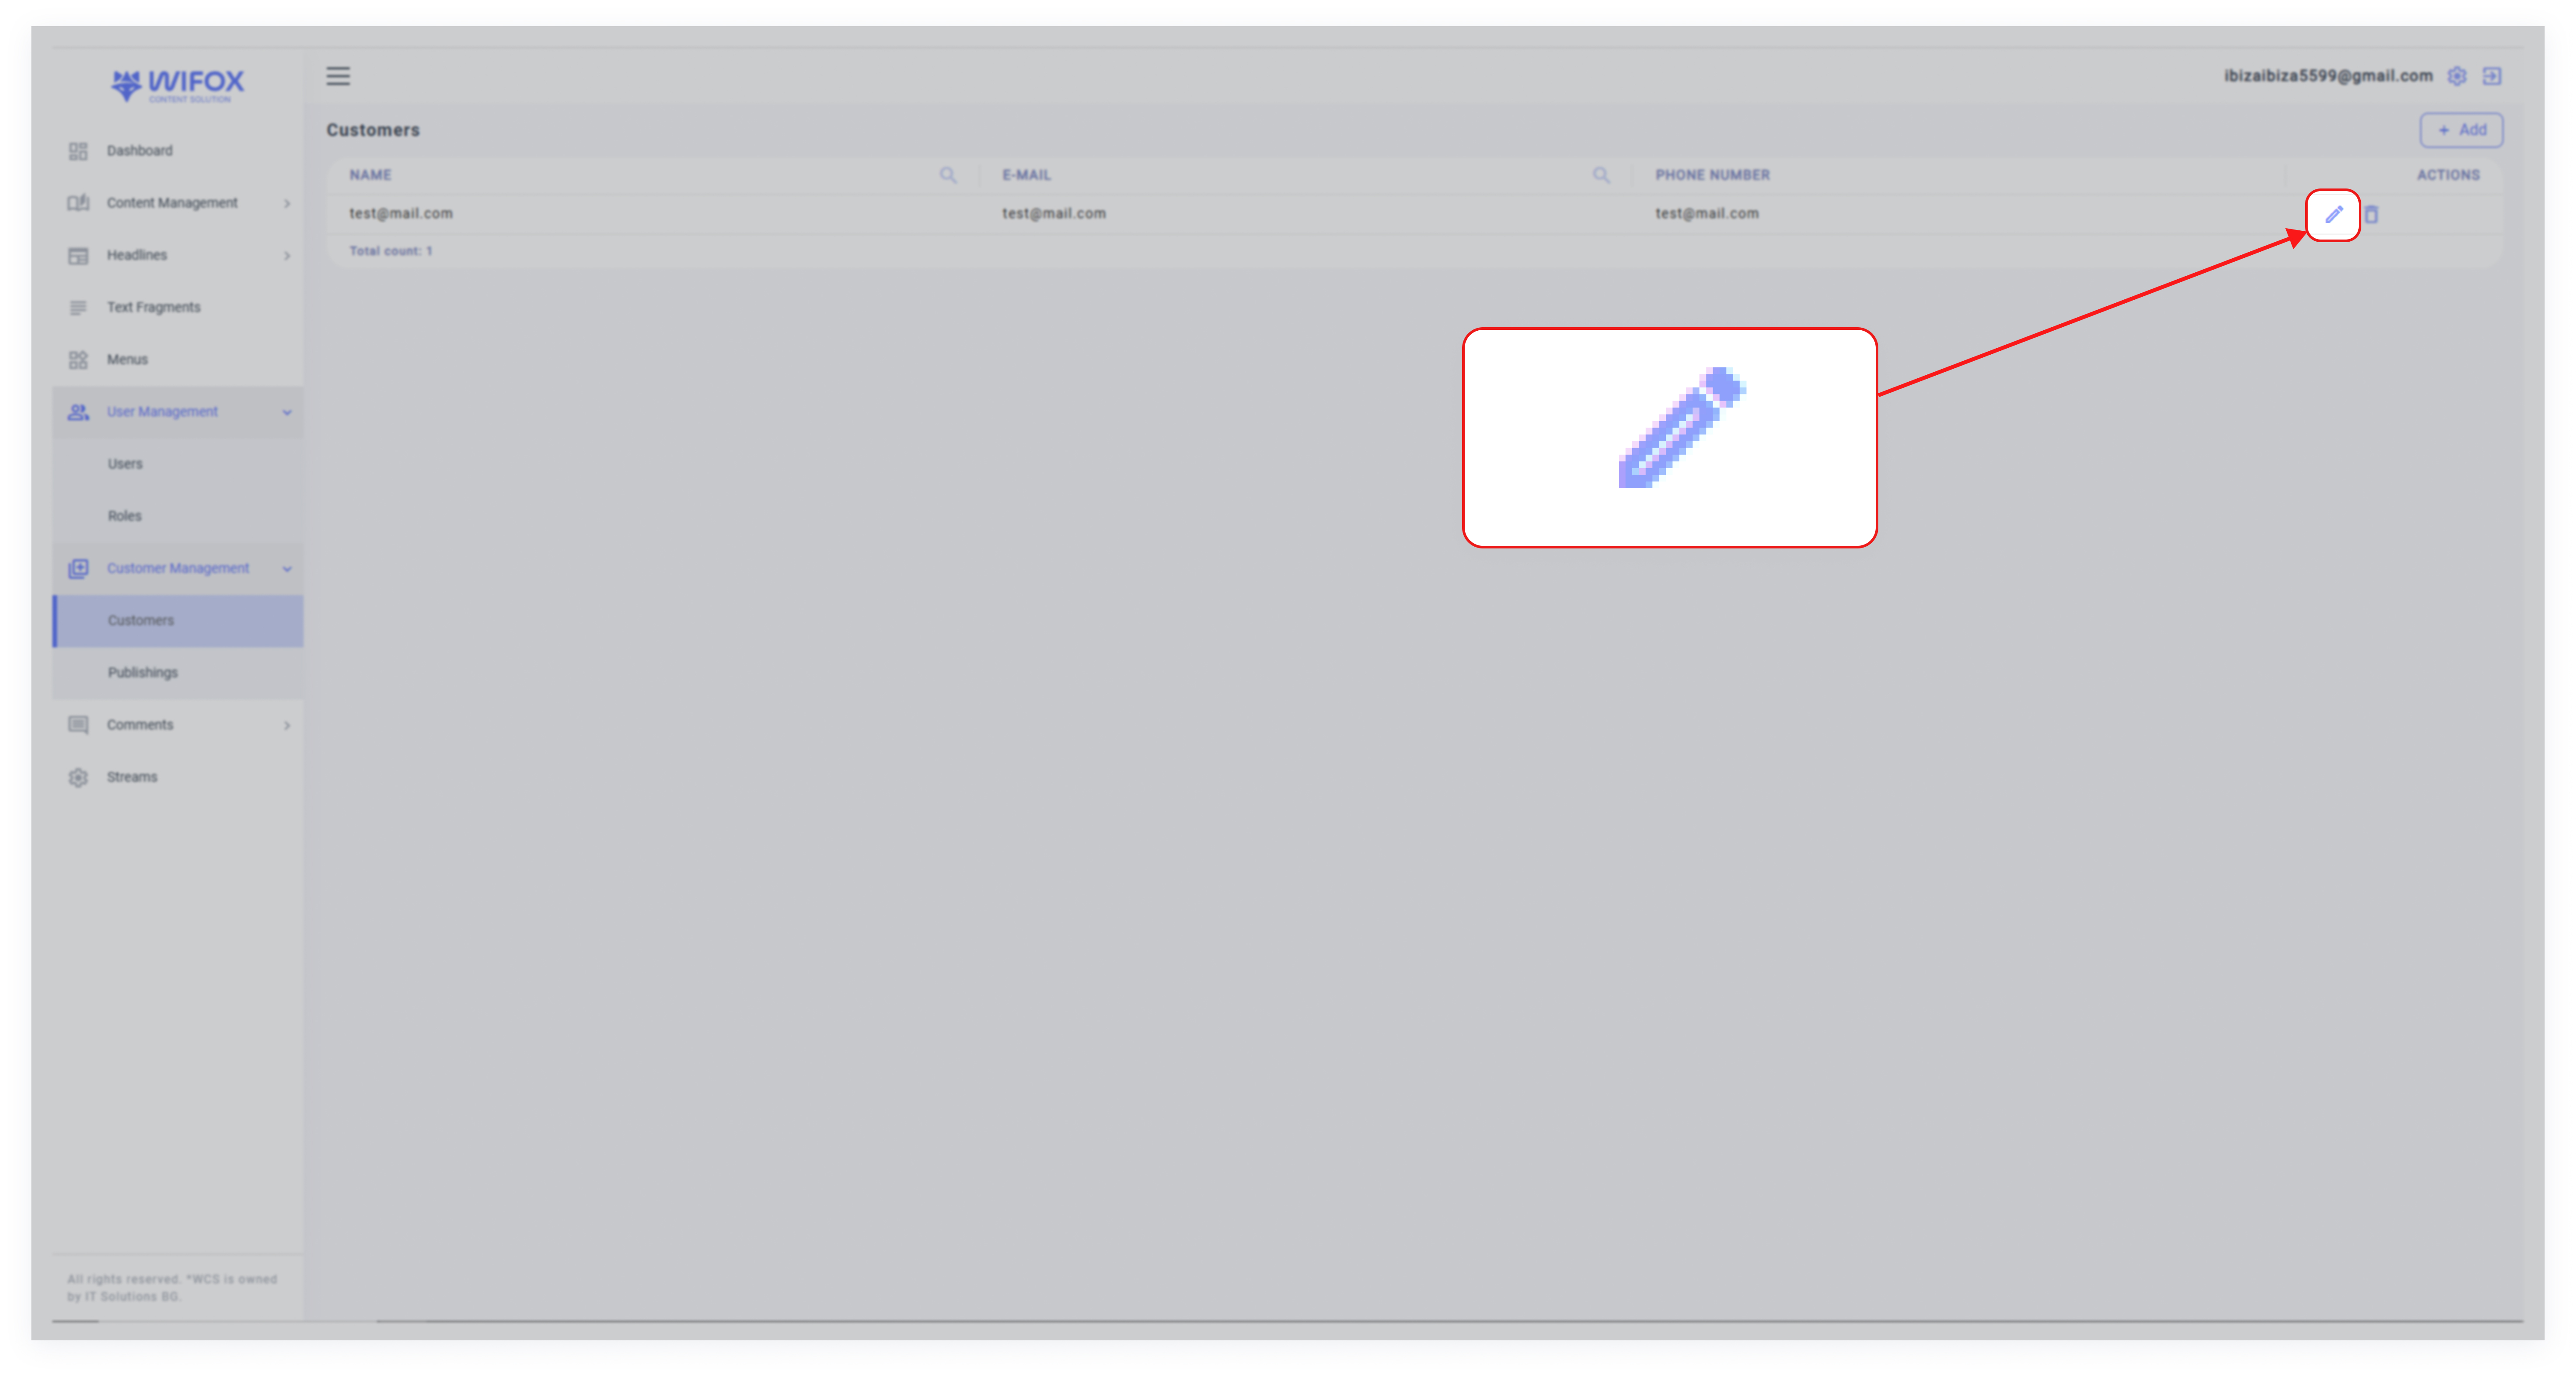
- 4. How to Edit a Customer
- 5. How to Delete a Customer
- 6. Publishings: Overview
- Comments Section
- Streams Section
- Sites: API Keys Management
- 1. Sites: Overview
- 2. How to Add a New API Key
- 3. How to Edit an API Key
- 4. How to Delete an API Key
- Configuration
Getting started
1. What is Wifox Business Content Solution?
WiFox Business Content Solution is a comprehensive CMS platform powered by Node JS, designed to simplify the management of organizational content, events, and operational workflows. It offers businesses a centralized solution to streamline their internal and external communications, enhance content delivery, and efficiently handle events.
This all-in-one suite empowers organizations to maintain structure and consistency across their digital and operational processes, making it a valuable tool for businesses of all sizes.
Integrated OpenAI
Wifox Business Content Solution is built on an OpenAI-powered system that provides seamless and intelligent control over the entire platform. This advanced technology is integrated across all key modules, enabling automation, optimization, and effortless management of content, metadata, SEO, and more.
What Makes This System Special?
- Centralized Control: AI coordinates and synchronizes all components of the system, ensuring smooth and efficient operation.
- Process Automation: Routine tasks such as content creation, metadata optimization, and translations are handled by AI, freeing users to focus on strategic goals.
- Flexibility and Adaptability: Intelligent algorithms adapt to specific user needs and assist in making effective decisions.
- Enhanced Productivity: Tasks are completed faster and with greater precision, thanks to automation and intelligent analysis.
How It Works
The AI system is integrated into Wifox Business Content Solution for:
- Content Management: AI generates, optimizes, and edits both text and visual content.
- Multi-Category System: Automatically organizes data and manages pages, events, users, and clients.
- SEO and Localization: AI optimizes pages for search engines and generates translations for multilingual use.
- Interactive Interface: Users can easily configure and control the system through an intuitive interface while AI handles complex calculations and operations in the background.
Wifox Business Content Solution is more than just a content management system—it’s a fully intelligent assistant that takes control of the platform’s entire ecosystem. It’s the ideal solution for those looking to automate workflows, enhance efficiency, and make their system as functional and user-friendly as possible.
2. Dashboard
The Dashboard section in Wifox Business Content Solution provides a centralized overview of the system's key metrics and recent activities, enabling users to monitor the platform's content and event management progress quickly. It is designed to provide essential statistics and allow quick navigation to detailed views of pages and events.
Key Features of the Dashboard
1. Pages Overview

Total Pages: Displays the total number of pages created in the system (e.g., "22 Pages").
Added Per Month: Indicates the number of new pages added in the current month (e.g., "Added per month: 0").
Last Pages: Lists the three most recently created or updated pages, along with their creation dates and times.
Example:
- 404 - Created on 05.12.24 at 11:09
- For Traders - Created on 05.12.24 at 11:09
- Our Partners - Created on 05.12.24 at 11:09
2. Events Overview

Total Events: Displays the total number of events created in the system (e.g., "39 Events").
Added Per Month: Indicates the number of new events added in the current month (e.g., "Added per month: 0").
Last Events: Lists the three most recently created or updated events, along with their creation dates and times.
Benefits of the Dashboard Section
- Quick Insights: Provides a snapshot of current activities, making tracking progress and identifying recent changes easier.
- Time Management: Saves time by displaying key data at a glance instead of navigating through multiple sections.
- Actionable Navigation: Direct links to the full lists of pages and events allow users to access and manage specific content or events quickly.
- Real-Time Updates: Reflects any changes or additions made to pages or events instantly, keeping data up-to-date.
Use Case
A manager logs into Wifox Business Content Solution to check the status of recent updates. Using the Dashboard, they notice that three pages and three events have been recently added or modified. From here, they click on Full List under "Events" to review all pages and ensure everything aligns with the project goals.
3. Users
The Users section in Wifox Business Content Solution provides an overview and management of all user accounts created within the system. It is designed to offer administrators a clear picture of system usage and user activity while providing quick access to user details.

Key Features of the Users Section
- User Count: Displays the total number of users created in the system (e.g., "3 Users").
- Monthly Additions: Indicates how many new users were added in the current month (e.g., "Added per month: 0").
- Recent Logins: Lists the three most recent user logins, showing the user’s email address and login time.
Benefits of the Users Section
- Comprehensive Overview: Keeps track of all user accounts, providing insight into system utilization.
- Efficient Management: Quickly identify the most recent system users and their last login times.
- Security Monitoring: Helps administrators monitor user activity for security and accountability.
Use Case
A system administrator needs to verify if a developer has recently accessed the system. By checking the Users section, they can see that the developer logged in on 18.01.25 at 15:56. From there, they can navigate to the full list for additional details.
4. Clients
The Clients section in Wifox Business Content Solution provides tools for managing client records, including creating, updating, and deleting client details. It enables administrators to maintain accurate and up-to-date client information efficiently.

Key Features of the Clients Section
- Client Count: Displays the total number of clients in the system and the number added in the current month.
- Recent Clients: Shows the most recently added clients, with their email addresses and registration dates.
- Full List Access: Provides a comprehensive view of all clients in the system for in-depth management.

When adding or editing a client, the following details can be managed in the General section:
- E-mail: The client's primary contact email address.
- Password: The password associated with the client account (hidden for security).
- Name: The client’s name or identifier.
- Phone: The client’s phone number.
- Active: A checkbox indicating if the client account is active.
- Registration Date: The date and time the client was added to the system.
- Comments: Additional notes or remarks about the client.
Benefits of the Clients Section
- Streamlined Client Management: Simplifies the process of updating or deleting client records directly from the interface.
- Quick Additions: Allows new clients to be added easily and efficiently.
- Detailed Records: Provides comprehensive fields to capture all relevant client details.
Use Case
Clients Management A sales manager logs into Wifox Business Content Solution to verify recent client additions. They quickly identify two new clients this month in the "Recent Clients" section. To review detailed information and update records, they click "Full List," ensuring client data remains accurate and current.
Page Content Management
1. Pages: Overview
The Page Content module in Wifox Business Content Solution is a versatile tool designed to manage, organize, and structure website or application pages effectively. It simplifies the process of creating and maintaining pages, allowing users to keep their content strategy streamlined while supporting both front-end visibility and API integration.
The following actions are available in the Page Content module:
2. Pages: Features and Use Cases
The module is primarily used to:
-
Create and Manage Pages: Define and update various types of pages, such as informational ("About", "Contact"), functional ("404 Error"), or specialized ("For Traders").
-
Enhance SEO: Manage meta tags and optimize pages for search engines.
-
Structure Content: Organize pages into categories to maintain clarity and purpose, separating different content types for better manageability.
-
Enable API Integration: Categorize pages for API endpoints, allowing specific sets of entities to be accessed via the API.
Key Features
-
Categorization: Group pages into logical categories, such as "Static", "Dynamic", or "API-only", for easier navigation and separation of purposes.
-
Content Management: Create individual posts within pages, edit them as needed, or remove outdated content.
-
Actionable Tools: Quickly add, edit, or delete pages using an intuitive interface, streamlining the workflow.
-
API Support: Categories enable better control of API responses by ensuring only relevant pages/entities are accessible when needed.
Use Cases
-
Static Website Pages: Manage key pages like "About Us", "Contact", or "Blog" to ensure they are SEO-optimized and always up-to-date.
-
Dynamic Pages: Control pages with user-generated or frequently updated content, such as "News" or "Offers".
-
404 and Utility Pages: Set up fallback or error-handling pages to provide a better user experience.
-
API-driven Applications: Use categories to filter and deliver specific content through API endpoints, such as delivering "Trader Guidelines" to a third-party system.
The Page Content module serves as a backbone for content strategy in Wifox Business Content Solution , supporting both user-facing and backend requirements with flexibility and precision.
3. Filters in Pages Post
The Filters in Pages Post section in Wifox Business Content Solution provides users with advanced filtering options to locate specific pages quickly. This functionality enhances navigation and helps streamline the management of pages by narrowing down search results based on specific criteria.
Key Features of Filters in Pages Post
1. Search Bar
How to Use:

- Click the search icon (magnifying glass) to activate the search bar.
- Enter keywords or details relevant to the page you want to find.
- Results matching the search criteria will appear instantly.
Reset Search:

To return to the full list of pages, click the restore icon (next to the search bar).
2. Category Filter
How to Use:
Click the Categories dropdown to view available categories, such as "About Us" or "Static."

Select one or more categories to filter pages accordingly.
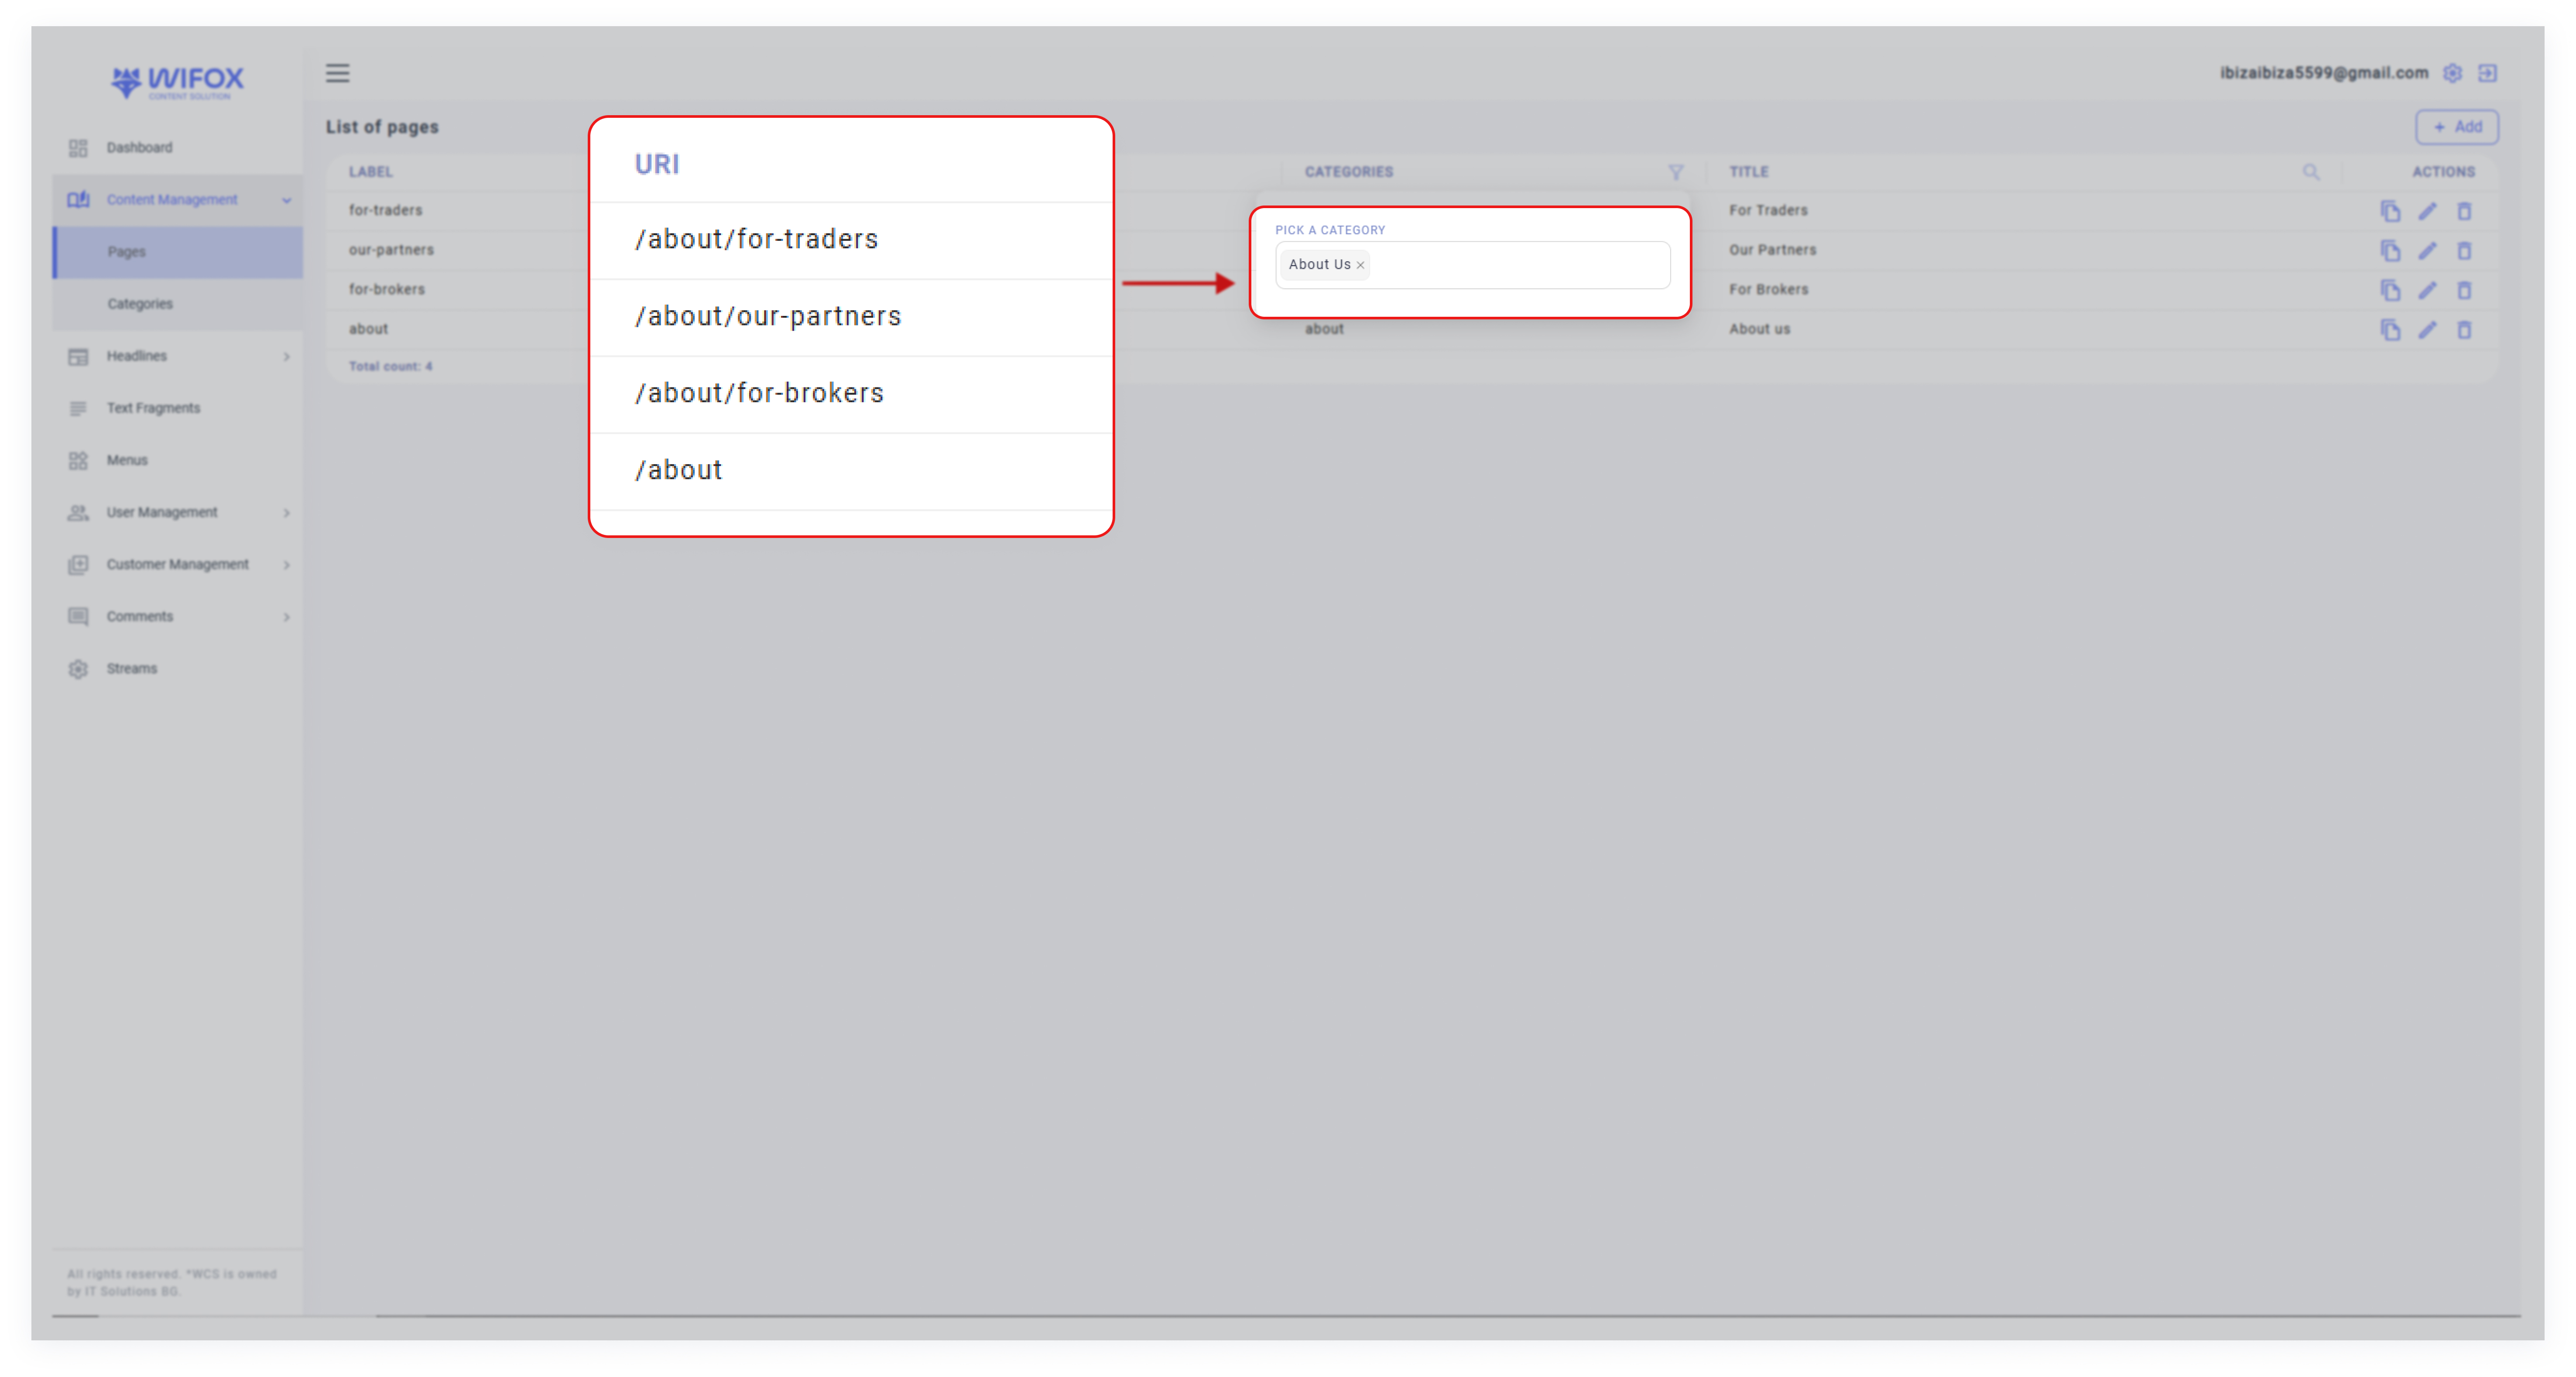
To clear selected categories, remove them from the field using the dropdown.
Benefit: This filter allows users to locate pages tied to specific categories, making it easier to manage grouped content.
3. Title Filter
How to Use:
- Use the Title filter by typing part or all of a page’s title in the dedicated search bar with the magnifying glass icon.
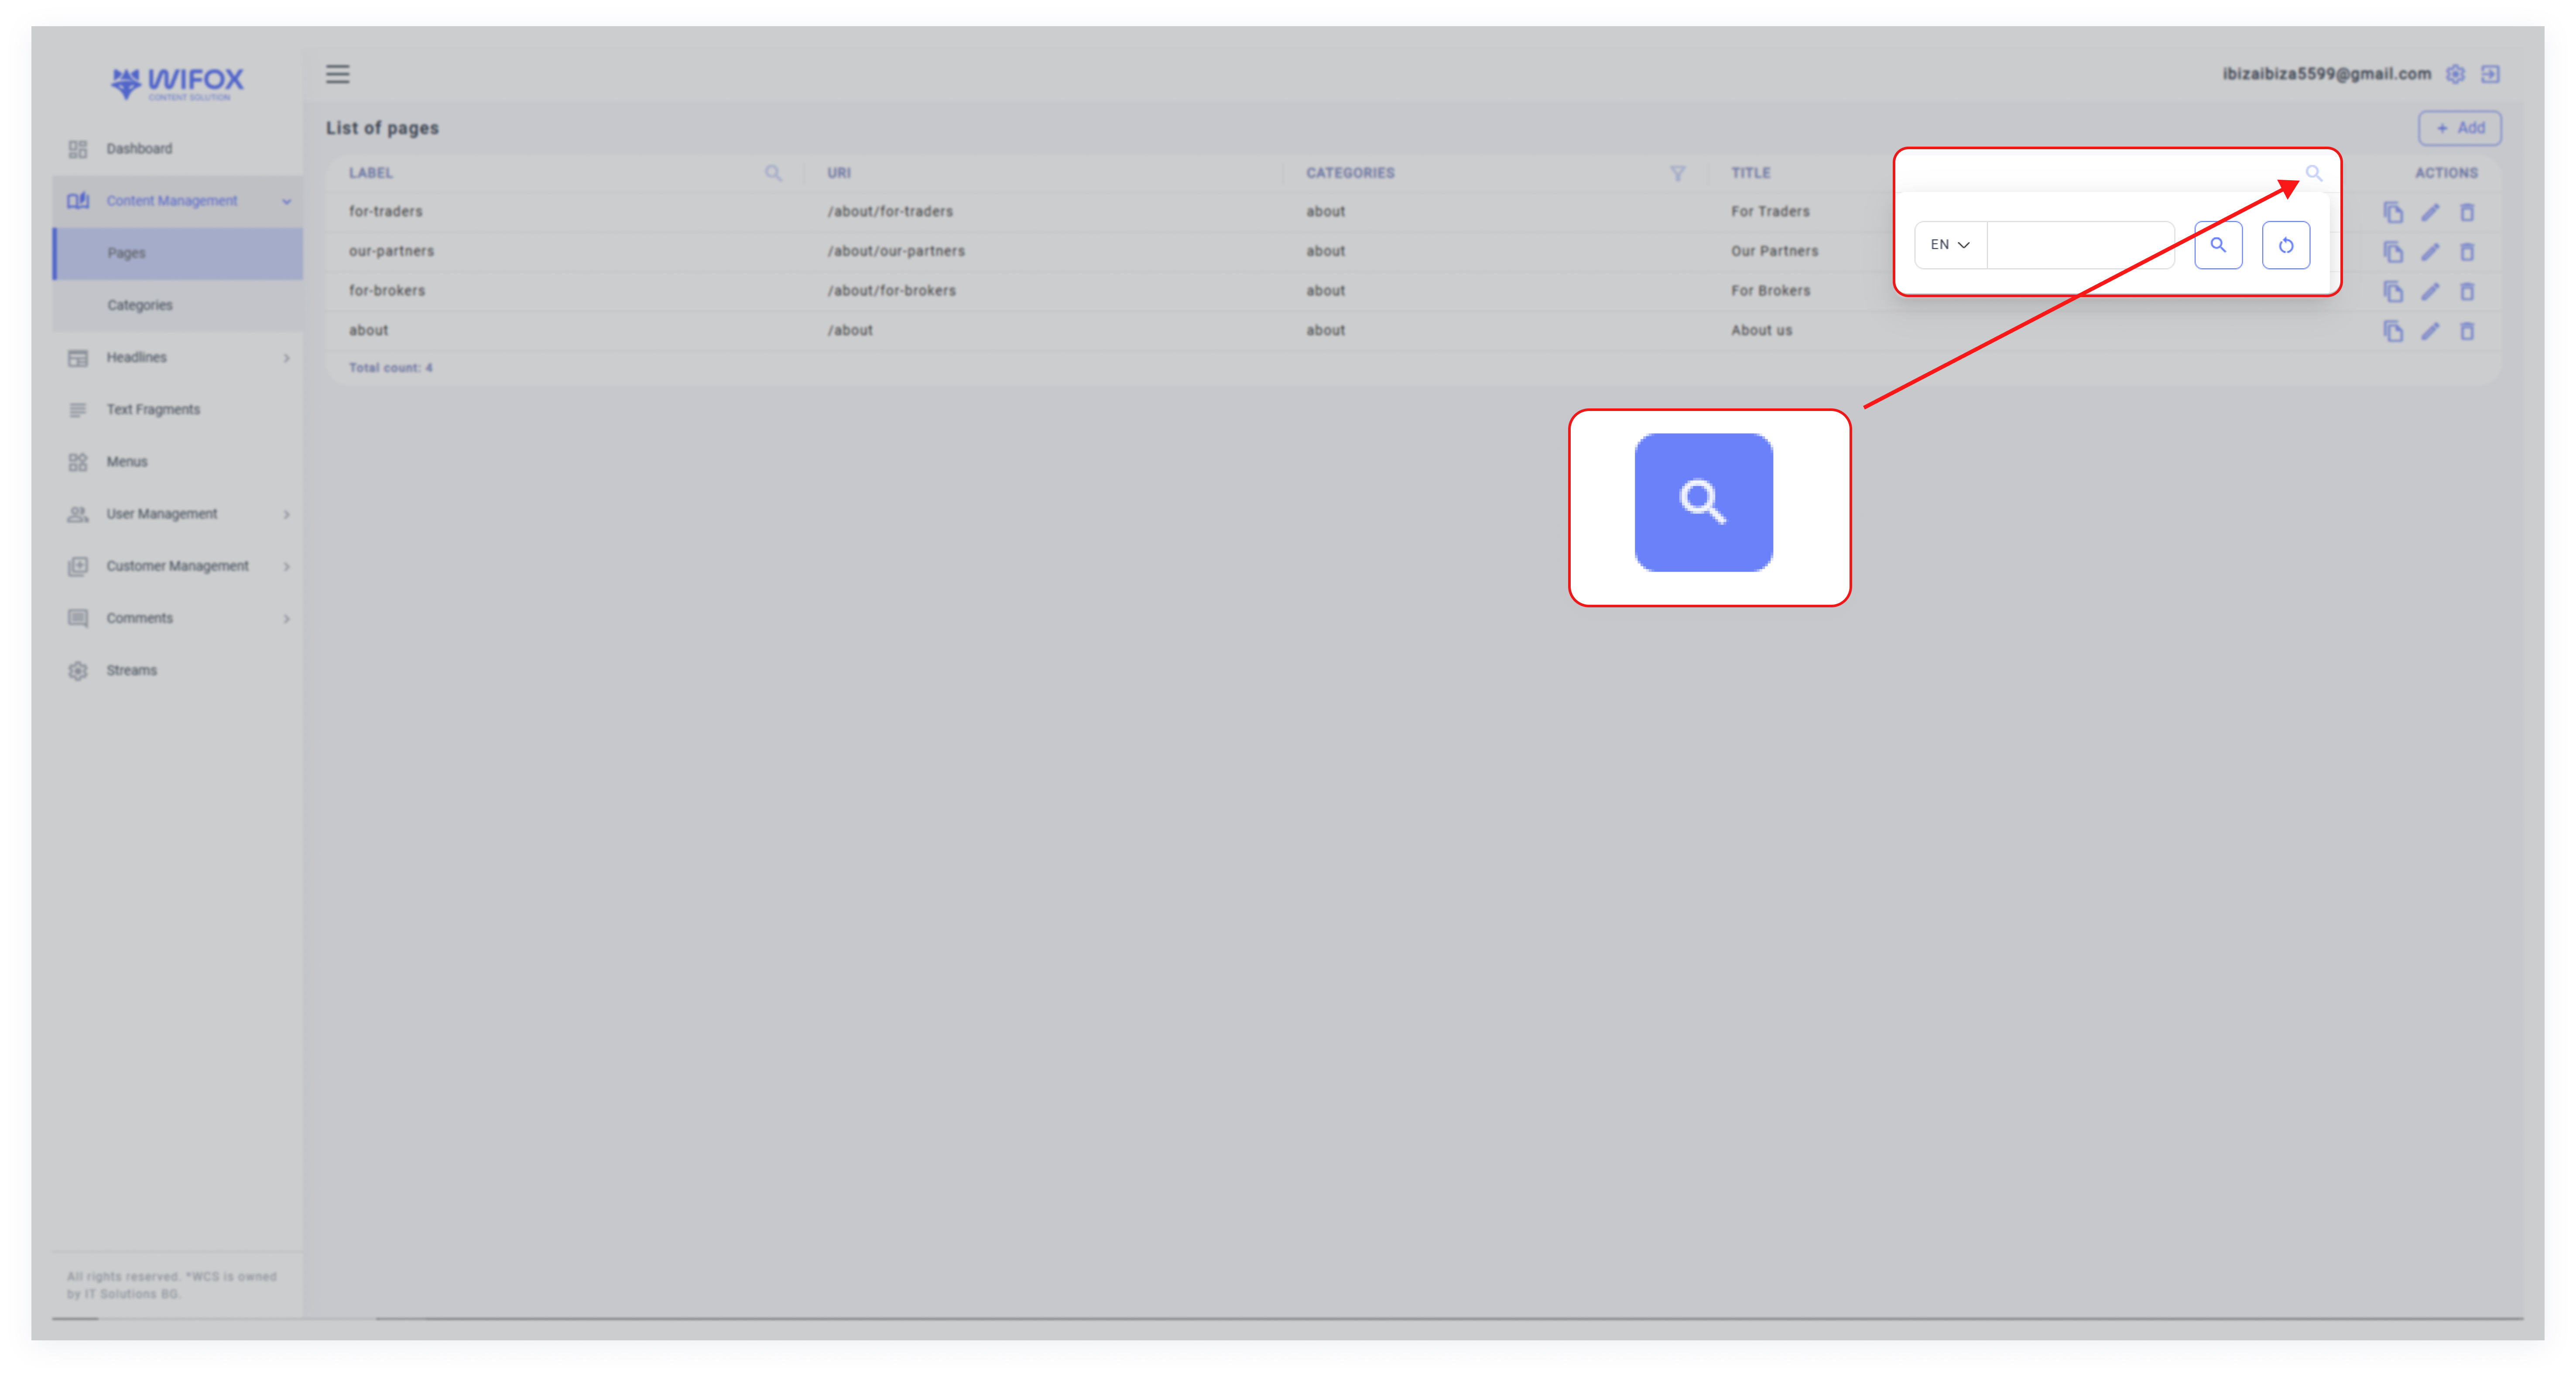
- The system will display pages matching the entered title.
Benefits of Filters in Pages Post
- Precision Search: Users can quickly locate specific pages by entering relevant details in the search bar.
- Flexible Filtering: Supports both single and multi-category selection for more refined search results.
- Time-Saving Navigation: The reset feature and targeted filters save time when working with extensive page lists.
4. How to Add a New Page
The Add New Page functionality in the Page Content section of Wifox Business Content Solution allows users to create and customize web pages with detailed configurations. Below is a step-by-step explanation of the parameters and options available:
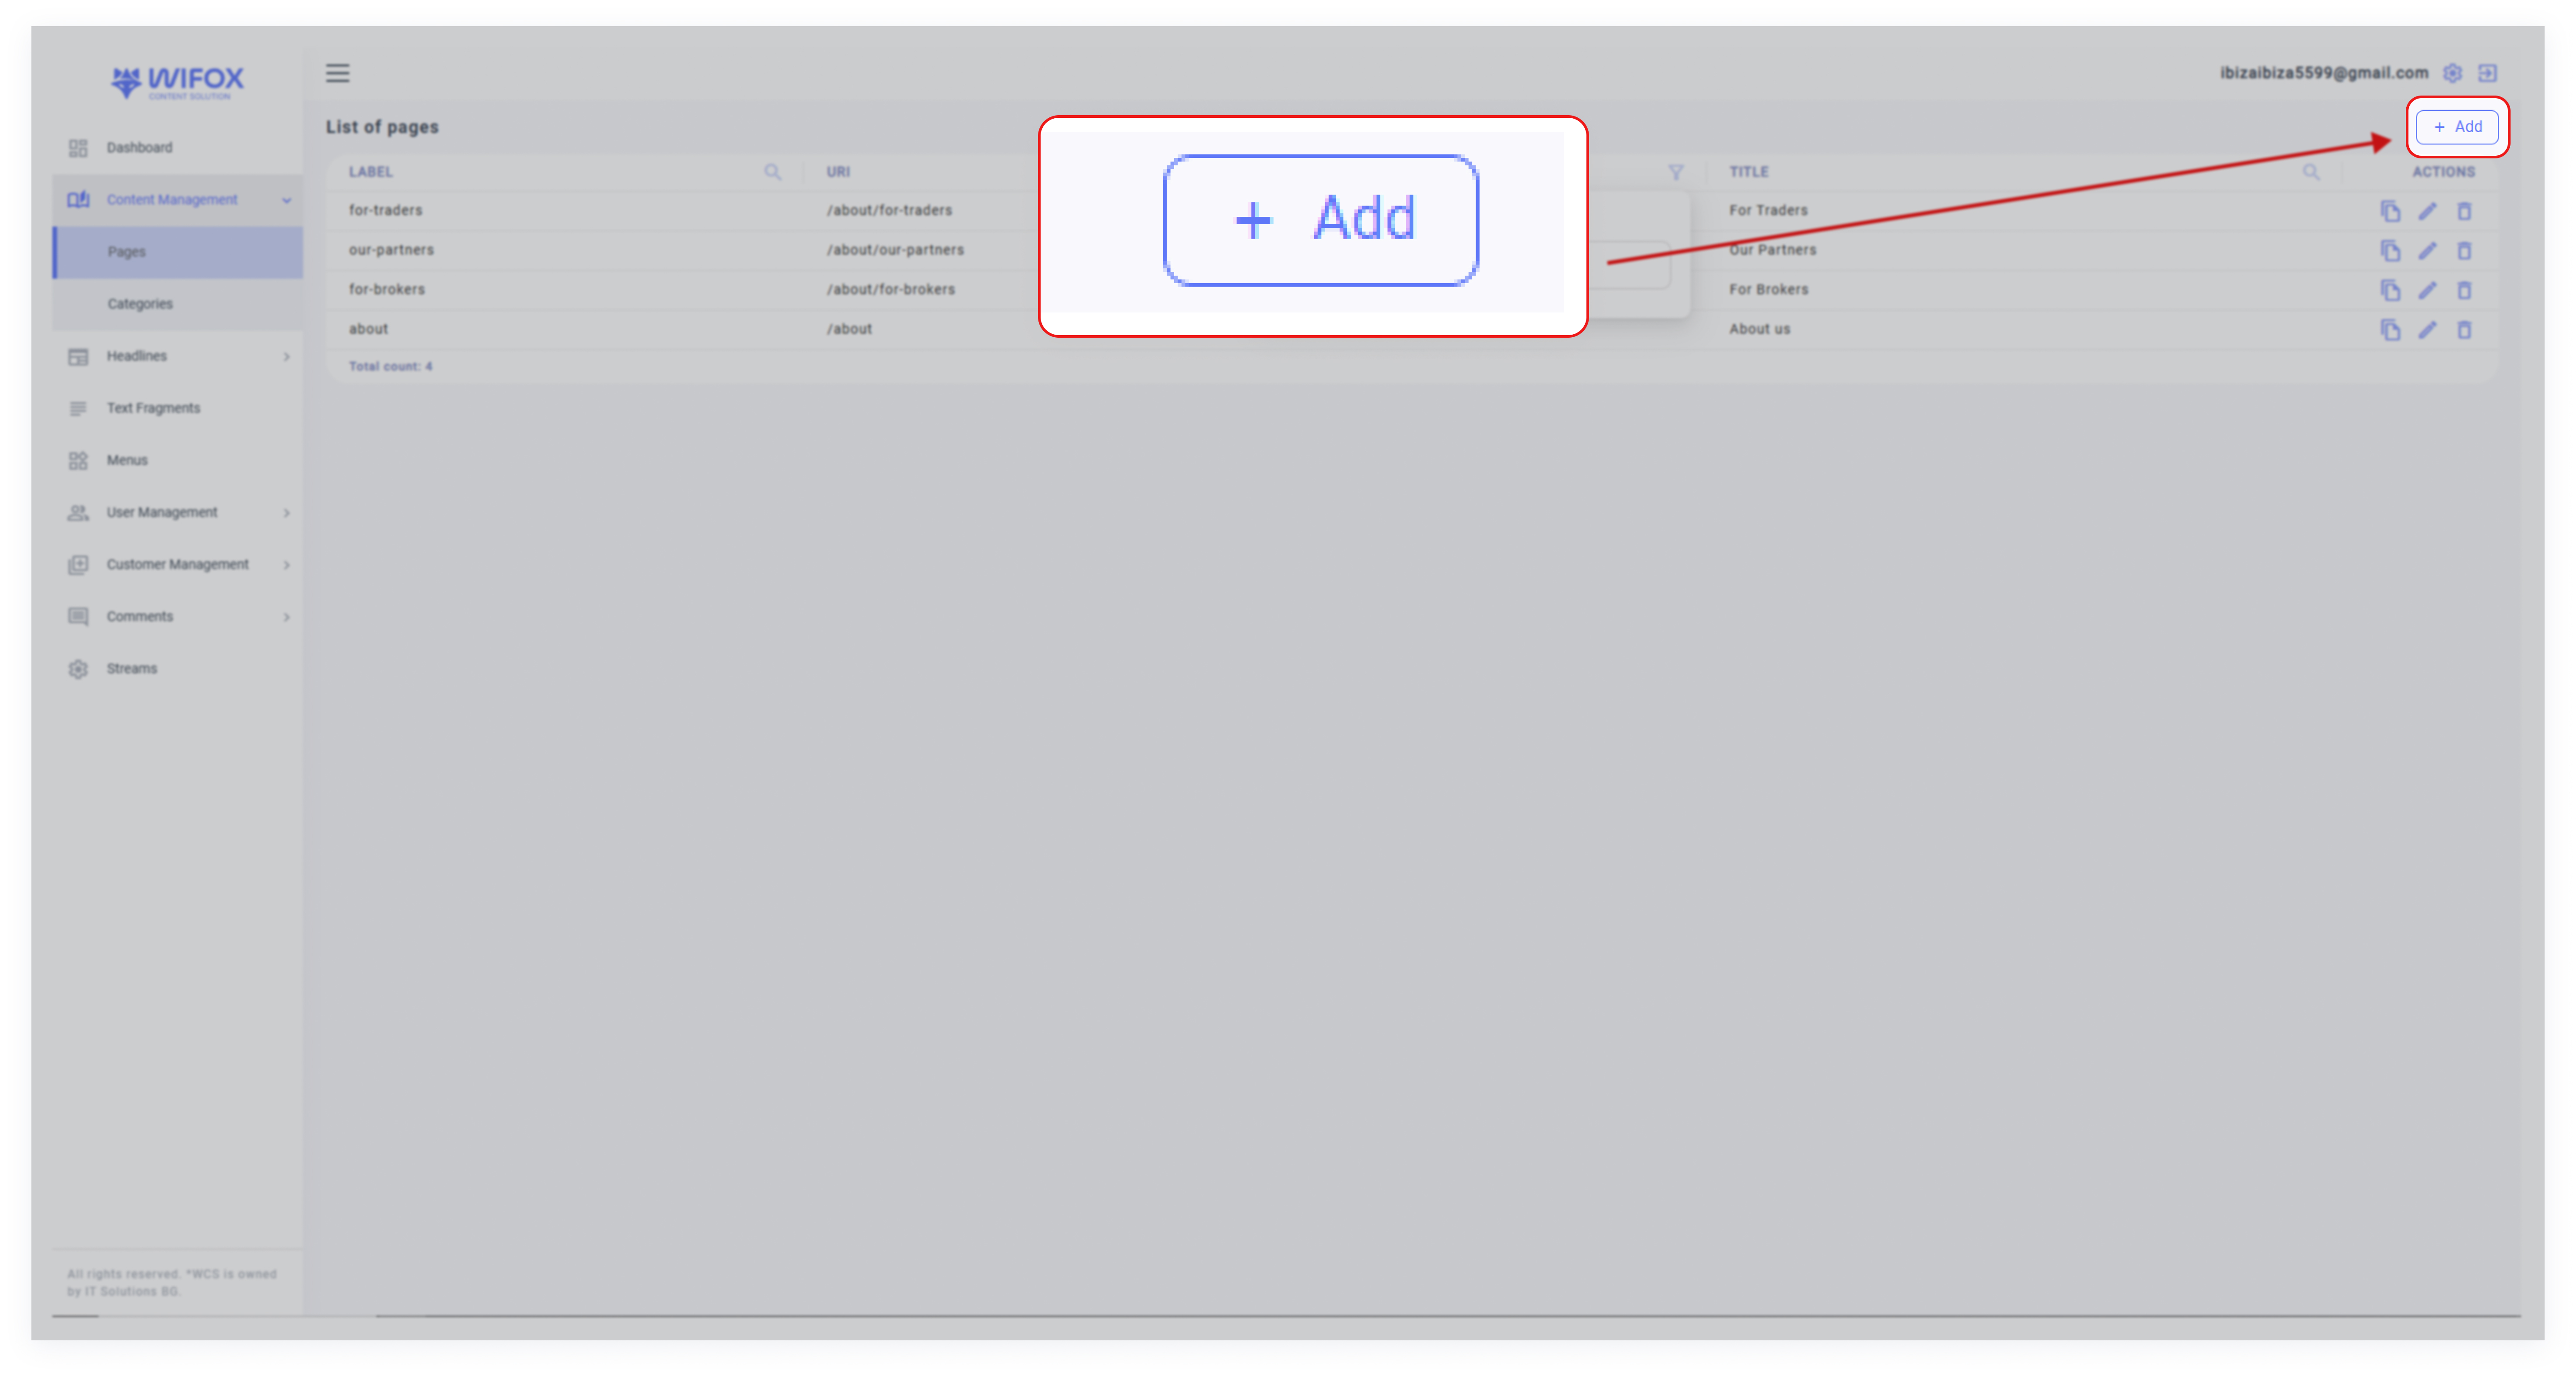
Step 1: Access the Add Page Entity
2. Click the "Add" button at the top-right corner of the interface to open the Add Page Entity window.
Step 2: General Settings
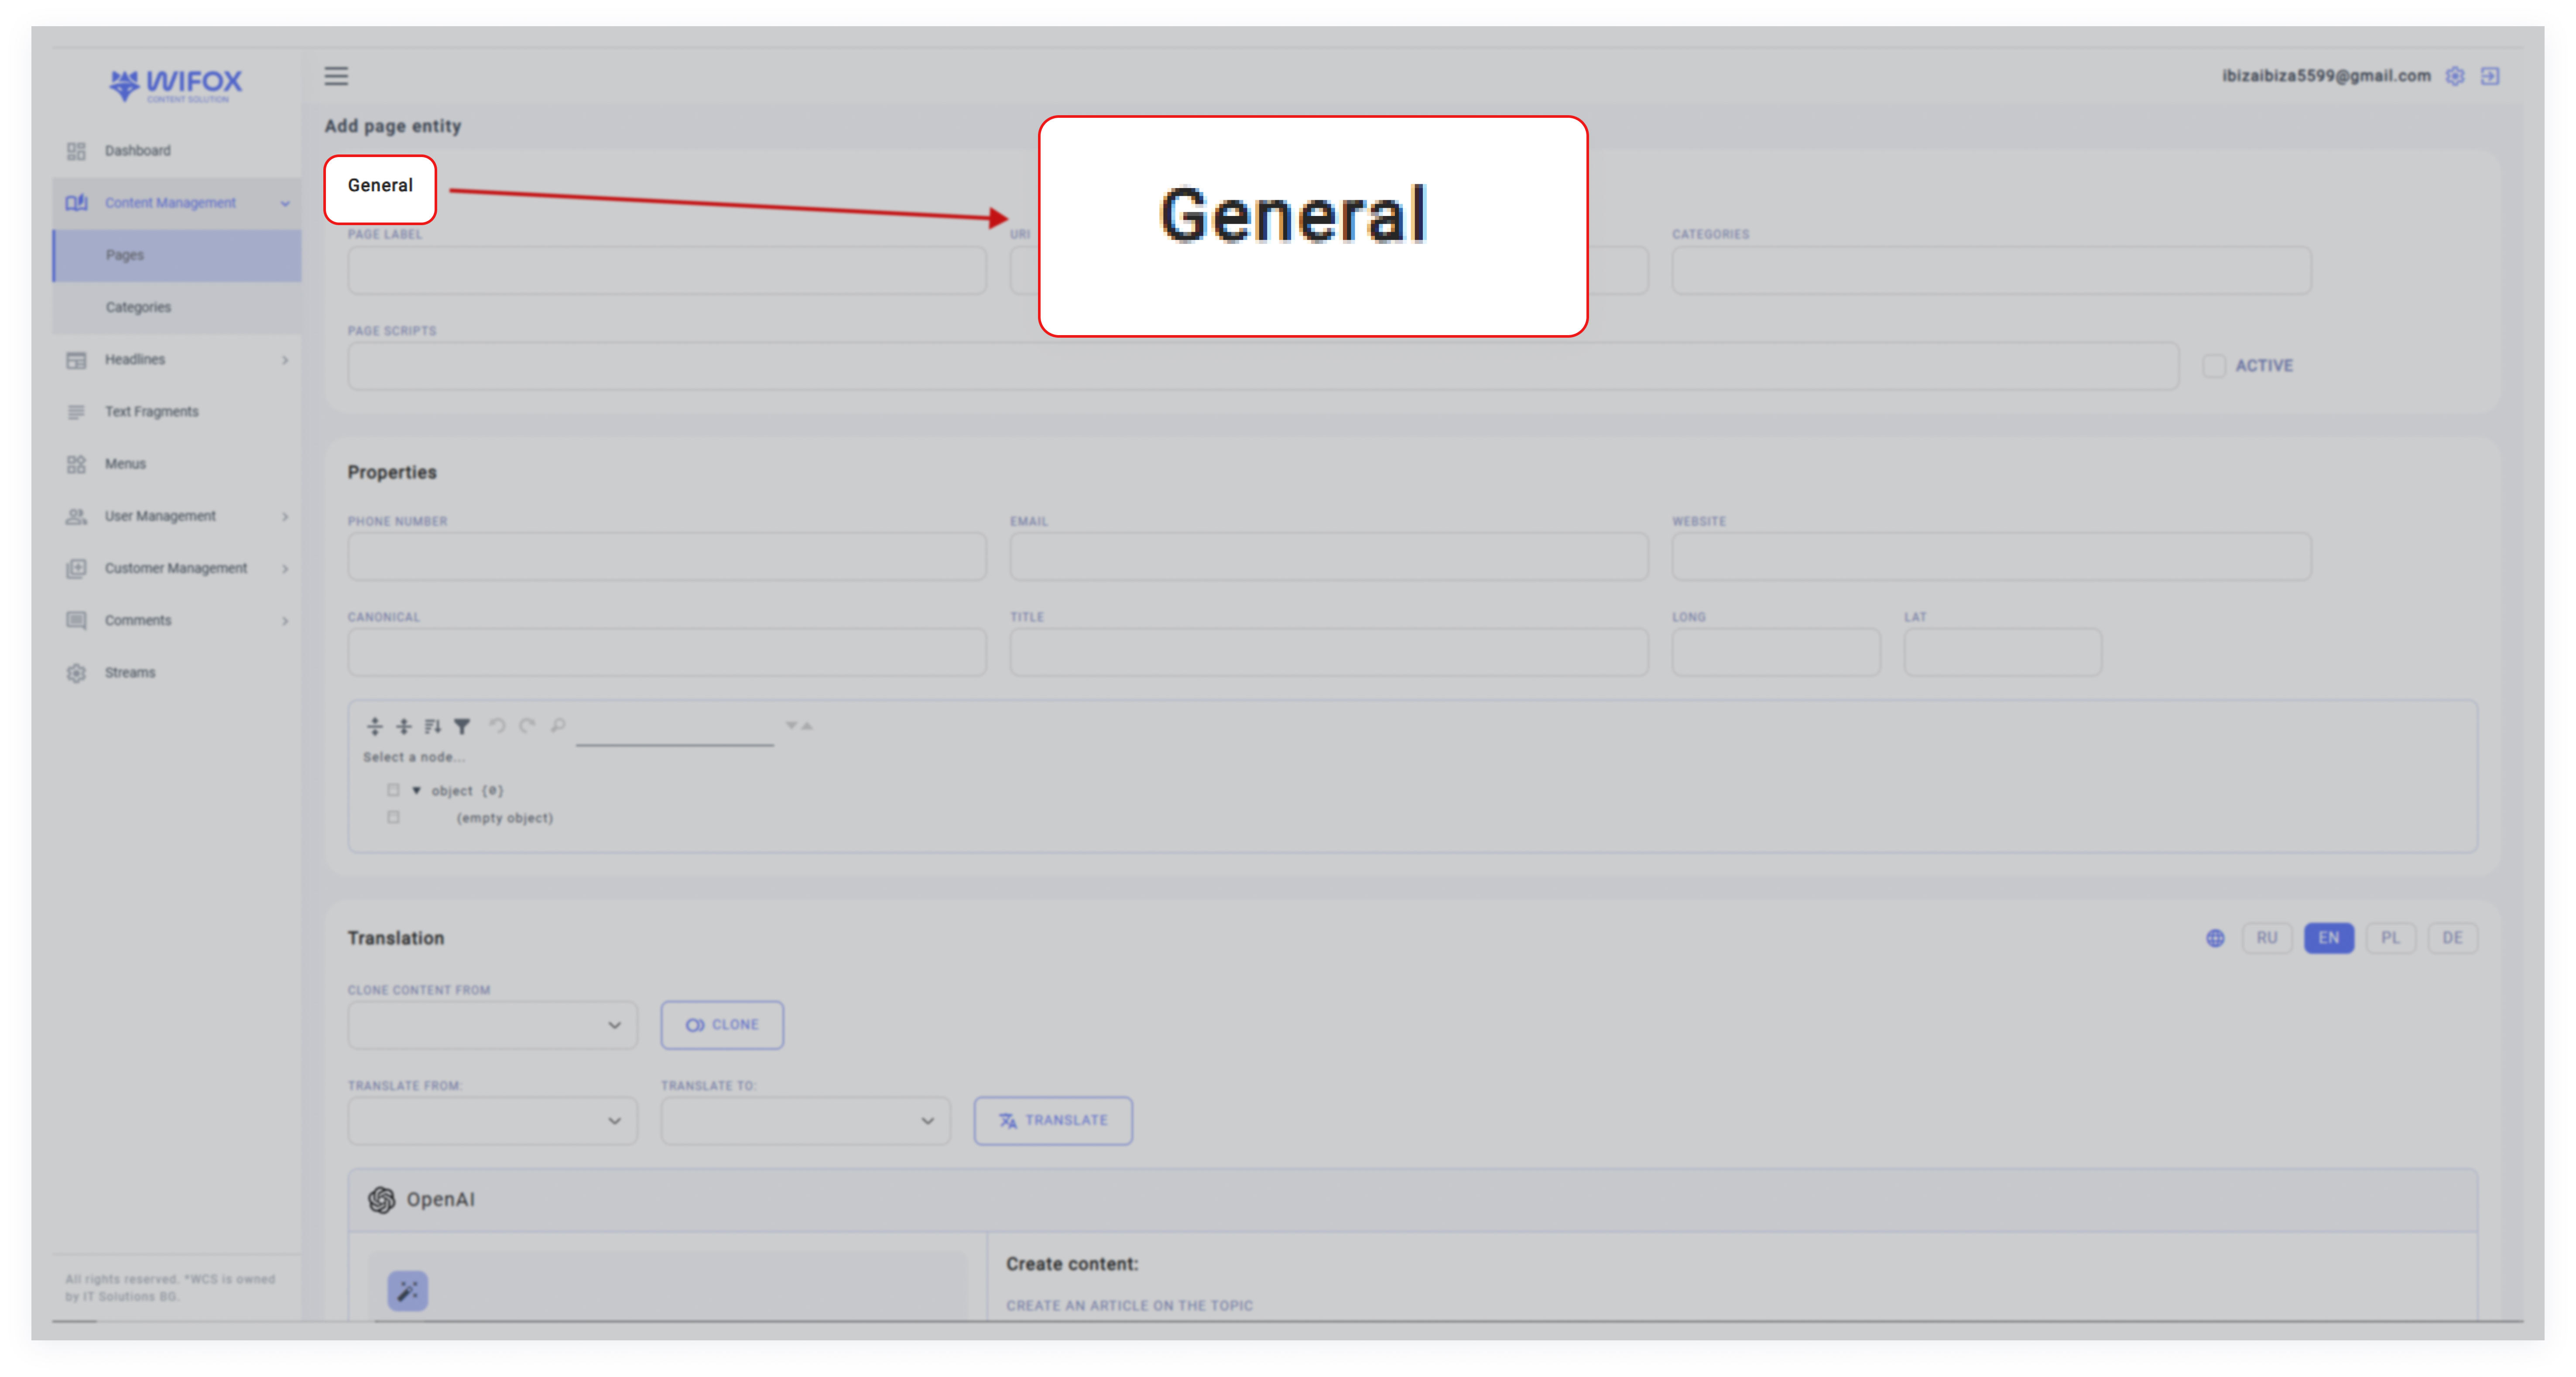
In the General section, configure the core details of the page:
- Page Label: Assign a unique name for the page (e.g., "About Us," "FAQ").
- URI: Specify the unique path for the page (e.g., /about-us, /faq).
- Categories: Select a category to group the page (e.g., "Static," "About").
- Page Scripts: Add any custom scripts for the page, such as JavaScript snippets for enhanced functionality.
Note: Use the Active toggle to enable or disable the page.
Step 3: Properties
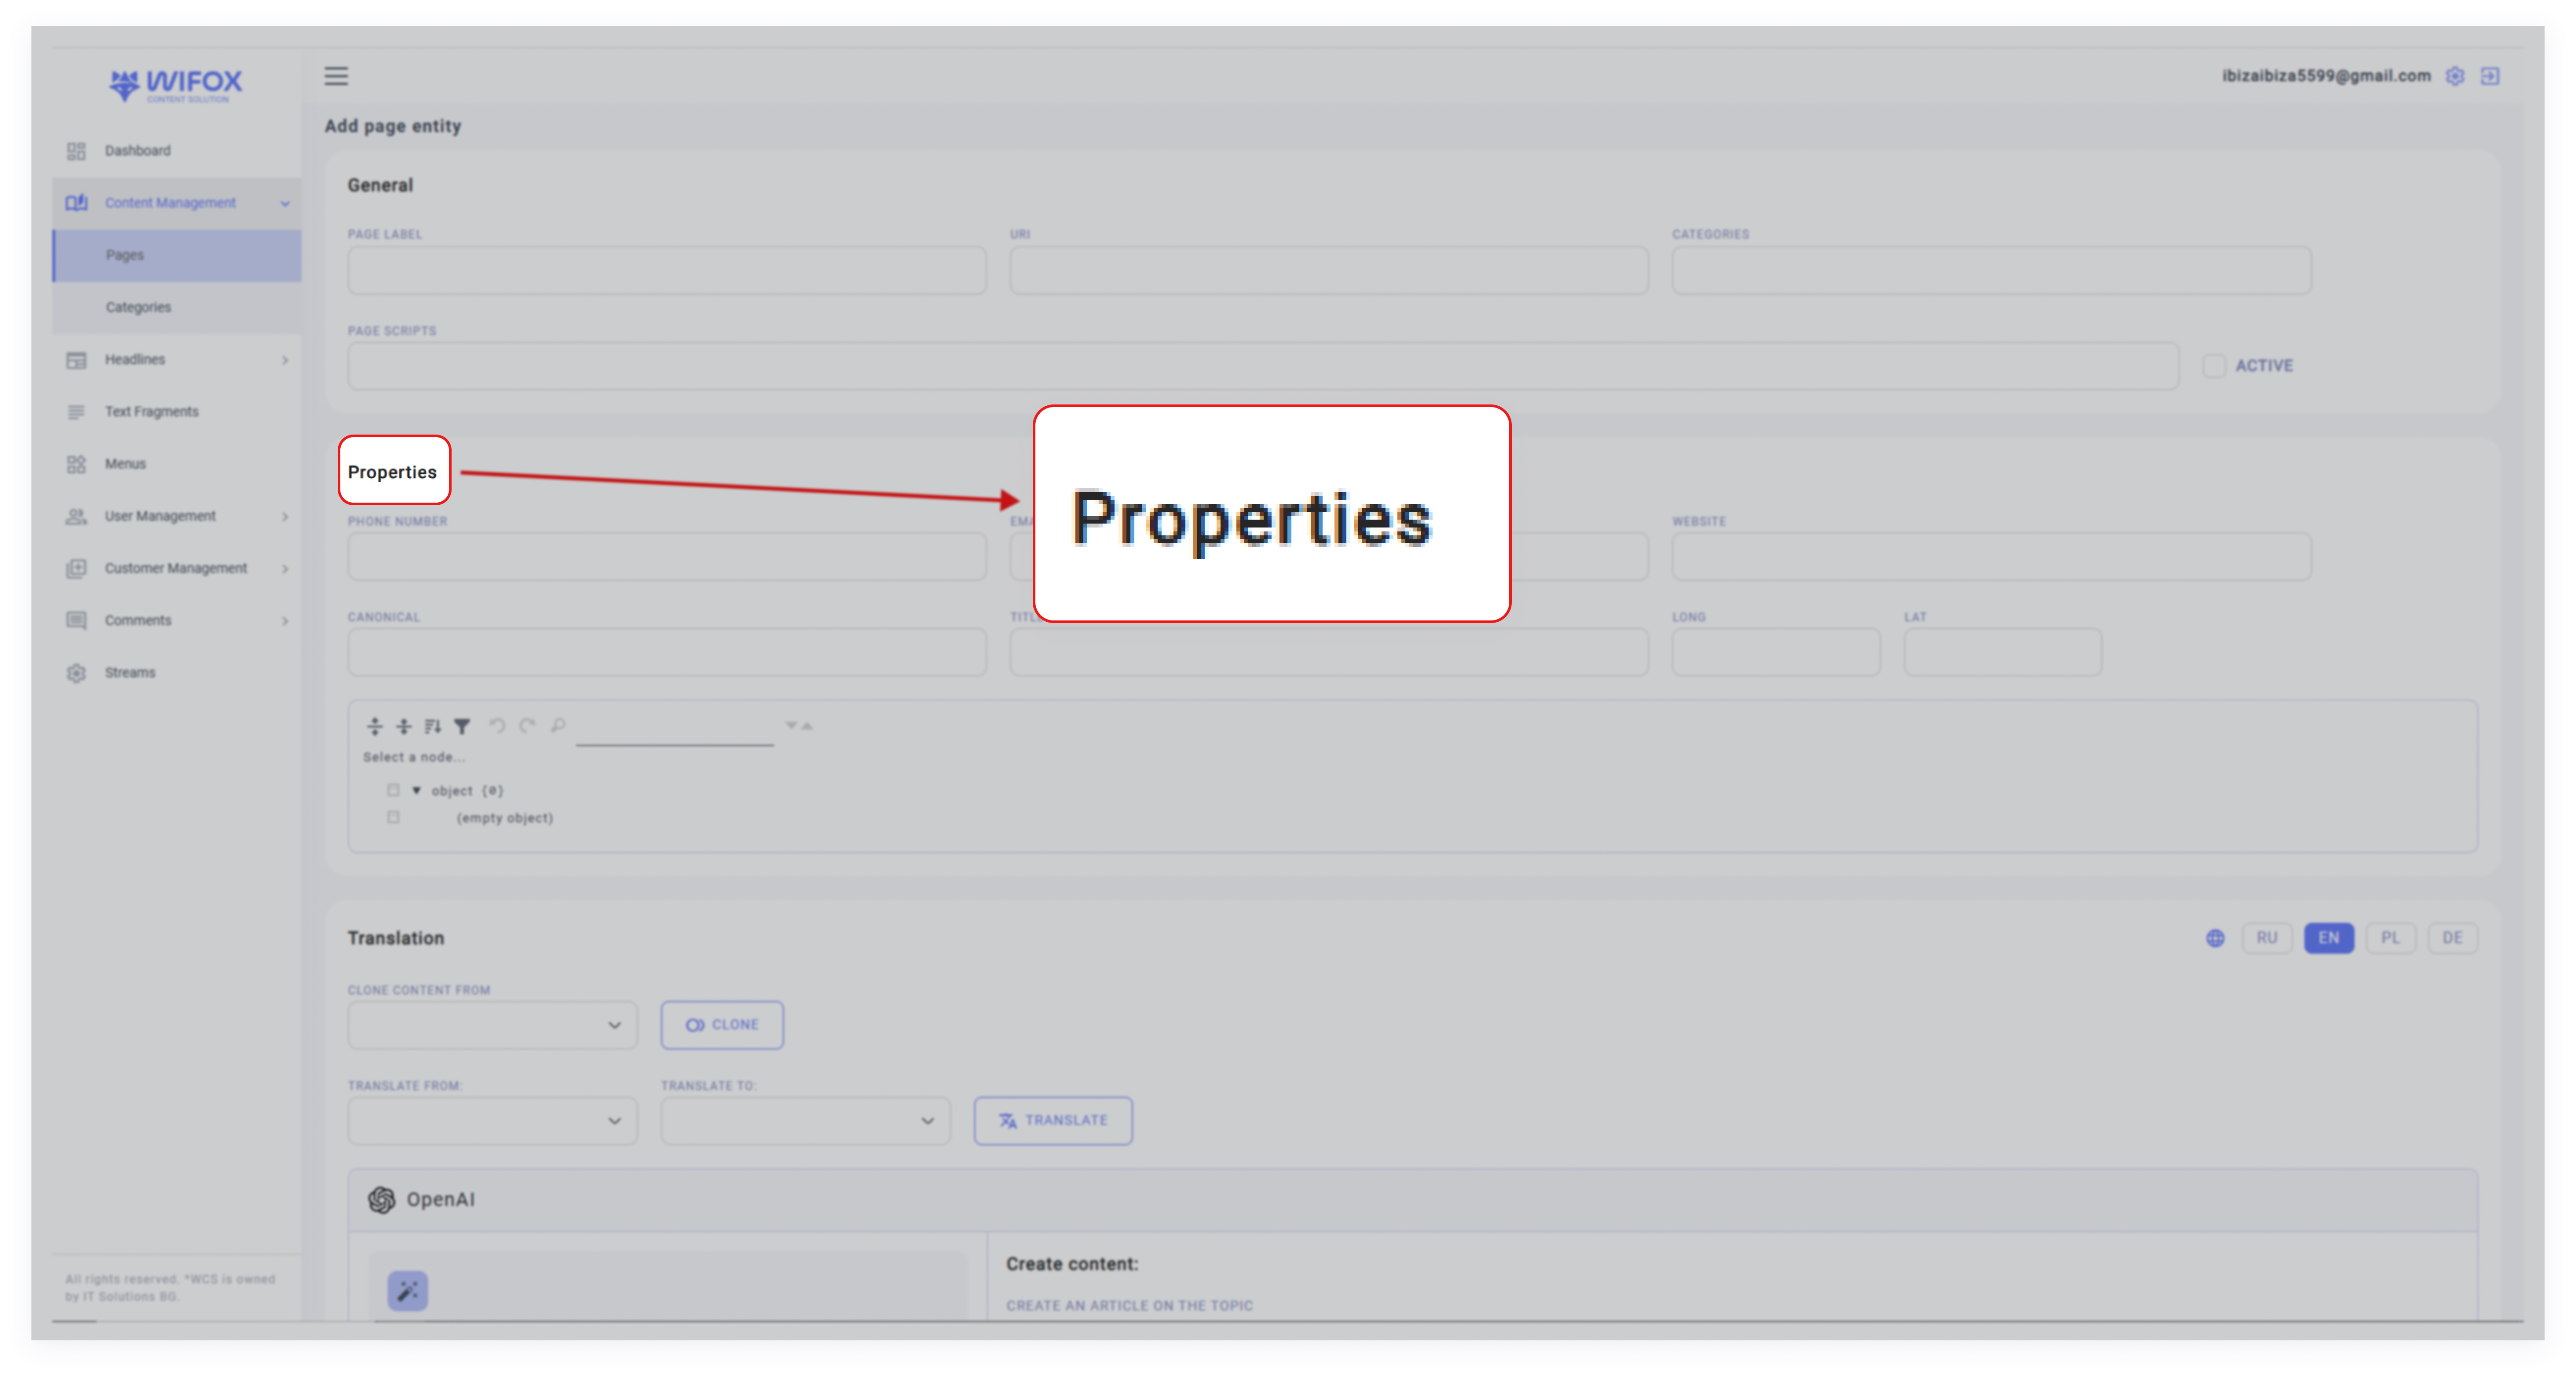
Define key properties related to the page:
- Phone Number: Add a contact phone number for display.
- Email: Provide an email address linked to the page.
- Website: Include the page's associated website URL.
- Canonical: Specify the canonical URL for SEO purposes, ensuring that search engines recognize the primary version of the page.
- Geolocation (Long & Lat): Enter longitude and latitude if the page relates to a specific physical location (useful for maps or local services).
Step 4: Translation

Wifox Business Content Solution supports multilingual content management. In the Translation section:
- Language Options: Select the languages for the page (e.g. English, Polish, German).
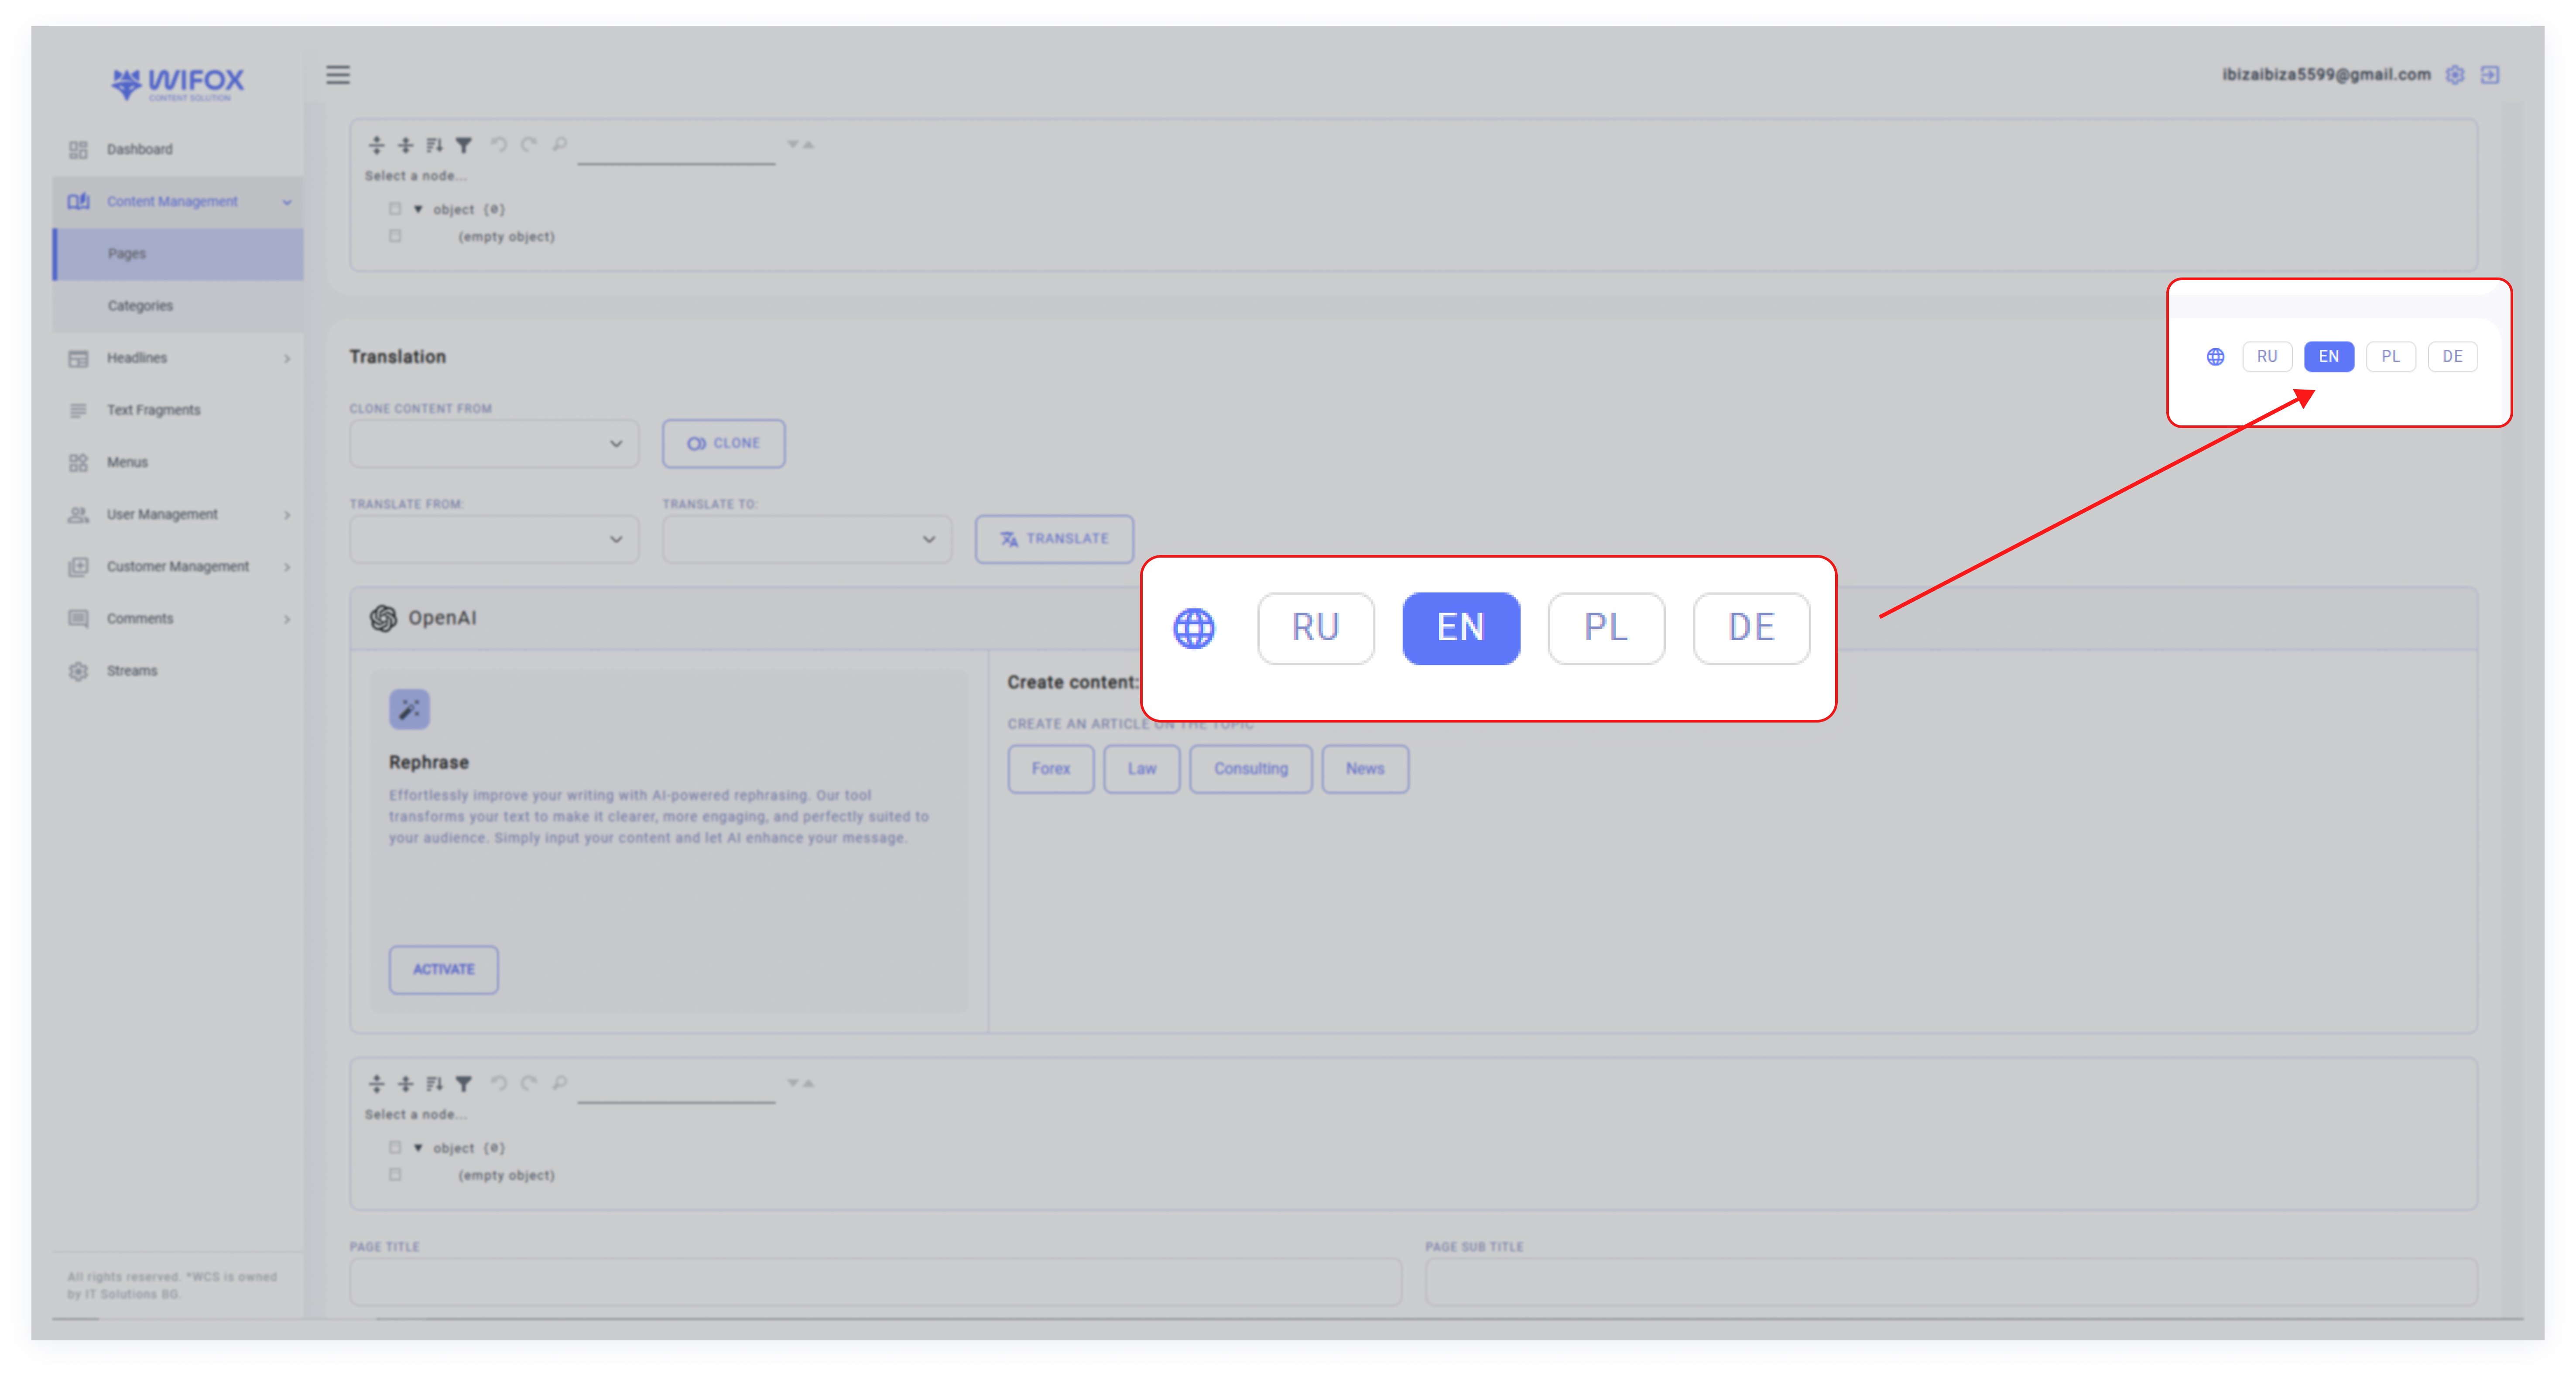
- Clone Content From: If similar content exists in another language, use the cloning feature to copy it into the new page:


- Translate: Automatically translate content from one language to another using integrated tools.

Step 5: Create Content
Wifox Business Content Solution offers a suite of OpenAI-powered tools to revolutionize the way users create, manage, and optimize their content. By leveraging artificial intelligence, the system simplifies content creation and ensures SEO-friendly outputs, making it a smart and efficient solution for managing digital assets.
Core Features of OpenAI Integration
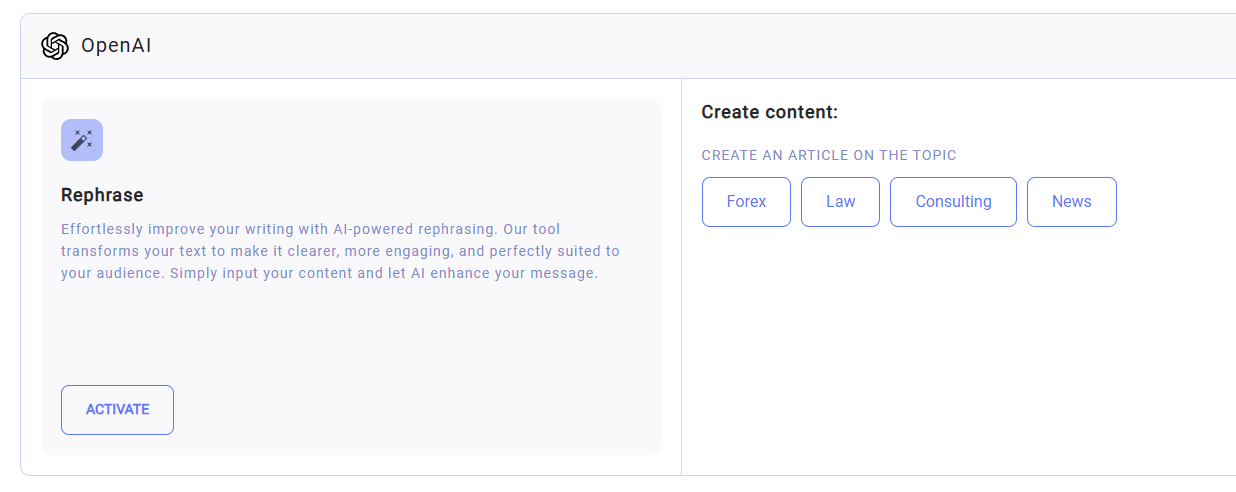
1. Effortless Content Rephrasing
Click Activate to initiate the AI-driven rephrasing process. The system processes and refines the input text, ensuring clear, professional, and engaging content that aligns with your objectives.

Before «Activate»

After «Activate»
Rephrased next sections:
- Page Title
- Page Subtitle
- Page Meta Title
- Page text section
2. Content Creation
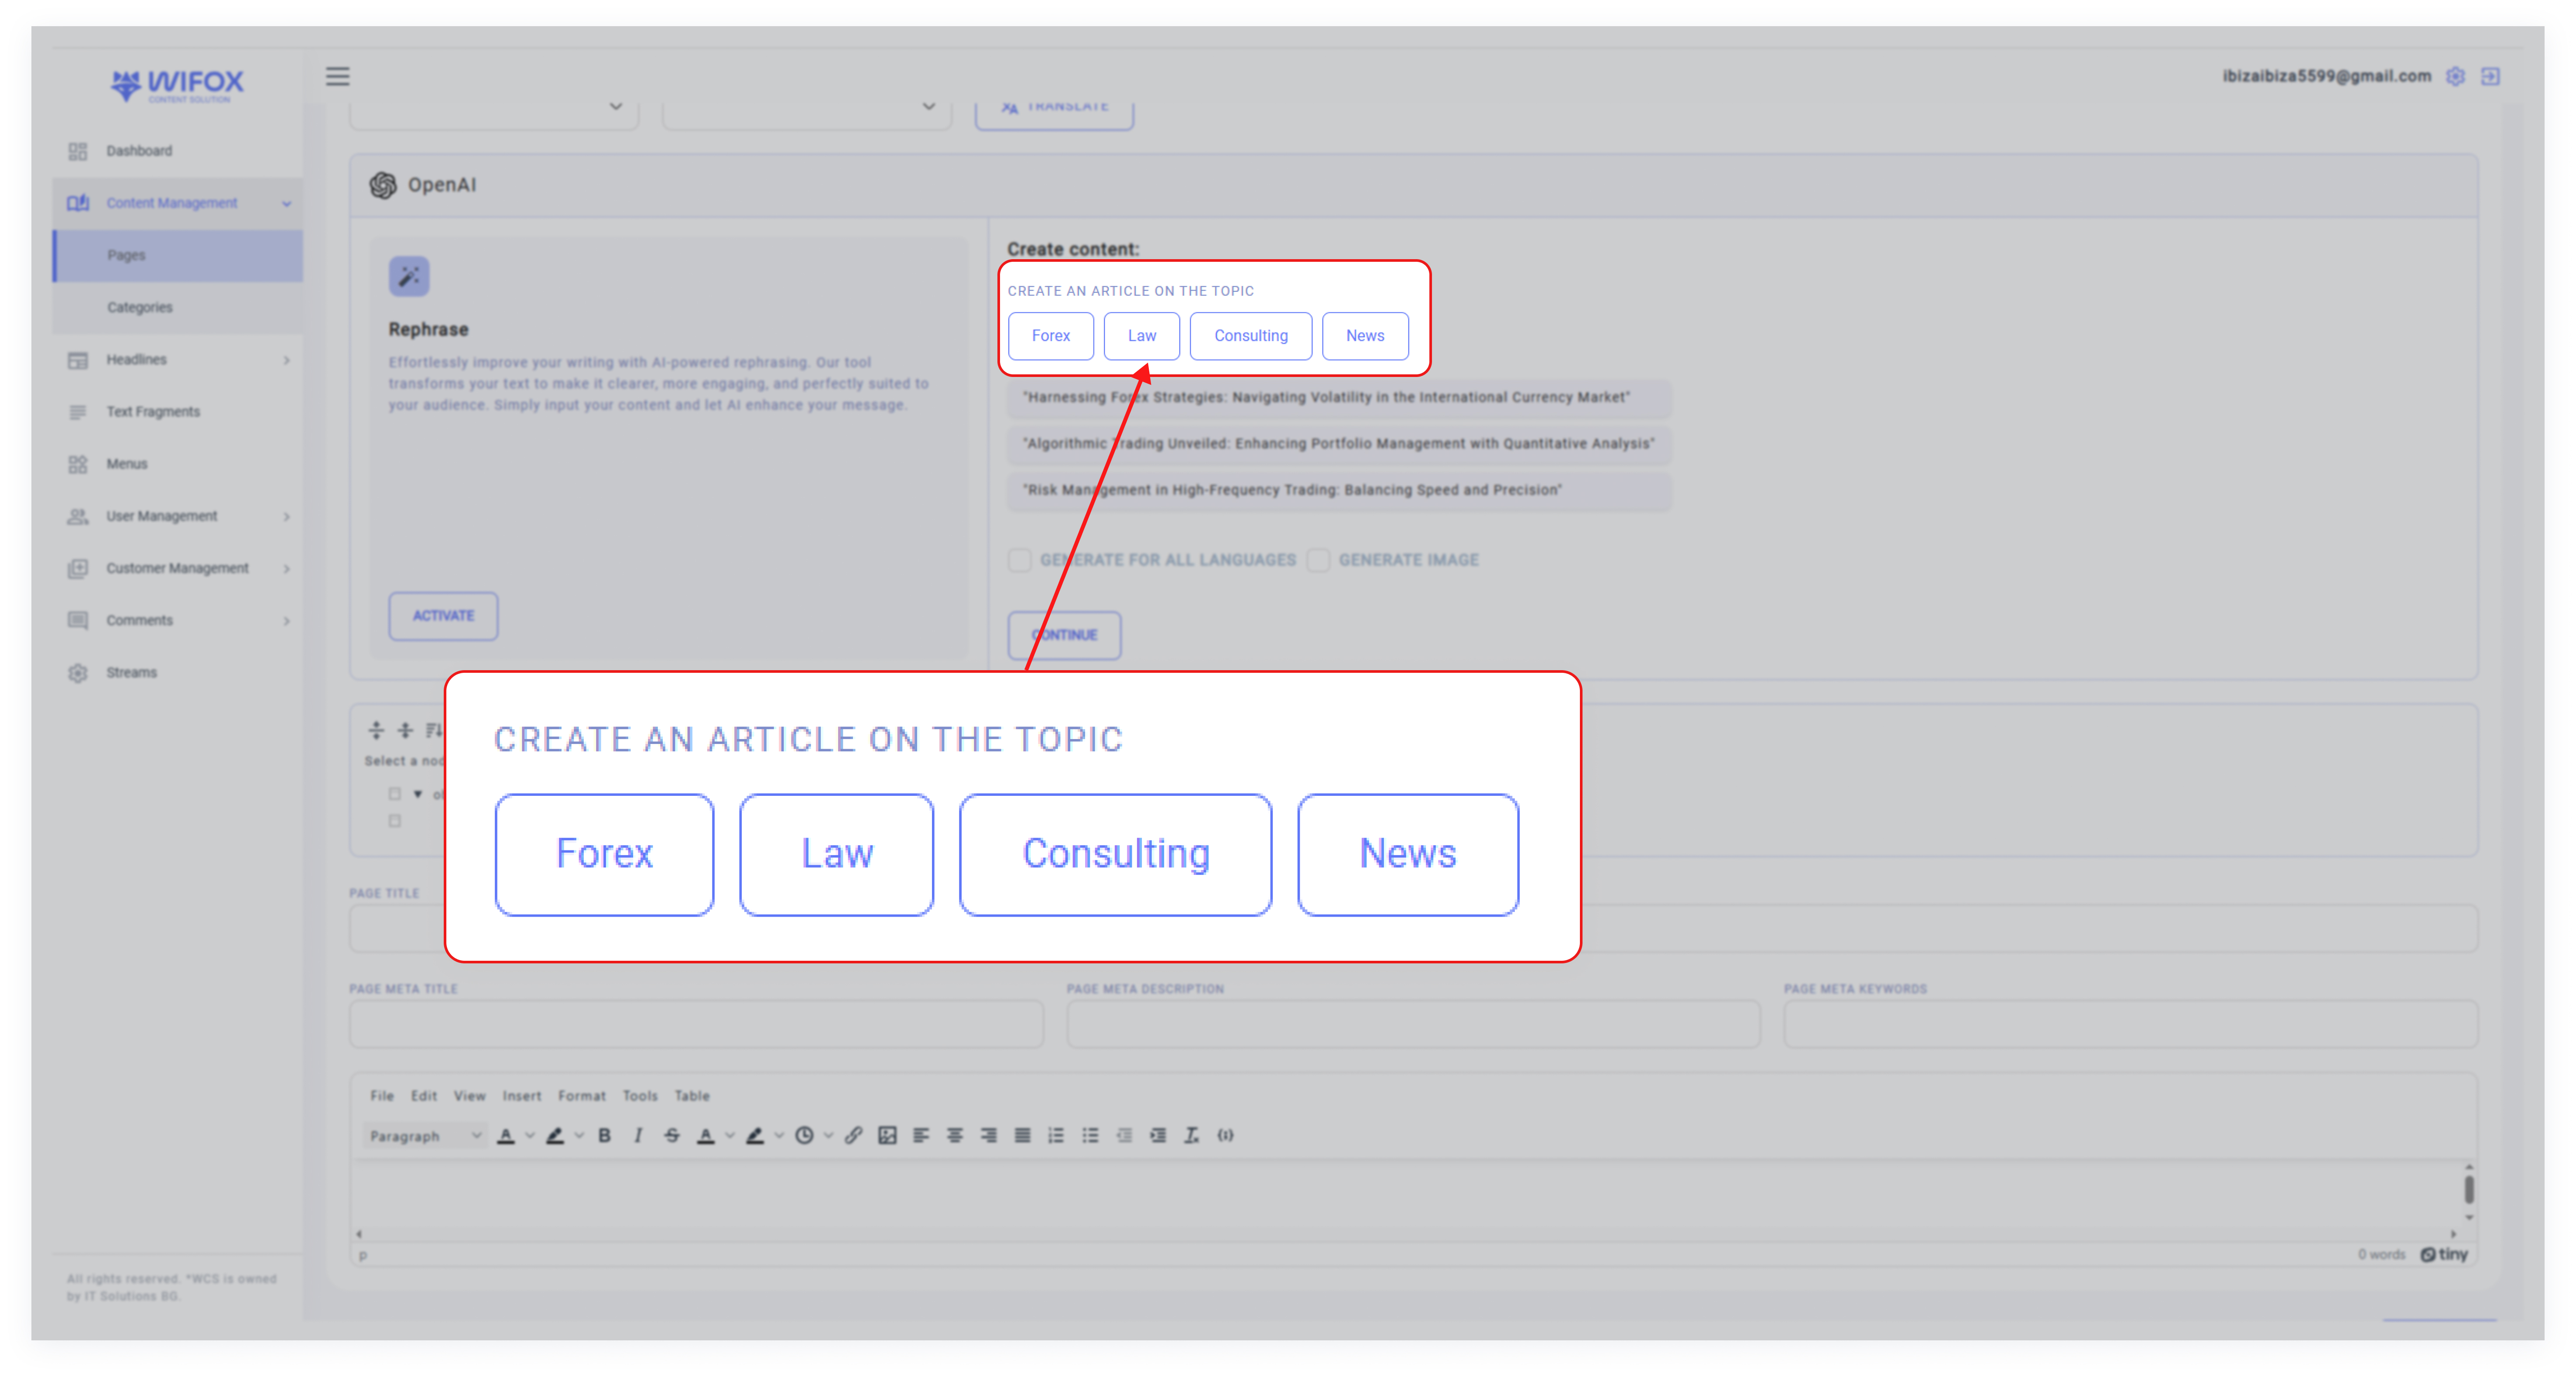
Select Create Content to draft new articles based on your chosen topics. Examples of available topics include:
- Forex
- Law
- Consulting
- News
After selecting a topic, you can enable the Generate for all languages option to produce content in multiple languages automatically.
If required, select Generate Image to complement your content with relevant visuals.
3. SEO Optimization
Wifox Business Content Solution integrates tools to automatically generate the following metadata:
- Page Title
- Page Subtitle
- Page Meta Title
- Page Meta Description
- Page Meta Keywords
Steps to Generate Content
1. Select a Topic: Choose a relevant topic or direction (e.g., Forex or News).
2. Customize: Decide whether to generate multilingual content or include images.
3. Start Generation: Click Continue, and the system will begin generating the requested content, metadata, and visuals based on your preferences.

4. Review the Output: Once complete, the generated content will appear in editable fields for further refinement.
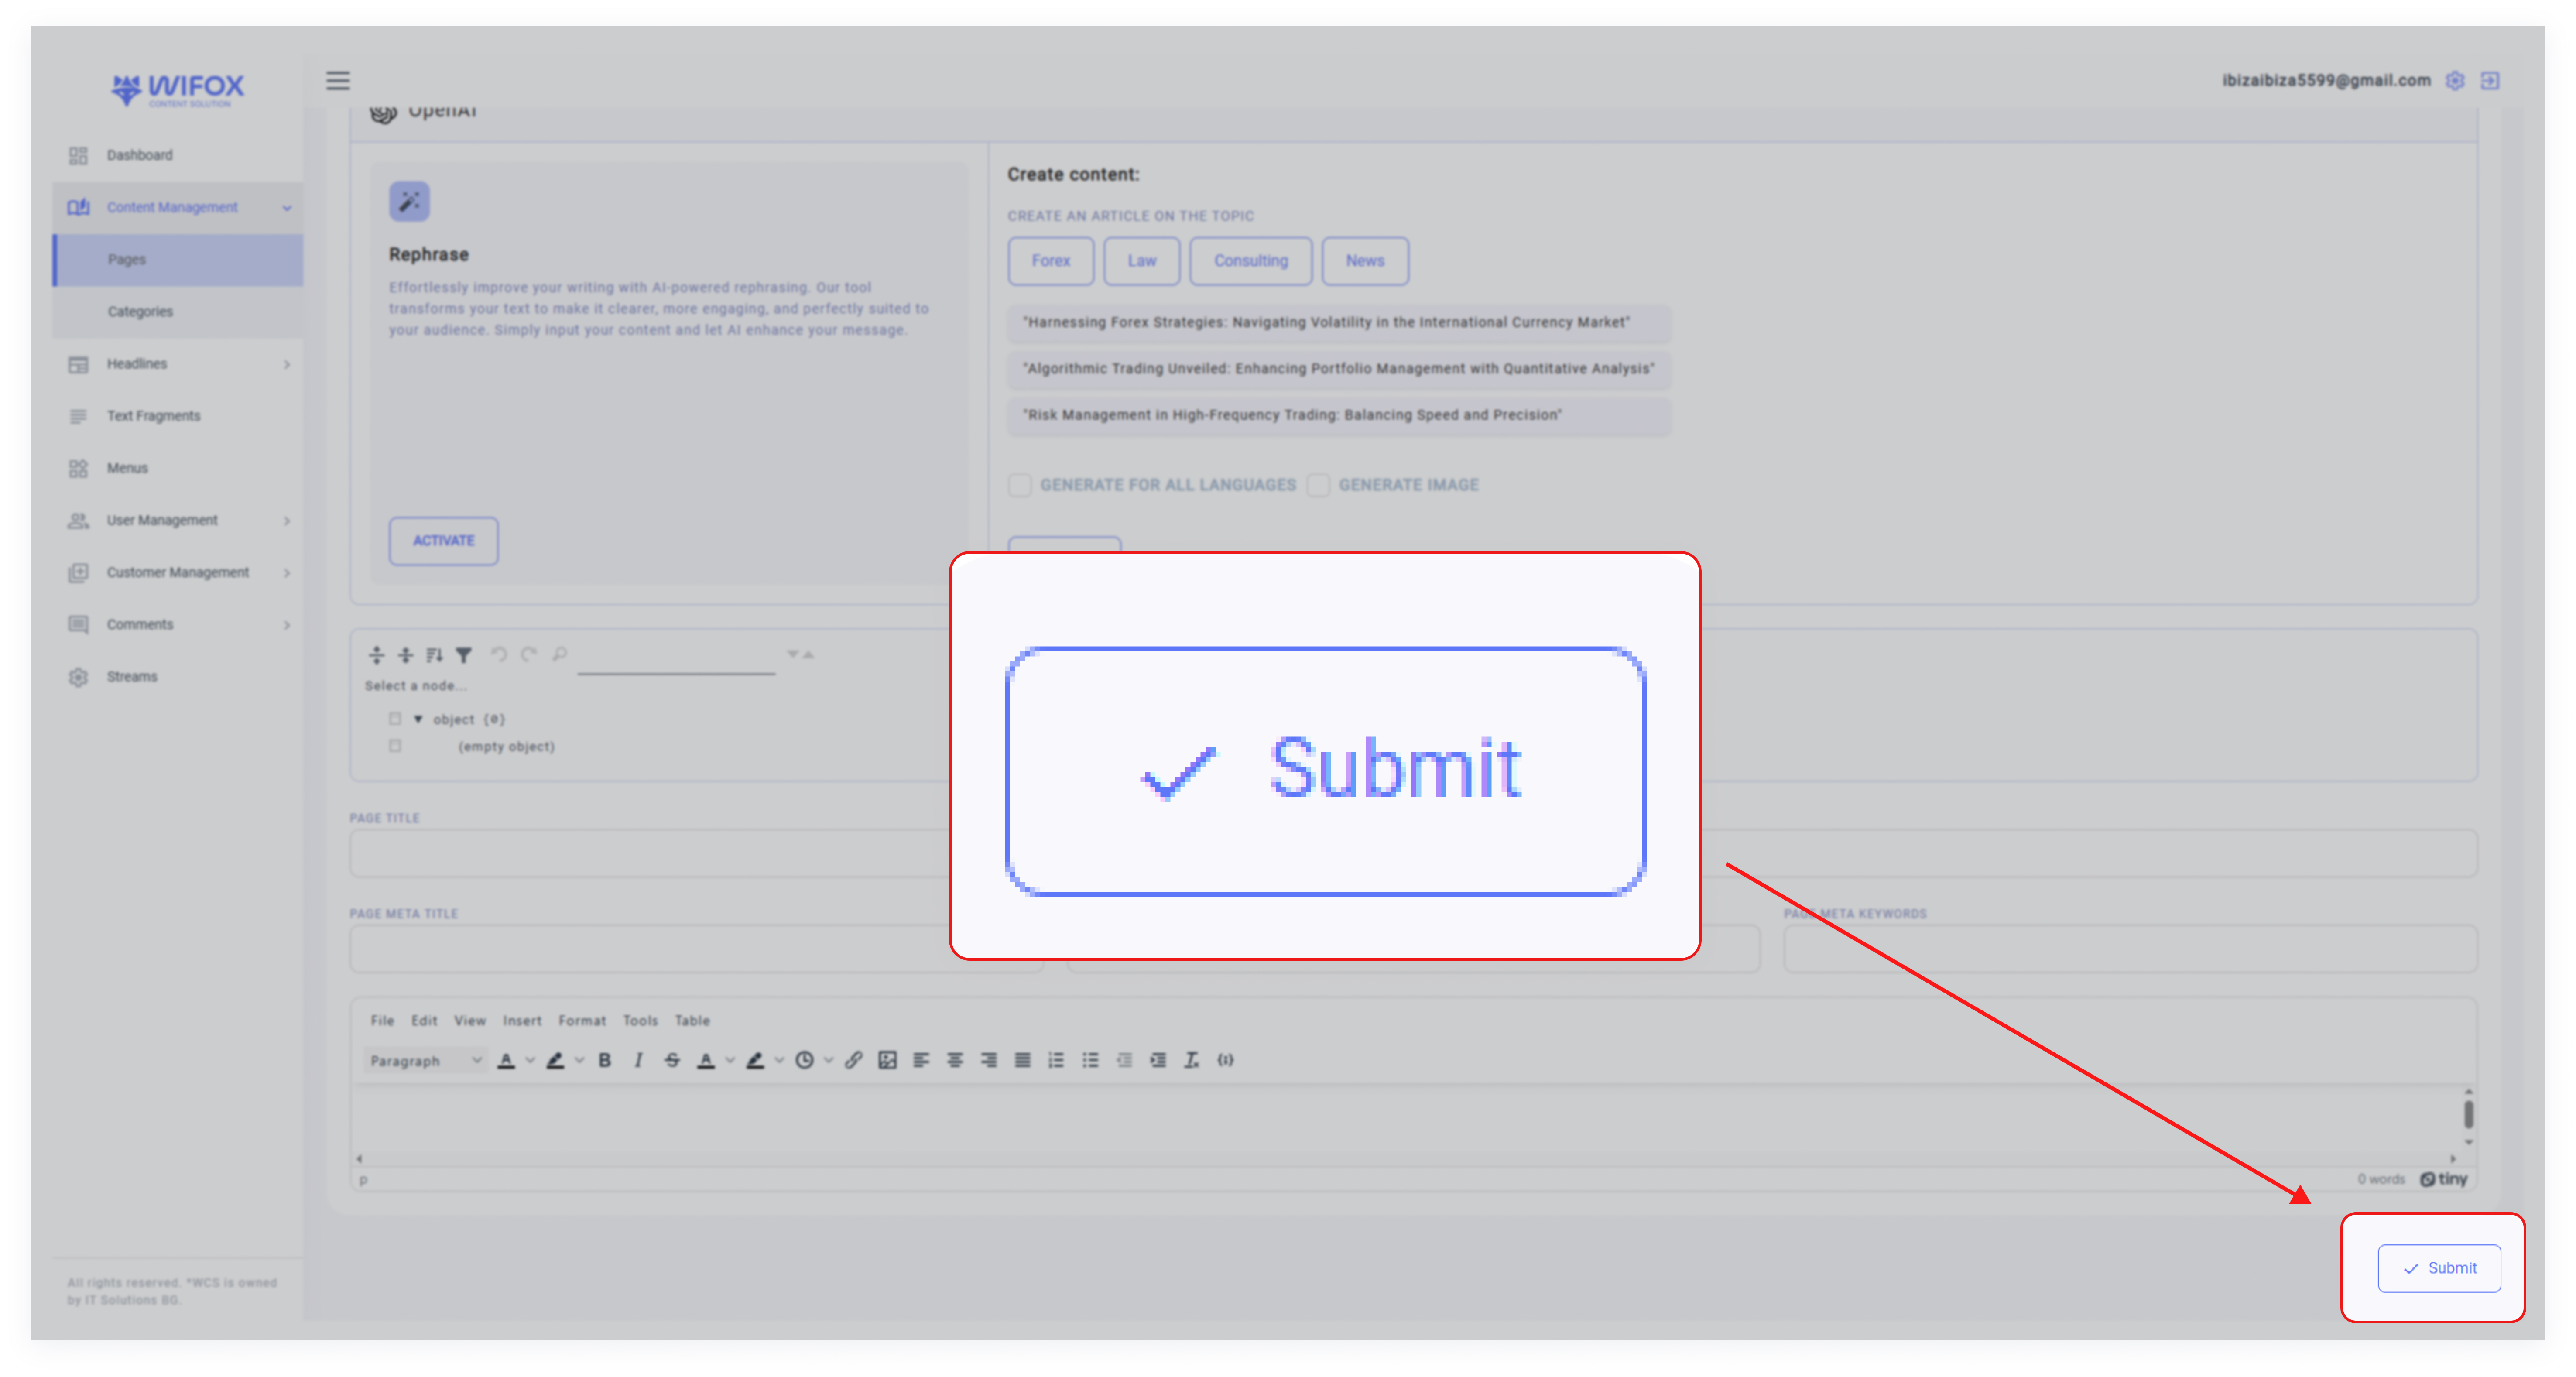
5. Submit: If the content meets your requirements, click Submit to save it.
Key Advantages of OpenAI Integration
- Efficient Content Creation: Instantly generate high-quality articles tailored to specific topics and industries.
- Streamlined Metadata Management: Automate SEO optimization with AI-generated meta titles, descriptions, and keywords.
- Multilingual Support: Generate content for multiple languages simultaneously, ensuring consistency across regions.
- Customizable Outputs: Easily adapt AI-generated content to meet specific needs or branding guidelines.
Use Case Example
A user wants to create a new article about Forex. They select the topic, enable the Generate for all languages option, and choose to include images. After reviewing the AI-generated content, they make minor edits and submit the final version. The metadata (titles, descriptions, and keywords) is automatically optimized, saving time and ensuring high performance on search engines.
This seamless integration of OpenAI tools within Wifox Business Content Solution simplifies content creation and optimization, empowering users to produce impactful and professional results with minimal effort.
Step 6: Final Steps
1. After filling in all required fields, review the details to ensure accuracy.
2. Click Submit to create a new page.
3. The new page will now appear in the Page Content list, where it can be further managed or edited as needed.
5. How to Edit a Page
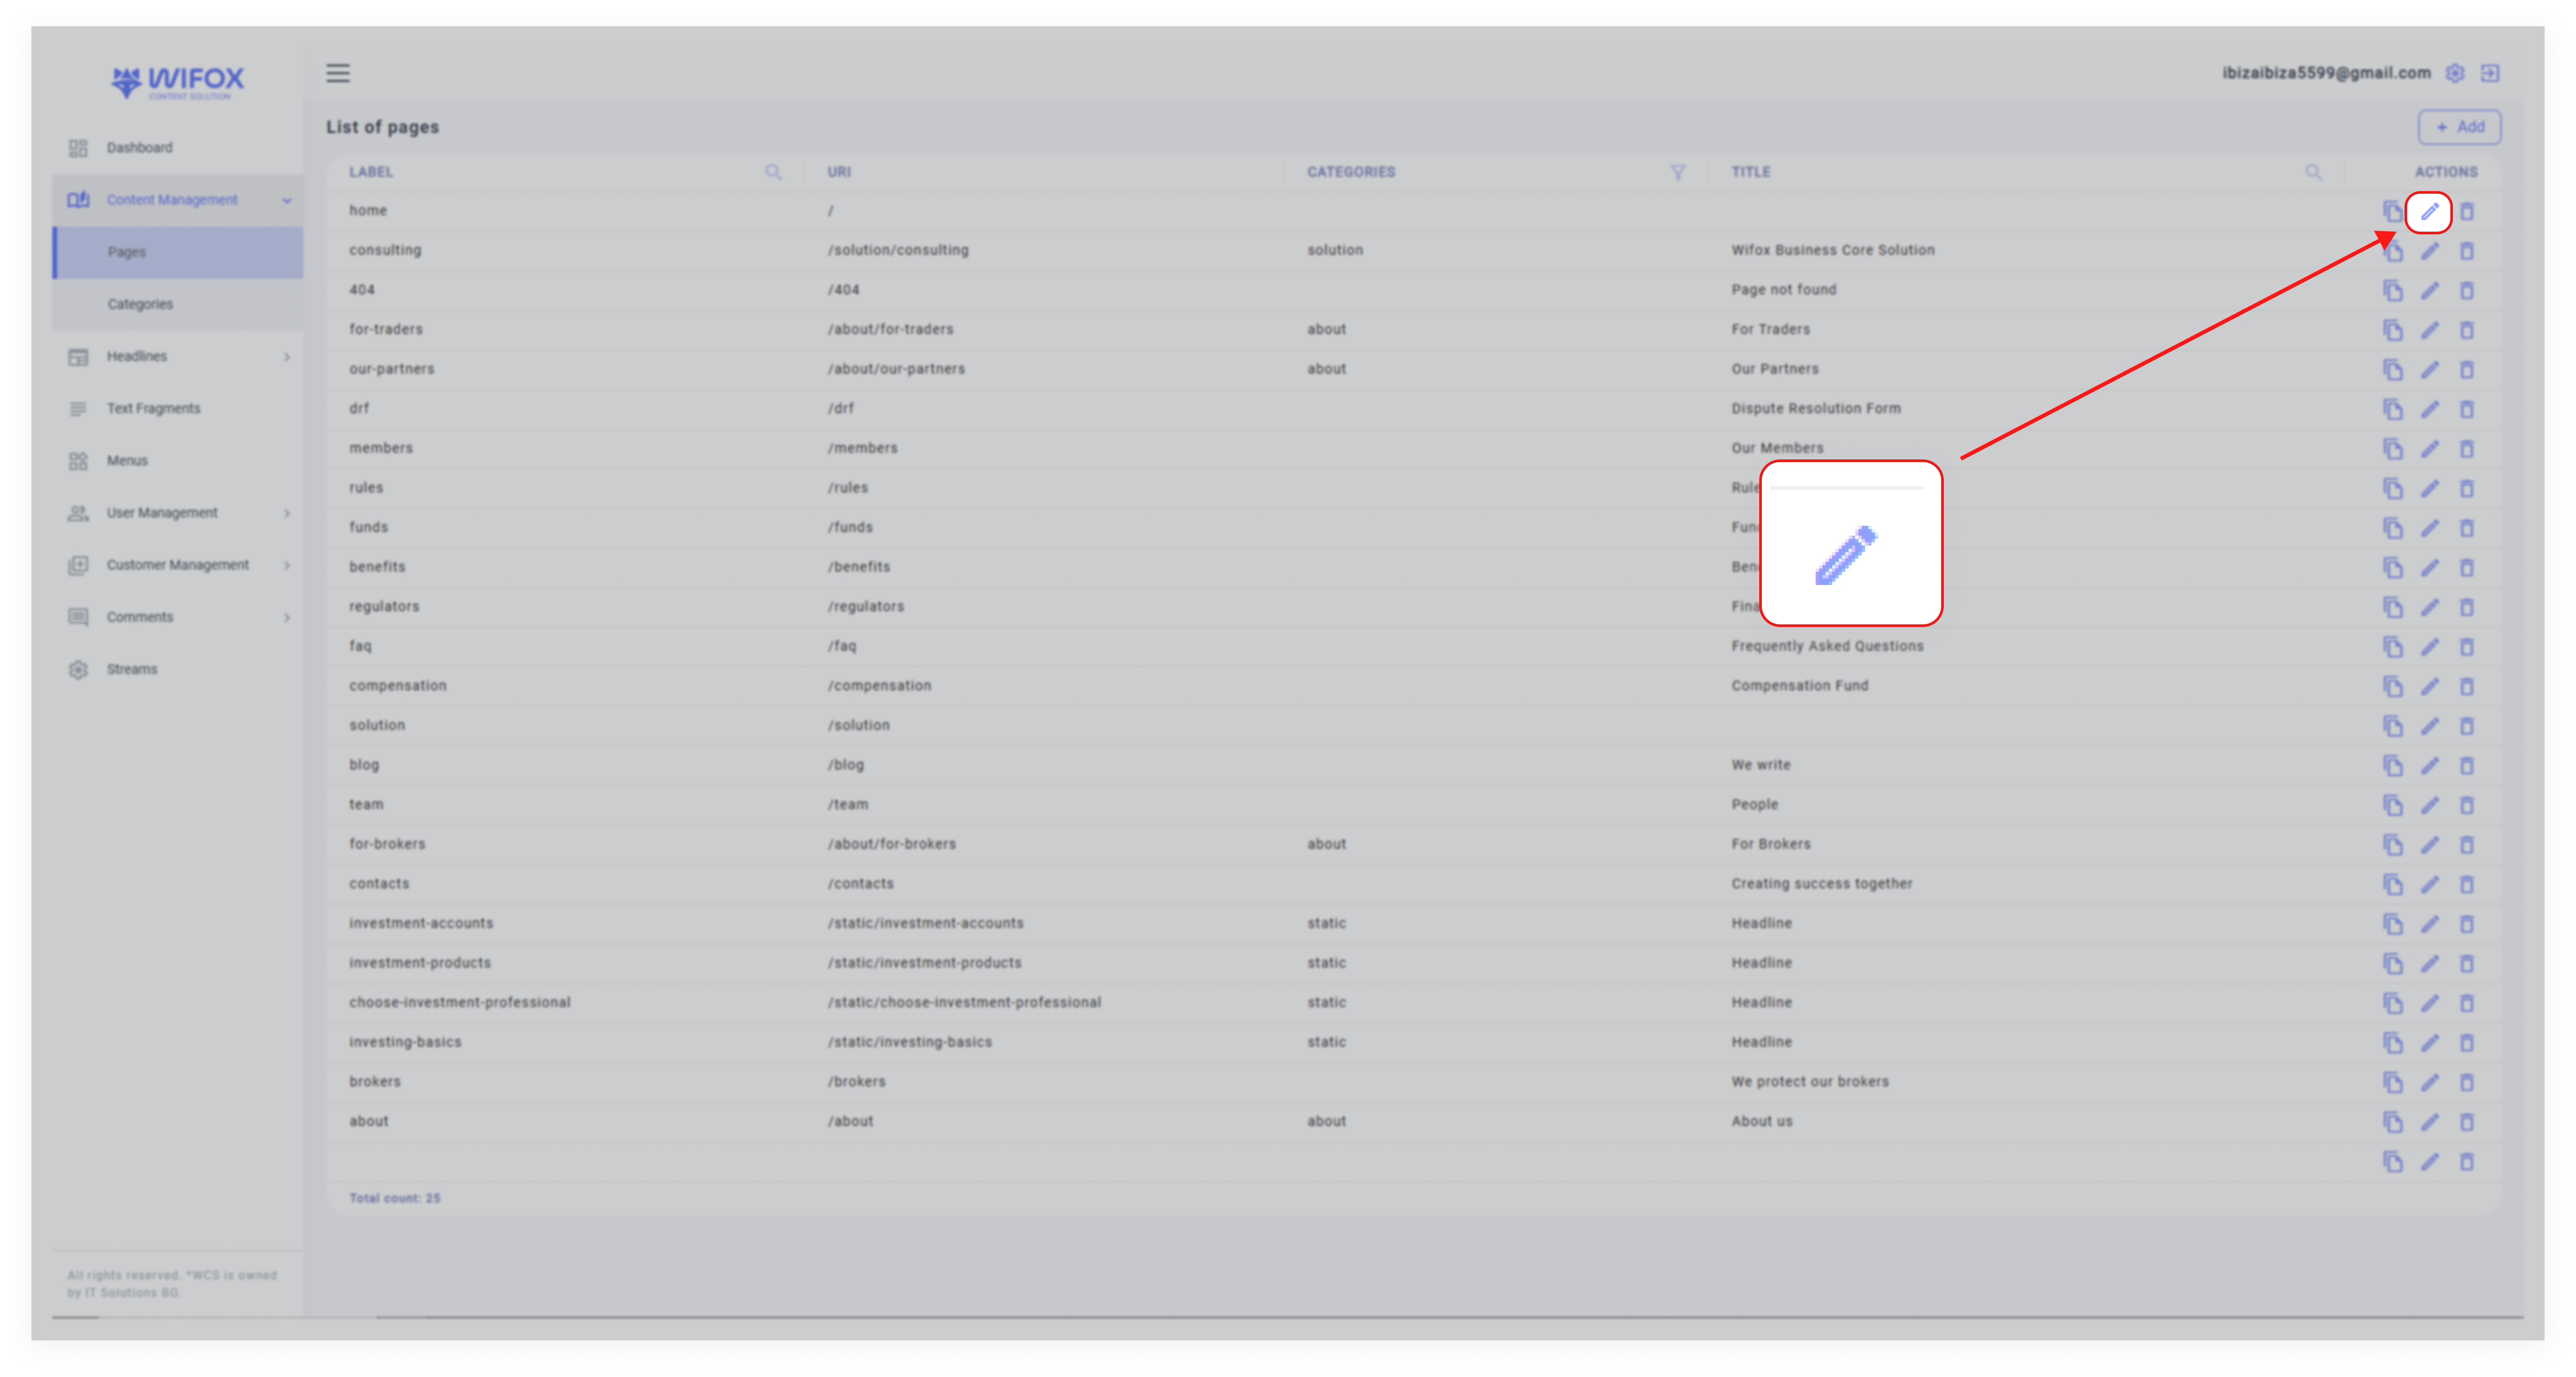
2. Click the Edit icon next to the page you want to modify.
3. In the edit window, you can:
- Change the label, URI, category, and title of the page.
- Update the page’s content.
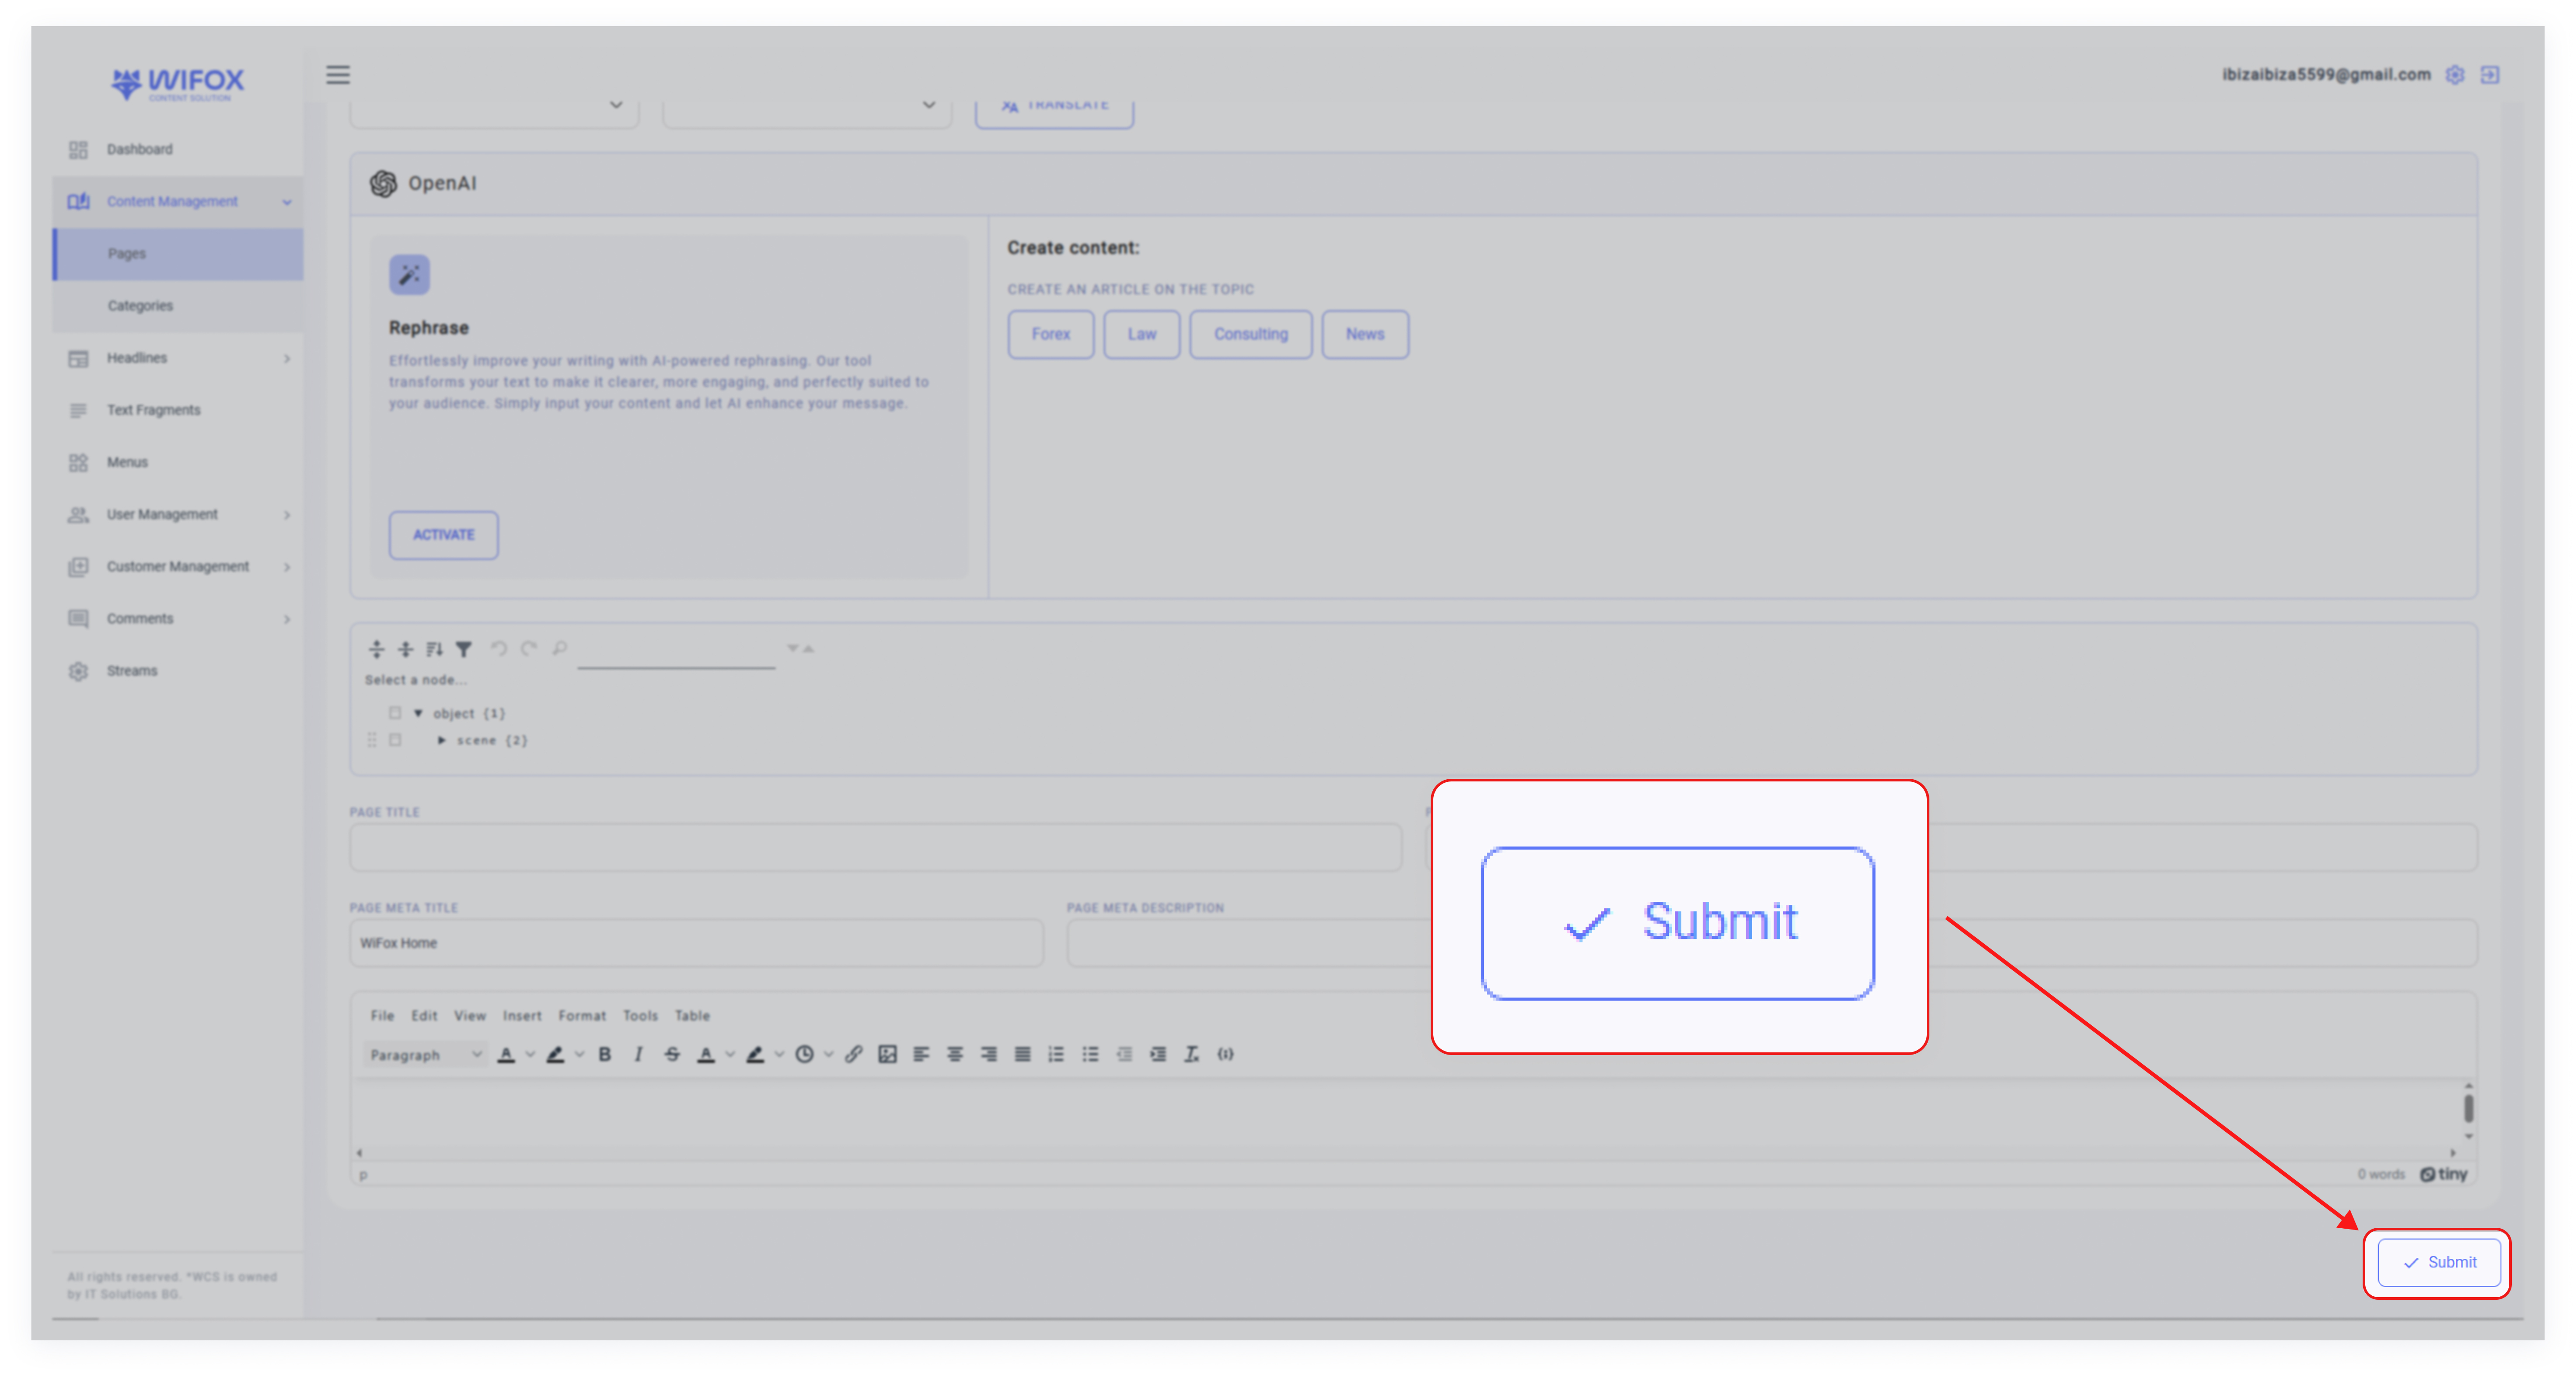
4. Save changes by clicking "Submit"
6. How to Delete a Page
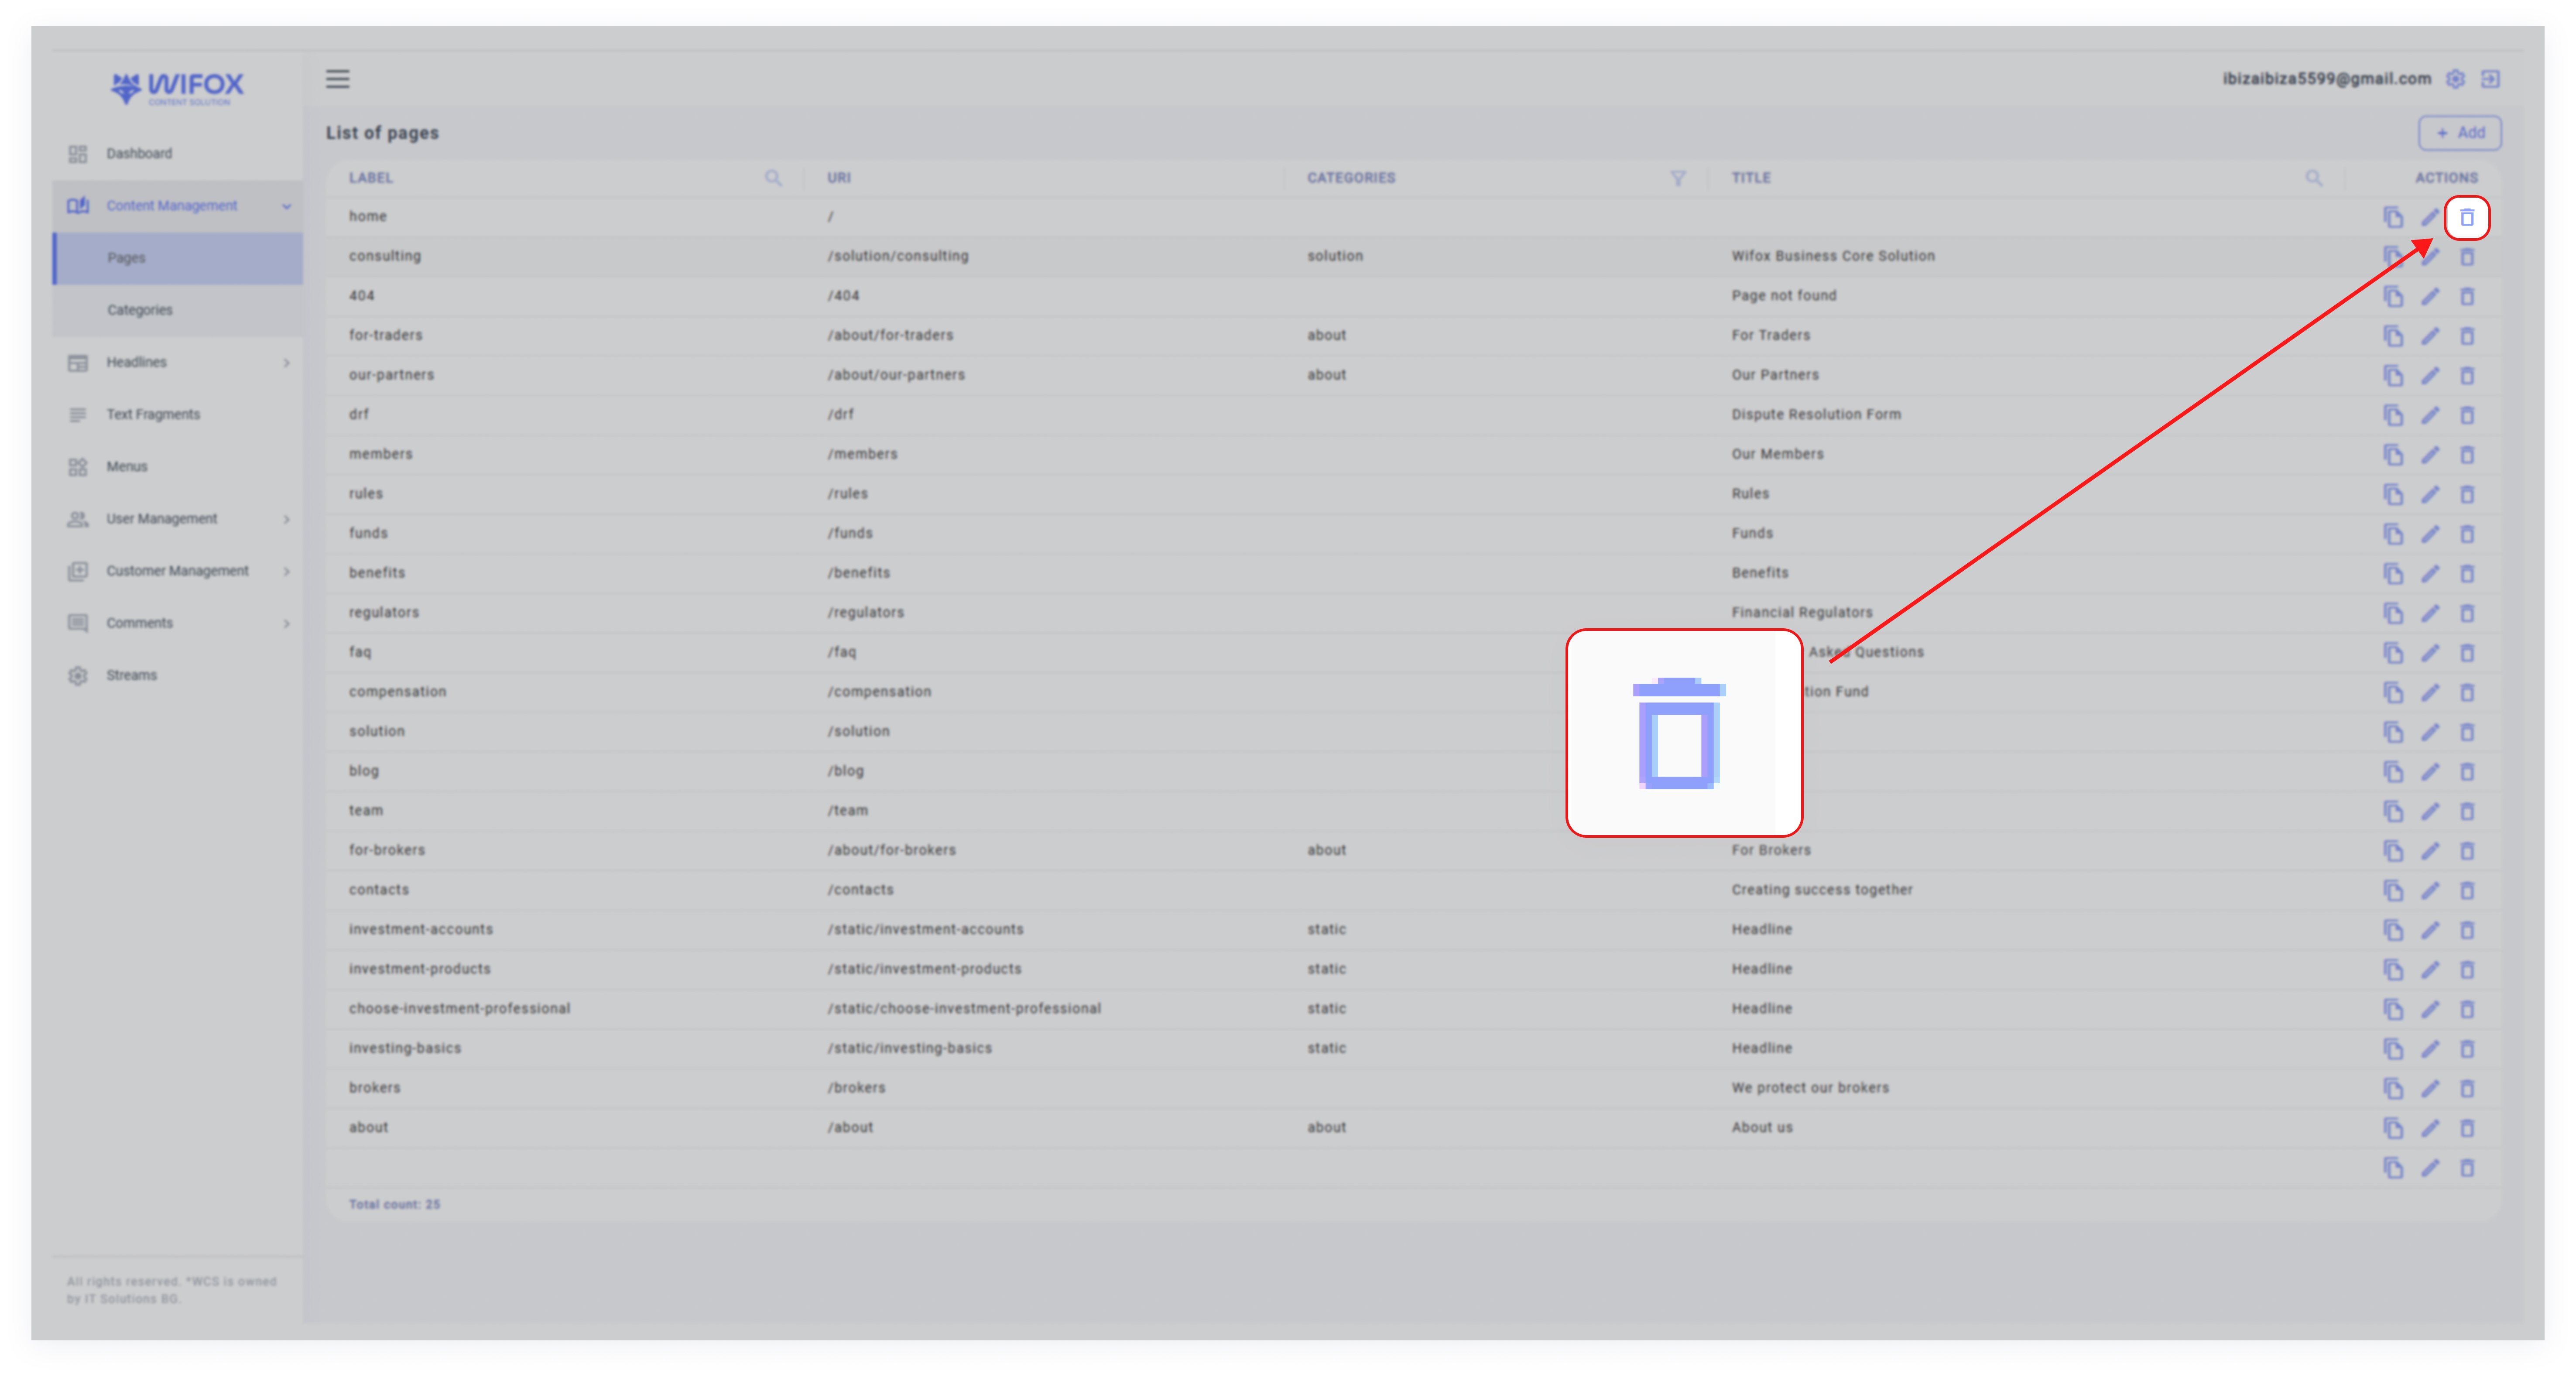
1. Locate the page in the list view.
2. Click the Delete icon in the "Actions" column.
3. Confirm the deletion.
Note: Deleted pages cannot be restored.
7. Tree of Page Categories
The Tree of Page Categories section in Wifox Business Content Solution allows users to create, organize, and manage page categories efficiently. This section is designed for easy navigation, quick editing, and smooth addition or removal of categories.
Key Features of the Tree of Page Categories
- View Categories: Displays a hierarchical view of all page categories, such as "About Us" or "Static," with their corresponding URLs.
- Add Categories: Use the Add button to create a new page category and define its details.

- Edit Categories: Click the pencil icon to quickly modify an existing category’s label, URL, or other settings.

- Delete Categories: Remove a category by clicking the trash icon, ensuring only relevant categories are maintained.

Adding a New Page Category
1. Click the Add Button: In the Tree of Page Categories, click the + button to add a new category.

2. Fill in Details: In the "Add Page Category" form, provide the following:

- Label: Enter the category name.
- URL: Specify the URL path for the category.
- Translation: Choose a language (e.g. EN, PL, or DE) and either clone content from another category or translate it using the built-in tools.
- Name: Add an optional name for the category.
3. Submit: Once all required fields are filled, click Submit to save the category.
Editing a Page Category

1. Click the pencil icon next to the category you want to update.
2. Modify the desired fields, such as the label or URL.
3. Save the changes, and the category will be updated instantly.
Deleting a Page Category

1. To delete a category, such as the newly added "S" category, click the trash icon.
2. Confirm the deletion, and the category will be removed from the tree.
Benefits of the Tree of Page Categories
- Easy Organization: Maintain a clear hierarchy of page categories for better content management.
- Quick Modifications: Edit or update categories with just a few clicks, saving time and effort.
- Translation Support: Use built-in translation tools to localize content for multiple languages.
Headlines
1. Headlines: Overview
The Headlines section in Wifox Business Content Solution is designed for managing and organizing events. This section provides a list of all events, categorized for easy filtering and management. Each event has associated details like a title, category, and unique ID, along with actions to duplicate, edit, or delete entries.
This section is ideal for maintaining a record of company events, regulatory updates, licenses, or industry news, ensuring that event-related information is organized and accessible.
The following actions are available in the Headlines module:
- Adding a New Event
- Editing an Event
- Deletion of Event
- Adding a New Event Category
- Editing an Event Category
- Deletion of Event Category
2. Key Features of the Headlines Section
1. Add New Events:
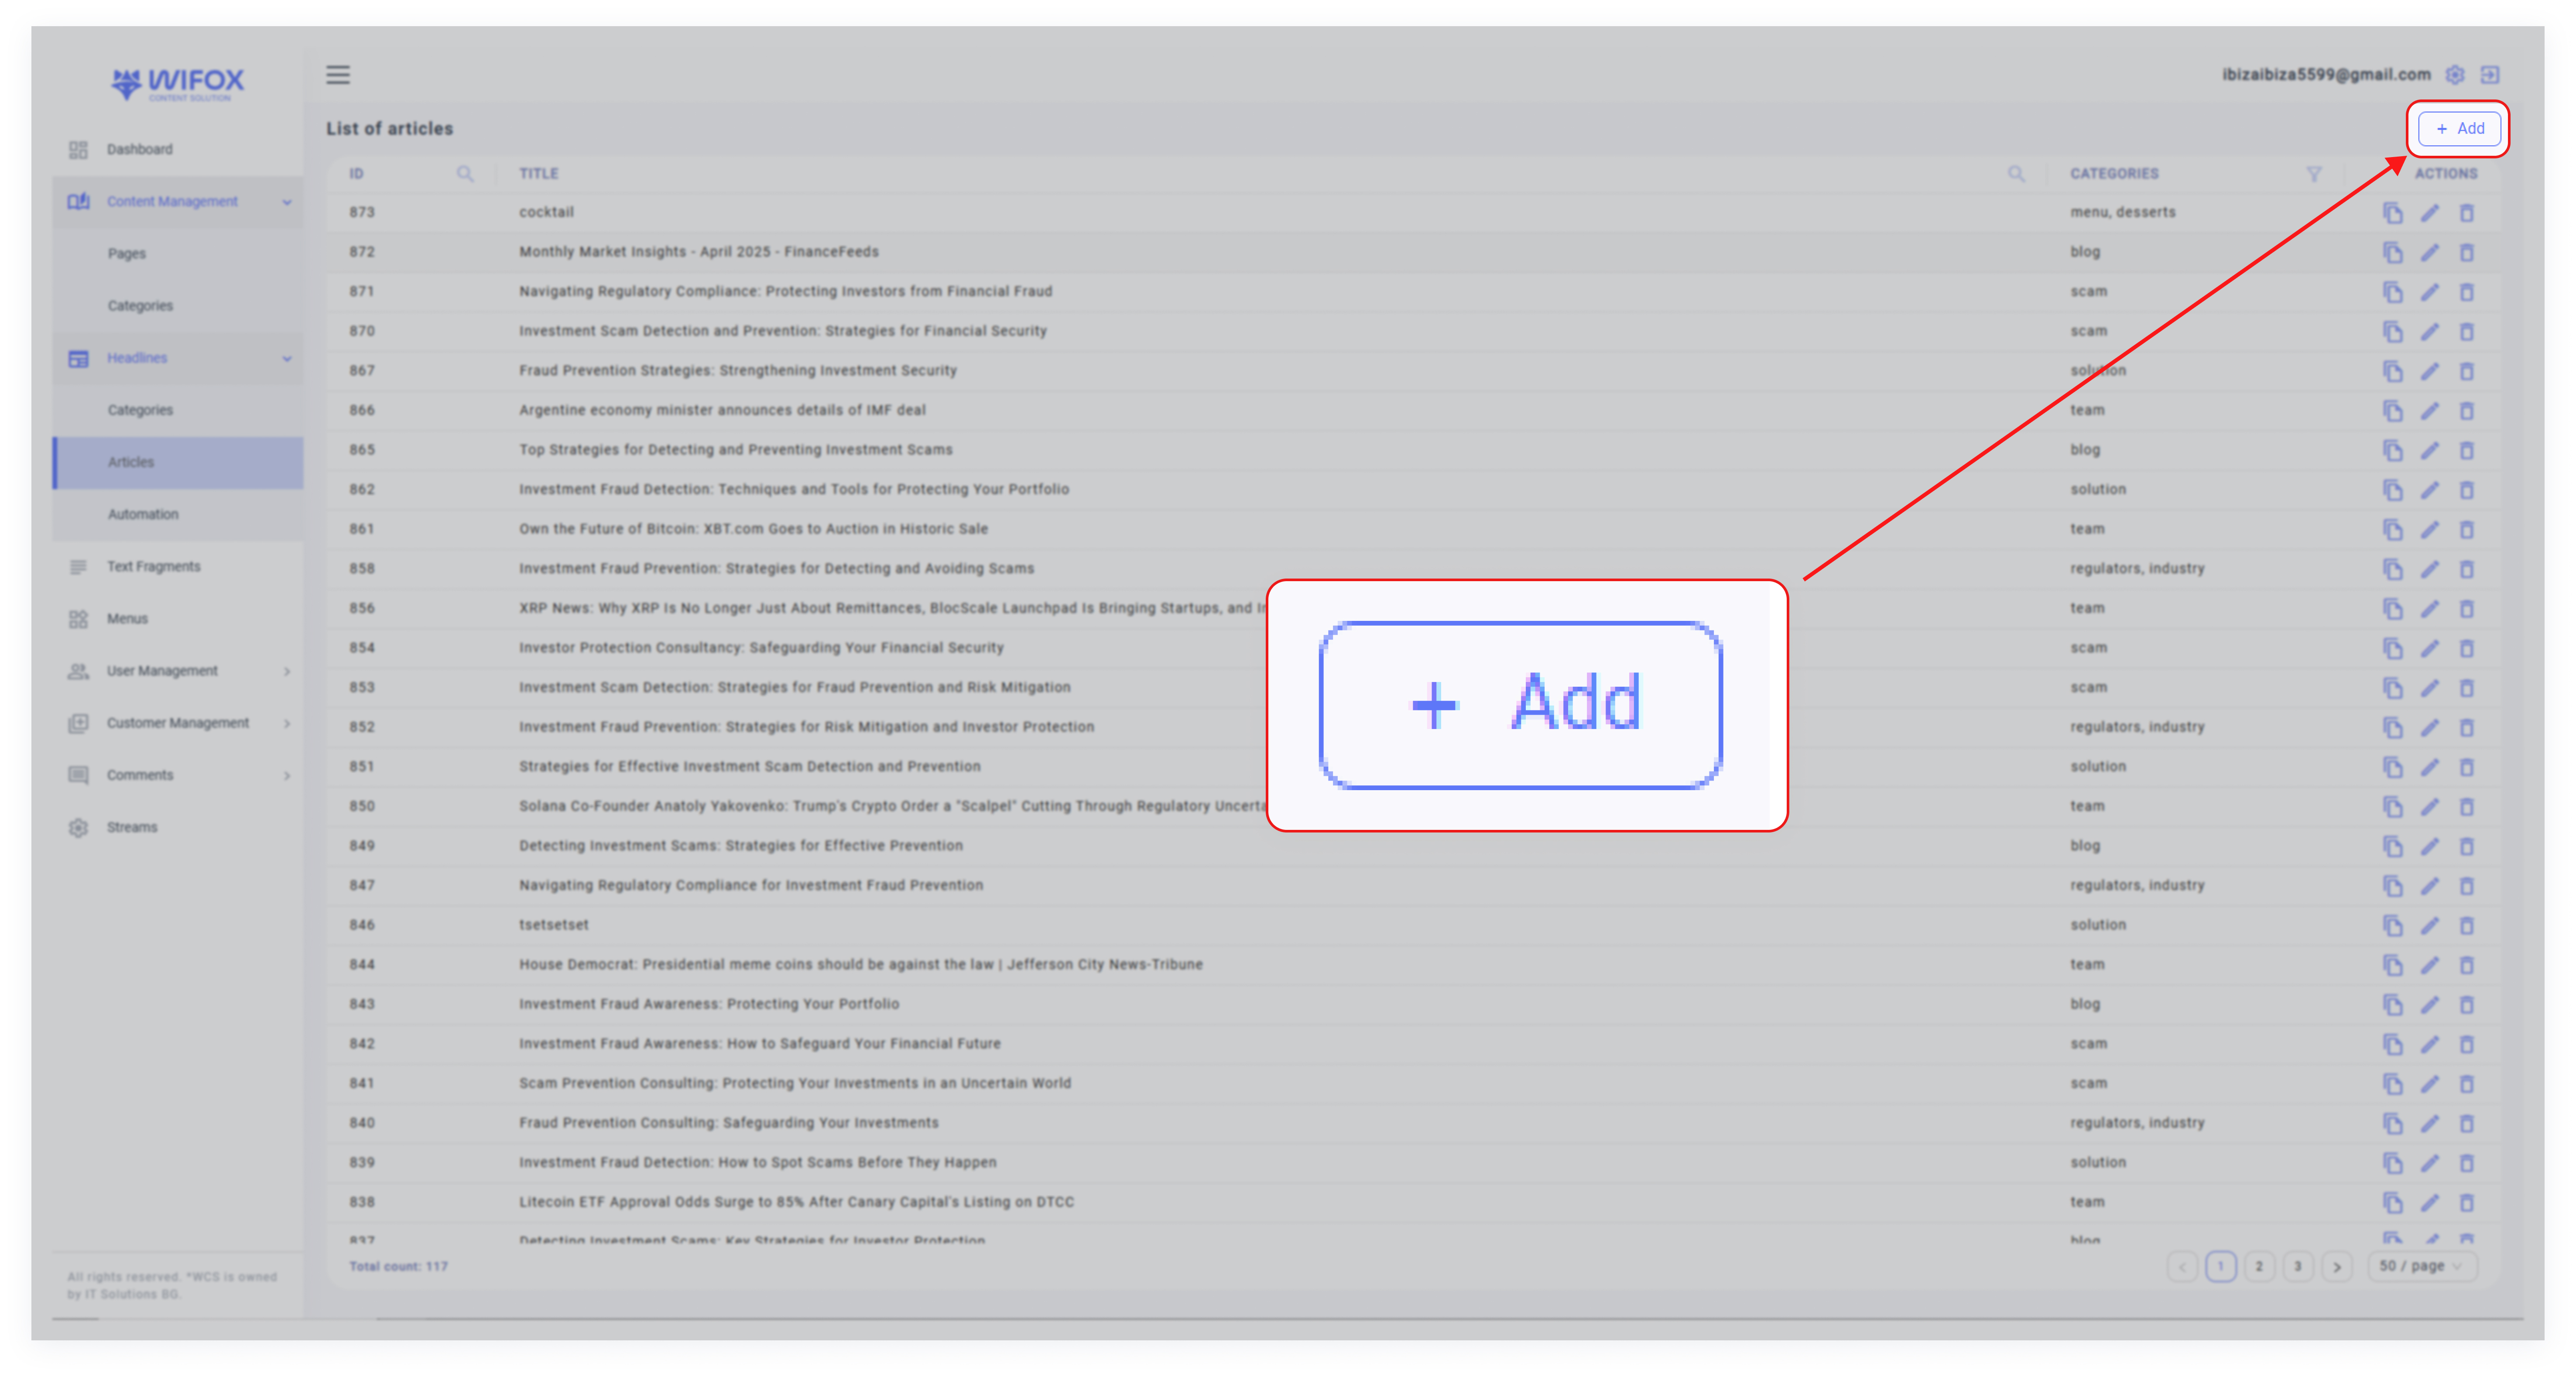
- Click the "Add" button to create a new event.
- Add details such as the event title, category, and any additional attributes.
2. Search and Filter Options:
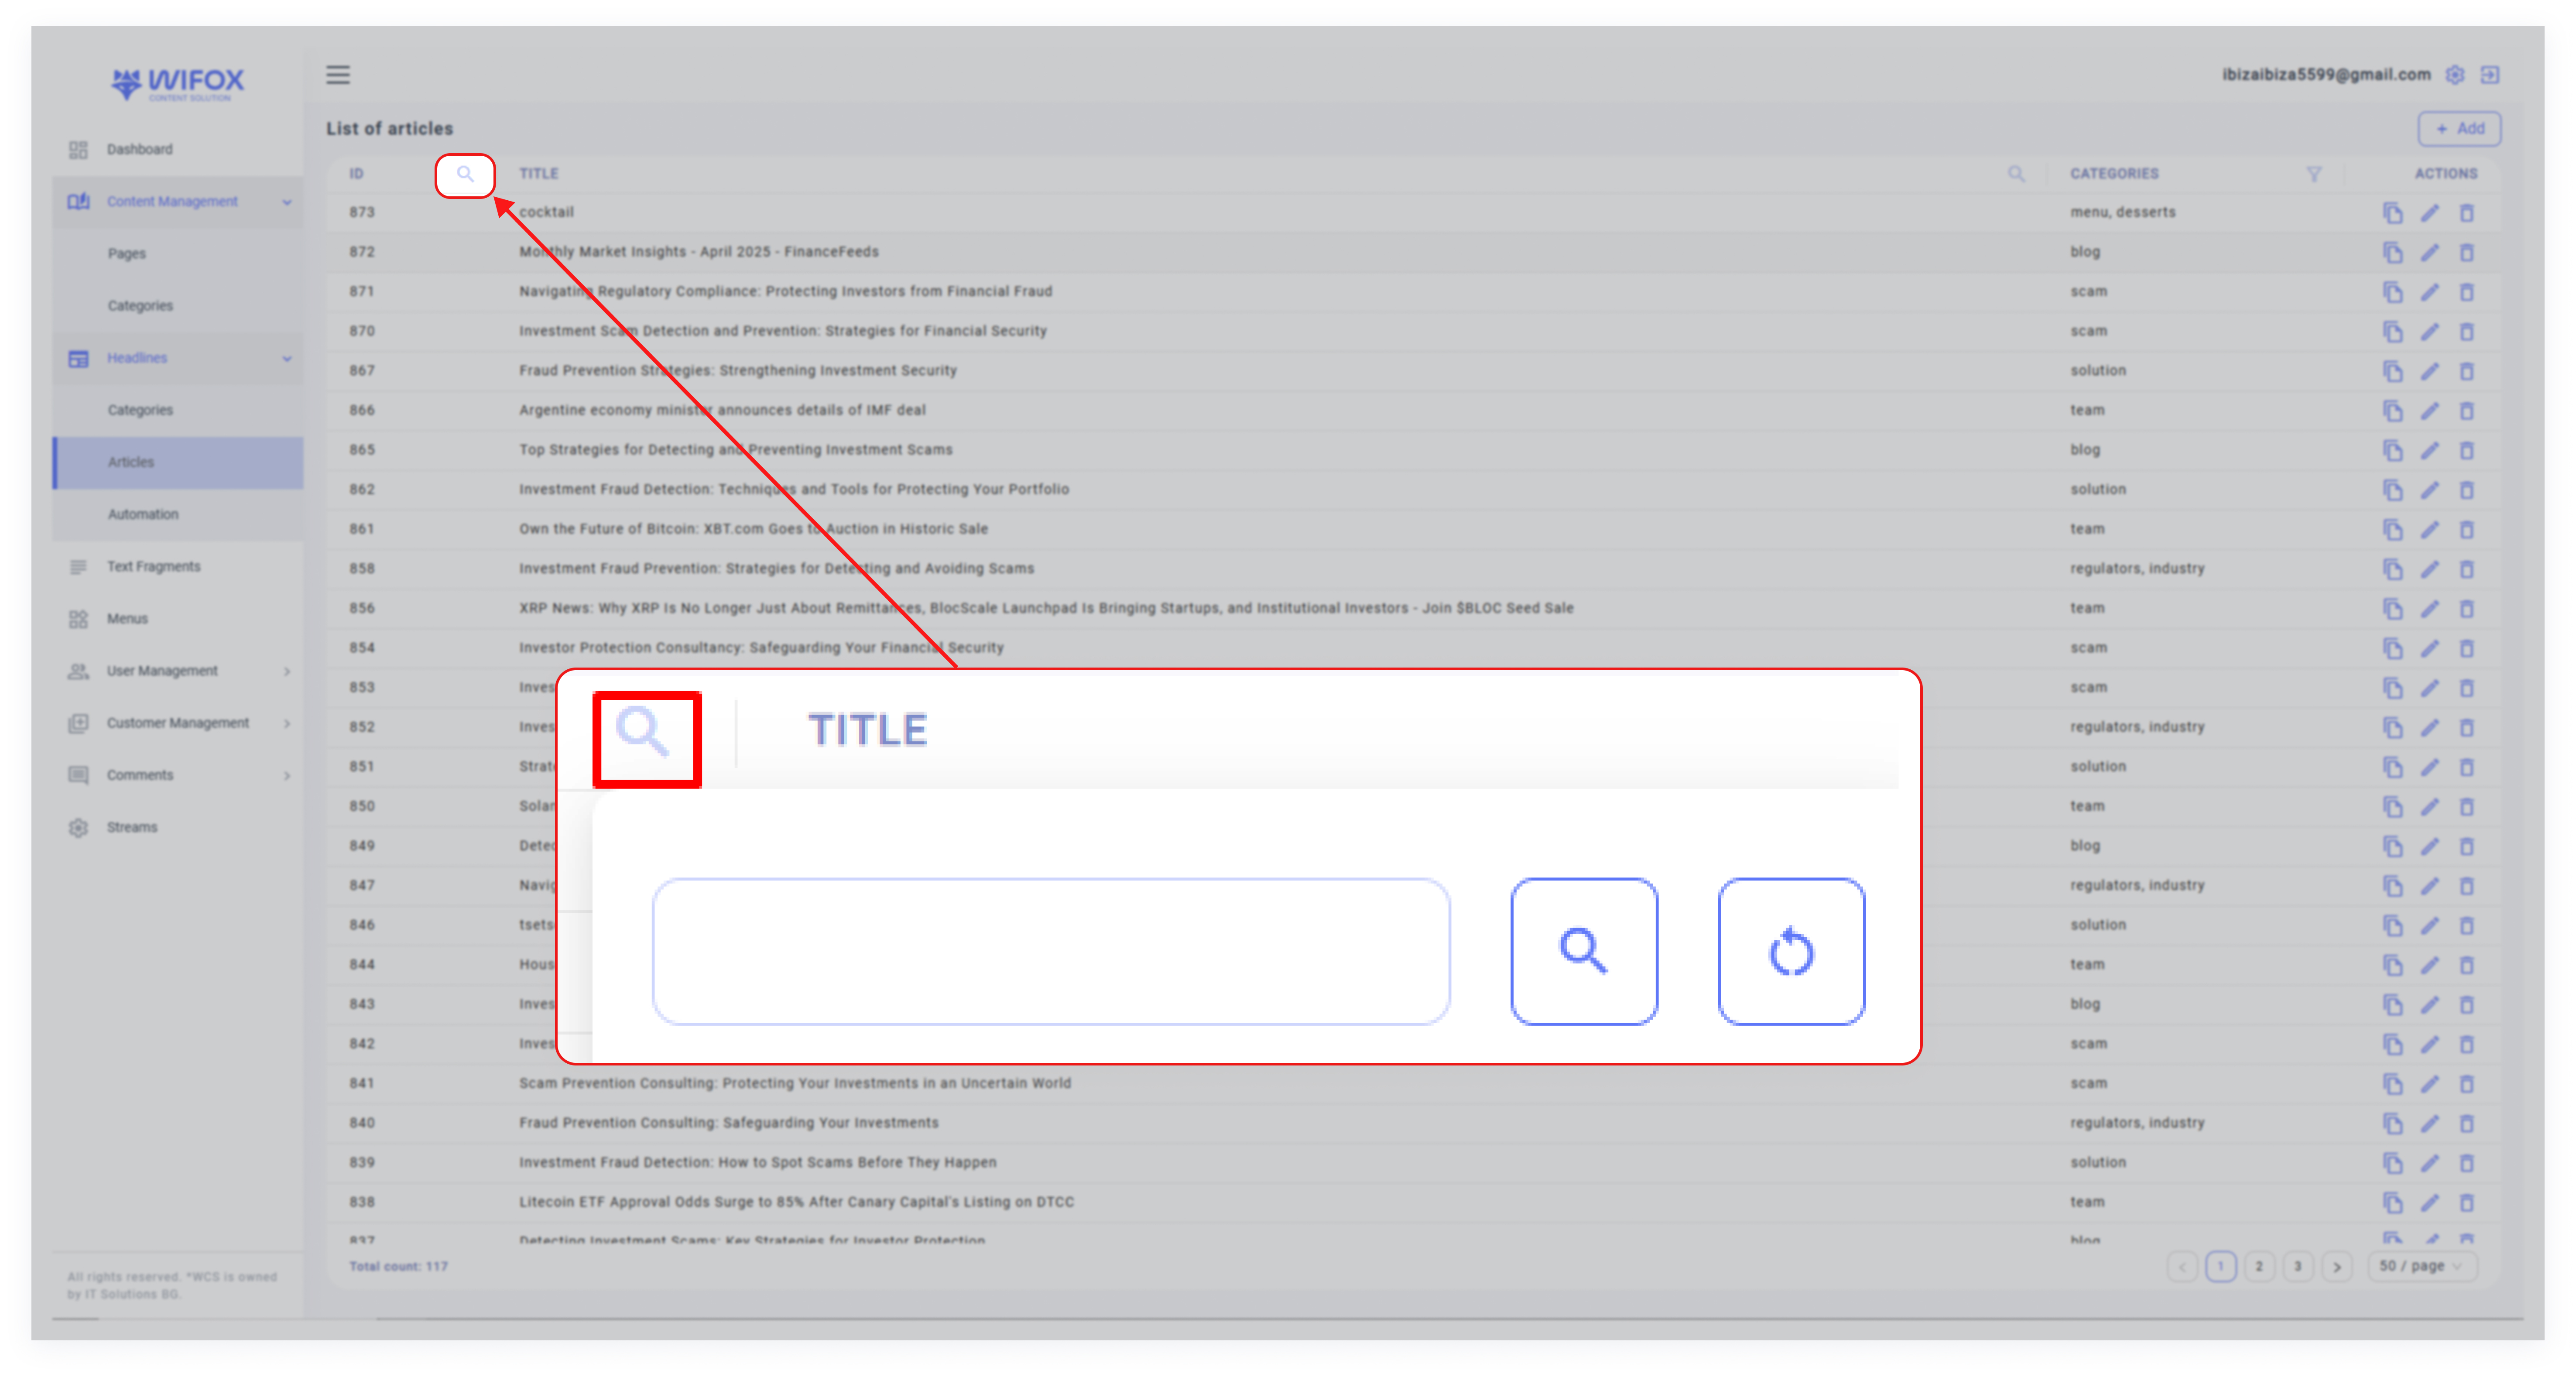
- Search by ID: Quickly locate events using their unique ID.
- Search by Title: Find events by their titles, such as "Regulator 16".
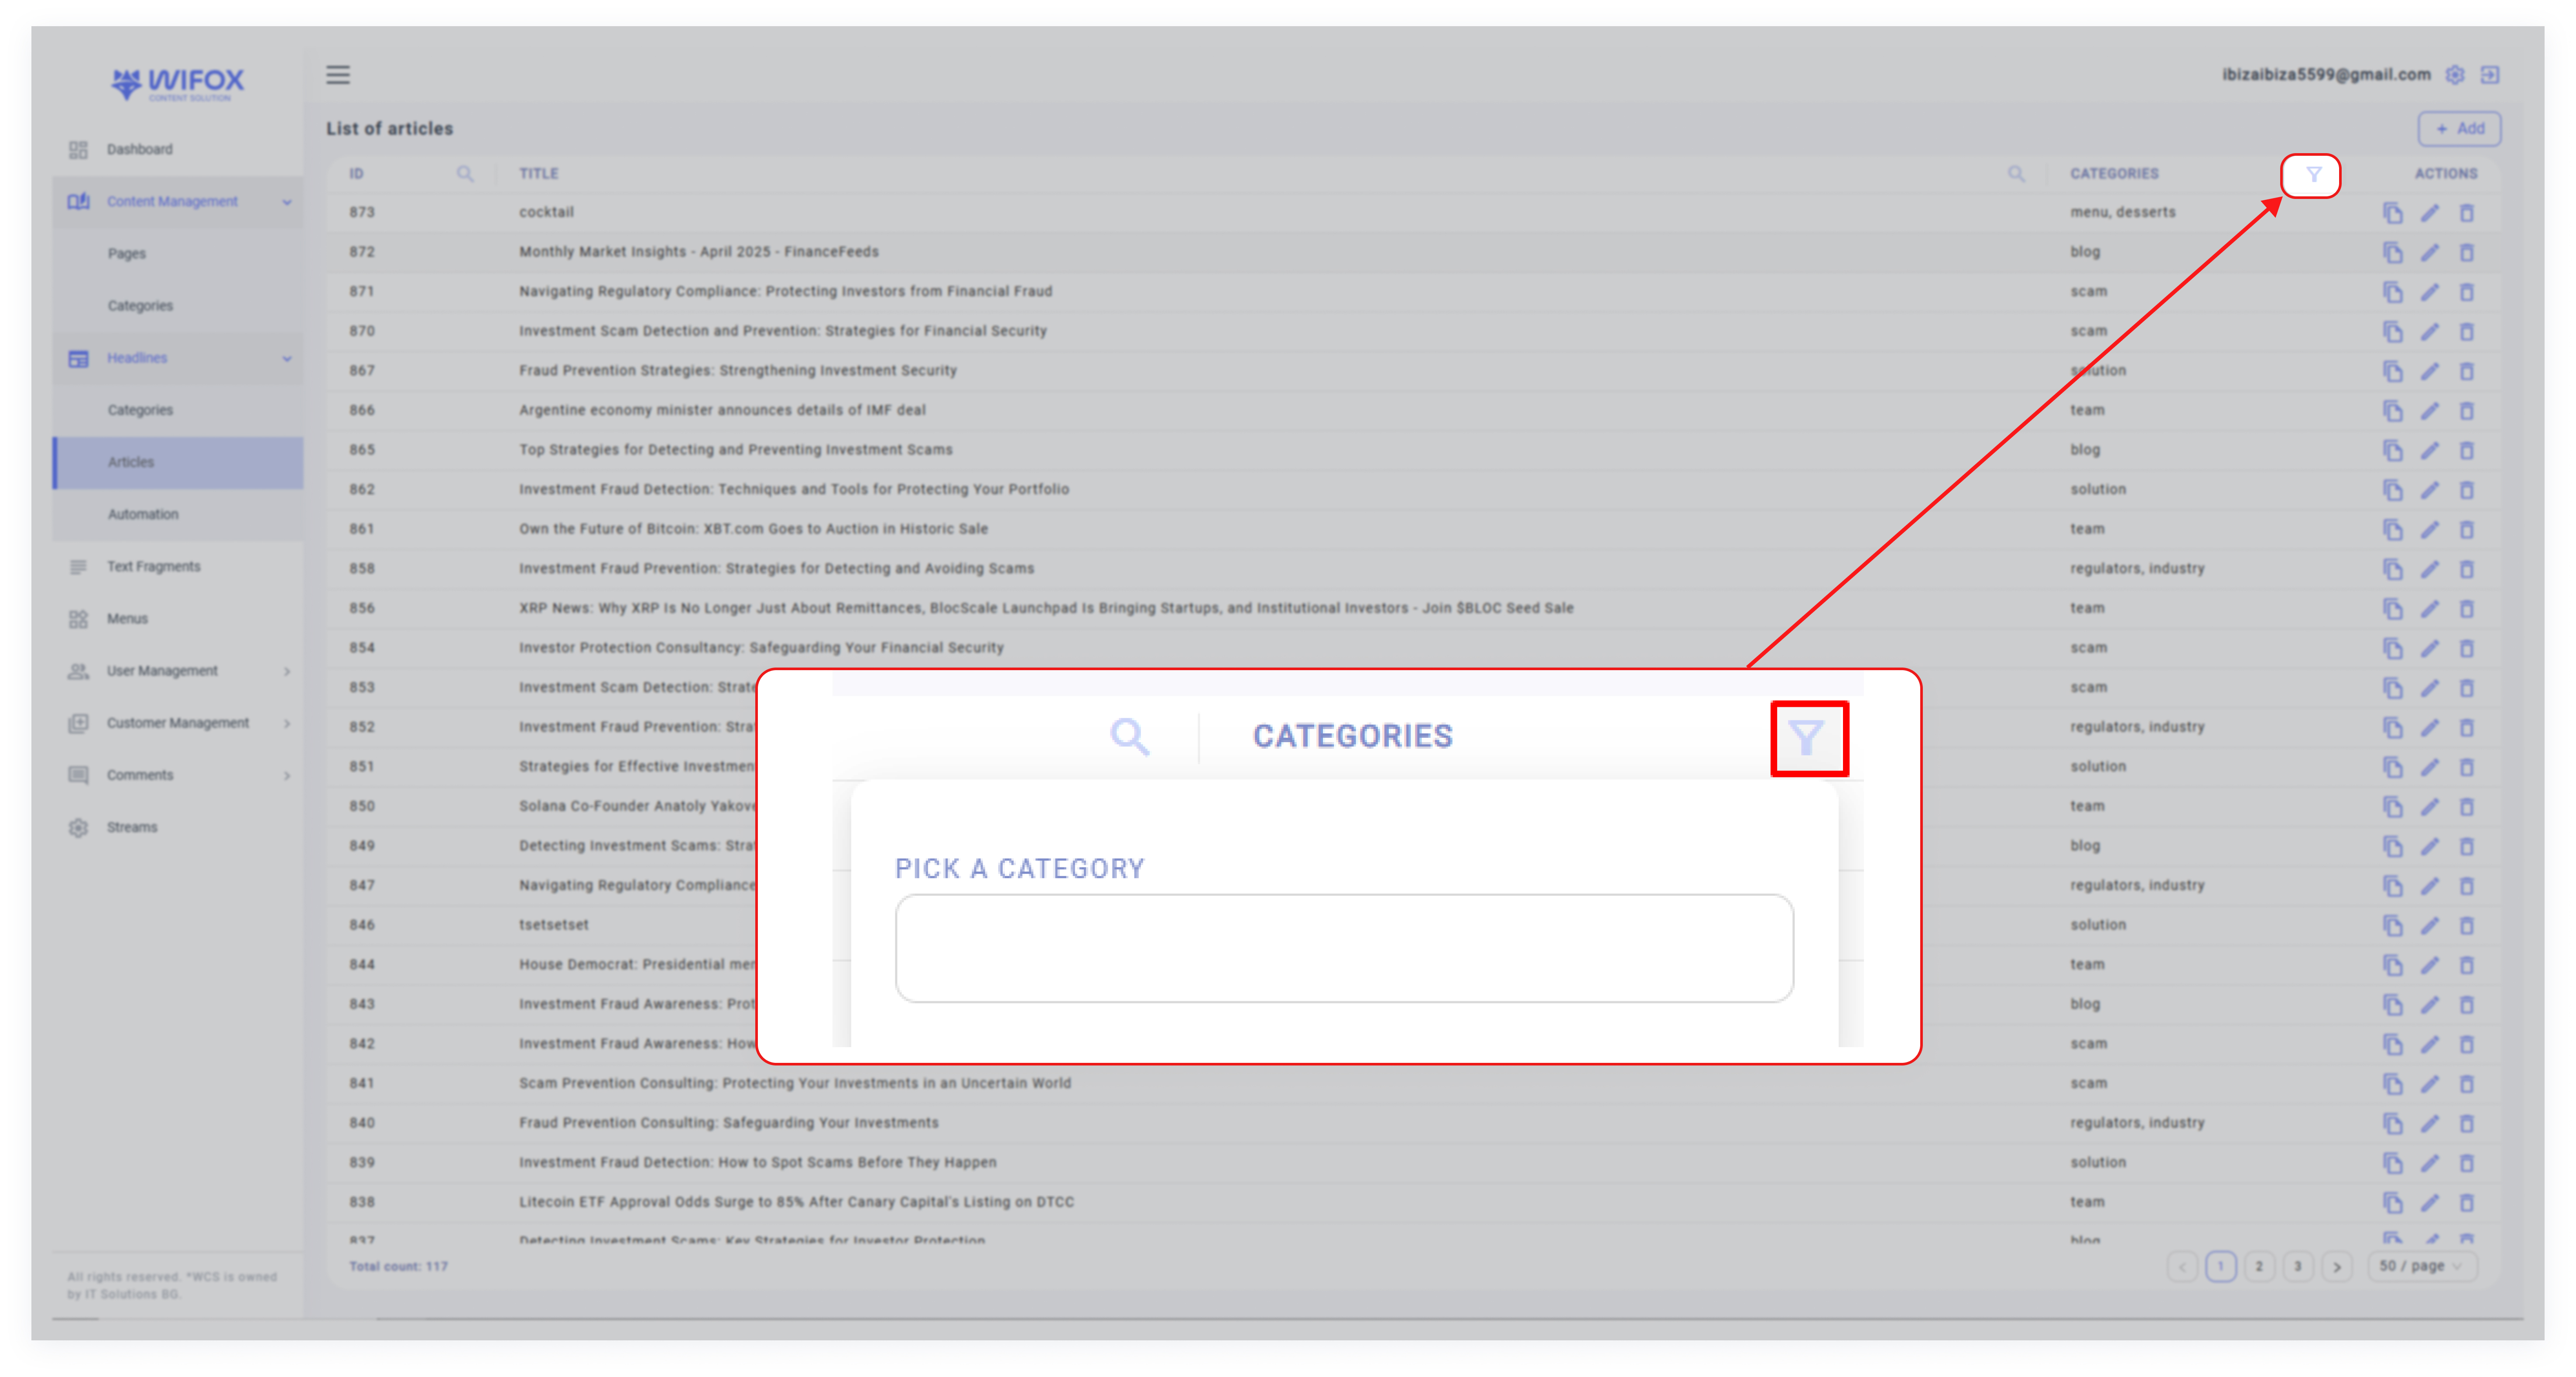
- Filter by Category: Use the category filter to display specific types of events, such as Regulators, Team, Industry, Scam, or License.
3. Event Details:
- ID: A unique identifier for each event (e.g., ID 39 for "Regulator 16").
- Title: The name or description of the event (e.g., "Regulator 16,").
- Category: Categorization of events for organization and relevance:
4. Actions for Each Event:
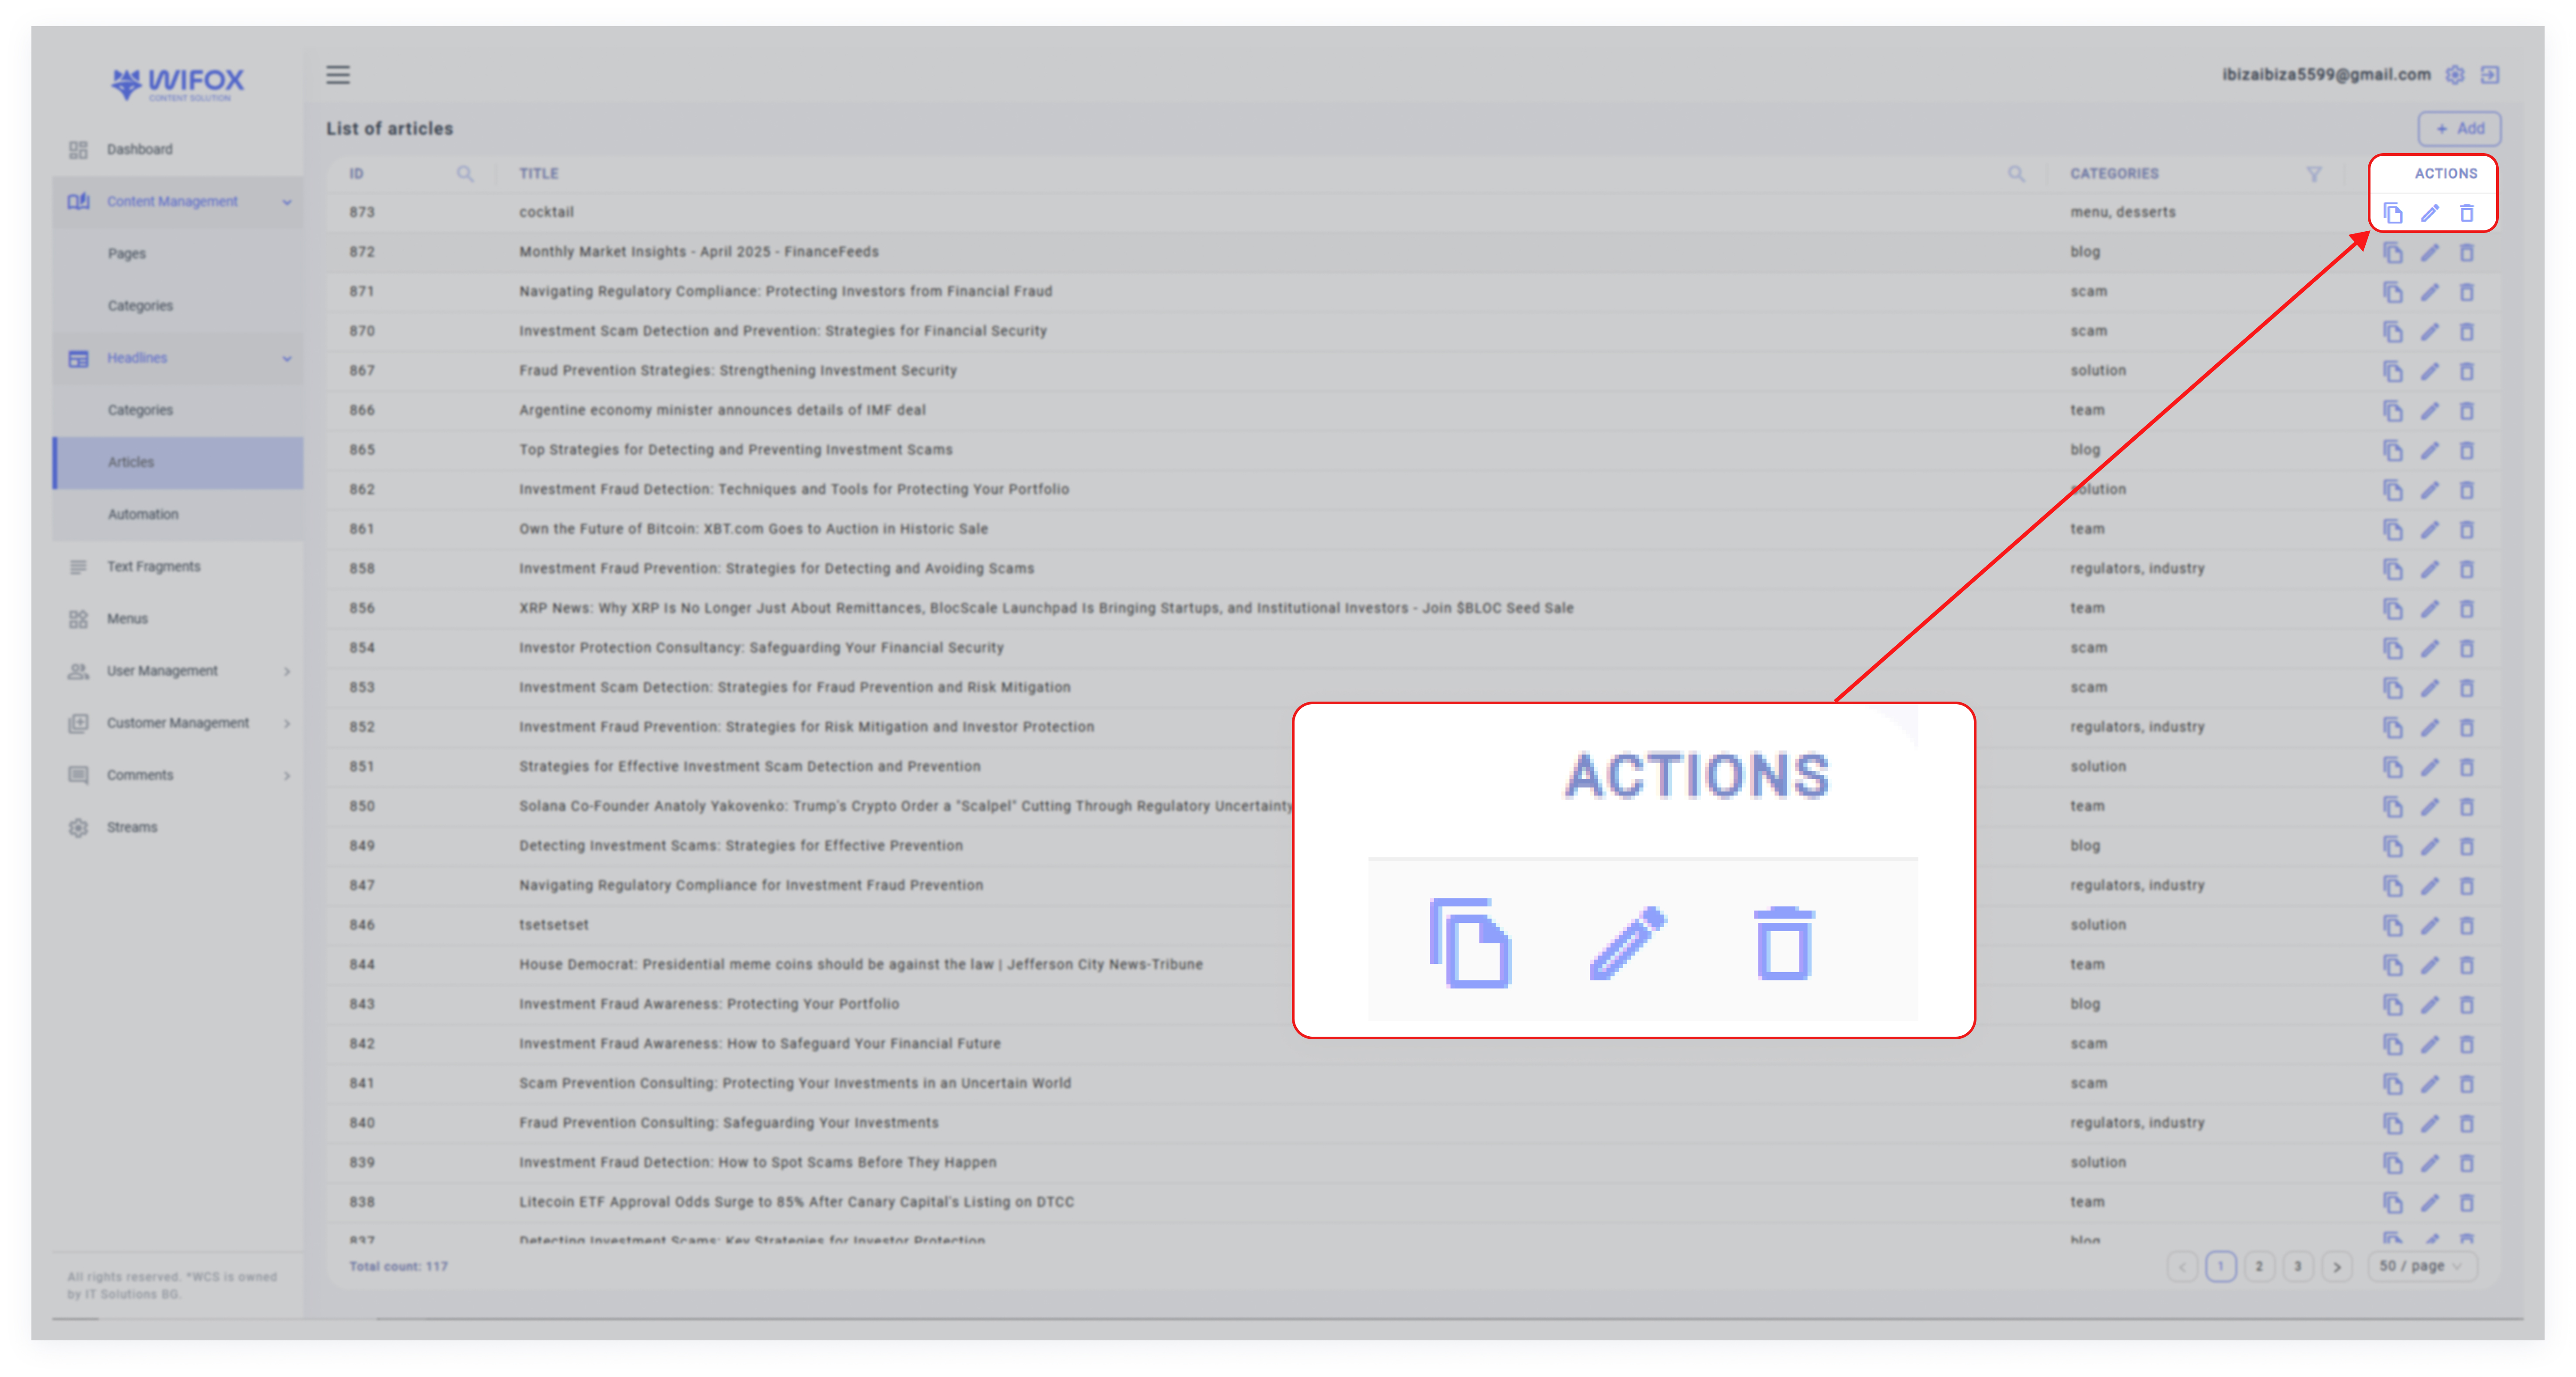
- Copy: Duplicate the event to create a similar entry.
- Edit: Modify the event's title, category, or details.
- Delete: Permanently remove the event from the system.
3. Use Cases
Use Case #1: Regulatory Updates
Track updates from regulators like "Regulator 16" and organize them under the "Regulators" category for easy reference. This ensures compliance-related information is readily available.
Use Case #2: Managing Licensing Events
Events such as "Baxia" and "AMarkets2" under the "License" category can help track new or updated licenses and related processes.
Use Case #3: Team Announcements
Use the "Team" category to highlight individual or group achievements, such as "Brendan Rice" or "Anthony Bulanovs."
Use Case #4: Scam Alerts
Create events under the "Scam" category to notify users about potential frauds or scams, such as "Lorem ipsum odor amet."
4. How to Add a New Event
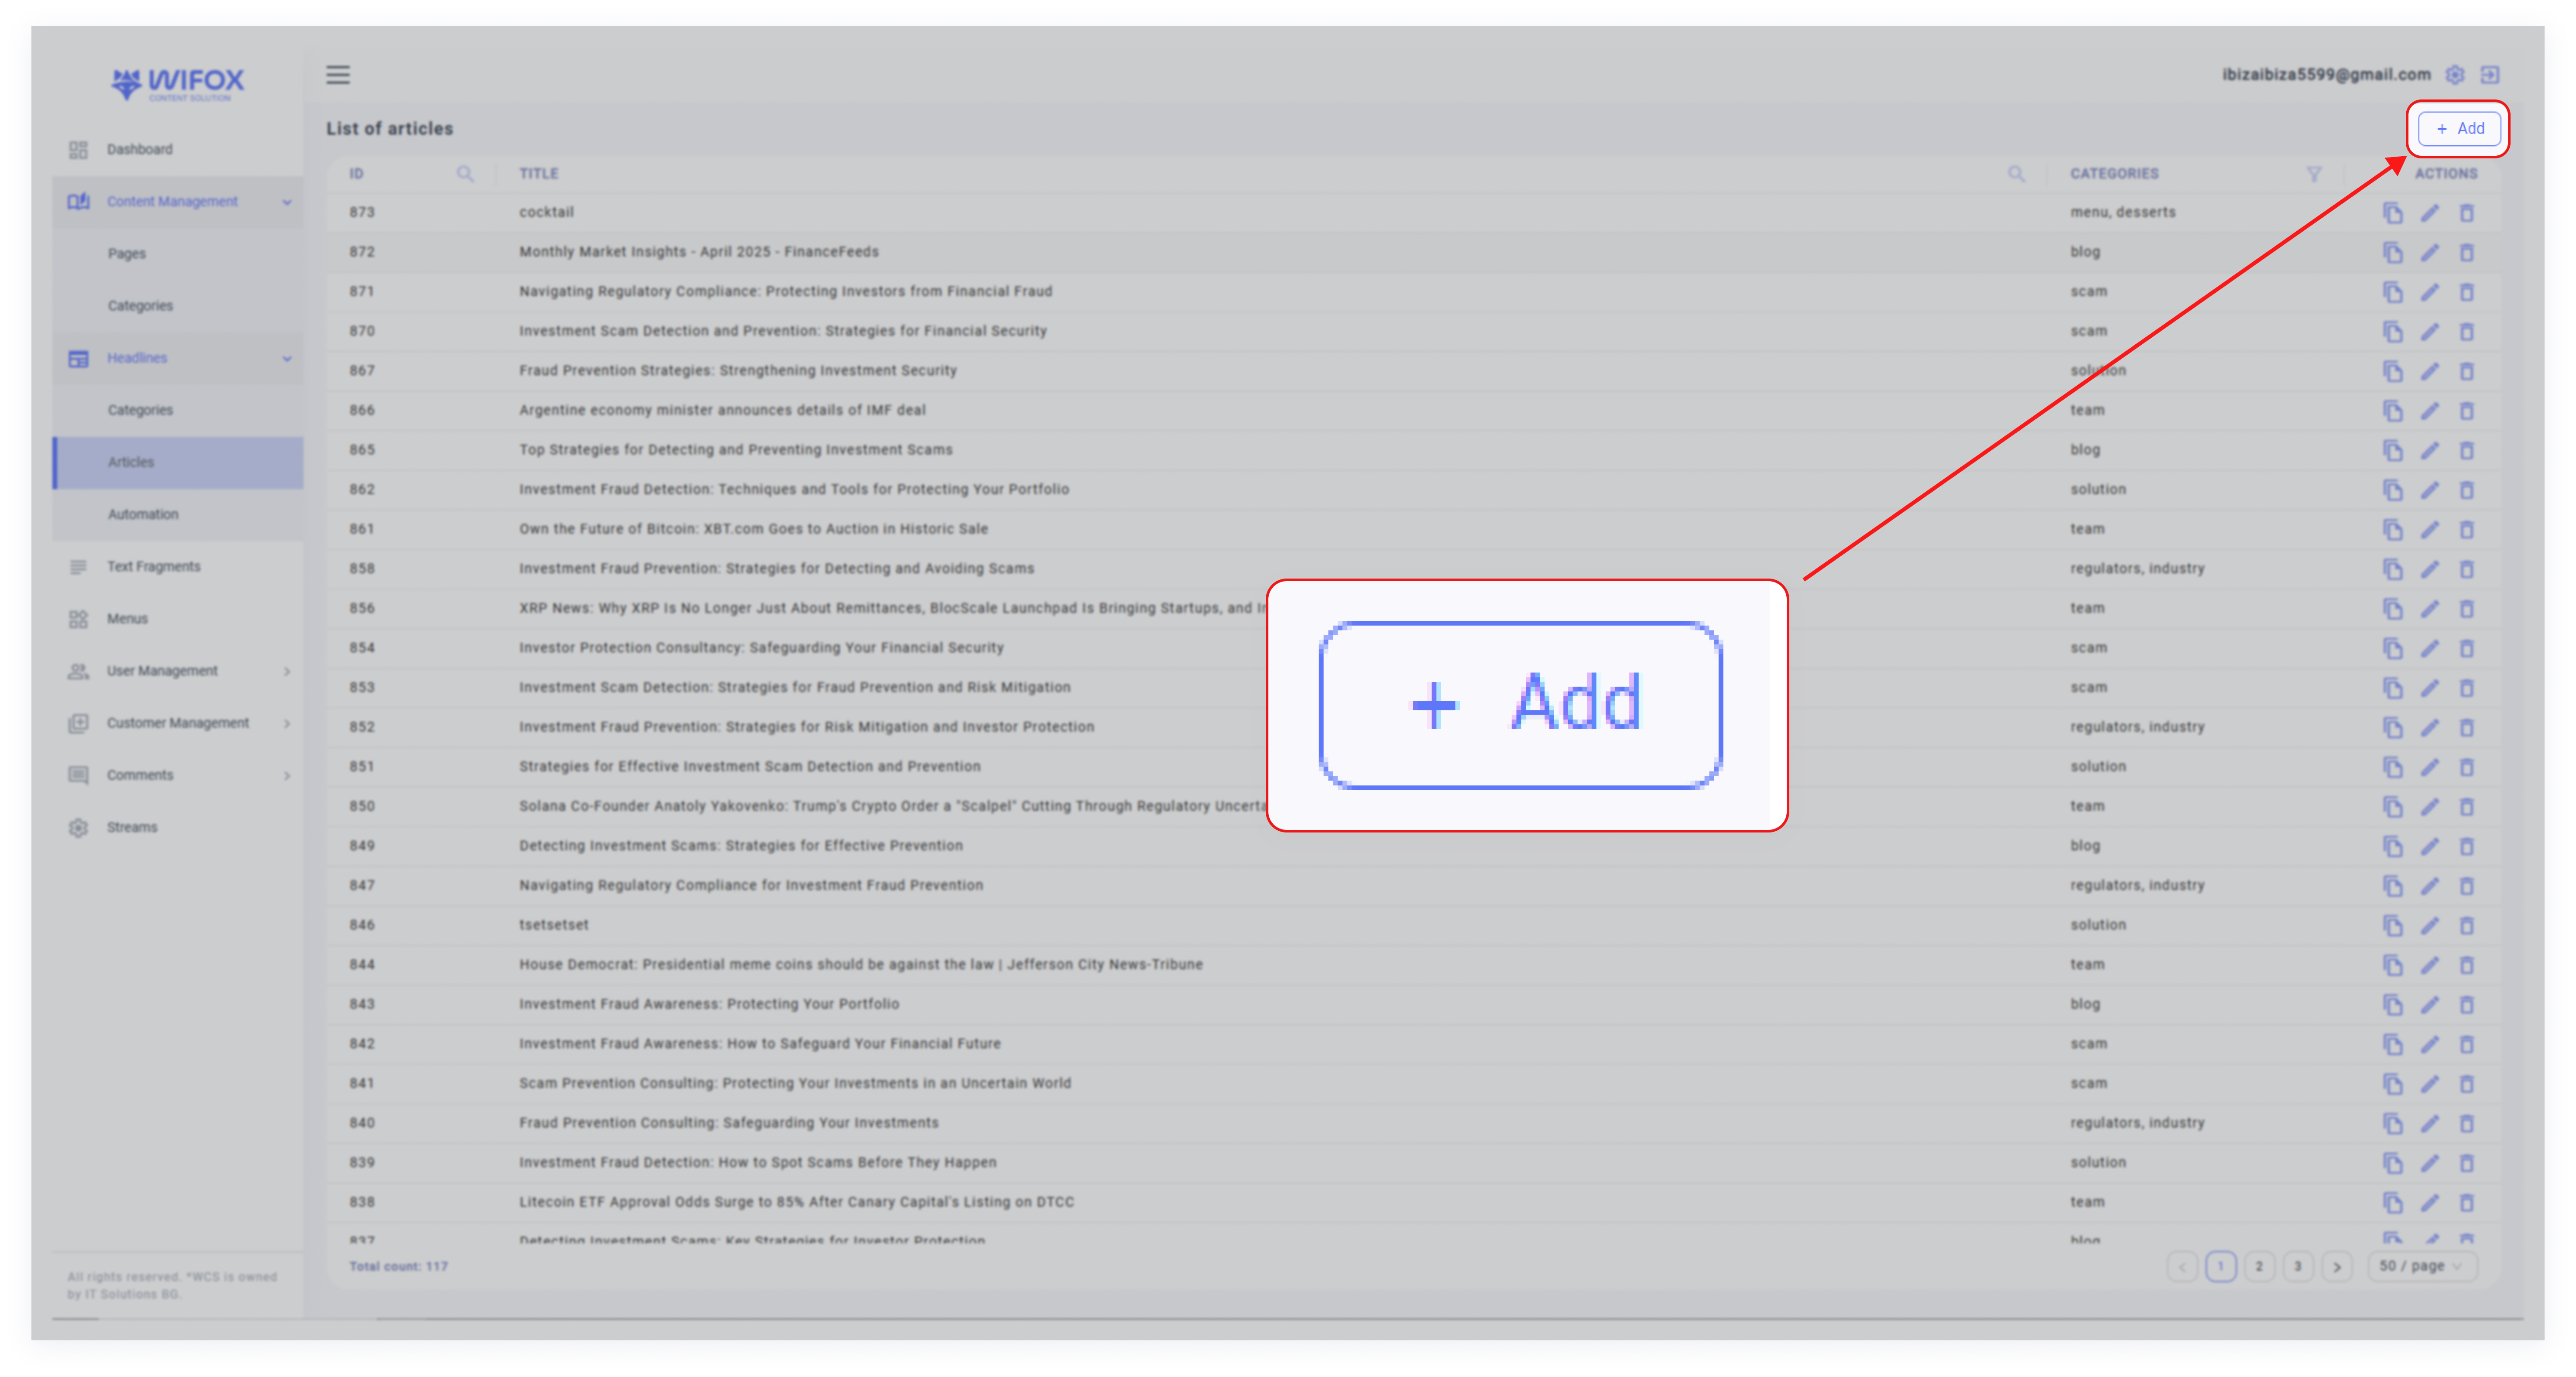
2. Enter Event Details: Fill in the following fields:
- Title: The name of the event (e.g., "Regulator 18").
- Category: Select the appropriate category for the event.
- Additional Attributes: Add any extra details related to the event.
3. Save: Click Submit to finalize the new event entry.
5. How to Edit an Event
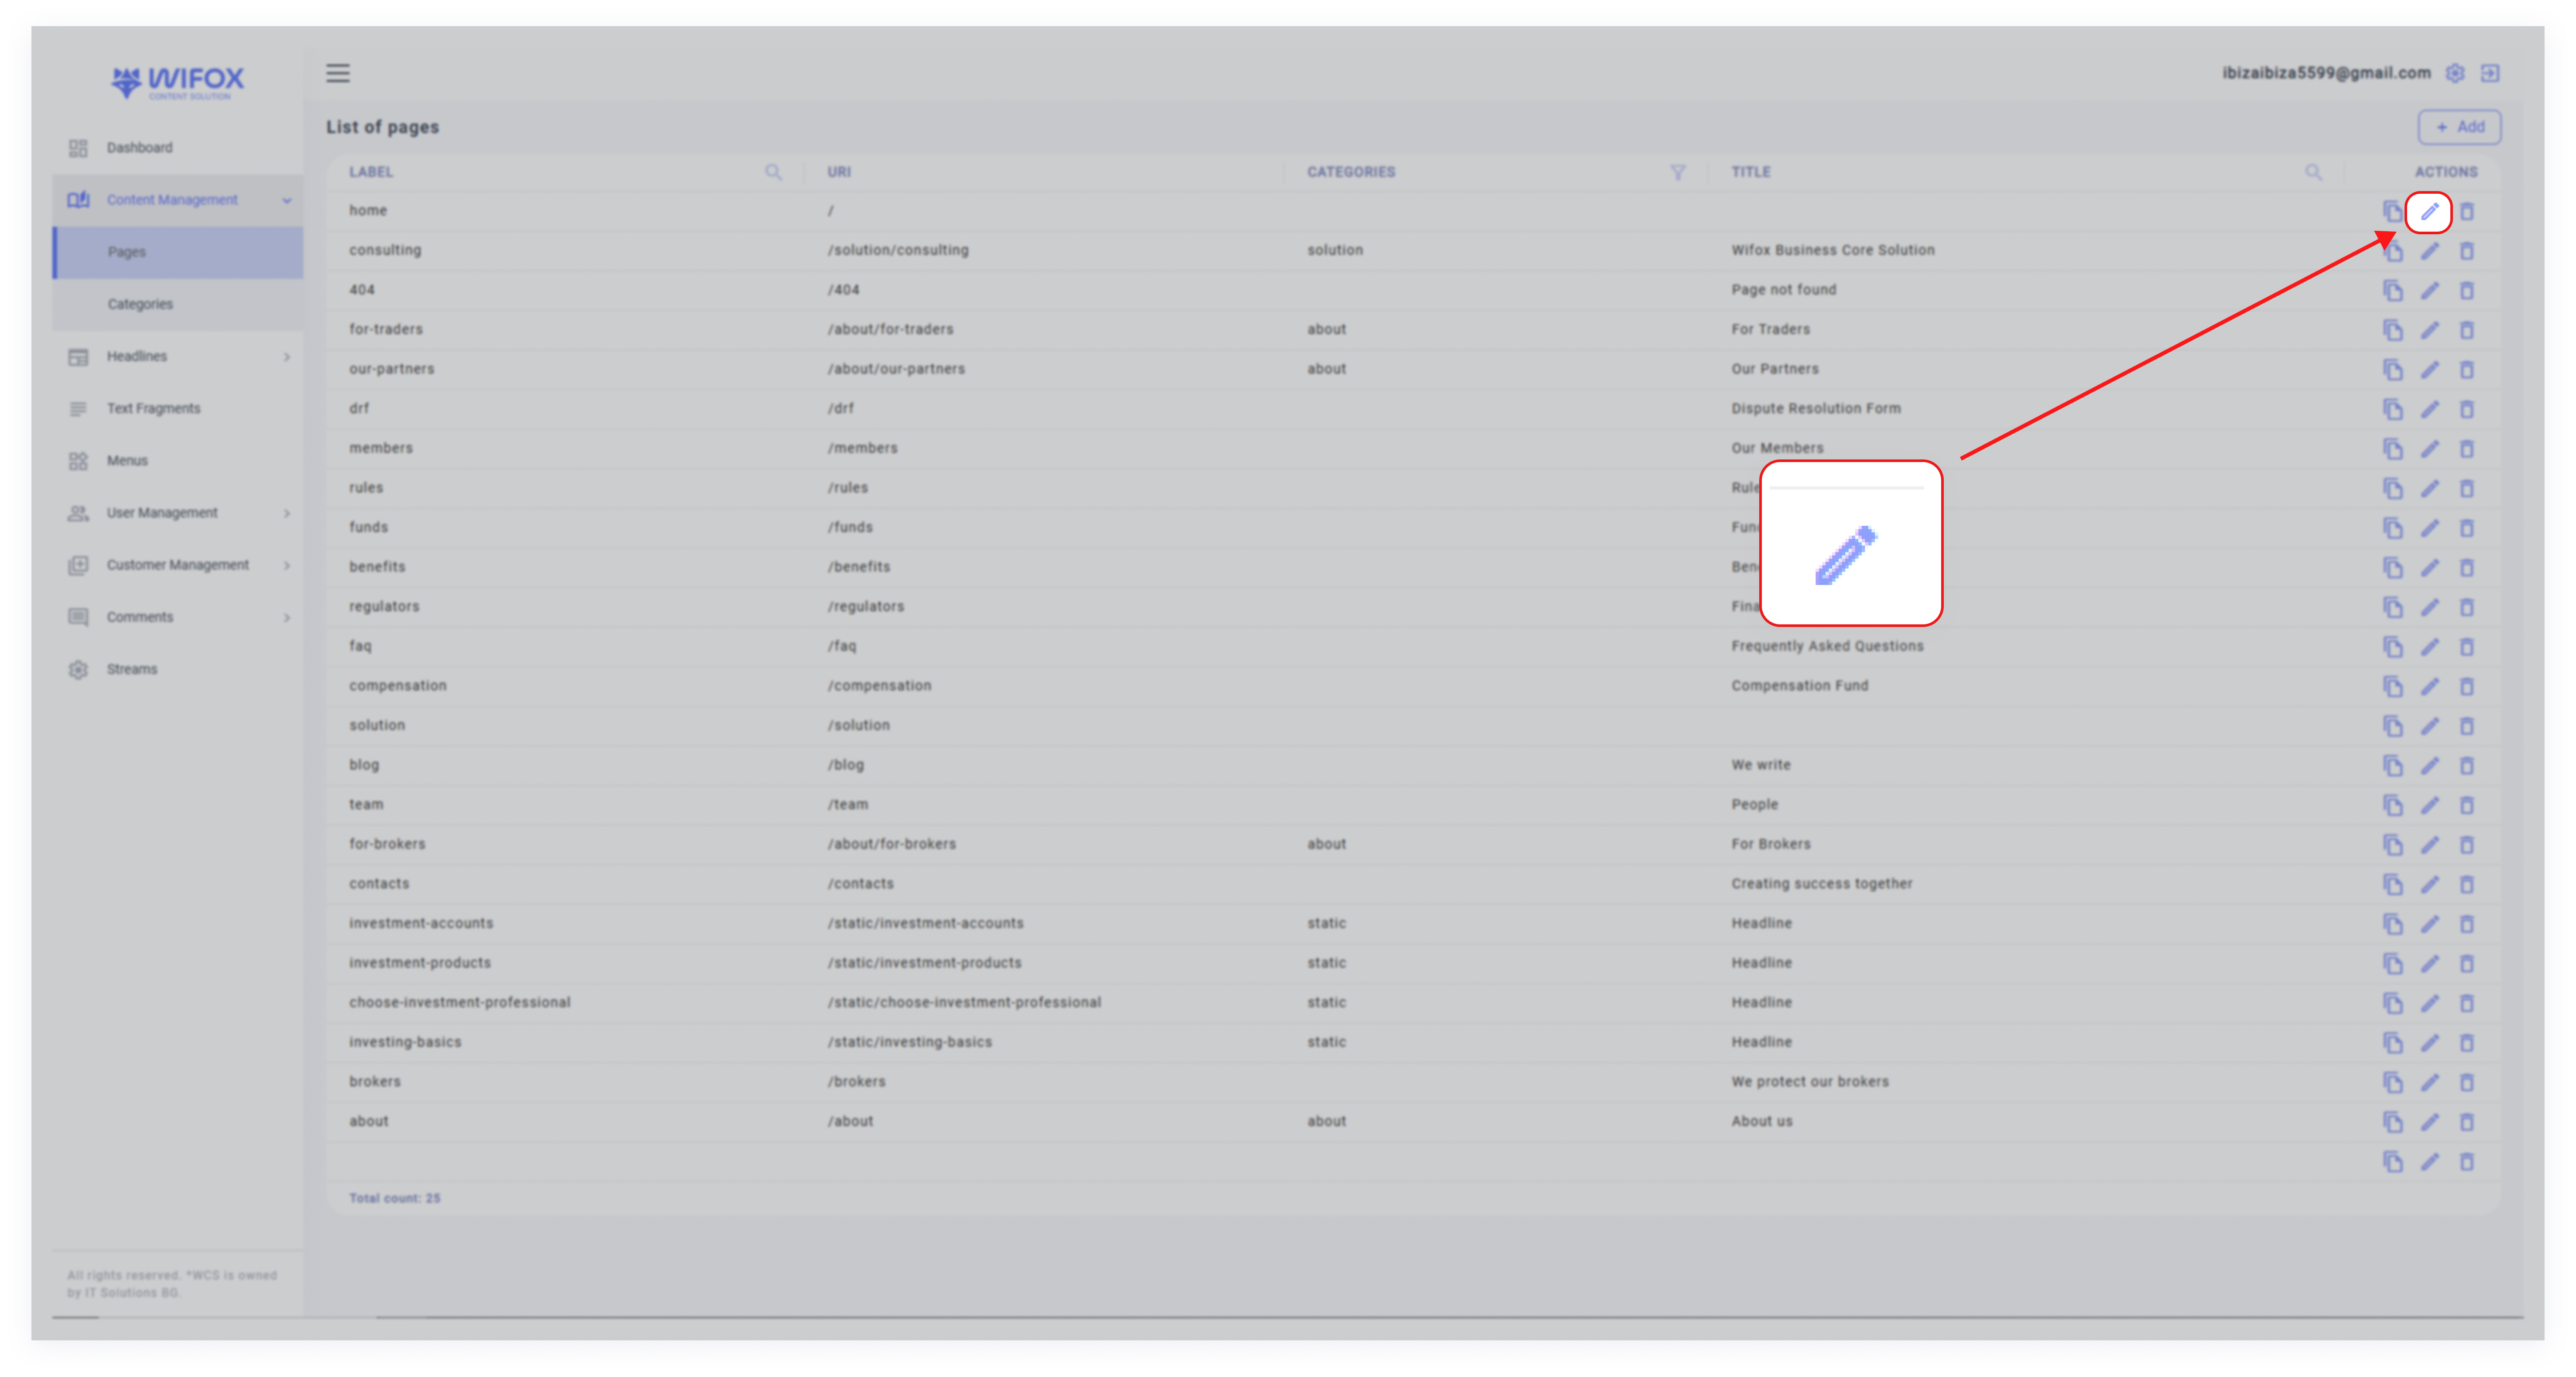
1. Locate the event in the list.
2. Click the Edit Icon next to the desired event.
3. Update the title, category, or other event details as needed.
4. Save the changes.
6. How to Delete an Event
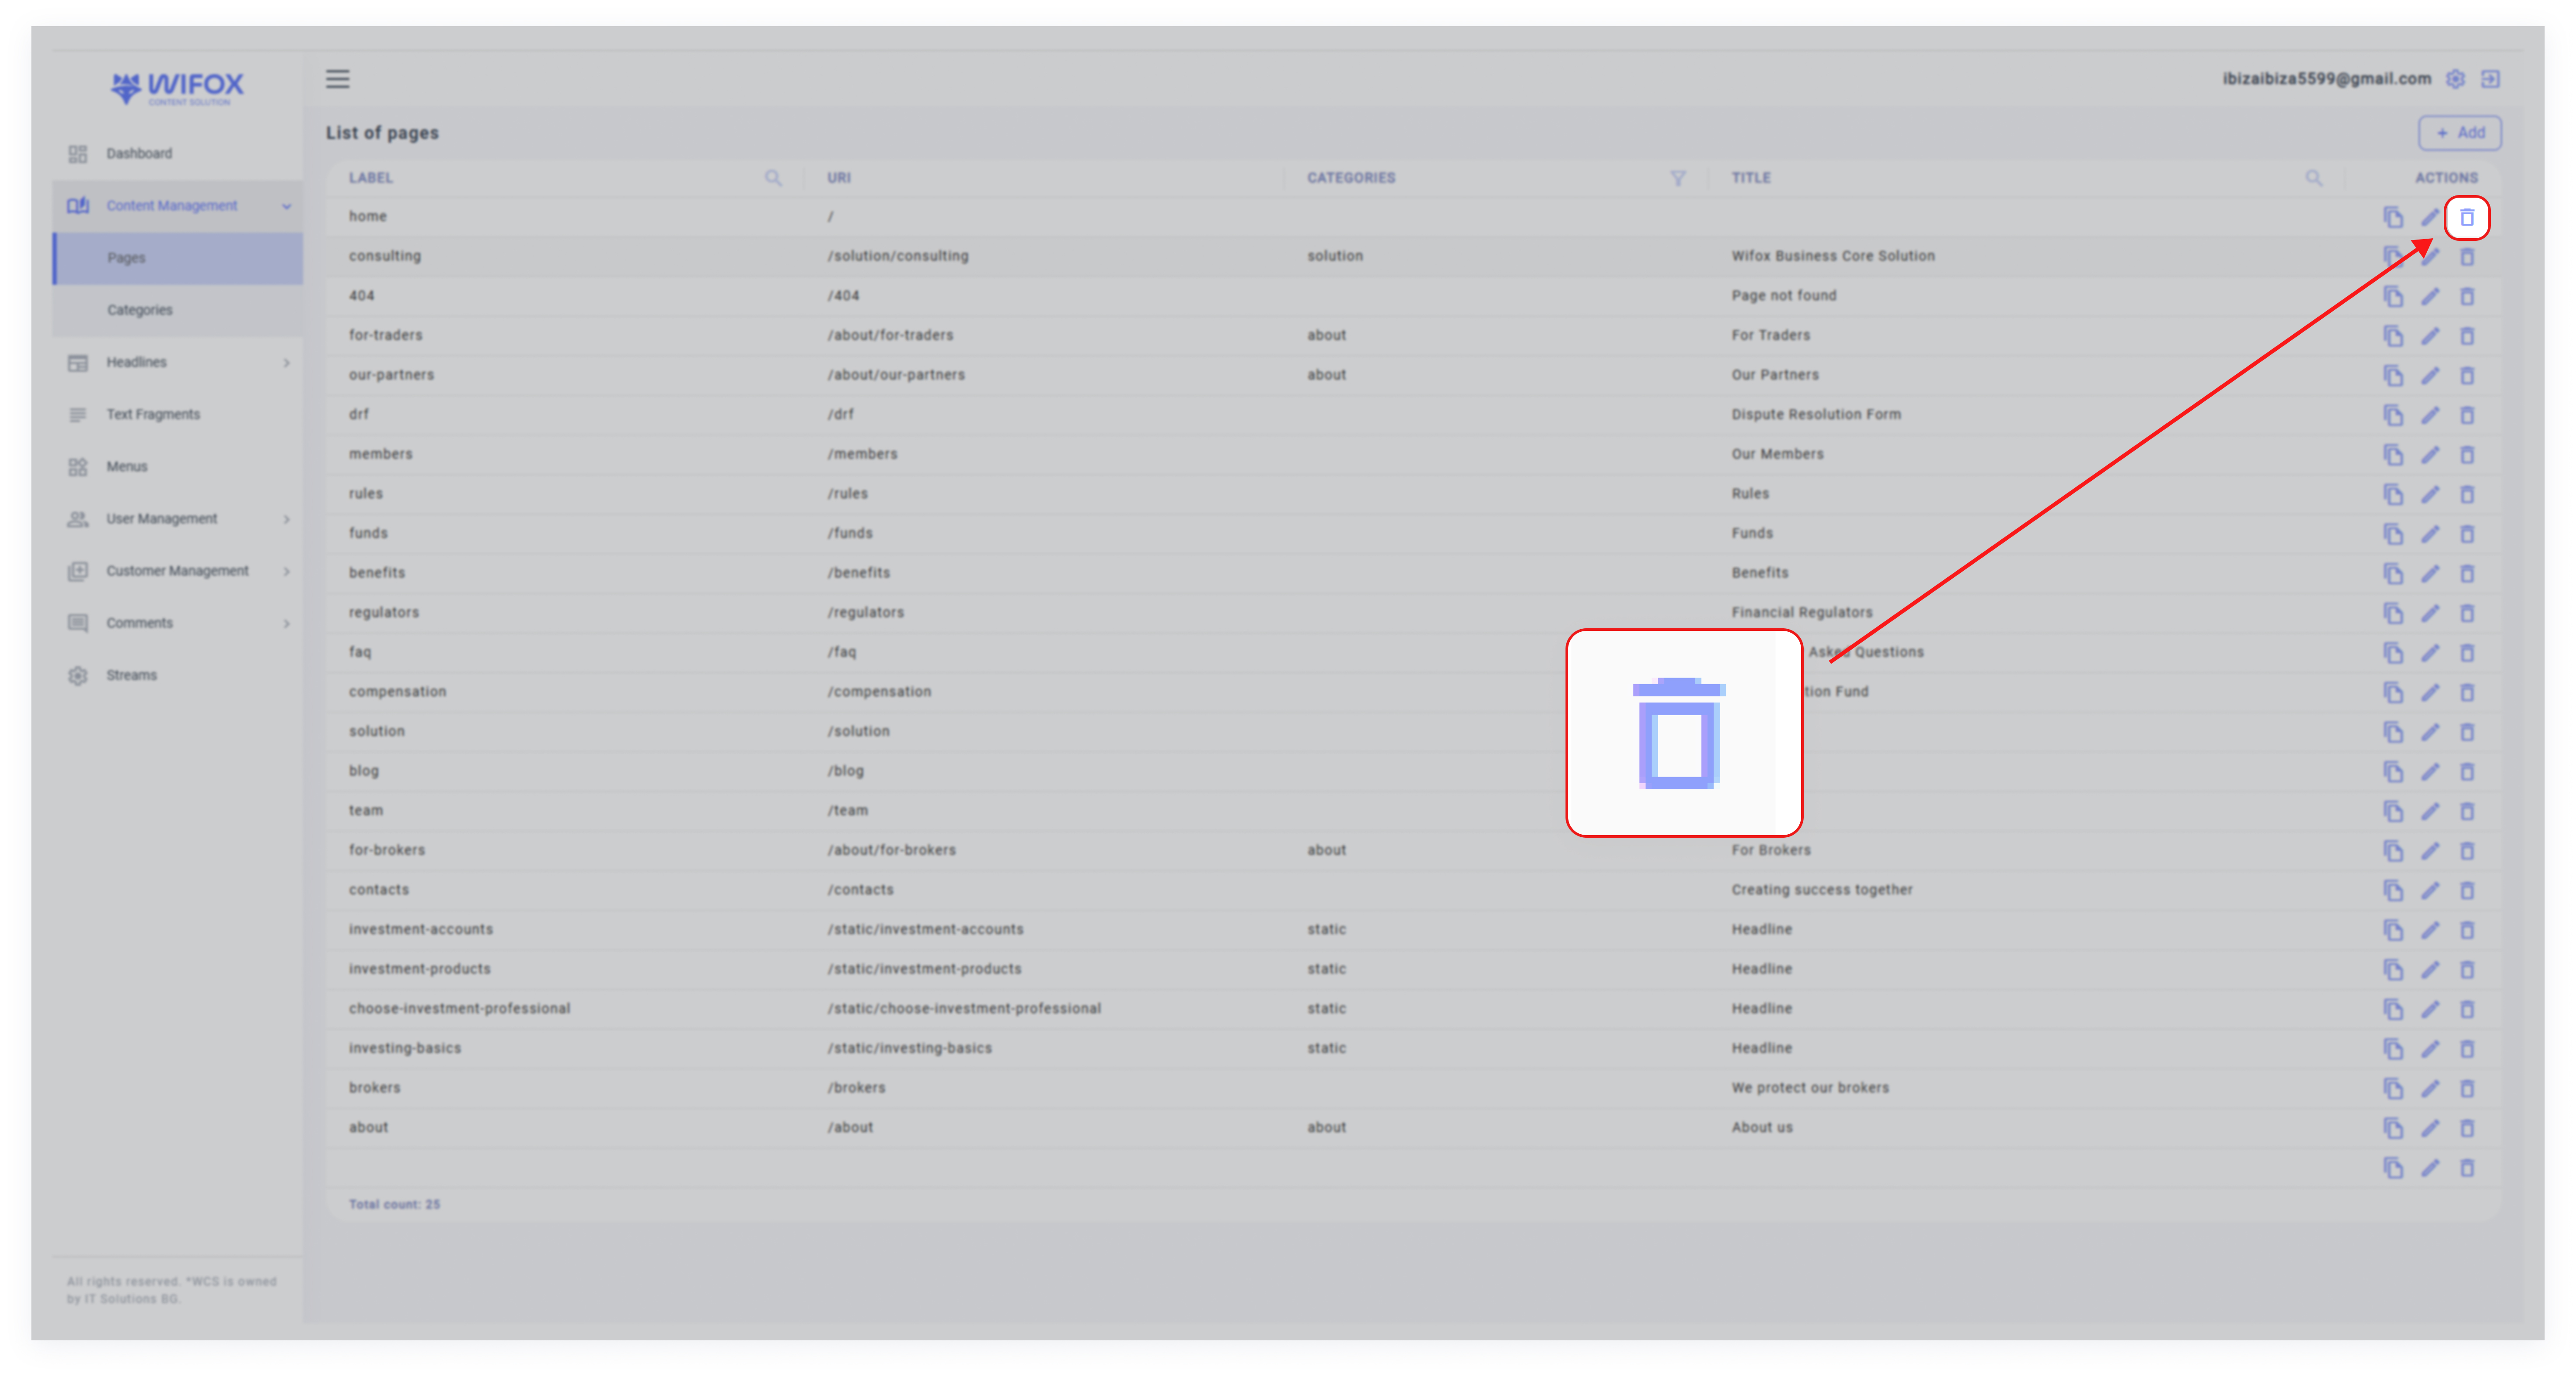
1. Locate the event in the list.
2. Click the Delete Icon in the "Actions" column.
3. Confirm the deletion.
Note: Deleted events cannot be recovered.
7. Tree of Event Categories: Overview
The Tree of Event Categories section in Wifox Business Content Solution is designed to help users efficiently organize and manage event categories. This structure provides a clear hierarchy, ensuring that all event-related information is easily accessible and well-organized.
Key Features of the Tree of Event Categories
1. View Categories
Displays a structured view of event categories, such as "Regulators," "Industry," or "Scam," along with their corresponding URLs.
The tree view helps users understand the categorization of events at a glance.
2. Add Categories
3. Edit Categories
Click the pencil icon to modify an existing category’s name, URL, or other details.
4. Delete Categories
Remove unnecessary categories by clicking the trash icon, keeping the structure relevant and concise.
8. Adding a New Event Category
1. Click the Add Button
In the Tree of Event Categories, click the + button to open the "Add Event Category" form.

2. Fill in Details
Provide the following information:
- Label: The name of the event category (e.g., "Licenses").
- URL: The category’s unique path for organizational purposes.
- Translation: Choose a preferred language (e.g., EN, PL, or DE) and either clone or translate content for multilingual support.
- Name: Add an optional name for further clarification.

3. Submit
After completing the form, click Submit to add the new category to the tree.
9. Editing an Event Category
1. Select the Category
Find the category in the tree and click the pencil icon to open the editing menu.

2. Update Information
Modify fields such as the label, URL, or language options.

3. Save Changes
Confirm the changes to update the category instantly.

10. Deleting an Event Category
1. Identify the Category
Locate the category you want to remove, such as "Industry," in the tree.

2. Delete the Category
Click the trash icon, confirm the action, and the category will be deleted from the tree.

Text Fragments
1. Text Fragments: Overview
The Text section in Wifox Business Content Solution is designed to manage textual content that is used across different parts of a website or platform. It acts as a repository for reusable text elements such as descriptions, headings, FAQs, and informational blurbs. This centralized structure ensures that text is consistent, easily accessible, and modifiable when necessary.
Each text entry is defined by a Label, a Title, and its associated Content. These texts can be quickly edited, duplicated, or deleted, providing a streamlined workflow for managing website copy.
The following actions are available in the Desks module:
2. Key Features
Key Features of the Text Section
- Labels: Unique identifiers for each text entry, making it easy to locate and reference specific content.

- Titles: Descriptive names for the text entries, providing a clear overview of their purpose or content.

- Actions:
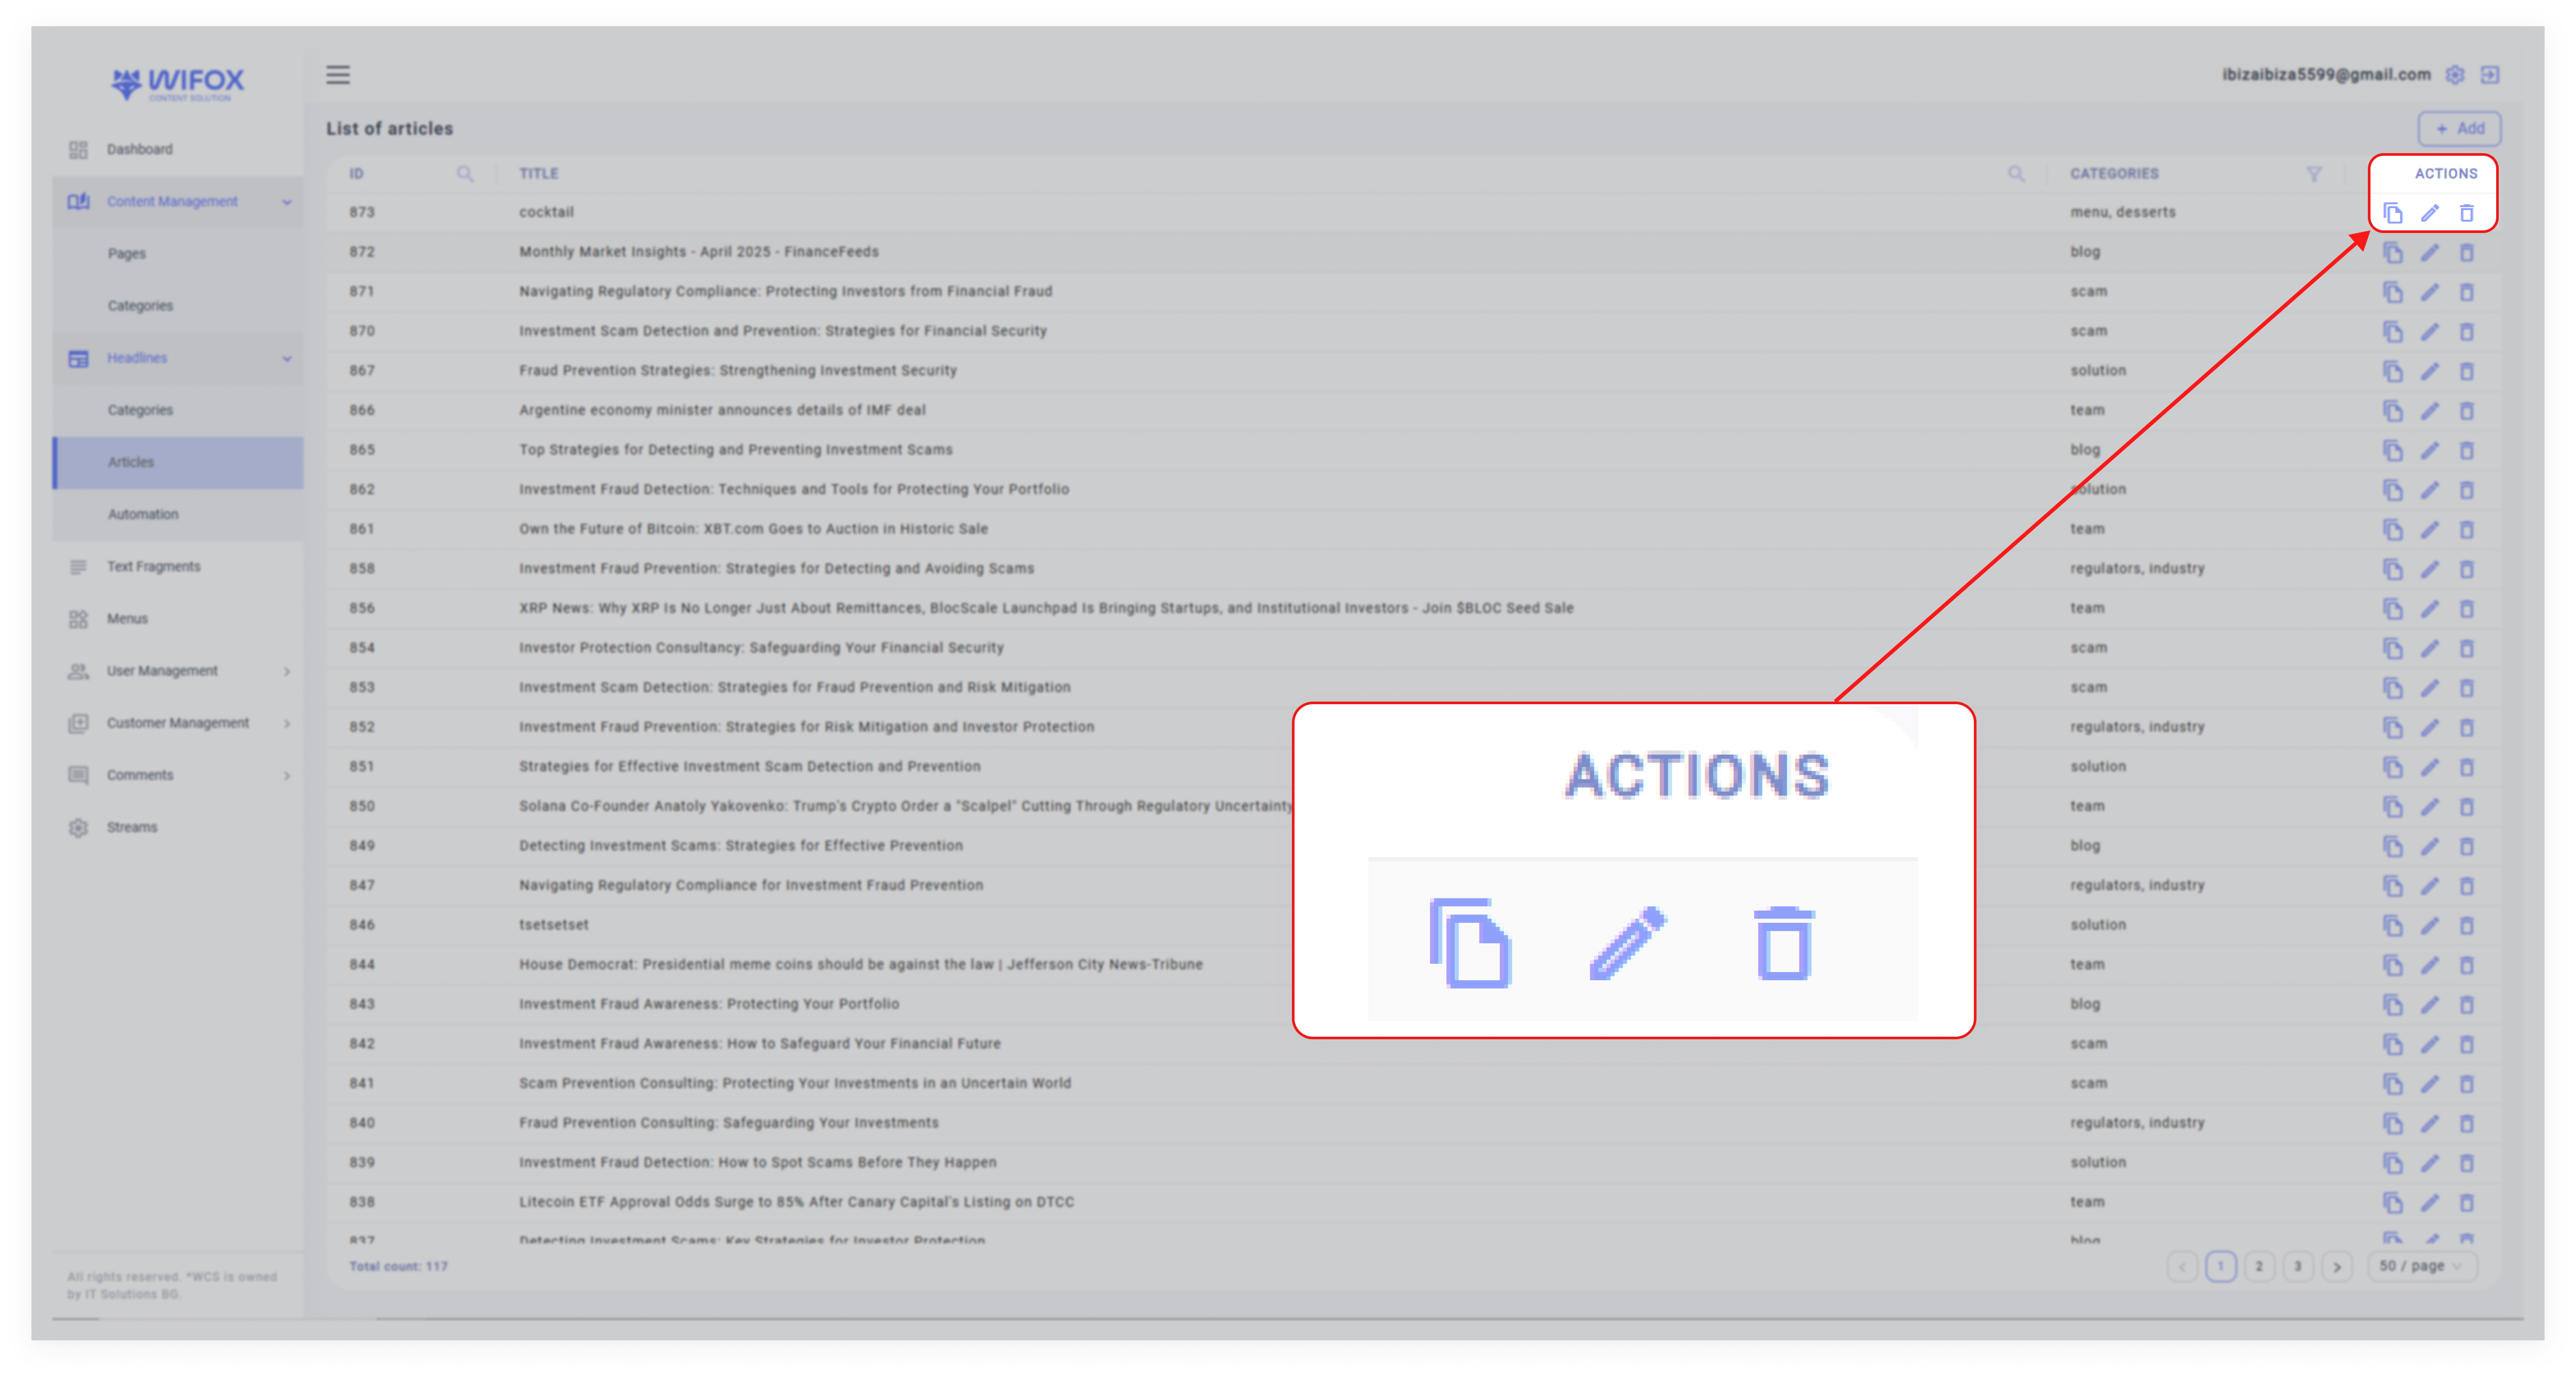
Each text entry has three actions associated with it:
- Copy: Duplicate the text entry for creating similar content.
- Edit: Modify the content of the text entry.
- Delete: Remove the text entry permanently.
3. Use Cases
Use Case #1: Consistent Website Messaging
The Text section can store and manage content used on multiple pages, ensuring uniform messaging across the website. For example, a company overview or tagline can be stored here and used on the homepage, about page, and landing pages.
Use Case #2: Quick Content Updates
Instead of manually updating text in multiple places, changes can be made directly in the Text section, and those updates will reflect wherever the text is used. For instance, if the "Overview of Financial Commission's Compensation Fund" description changes, the updated text is automatically applied across all relevant pages.
Use Case #3: FAQ Management
Store FAQ entries as individual text items. This approach makes it easy to add, edit, or remove frequently asked questions without navigating through page content.
4. How to Add a New Text Entry
1. Click the Add Button: In the top-right corner of the Text section, click the "Add" button.
2. Fill in the Details:
- Label: Enter a unique identifier for the text entry (e.g., "home-cta" for a call-to-action).
- Title: Provide a clear title describing the text (e.g., "Secure Your Investments with a Licensed Broker!").
- Content: Write the actual text that will be displayed on the website.
3. Save: Click Submit to add the new text entry to the repository.
5. How to Edit a Text Entry
1. Locate the text entry in the list view.
2. Click the Edit Icon next to the desired entry.
3. Modify the Label, Title, or Content as needed.
4. Click Save to apply the changes.
6. How to Delete a Text Entry
1. Locate the text entry in the list view.
2. Click the Delete Icon in the "Actions" column.
3. Confirm the deletion.
Note: Deleting a text entry will remove it from all associated locations on the website.
Menus
1. Menu Section: Overview
Key Features of the Menu Section
- Tree View Structure:
Displays menus in a tree format, allowing users to visualize the hierarchy of menu items and their submenus.

- Save and Add Options:
1. Save: Finalize changes made to the menu.
Hierarchical Organization: Each menu can contain multiple sections, like About, Explore, and Legal & Policies, which further include submenus linked to specific pages.
2. Use Cases
1. For Website Menus (Header, Footer, Additional Menus)
-
Use Case #1: Structuring the Main Menu
Businesses can organize their header navigation with primary categories such as Home, Services, Products, and Contact.
For e-commerce websites, group options like "Shop by Category," "New Arrivals," and "Sales" under dropdowns to streamline the shopping experience.
Example: A travel agency might include "Destinations," "Tours," and "Travel Tips" in its main menu.
-
Use Case #2: Customizing Footer Menus
Add links to secondary content, such as Terms & Conditions, Privacy Policy, Careers, and FAQ, in the footer menu.
This keeps the main navigation clean while ensuring users can still find crucial resources.
Example: A tech company could include "Investor Relations" and "Press Releases" in the footer.
-
Use Case #3: Organizing Additional Menus
Example: A non-profit organization might create an “About Menu” with links like "Our Mission," "Leadership," and "Impact Stories."
2. For Shop Categories and Breadcrumbs
-
Use Case #4: Creating Shop Categories
Categorize products by type, purpose, or brand using menus that integrate seamlessly with e-commerce platforms.
Example: A fashion retailer could group products under "Men's Wear," "Women's Wear," and "Accessories."
-
Use Case #5: Managing Breadcrumb Navigation
Use hierarchical menus to auto-generate breadcrumbs for better user navigation and SEO benefits.
Example: In an electronics store, breadcrumbs might display: Home > Electronics > Smartphones > Brand Name.
3. For User-Specific Navigation
-
Use Case #6: Personalized Menus for Different User Groups
Example: A financial service platform can have separate menus for "Individual Investors" and "Corporate Clients," each featuring tailored resources.
-
Use Case #7: Supporting Multilingual Websites
Example: A global news website might offer menus in English, Spanish, and French, each localized for regional content.
3. How to Add a New Menu or Menu Item
1. Click Add: Click the "+" button at the top-right of the Menu section.

2. Enter Details:

- Label: Provide a label for the menu or item (e.g., "Contact Us").
- URL: Enter the URL where the menu item should link (e.g., /contact-us).
- Parent Menu: If adding a submenu, select the parent menu (e.g., add "Contact Us" under "Legal & Policies").
3. Save: Click Submit to apply changes.
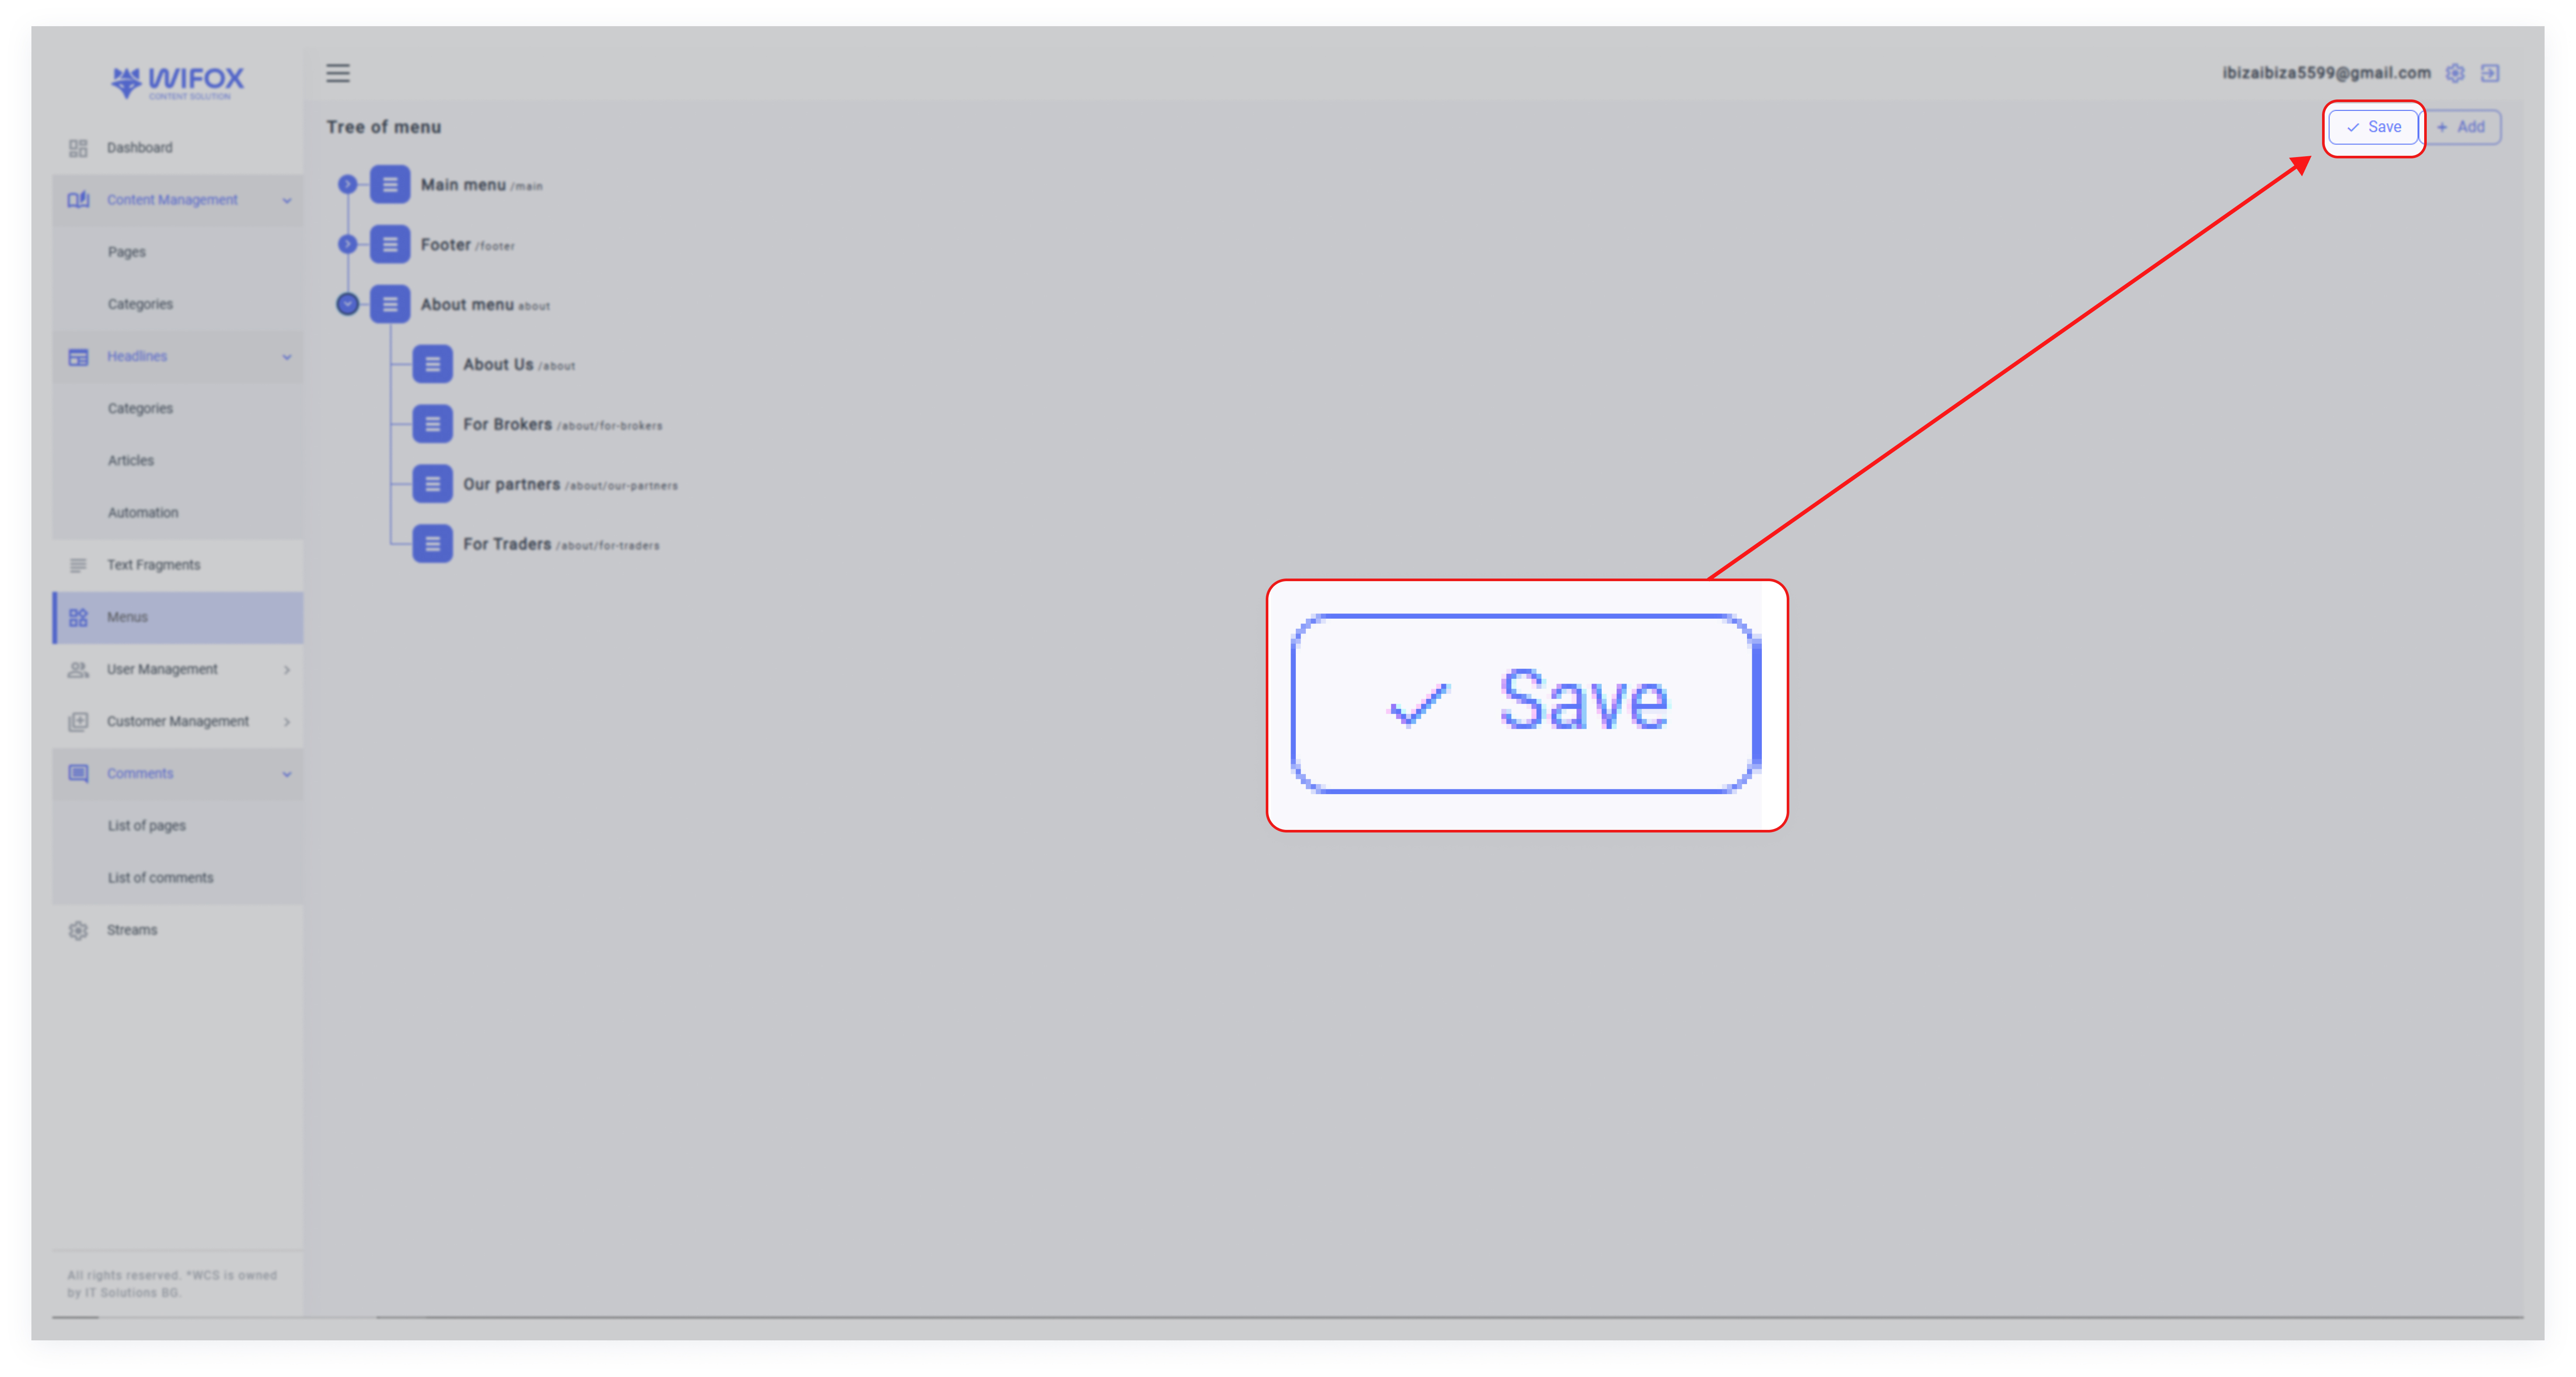
4. How to Edit or Delete a Menu Item
2. Edit: Click the Edit Icon (Pencil) to update the label or URL of the menu item.

3. Delete: Click the Delete Icon to remove the menu or submenu.
User Management
1. User Management: Overview
The User Management section in Wifox Business Content Solution provides tools for managing both user accounts and role-based permissions. In the Users section, administrators can create, edit, and activate/deactivate user accounts, each tied to a specific role. The Roles section allows for defining custom access levels using Read-Only (RO) or Read-Write (RW) permissions across different modules, ensuring secure and tailored access control for every team member.
2. Users List
The Users List section in Wifox Business Content Solution is designed to manage users who need access to the system. Each user is assigned a role (created in the Roles section), which defines their permissions and access levels. This section is where administrators can create, edit, and manage users' accounts, ensuring proper roles and activity status are set for system usage.
Use Case Example
An administrator creates a new user named "Developer" with the role of Developer, providing their email and setting a secure password. Later, the admin updates the user’s name to "Lead Developer" and toggles the Active checkbox to ensure the user has access to the system.
Key Features of the Users List
1. User Creation
Create new users with specific roles, names, email addresses, and passwords.
Ensure the user is set to Active status to allow system access.
2. Role Assignment
Assign users a role that defines their permissions. Roles are either pre-existing or custom-created in the Roles section.
3. Editing User Details
Update user details such as name, email, password, and assigned roles.
4. User Activity Management
Toggle the Active checkbox to enable or disable user access to the system.
How to Add a New User
Access the Users List section in Wifox Business Content Solution .
2. Fill in User Details

Name: Enter the user’s full name (e.g., "Developer").
Email: Provide the user’s email address.
Password: Set a secure password for the user’s account.
Role: Select a role from the dropdown menu that defines the user's access level.
Active: Check the Active box to grant system access to the user.
3. Submit
Click Submit to save the new user. The user is now added to the system and can log in.
How to Edit a User
1. Select the User
Locate the user in the Users List and click the pencil icon to open the editing menu.
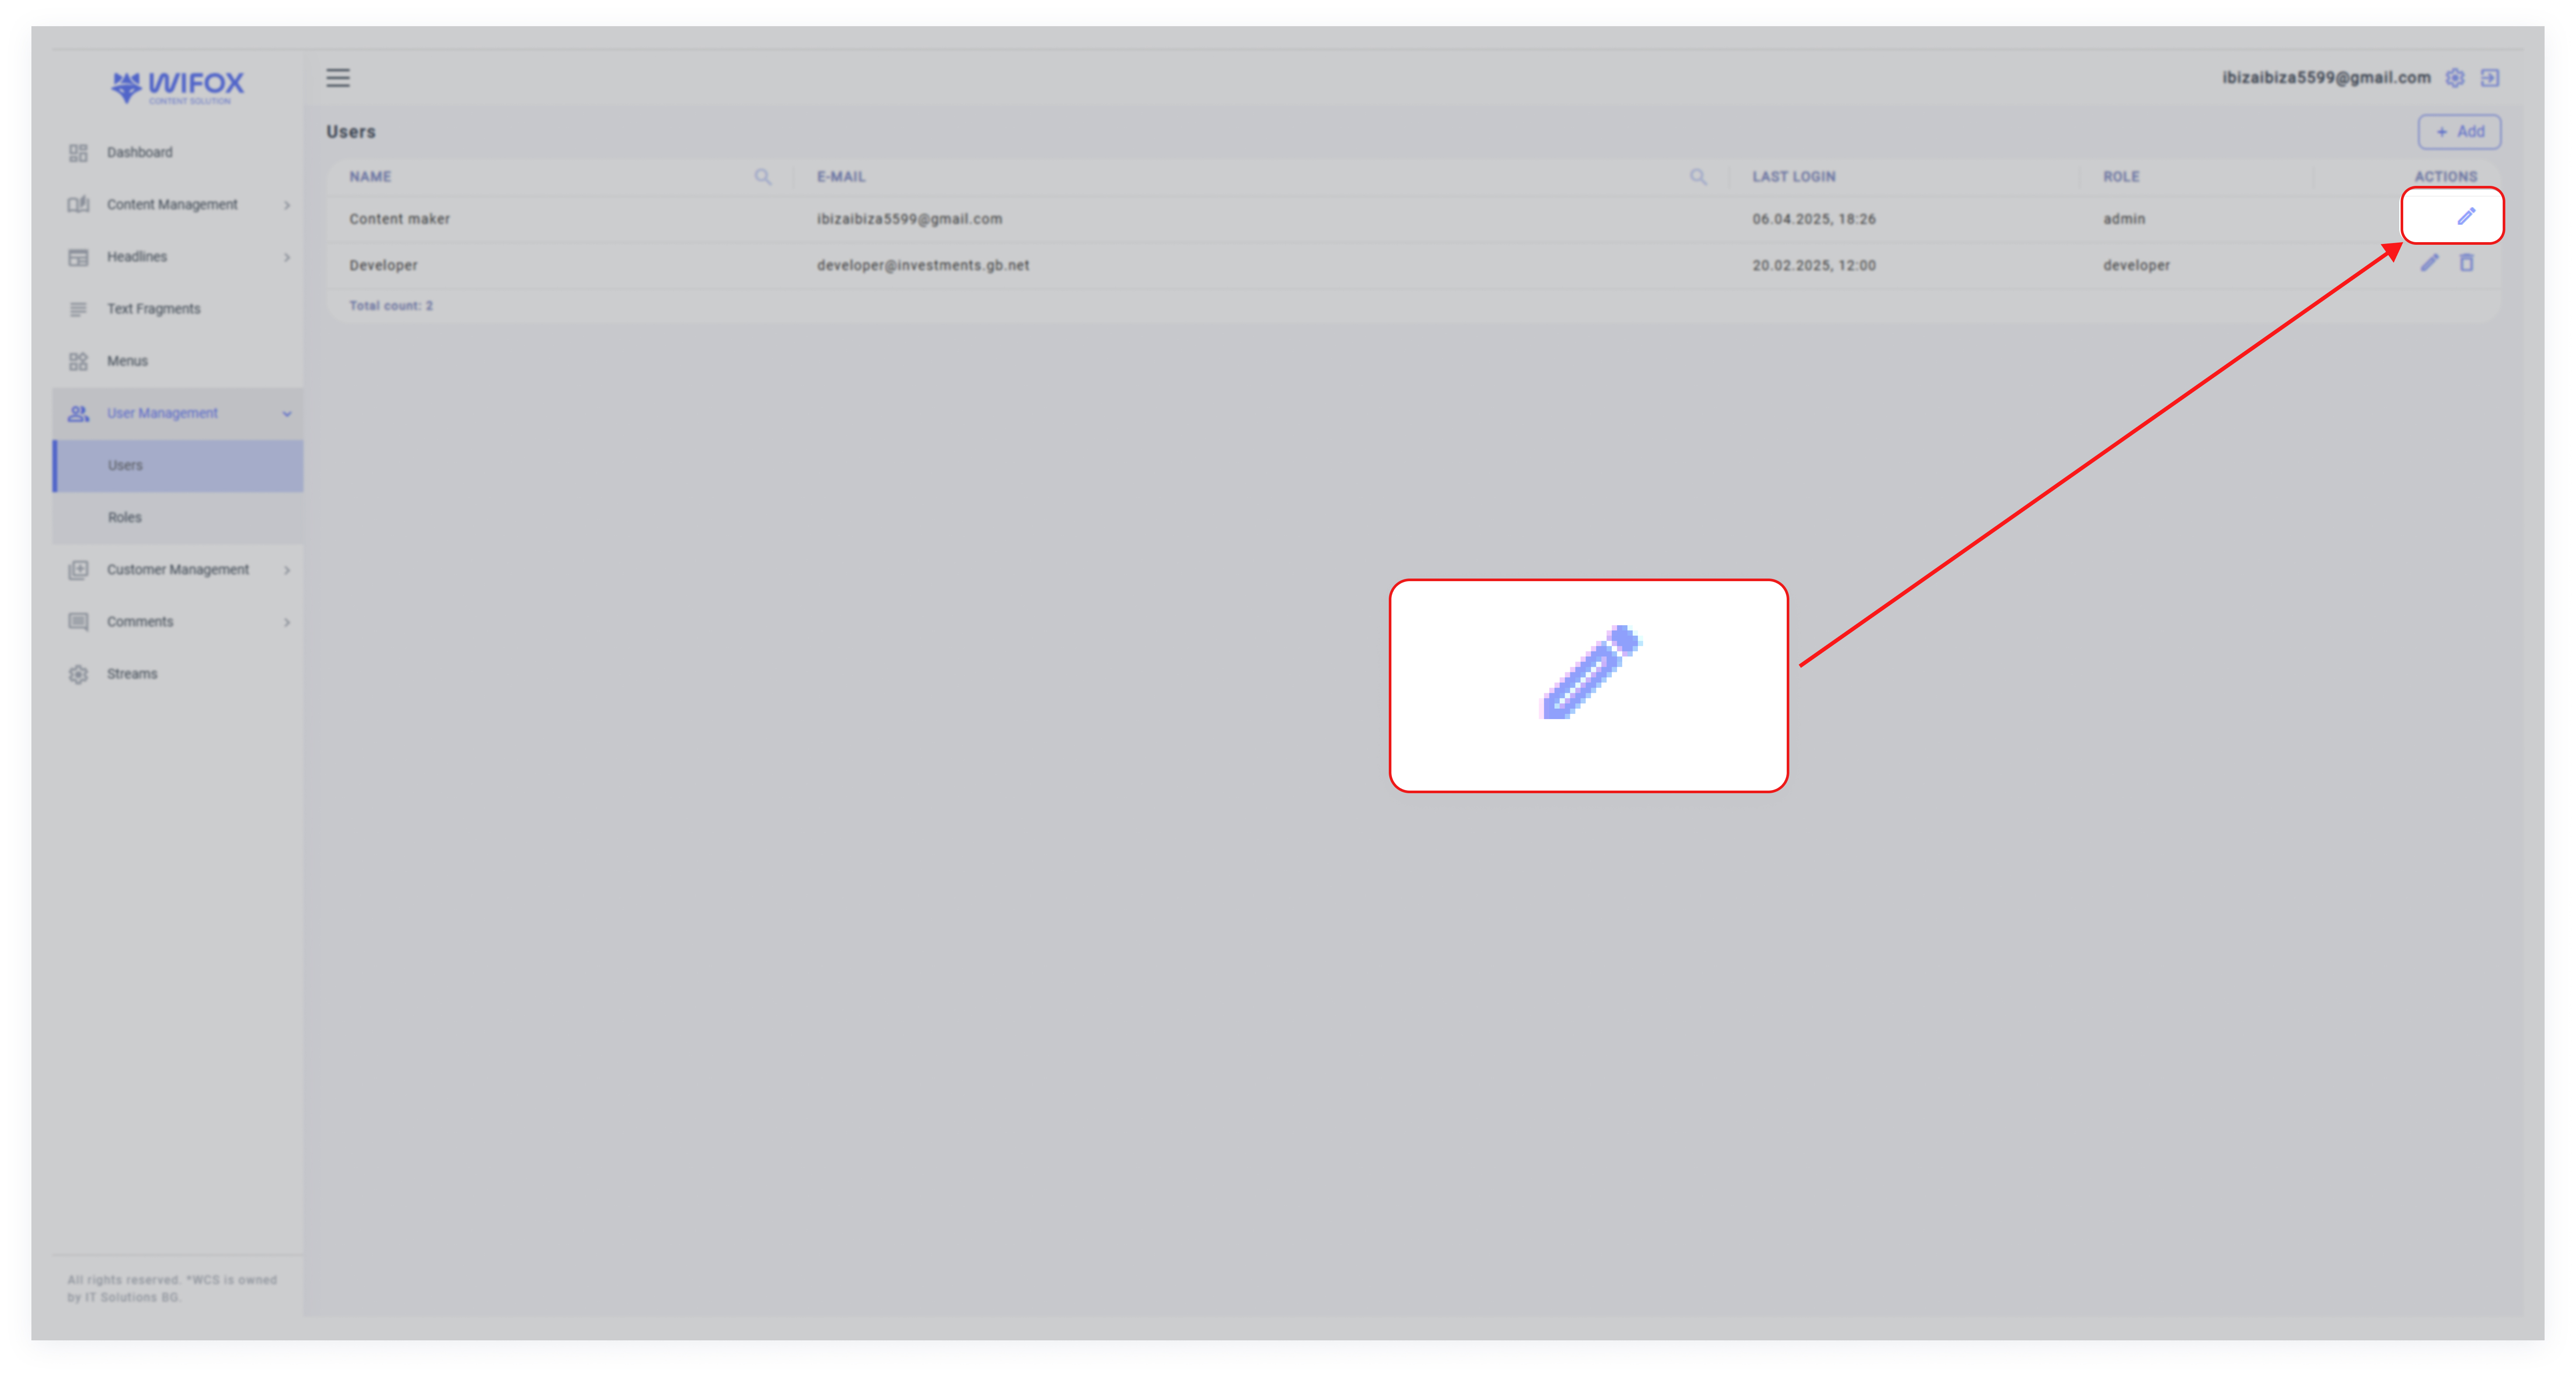
2. Update Details
Modify any required fields, such as name, email, role, or password.
Toggle the Active checkbox to activate or deactivate the account.

3. Submit Changes
Click Submit to apply the updates.
How to Delete a User
1. Locate the User
Find the user in the Users List.
2. Delete the User
Click the trash icon next to the user’s name.
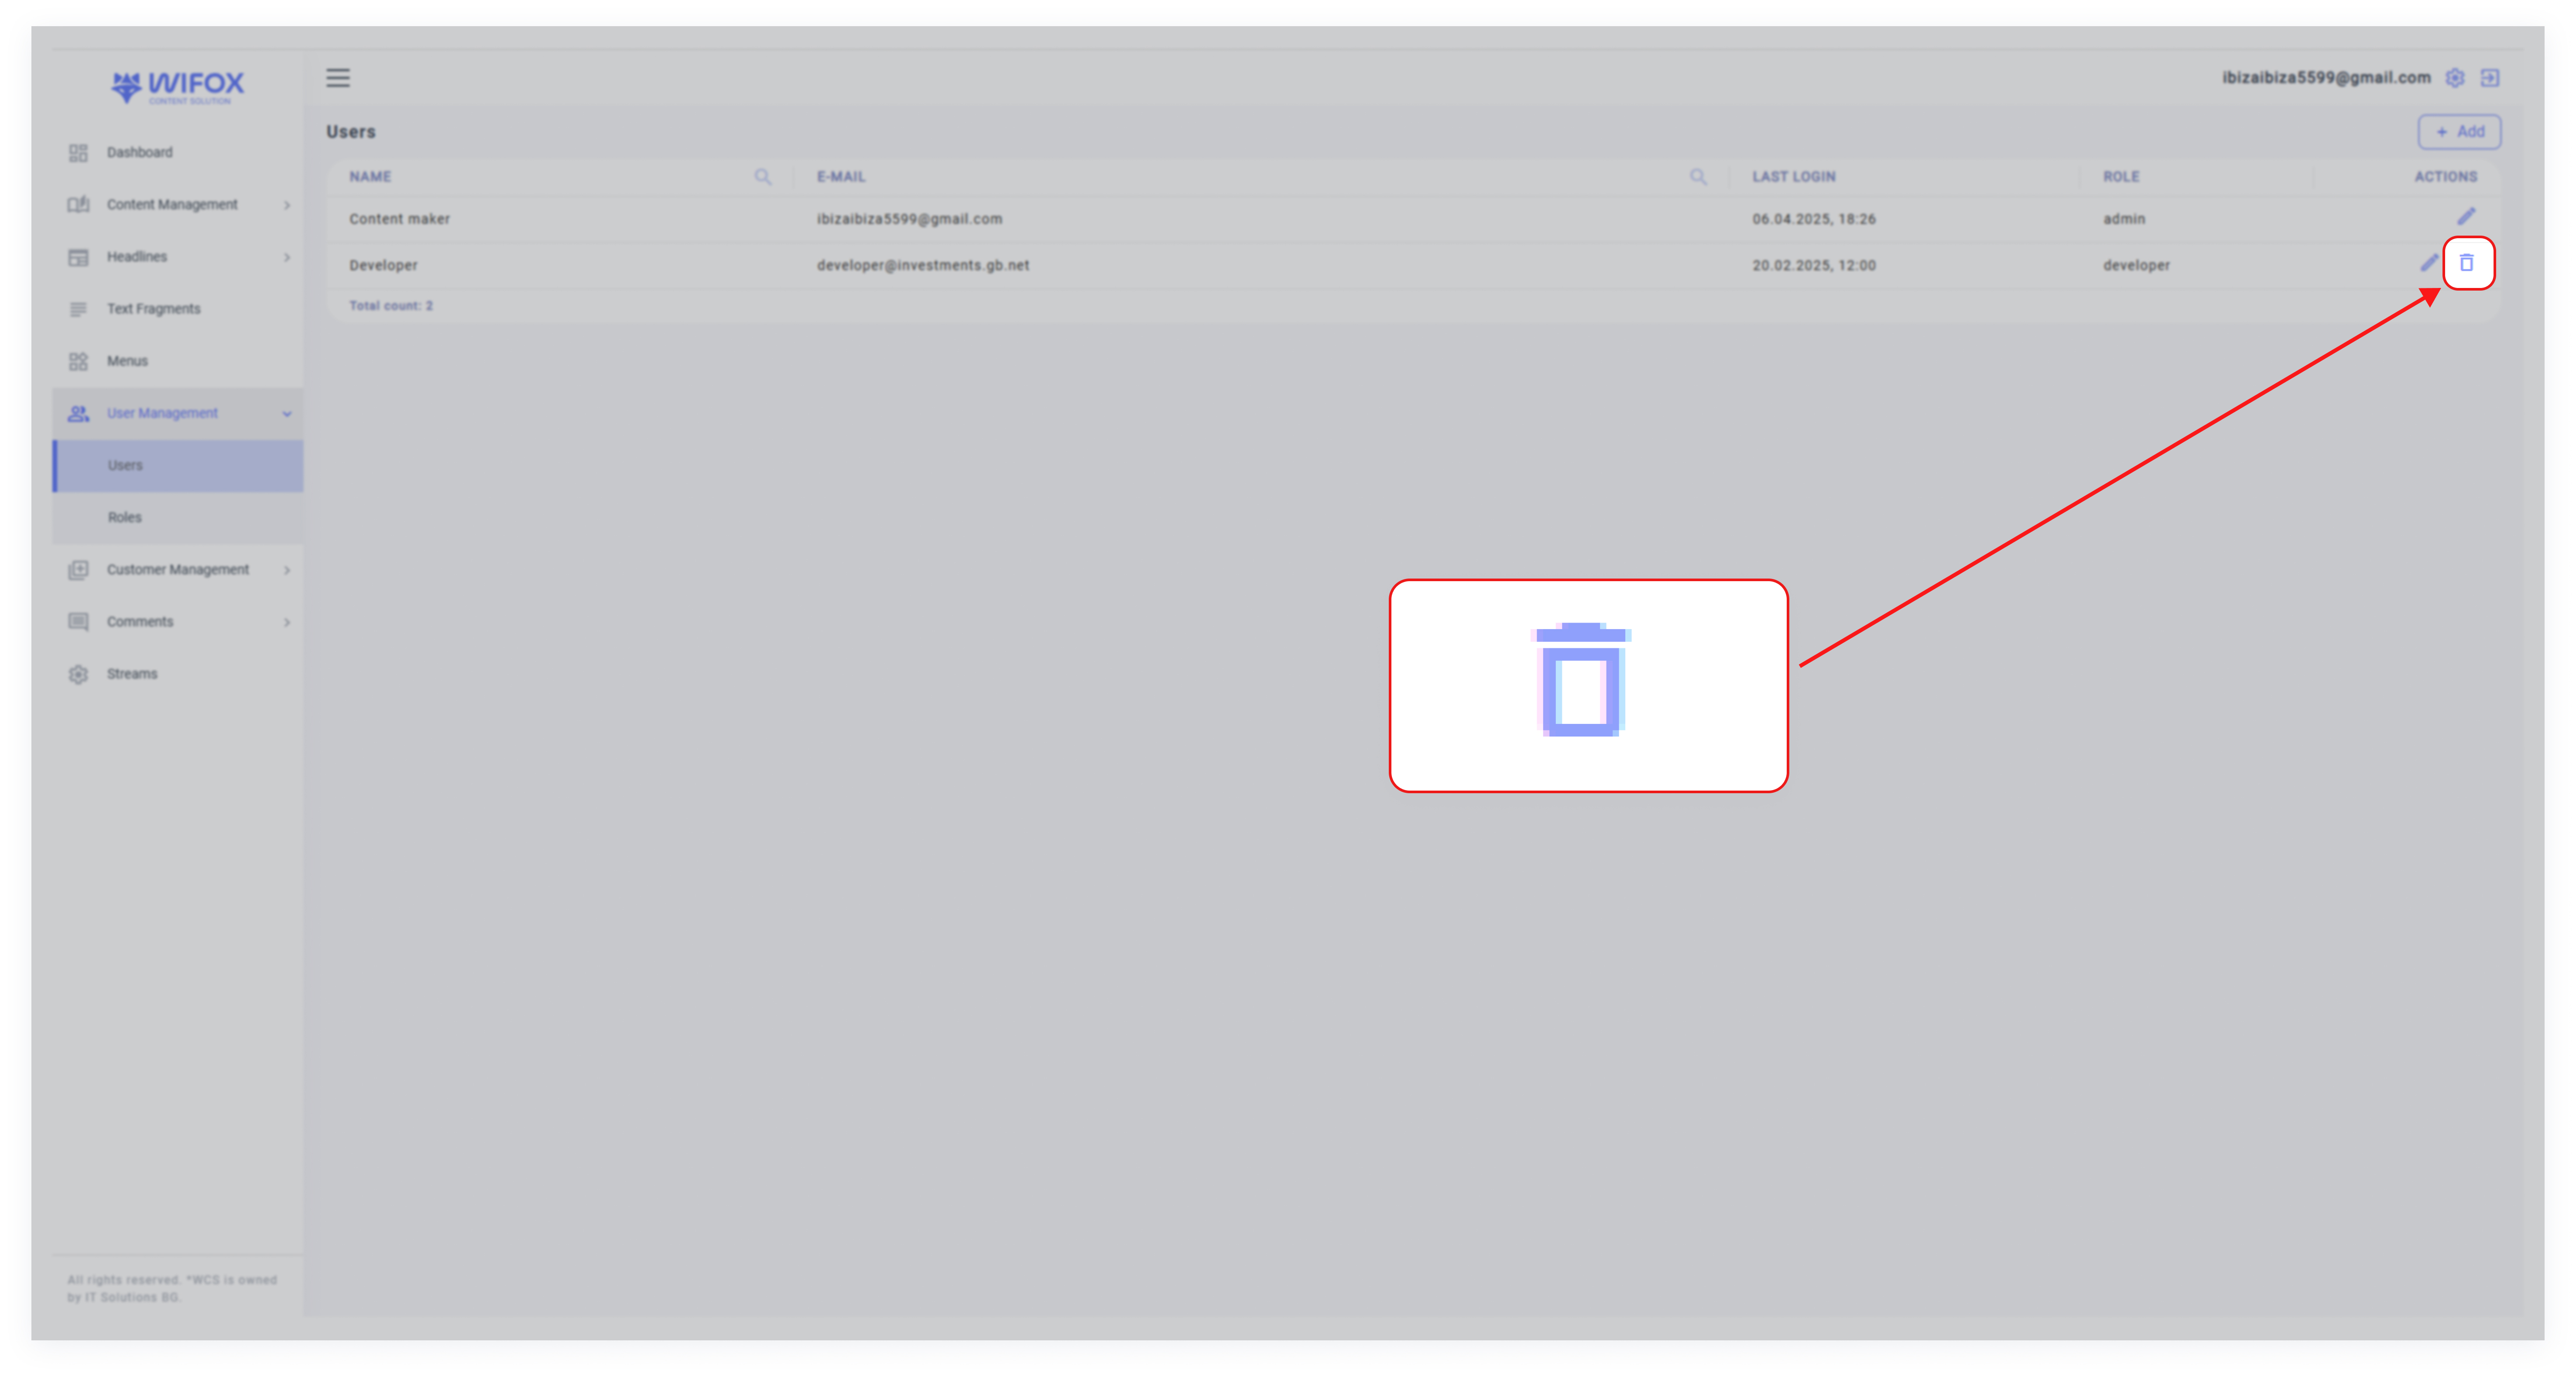
3. Confirm Deletion
Confirm the action by clicking OK. The user will be permanently removed from the system.
Special Notes
- Root User: There is one Root User in the system with full administrative privileges. This account cannot be deleted but can create and manage other users.
- Roles Assignment: Ensure the role you assign to the user is configured correctly for their access needs.
The Users List section simplifies user account management, ensuring secure and organized system access for all team members.
3. User Roles
The User Roles section in Wifox Business Content Solution allows administrators to manage and define roles with specific access levels for different modules. This section supports Read-Only (RO) and Read-Write (RW) permissions, offering precise control over what users can view and edit.
Use Case Example
A company creates a "Content Manager" role with Read-Write access to modules like Text, CMS, and News, and Read-Only access to sensitive modules like Configuration. This role ensures the user can manage content effectively while maintaining system security.
What Do RO and RW Mean?
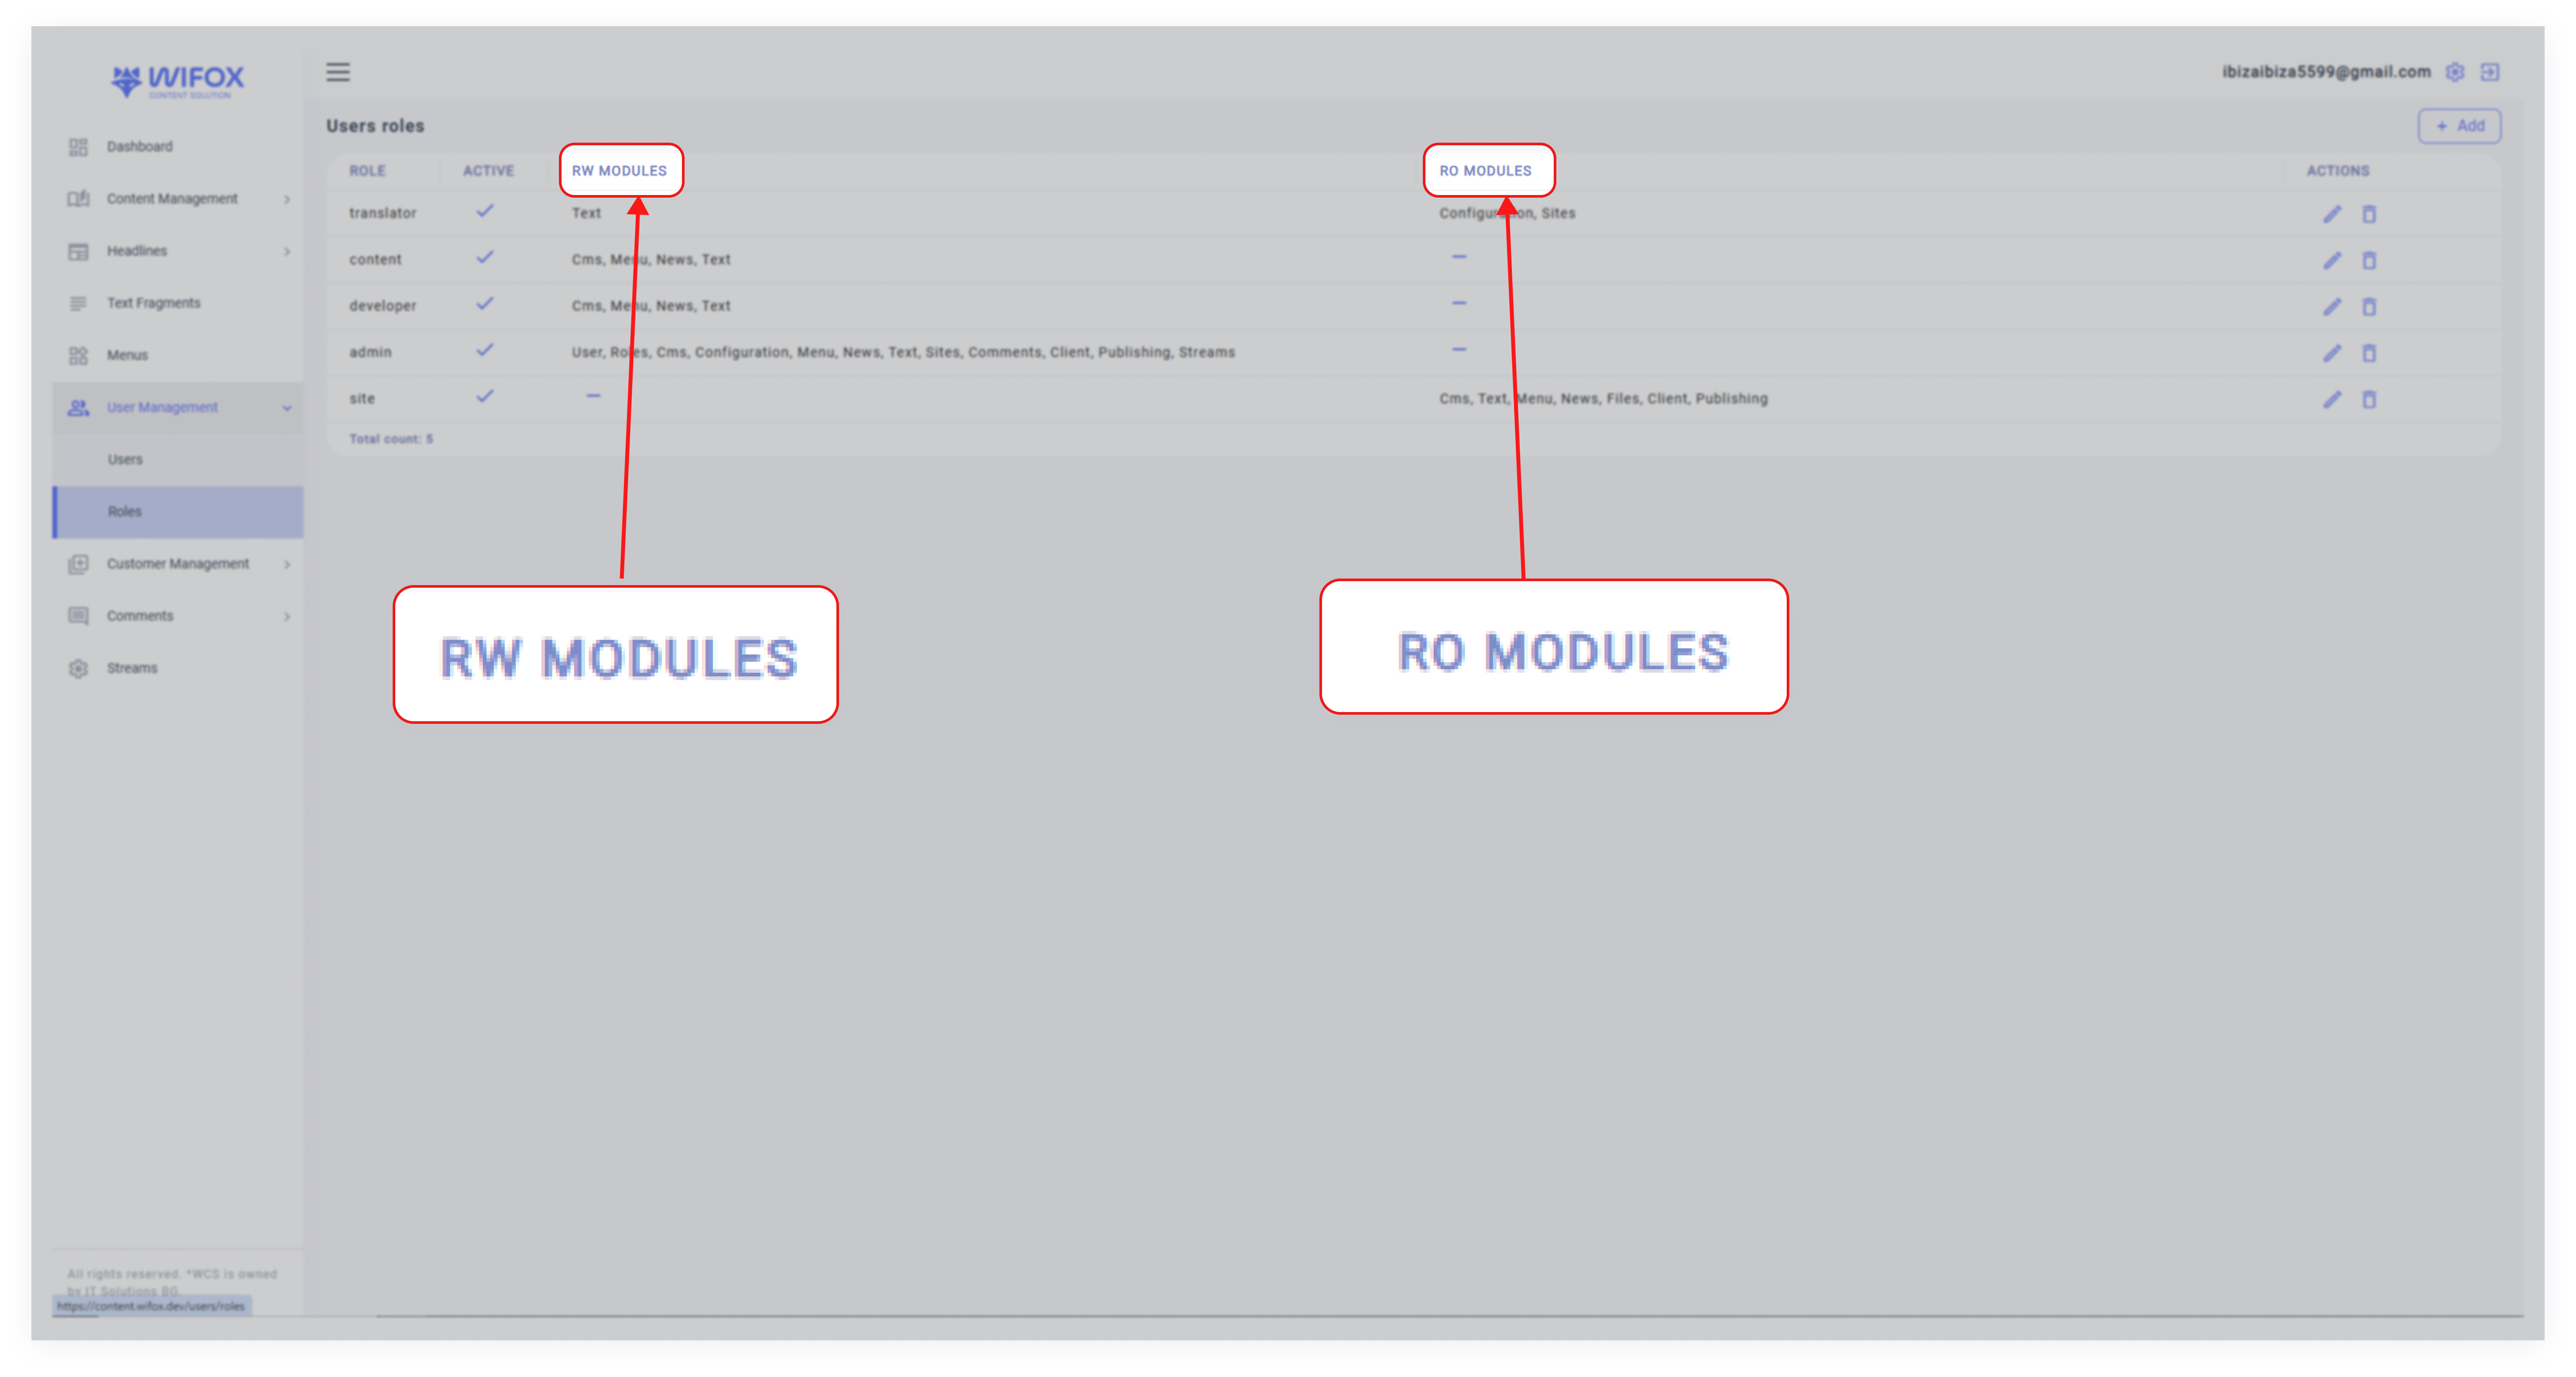
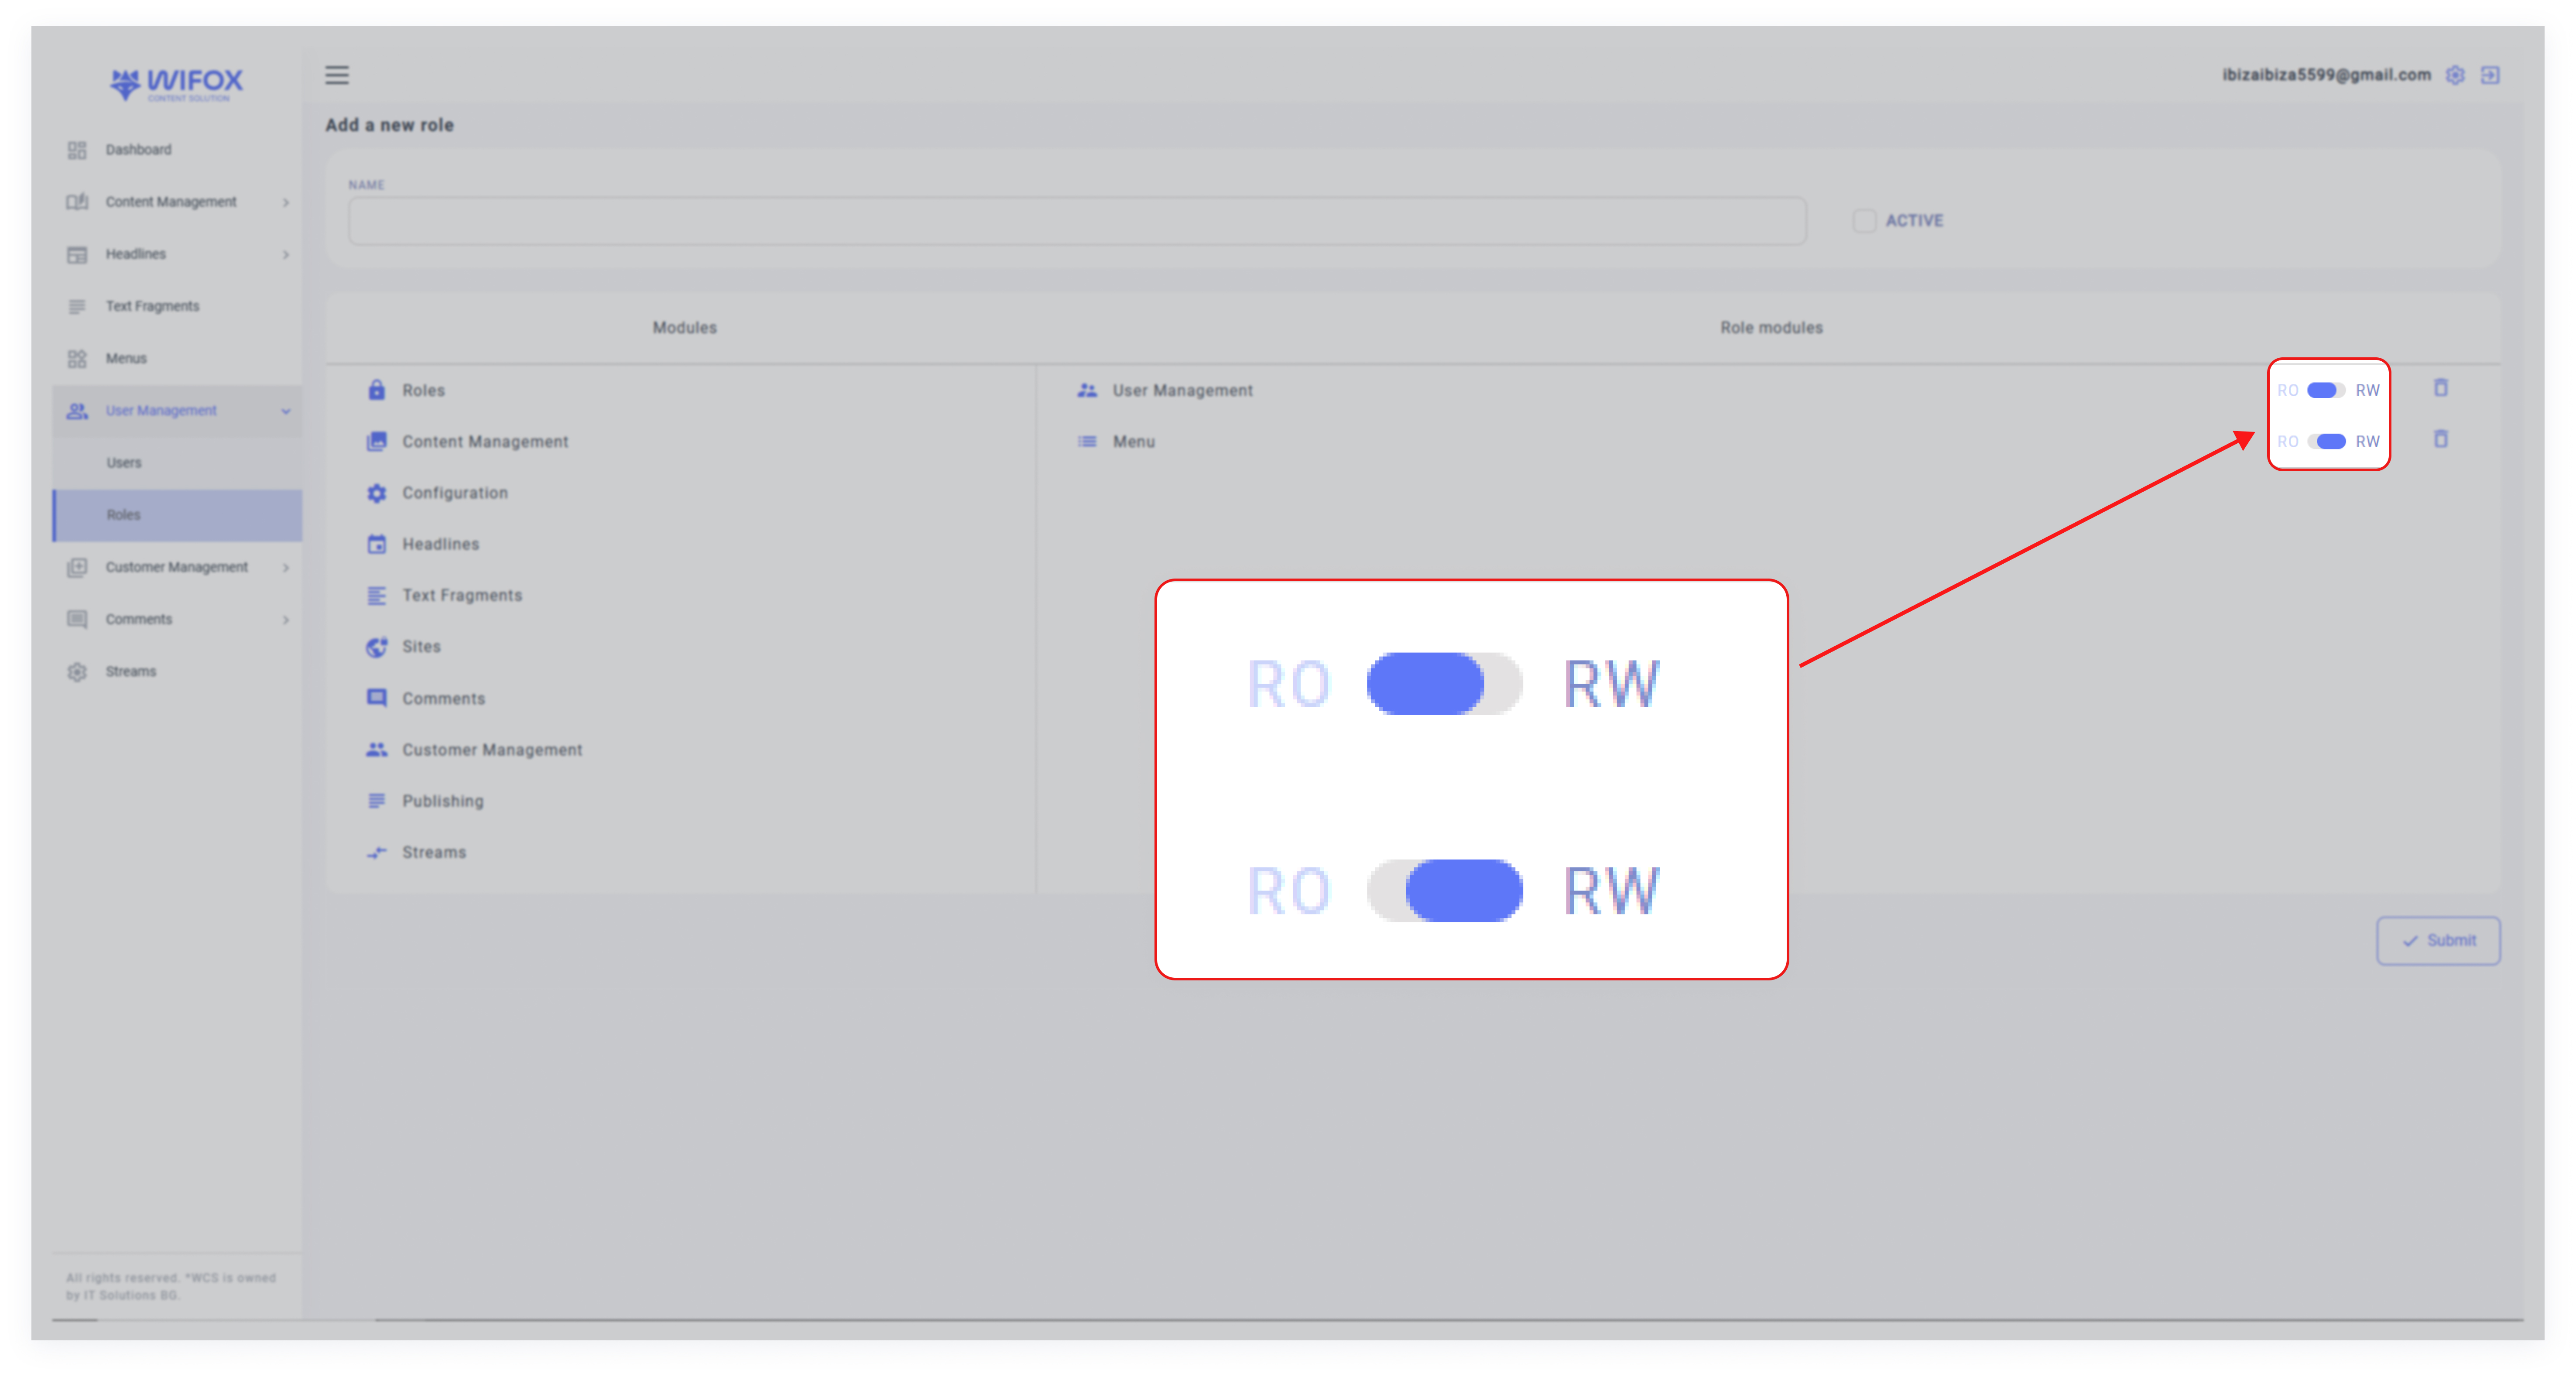
- Read-Only (RO): Allows users to view and read content within the module but prevents them from making changes.
- Read-Write (RW): Grants users full access to read, edit, delete, and manage content within the module.
Key Features of User Roles
1. Flexible Permissions
Assign permissions dynamically by dragging and dropping modules or selecting them with a click.
2. Granular Control
Specify Read-Only or Read-Write access for each module, ensuring tailored access for different users.
3. Active/Inactive Toggle
Instantly activate or deactivate roles by checking or unchecking the Active box.
4. Comprehensive Role Management
Easily add, edit, or delete roles to match the changing needs of your organization.
How to Add a New Role
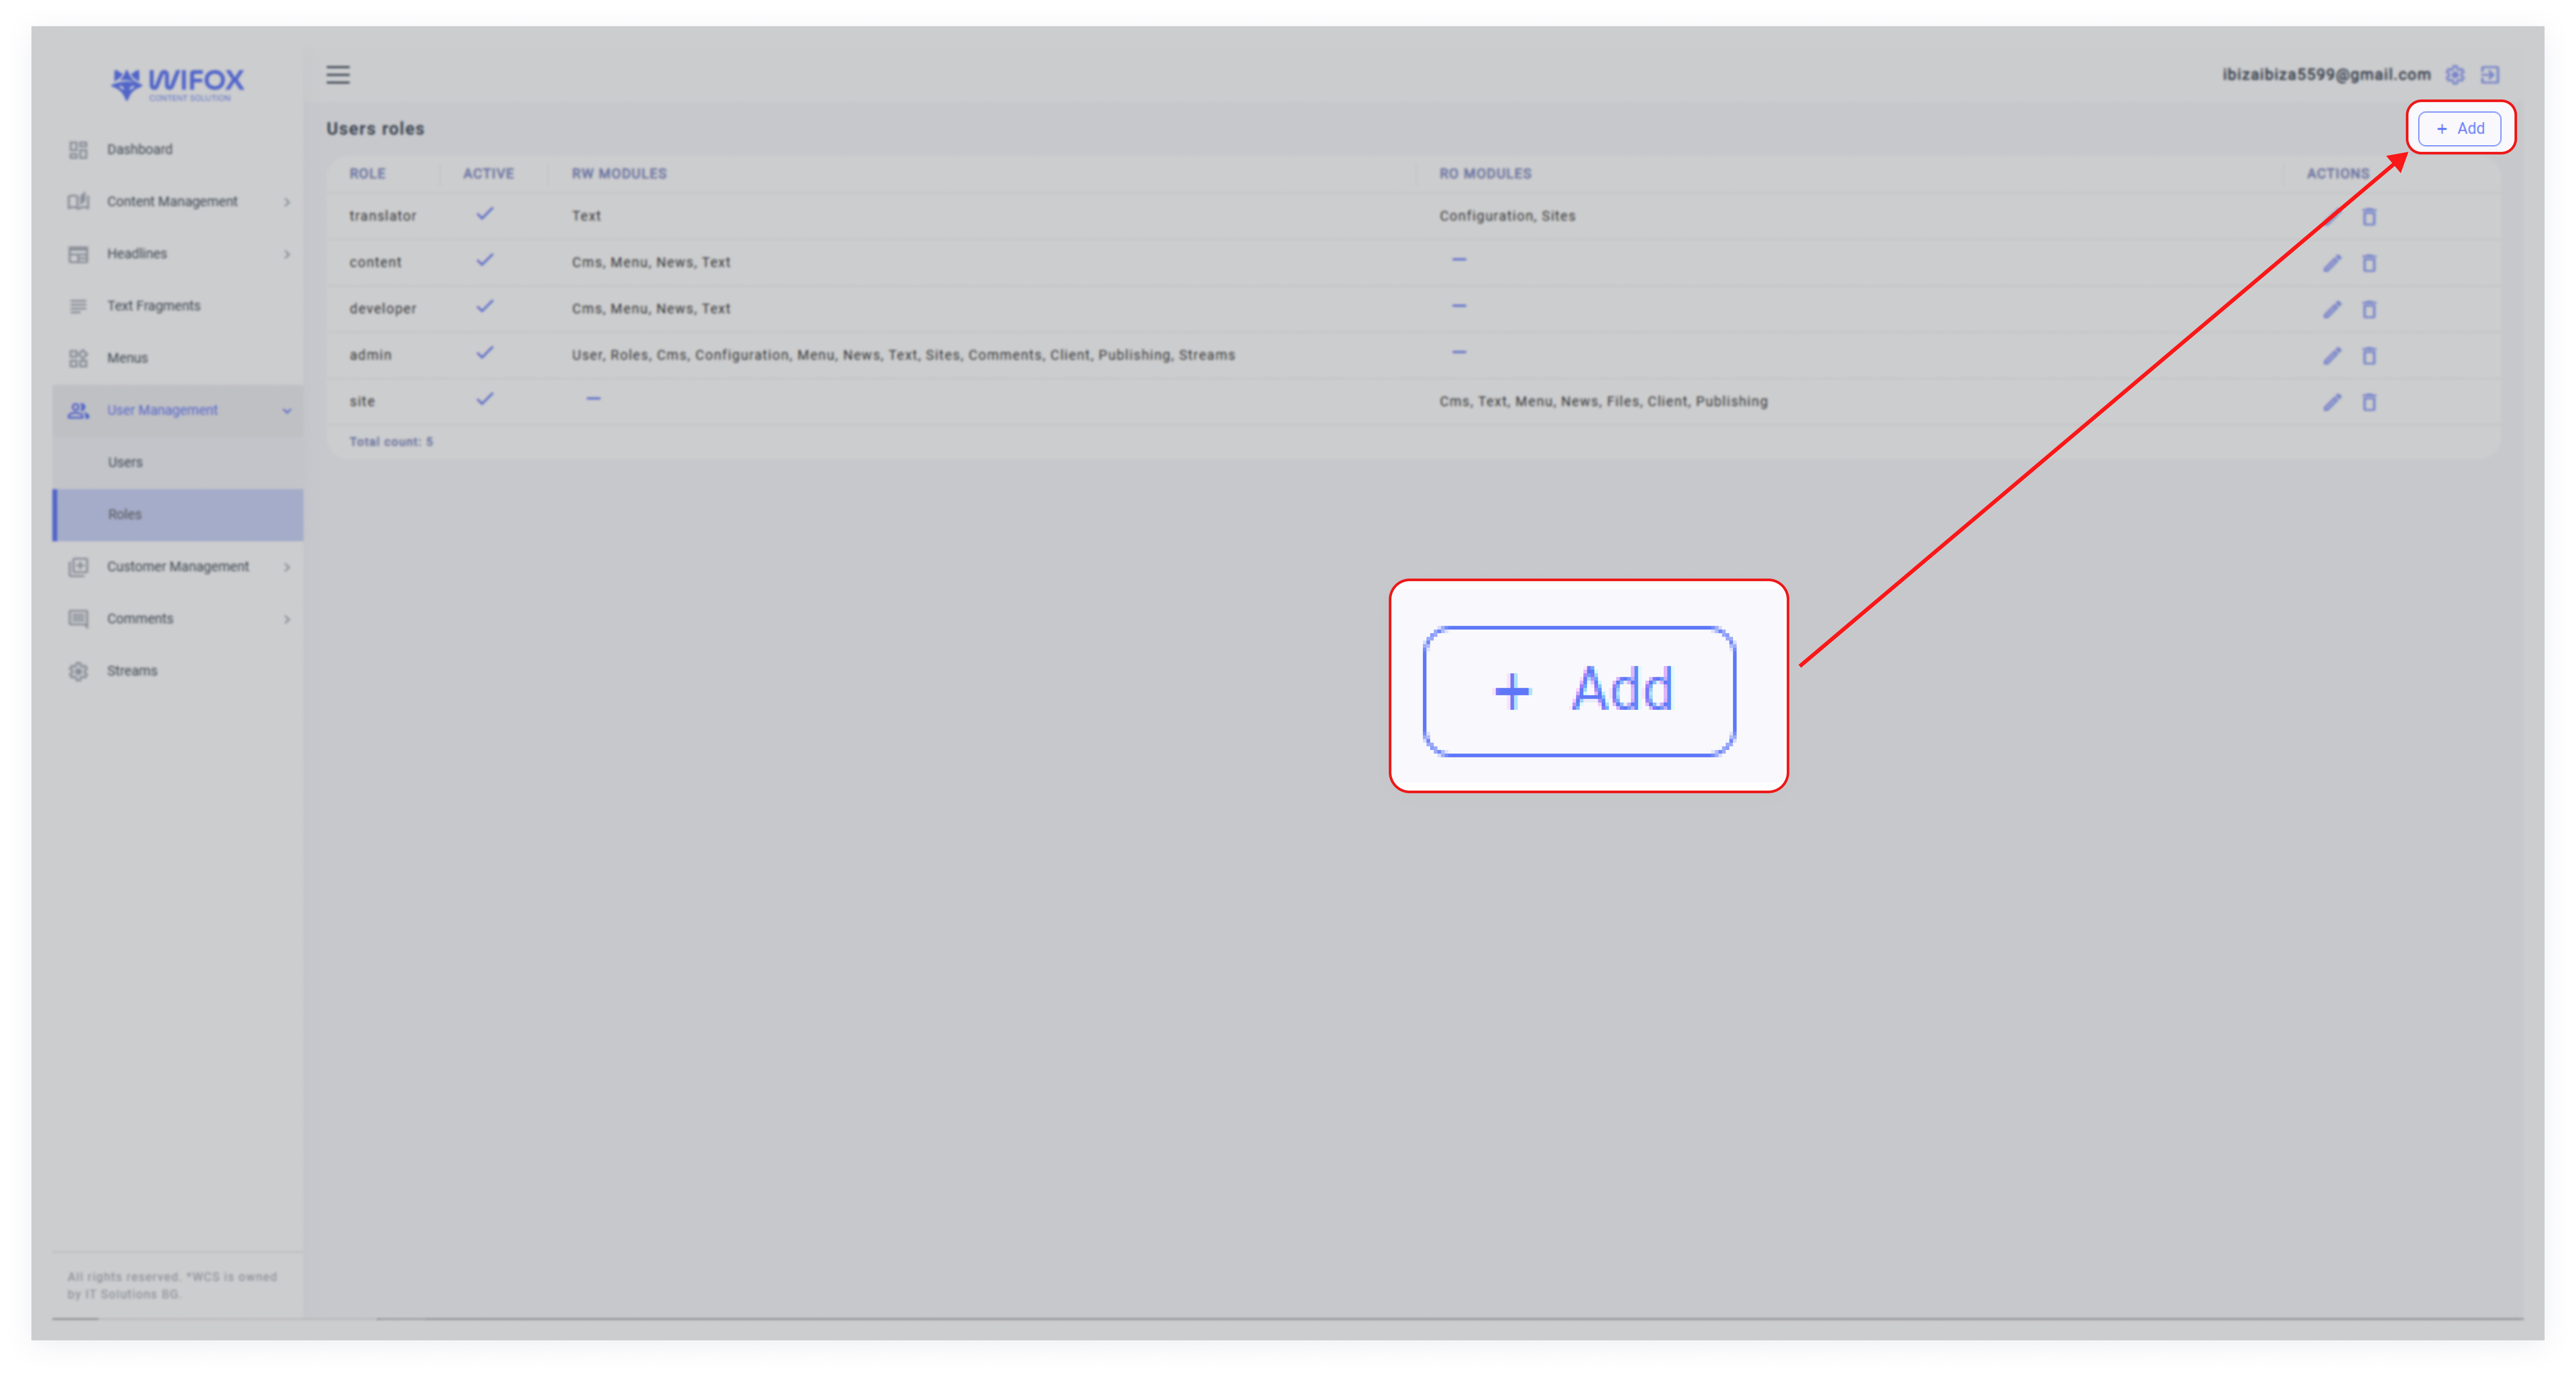
1. Click Add Role
2. Fill in Details
Name: Enter the role's name (e.g., "Translator" or "Admin").

Set Permissions:
Drag and drop modules from the list or click on them to assign permissions.
Select either RO (Read-Only) or RW (Read-Write) for each module using the toggle.
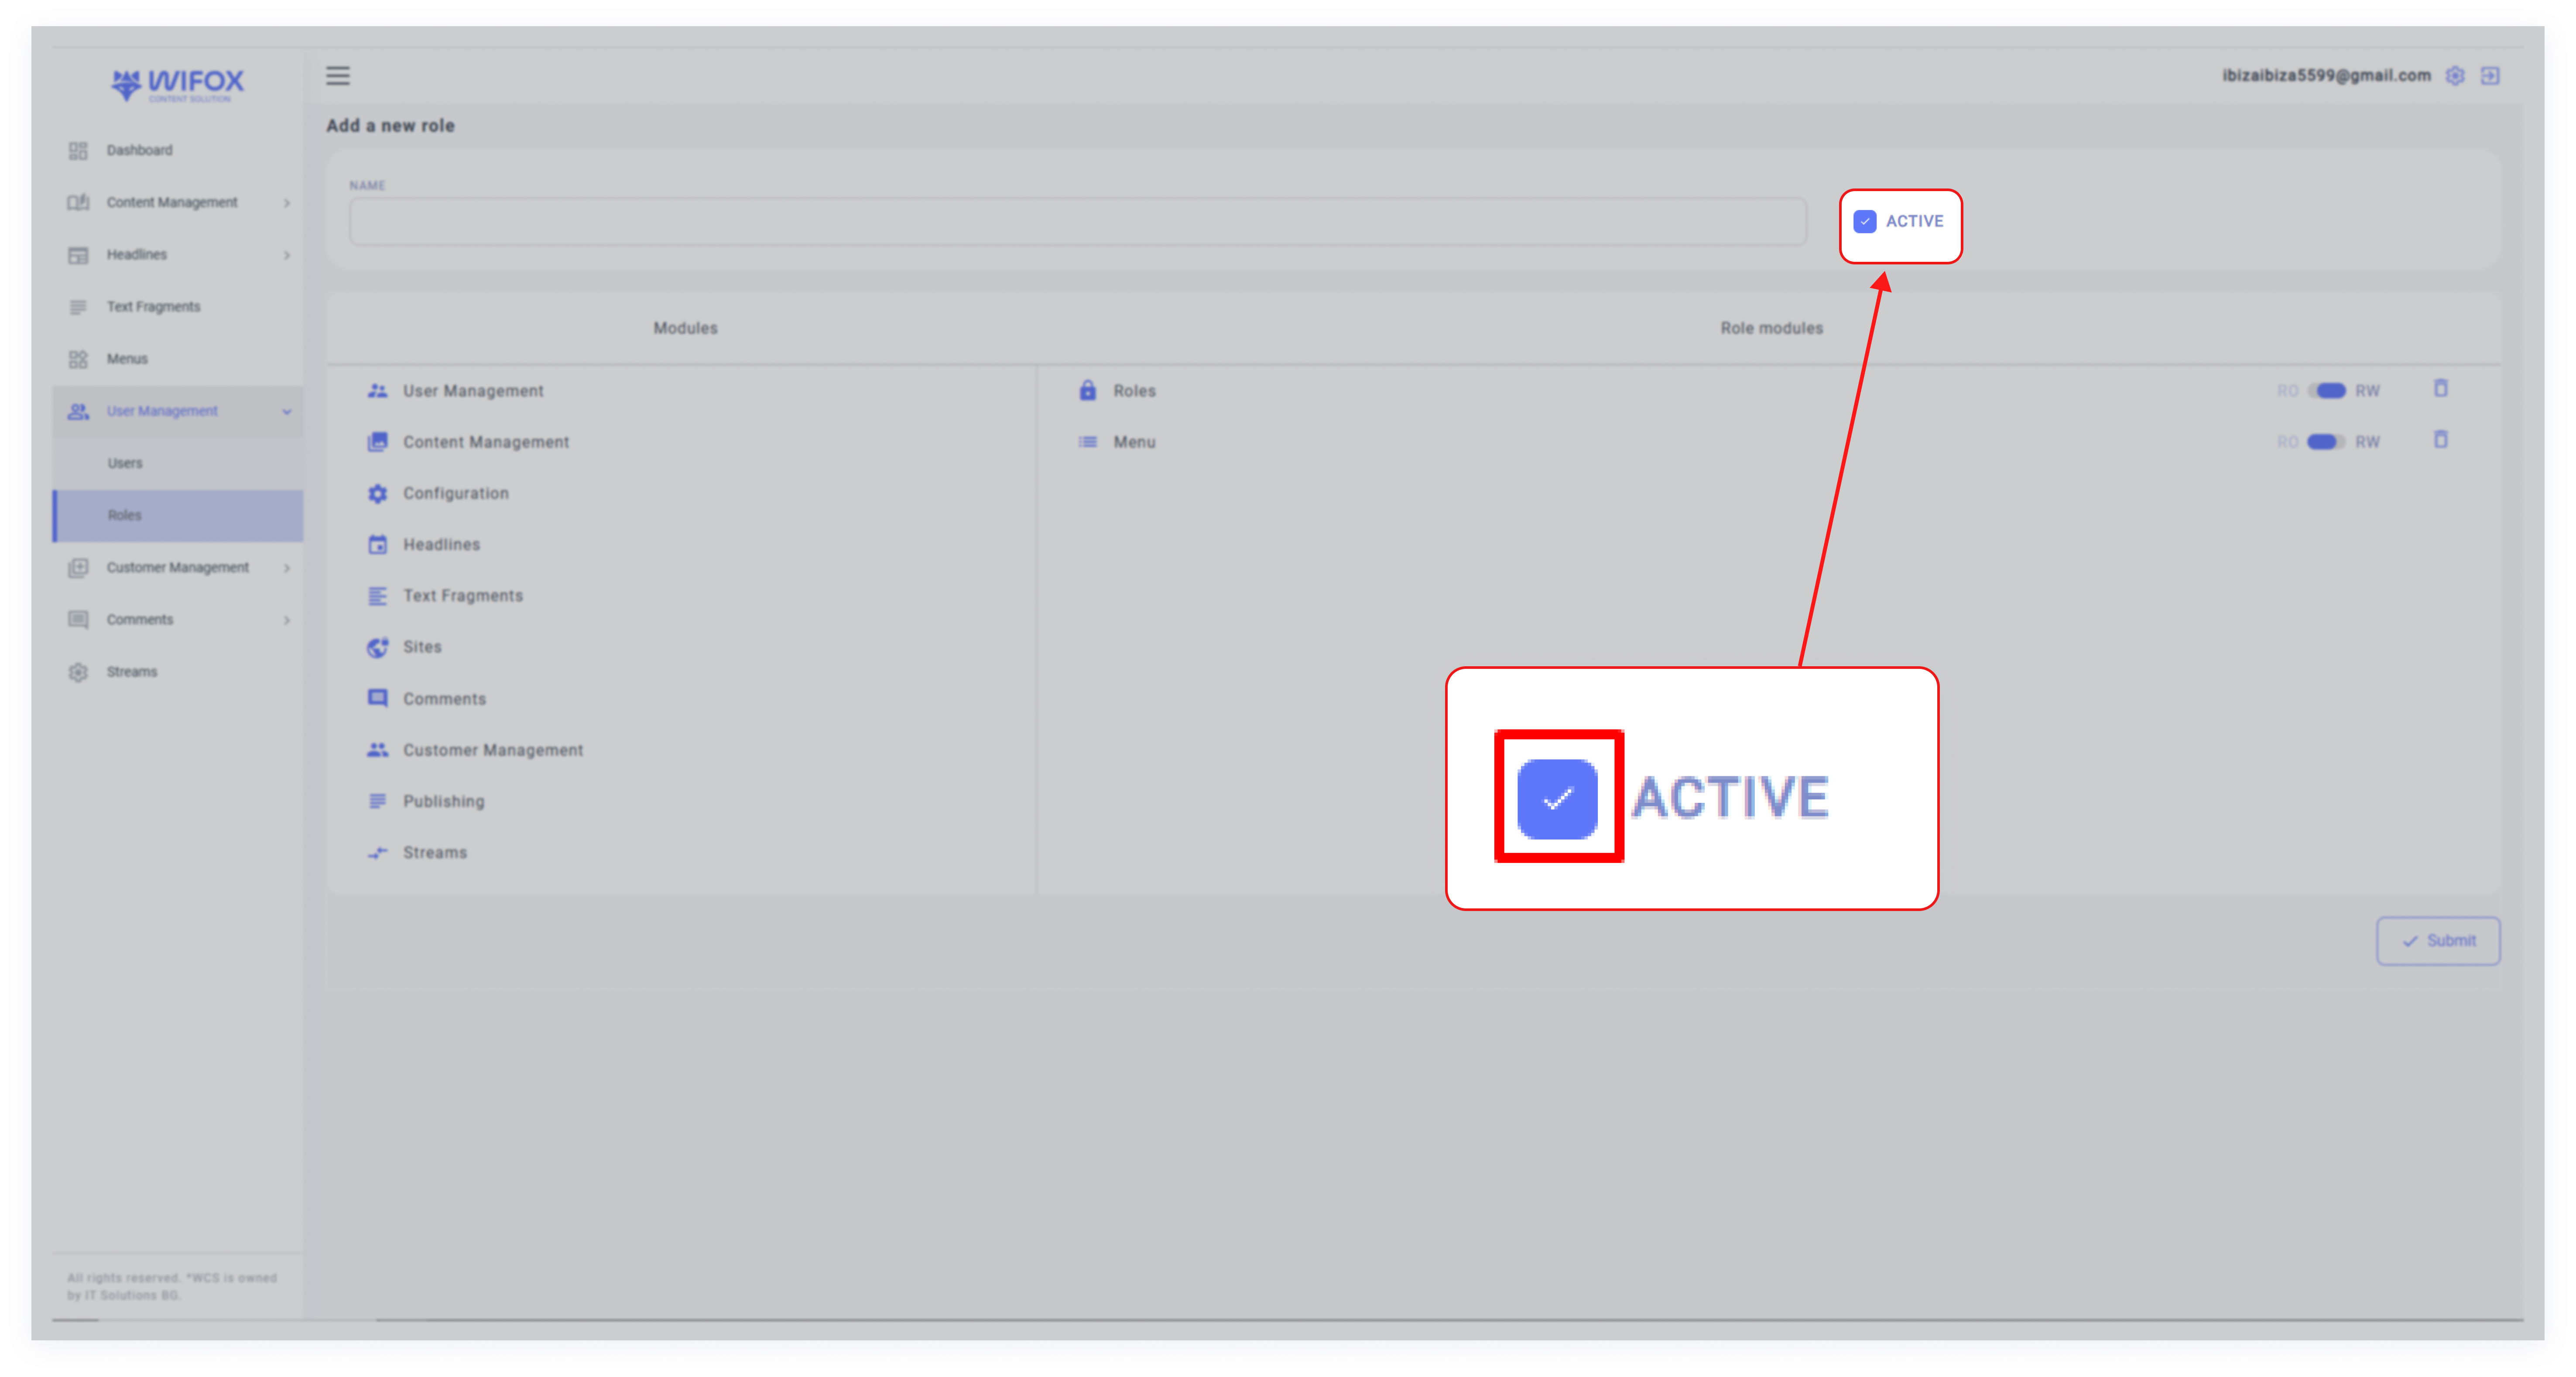
3. Set Active Status
Check the Active box to activate the role immediately.
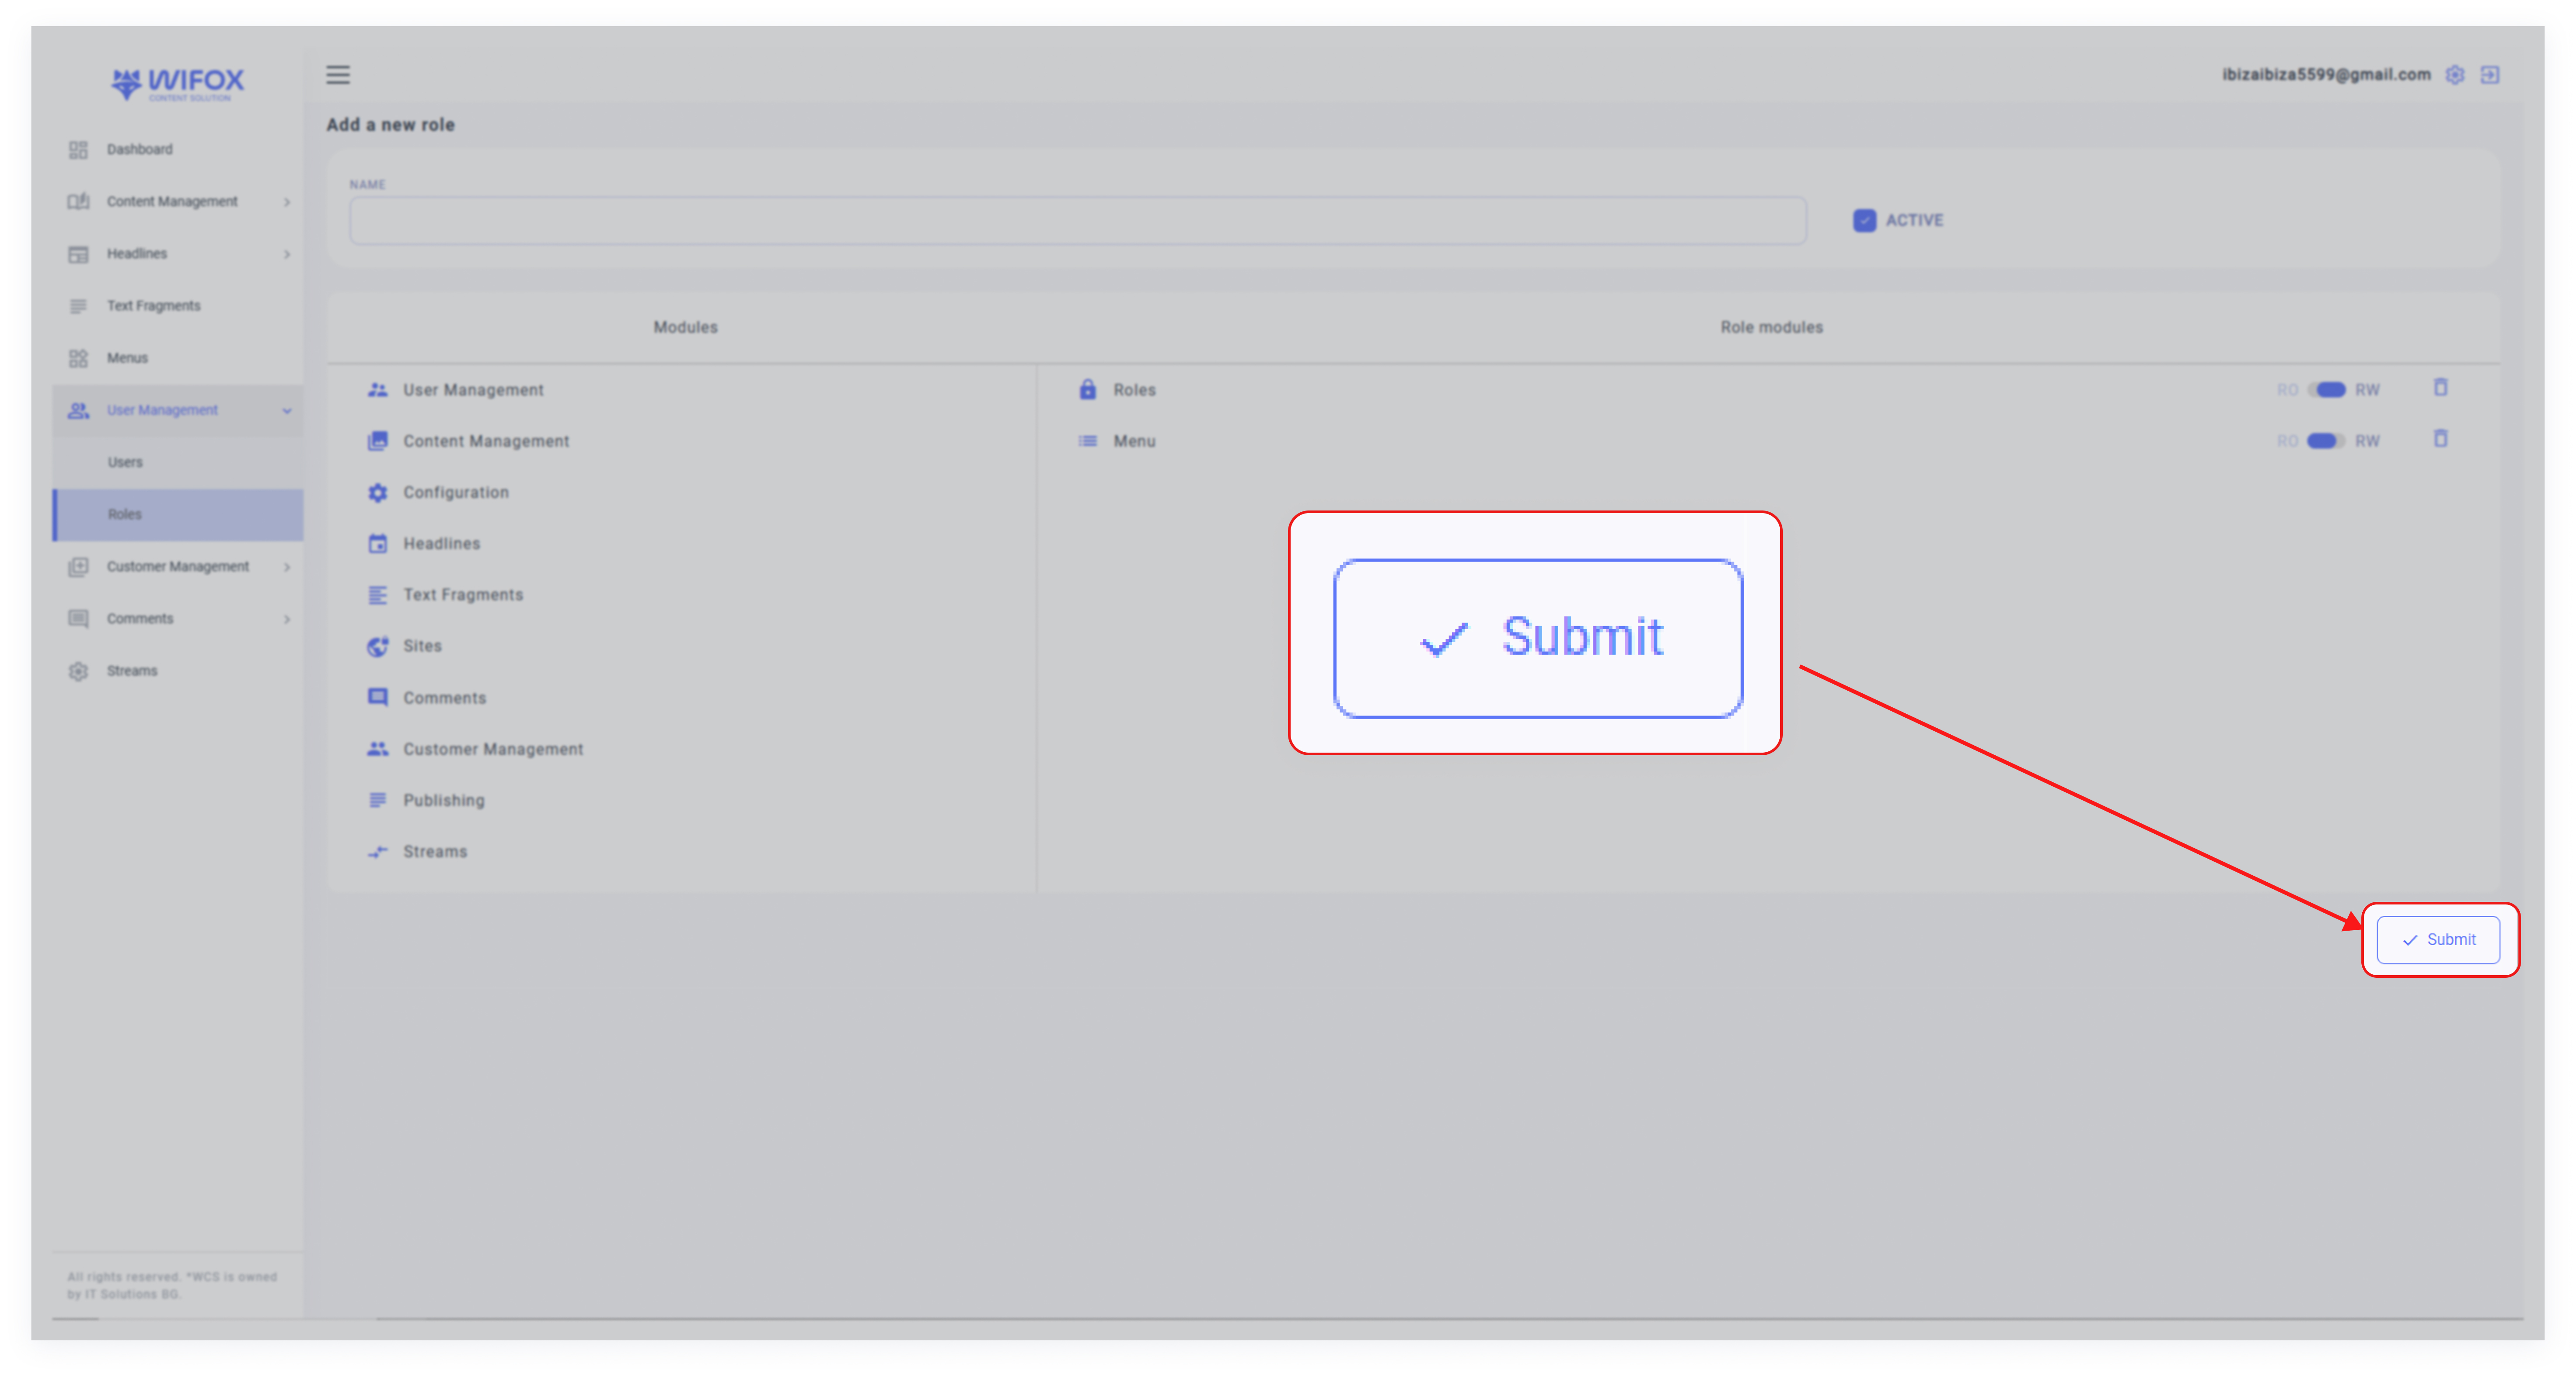
4. Submit
Once all details are completed, click Submit to save the new role.
How to Edit a Role
1. Select the Role
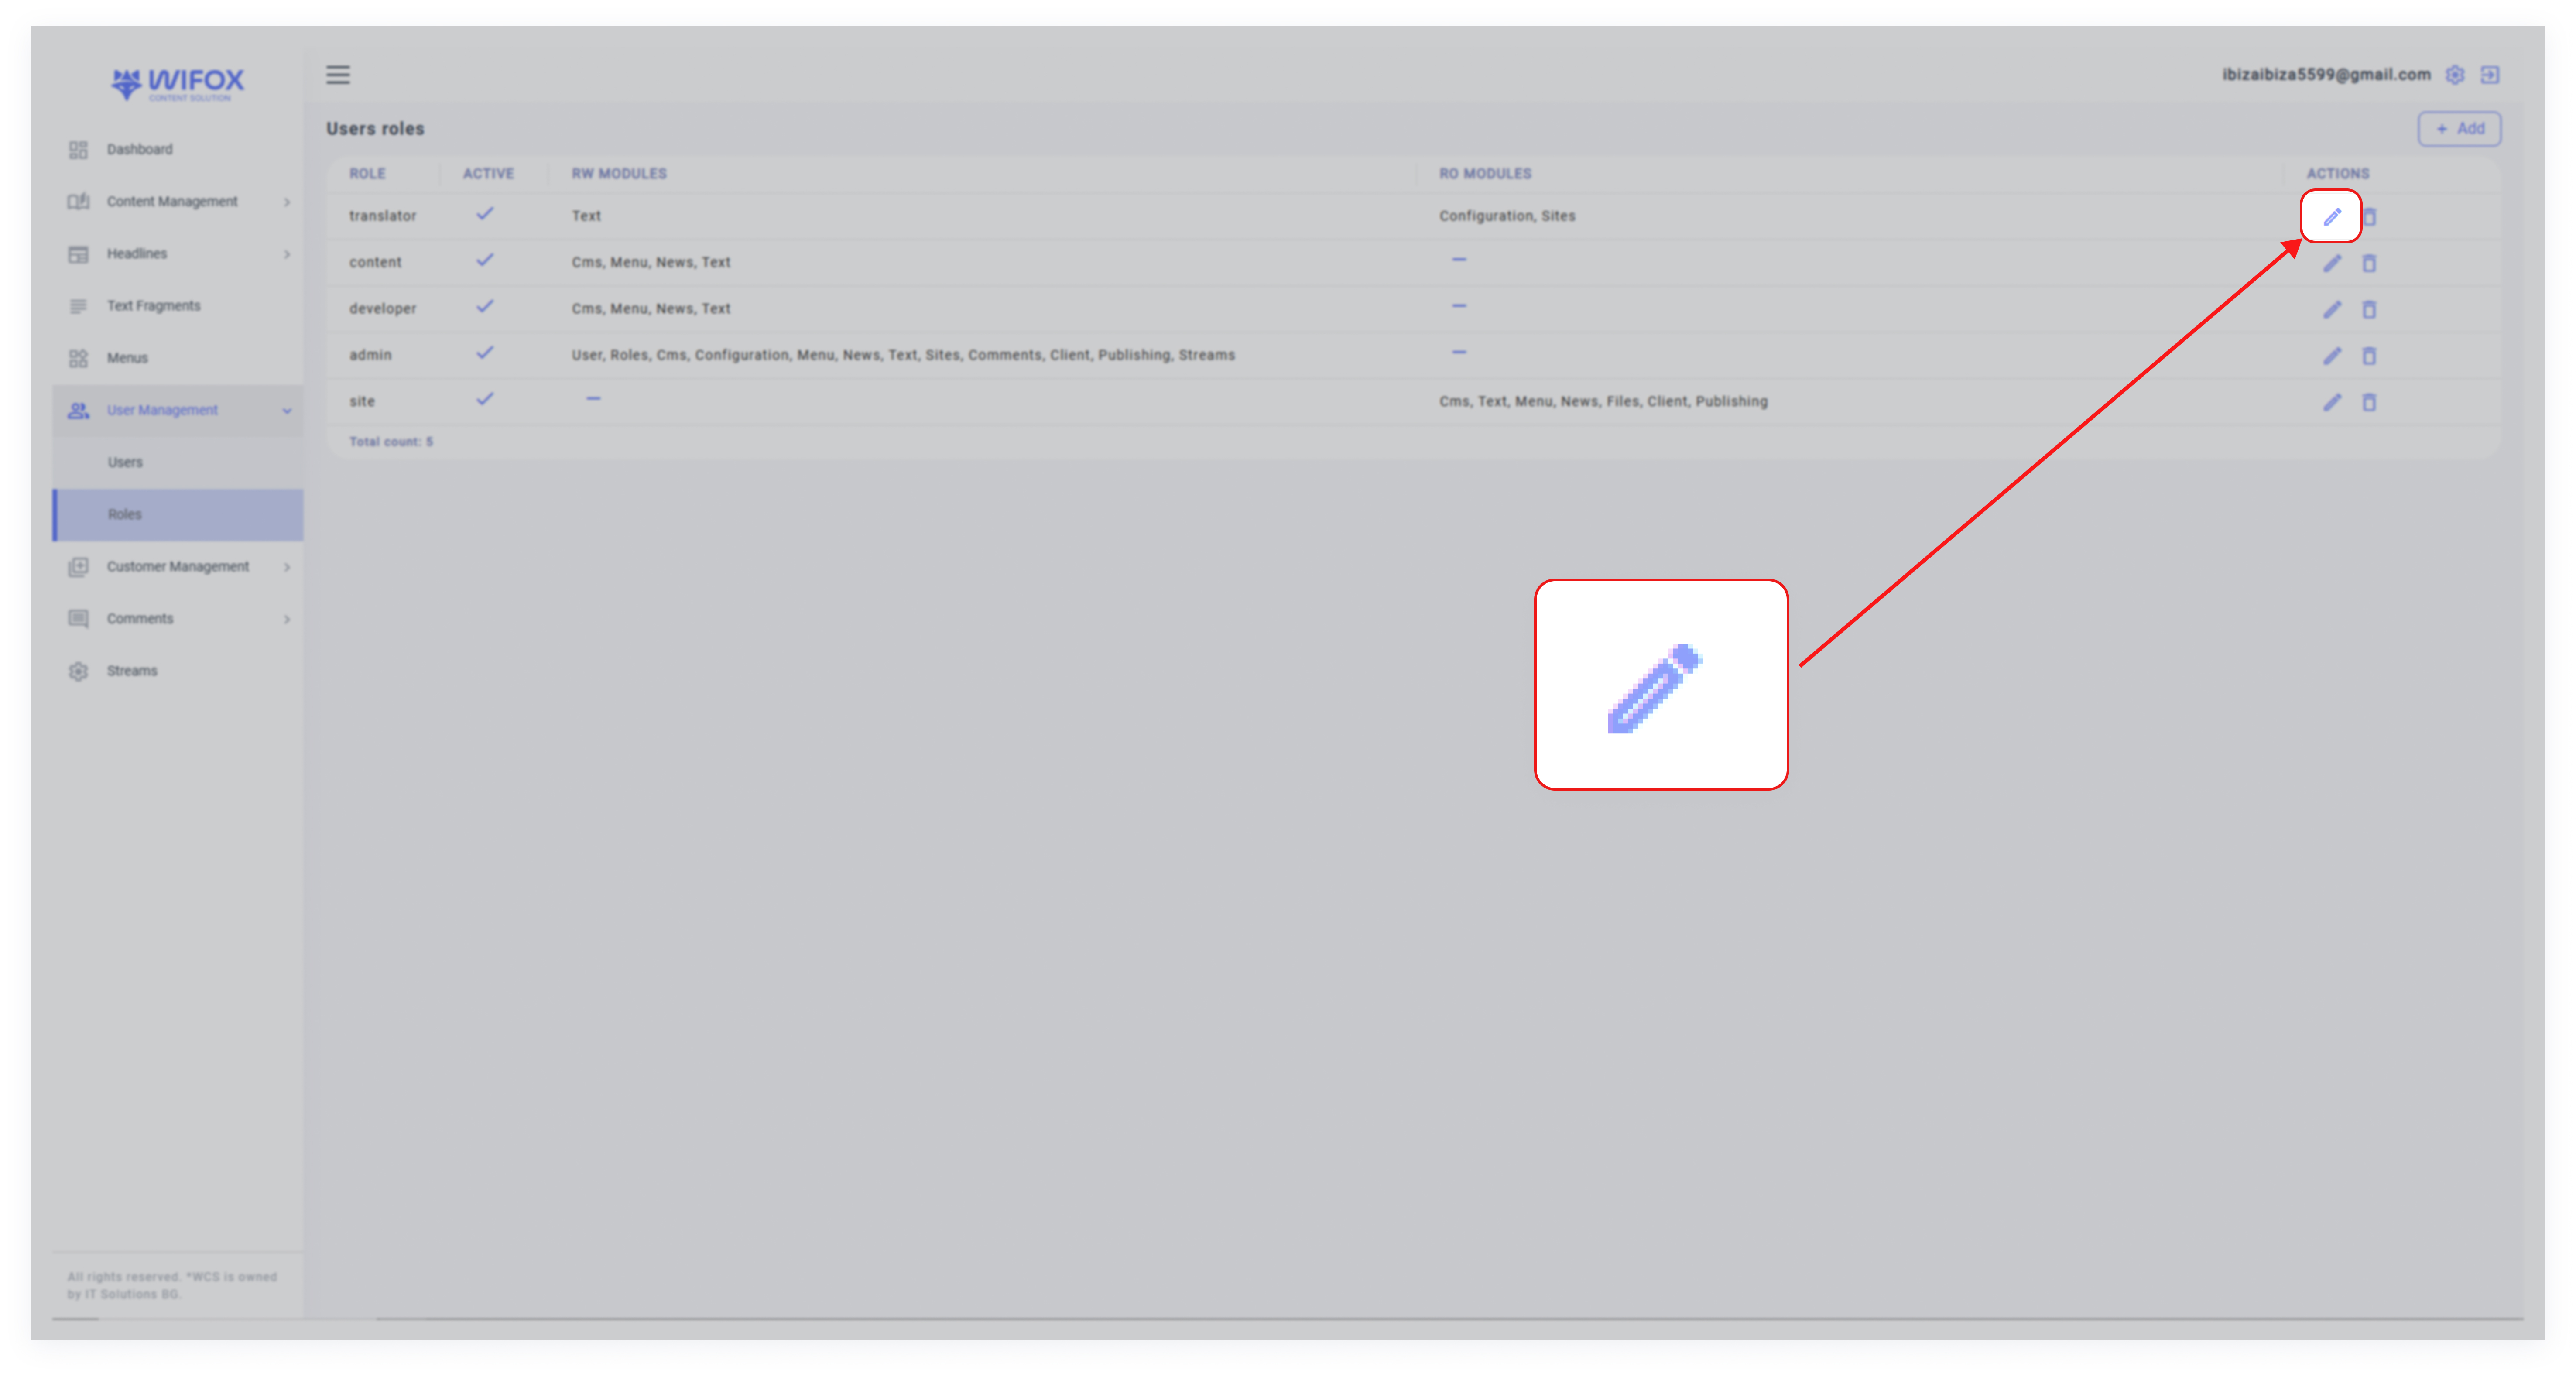
Find the role you wish to edit in the Users Roles list and click the pencil icon.
2. Update Details
Modify the role name, permissions, or module access by dragging/dropping or clicking to toggle permissions between RO and RW.
Adjust the Active status if needed.
3. Submit Changes
After making the updates, click Submit to save changes.
How to Delete a Role
1. Locate the Role
Find the role you wish to remove in the Users Roles list.
2. Delete the Role
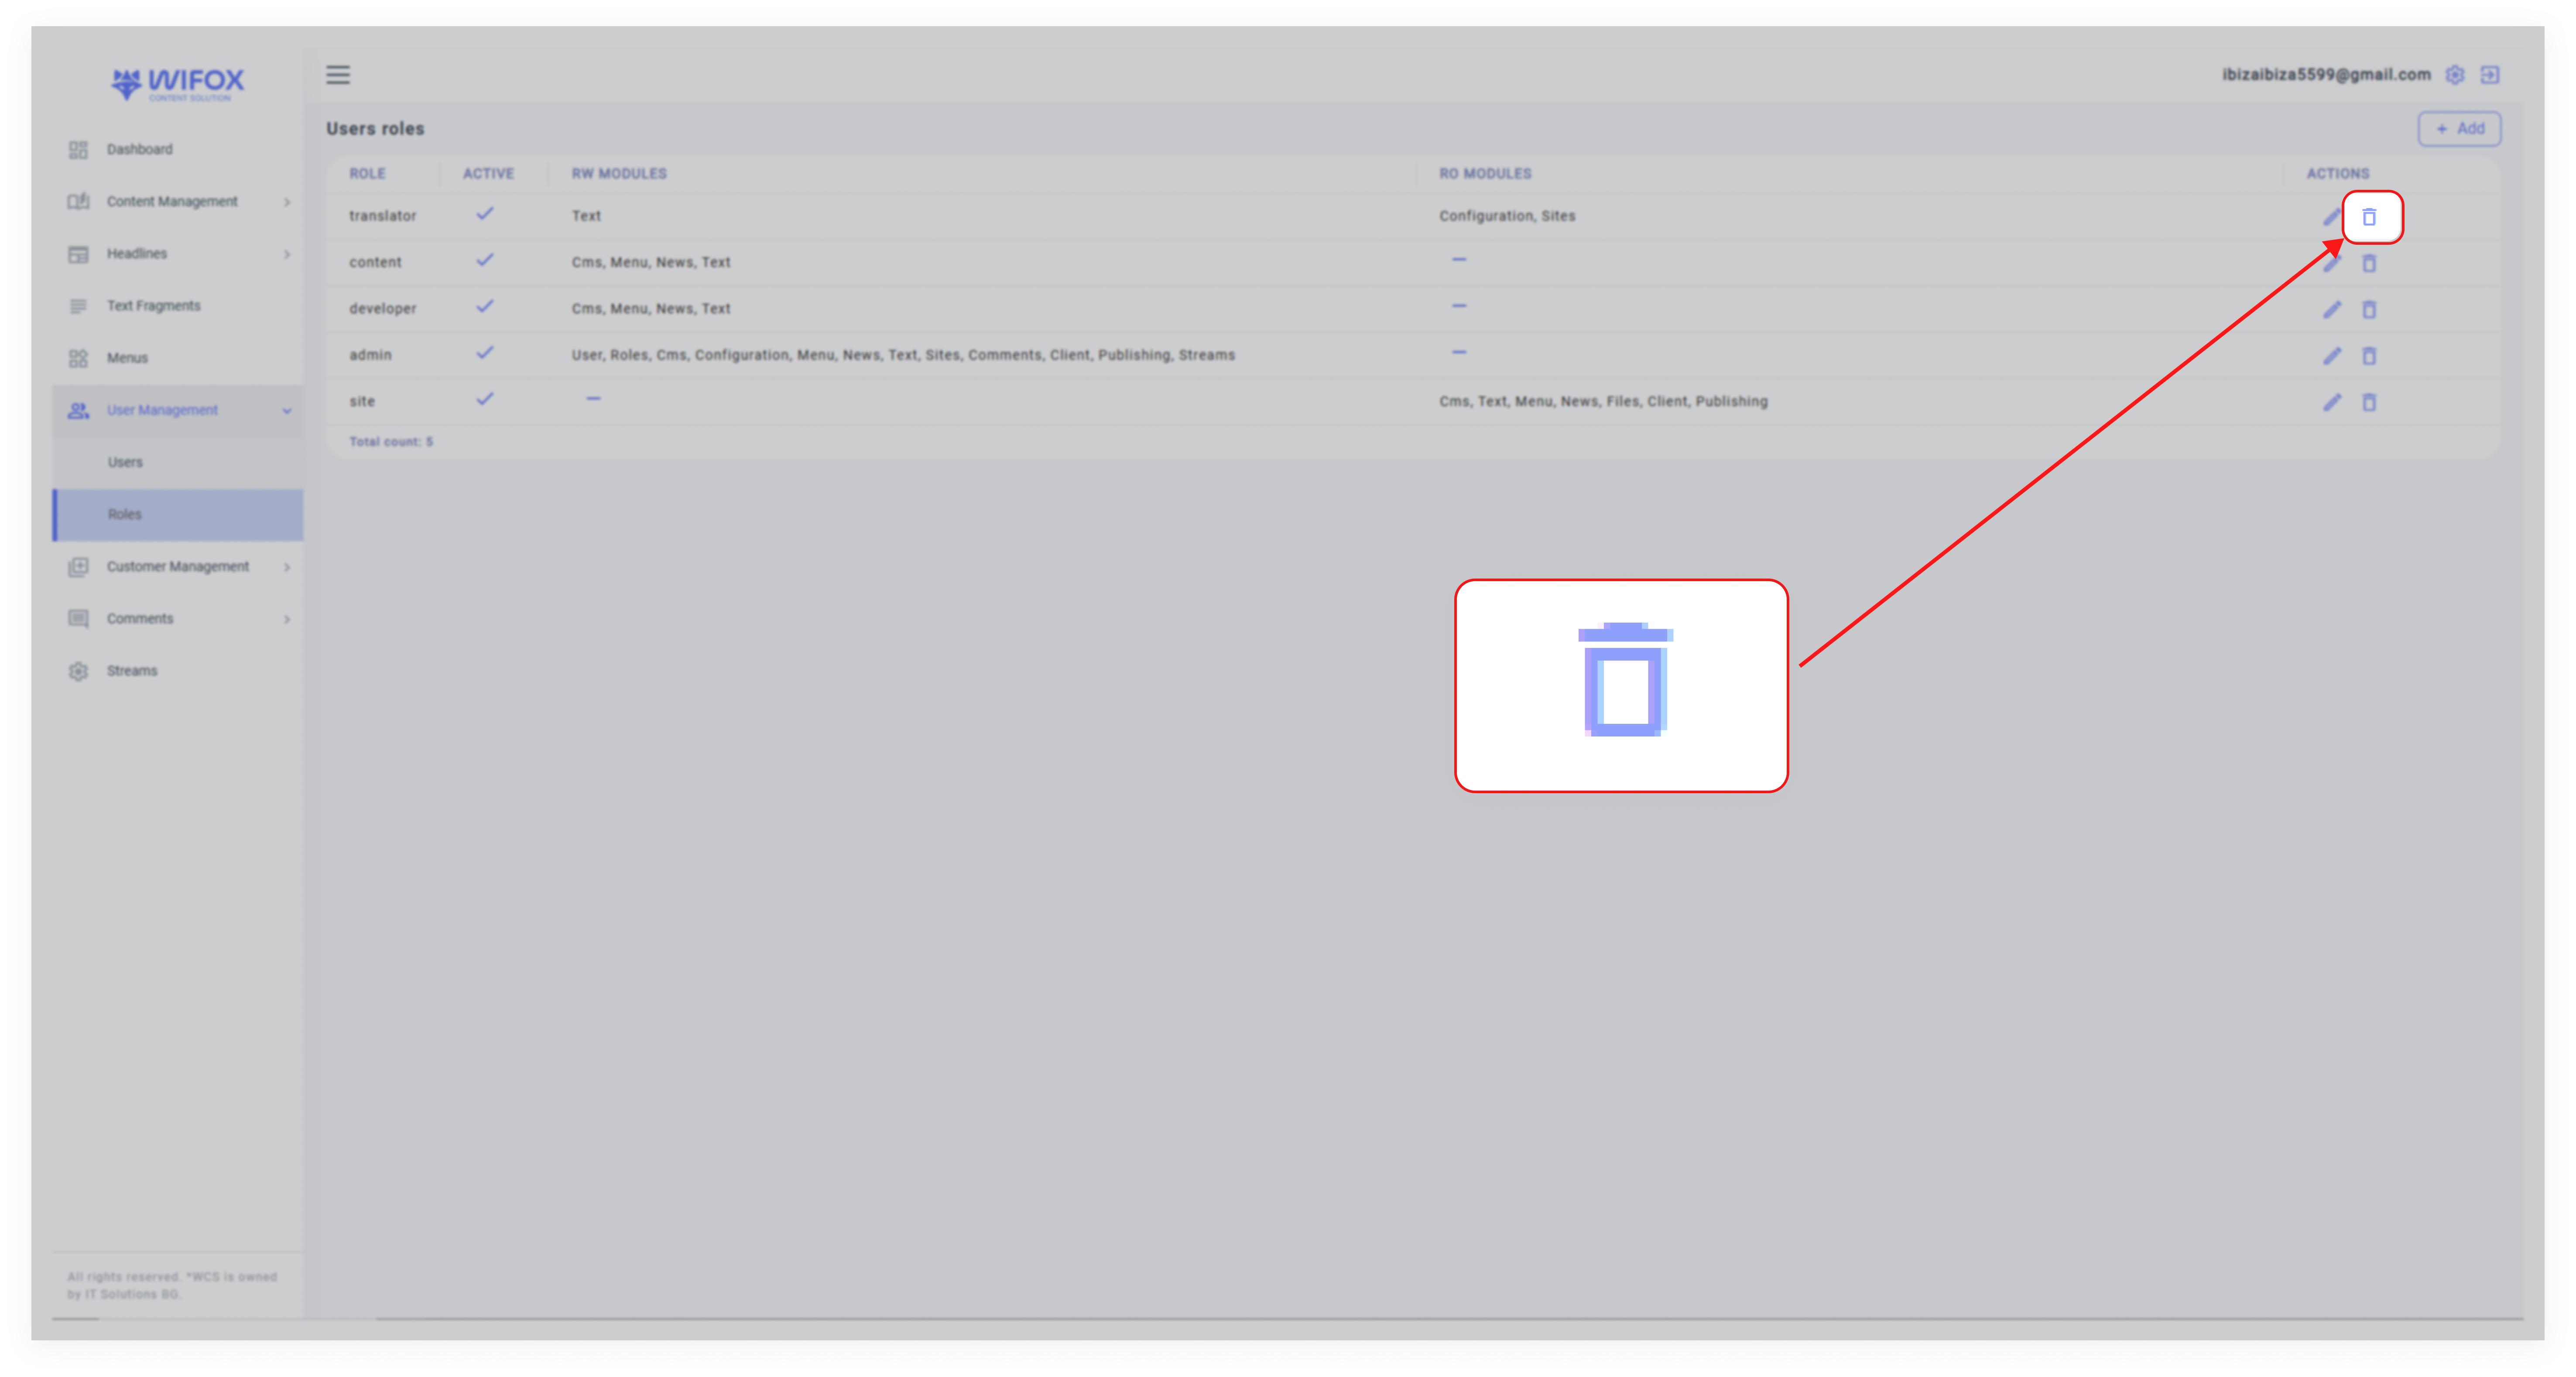
Click the trash icon next to the role.
3. Confirm Deletion
Confirm the action by clicking OK to permanently delete the role.

With intuitive drag-and-drop or click-based permissions and a streamlined interface for role creation and editing, the User Roles section in Wifox Business Content Solution provides precise control over access management.
Customer Management
1. Customers: Overview
The Clients section in Wifox Business Content Solution is designed for managing client data efficiently. This feature allows administrators to create, edit, and delete client profiles, which can be used to store important information or dynamic data for clients. It is particularly useful for organizations that want to use the system as a client management tool.
Key Features of the Customer Section
1. Client Creation
Add a new client by specifying details such as:
- Password
- Name
- Phone Number
Optionally, you can set dynamic data in the Properties section for additional customization.
2. Edit Client Details
Modify existing client information, such as their email, name, or phone number.
Update the Password or Active status as required.
Add comments or adjust the Properties field for dynamic data storage.
3. Delete Clients
Remove a client profile when it is no longer needed.
4. View and Manage Properties
Use the Properties section to append or modify dynamic data related to a client.
2. Customers: Use Cases
Use Case 1: Managing External Partners
An organization uses the Clients section to manage external partners by creating profiles for each partner company. They store contact details, access credentials, and custom dynamic fields (e.g., partnership type, contract status) in the Properties section. This enables quick reference and efficient communication.
Use Case 2: Custom Data Storage for Client Projects
A project-based business stores project-specific data (like project ID, start/end dates, or assigned teams) in the Properties field of each client. This allows administrators to manage client projects directly within the system without needing an external tool.
Use Case 3: Secure Access for VIP Clients
The admin creates client profiles for VIP users who need access to certain modules or content. These profiles are password-protected, and the Active toggle is used to enable or suspend access as needed, maintaining tight security.
Use Case 4: Notes and History Tracking
Support teams use the Comments field to log key interactions or notes about client requests and feedback. This gives the team a quick overview of past communication without switching systems.
Use Case 5: Cleanup and Data Maintenance
Periodically, the admin reviews inactive or outdated client profiles and uses the Delete feature to remove them, keeping the database clean and focused only on current clients.
3. How to Add a New Customer
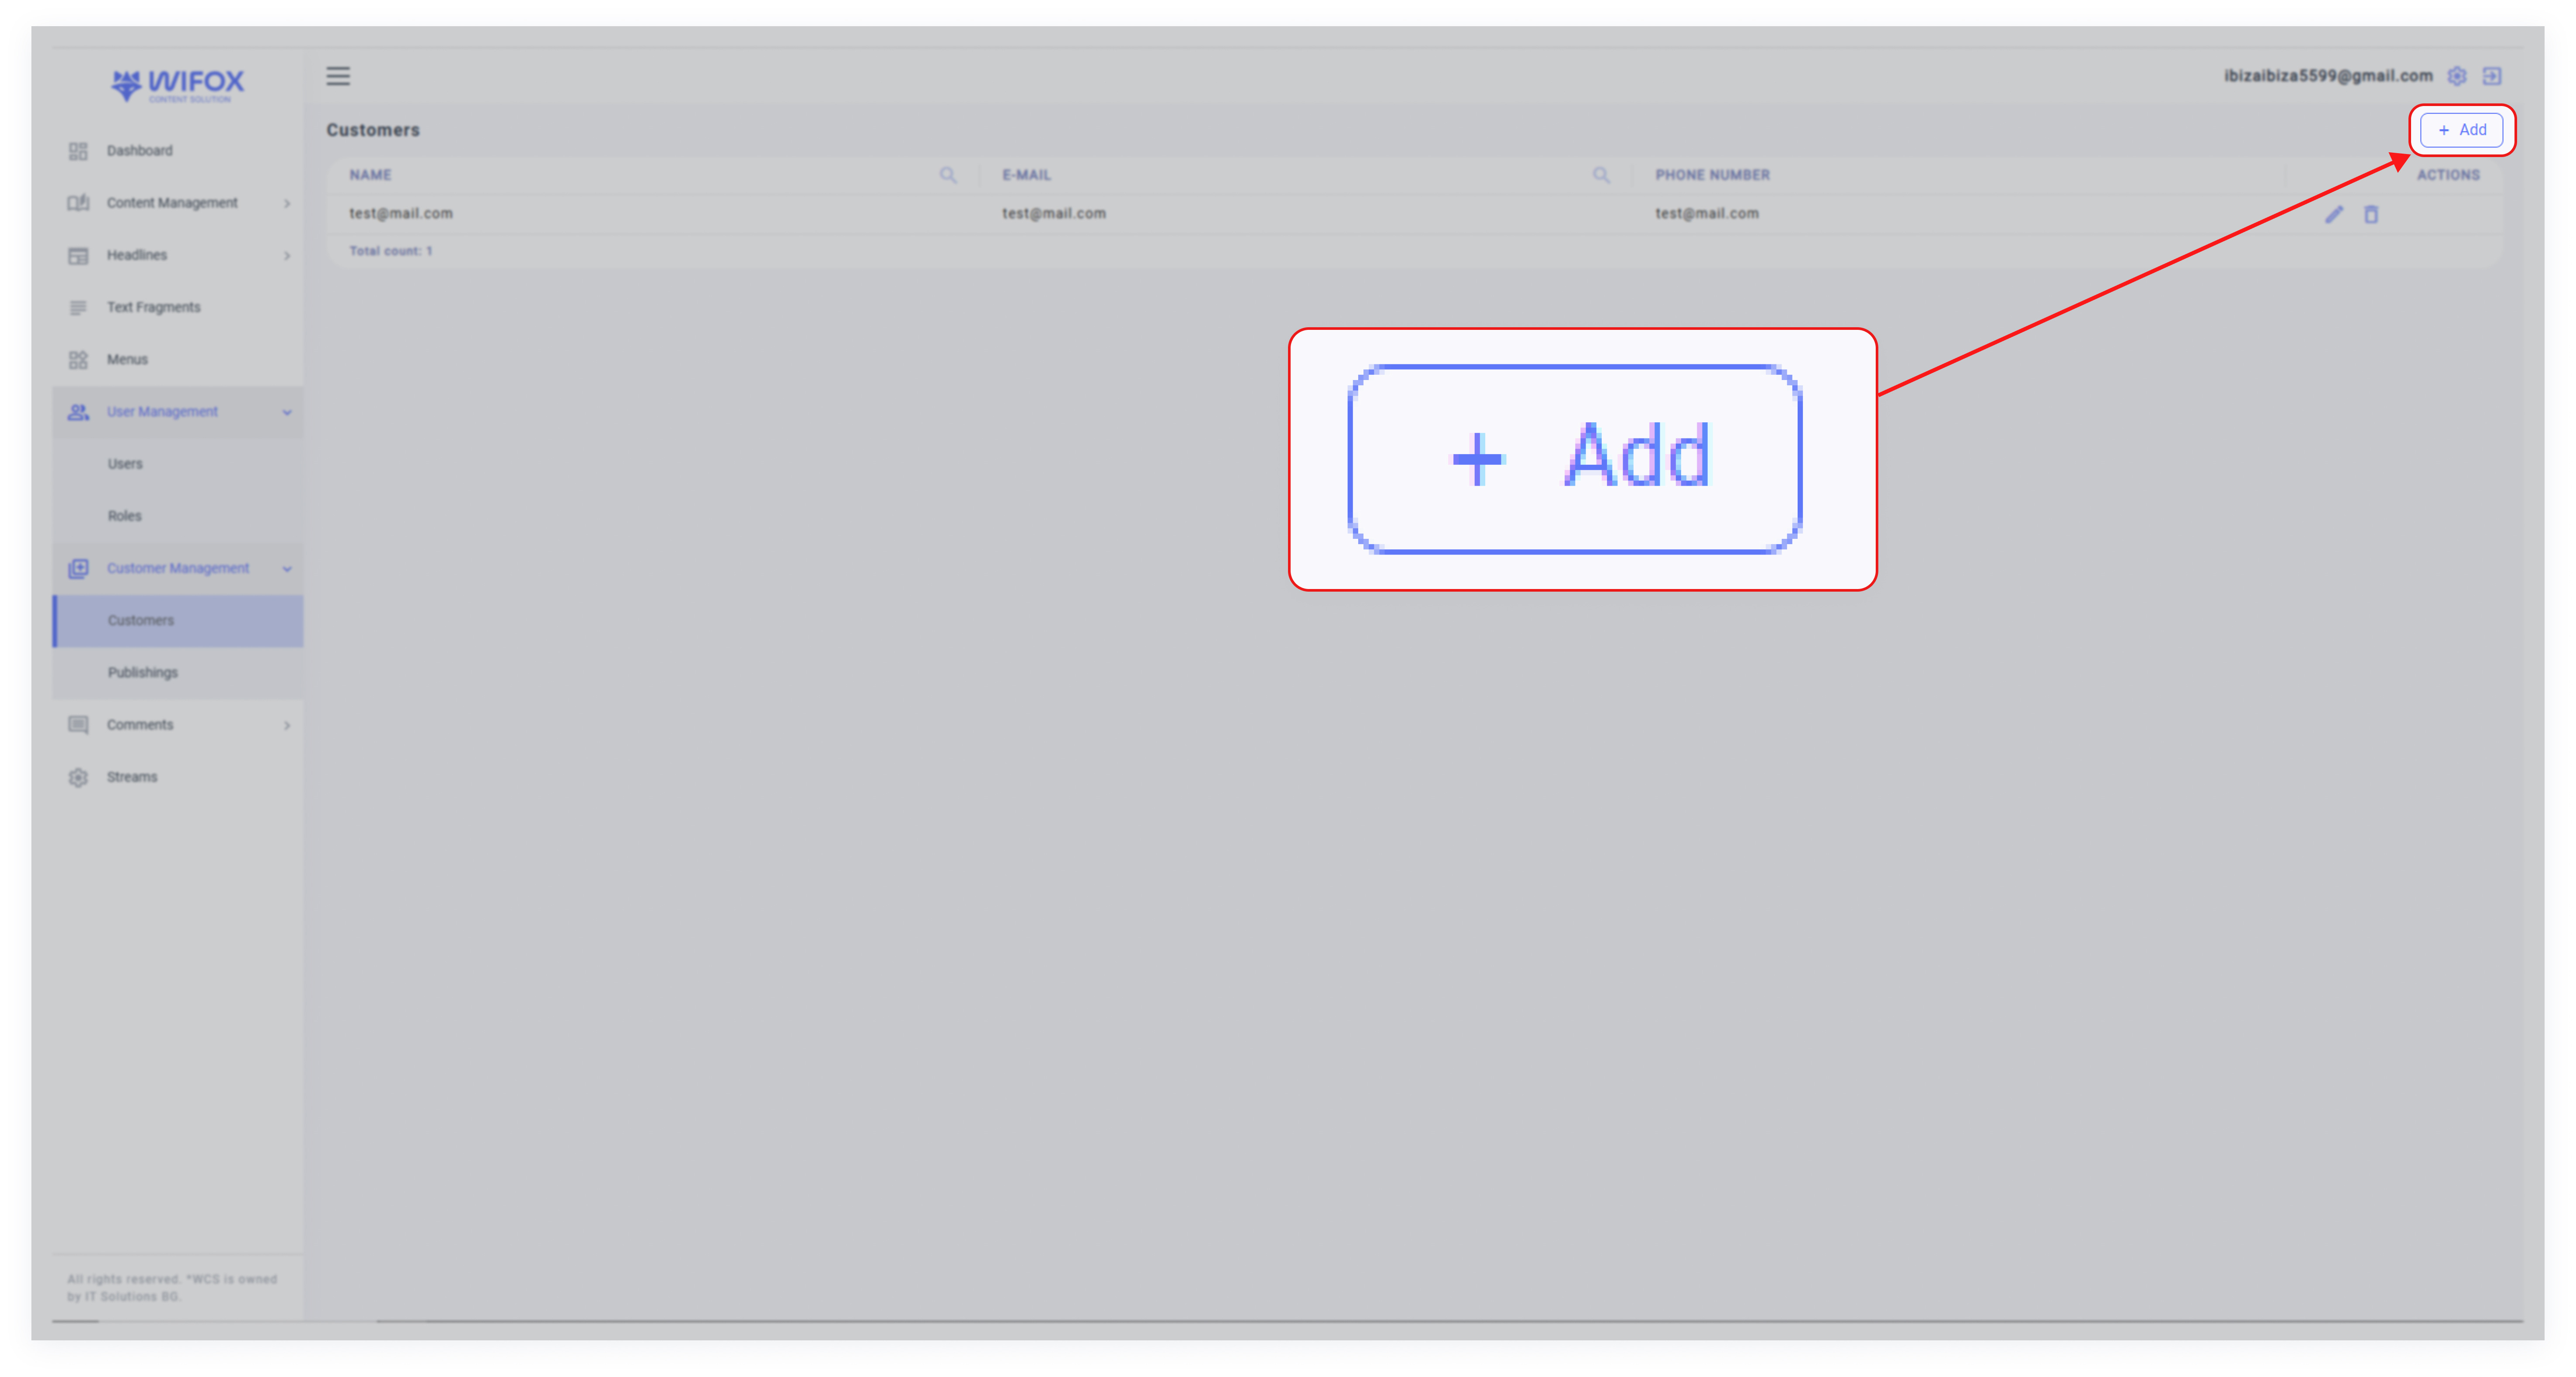
1. Click Add
2. Fill in Details
- Email: Enter the client’s email address.
- Password: Set a secure password.
- Name: Provide the client’s name.
- Phone: Add the phone number, if applicable.
- Comments: Write any notes related to the client.
- Active: Check this box to activate the client profile.
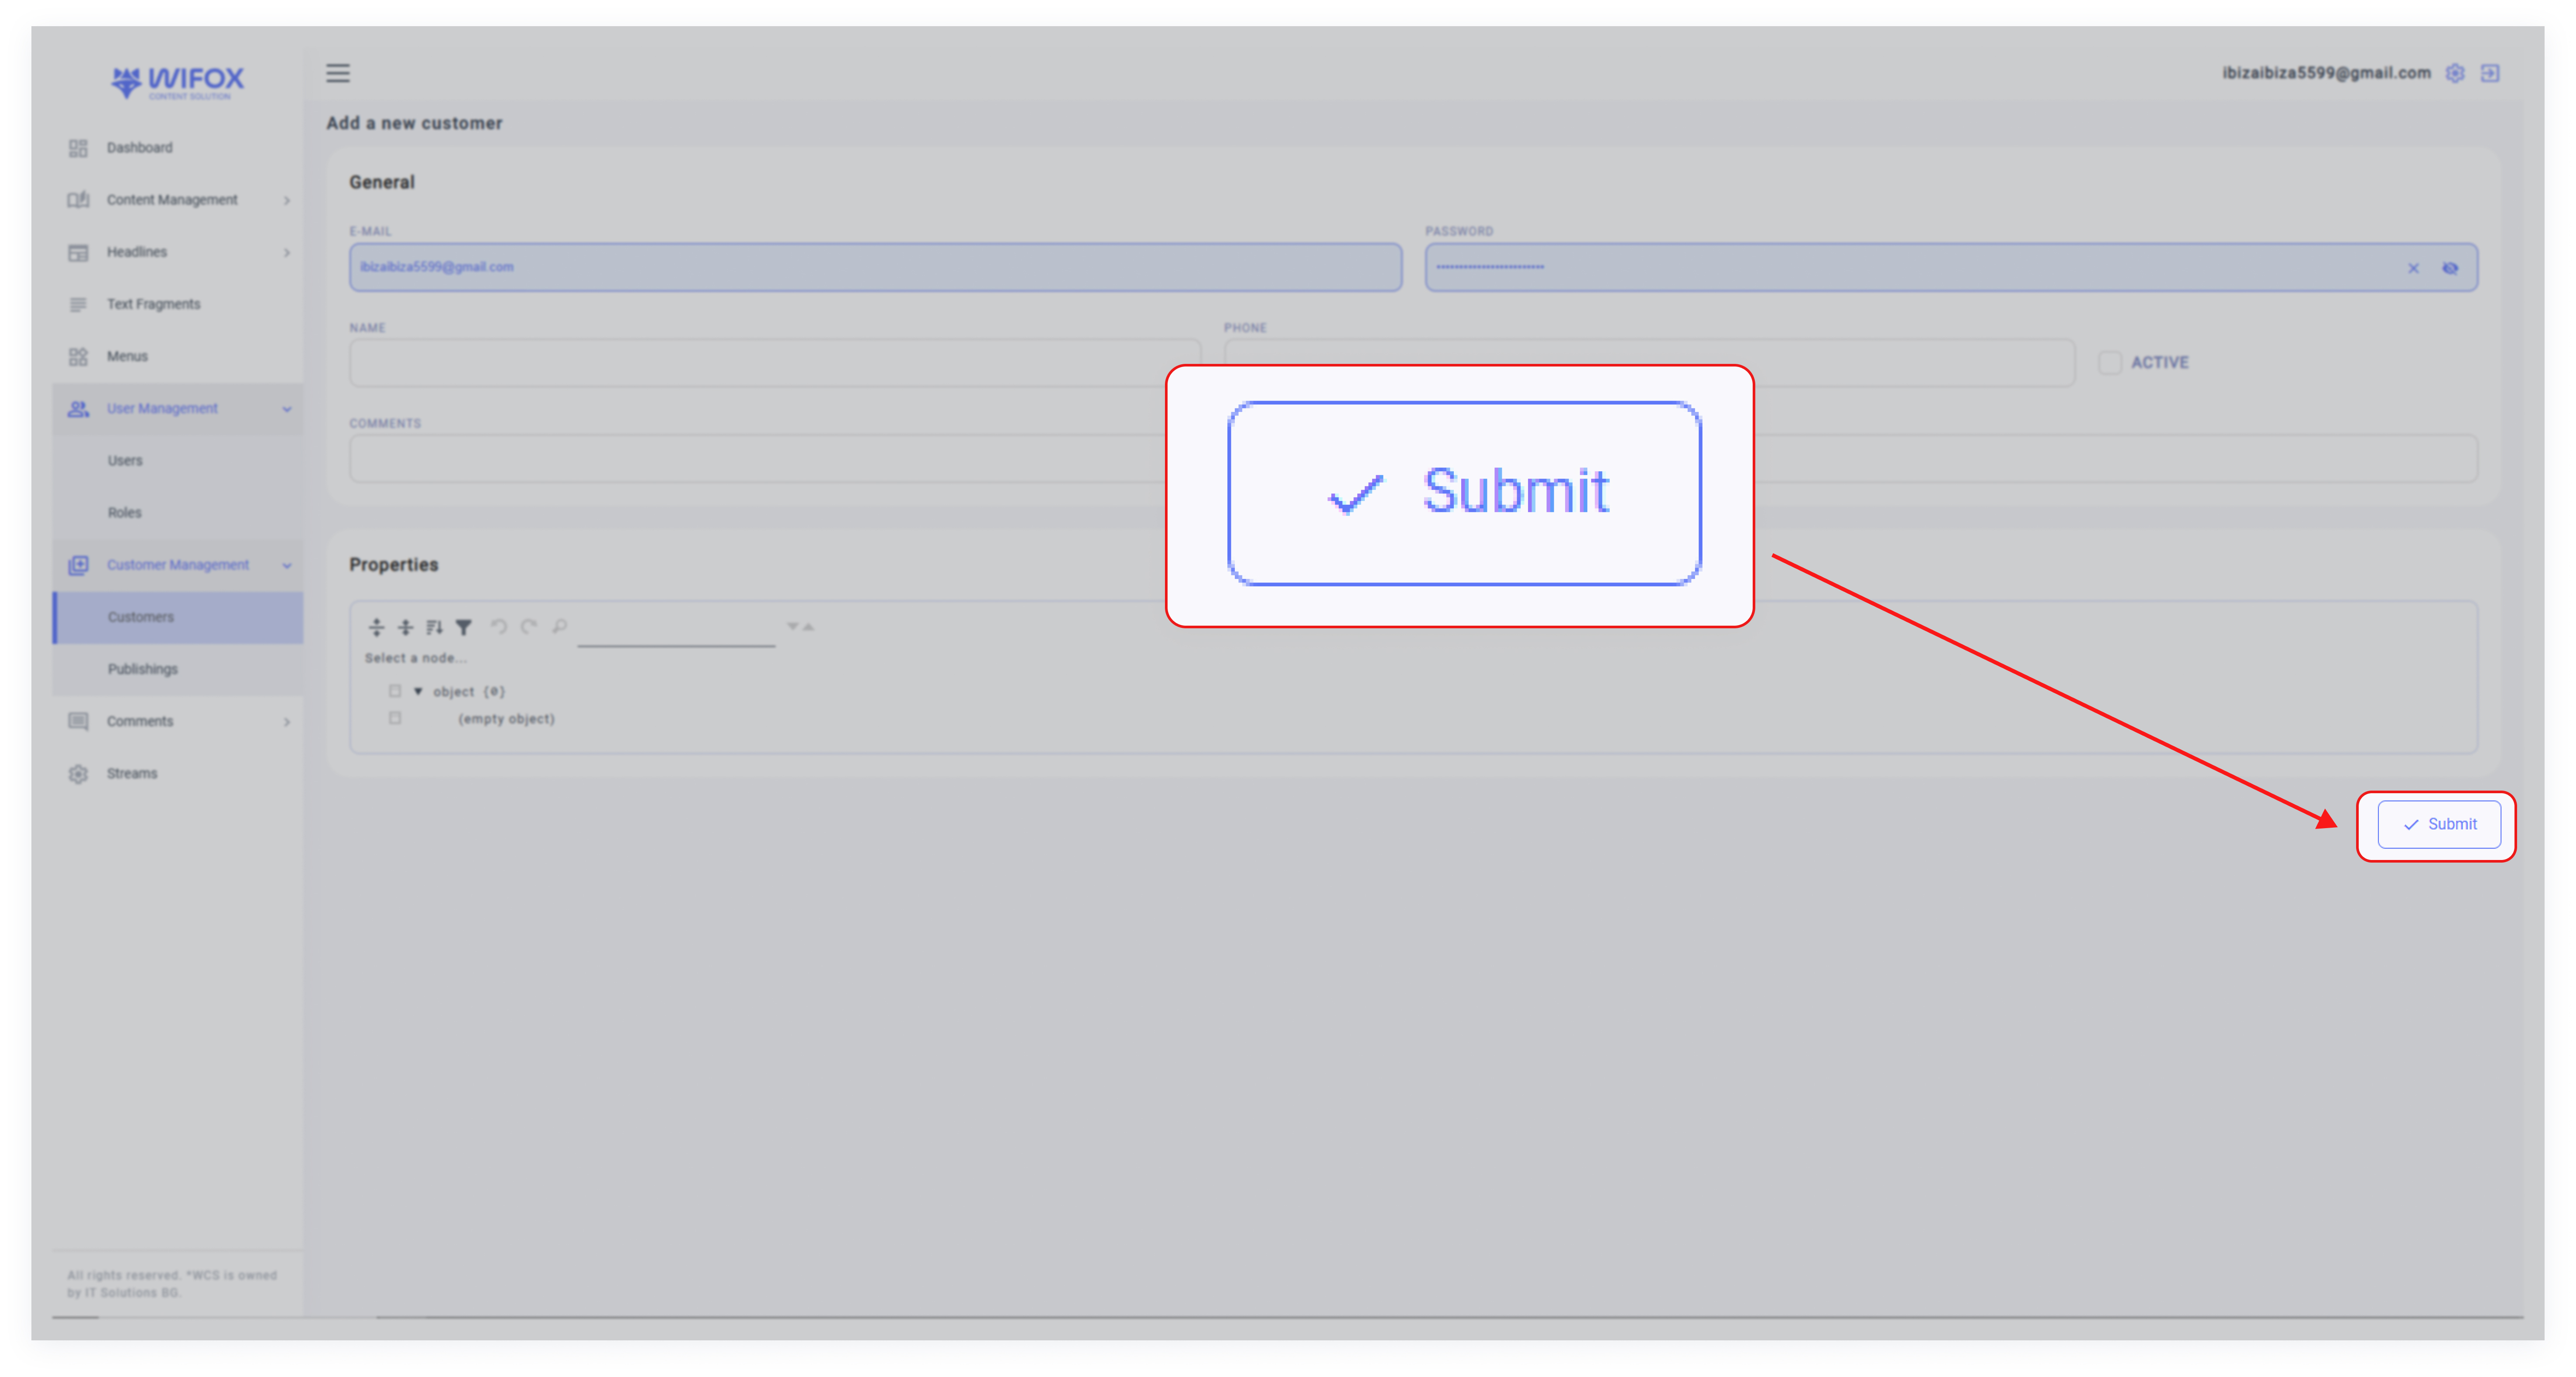
3. Submit
Click Submit to save the client profile.
4. How to Edit a Customer
1. Select the Client
Locate the client in the Clients list and click the pencil icon.
2. Update Details
Modify any required fields, such as email, password, or comments.
Adjust or append dynamic data in the Properties section.

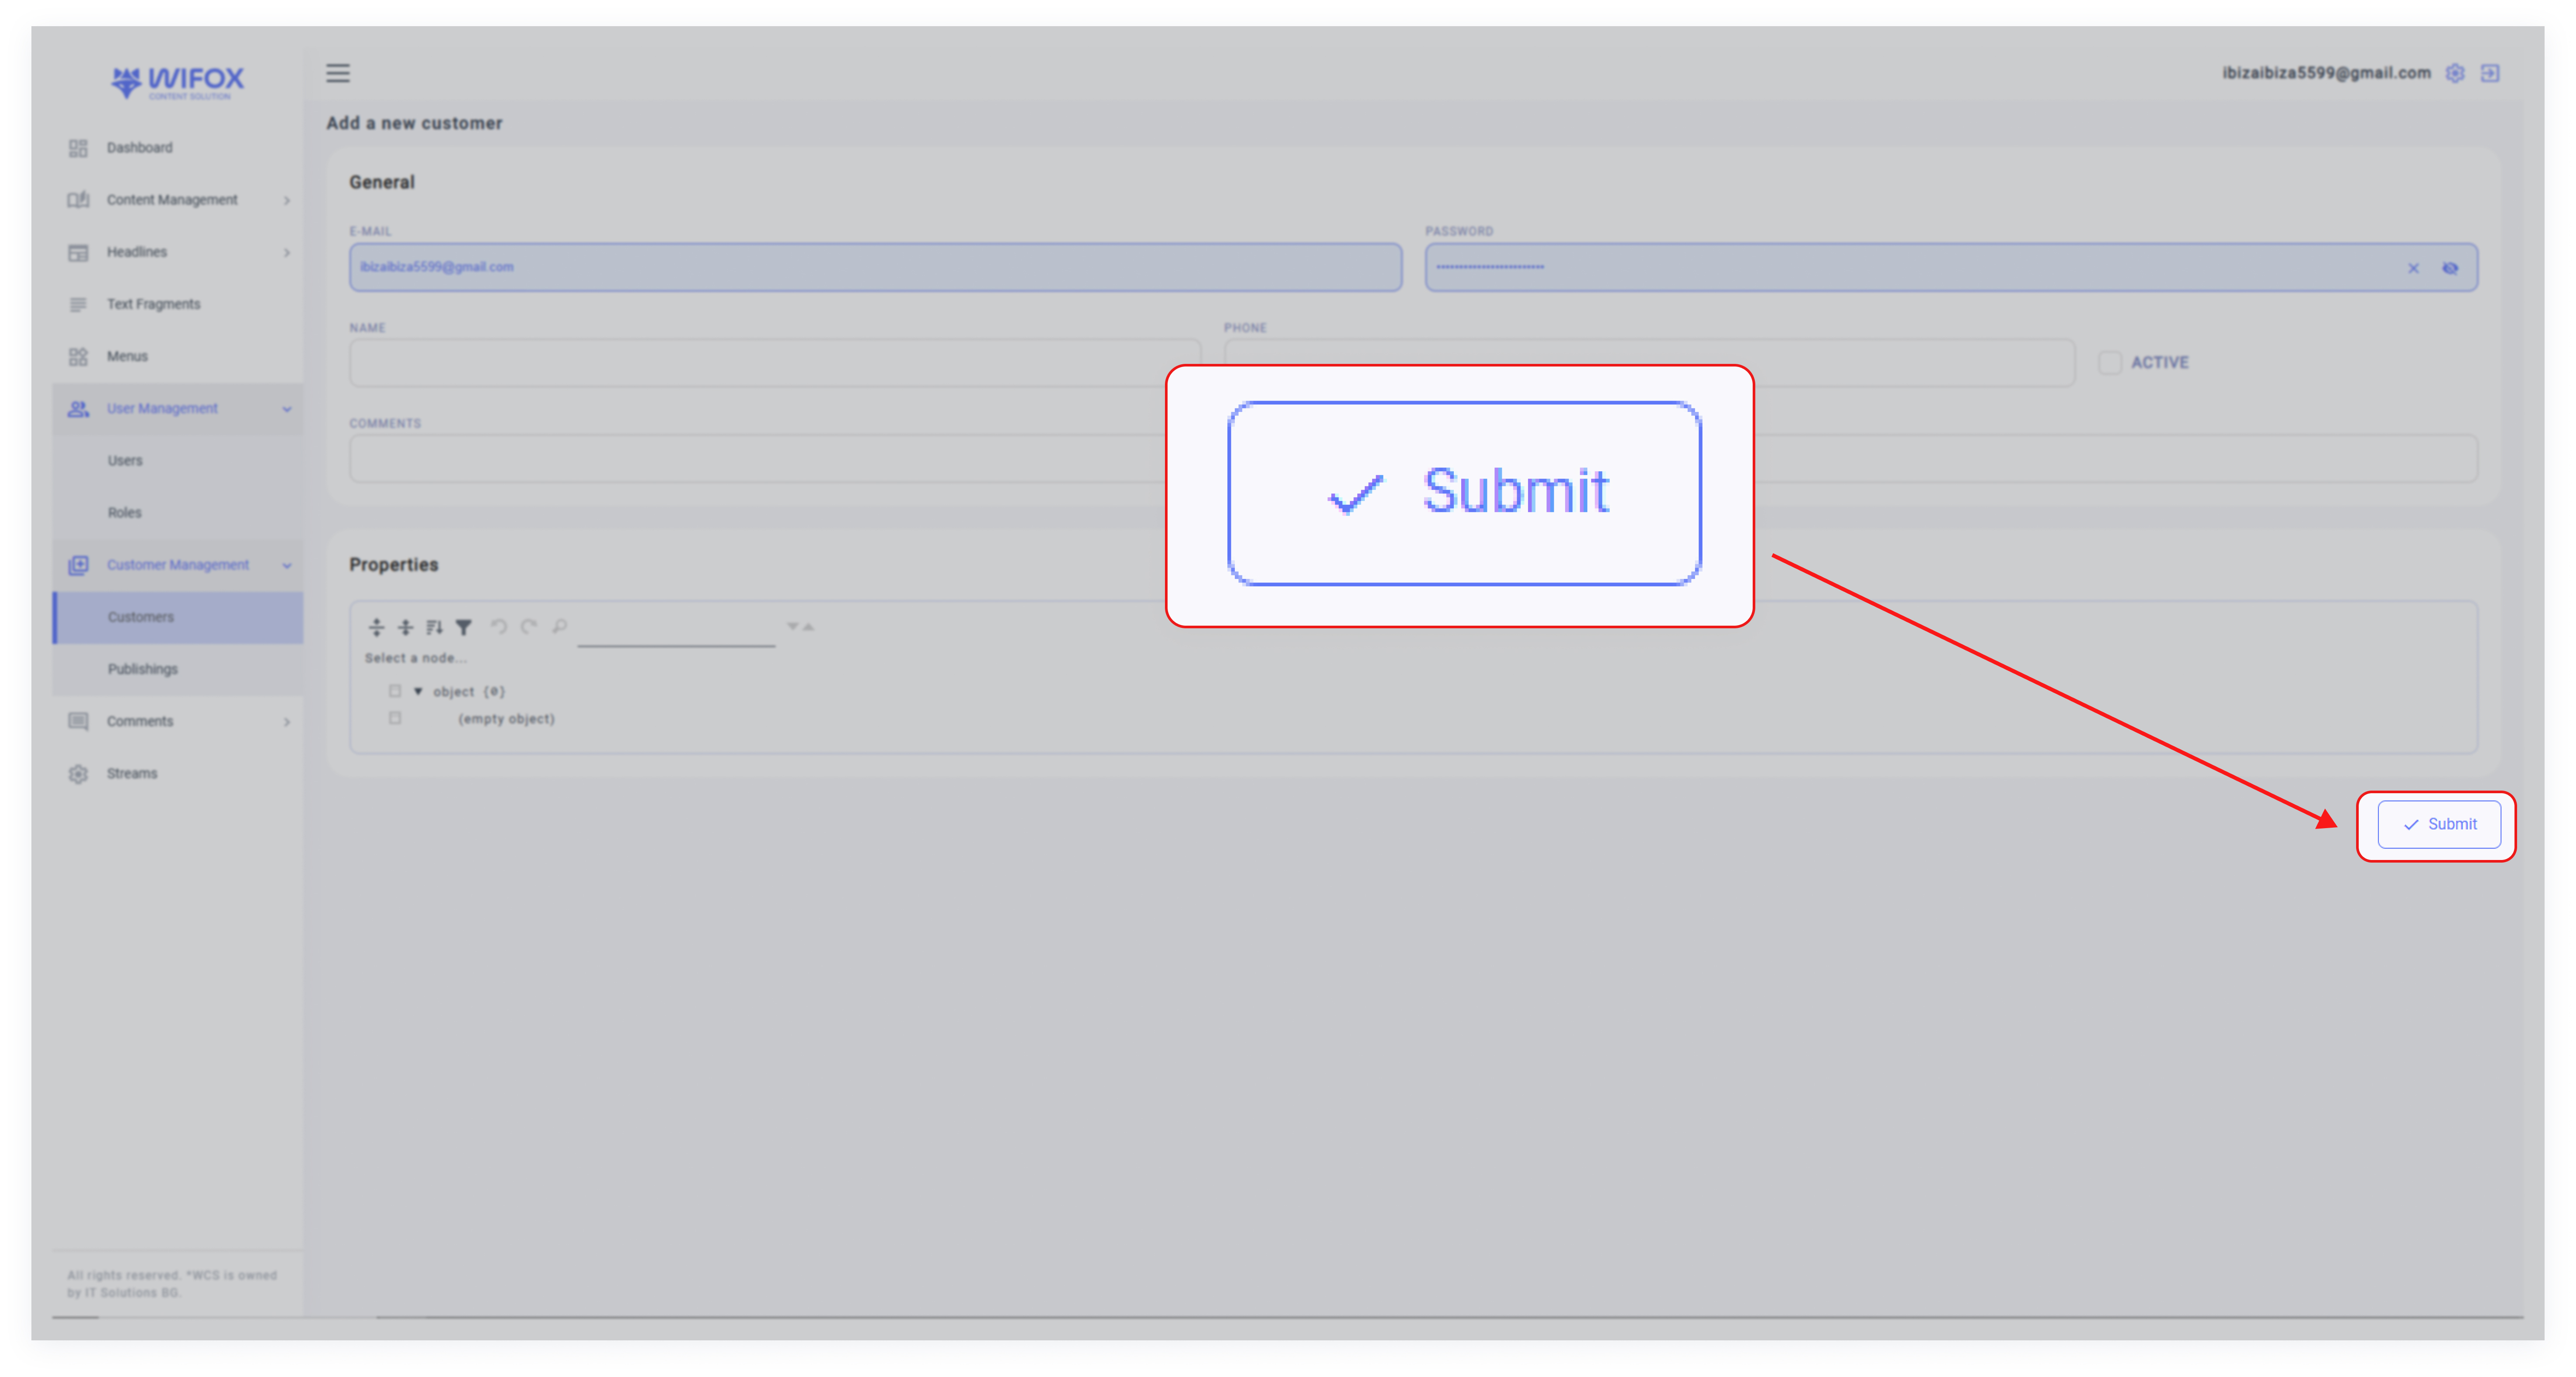
3. Save Changes
Click Submit to apply the changes.
5. How to Delete a Customer
1. Locate the Client
Find the client in the Clients list.
2. Delete the Profile
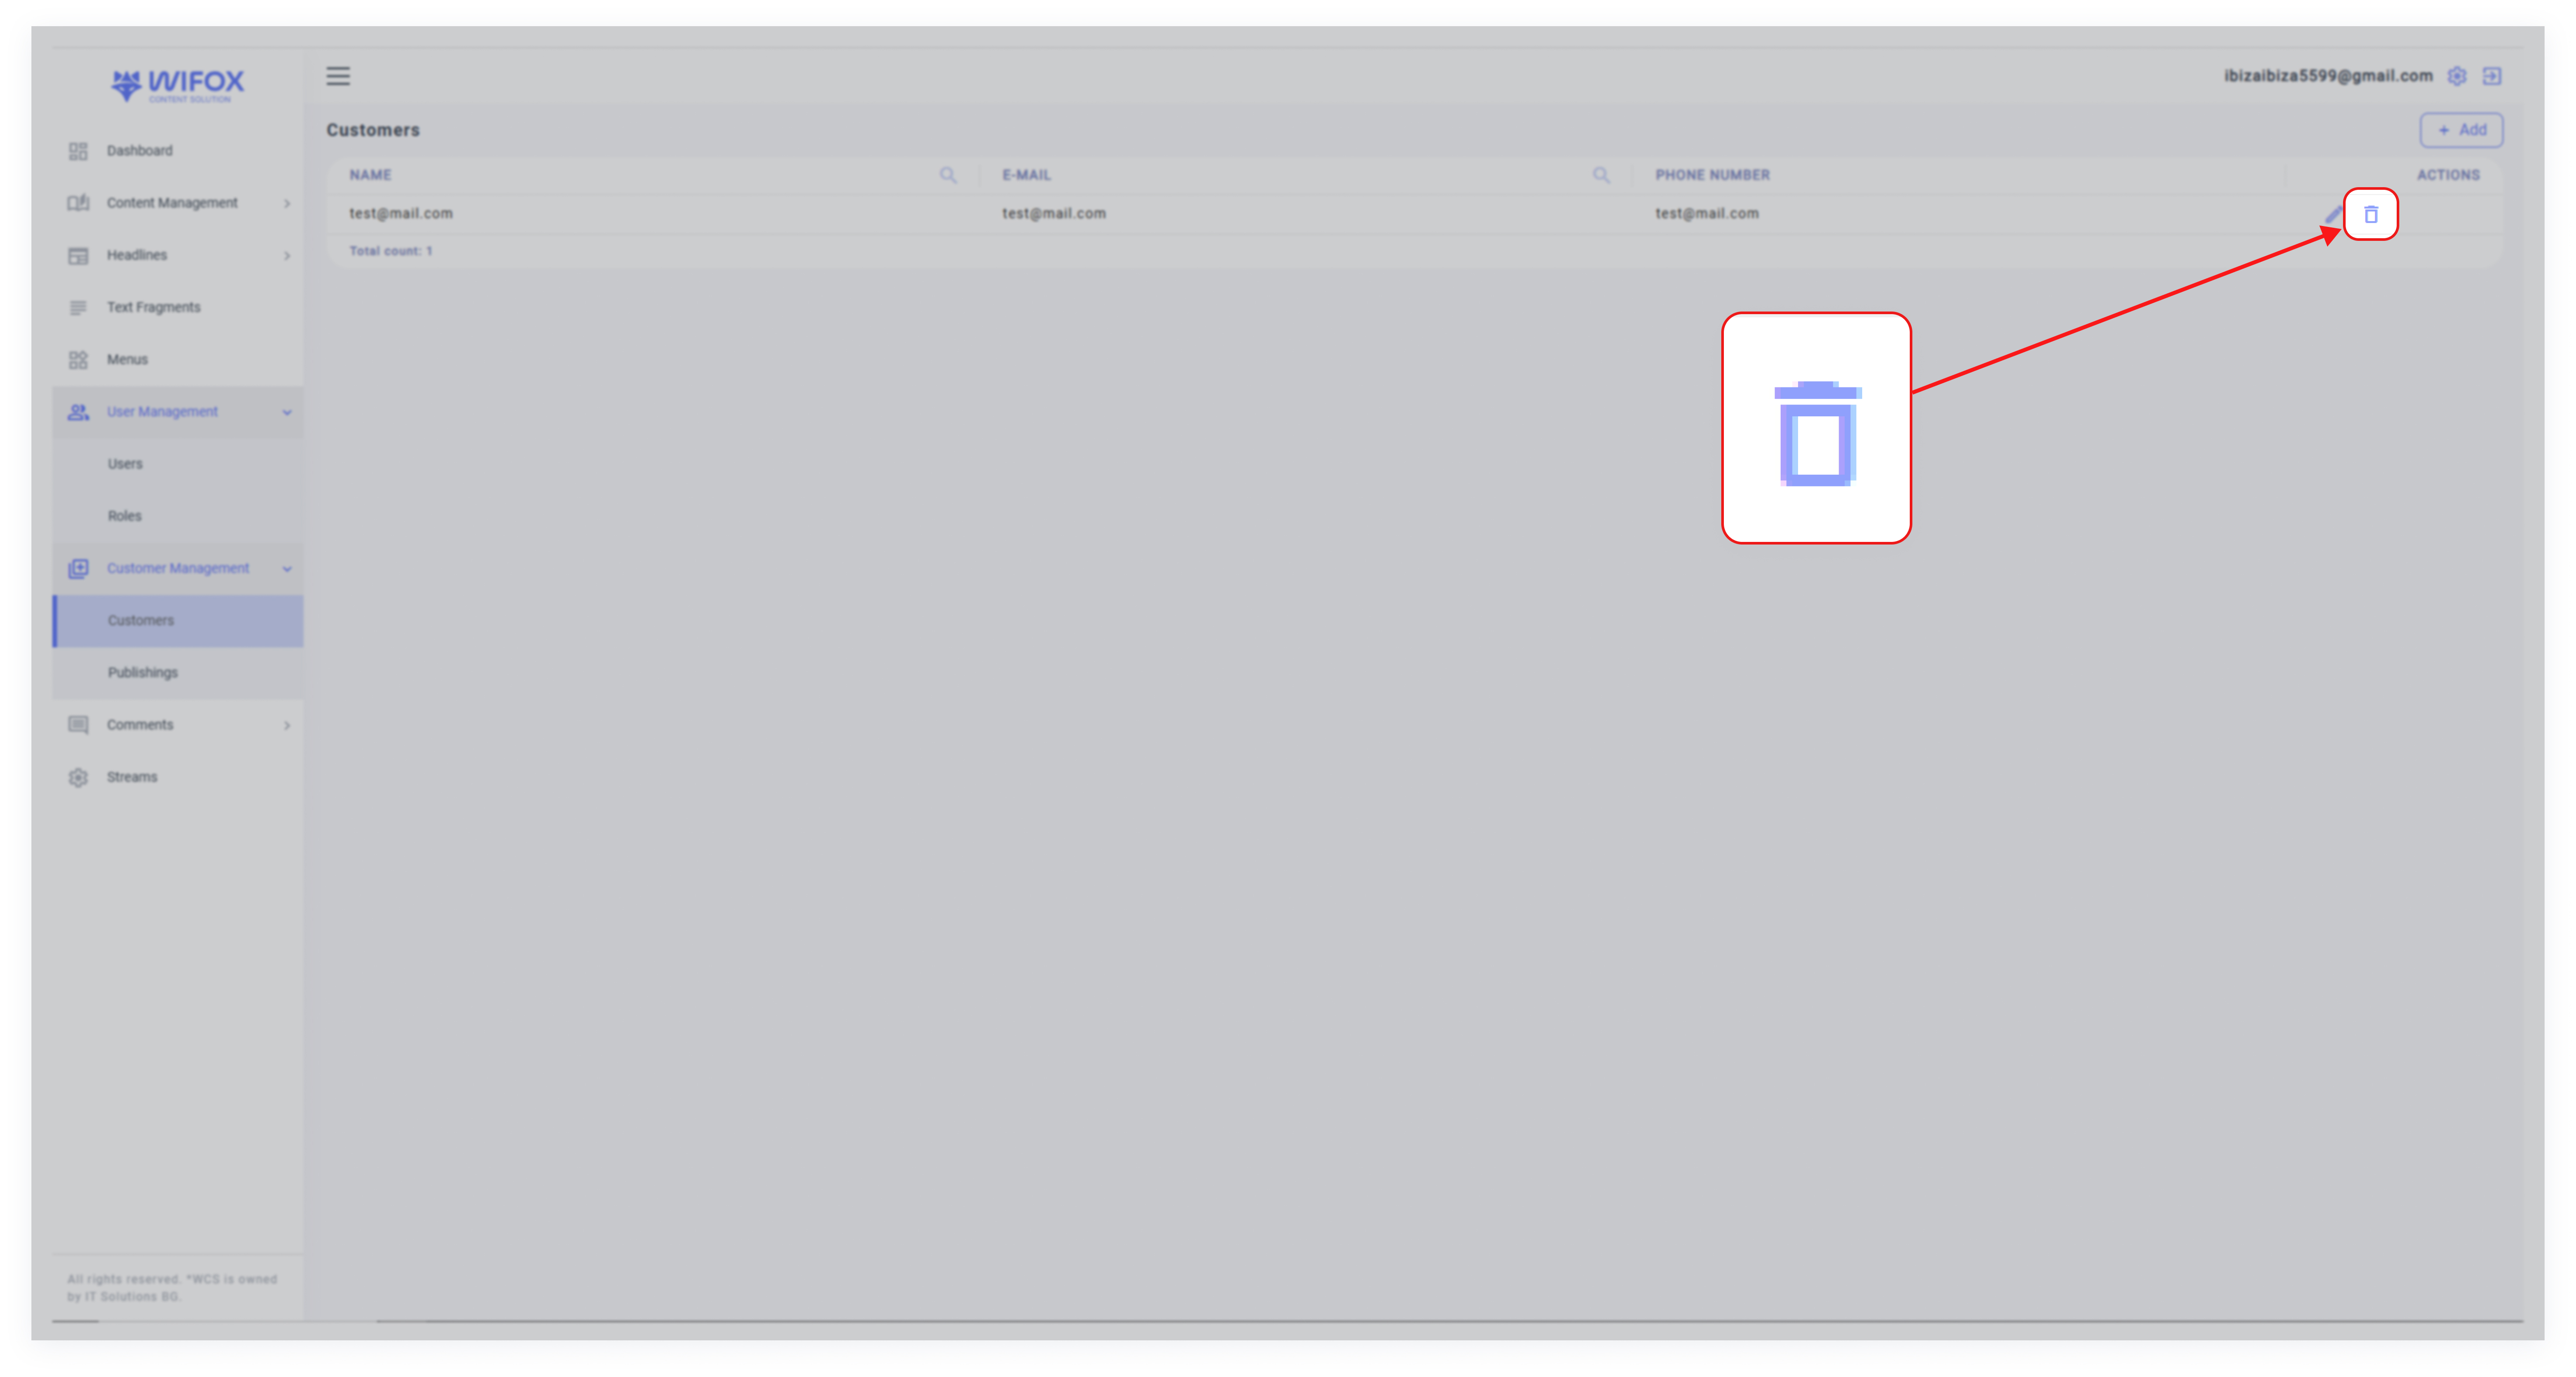
Click the trash icon next to the client’s name.
3. Confirm Deletion
Confirm the action by clicking OK.
6. Publishings: Overview
The Publishings section in Wifox Business Content Solution is specifically designed for API-based functionalities, serving as a repository for client-generated posts or templates. This feature allows client users to create and manage their submissions or drafts within their own client portals. These entries are stored as Publishings and are accessible only through API endpoints, not through the admin interface.
Key Features of Publishings
1. Client-Specific Submissions
Clients or their users can create content such as requests, templates, or personal drafts directly within their client portal.
These items are stored as Publishings, keeping them private and user-specific.
2. API-Only Access
Publishings are exclusively managed via API.
Admins cannot create or edit these entries directly within the admin panel, ensuring they remain within the client’s control.
3. Flexible Use Cases
Clients can use Publishings for saving templates, submitting internal requests, or any other custom content designed for their workflows.
How It Works
- Client Portals: Users access their portal and create drafts, requests, or templates as needed.
- API Integration: The system interacts with Publishings exclusively through API calls, allowing seamless integration into client-specific workflows.
- Admin Role: Administrators have oversight but no direct access to creating or modifying Publishings via the admin panel.
Example Use Case
A client user logs into their portal and creates a draft for a service request using a template. This draft is saved as a Publishing within the system and can only be retrieved or updated via API endpoints. The admin oversees the system but cannot directly interact with or modify the publishing.
Comments Section
1. Comments Section: Overview
The Comments section in Wifox Business Content Solution provides a powerful interface for managing user feedback across different content pages. It enables administrators to view, moderate, rate, and evaluate user-submitted comments, helping maintain content quality and user trust.
This section is ideal for platforms that include public interaction or reviews, allowing full control over user-submitted content with moderation, rating, and detailed evaluation tools.
The following sections are available in the Comments module:
2. Use Cases
Use Case 1: Public Review Moderation
Administrators regularly check the comments submitted by users to ensure they align with platform standards. Using the List of Comments, they review unmoderated submissions, approve helpful ones, and reject or delete inappropriate or spammy content. This ensures only relevant and respectful feedback is shown publicly.
Use Case 2: Identifying Popular Pages
By checking the average ratings and comment counts in the List of Pages section, admins can identify which pages are receiving the most engagement. This helps the team focus on promoting or updating the most viewed and interacted-with content.
Use Case 3: Tracking User Sentiment
Evaluations such as Security, Support, Usability, and Withdrawal are used to analyze user sentiment about a product or service. These detailed sliders, along with advantages/disadvantages fields, allow organizations to gather insights and make improvements based on real user feedback.
Use Case 4: Cleaning Up Irrelevant Comments
Occasionally, admins use the List of Comments to find low-quality or irrelevant submissions. With the delete function, they quickly remove these to maintain content quality and prevent clutter in the comment section.
Use Case 5: Editing and Correcting Submitted Comments
If a submitted comment includes a formatting issue, sensitive information, or a typo, the admin can edit the content instead of deleting it. This preserves useful feedback while ensuring clarity and compliance with platform standards.
Use Case 6: Investigating Low-Rated Content
When a page has a low average rating, administrators can drill down into the specific comments using the List of Comments section to understand the reasons. This often leads to improvements in the content or services offered.
3. List of Pages
The List of Pages section provides an overview of all content pages that have received comments. It allows administrators to monitor where comments are being posted, how many require attention, and manage these entries quickly.
Key Columns in the List of Pages Table
- ID – Unique identifier of the page.
- Rating – Average user rating for that page based on submitted comments.
- Title – The title of the content or page.
- URL – The source link or address where the comments are posted.
- Total – Total number of comments submitted for the page.
- Waiting – Number of comments pending moderation.
- Actions – Delete icon to remove a page's comment data if necessary.
Steps to Use the List of Pages Section
Step 1: Access the Section
Navigate to Comments → List of Pages in the left-hand menu.
Step 2: Review Comment Activity
Check each row to see:
- How many total comments exist.
- How many are waiting for moderation.
- The average rating provided by users.
Step 3: Search and Filter
Use the search icons at the top of columns (ID, Title, URL) to locate a specific page quickly.
Step 4: Delete a Page’s Comment Data (if needed)
Click the Trash icon in the Actions column to delete comments associated with that page. Confirm the deletion to proceed.
4. List of Comments
The List of Comments section displays individual user-submitted comments, including all relevant details. This is where administrators can view, edit, approve, deny, or delete each comment manually.
Key Columns in the Comments Table
-
Page ID – The page to which the comment belongs.
-
Comment – The full text of the user’s comment, often including the user’s email.
-
Rating – Star-based rating submitted with the comment.
-
Creation Date – Date and time the comment was submitted.
-
Actions – Icons for approving, editing, or deleting the comment.
Steps to Use the List of Comments Section
Step 1: Access the Section
Navigate to Comments → List of Comments in the left-hand menu.
Step 2: Review Comments
Scroll through the list to view unmoderated comments. You’ll see full comment content and ratings at a glance.
Step 3: Moderate or Manage Comments
In the Actions column, use:
-
Checkmark to approve the comment.
-
Pencil icon to edit the comment details.
-
Trash icon to delete the comment permanently.
Editing a Comment
Clicking the Edit icon opens a detailed moderation form. Here’s what you can manage:
User Name & Email – View who submitted the comment.
Date – Adjust the creation date if needed.
Rating – Modify the star rating (1–5 stars).
Moderation Status – Choose between:
- Pending – Awaiting moderation.
- Approved – Visible on the platform.
- Denial – Hidden or rejected.
Evaluation Sliders – Rate the content across specific metrics:
-
Security
-
Support
-
Usability
-
Withdrawal
Advantages & Disadvantages – Optional fields to describe the pros and cons mentioned in the comment.
Comment Field – The full comment text can be edited directly.
Submit the Changes: Once all updates are complete, click Submit to save the changes and update the moderation status.
Streams Section
1. Streams Section: Overview
The Streams feature in Wifox Business Content Solution allows administrators to integrate and manage event streams from external databases or admin panels using specified endpoints and join keys. This functionality is particularly useful for pulling event data into a centralized system for further actions like copying or language-specific adjustments.
Benefits
- Centralized Integration: Streamlines data management by importing events from various external sources.
- Language-Specific Adaptation: Allows copying and editing content for different language settings.
- Simplified Management: Enables quick editing and deletion of streams directly within the interface.
This section ensures that administrators can efficiently handle event data across multiple platforms, providing a seamless workflow for integrating external content into Wifox Business Content Solution.
Key Features
1. Adding a Stream
Use the Add Stream button to create a new stream.

Fill in the required fields:
- Stream Name: Use lowercase alphabets only for naming (e.g., "investments").
- Endpoint: Specify the URL where the events will be pulled from.
- Join Key: Paste the unique key provided by the external admin system.
Click Submit to save the stream.
2. Managing Stream Data
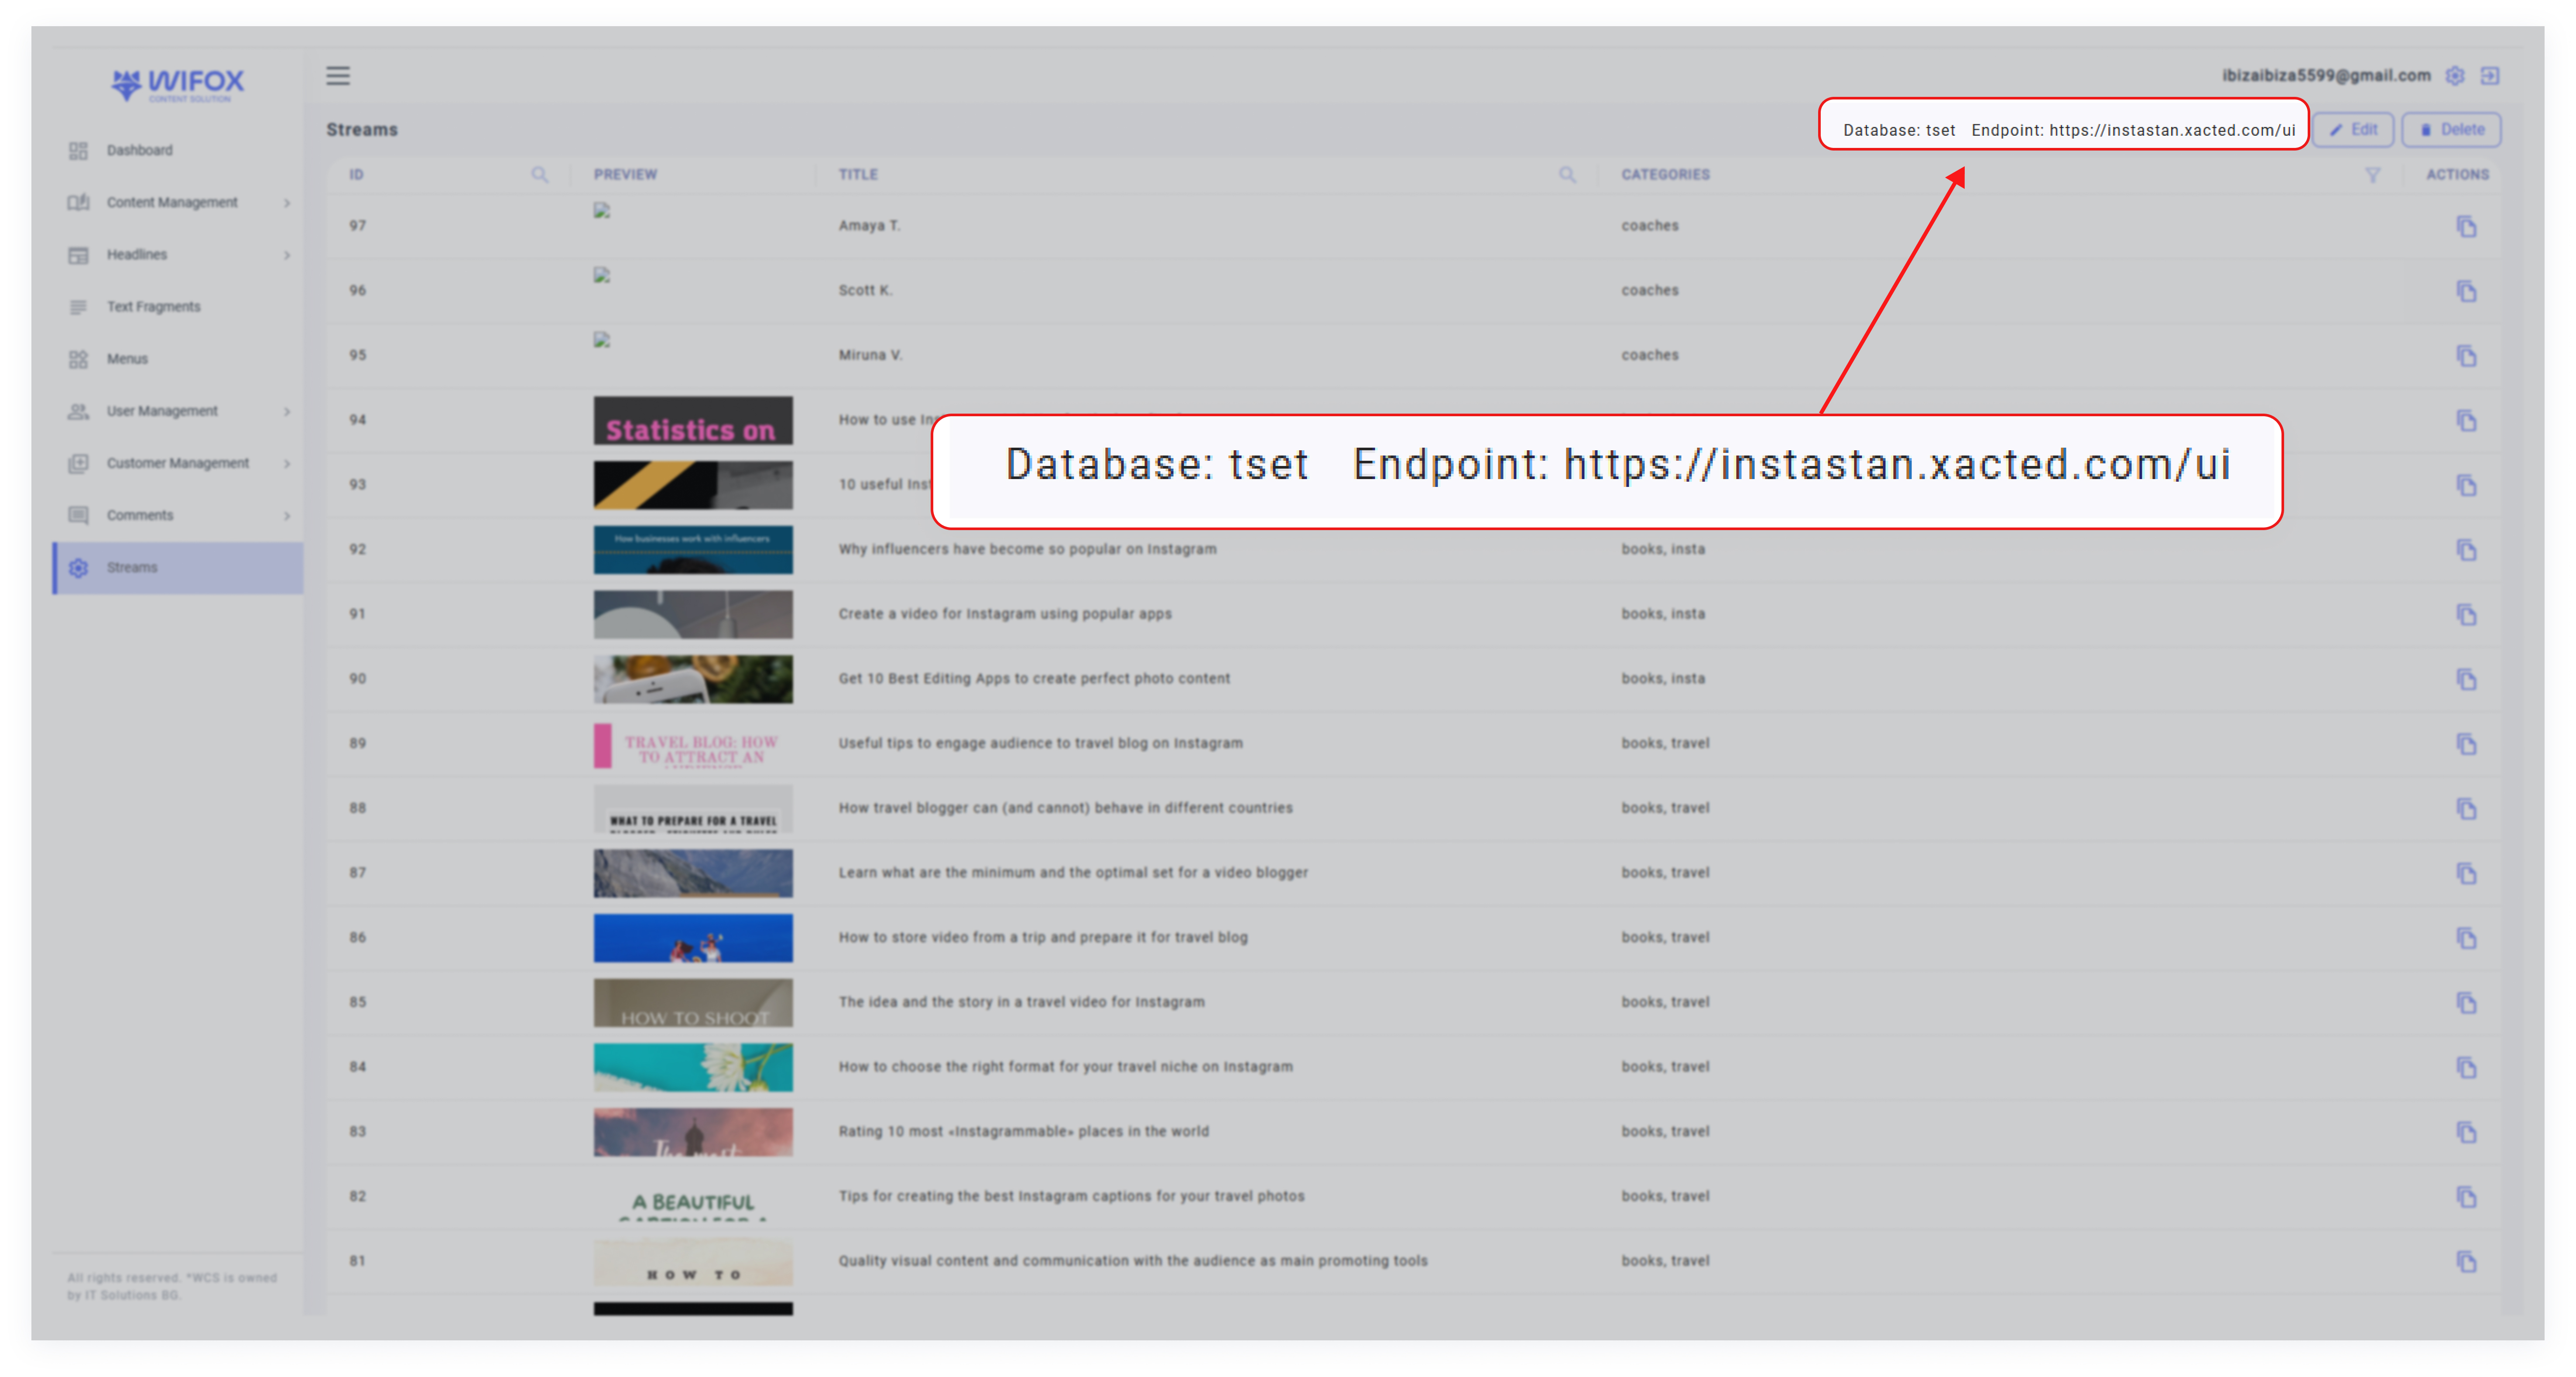
Streams automatically display data like event titles, categories, and IDs once linked.
You can only copy existing data; modifications must occur in the original database.
3. Editing a Stream
Click Edit to update the endpoint or stream settings.
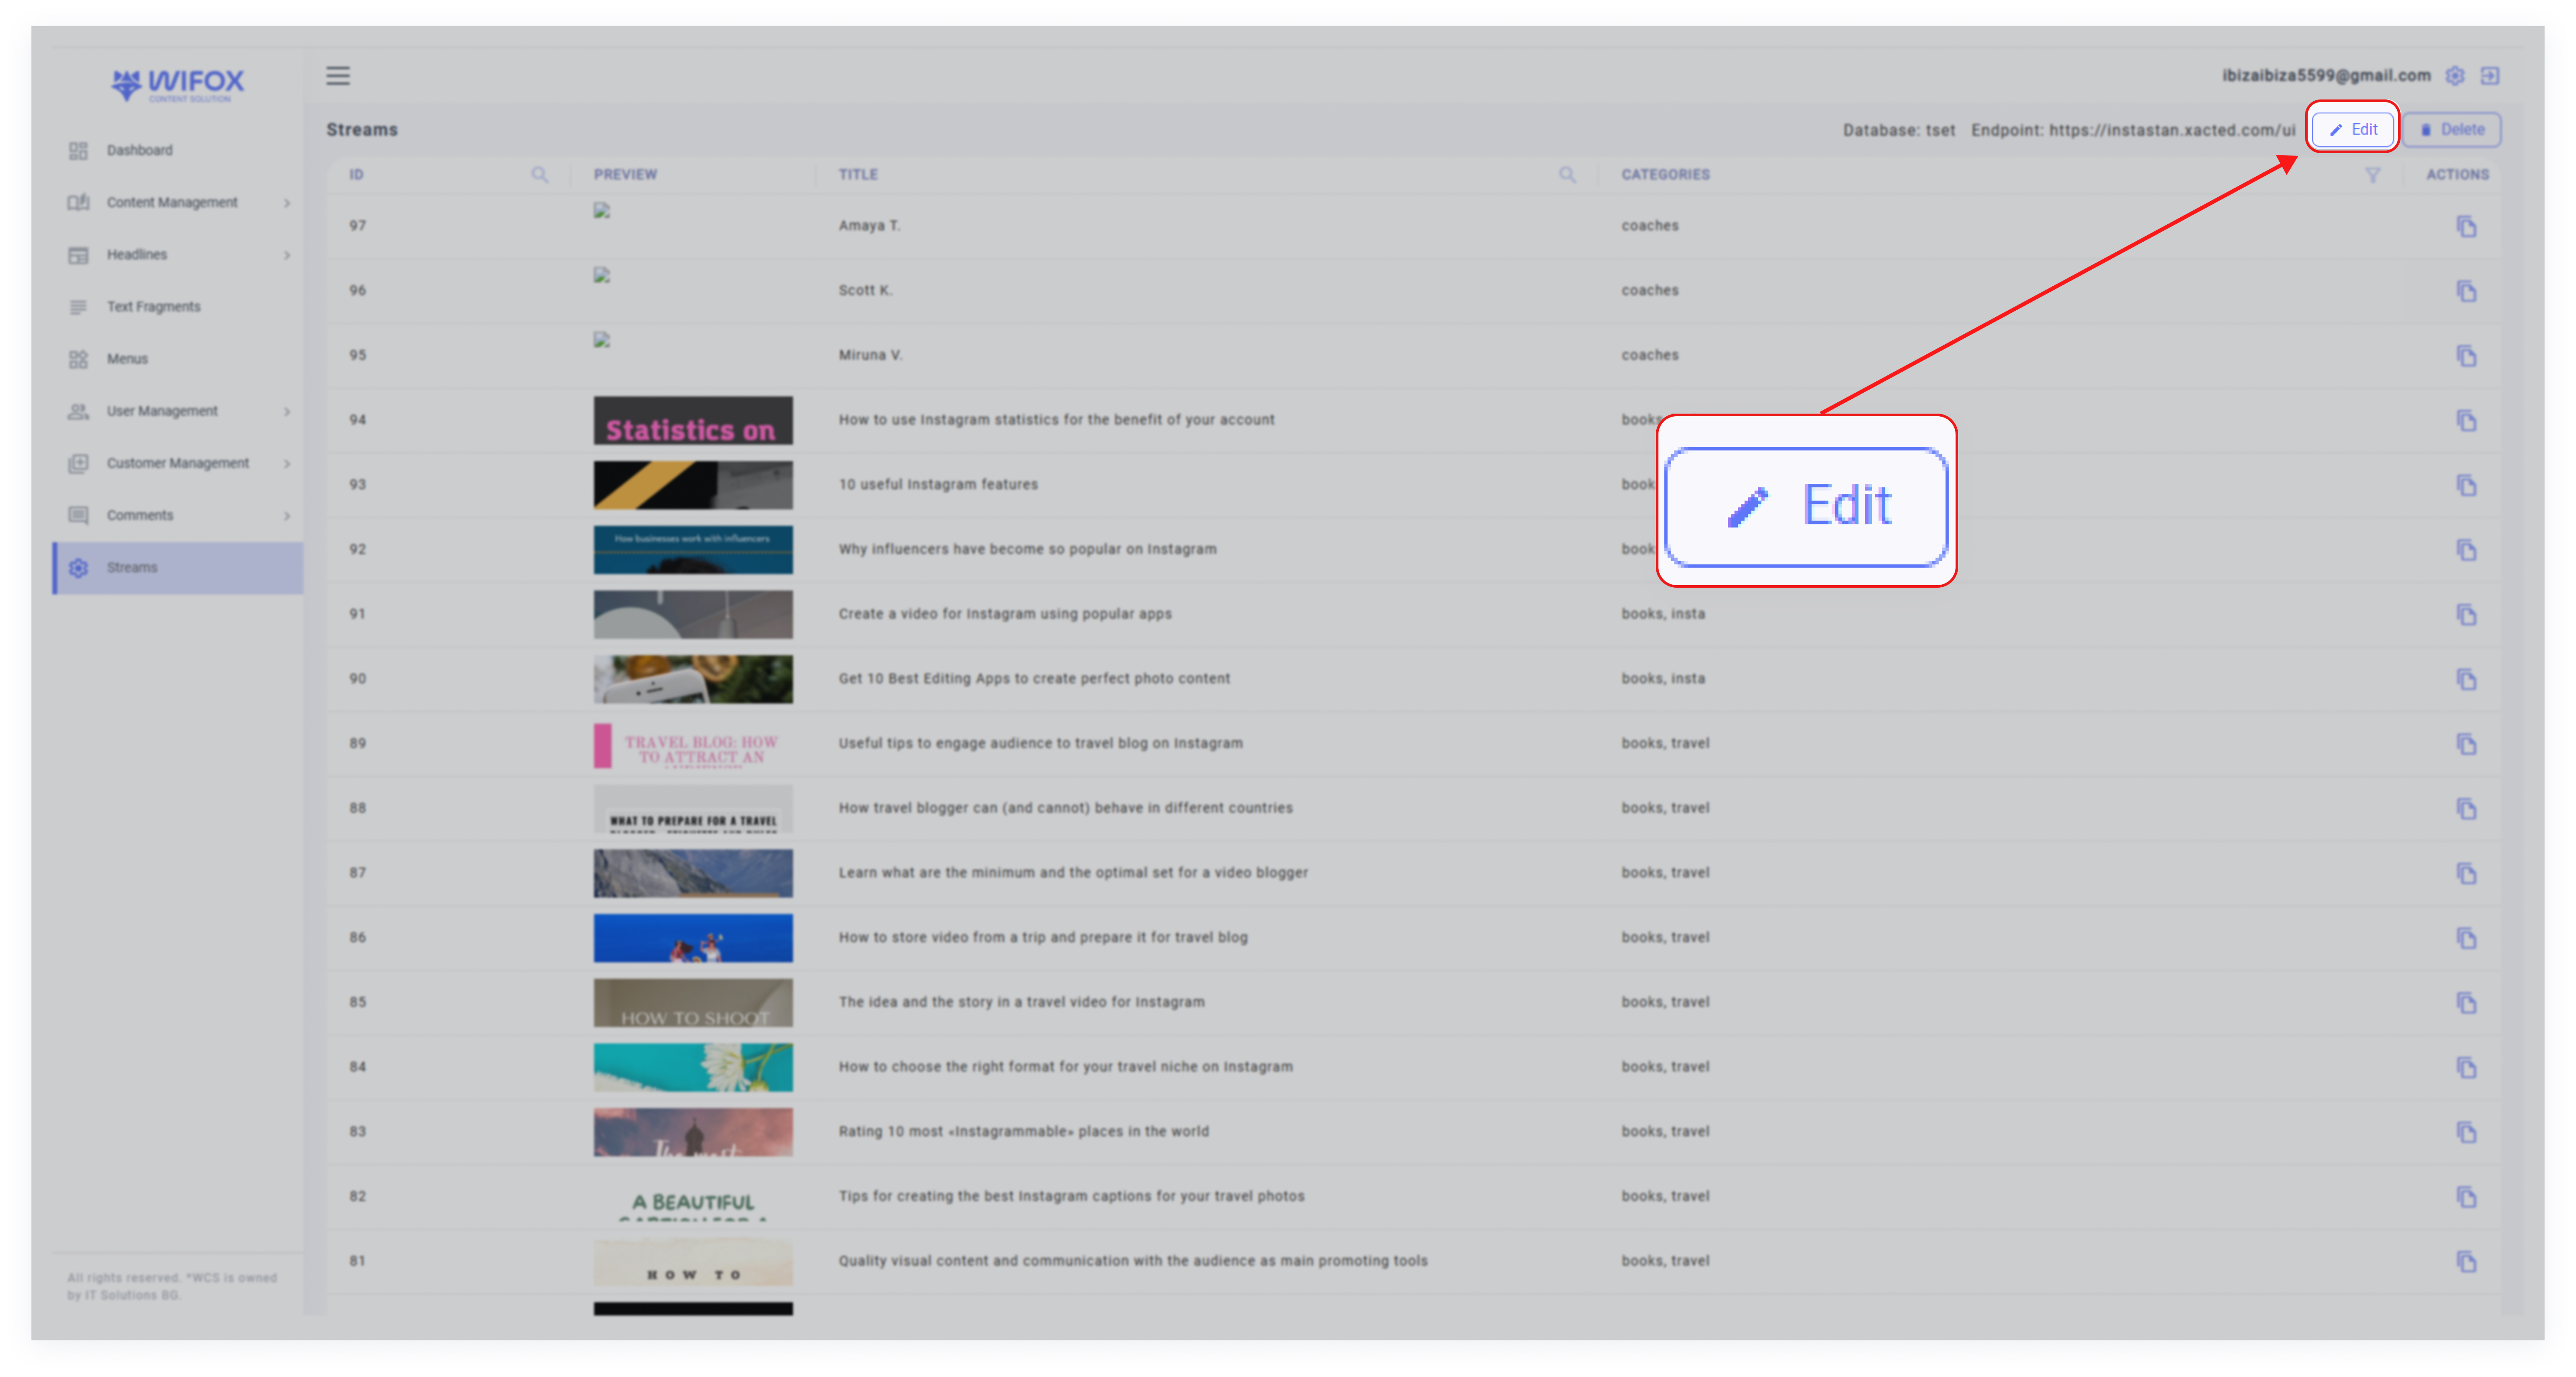
Save changes to refresh the stream's connection and data.
4. Deleting a Stream
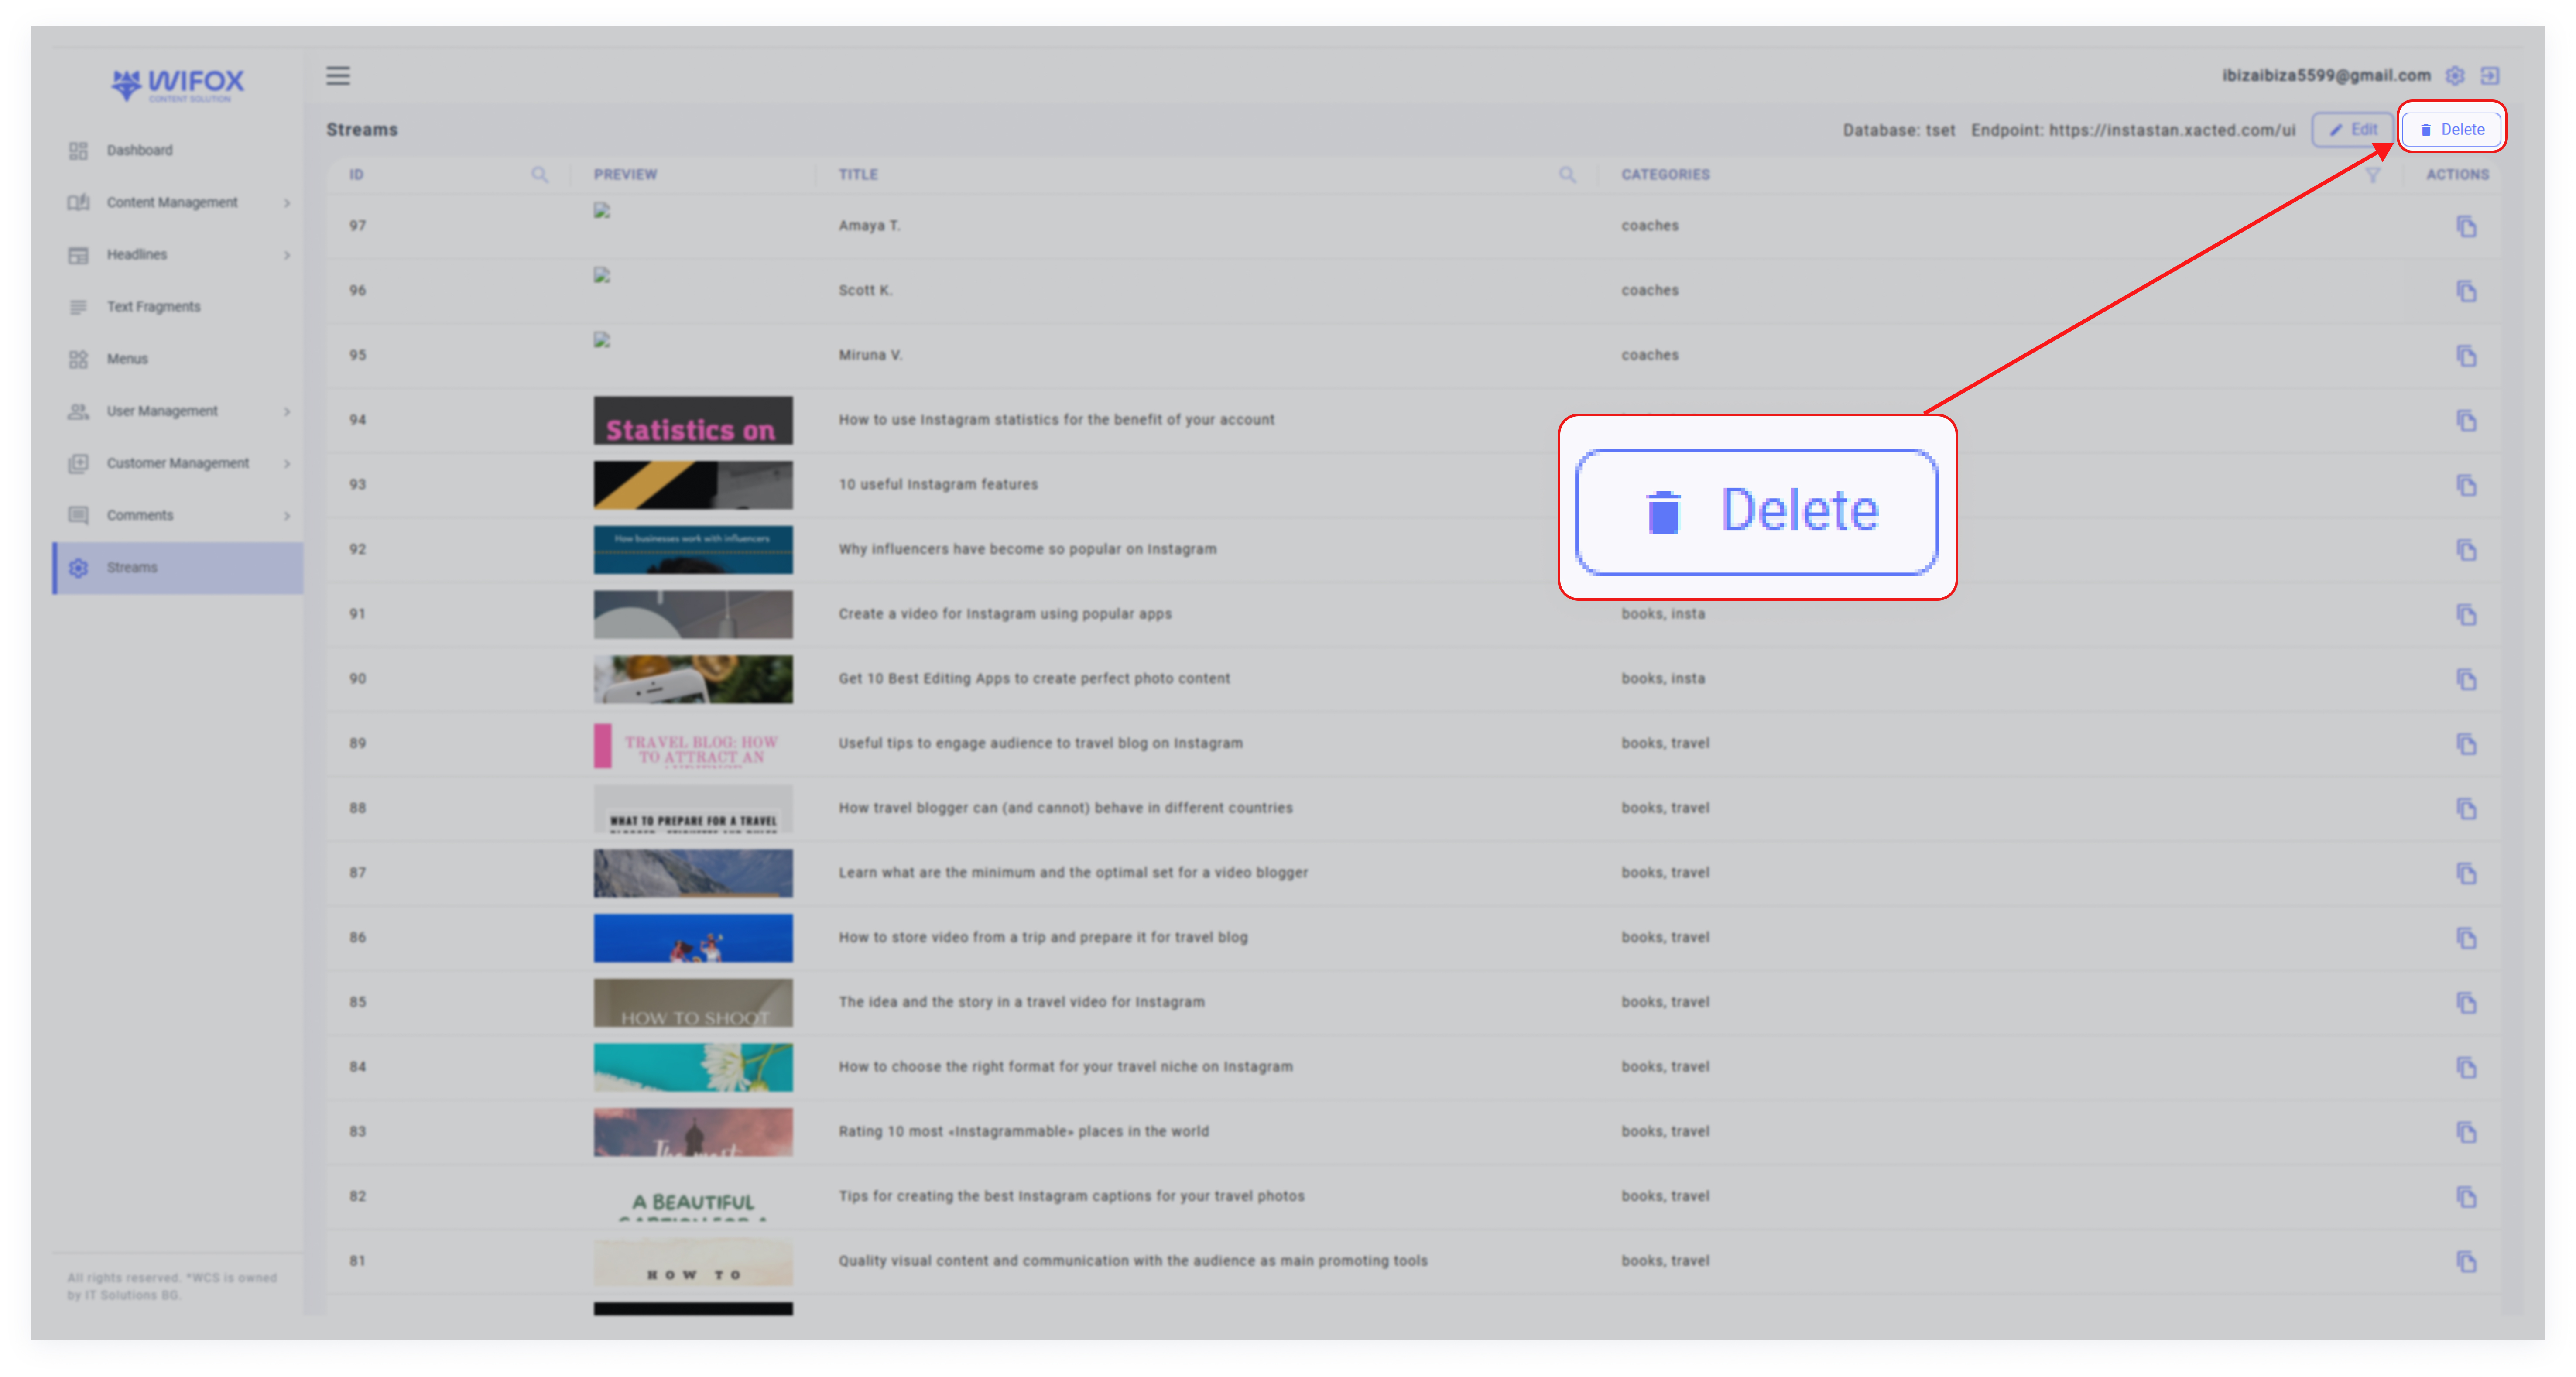
Click Delete to remove an unnecessary stream from the list.
5. Cloning Stream Data
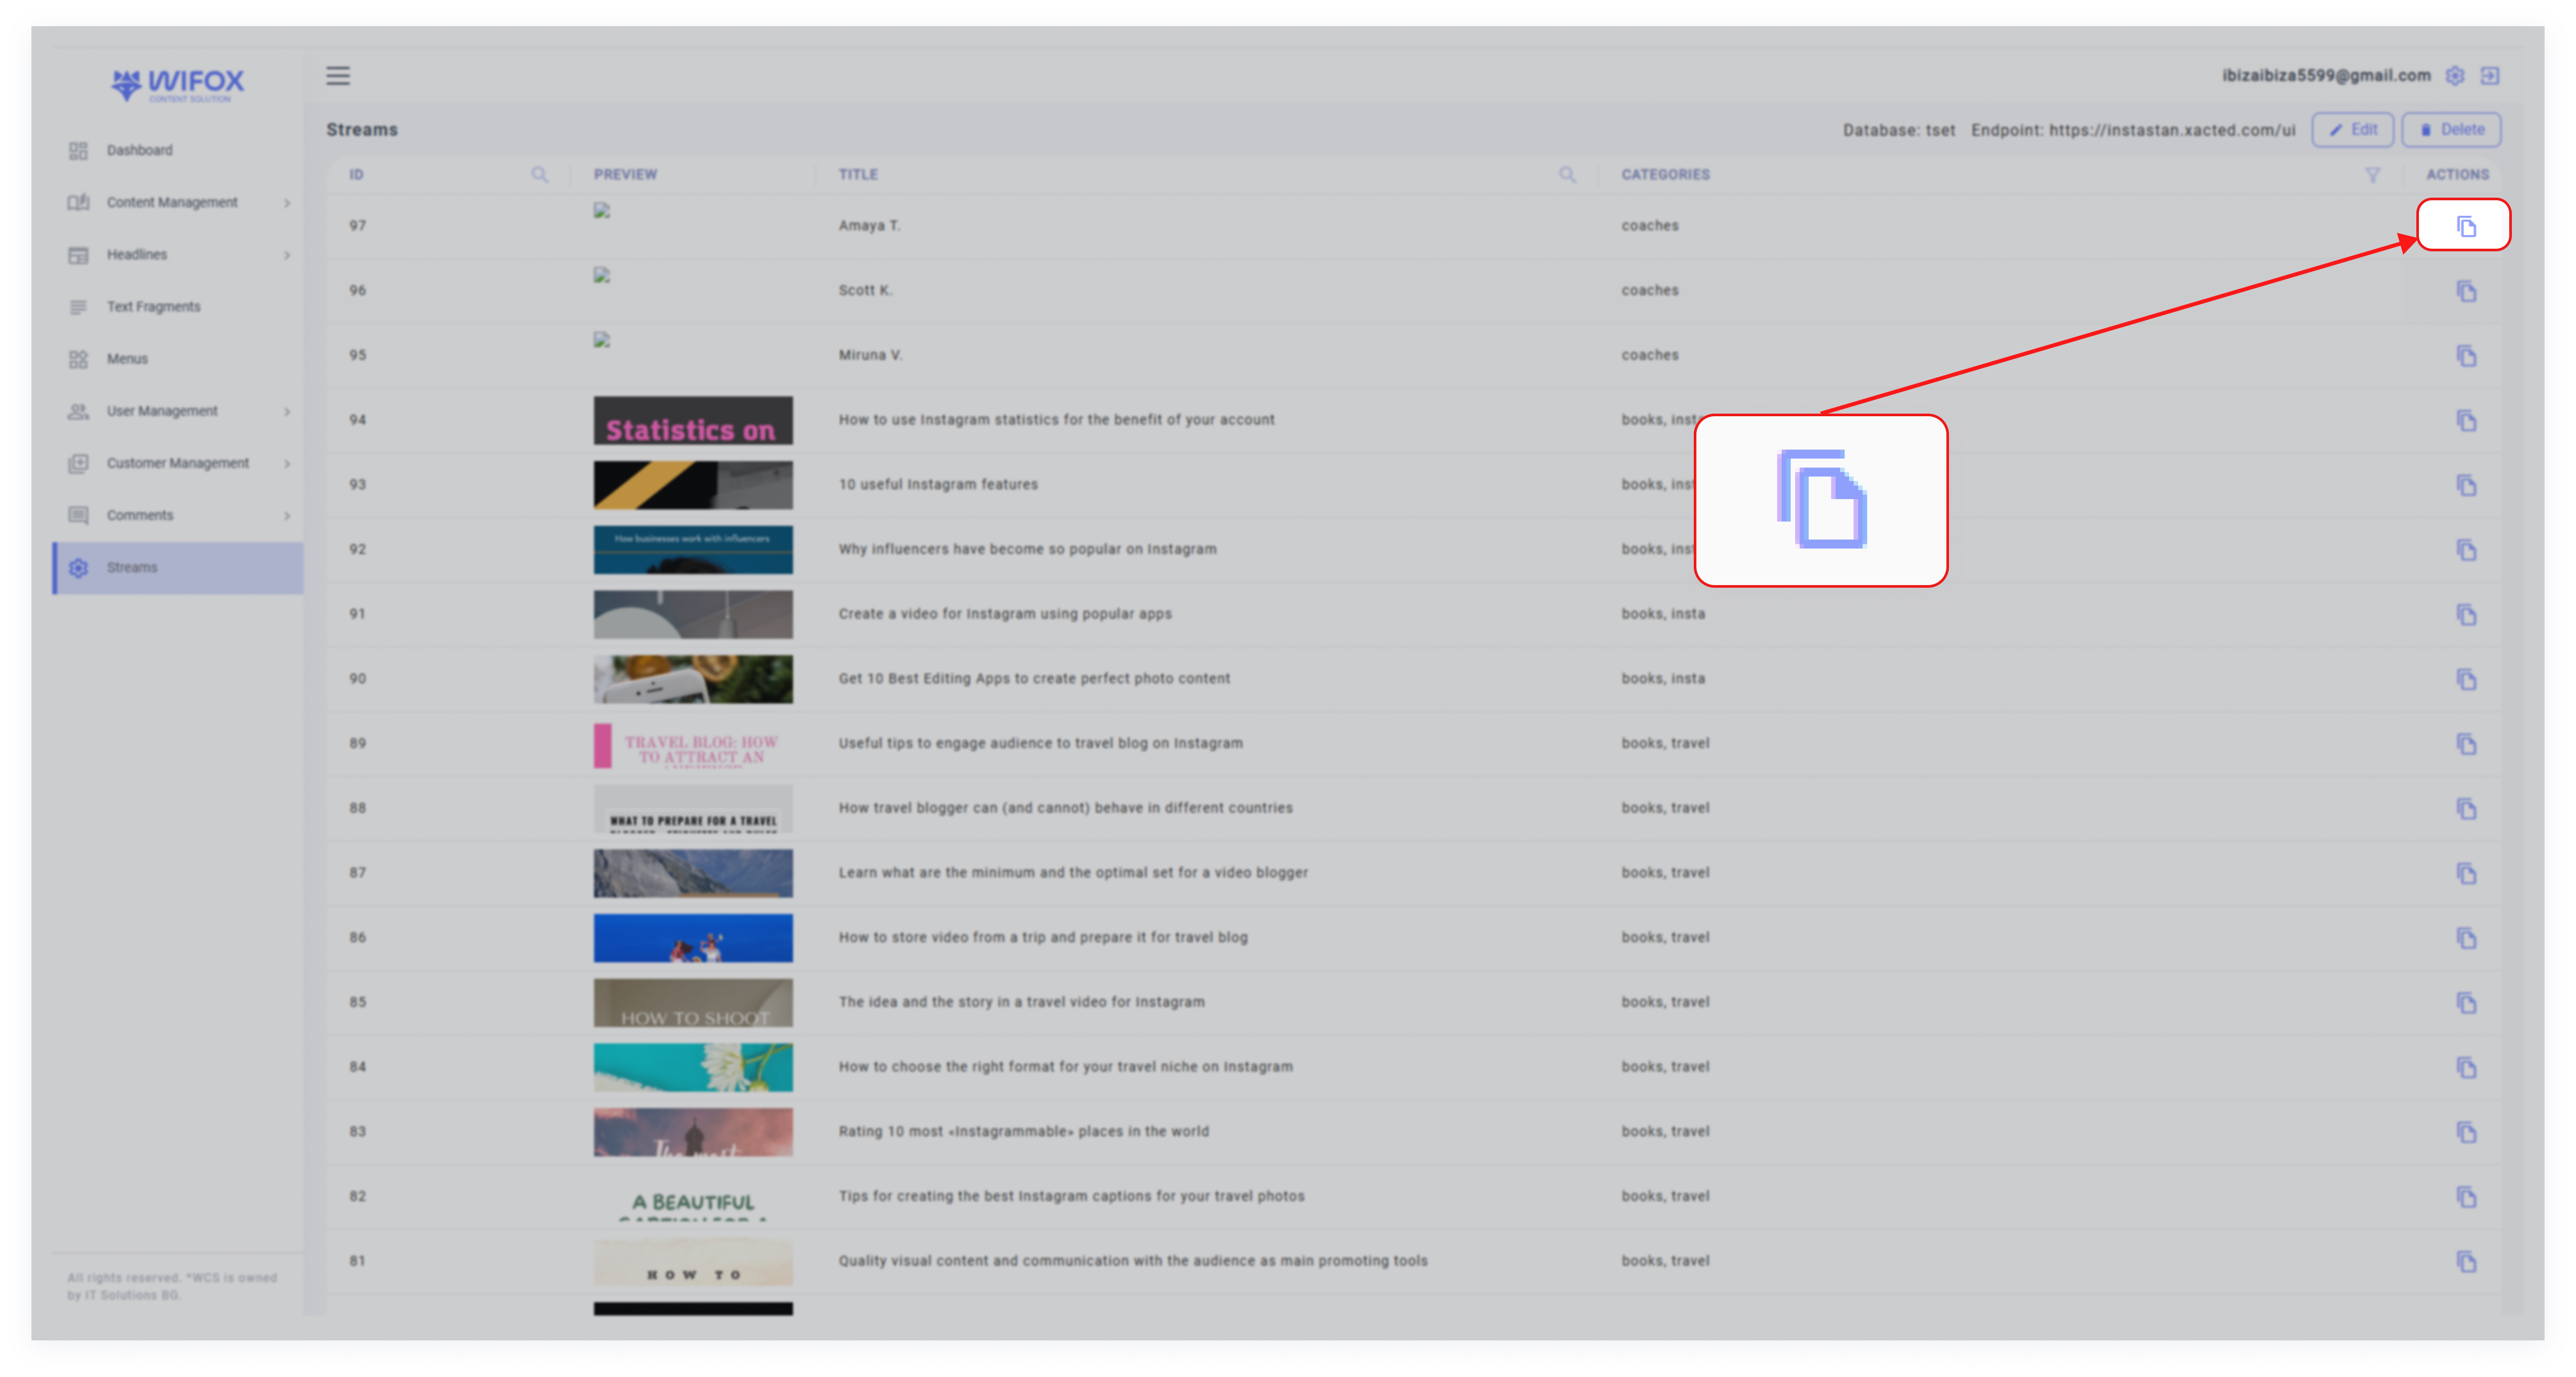
Choose specific languages (e.g., EN) for data duplication.

Preview the content, including associated images.
Click Clone to duplicate data into the desired language.
Modify and save content as needed in the newly cloned stream.
Sites: API Keys Management
1. Sites: Overview
The Sites section in Wifox Business Content Solution is dedicated to managing API keys. These keys act as secure tokens that allow access to specific API endpoints, which are not public. API keys are essential for interacting with protected APIs and ensuring only authorized access to the system's data and functionalities. Wifox Business Content Solution has its own API, and to access its non-public endpoints, users must first create a site key within this module.
Key Features of API Key Management
-
Secure Access
API keys are used to authenticate requests to protected API endpoints, ensuring only authorized users or systems can access them.
-
Domain Binding
API keys are tied to a specific domain, restricting their use to the designated site for enhanced security.
-
Role Assignment
Each API key is associated with a specific role. The role defines the permissions granted to the key, such as viewing pages, editing content, or deleting entries.
-
Customizable Permissions
By assigning a role to an API key, you control exactly what the key can access, aligning it with your system's security and functionality needs.
Example Use Case
A developer wants to use the API to fetch pages from a website. They create an API key with the following details:
-
Domain: example.com
-
Full Site URL: https://www.example.com
-
Role: A role with permissions to view Pages.
The Sites section in Wifox Business Content Solution is dedicated to managing API keys, which serve as secure tokens granting access to restricted API endpoints. These keys are essential for interacting with protected APIs, ensuring that only authorized users can access system data and functionalities. Wifox Business Content Solution has its own API, and to access its non-public endpoints, users must first create a site key within this module.
When making API requests using site keys, it is necessary to include the following headers:
"x-access-type" = "site"
"x-access-token" = (token from site key)
The developer then uses this API key in their application to securely access the page data. By binding the key to a domain and assigning a role with precise permissions, the system ensures secure and authorized access to the required functionality.
The Sites section simplifies the creation and management of API keys while providing robust security through domain binding and role-based access, ensuring that API interactions are both flexible and secure.
2. How to Add a New API Key
1. Click Add
In the Sites section, click the Add button to create a new API key.
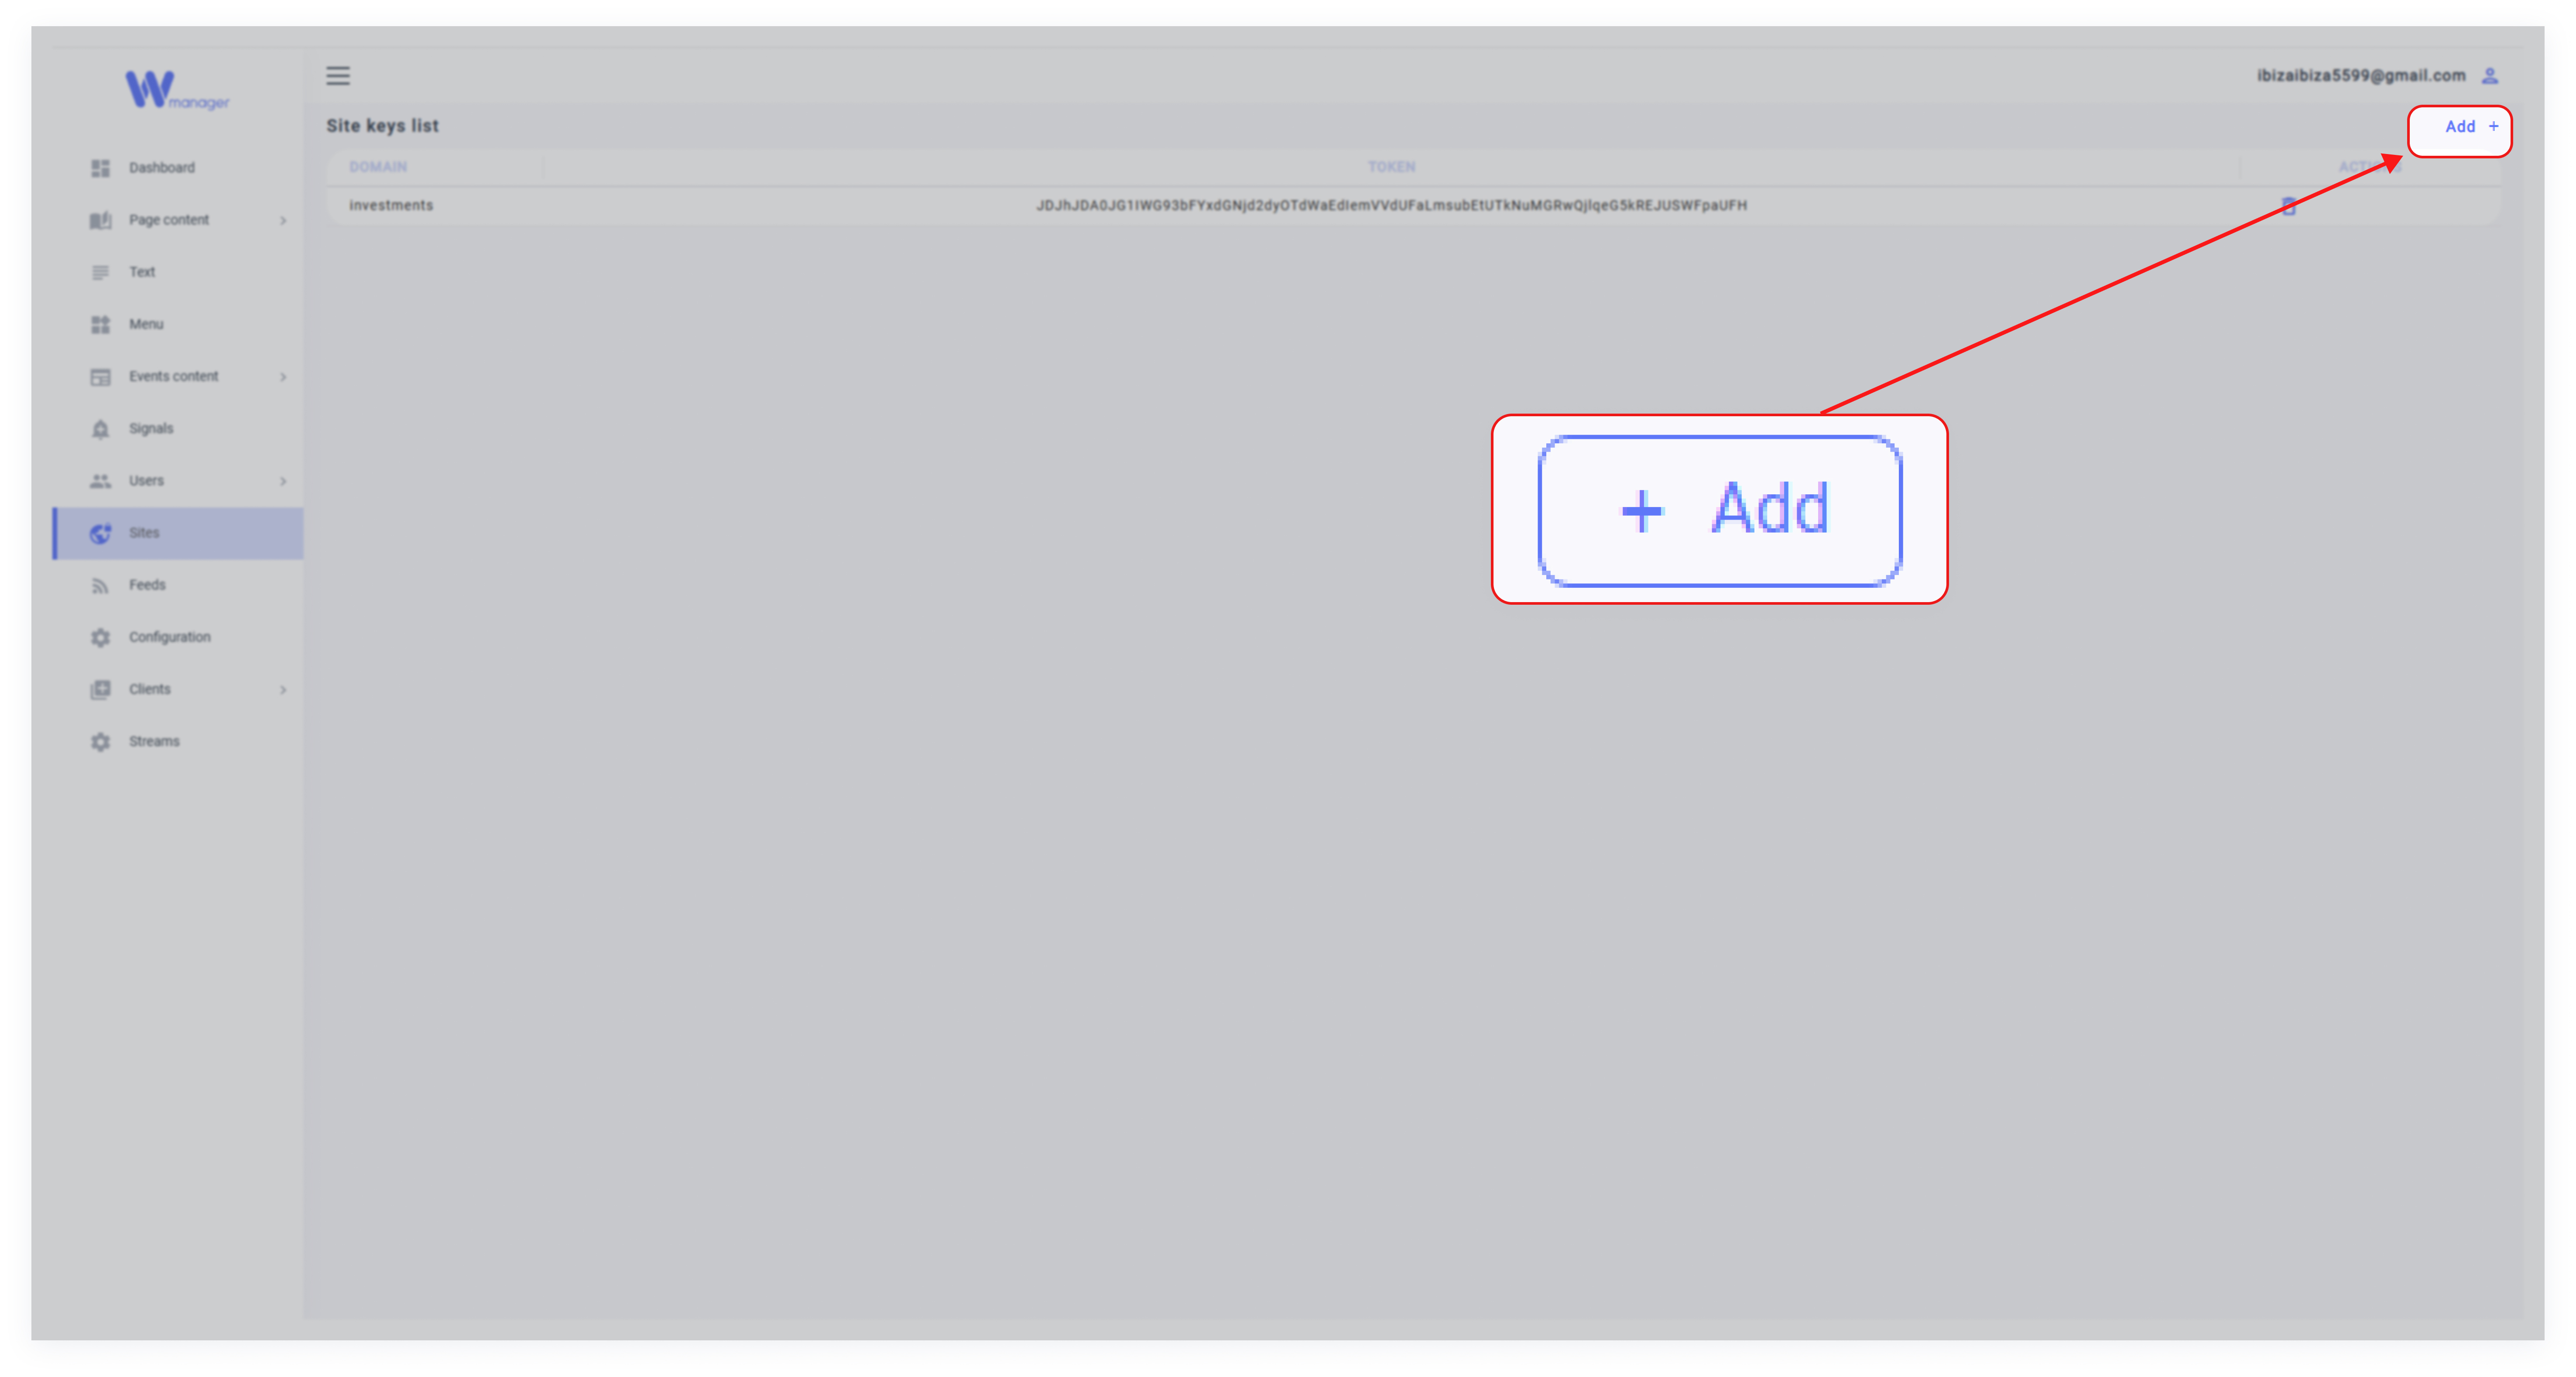
2. Fill in the Details

Domain: Enter the domain where the API key will be used (e.g., example.com).
Full Site URL: Provide the full URL of the site (e.g., https://www.example.com).
Role: Select a role from the dropdown menu. This role determines the permissions tied to the API key, such as access to specific modules like Pages or others.
3. Save the API Key
Click Submit to generate the API key. Once created, this key can be used to authenticate API requests for the specified domain and role.
3. How to Edit an API Key
1. Select the API Key
Locate the API key in the Sites list and click the pencil icon to open the editing menu.
2. Update the Details
Modify the domain, full site URL, or assigned role as needed.
3. Save Changes
Click Submit to save the updates.
4. How to Delete an API Key
1. Locate the API Key
Find the API key in the Sites list.
2. Delete the Key
Click the trash icon next to the key and confirm the deletion. The API key will be permanently removed.
Configuration
1. Configuration: Overview
The Configuration section in Wifox Business Content Solution is designed for managing the available and mandatory languages for the platform. This ensures multilingual support and allows administrators to define which languages are accessible for content and which language is set as default.
Features of the Configuration Section
1. Available Languages
This is a multiple select field where you can choose the languages that will be available across the system.
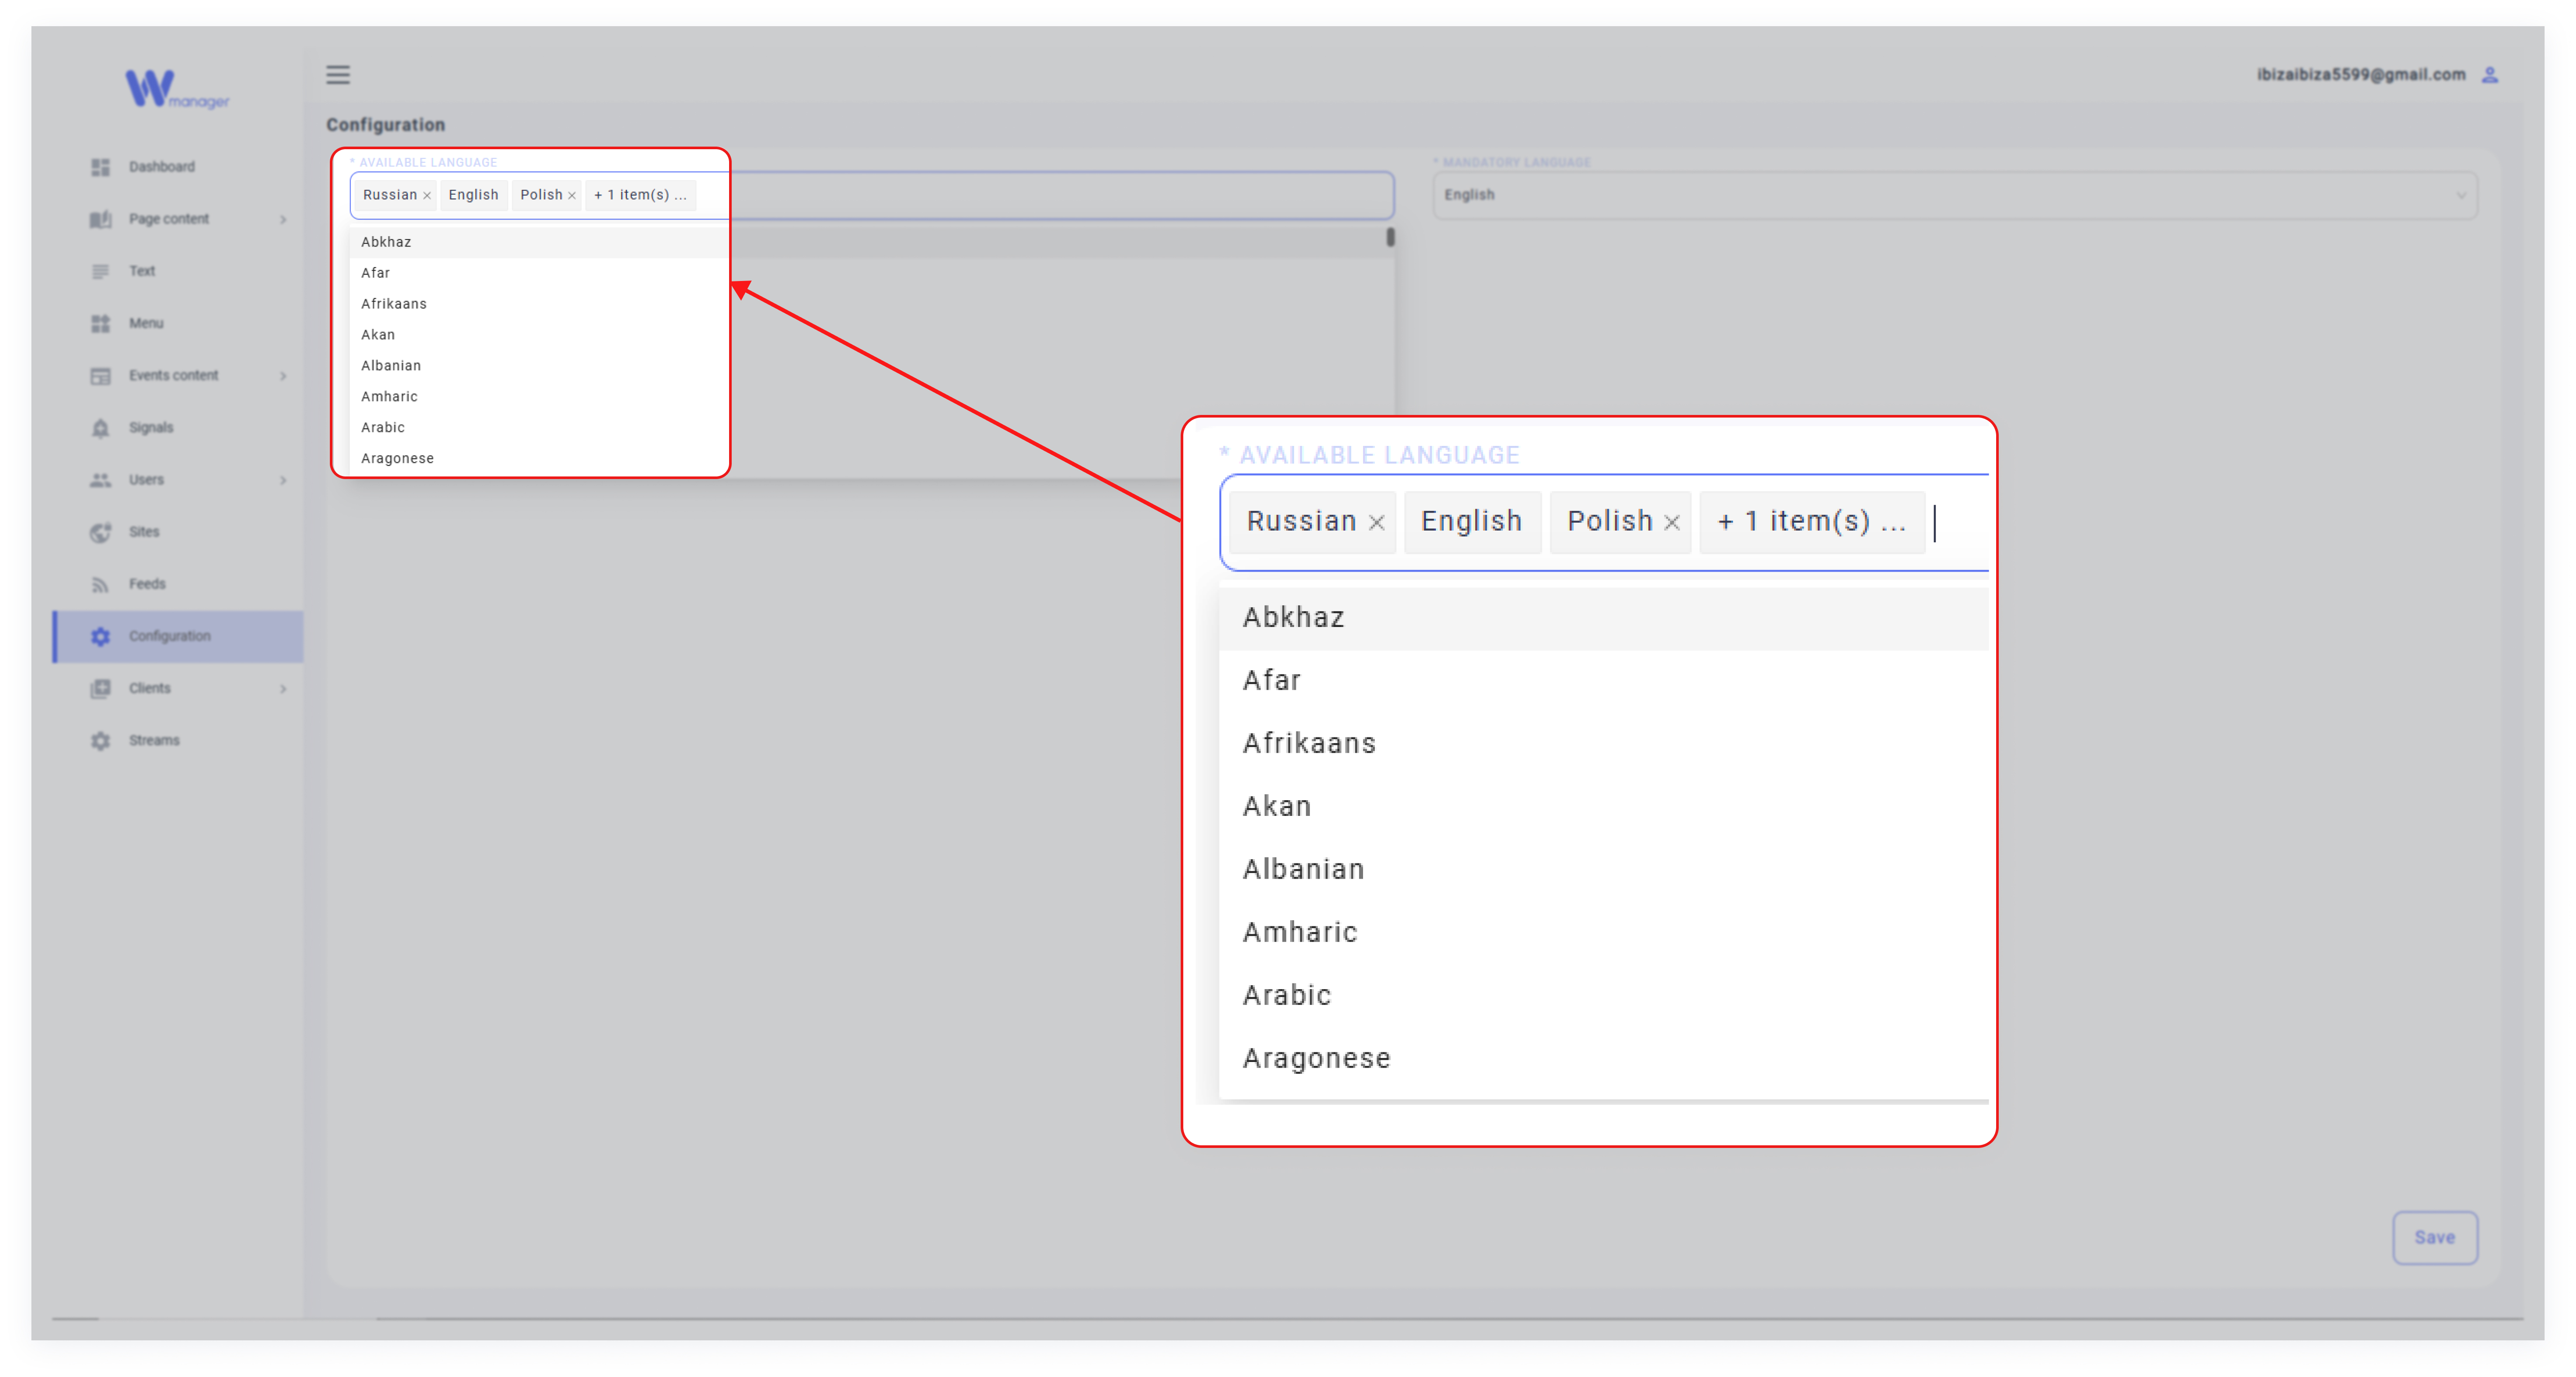
These languages will appear as options when creating or editing content.
To configure the available languages:
- Select the desired languages from the list (e.g. English, Polish).
- Click Save to confirm and apply your selection.
2. Mandatory Language

The mandatory language is the default language for the platform.
When users access forms or pages, this language will be pre-selected as the default.
To configure the mandatory language:
- Select a single language (e.g., English) from the mandatory language field.
- This language ensures consistency and is always preloaded as default.
Example Use Case
An administrator configures the platform to support English, and Polish as available languages. They set English as the mandatory language. When a user opens a content creation form, English is automatically selected, but the user can switch to any of the available languages if needed.
This configuration ensures seamless multilingual support and helps maintain a structured language setup for global platforms.