
9. How to Manage Transactions
The Transactions section is designed to view and monitor all transactions that were created in CRM via other modules or automatically. You can do the following:
-
Select the information that will be displayed about the transaction.
-
Change the transaction status.
-
Search and filter transactions.
-
View the transaction history.
-
Download a list of transactions in .csv format.
By default, the transaction list displays all transaction information, from basic as Type (In or Out) to advanced as assigned Desk.
To select which transaction information to display:
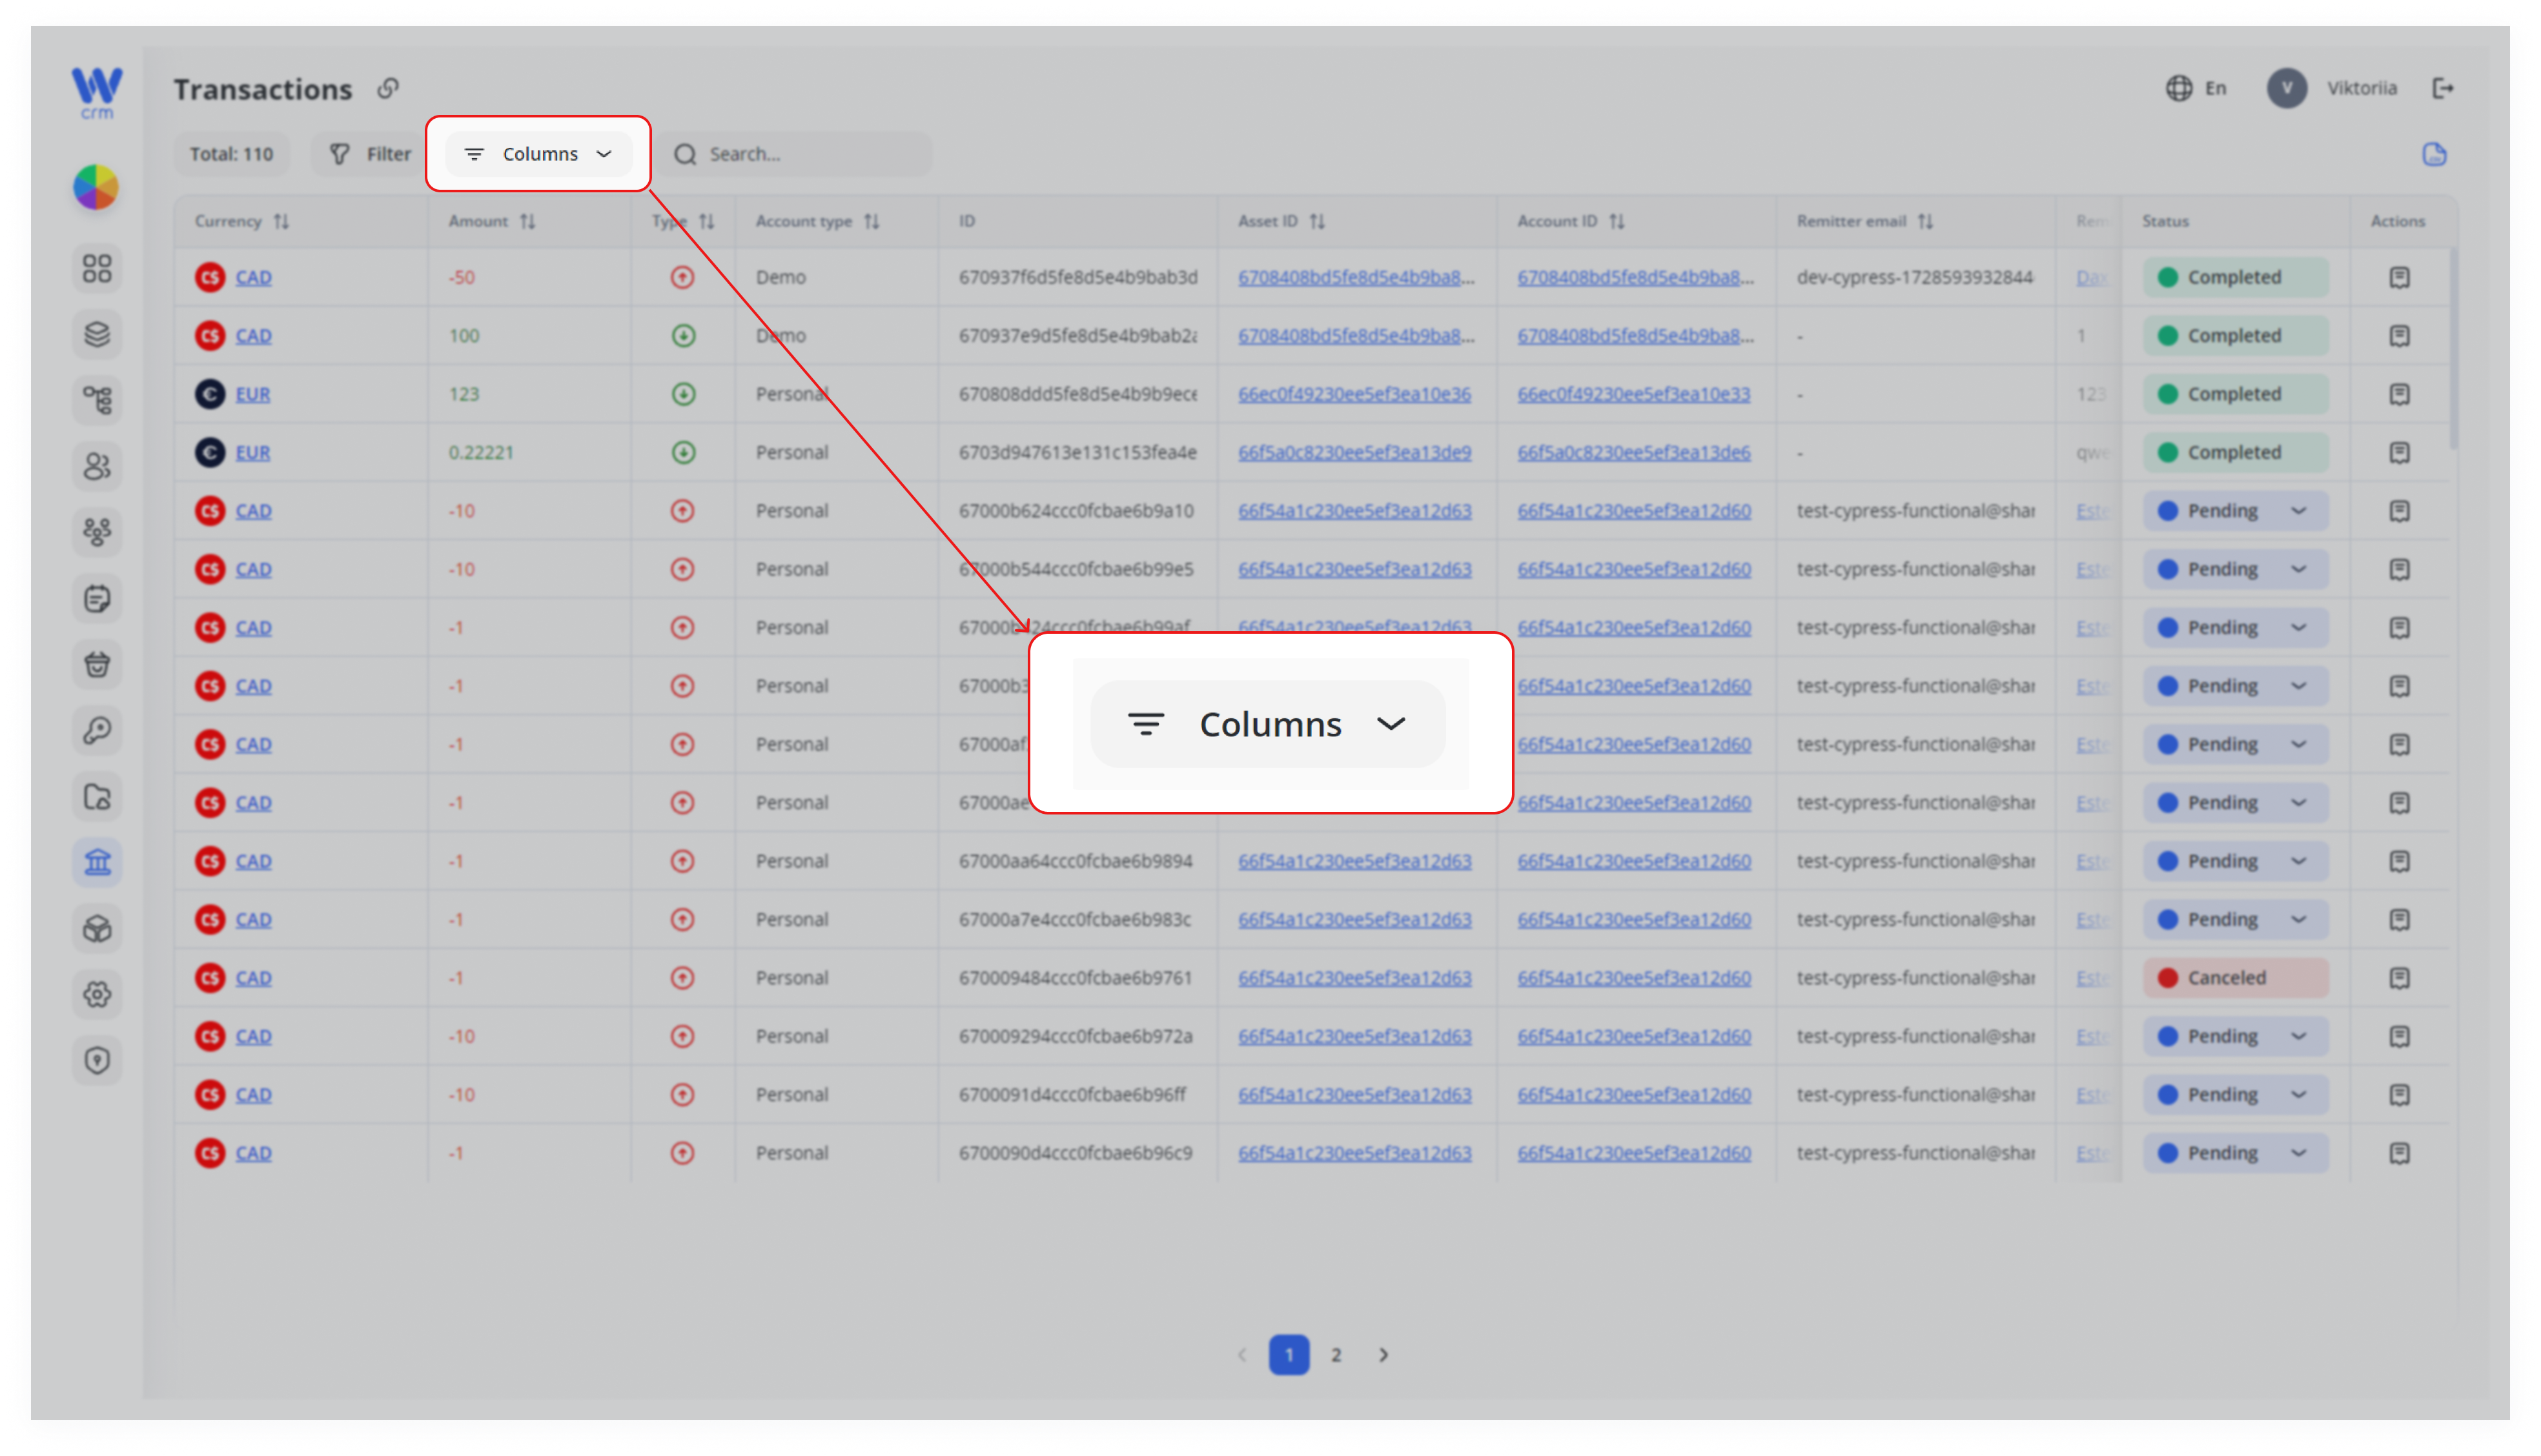
1. Click the Columns button at the top of the Transactions tab:
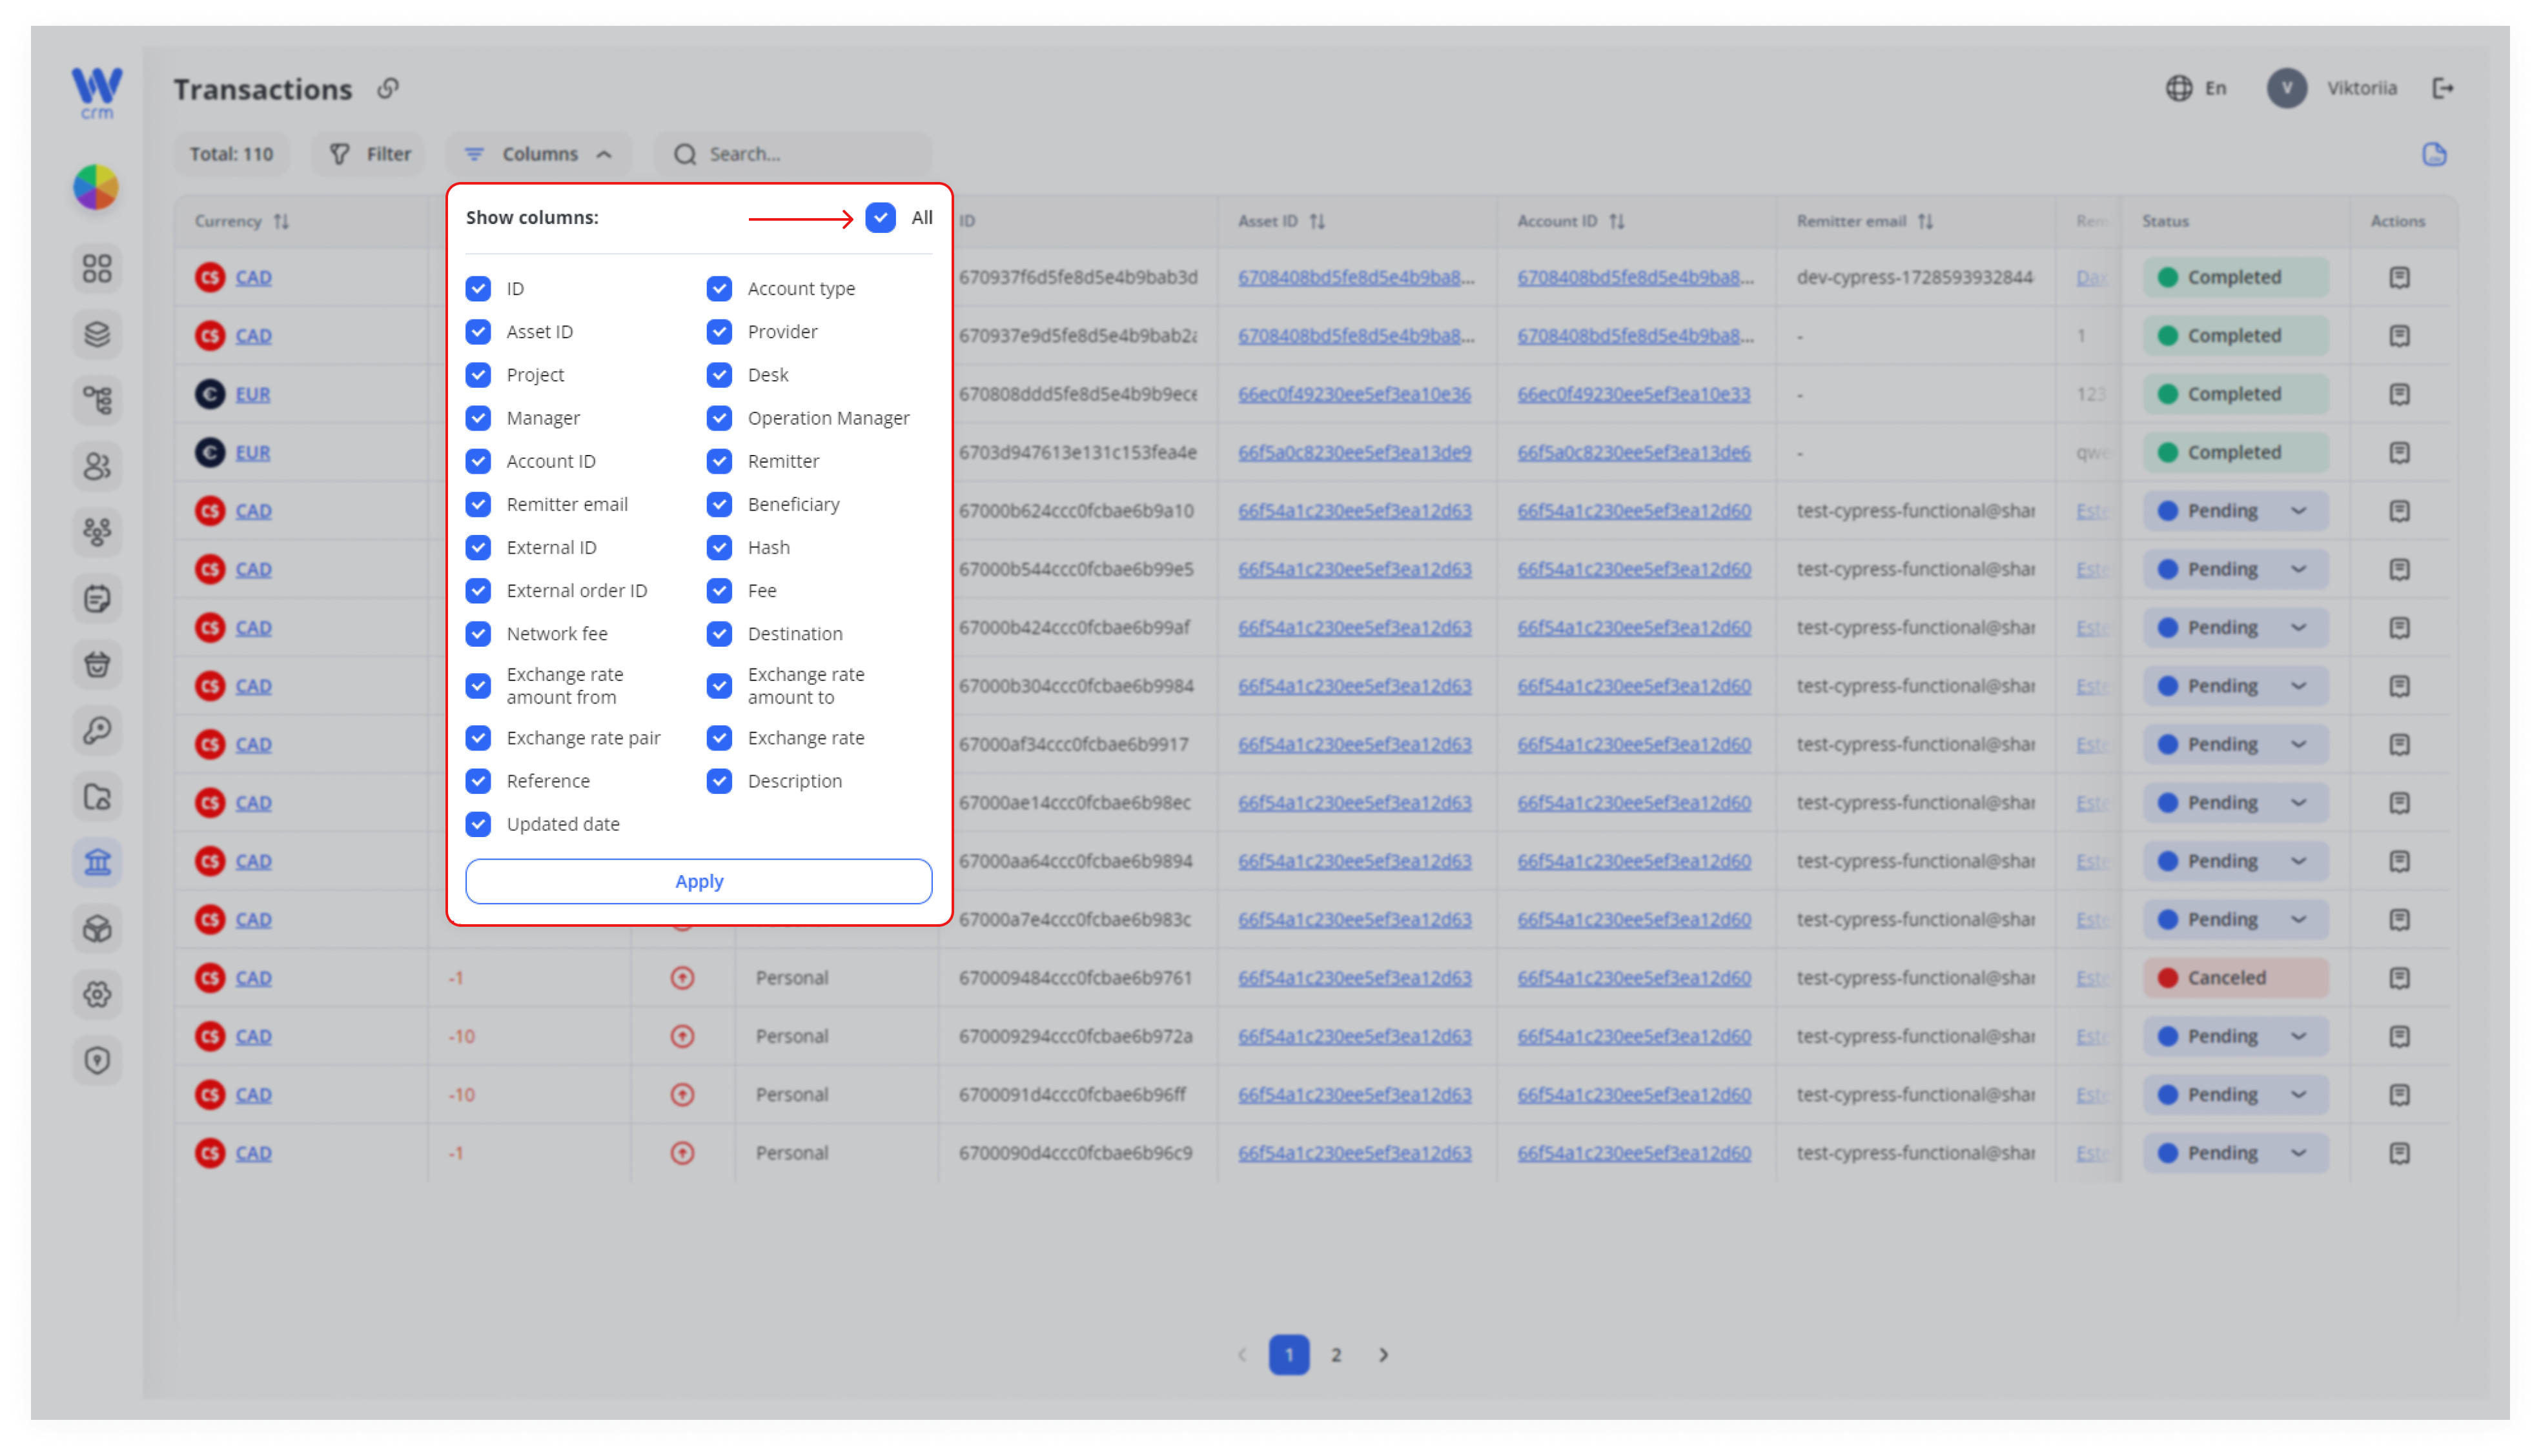
2. Check the boxes next to the fields you want to be displayed. To check all fields, use the All button.
3. To uncheck all fields, click All again.
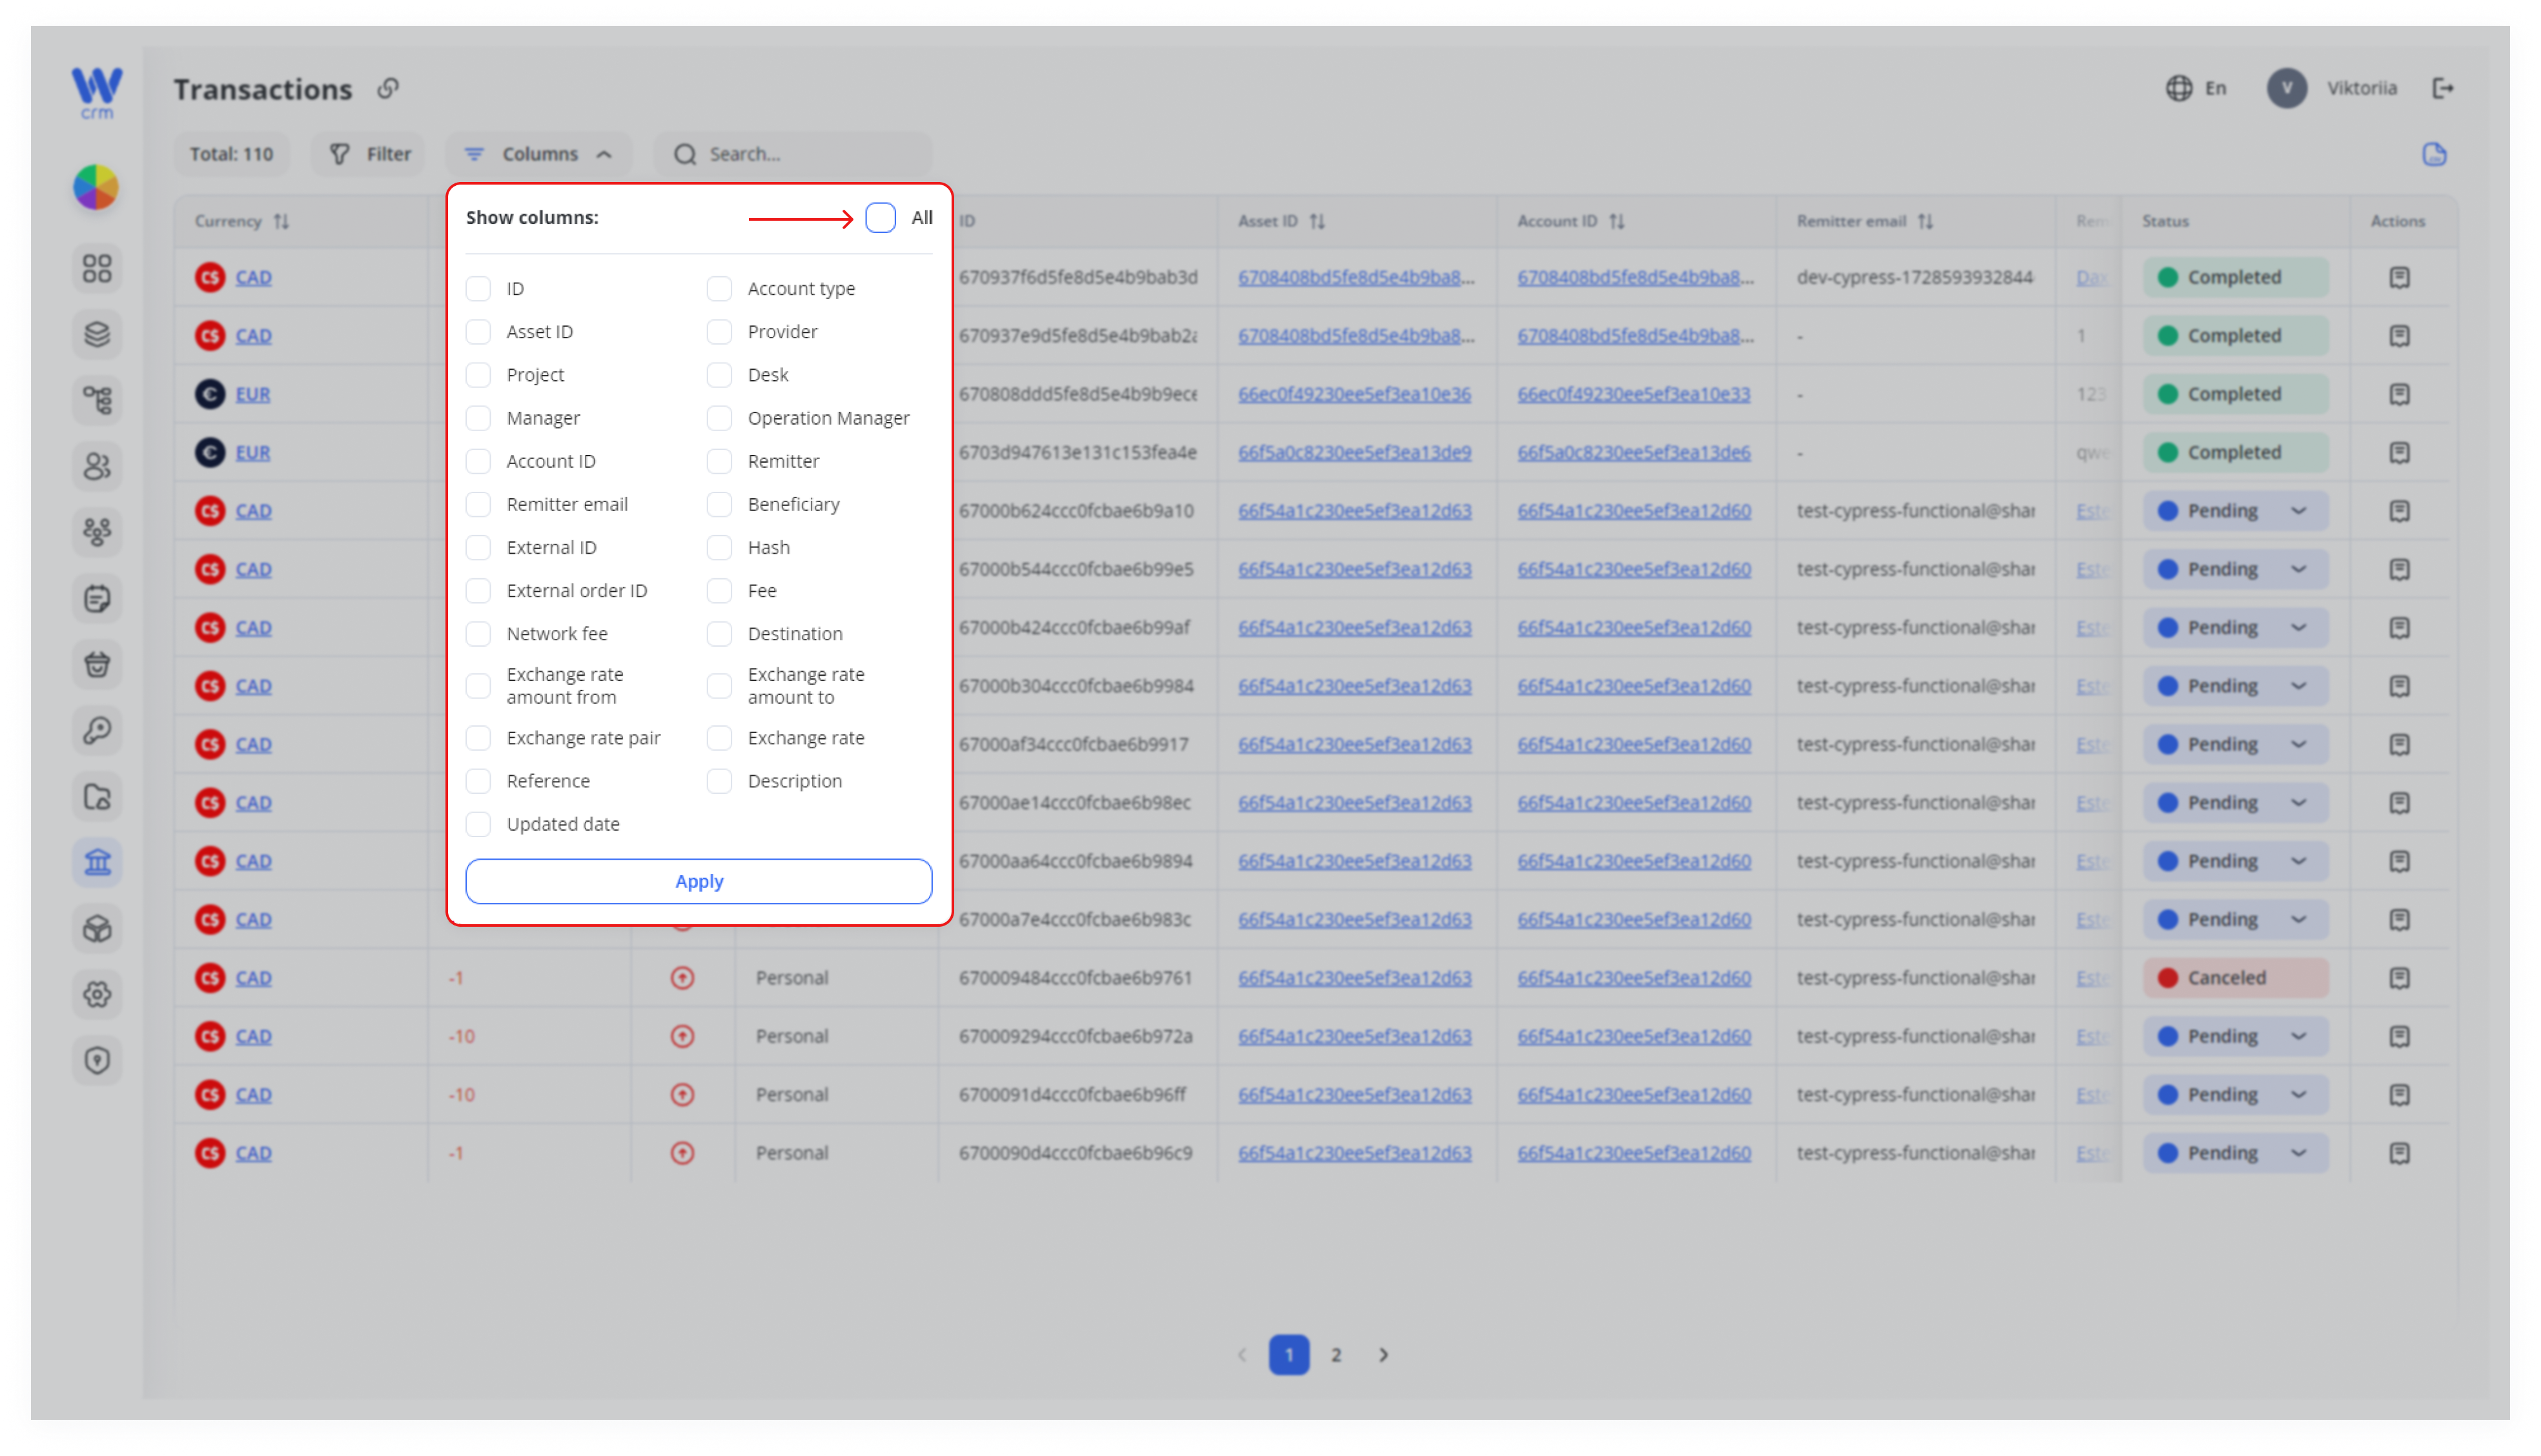
4. Click Apply to select columns.
You can view additional information on the field values that are highlighted in blue. To do this:
-
-
Click on the field value in the Currency column:
-
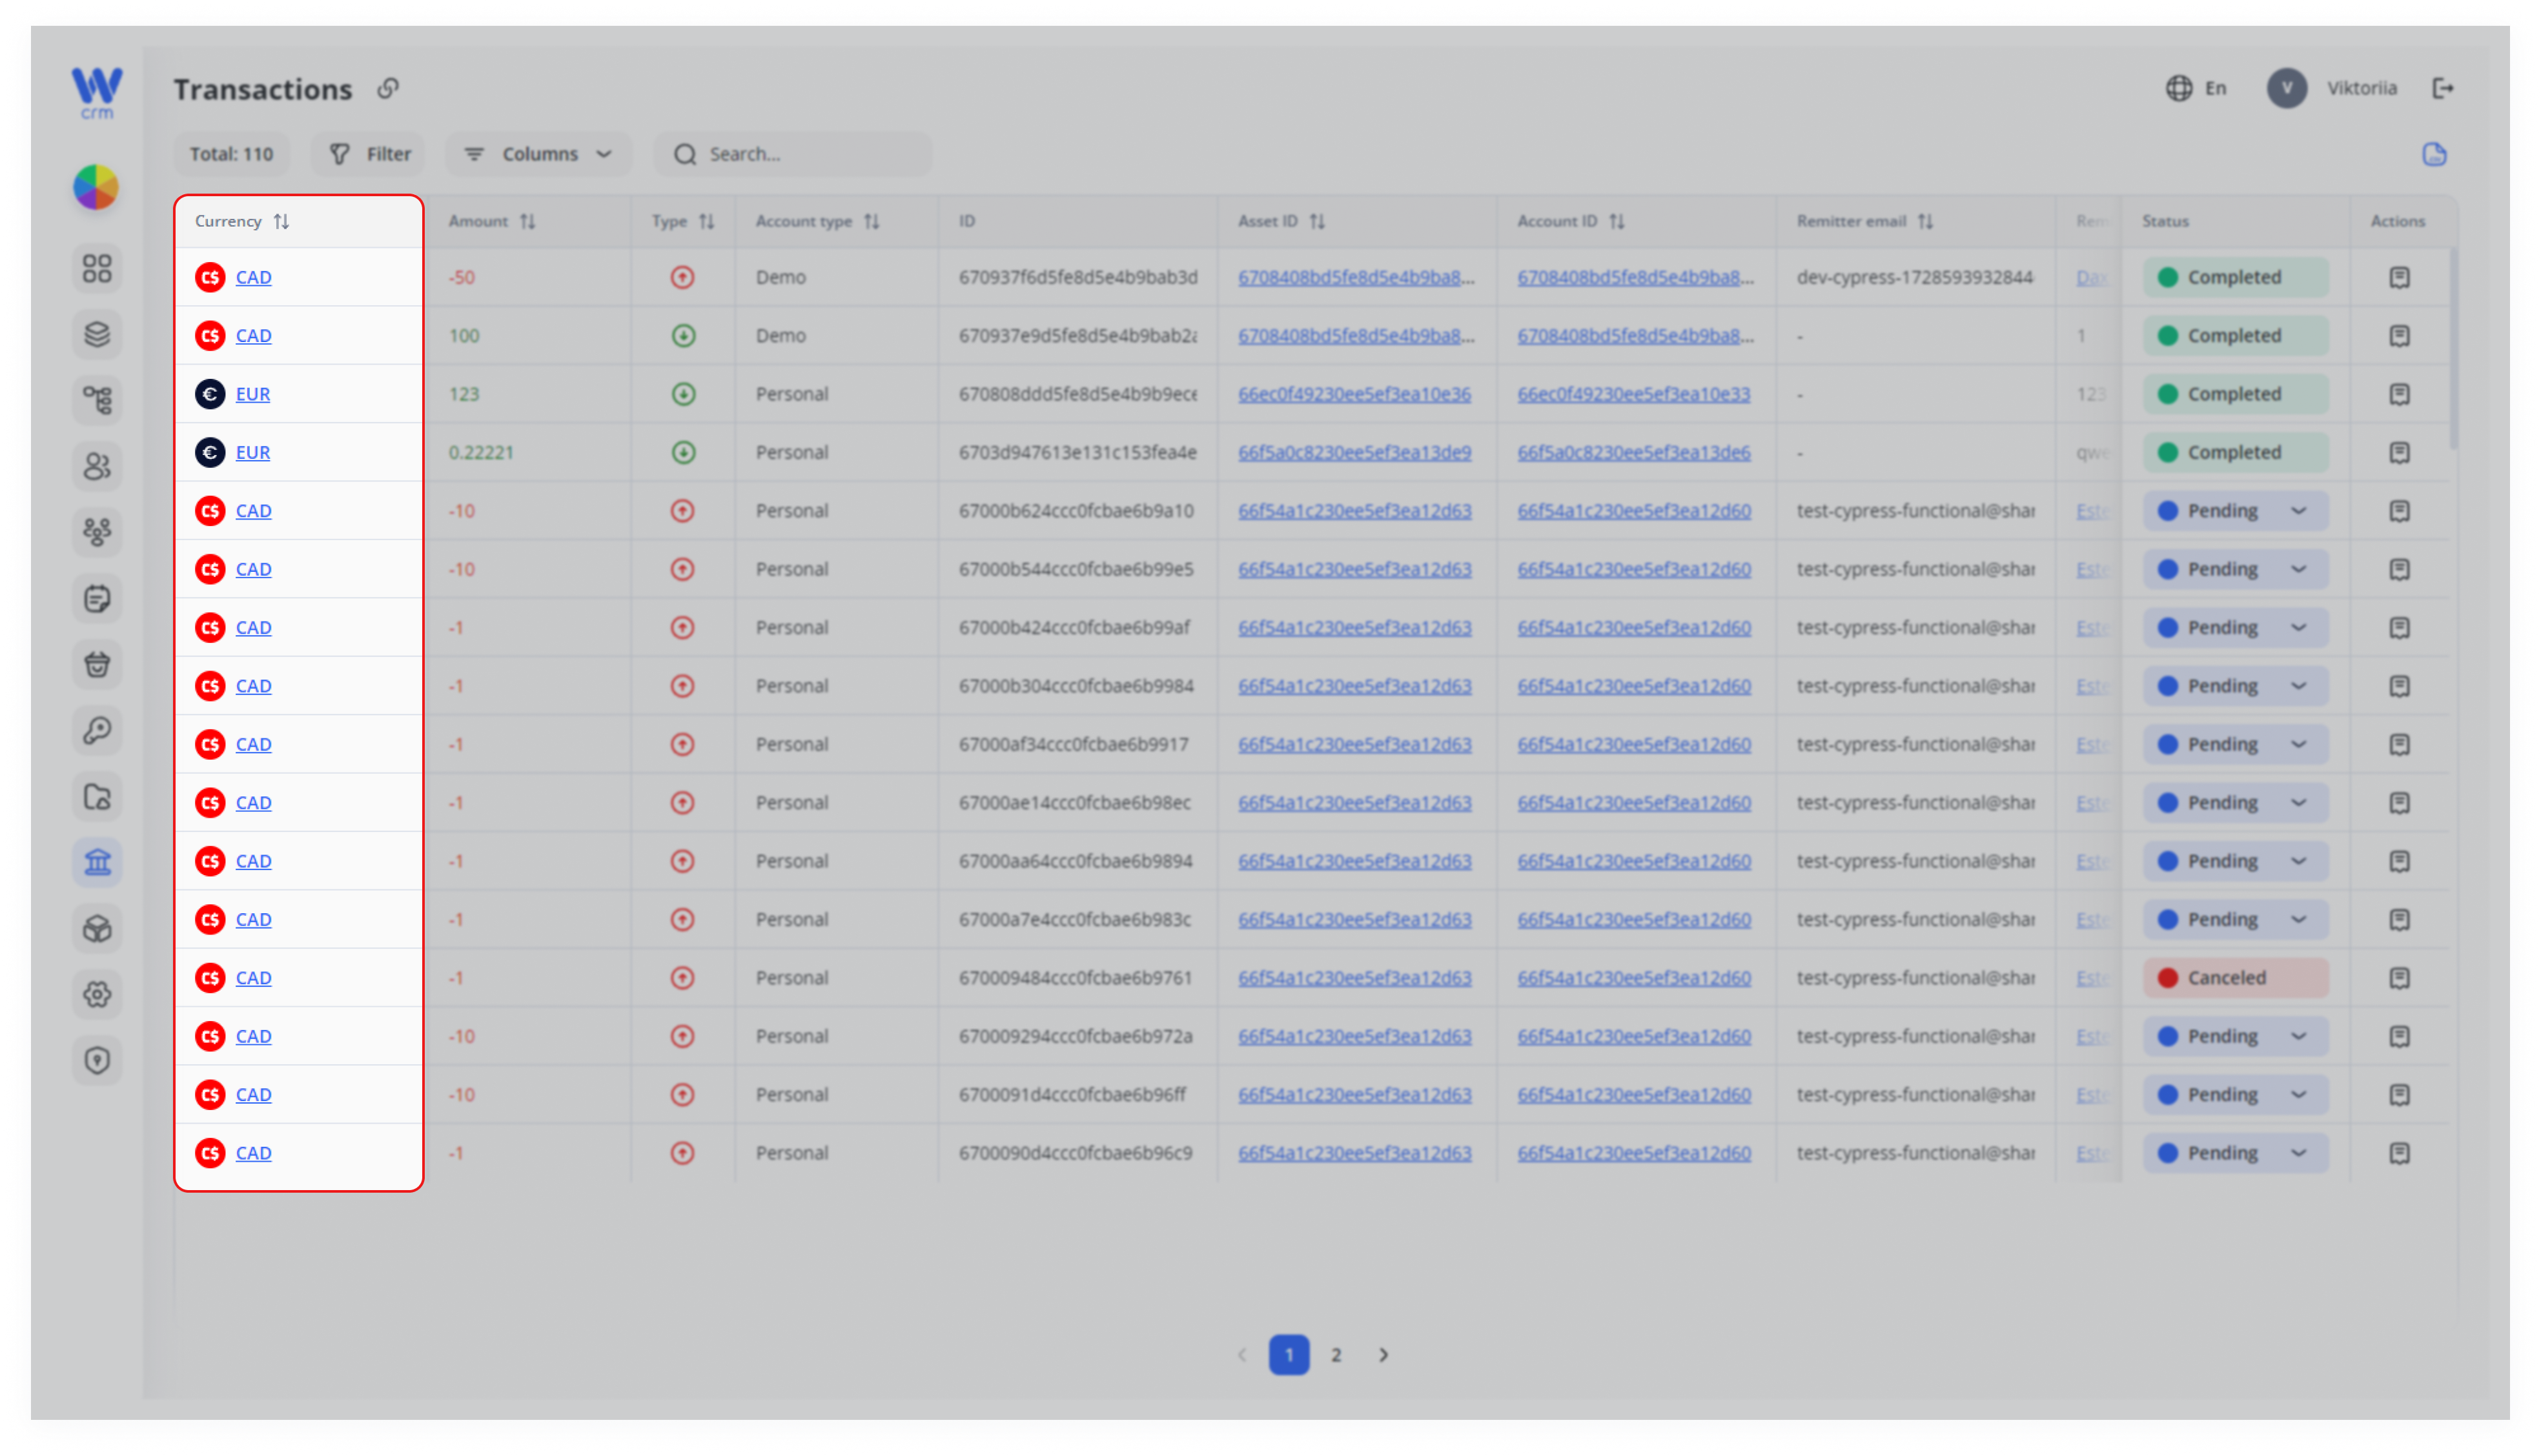
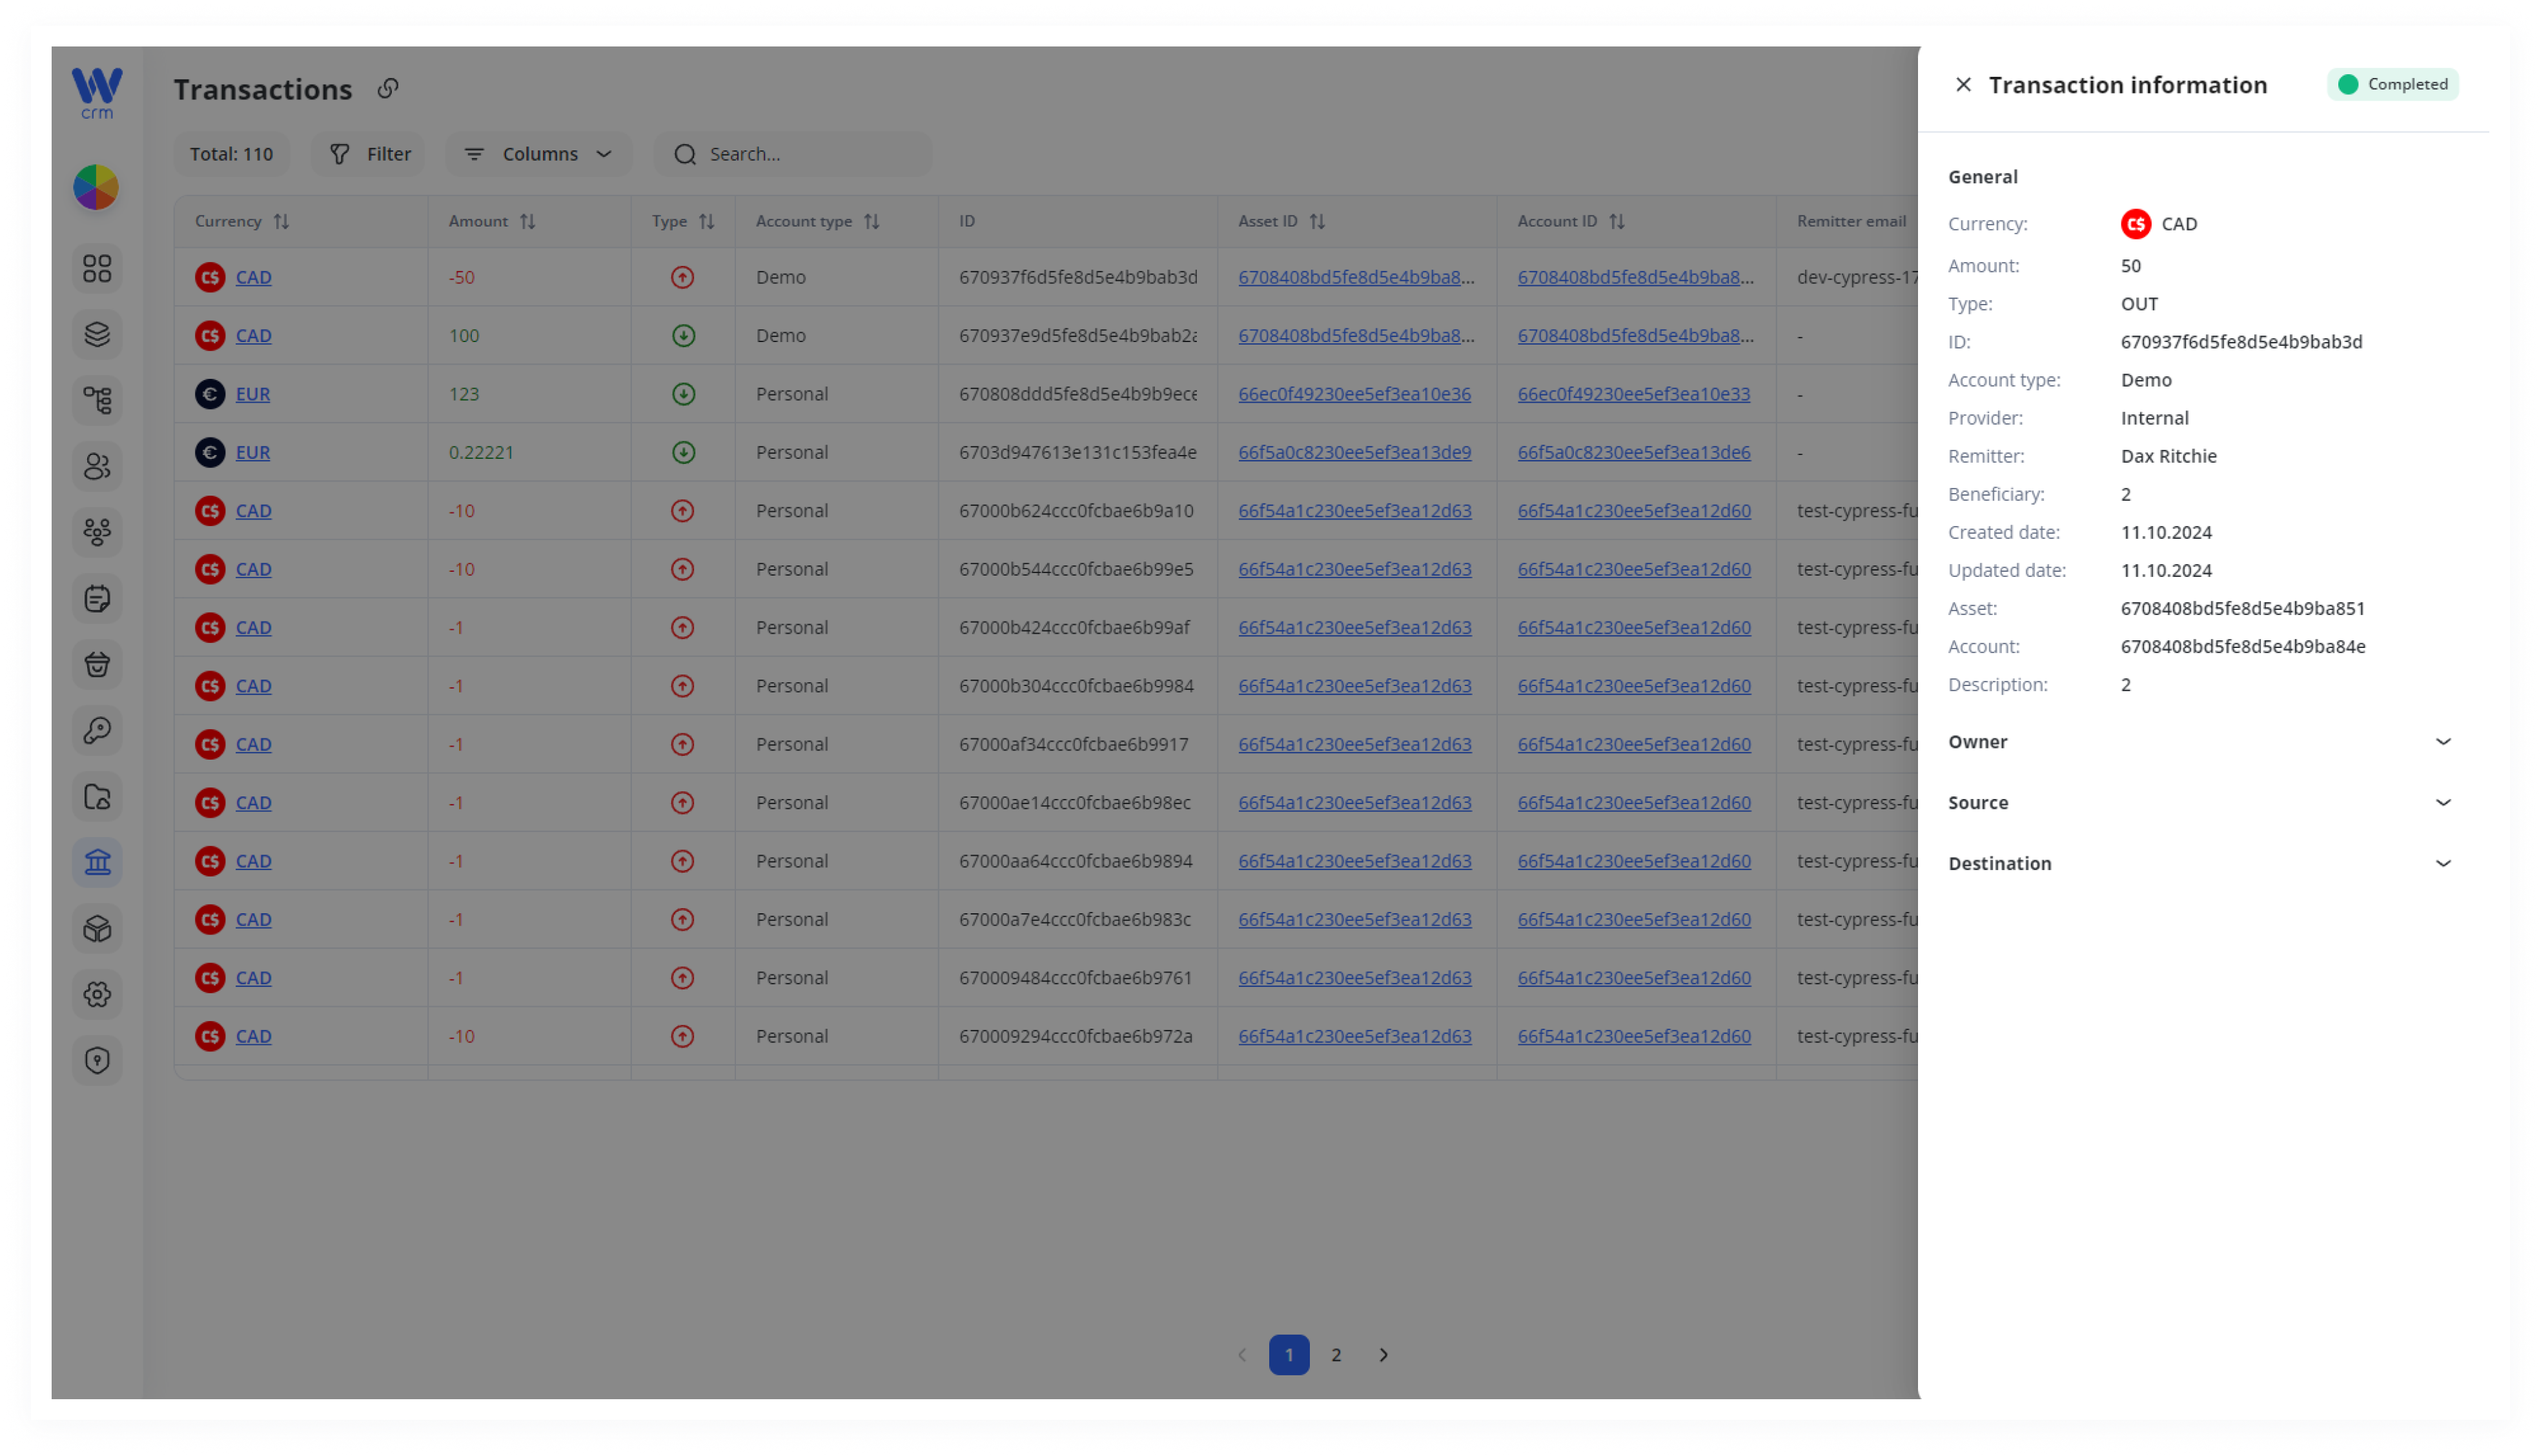
2. A drawer with information about the field opens:
You can change all transaction statuses, except Completed and Canceled. Accordingly, you can approve or cancel transactions in Processing, Pending, and other custom statuses.
To change the status:
-
-
Click on the status in the corresponding row:
-
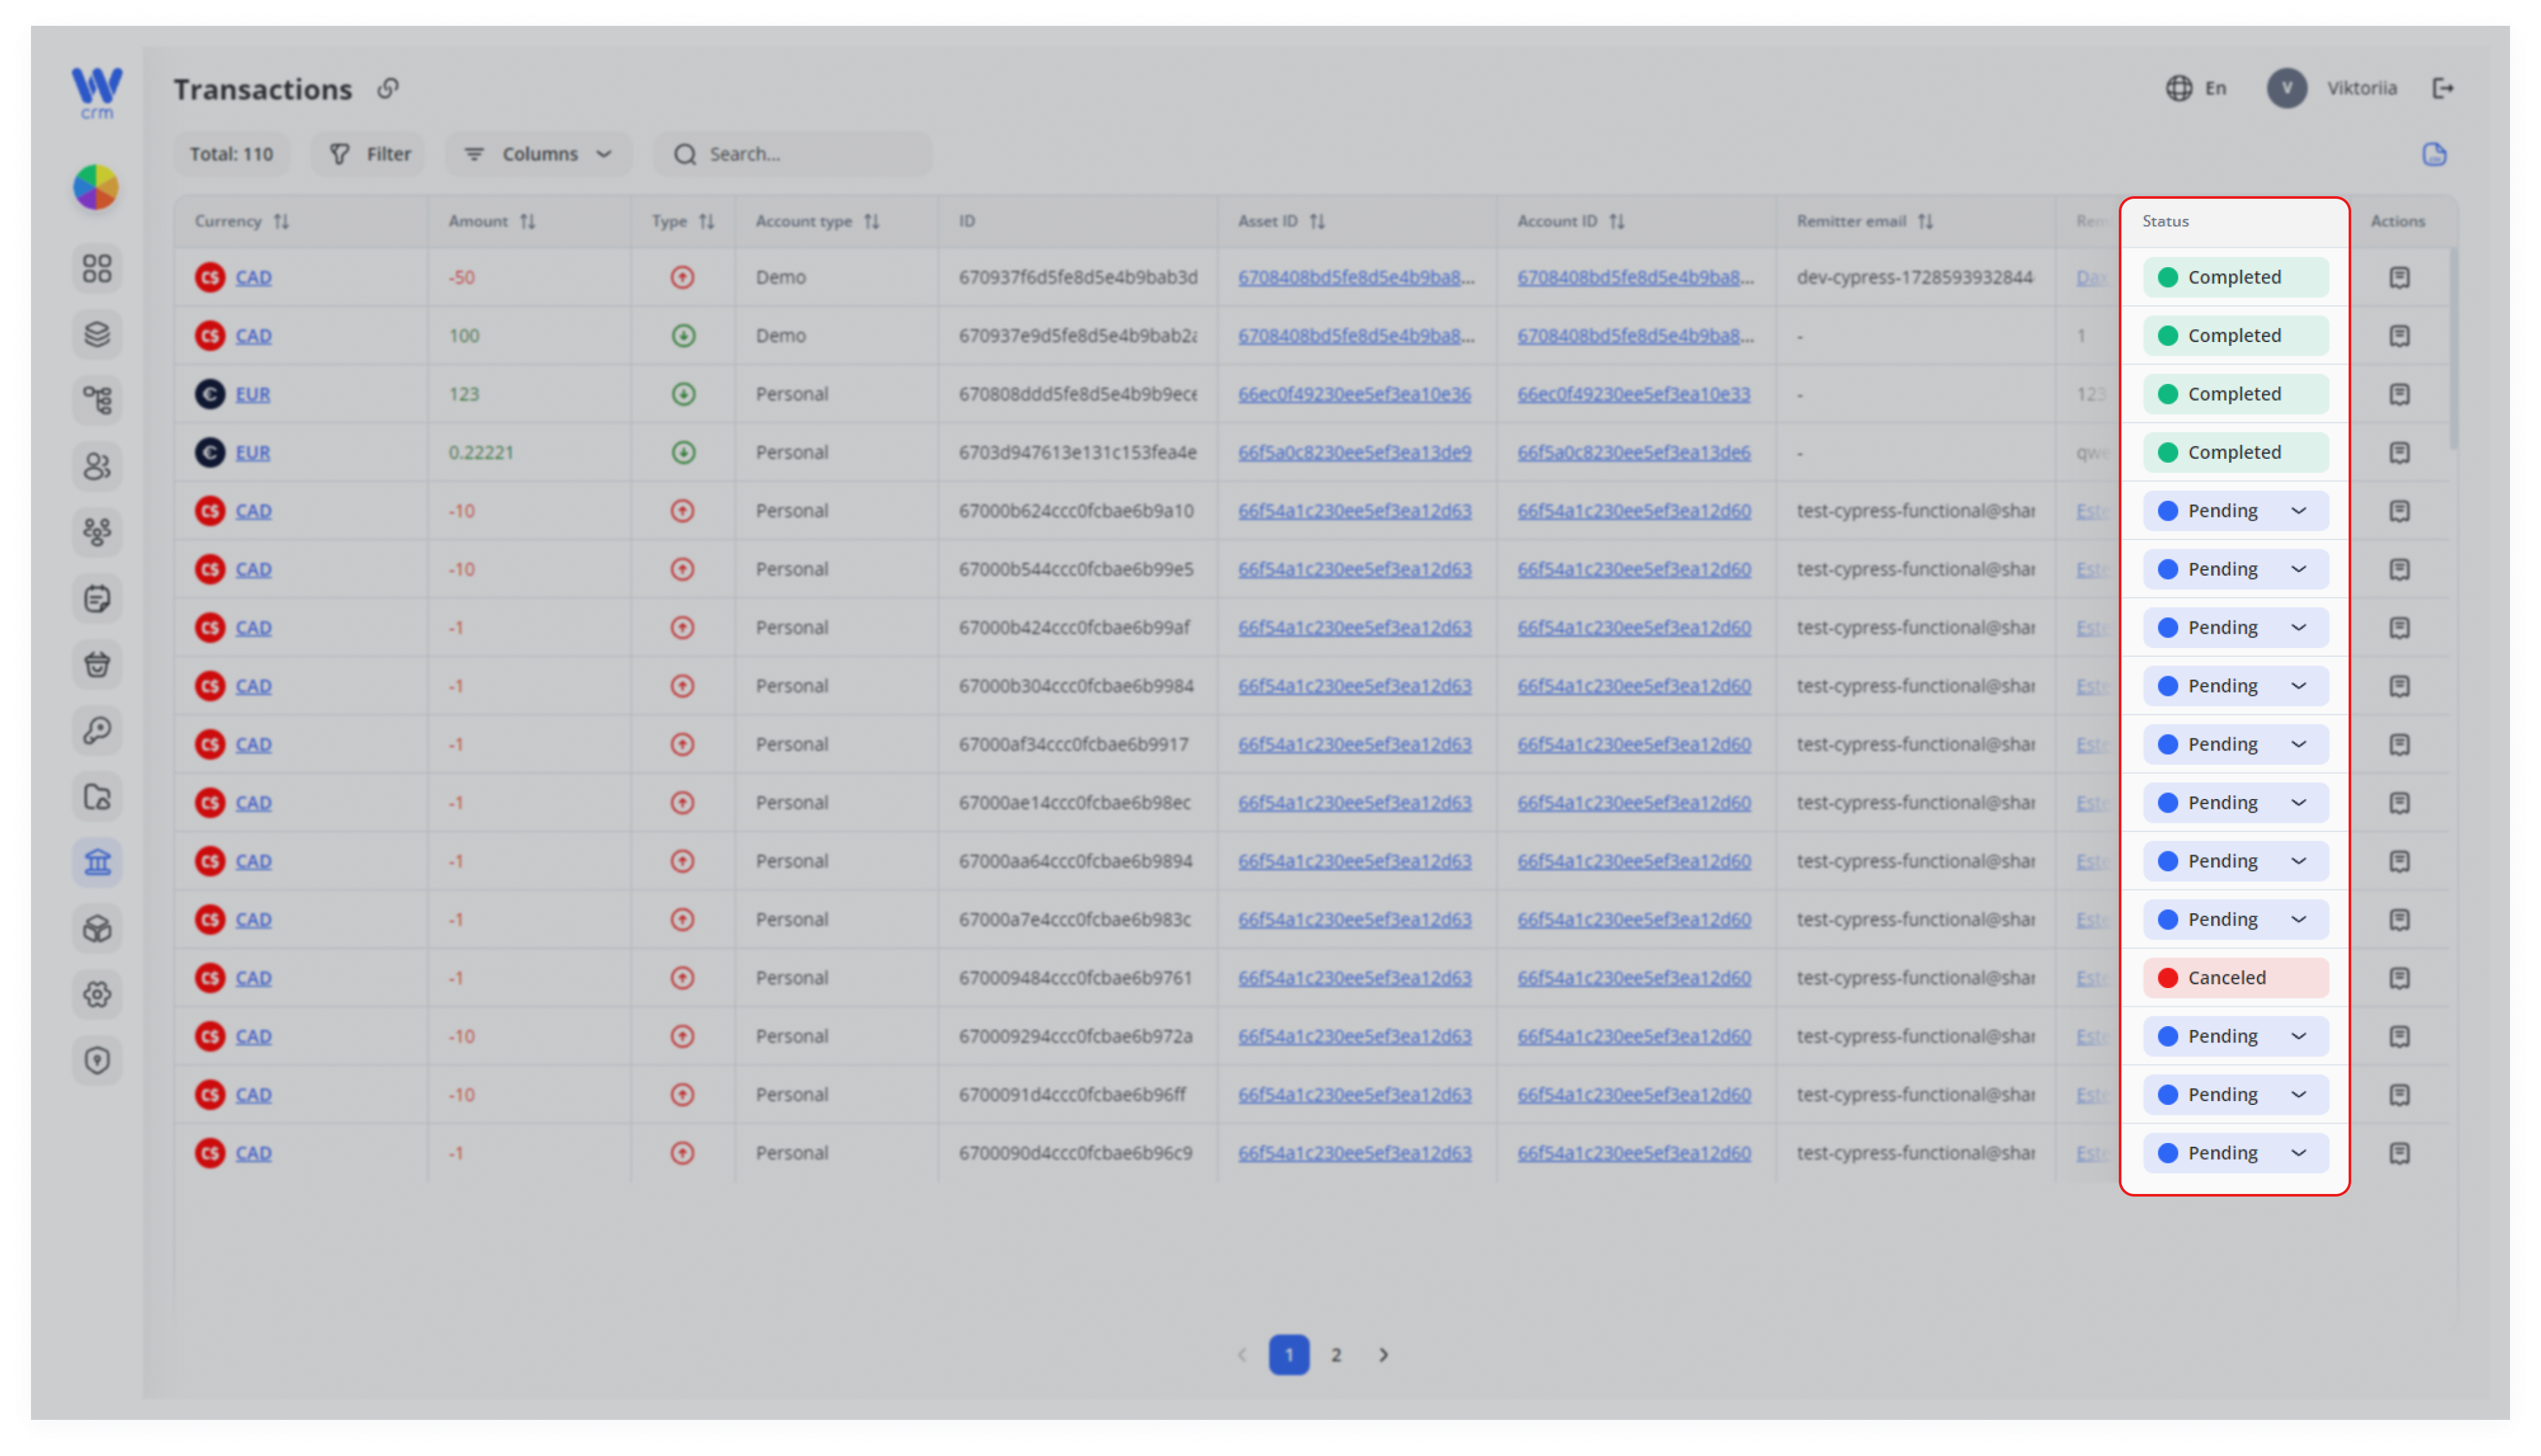
2. Select thea desirednew status from the drop-downdropdown. list.Custom statuses (e.g., “Review,” “Escalated”) appear here too.
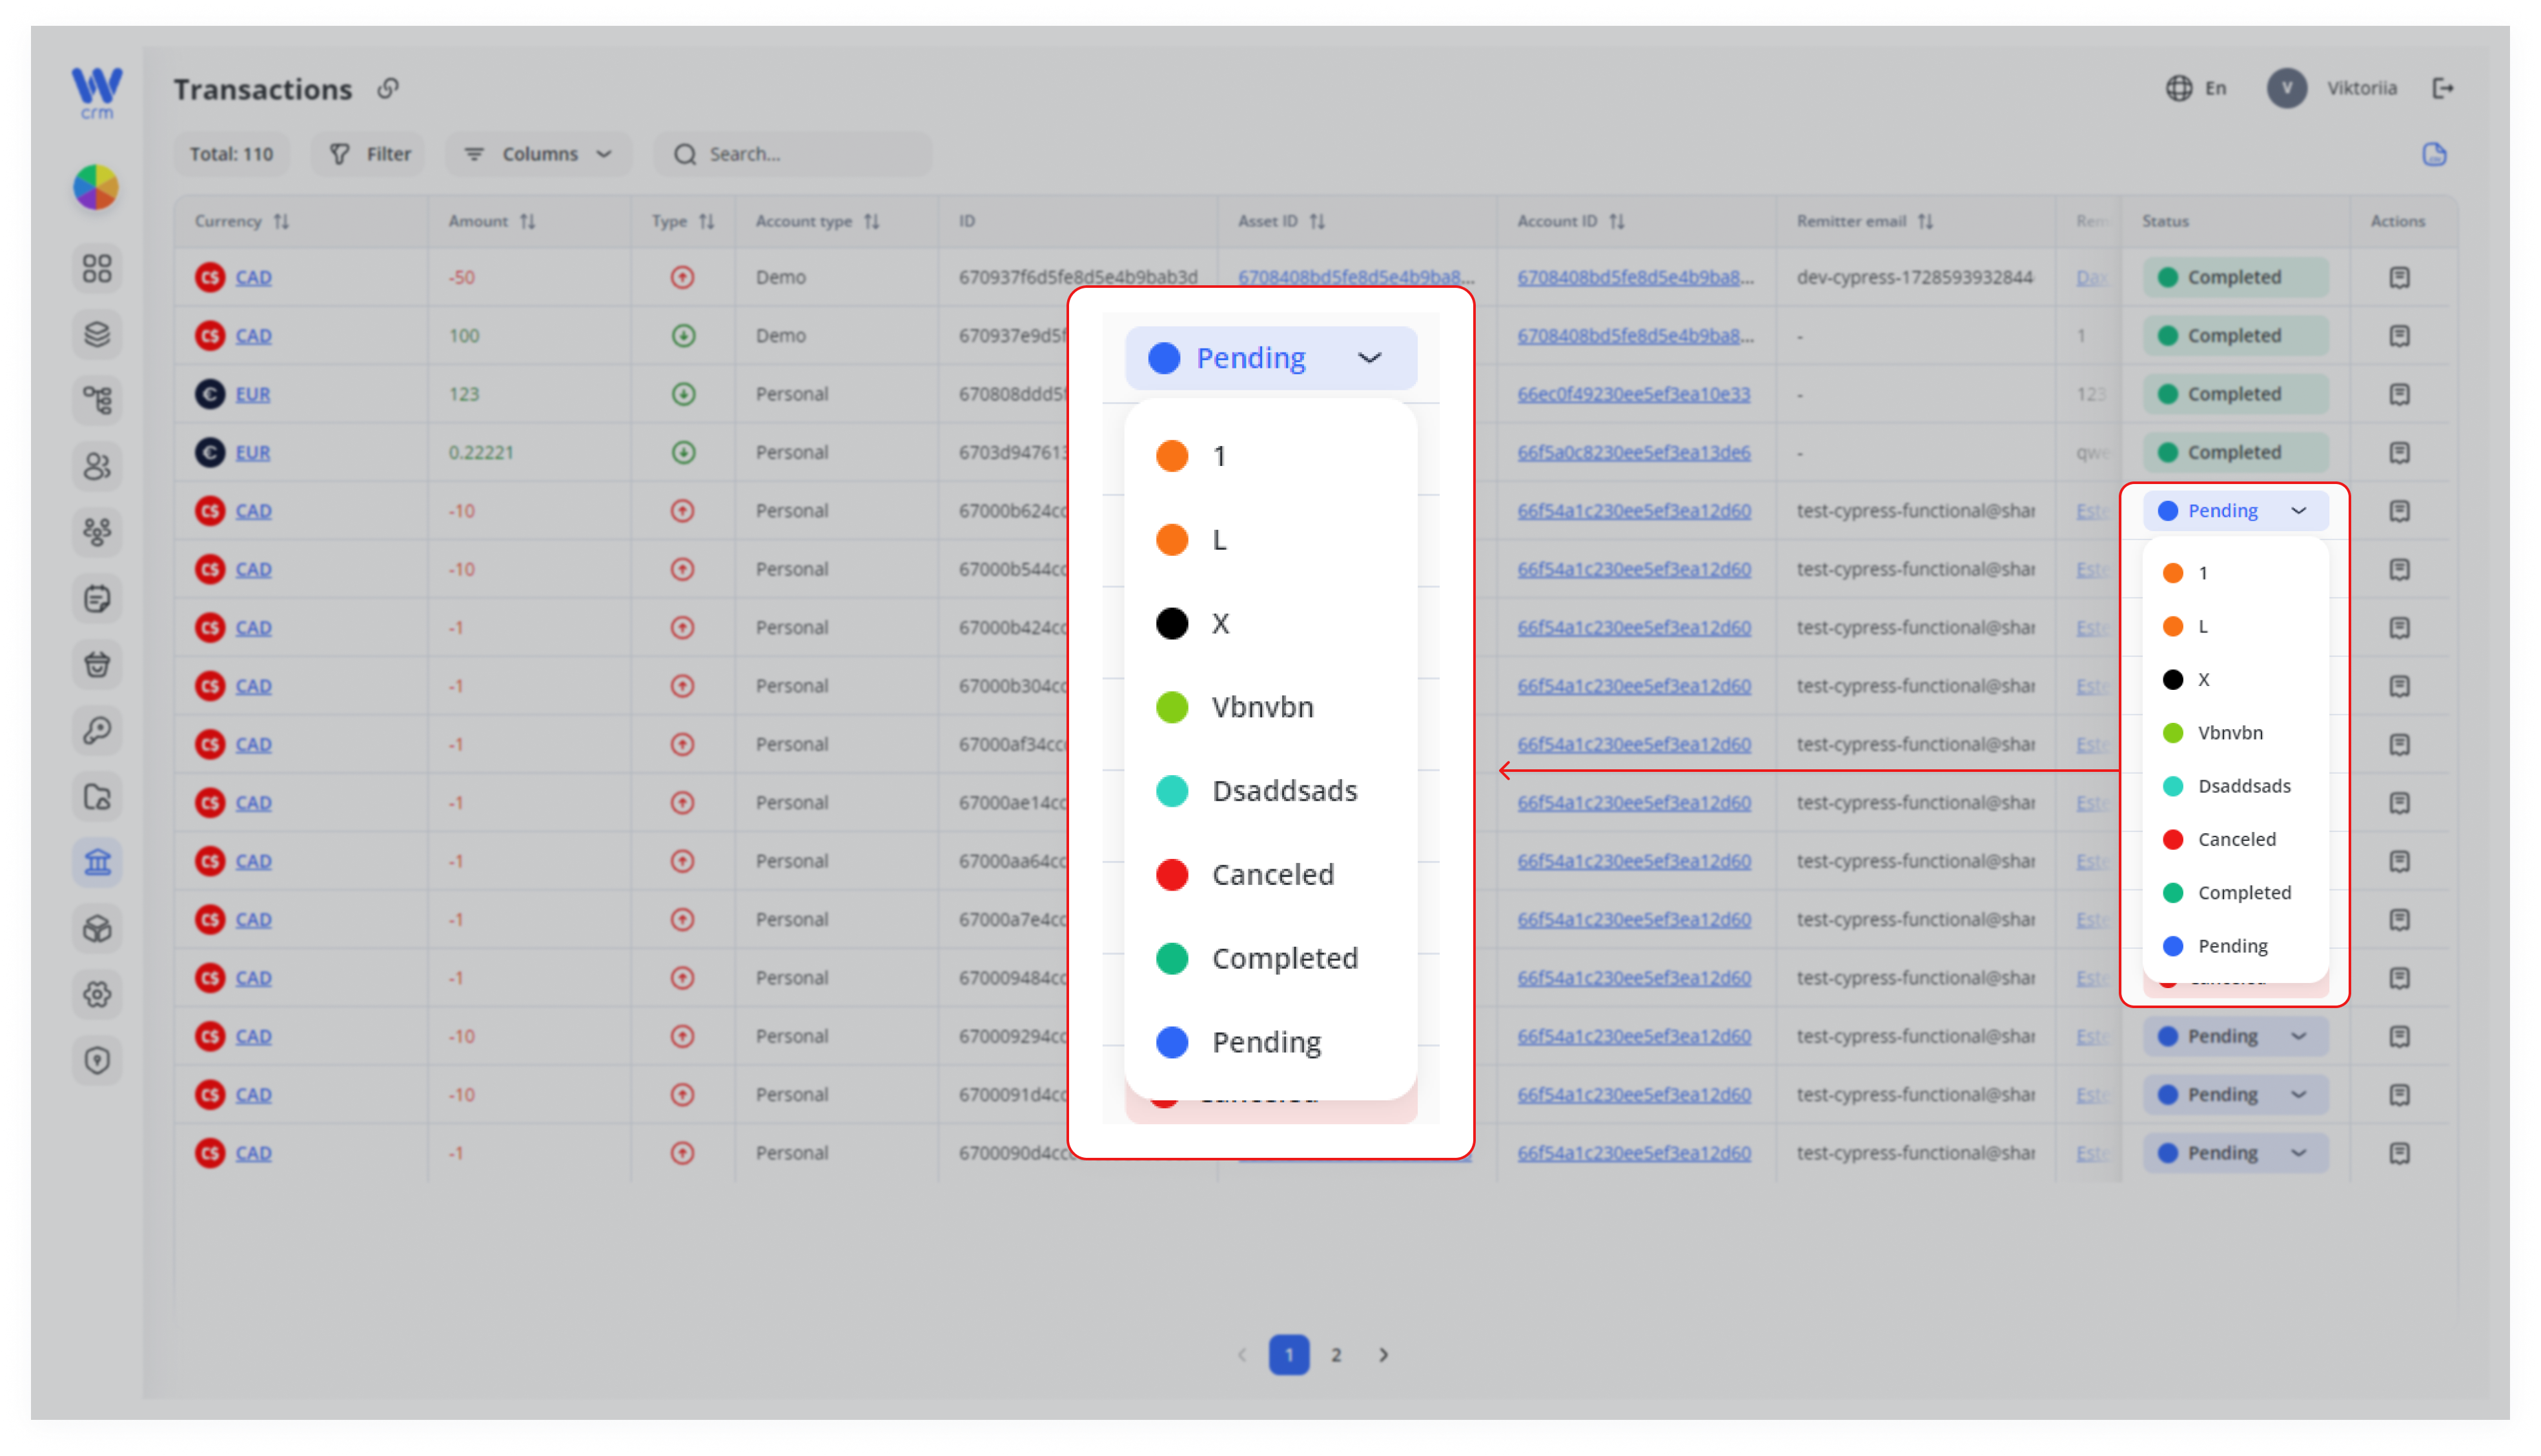
Warning: After selecting the Completed or Canceled transaction status, the transaction history ends. It is not possible to cancel this action.
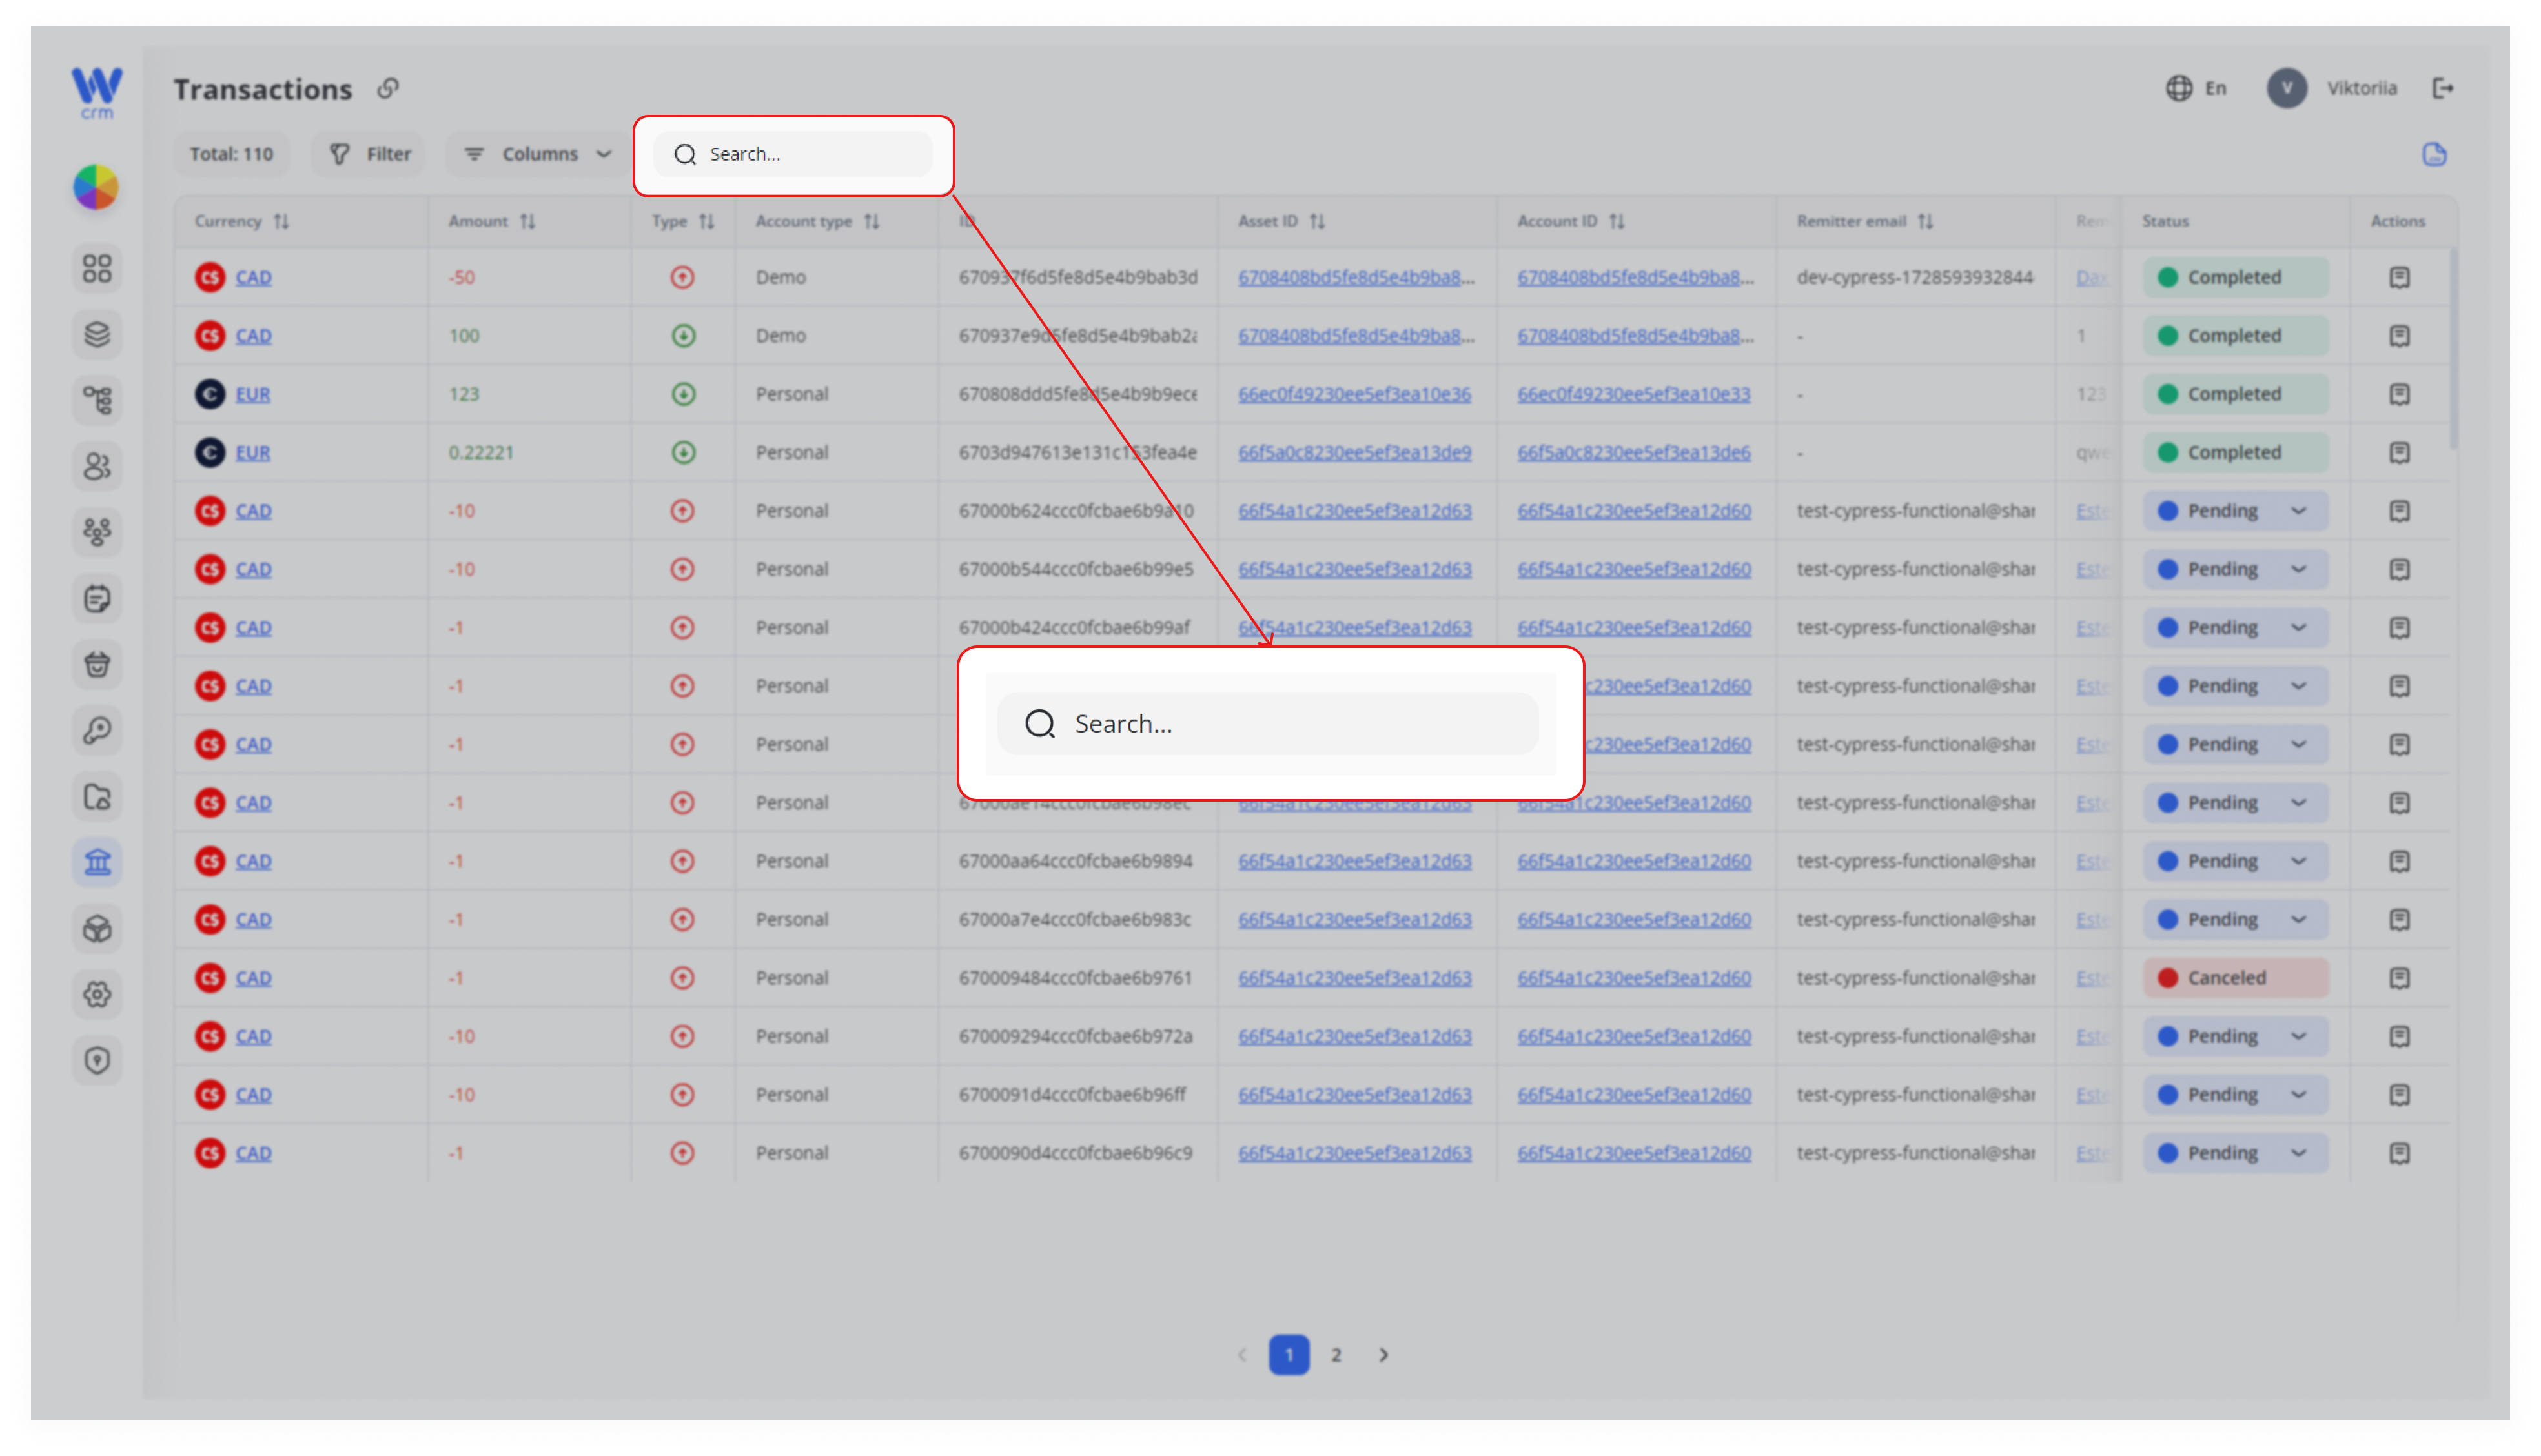
To search for a transaction:
-
StartTypetyping your search query in theinto Searchfield.toMostlive-filterfieldsbyareanysearchable.visible text field (e.g., ID, asset code, remitter email, amount). Matches substrings, case-insensitive.
To filter transactions:
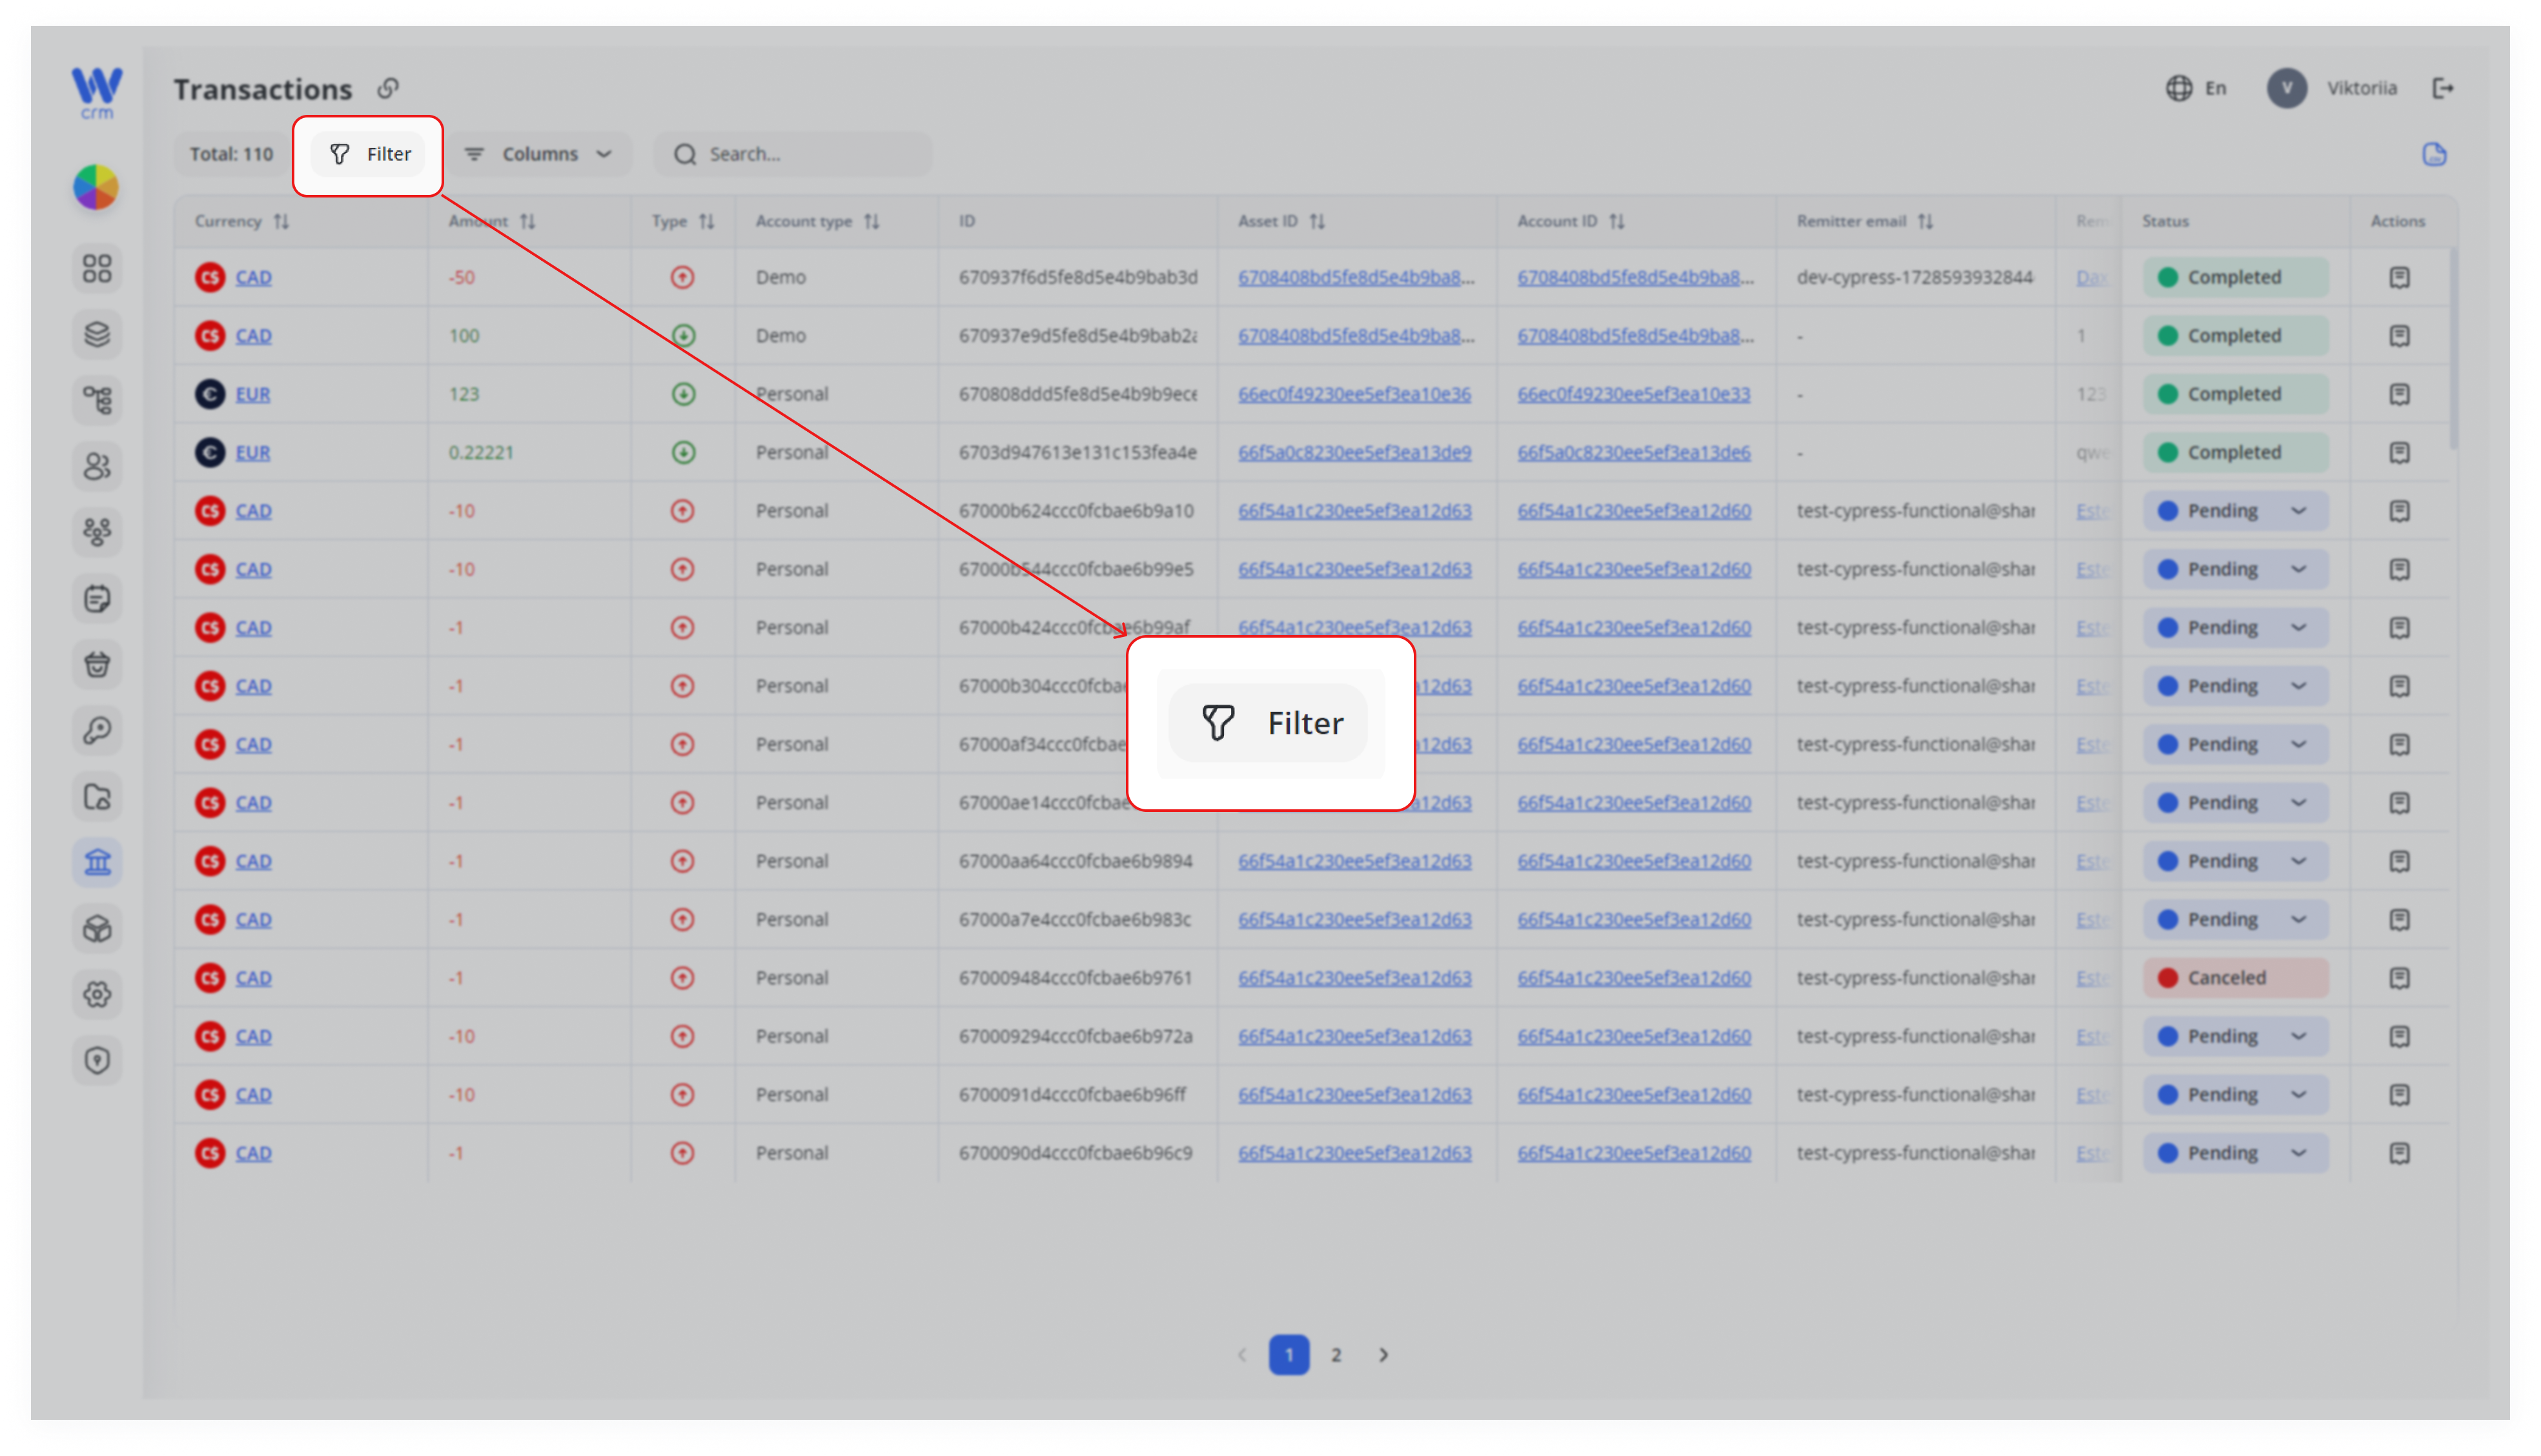
1. Click the Filter button:
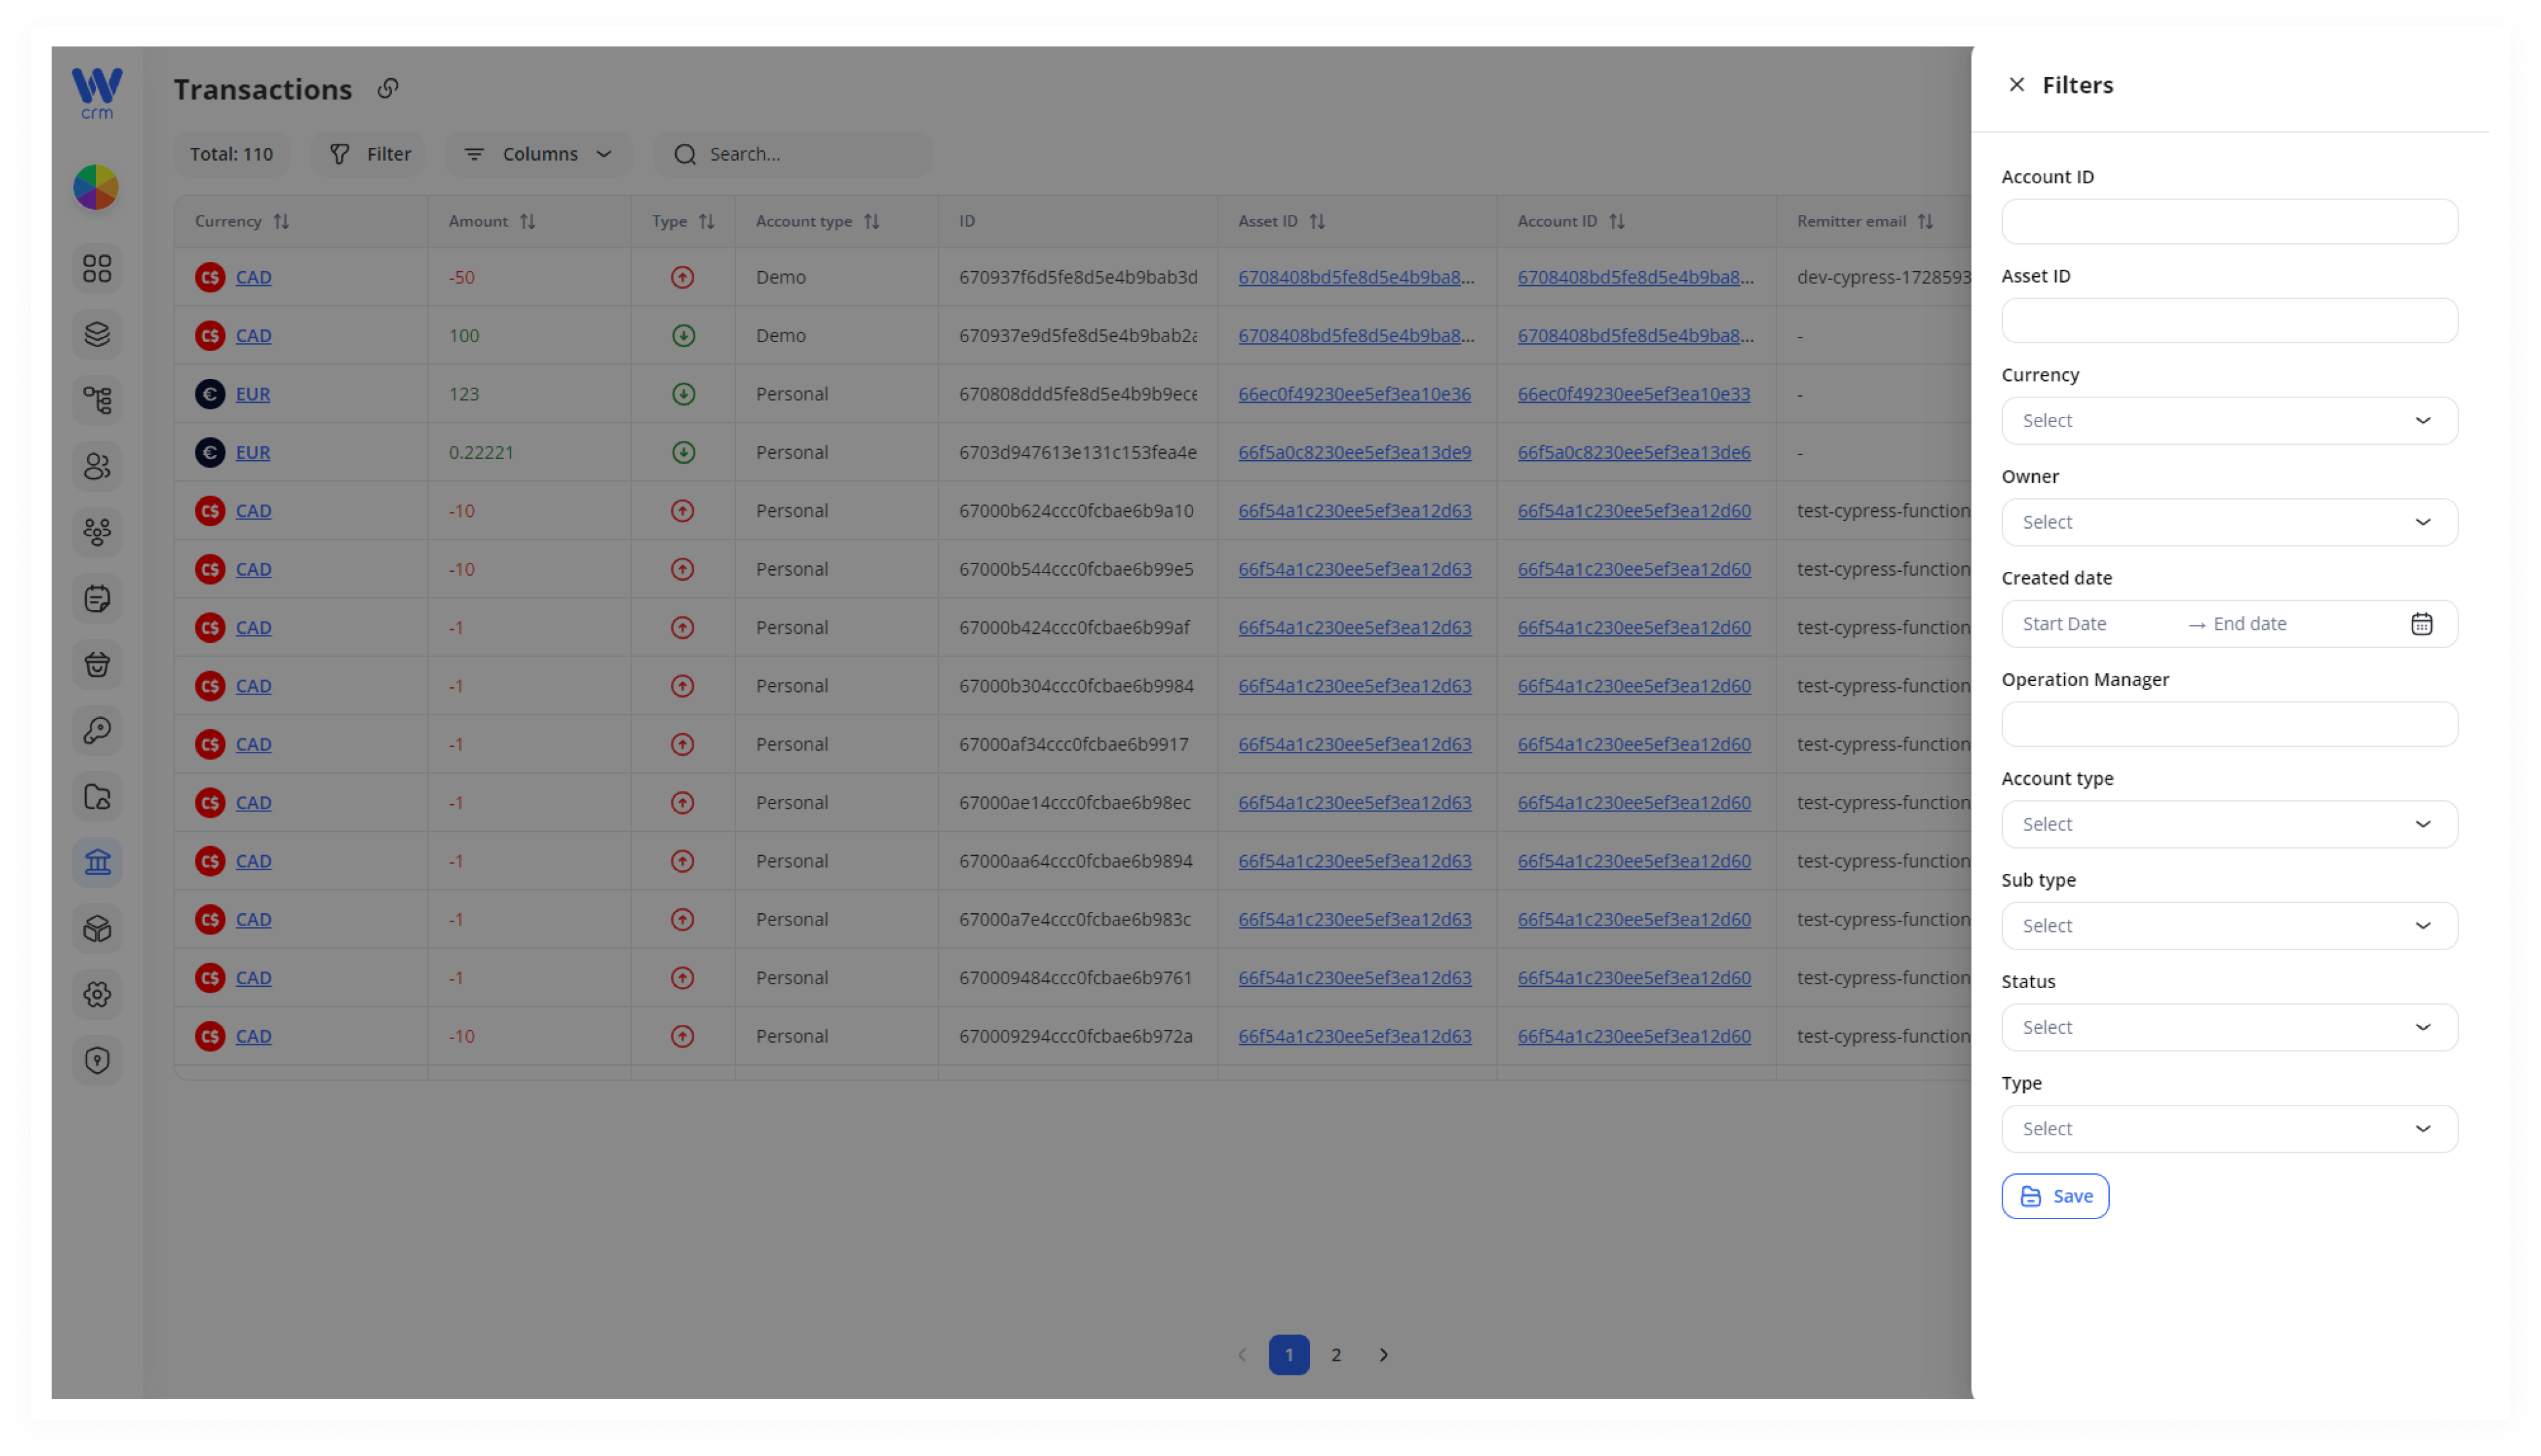
2. Enter or select from the drop-down list one or more parameters for filtering:
-
Field Type
Account ID free-text - UUID
Asset ID free-text - UUID
Currency dropdown - (e.g.,
CAD, EUR)
Owner dropdown - (client
name/email)
Created Date date-range - picker
Account typeTypedropdown - (Personal,
Demo…)
Sub-type dropdown ( offromtransaction)integrations)Status dropdown - (all
statuses)
Type dropdown (IN / OUT) Operation Manager free-text -
-
Click the Show transaction history icon in the Actions column in the corresponding row:
-
-
General (Currency, Amount, Type IN/OUT, Provider, IDs, Dates, Description)
-
Owner (Client name, email, profile link)
-
Source (Remitter details, External ID, Order ID, Hash, Fees)
-
Destination (Beneficiary, Destination address or account)
-
- Click the
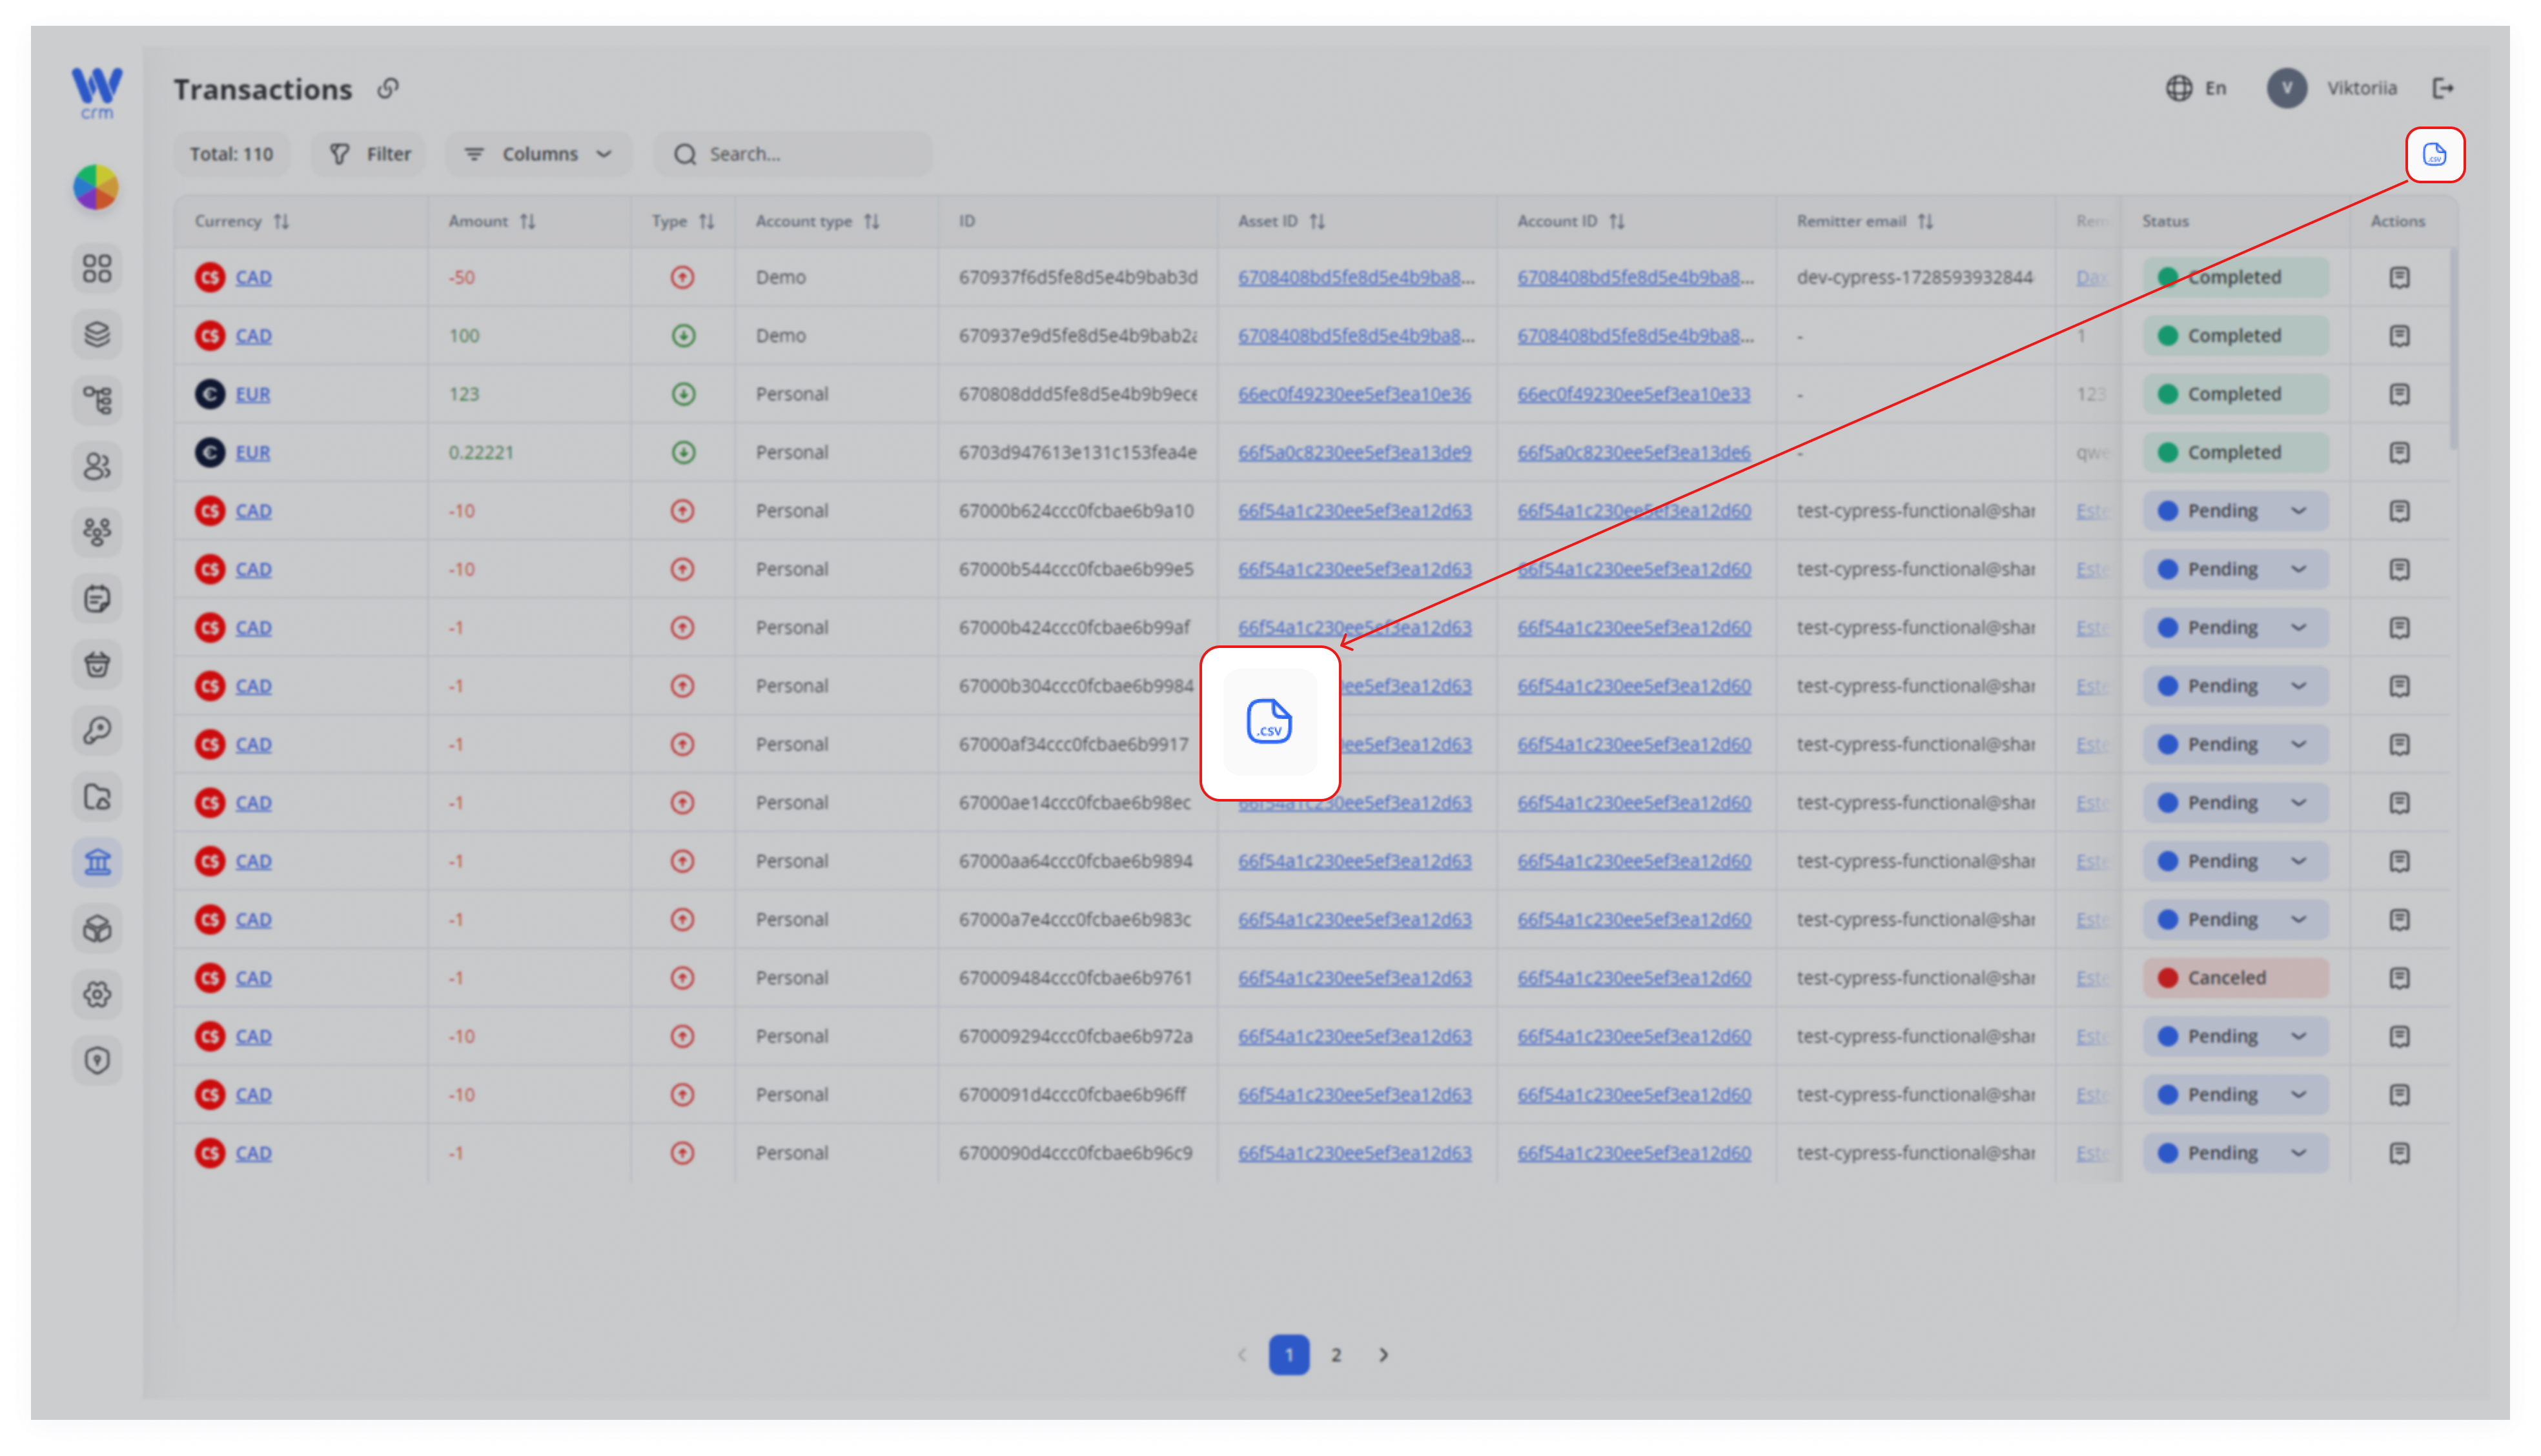
.csvCSV icon in theupperupper-rightright-handofcorner:the Transactions tab to download every row currently visible (respecting your filters, columns, and pagination) as a comma-separated file.
- Click the
3. Click Save to apply filters.
To clear a single filter, hover its field and click ×; to reset all, close and reopen the panel.
To view the transaction history:
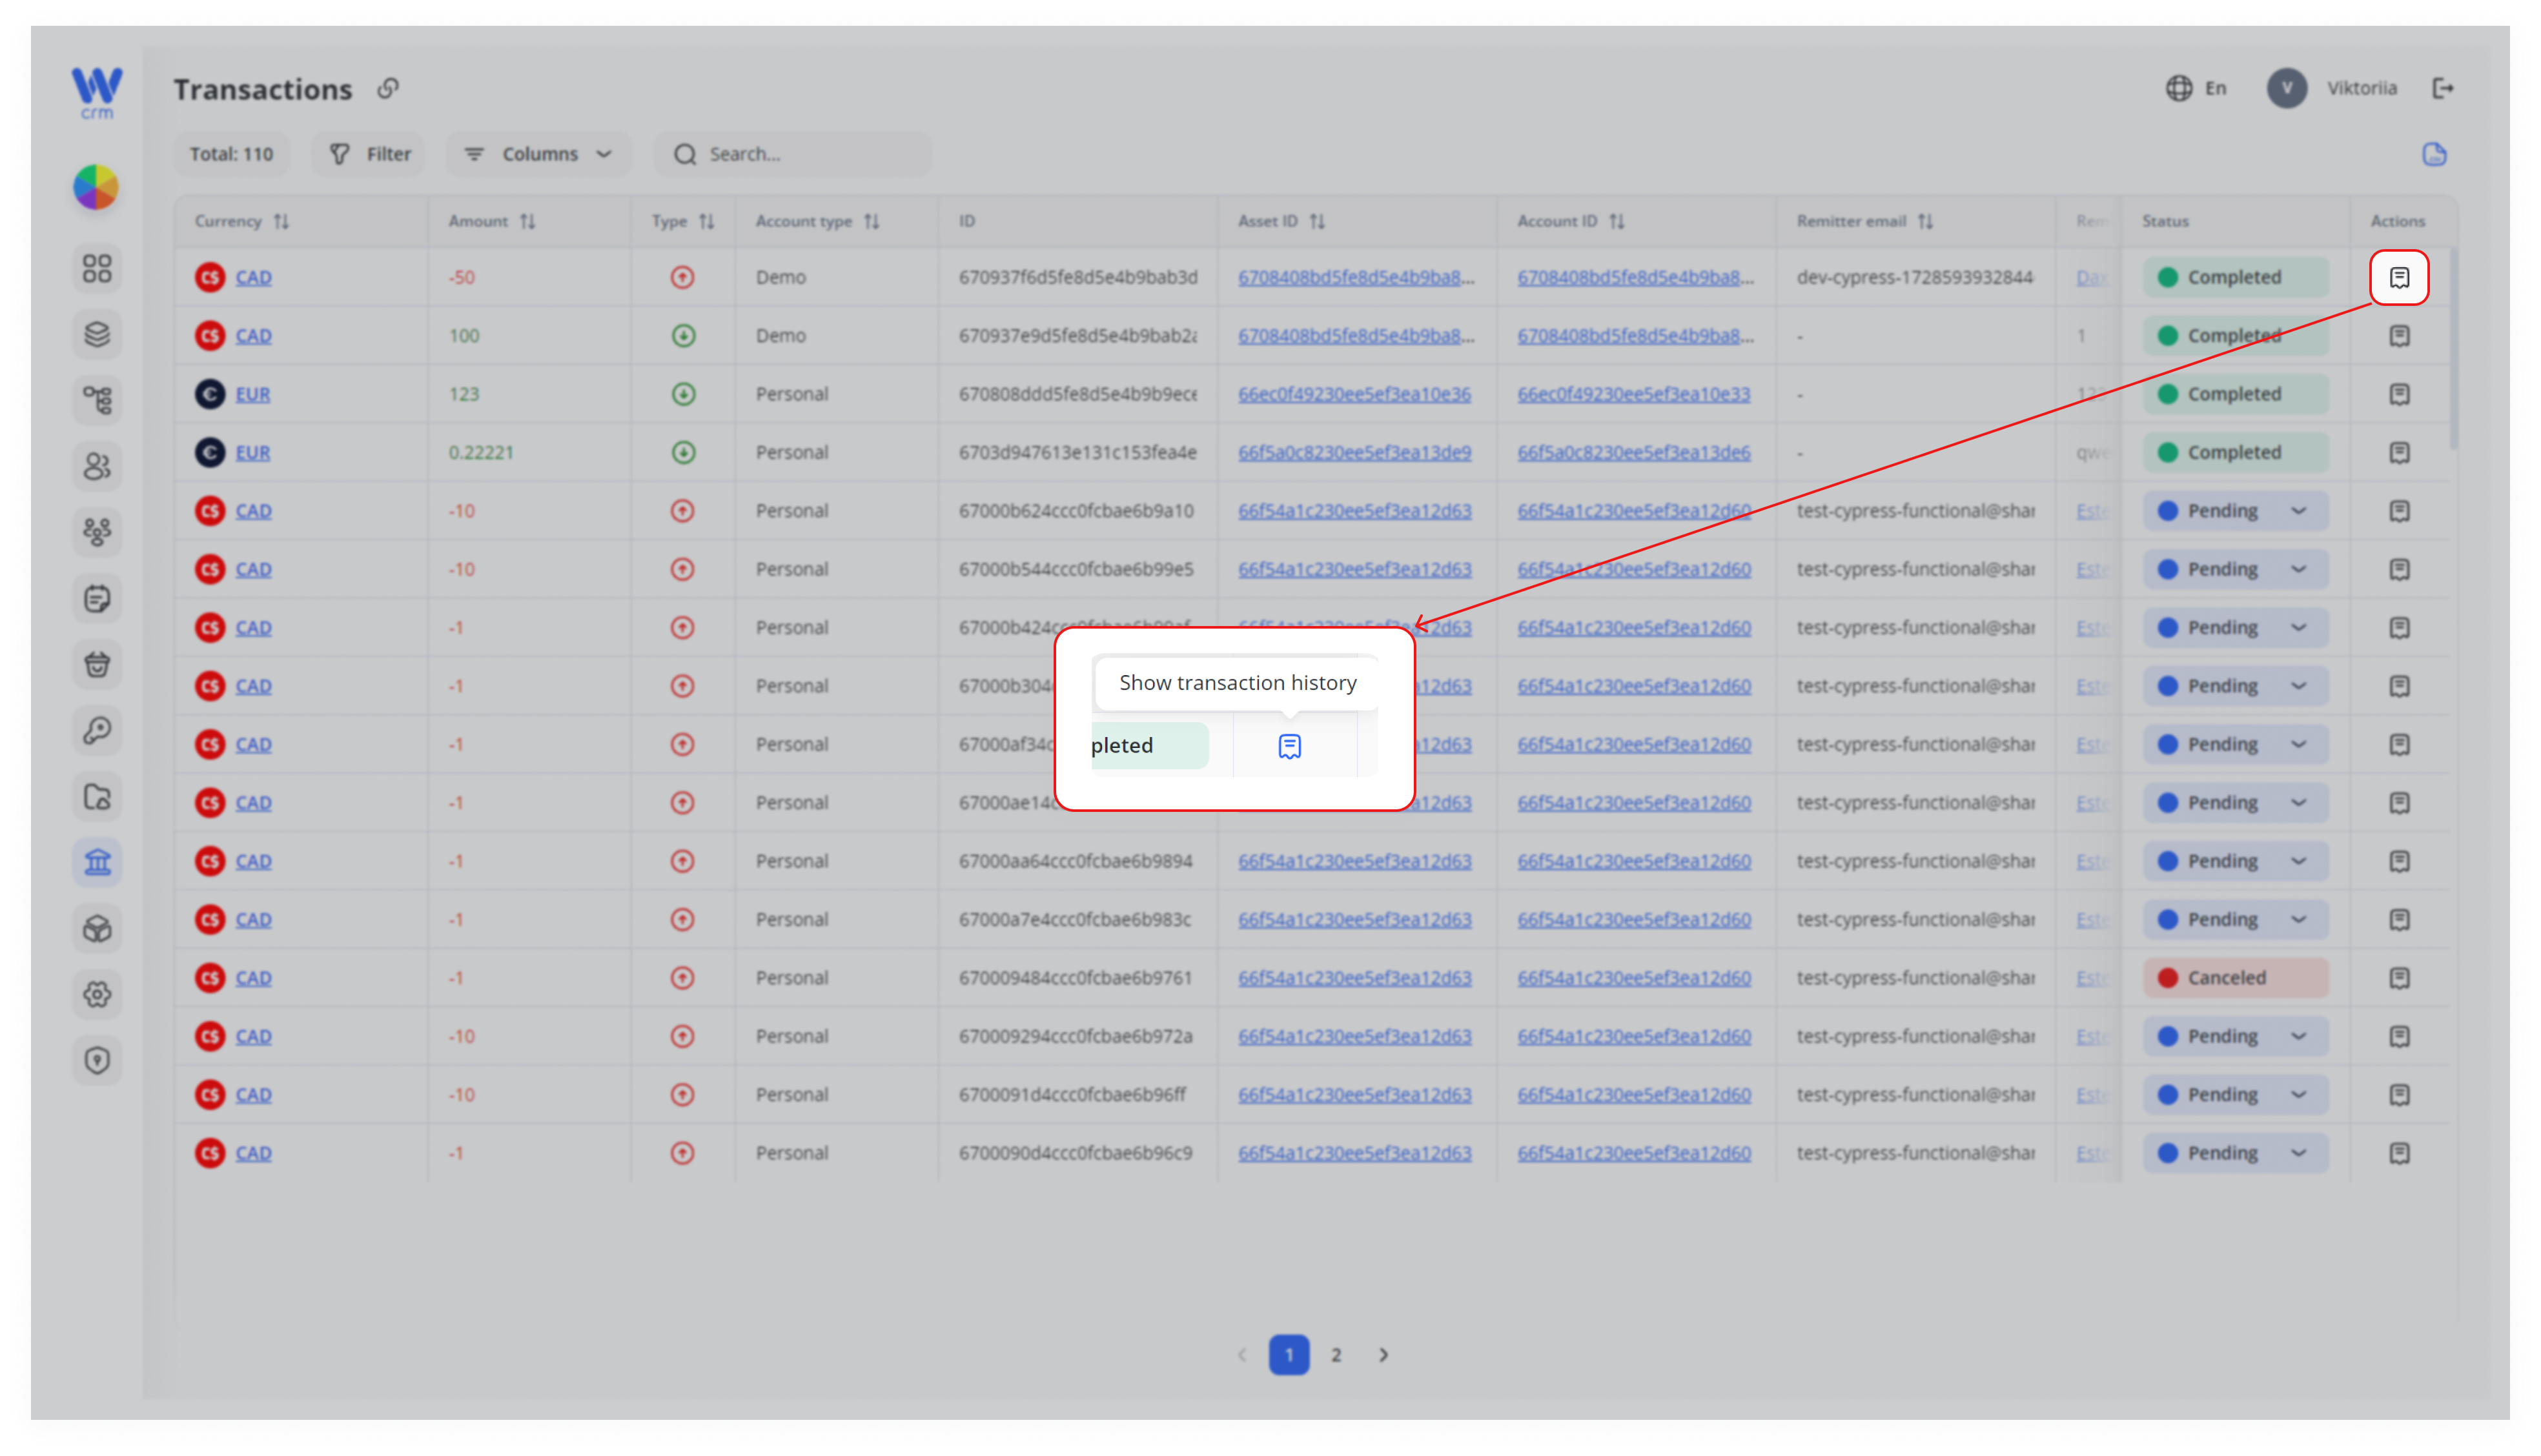
2. You will see the logs of the transaction from inception to completion (who took what actions, how and when).
A side-drawer lists each state change and user action in chronological order.
Tip: You can also jump directly to history from the Transactions module’s own drawer (see next section).
Inspect Full Transaction Details
Click any Transaction ID cell to open the Transaction Information drawer:
Use the ☰ chevrons to expand/collapse each section.
To export the transactions list in .csv format:
By mastering Columns, Search, Filter, Status, and Drawer controls, you can tailor the Transactions view to any reconciliation, audit, or support workflow—then export or update statuses in just a few clicks.