8.8. How to Manage Transactions
The Transactions section is designed to view and monitor all transactions that were created in CRM via other modules or automatically. You can do the following:
-
Select the information that will be displayed about the transaction.
-
Change the transaction status.
-
Search and filter transactions.
-
View the transaction history.
-
Download a list of transactions in .csv format.
By default, the transaction list displays all transaction information, from basic as Type (In or Out) to advanced as assigned Desk.
To select which transaction information to display:
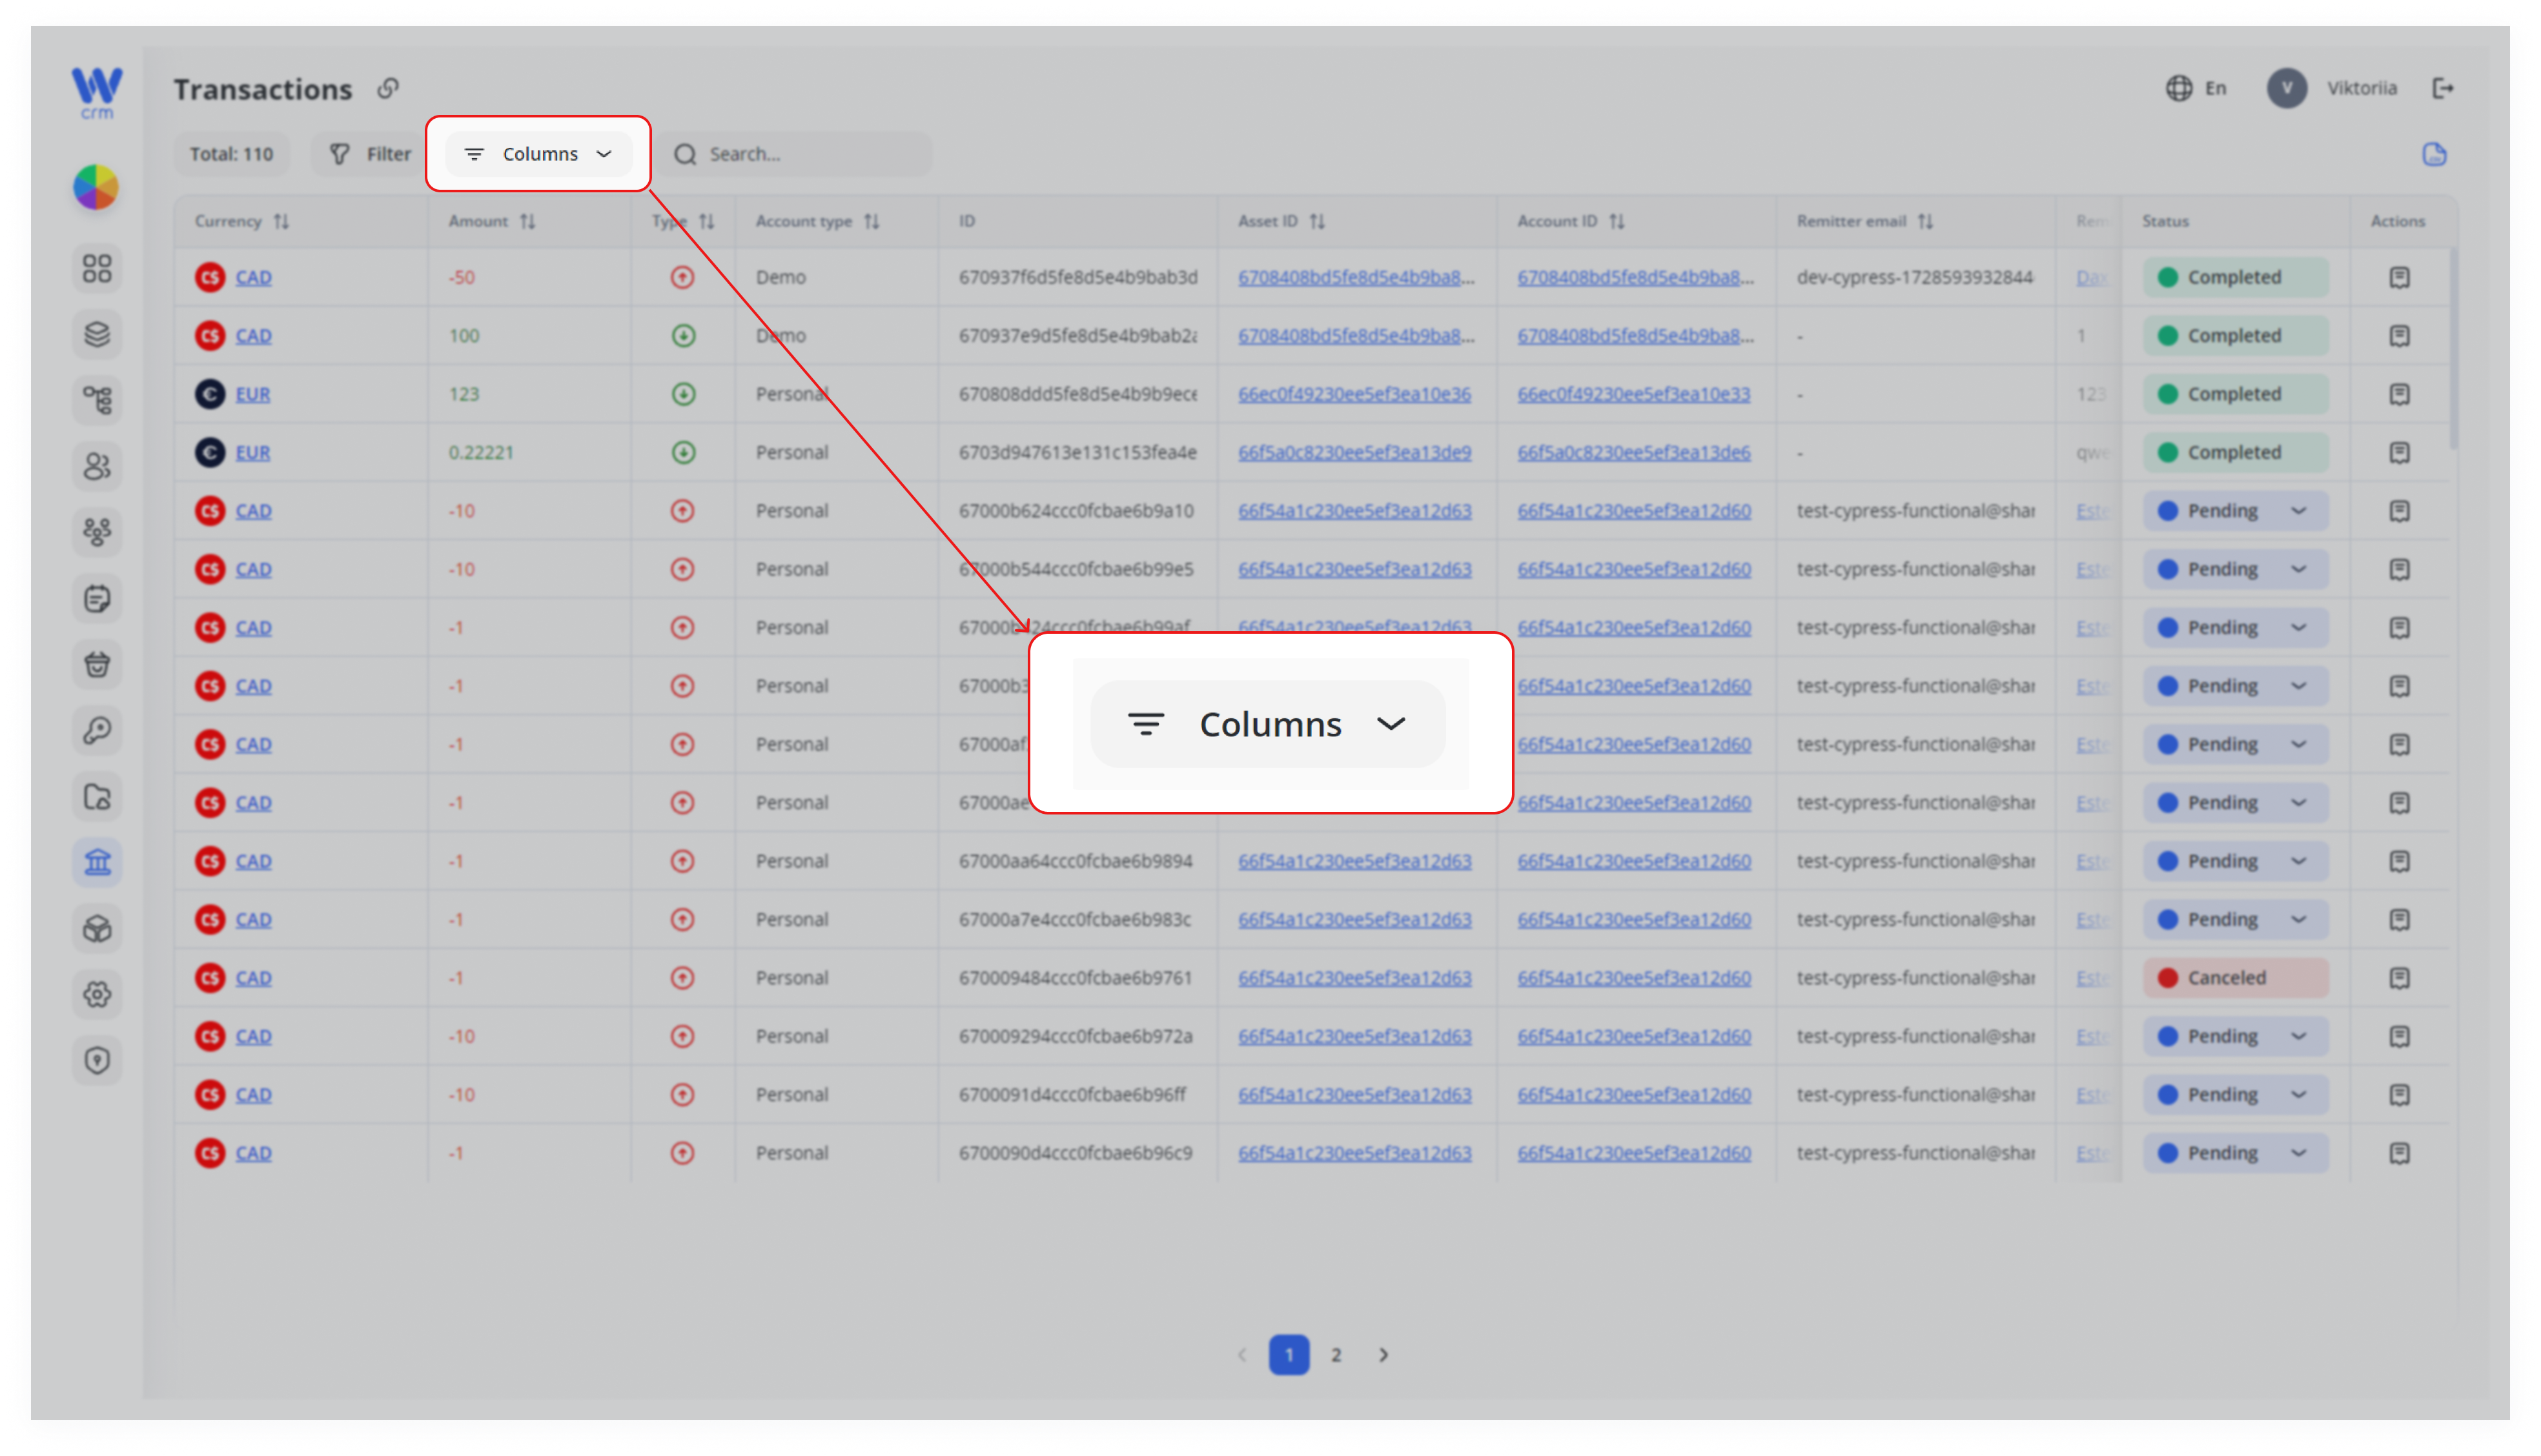
1. Click the Columns button at the top of the Transactions tab:
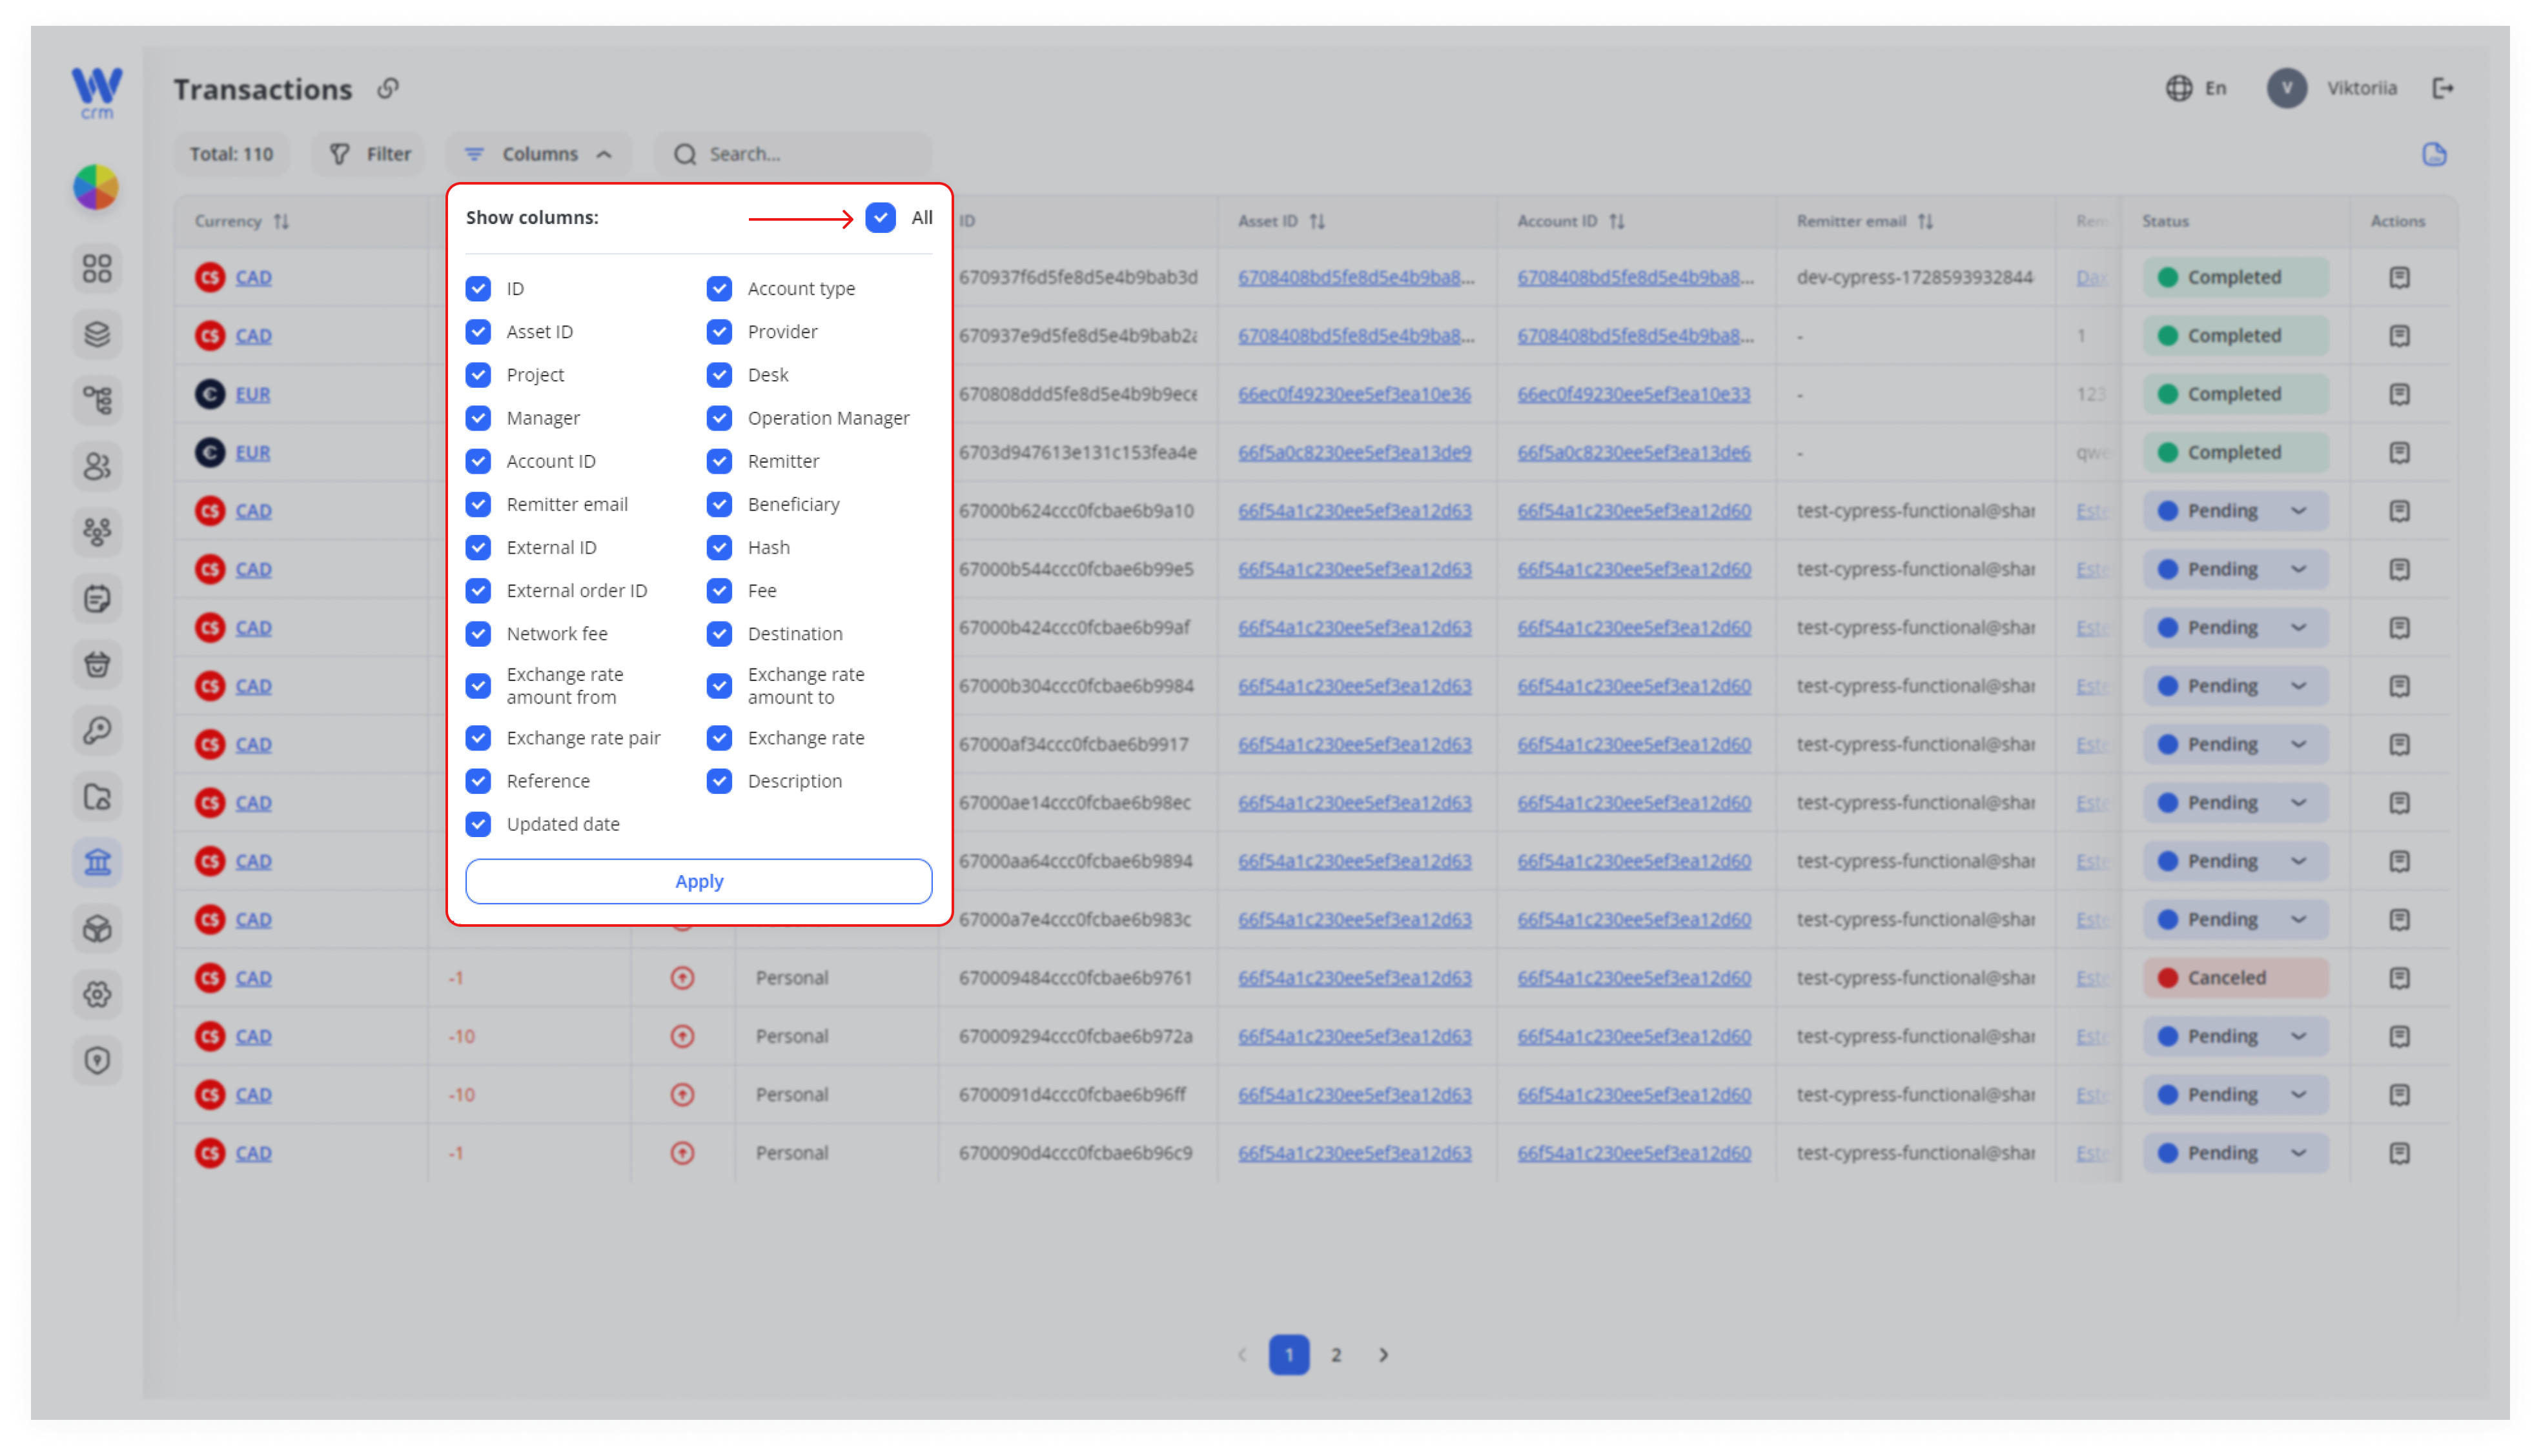
2. Check the boxes next to the fields you want to be displayed. To check all fields, use the All button.
3. To uncheck all fields, click All again.
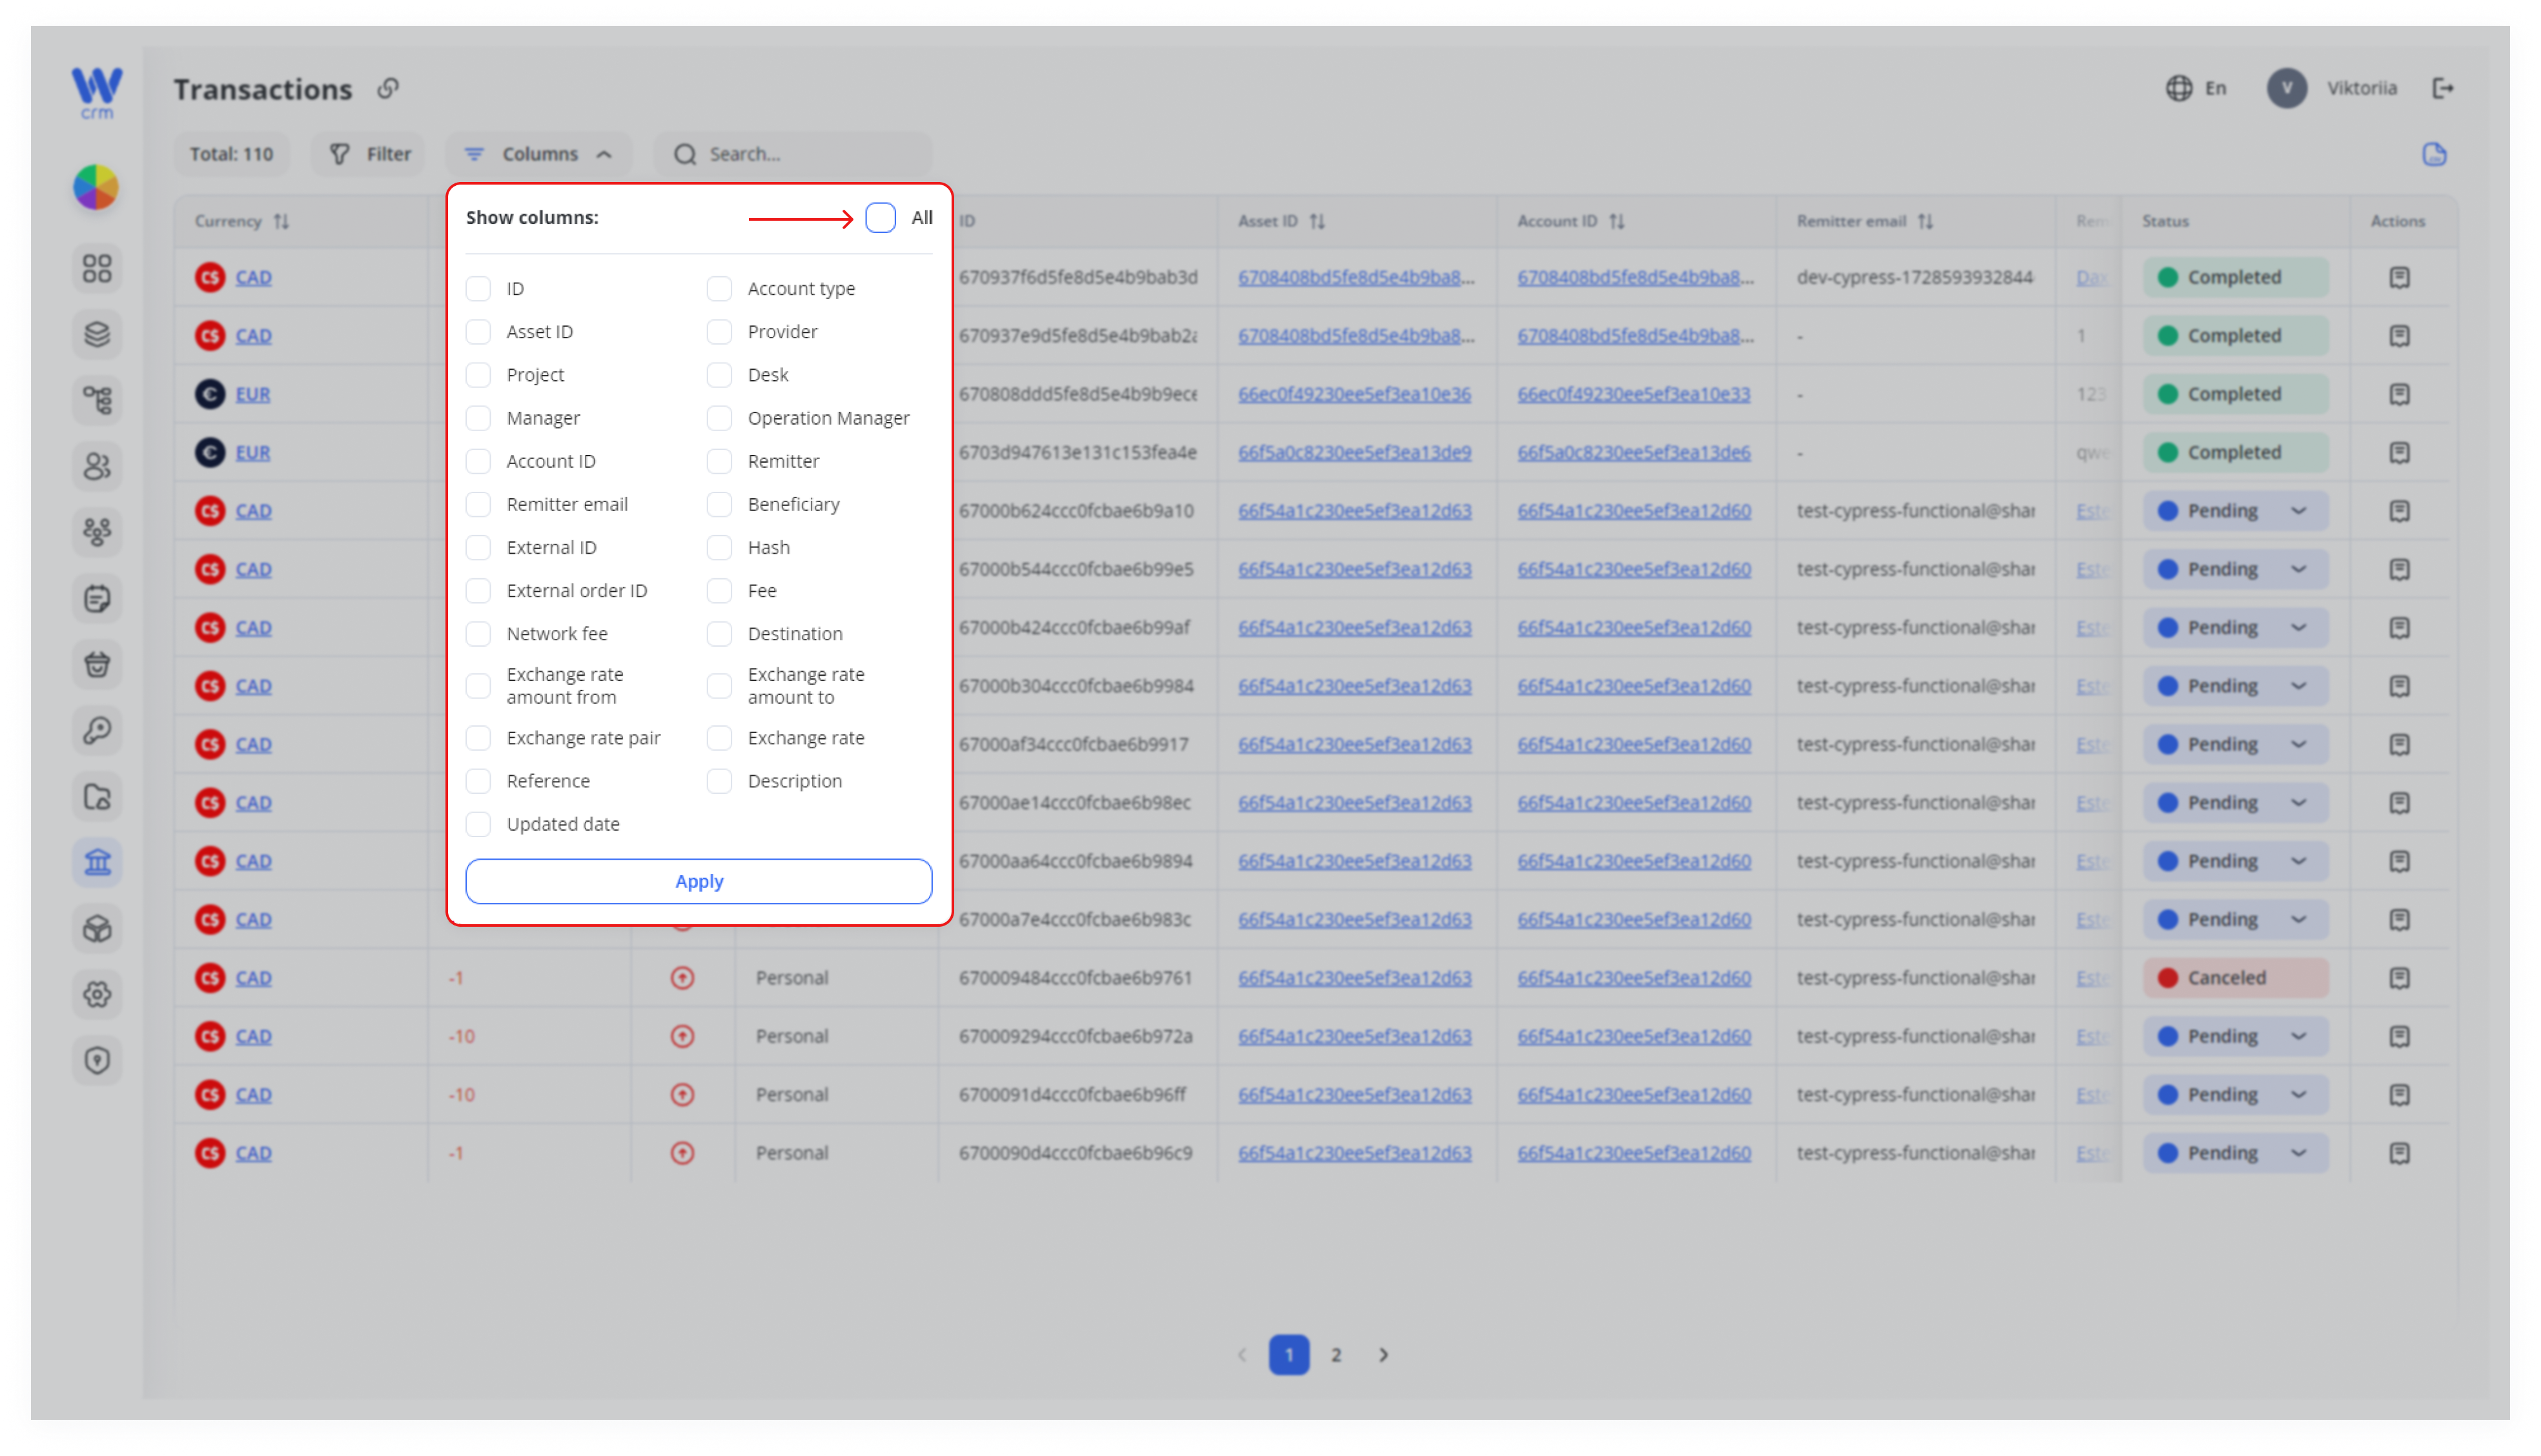
4. Click Apply to select columns.
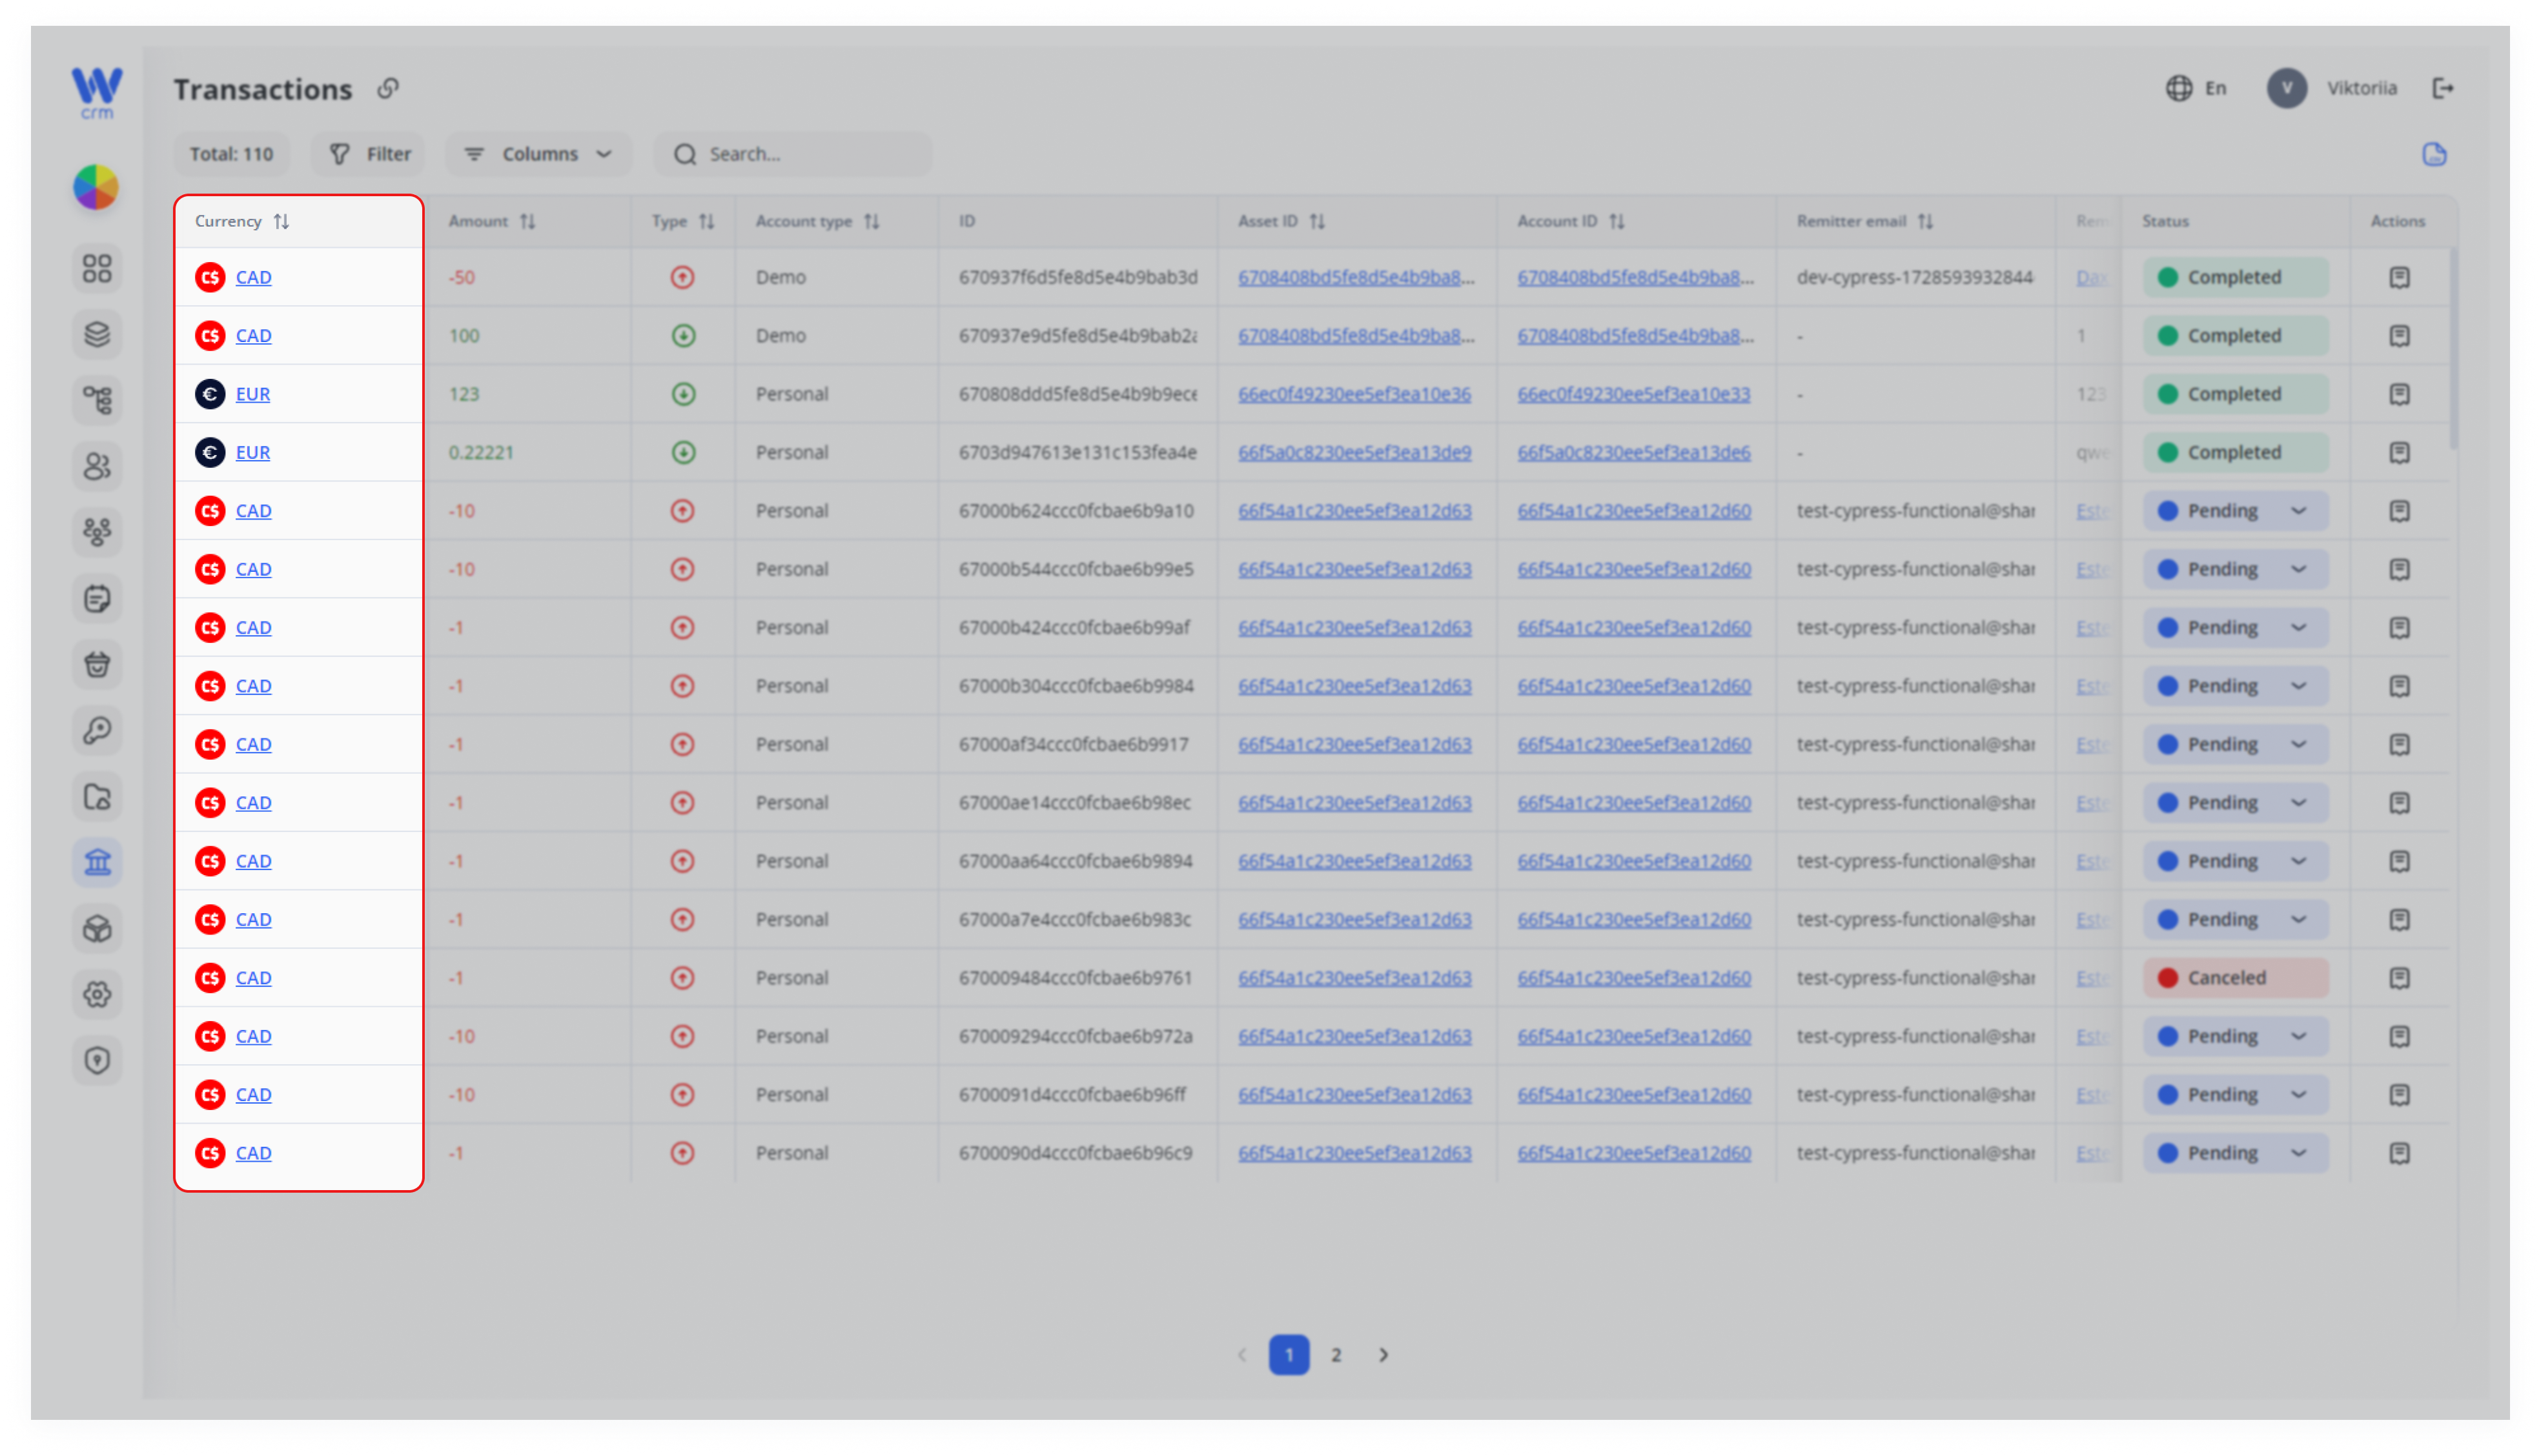
You can view additional information on the field values that are highlighted in blue. To do this:
-
-
Click on the field value in the Currency column:
-
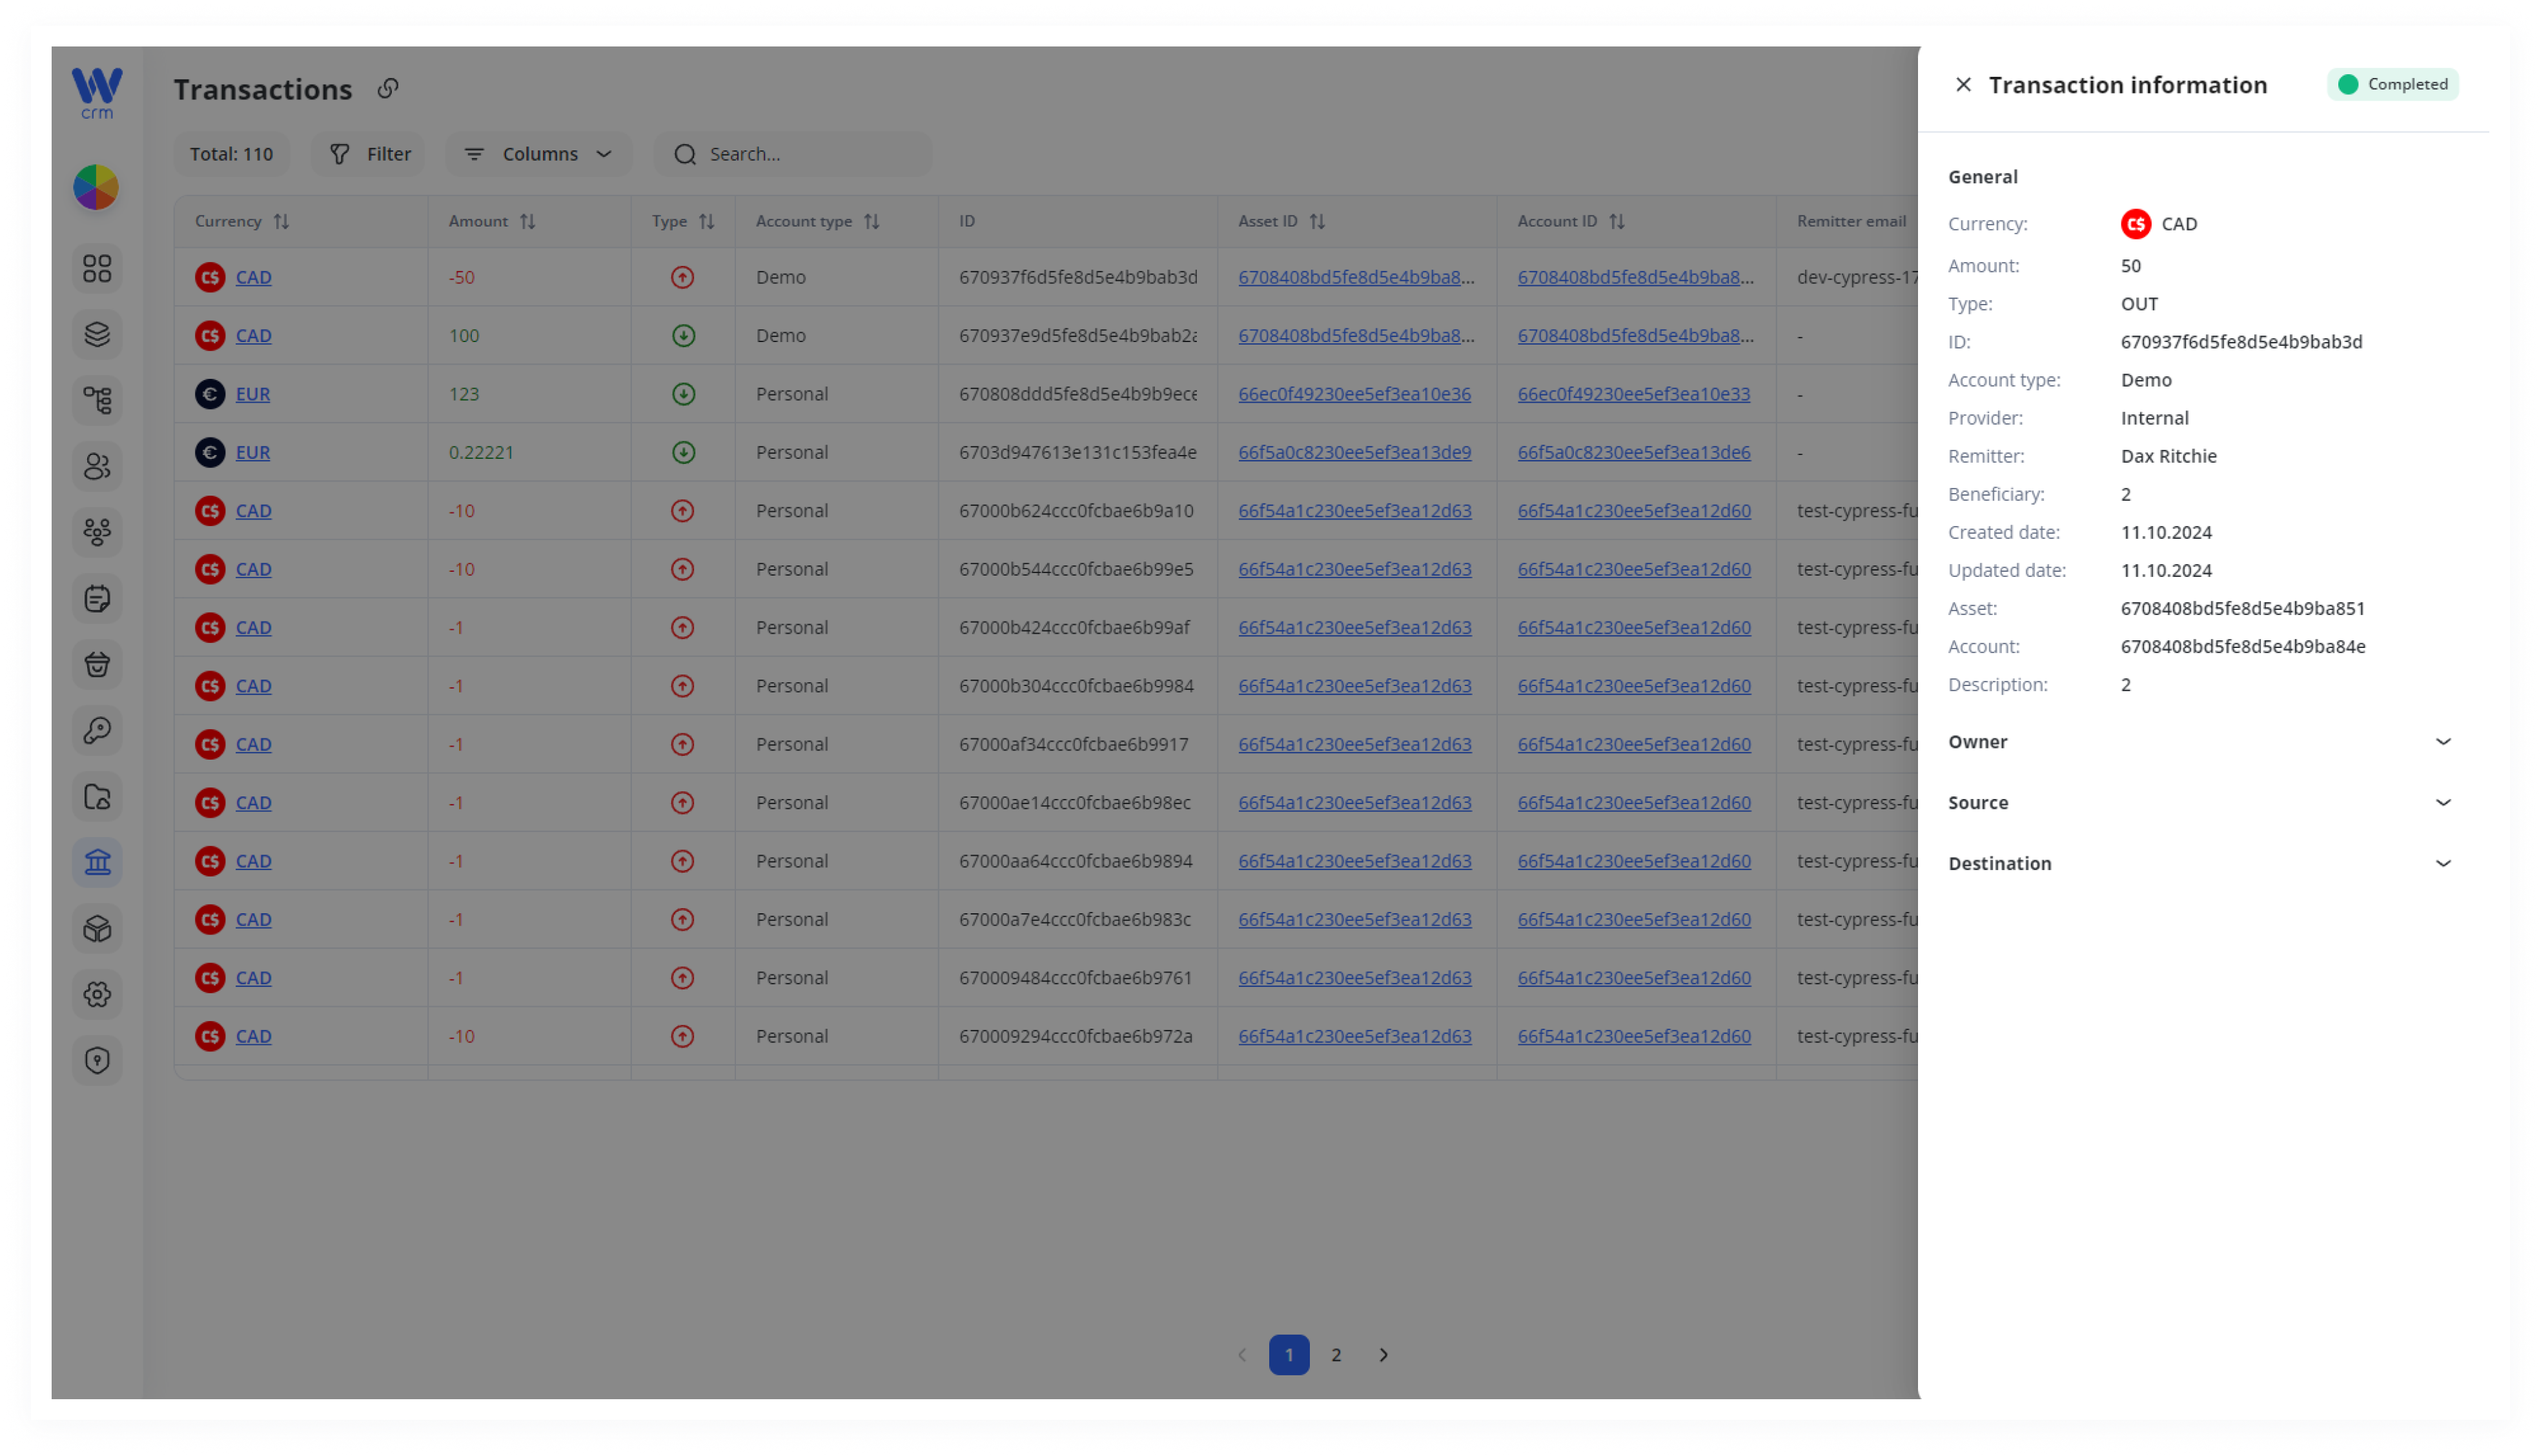
2. A drawer with information about the field opens:
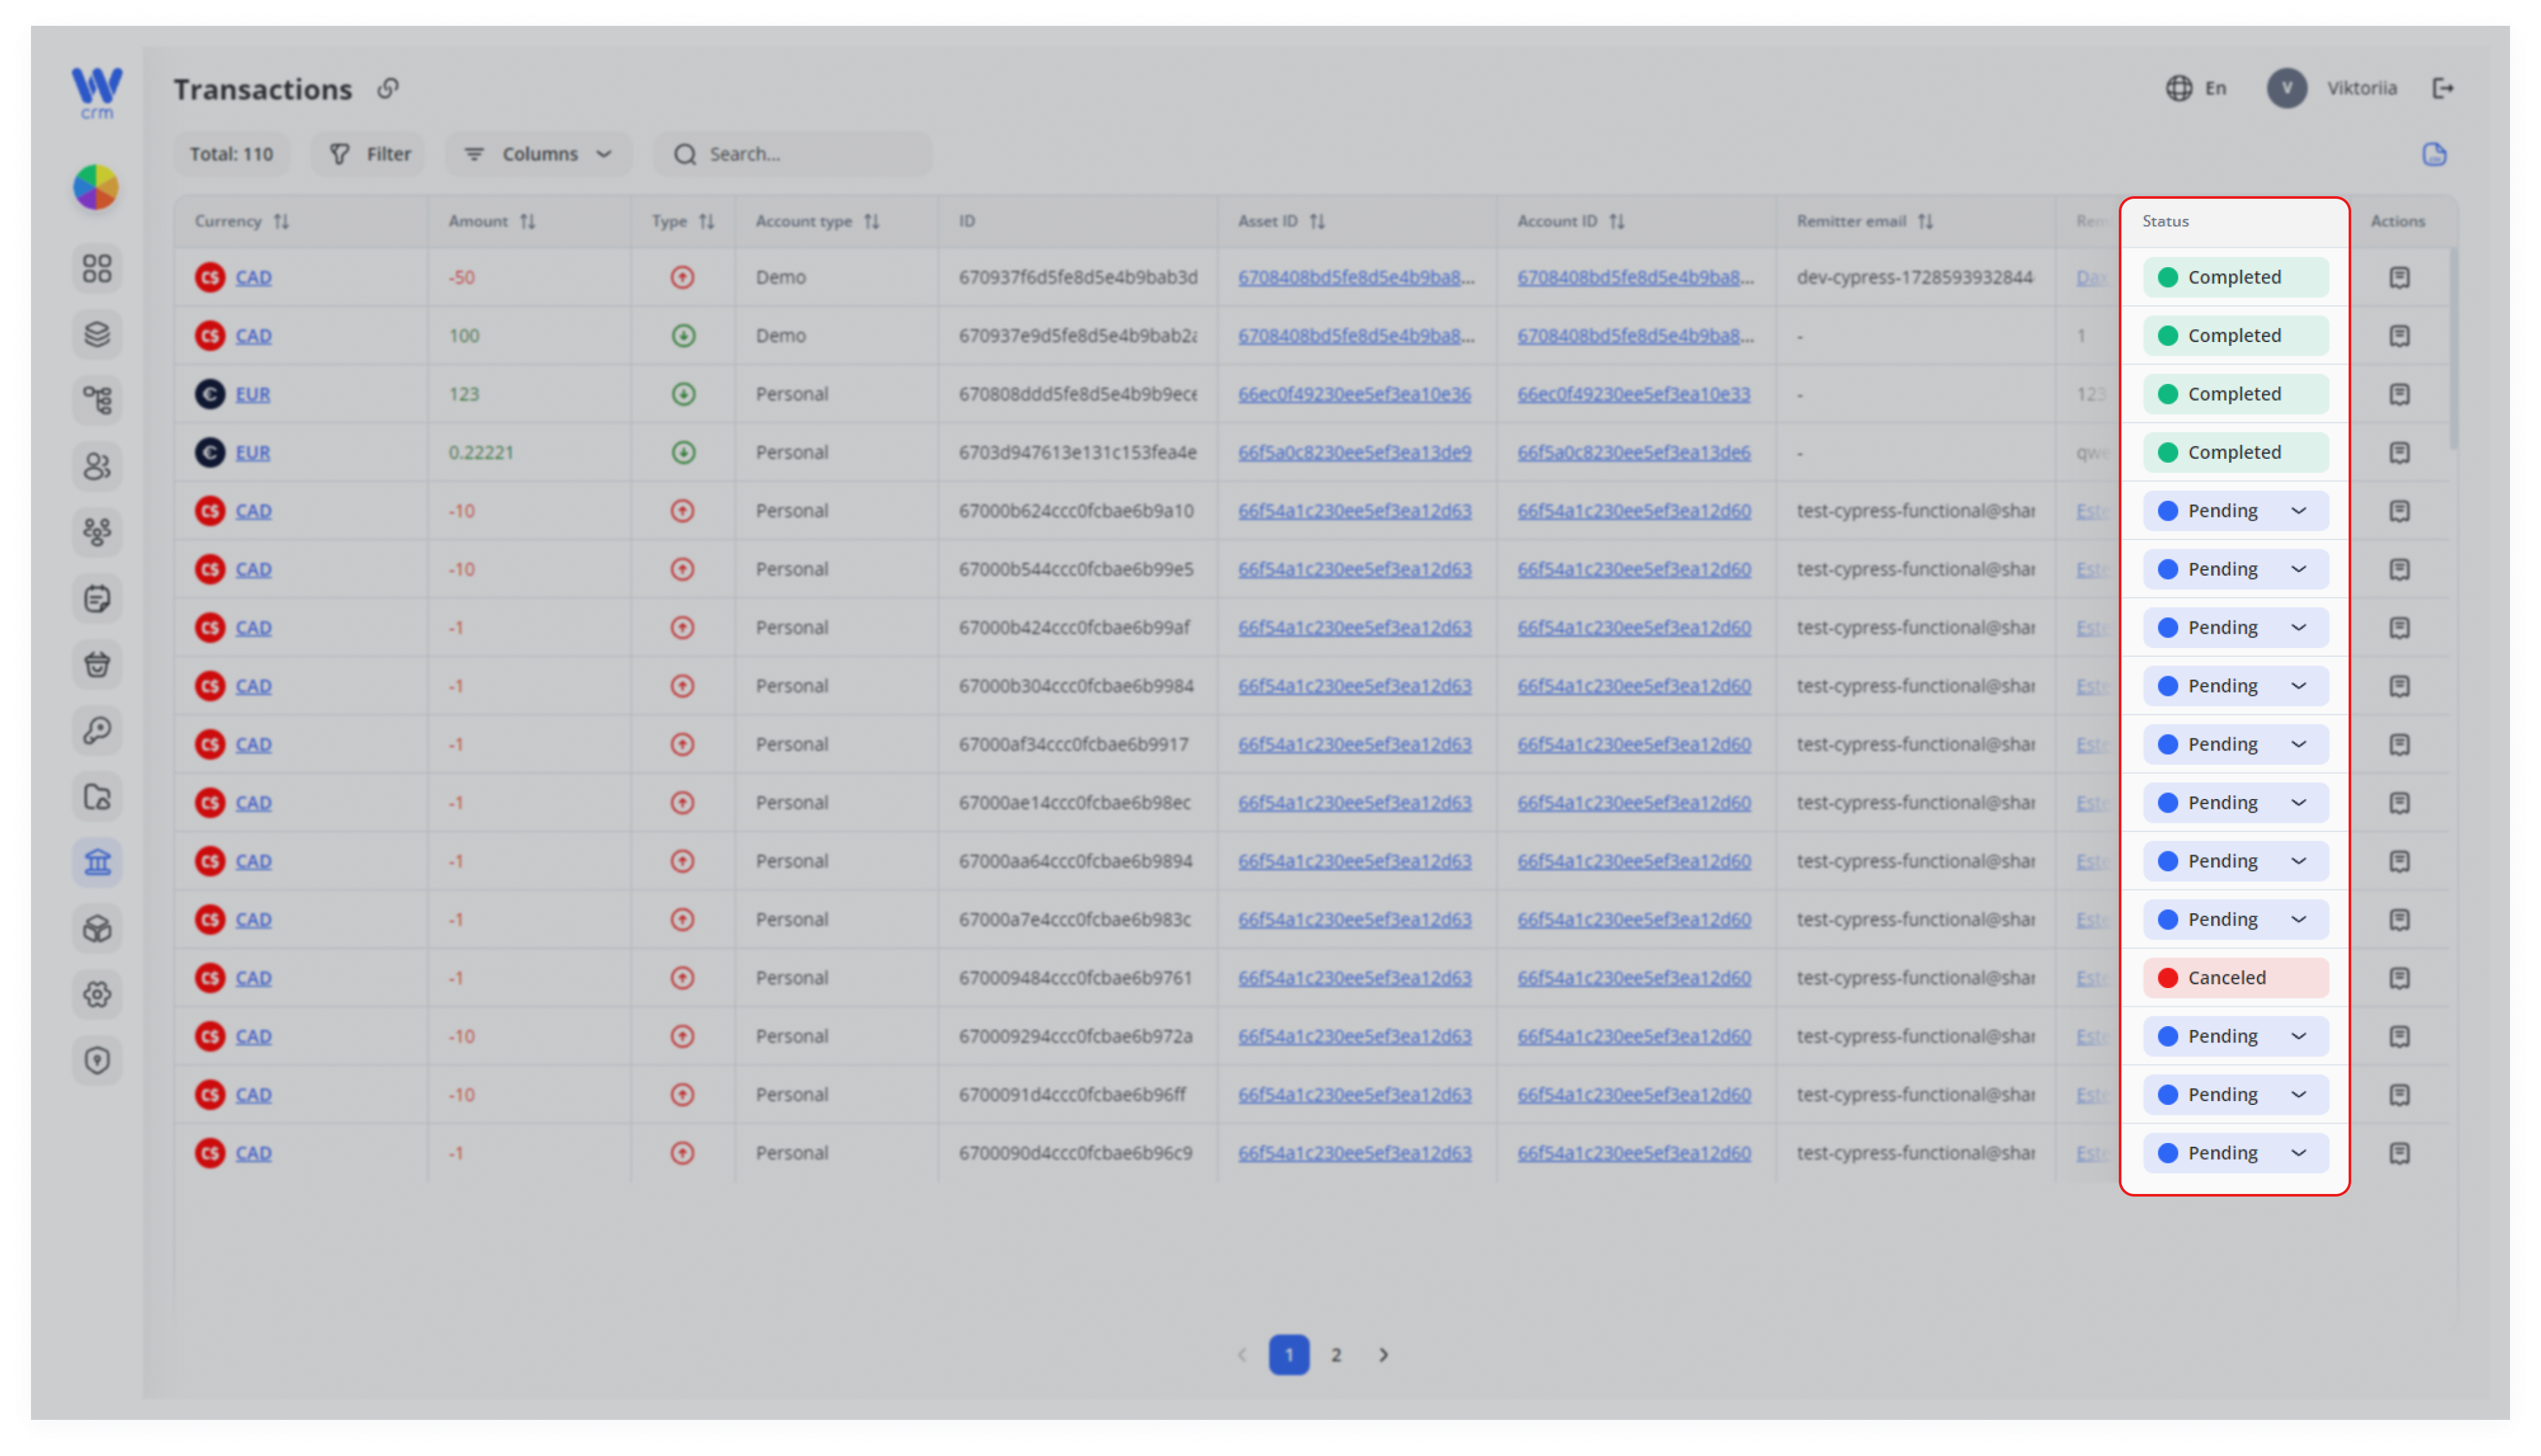
You can change all transaction statuses, except Completed and Canceled. Accordingly, you can approve or cancel transactions in Processing, Pending, and other custom statuses.
To change the status:
-
-
Click on the status in the corresponding row:
-
2. Select the desired status from the drop-down list.
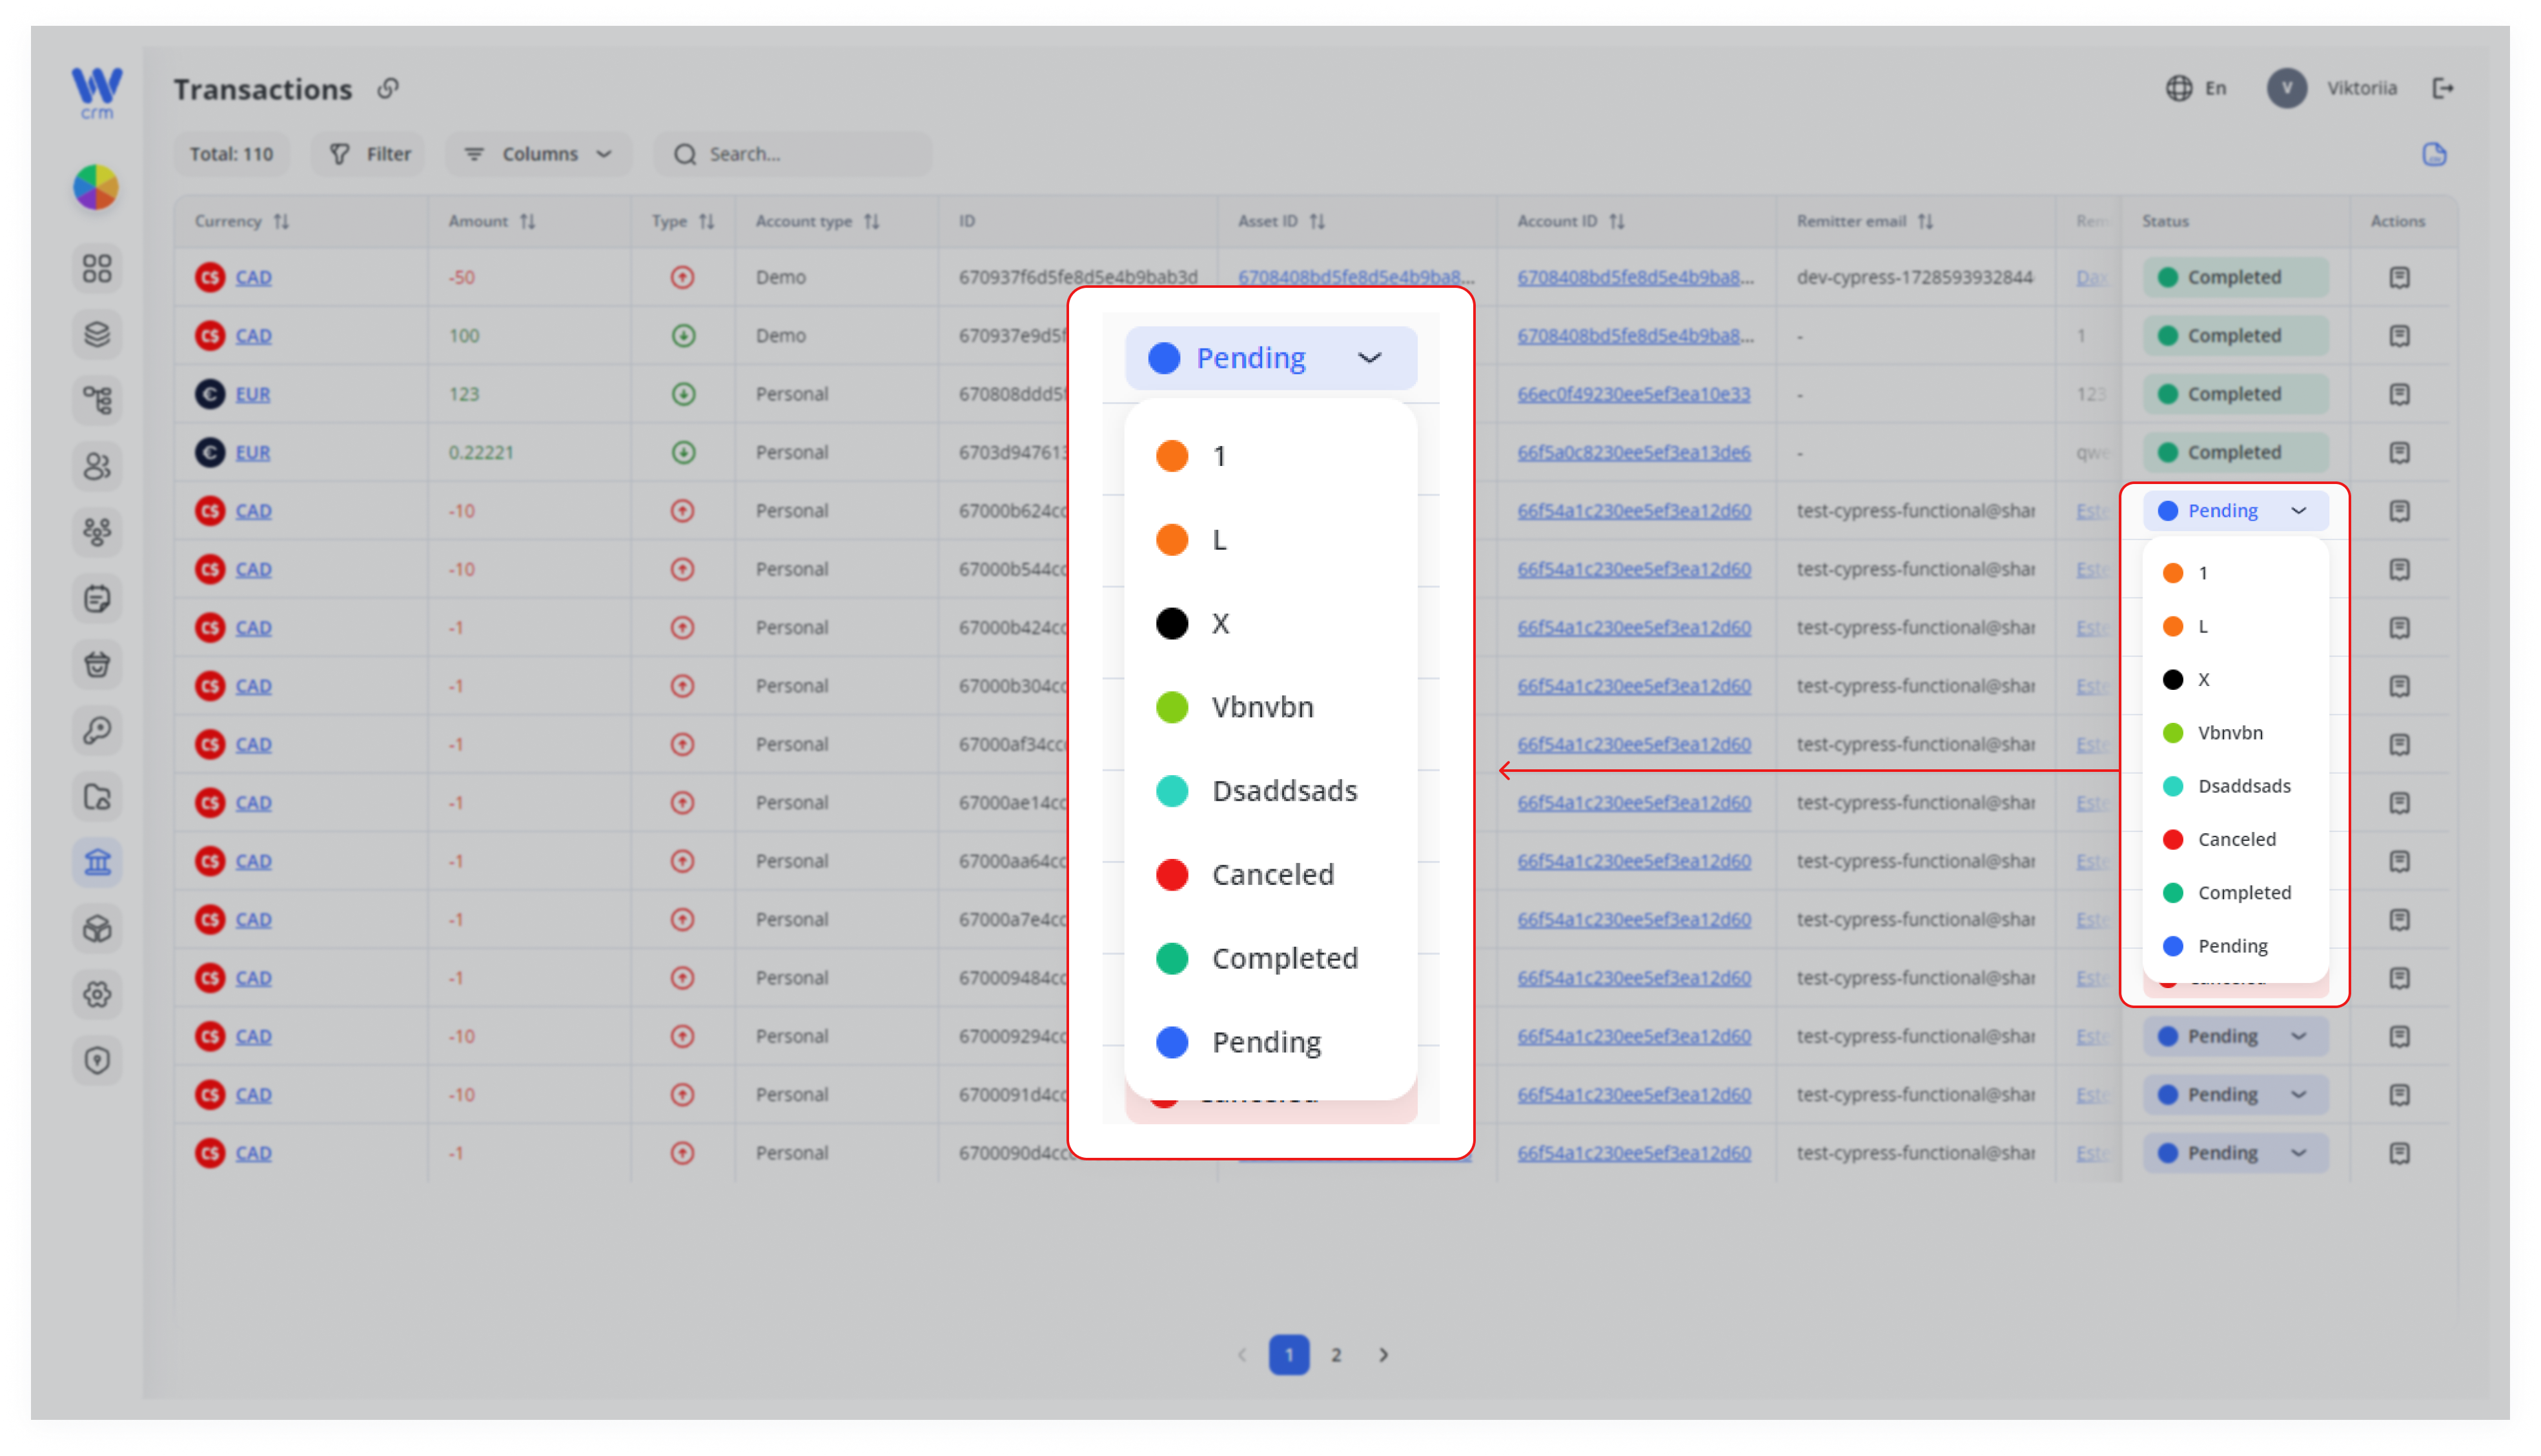
Warning: After selecting the Completed or Canceled transaction status, the transaction history ends. It is not possible to cancel this action.
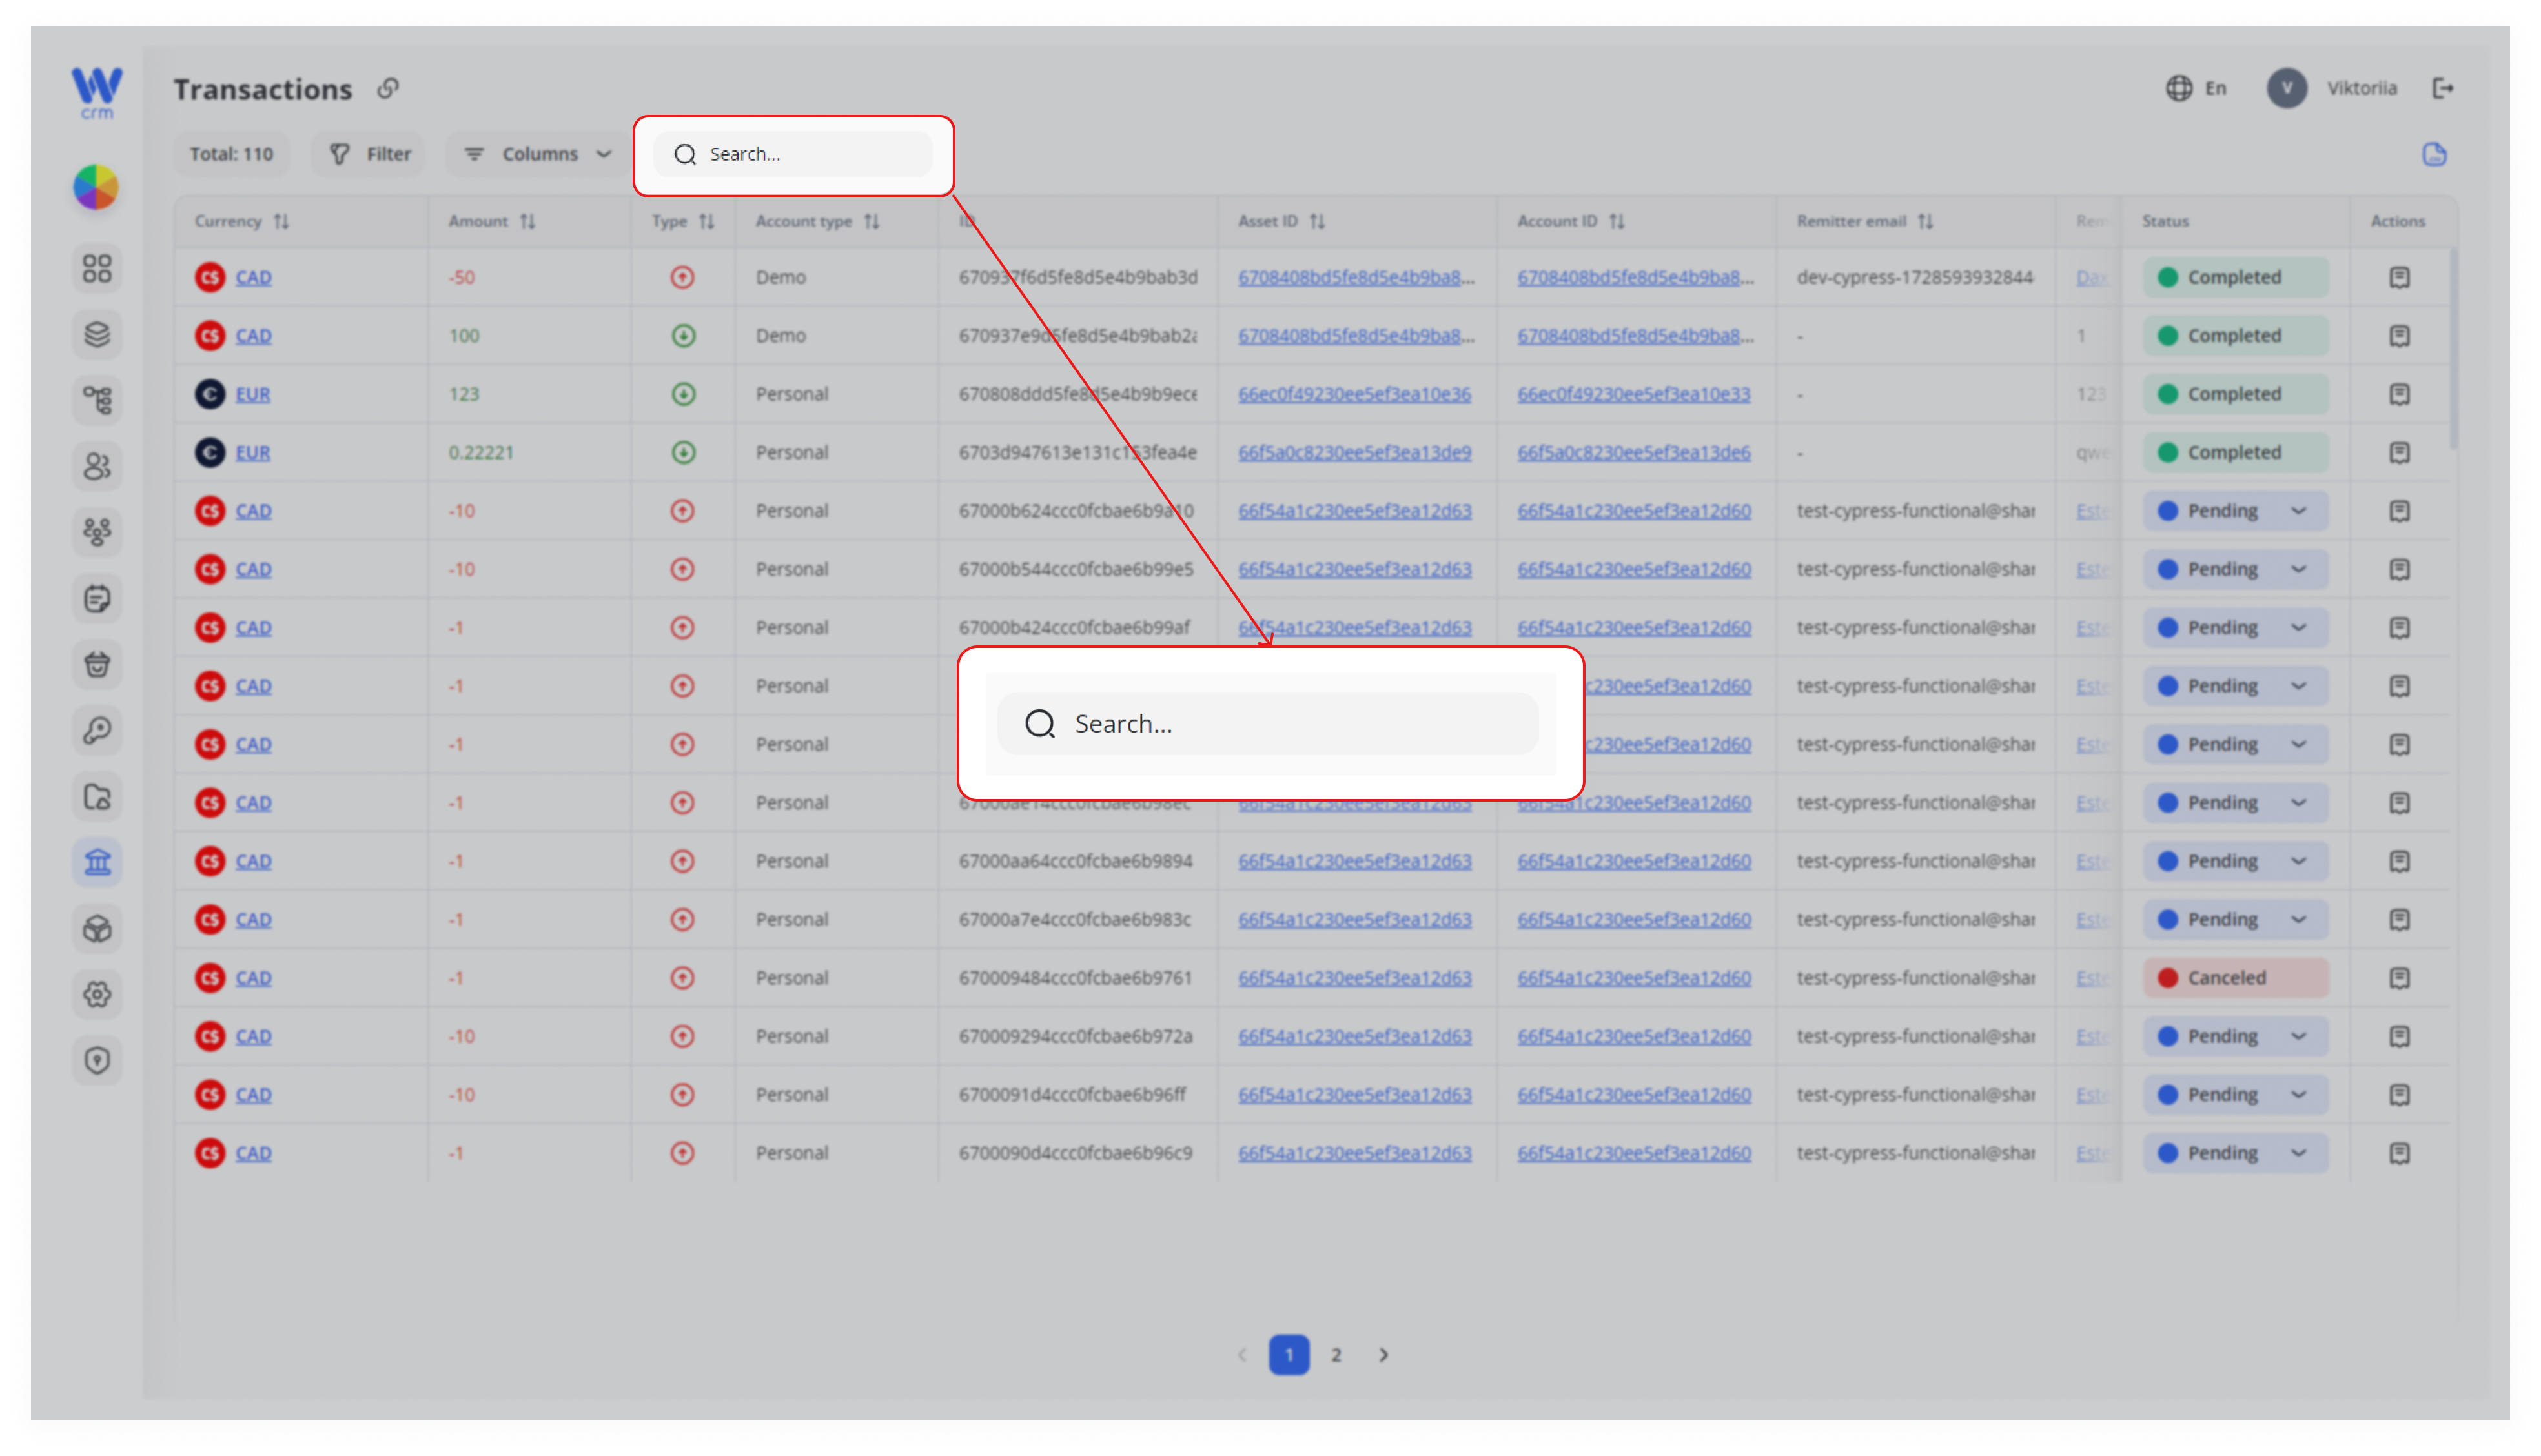
To search for a transaction:
-
- Start typing your search query in the Search field. Most fields are searchable.
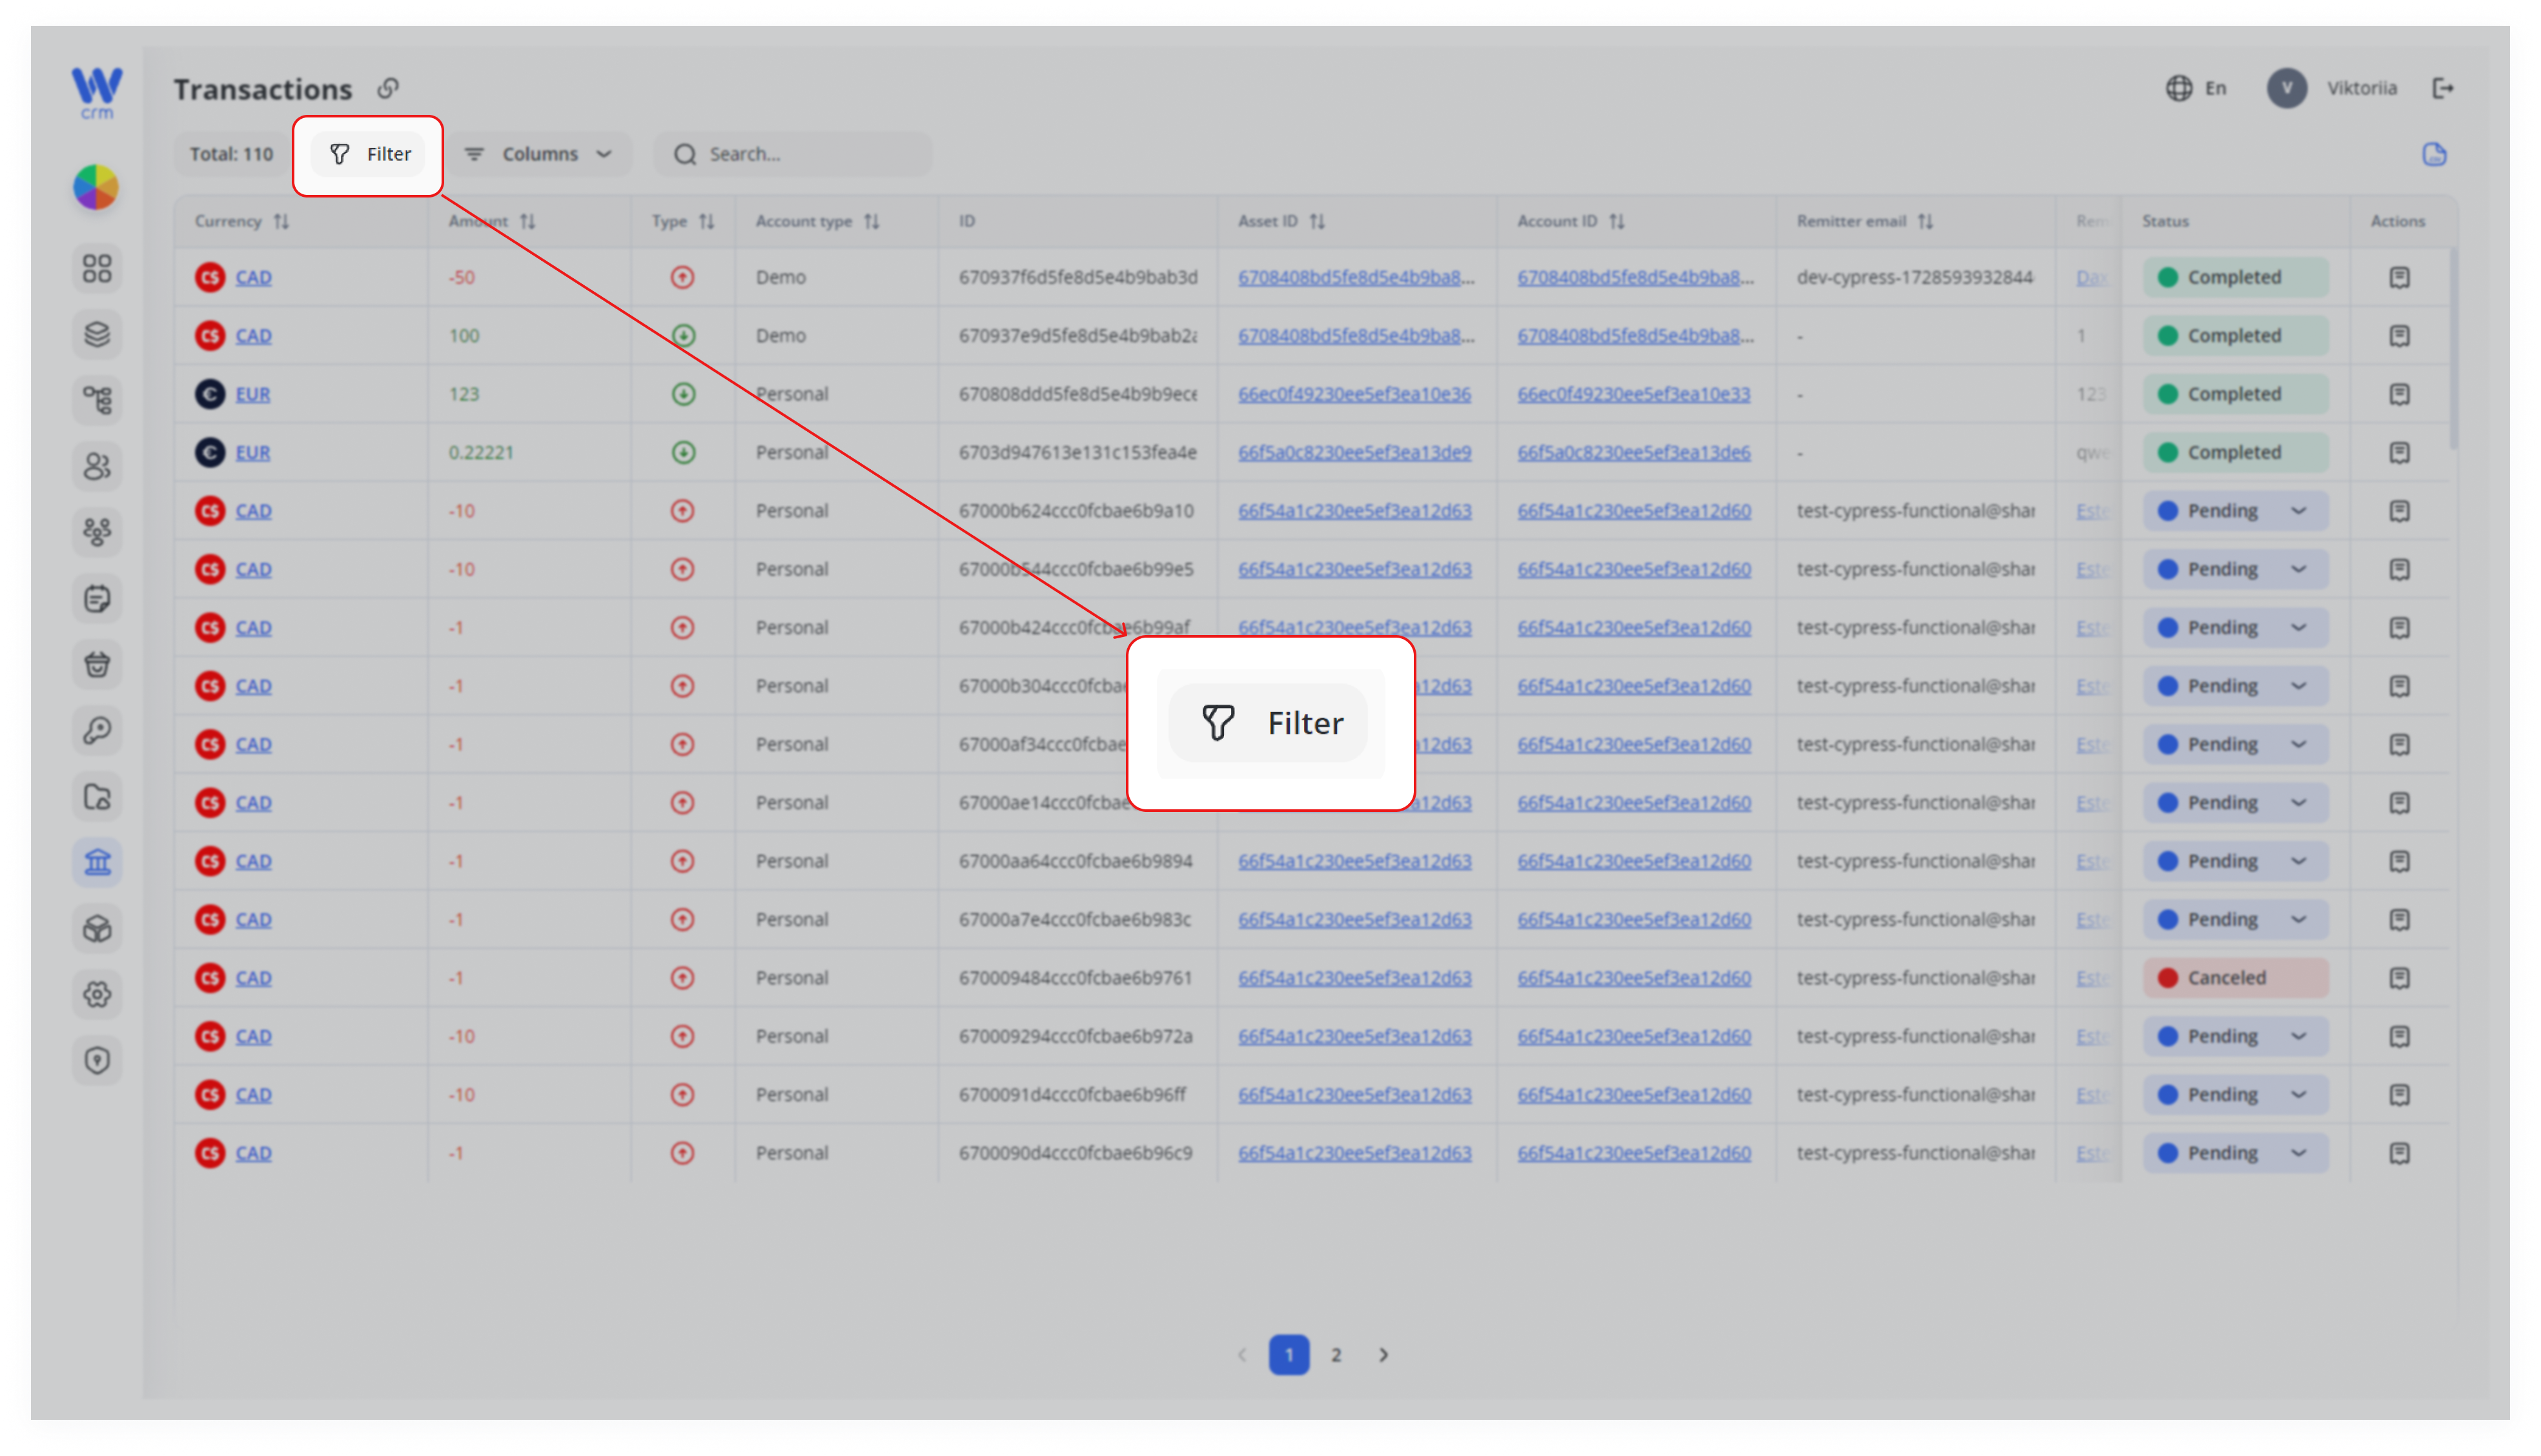
To filter transactions:
1. Click the Filter button:
2. Enter or select from the drop-down list one or more parameters for filtering:
-
-
-
Account ID
-
Asset ID
-
Currency
-
Owner
-
Created Date
-
Account type
-
Sub-type (of transaction)
-
Status
-
Type
-
-
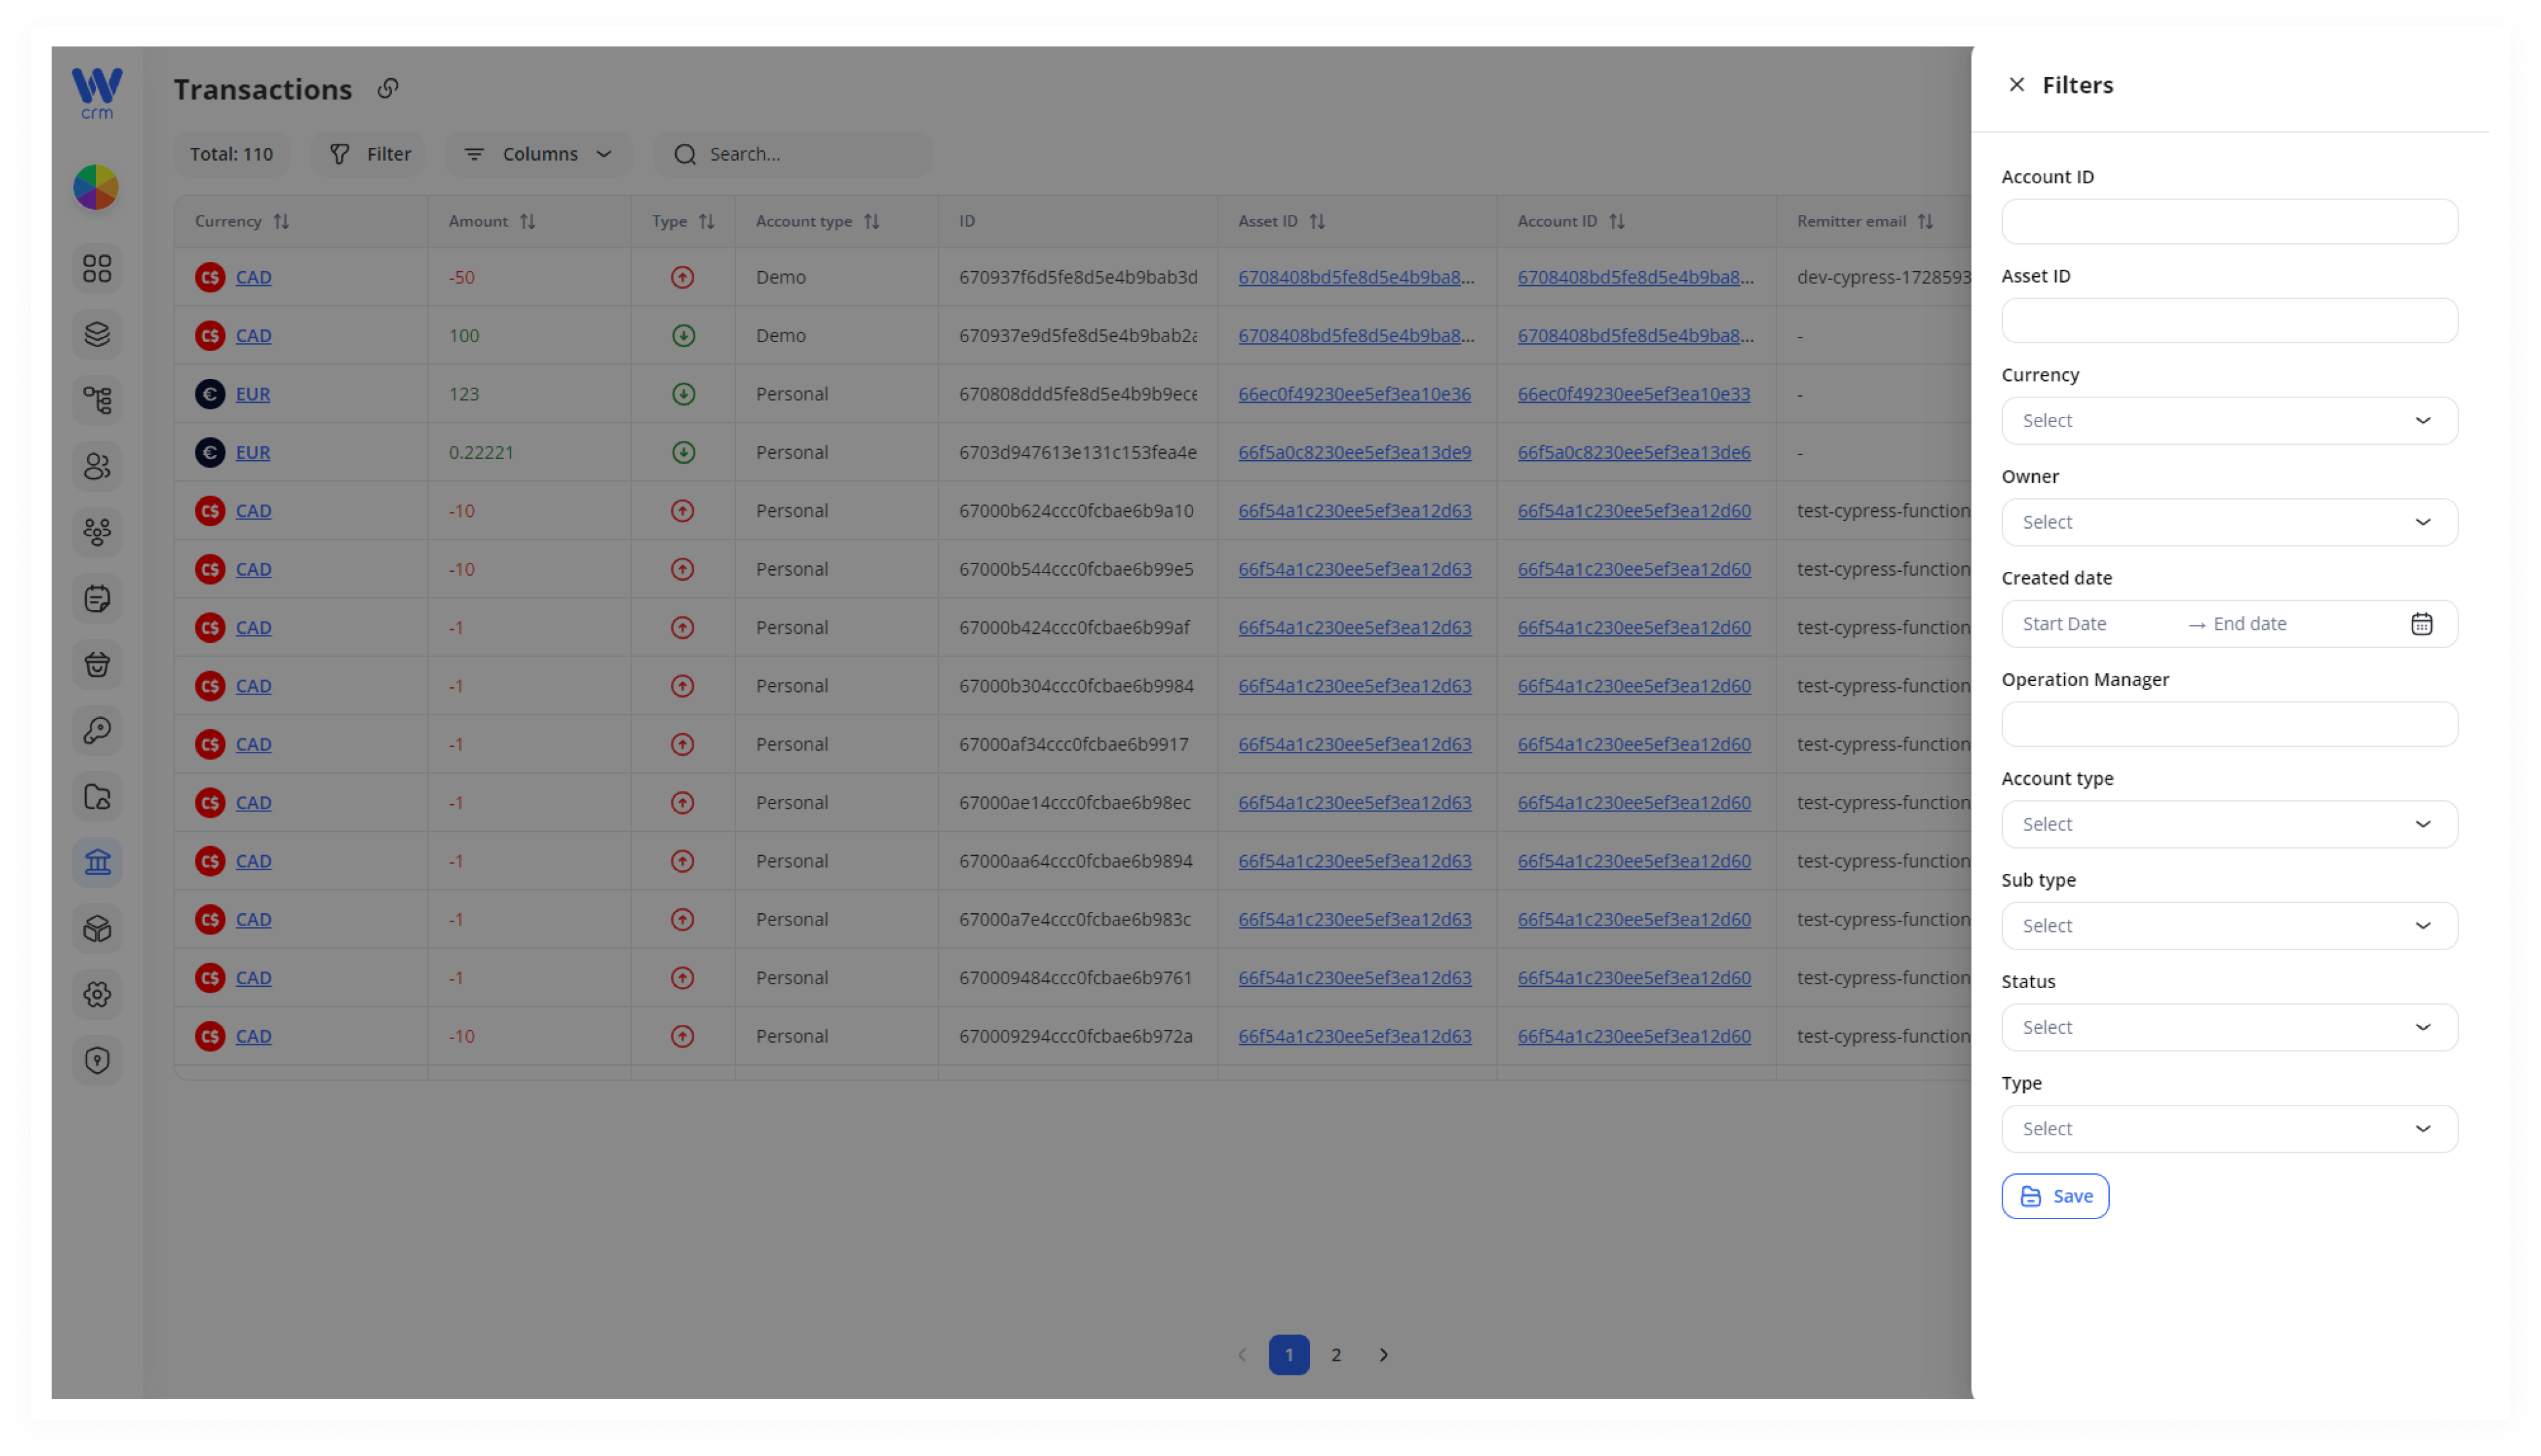
3. Click Save to apply filters.
To view the transaction history:
-
-
Click the Show transaction history icon in the Actions column in the corresponding row:
-
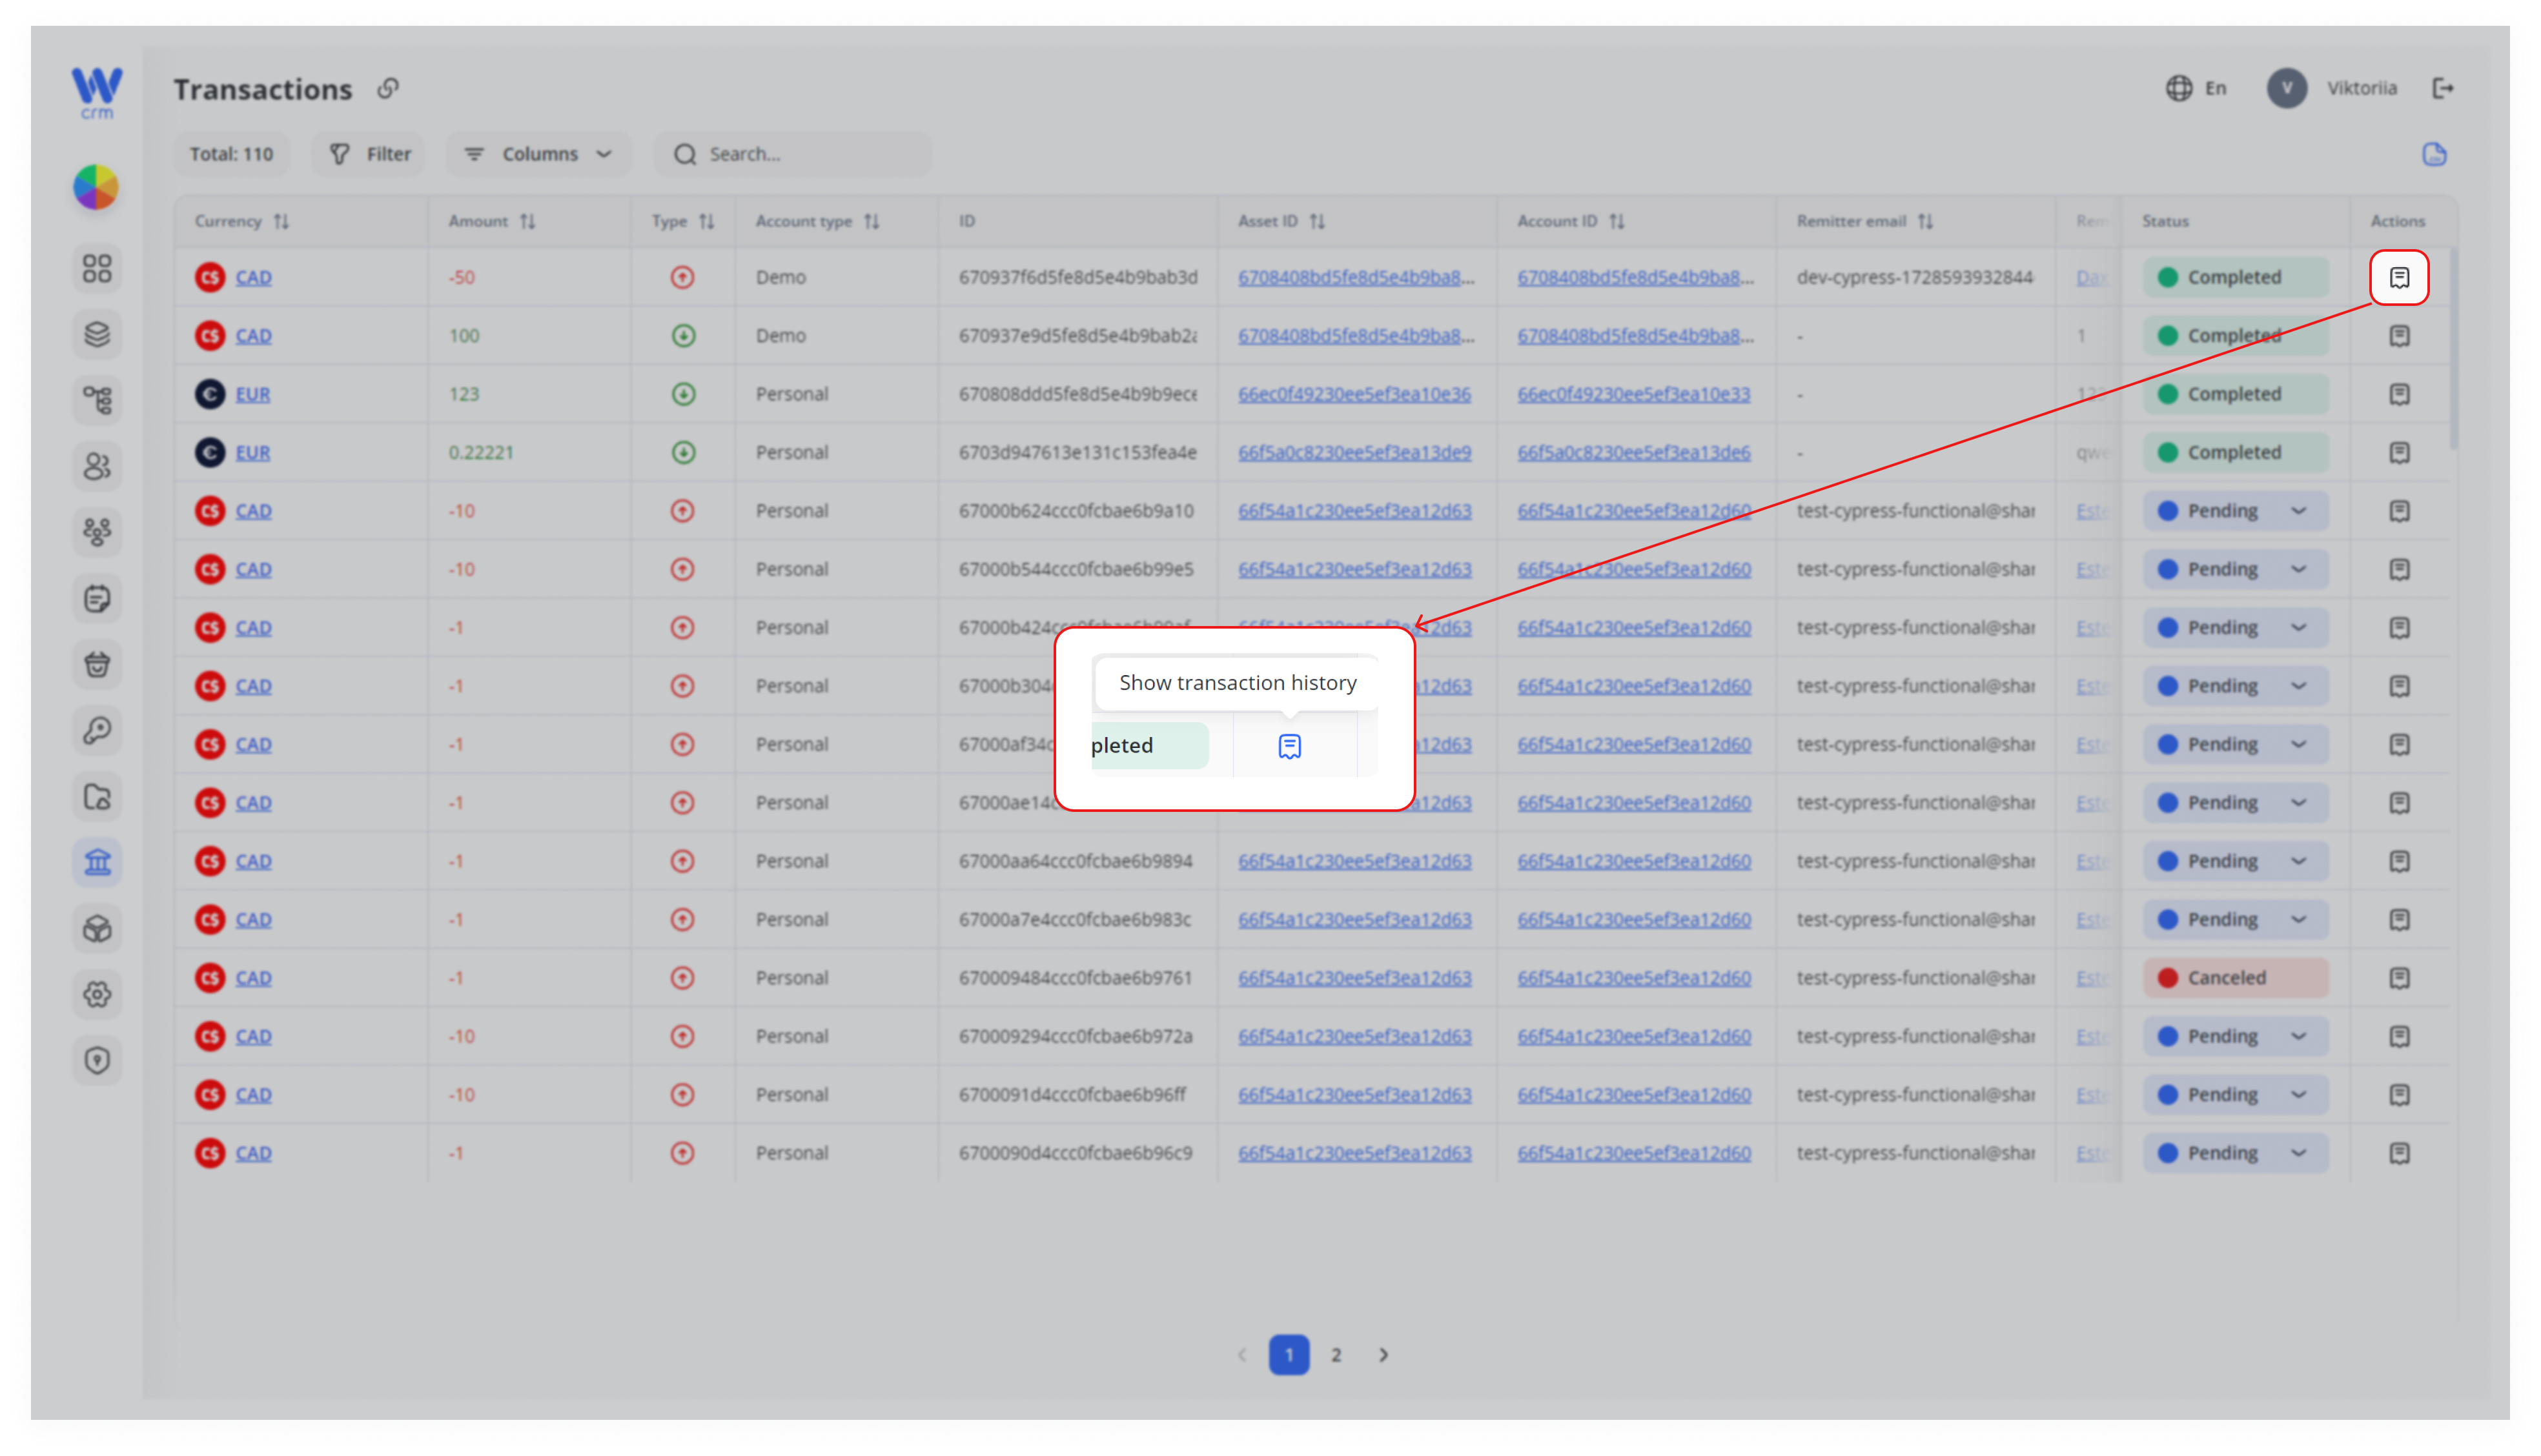
2. You will see the logs of the transaction from inception to completion (who took what actions, how and when).
To export the transactions list in .csv format:
-
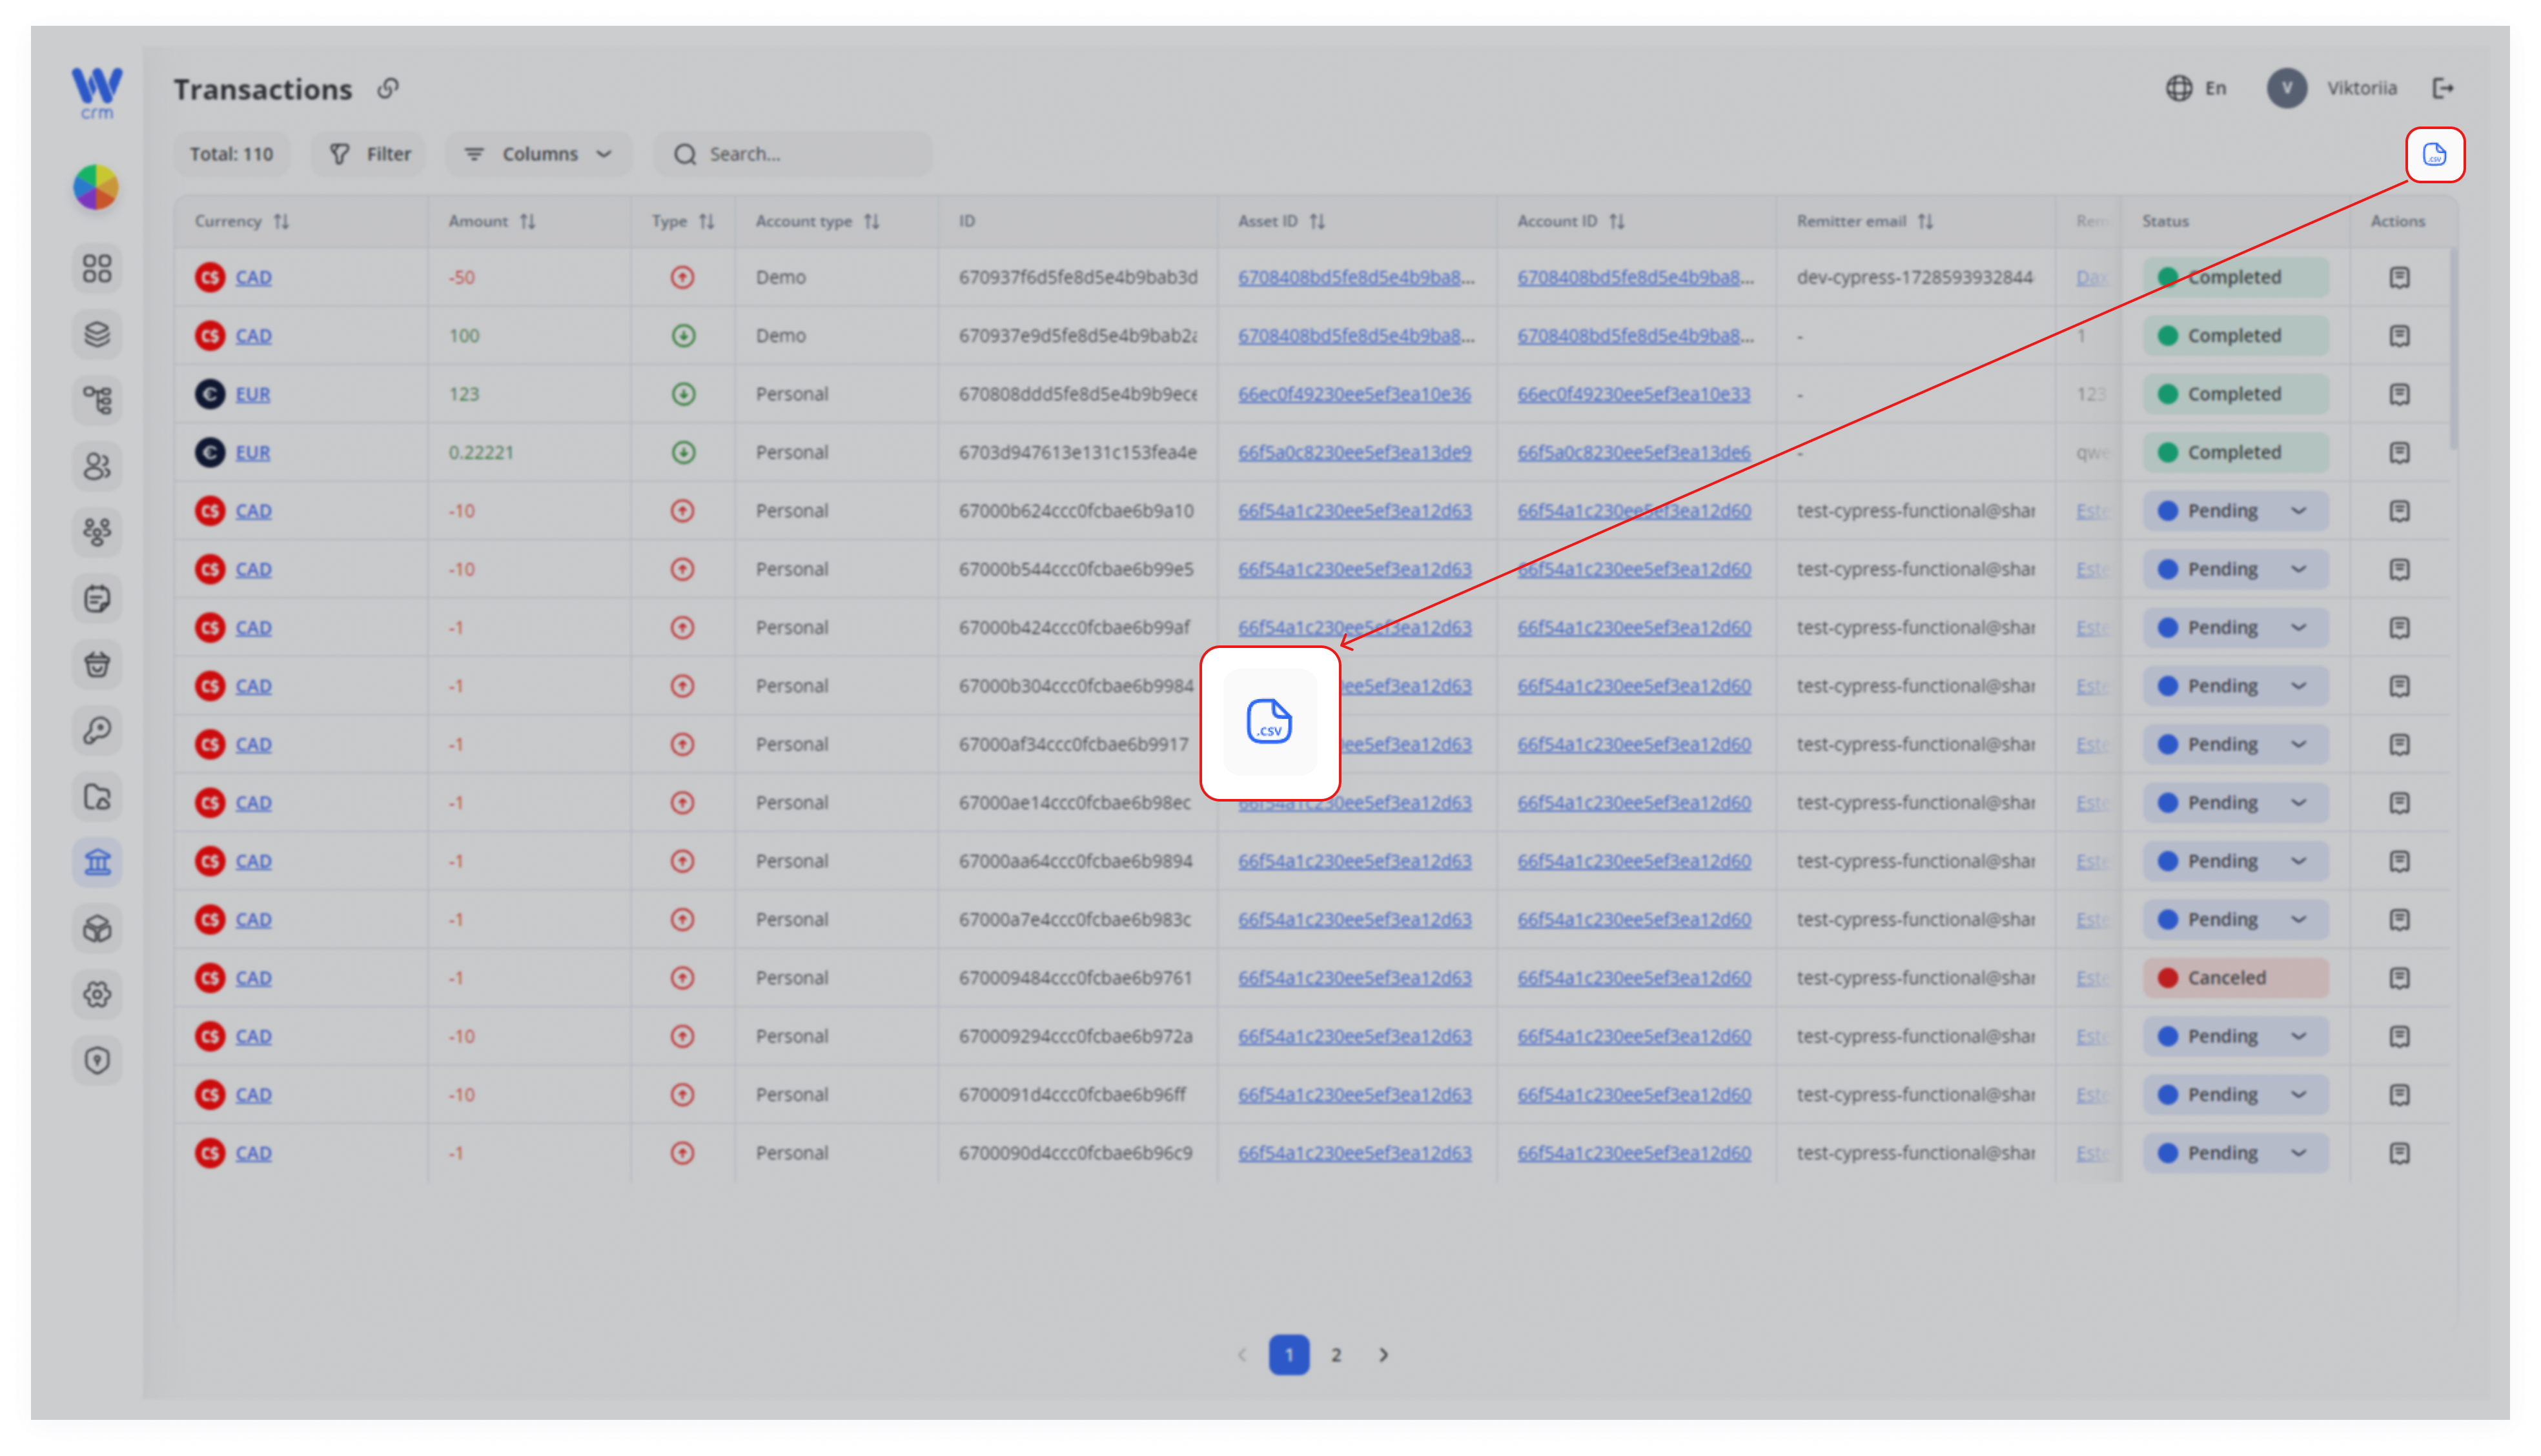
- Click the .csv icon in the upper right-hand corner: