8.7. How to Manage Assets
The Assets module provides centralized management of all assets in the system. It allows you to:
-
View a list of all assets (for visible clients) and check their balances.
-
Activate and deactivate assets.
-
Filter and search for specific assets.
-
View transactions for assets.
-
Make deposits and withdrawals.
Note: If you want to add an asset to an account, you need to do it through the Accounts module.
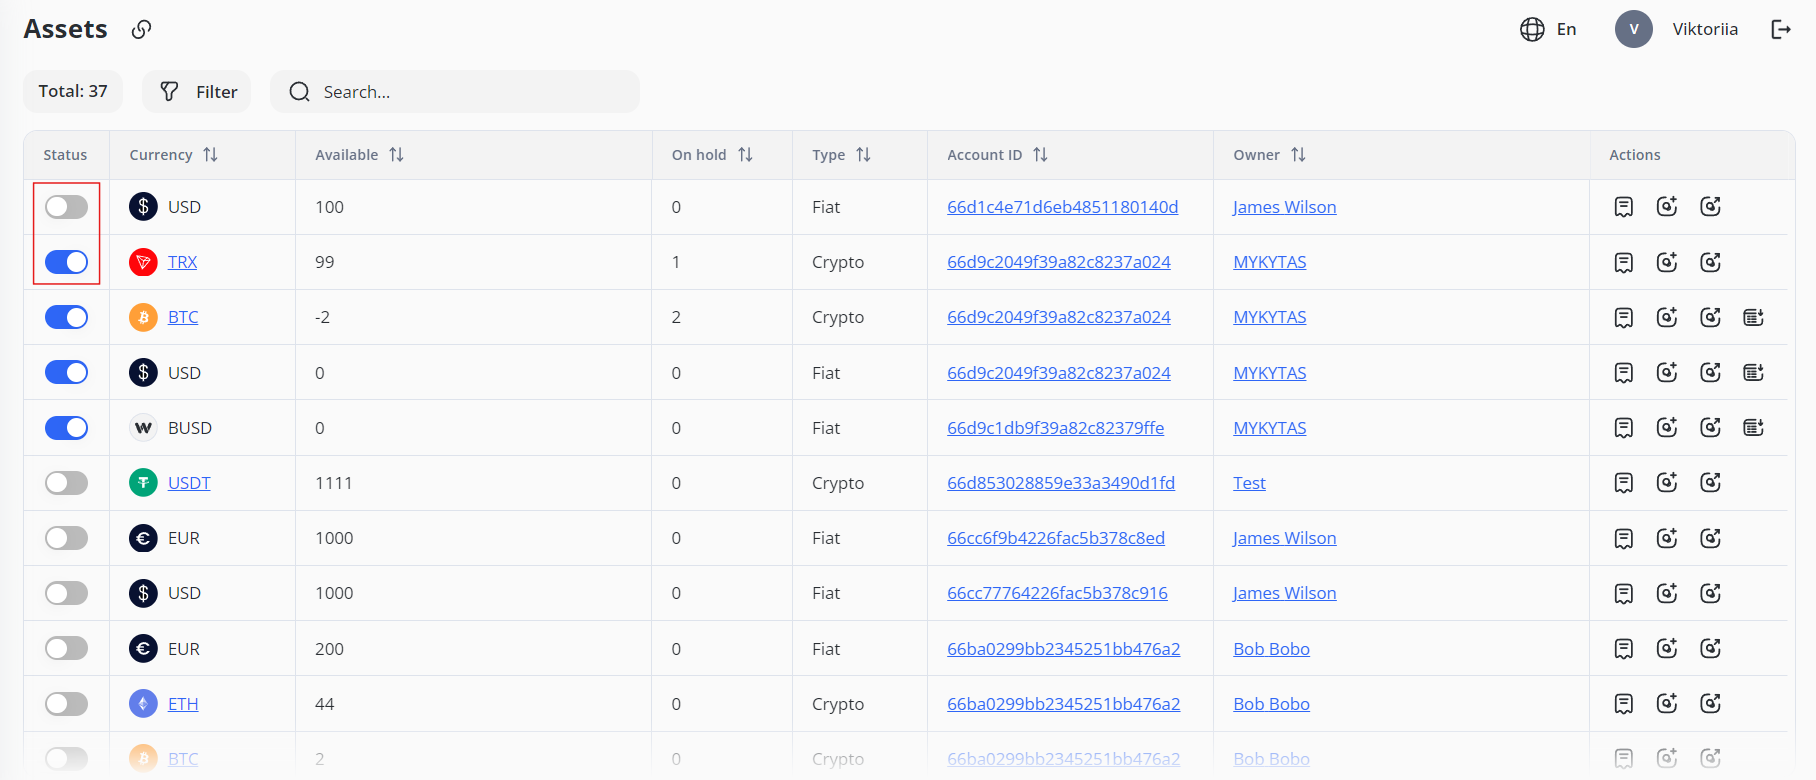
To view all assets in the system, go to the main page of the Assets module. In the Status column, you will find a toggle to:
-
- Activate the asset by clicking the toggle (it will turn blue).
- Deactivate the asset by clicking the toggle again (it will turn gray).
To search for an asset:
-
- Enter the ID of the account to which the asset is assigned in the Search field. You can also use for the search Asset ID, first or last name of owner, and its email.

To filter assets:
1. Click the Filter button:

2. Select one or more filtering parameters:
-
-
-
Currency
-
Type
-
Owner
-
Active/Inactive (checkbox)
-
-
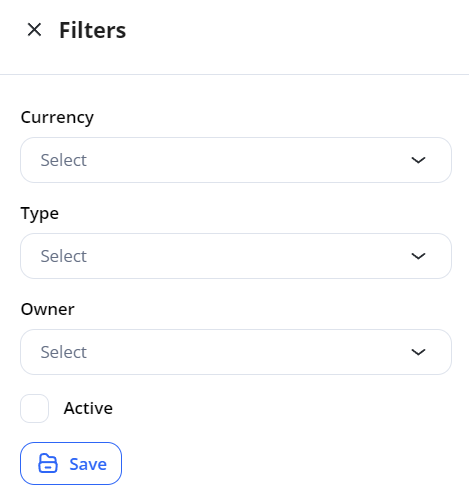
To delete a specific filter, hover over the field and click the x icon.
3. Click Save to apply the filters.
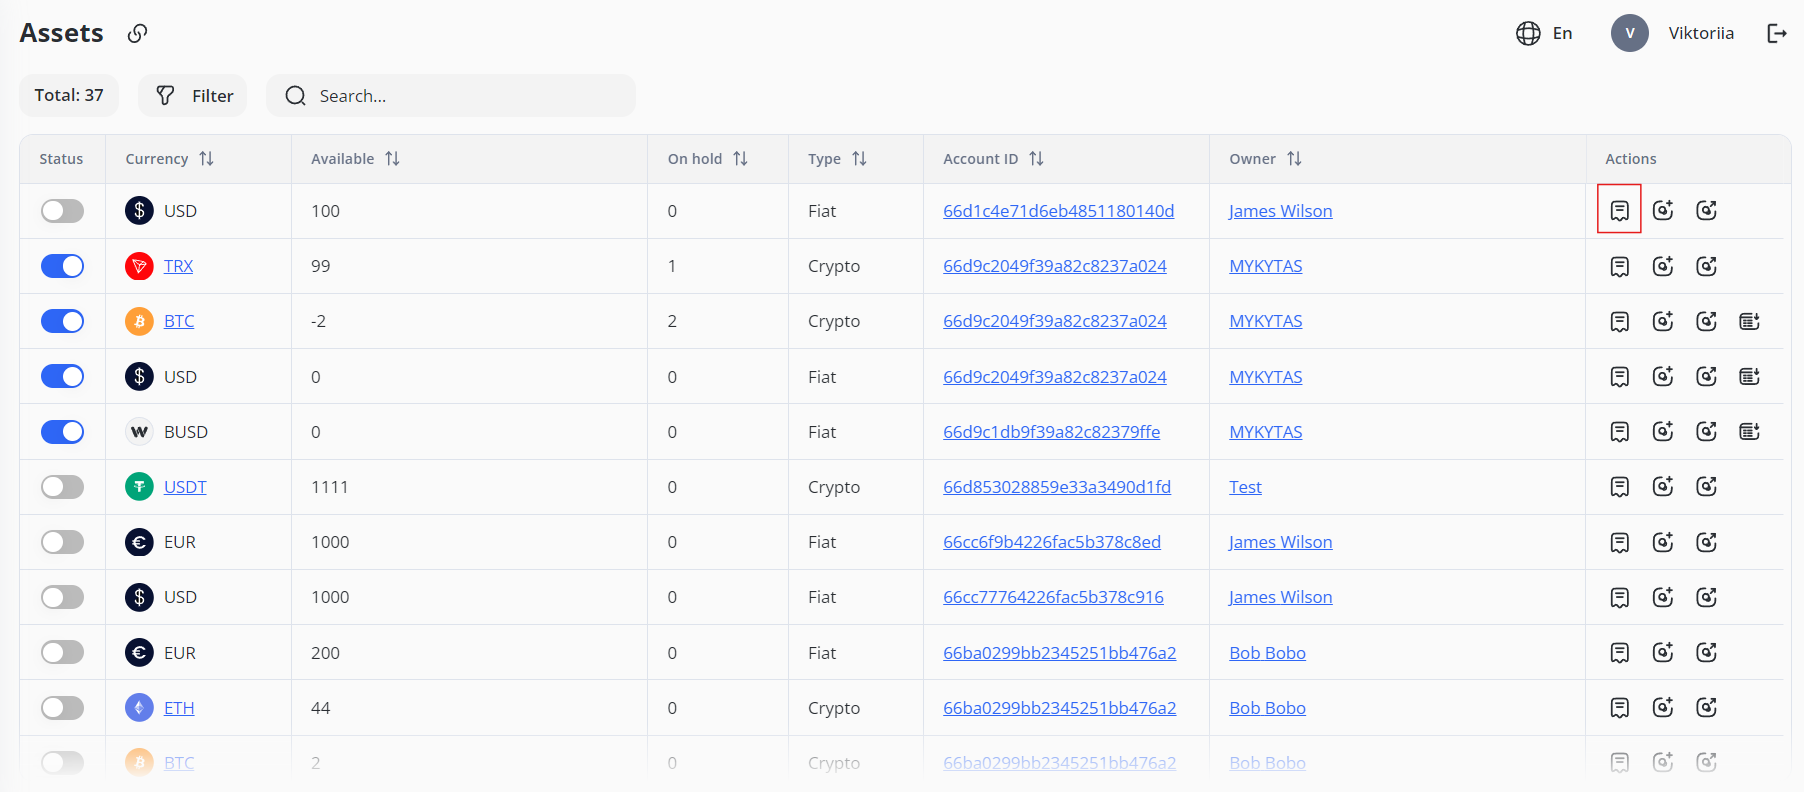
In the Actions column, you can manage the selected asset:
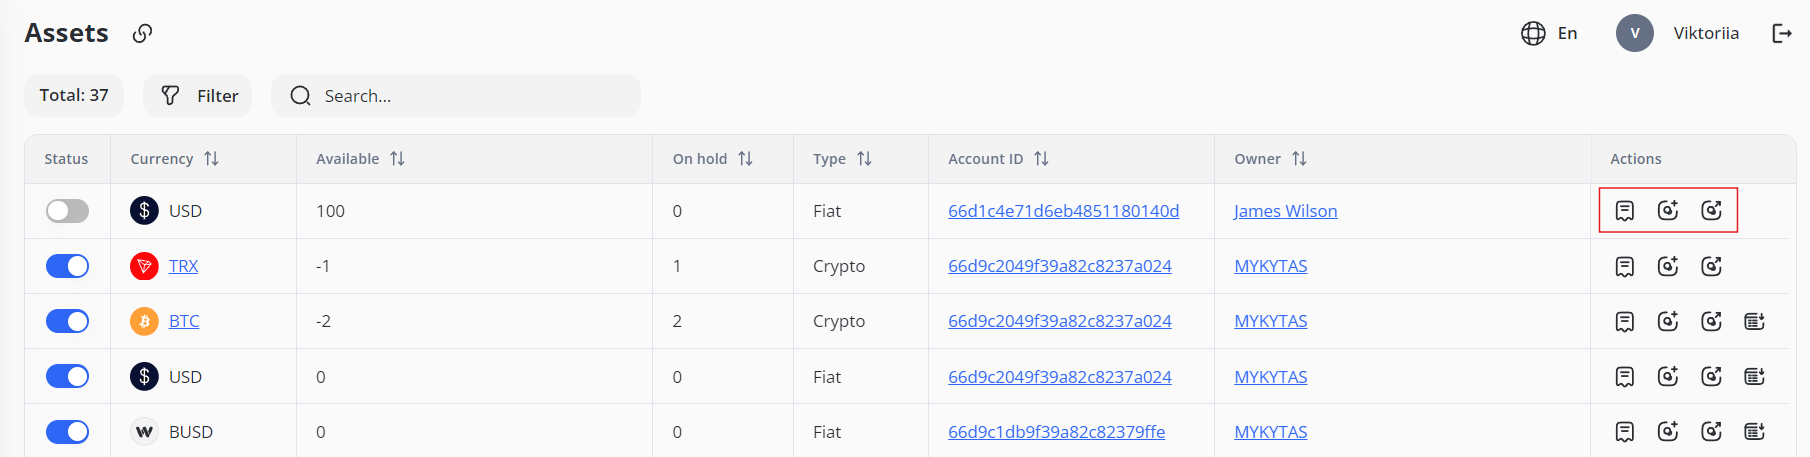
1. Show transactions:
-
-
- Click the Show Transactions icon to view all transactions for the asset.
-
-
-
- In the opened window, you can:
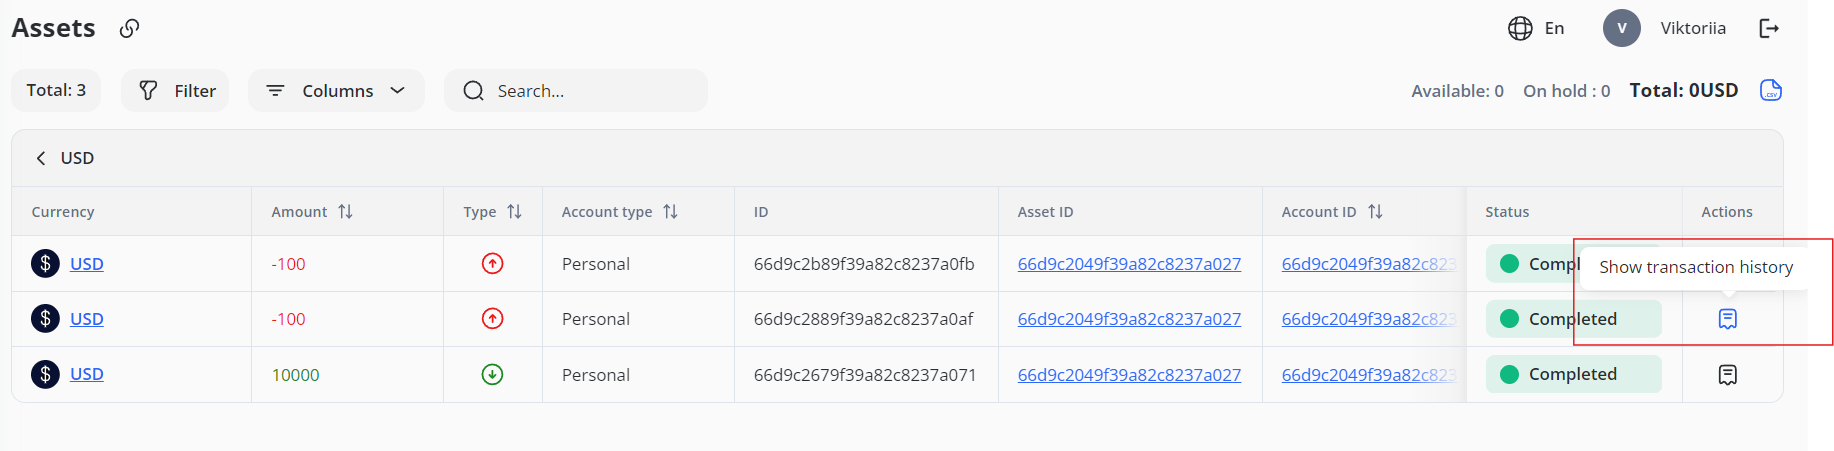
- View the logs of any transaction from inception to completion (who took what actions, how and when) by clicking the Show Transaction History icon in the Actions column.
- In the opened window, you can:
-
-
-
-
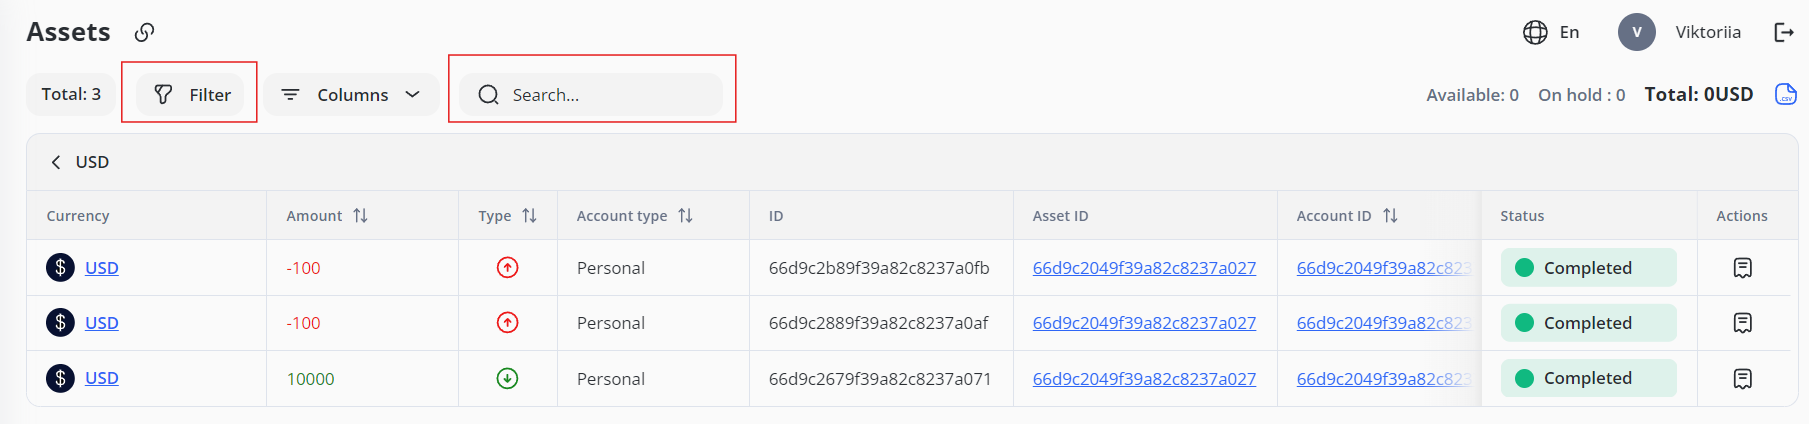
- Search transactions by Transaction ID, Asset ID, or Account ID.
- Filter transactions by Owner, Created Date, Account Type, Status, Transaction Type, and Sub-Type.
-
-
-
-
-
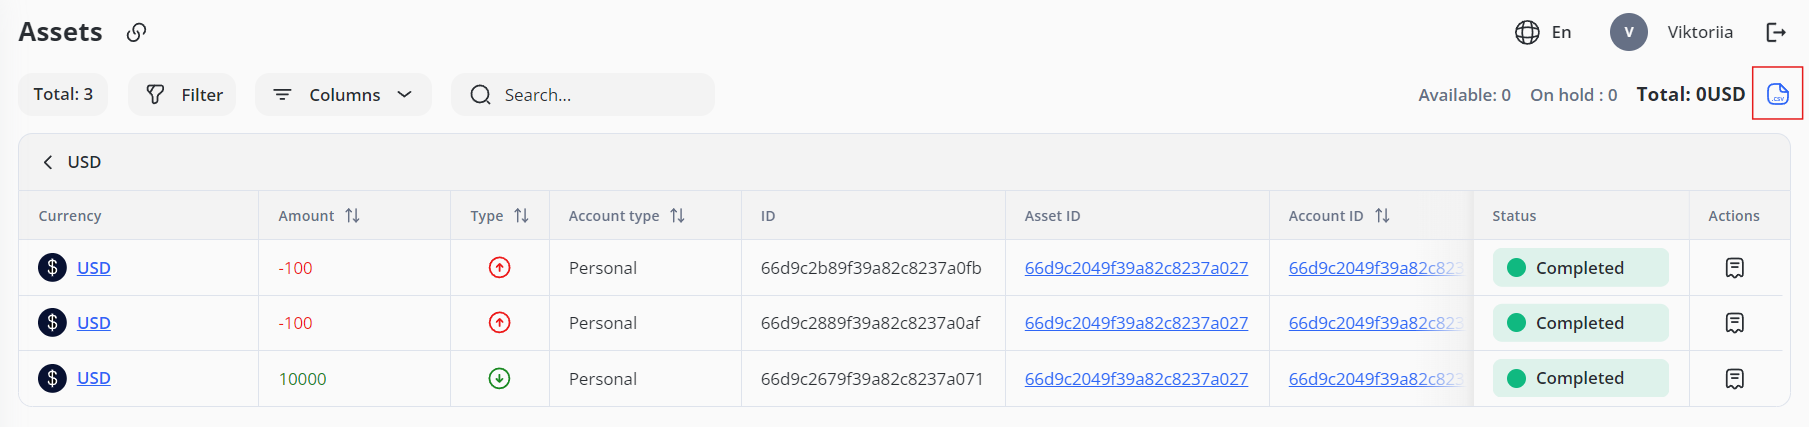
- Export transactions in CSV format by clicking the CSV icon in the upper-right corner.
-
-
Note: For more detailed transaction management, refer to the Transactions module.module.
2. Make deposit:
-
-
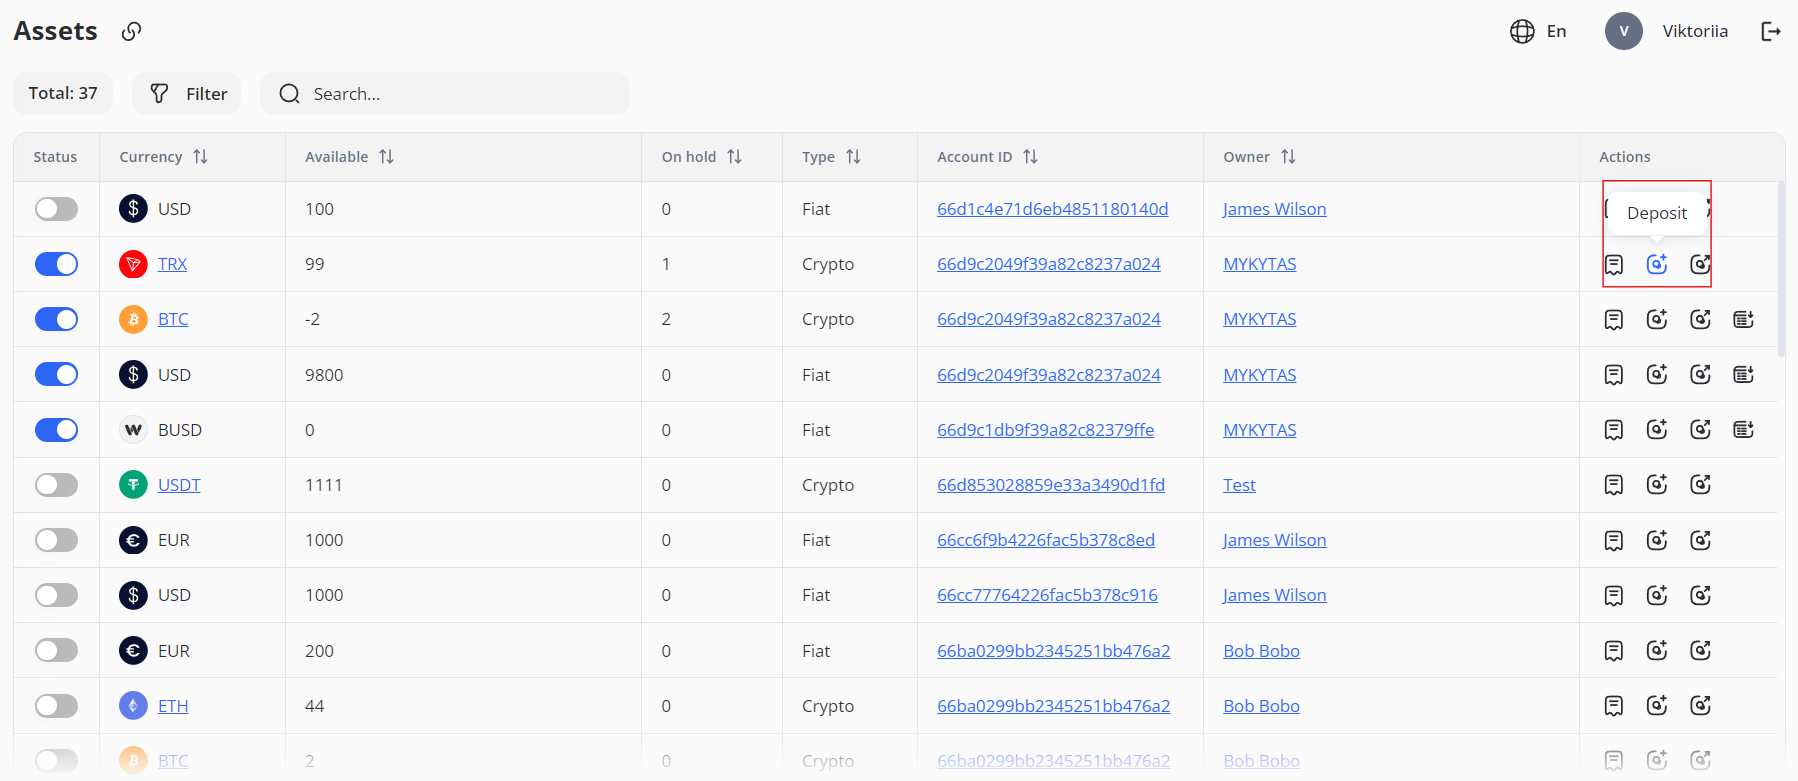
- Click the Deposit icon.
-
-
-
-
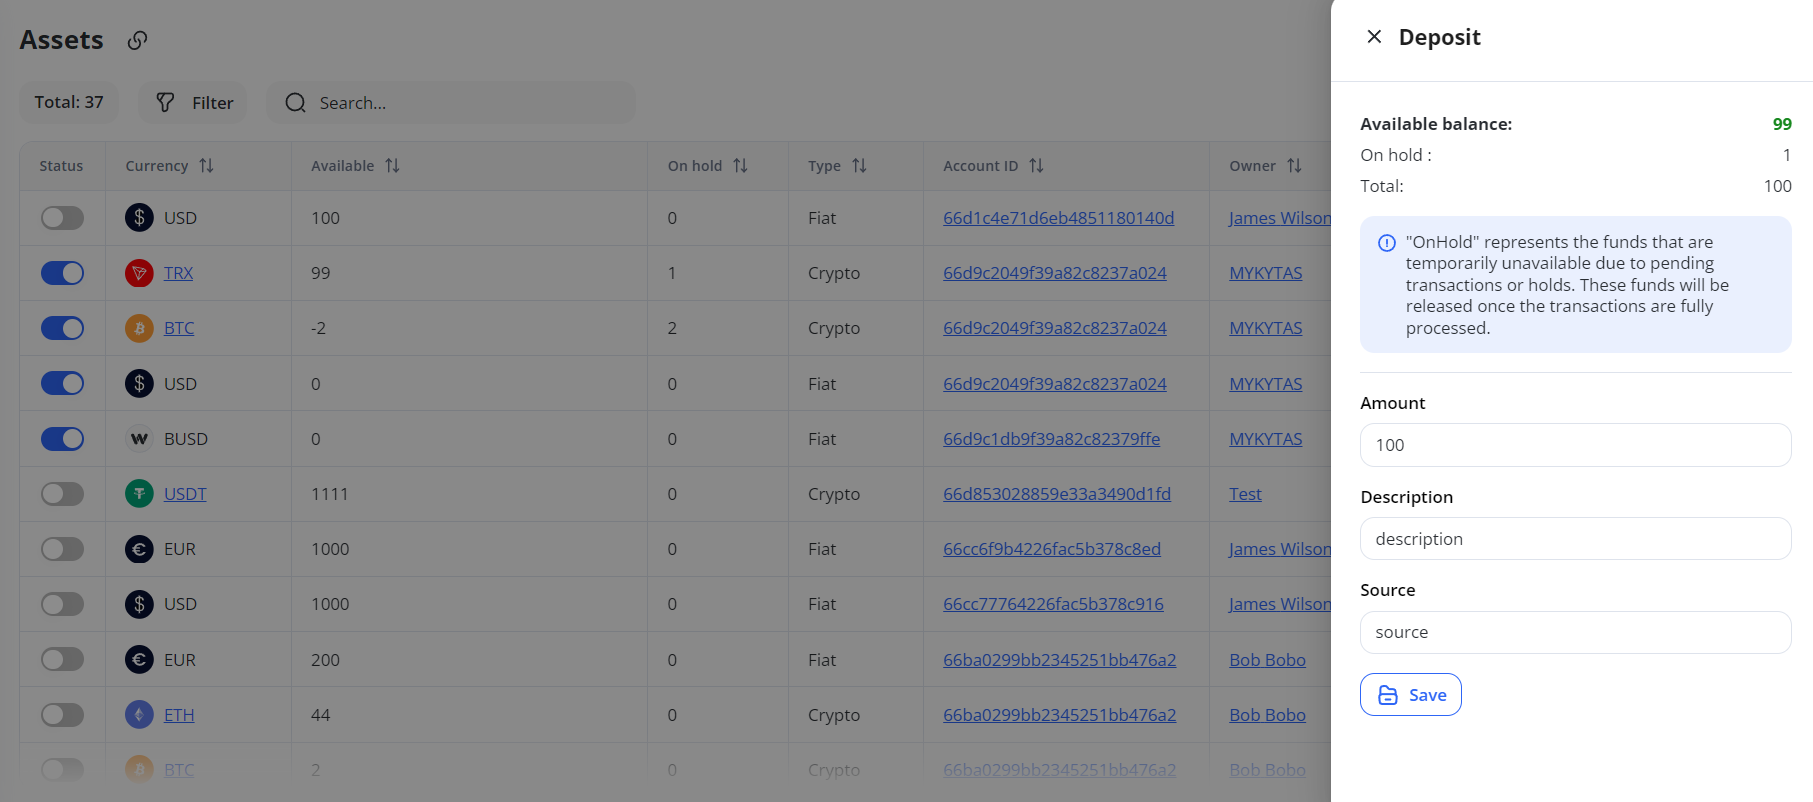
In the window that opens, you will see the current balance and fields to add an amount. Enter:
- Amount: Deposit amount.
- Description: Any text description. For example, the purpose of the transaction, etc.
- Source: The source where the money came from. Can be a general description (e.g. “company”) or specific details such as IBAN or wallet.
-
-
-
-
-
Click Save to apply the changes. When you save, a transaction will automatically be created.
-
-
3. Make withdrawal:
-
-
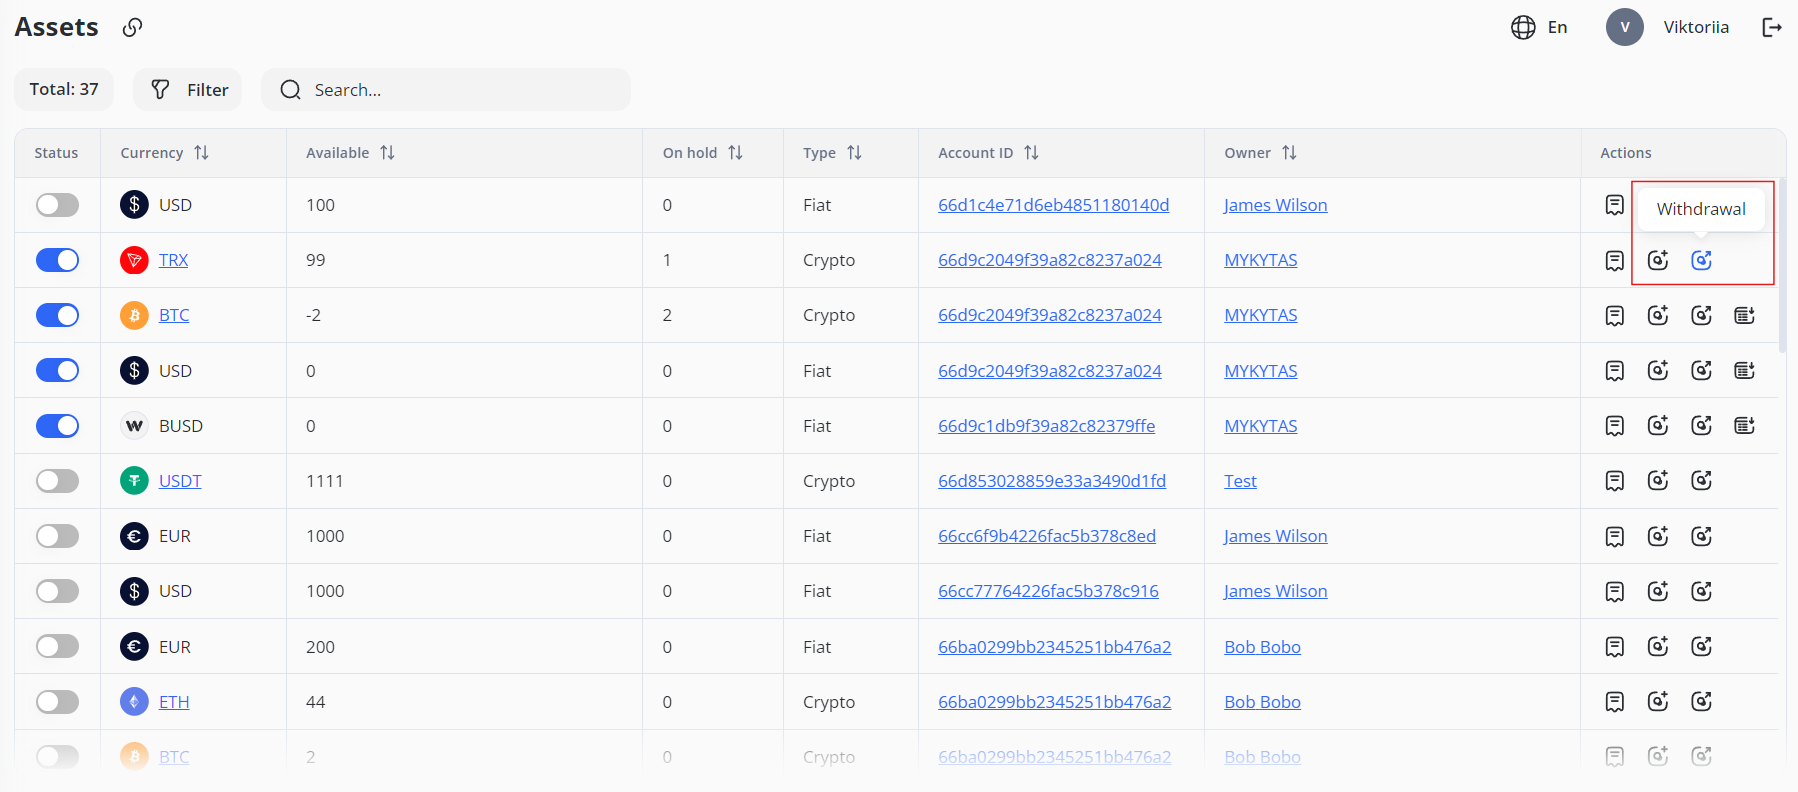
- Click the Withdrawal icon.
-
-
-
-
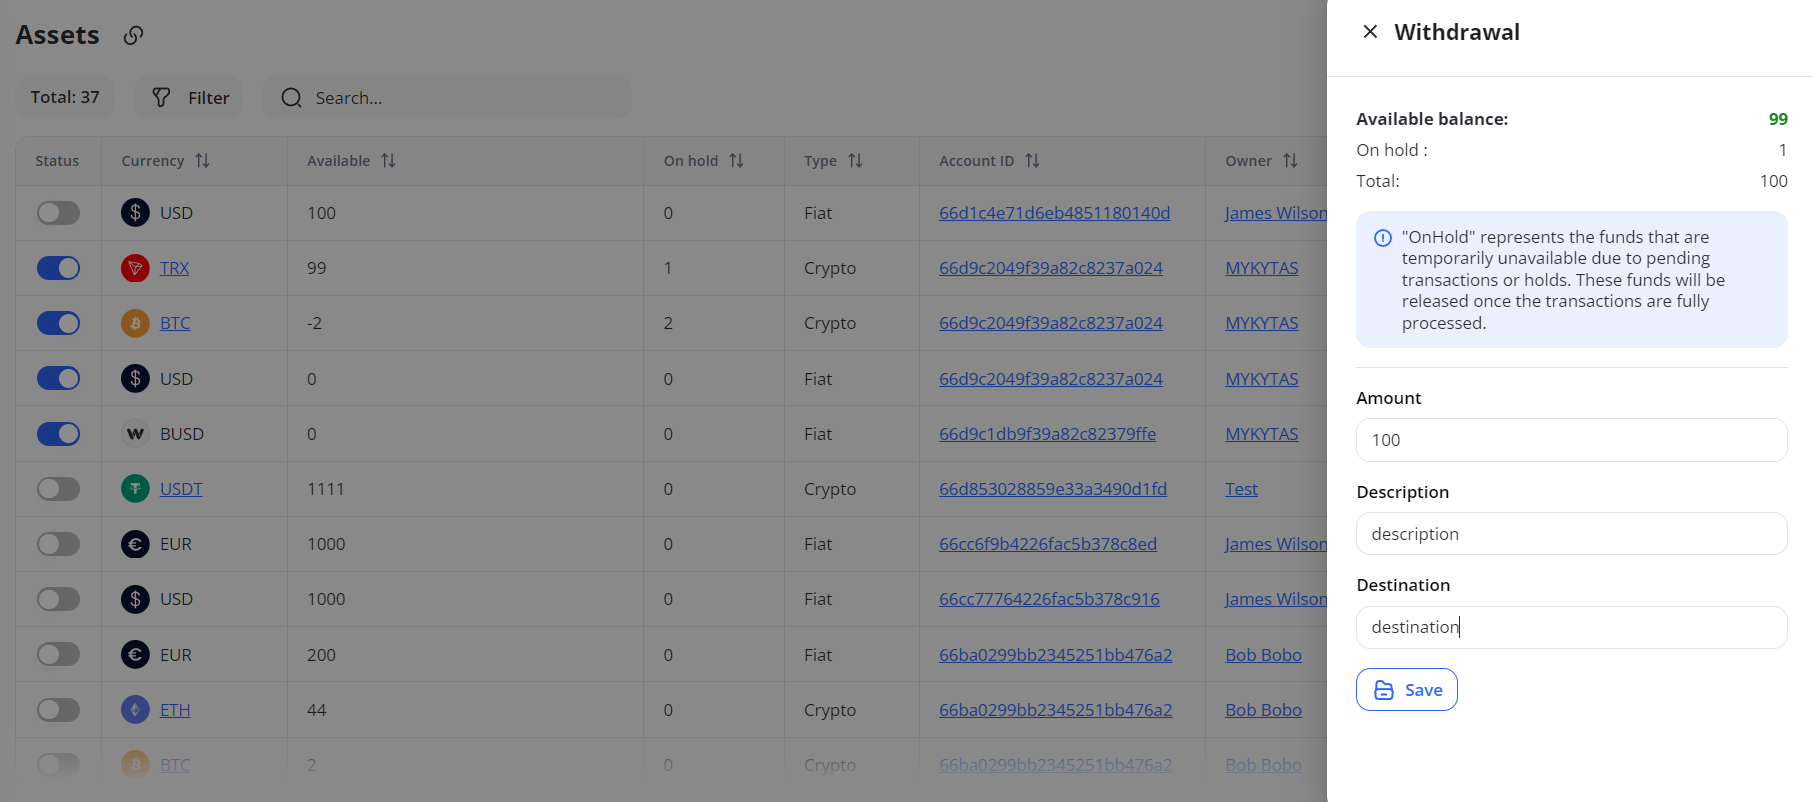
In the window that opens, you will see the current balance and fields to withdraw an amount. Enter:
- Amount: Withdrawal amount.
- Description: Any text description. For example, the purpose of the transaction, etc.
- Destination: The destination where the money went. Can be a general description (e.g. “company”) or specific details such as IBAN or wallet.
-
-
-
-
-
Click Save to apply the changes. When you save, a transaction will automatically be created.
-
-
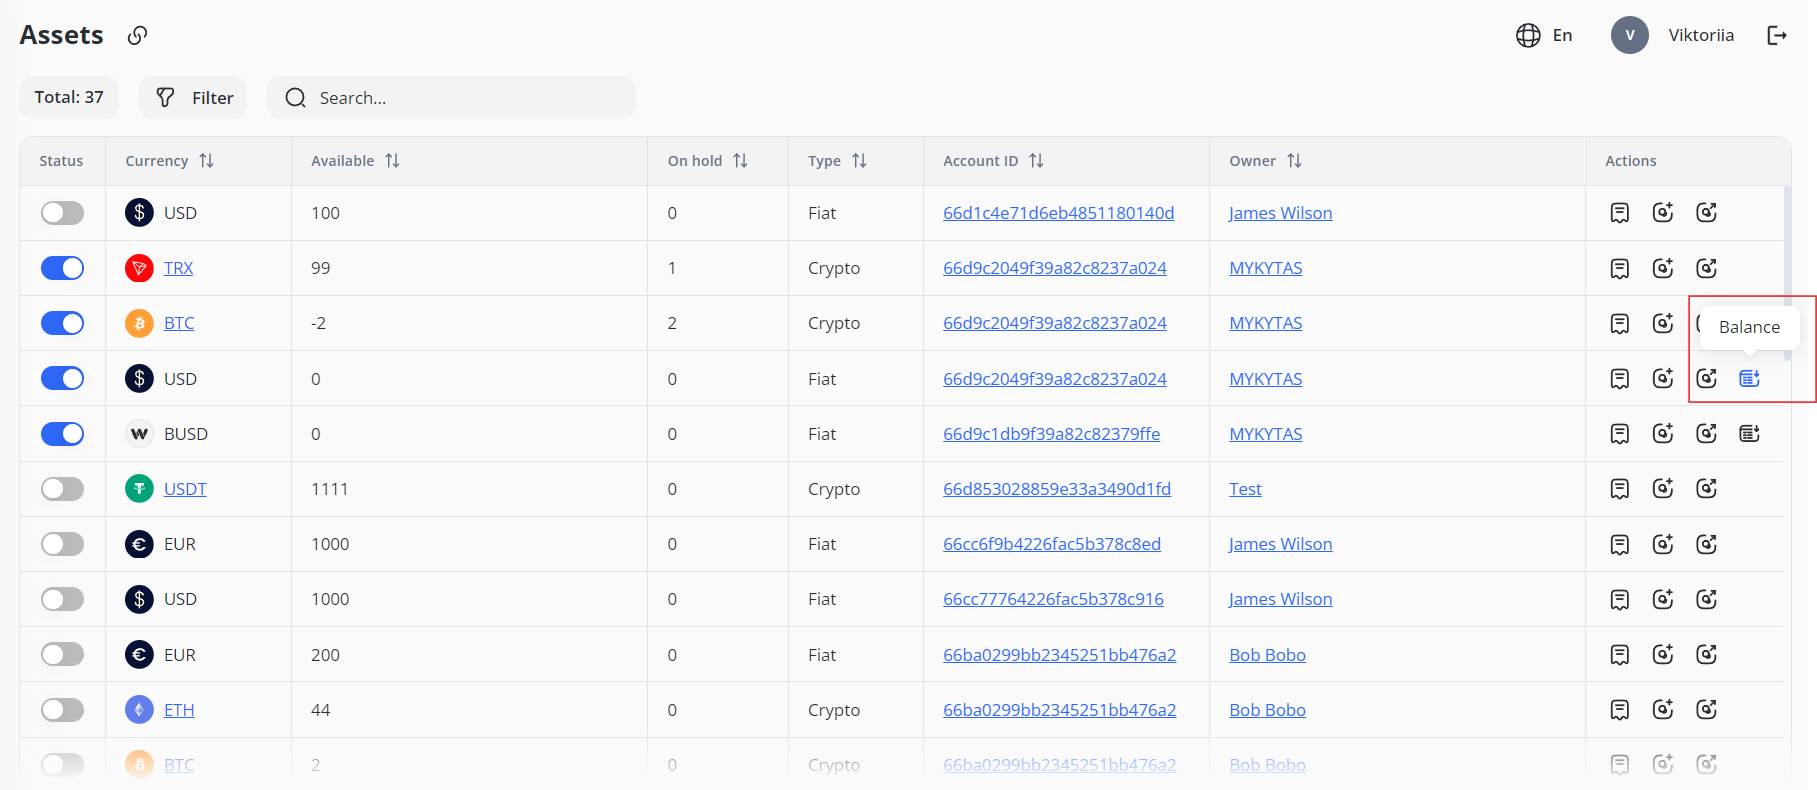
4. View balance:
-
-
-
For assets integrated with external platforms, click the Balance button to retrieve and display the current balance from the external server.
-
-
Note: You can learn more about platform customization in the Platforms section.
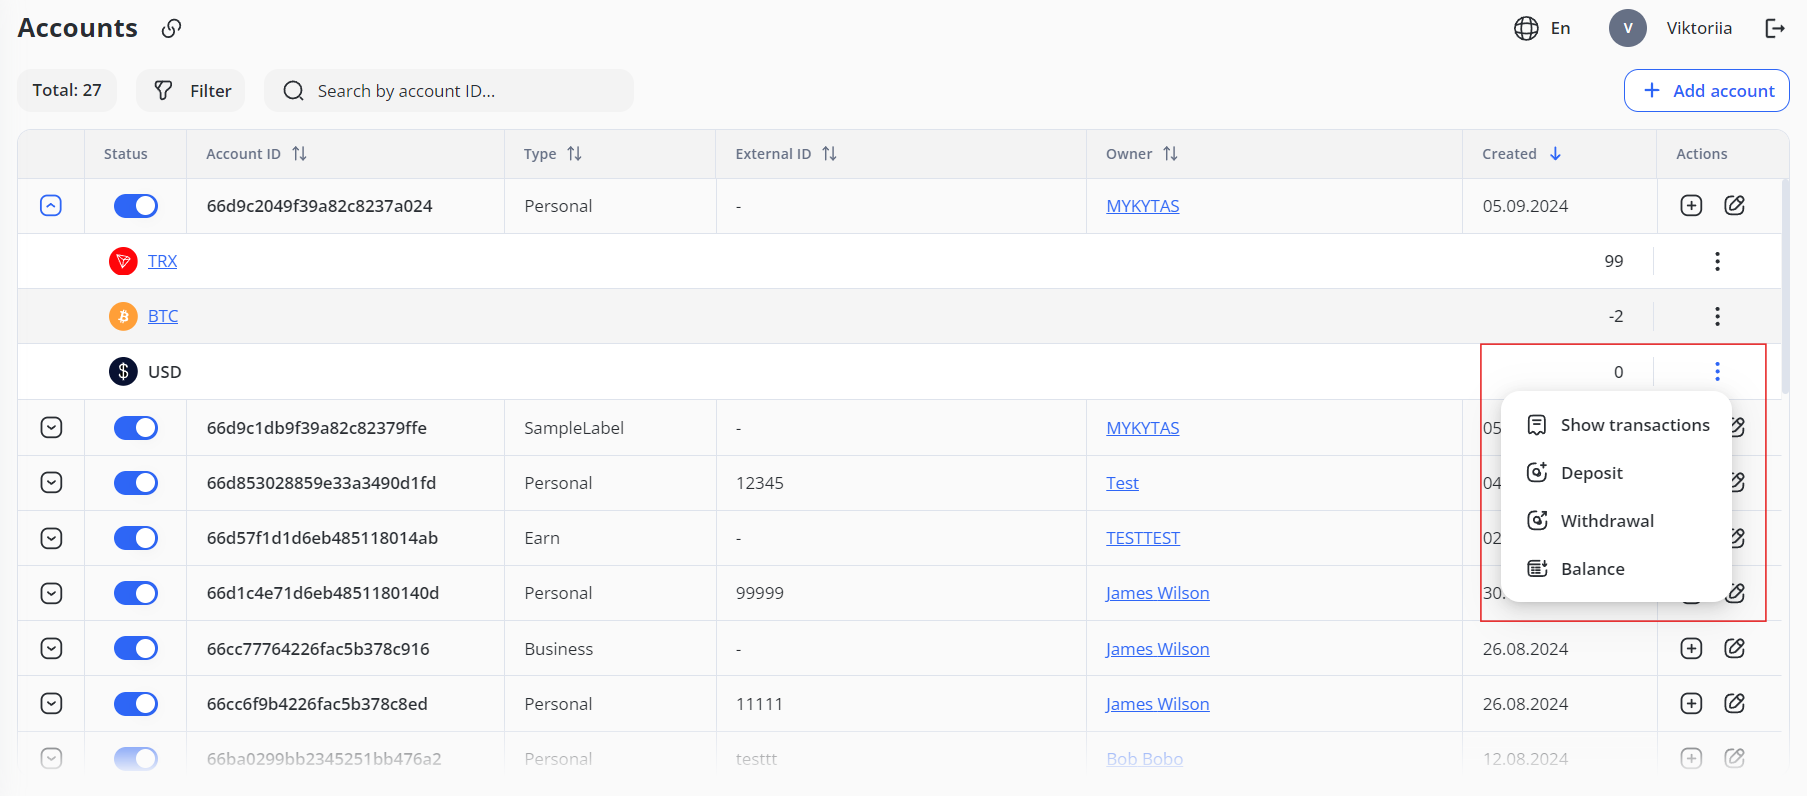
The functionalities for Show Transactions, Deposit, Withdrawal, and View Balance are also available within the Accounts module. To access these, click the triple-dot icon in the corresponding asset row.