
8. How to Import Clients
The Import feature simplifies the process of adding or updating large volumes of client data. By uploading a properly formatted CSV file, users can seamlessly onboard new clients or update existing records. The system supports default values for missing fields and ensures data consistency by validating unique identifiers like email addresses. This functionality is ideal for businesses looking to streamline client onboarding, manage bulk updates efficiently, and maintain up-to-date client records without manual entry.
Use Cases
-
Onboarding New Clients
Import a formatted CSV file to upload multiple client records at once, with default values automatically filling in missing data for streamlined onboarding. -
Bulk Updating Client Data
Import updated client details (e.g., email address changes) by re-uploading an edited CSV file. The system automatically updates existing records based on unique identifiers. -
Partner Data Onboarding
Import CSV files submitted by partners or affiliates, with missing fields auto-filled by default values, ensuring fast and consistent onboarding.
Detailed Steps
After a successful client import, you’ll see a table with the following columns populated for each record:
| ID | First Name | Last Name | Project | Desk | Active | Type | Created | |
|---|---|---|---|---|---|---|---|---|
| 666c2c2f32735479fd3e9a5c | John | Doe | john.doe @example.com | 66524609caa3558dd8f8da65 | 67a346ad8092c651c919337e | True | Personal | 2024-06-13T15:06:02.802Z |
| 66829b2e43c91e3ce480b6c4 | Emma | Smith | emma.smith @example.com | 66524609caa3558dd8f8da65 | 67a346ad8092c651c919337e | False | Personal | 2024-07-01T07:33:52.343Z |
| 668787f6def210c1fcfa2c92 | Michael | Brown | michael.brown @example.com | 66524609caa3558dd8f8da65 | 67a346ad8092c651c919337e | True | Personal | 2024-07-05T05:29:59.572Z |
File Format: CSV Only – Ensure the file is saved in CSV format before uploading.
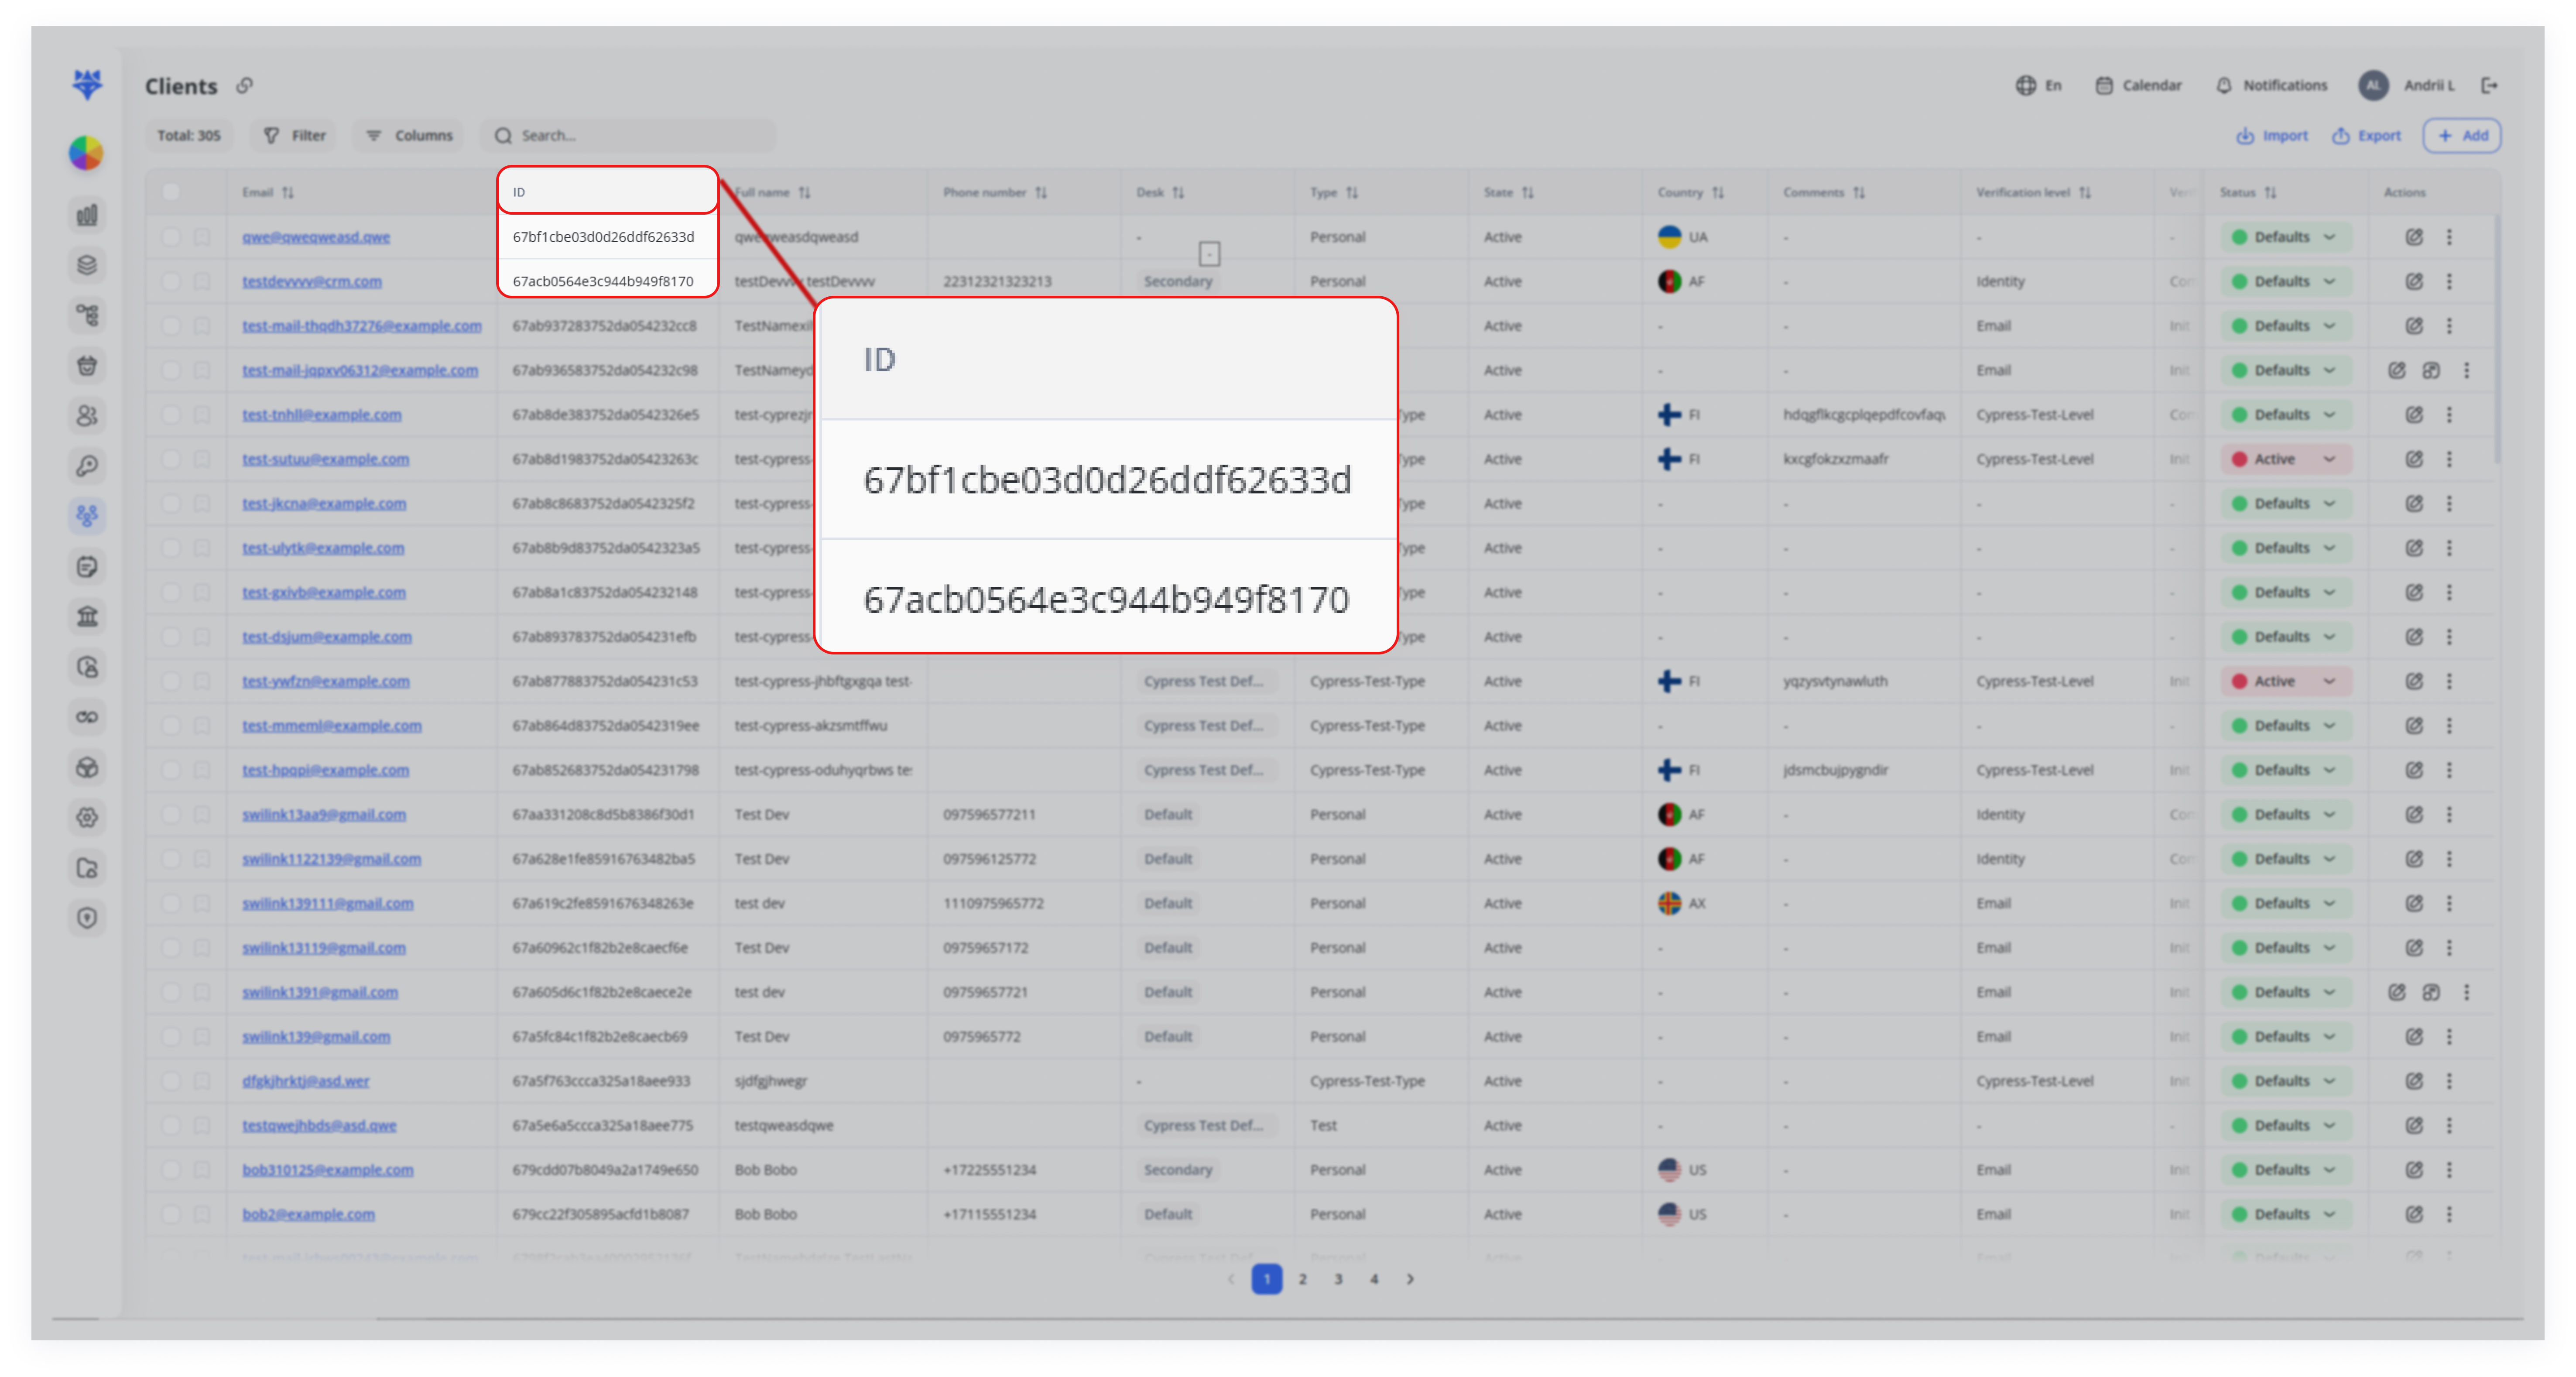
Important: For project and desk, you must specify their ID values.
Column Descriptions:
- ID (Required): A unique identifier for each client (system-generated – do not modify).
- firstName (Required): Client's first name.
- lastName (Optional): Client's last name.
- email (Required): Client's email address (must be unique).
- project (Required): The ID of the project the client is associated with.
- desk (Required): The ID of the desk assigned to the client.
- active (Required): Indicates whether the client is active.
- type (Required): The type of client account.
- created (Required): The date and time when the client account was created.
Note:Note: Only firstName and email are mandatory; all other fields will be assigned default values if not provided.
1. Click “Import”
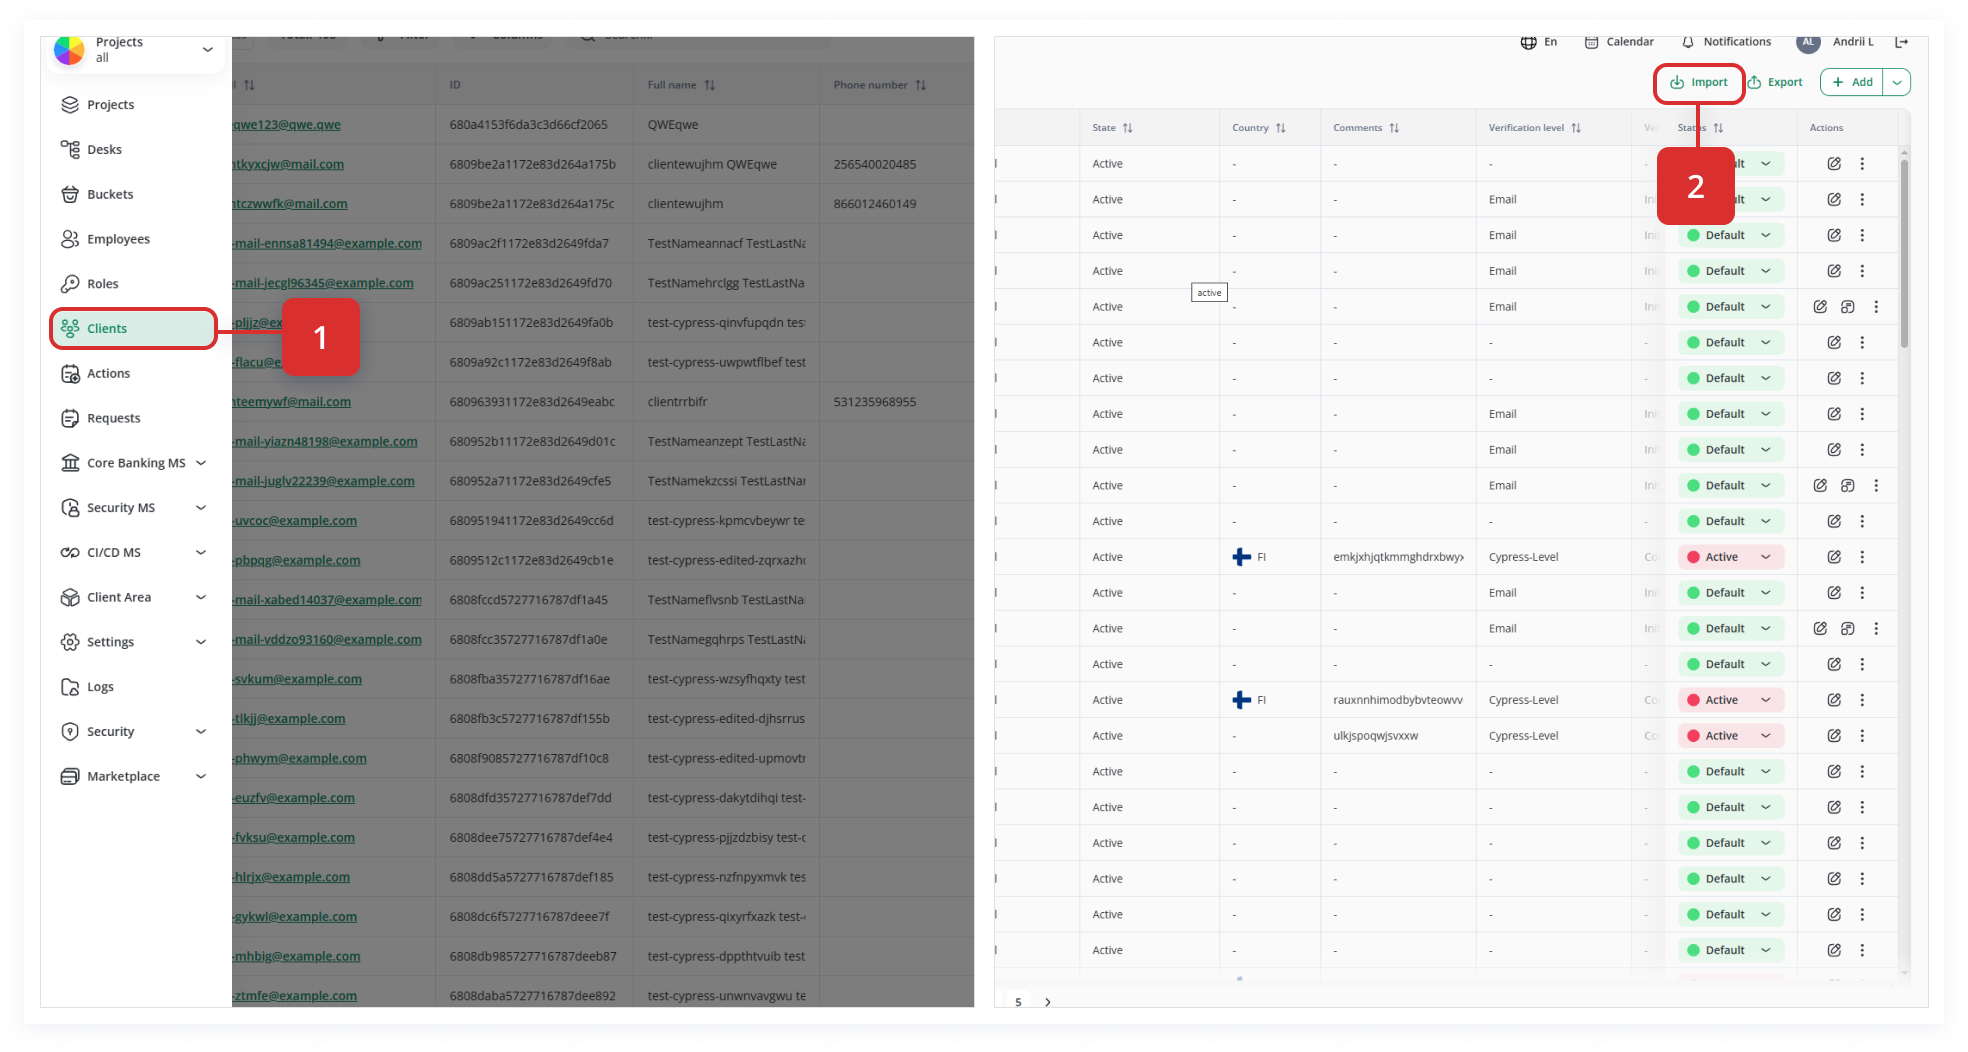
In the top-right of the Clients list, click the Import button. (2)
2. Review the Import Requirements
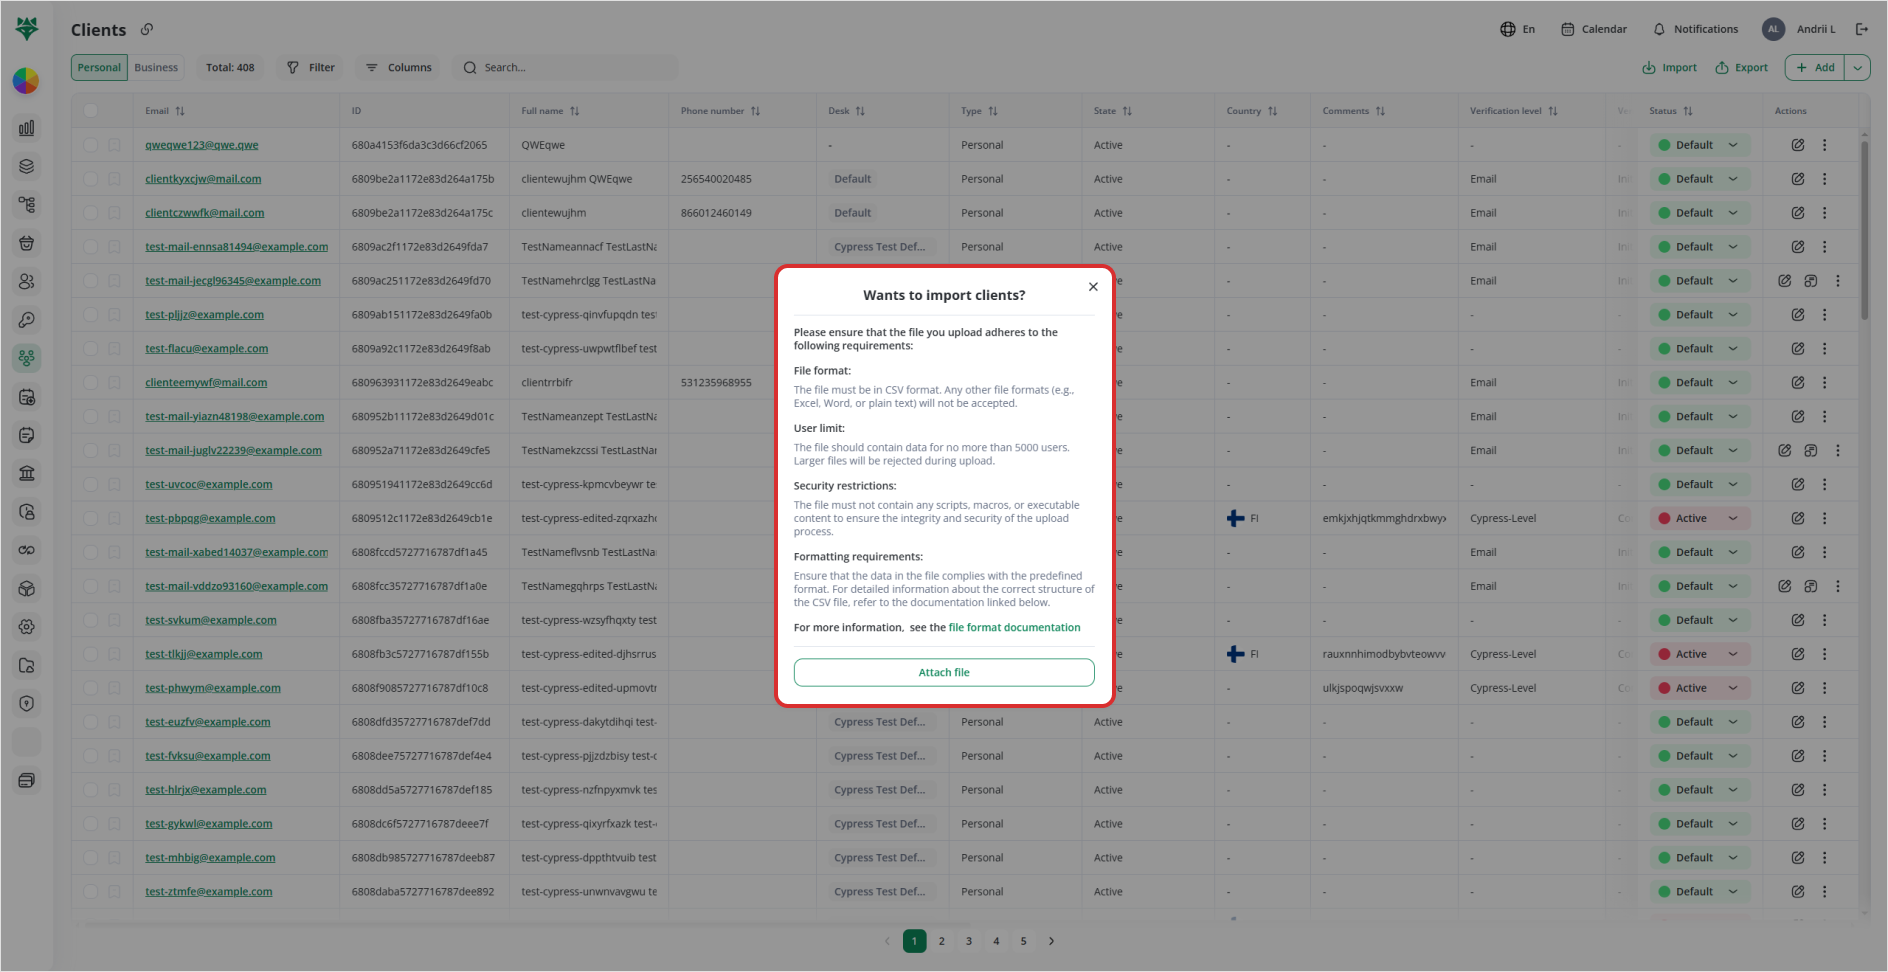
A modal titled “Wants to import clients?” will overlay the screen.
File format must be CSV only—no Excel, Word, or plain-text files.
User limit: up to 5 000 records per file; larger files are rejected.
Security restrictions: the CSV must contain no macros, scripts, or executables.
Formatting requirements: columns must match the system’s schema (see the file format documentation link in the modal).
Scroll within the modal to read every bullet point and confirm your file complies.
3. Attach Your CSV File
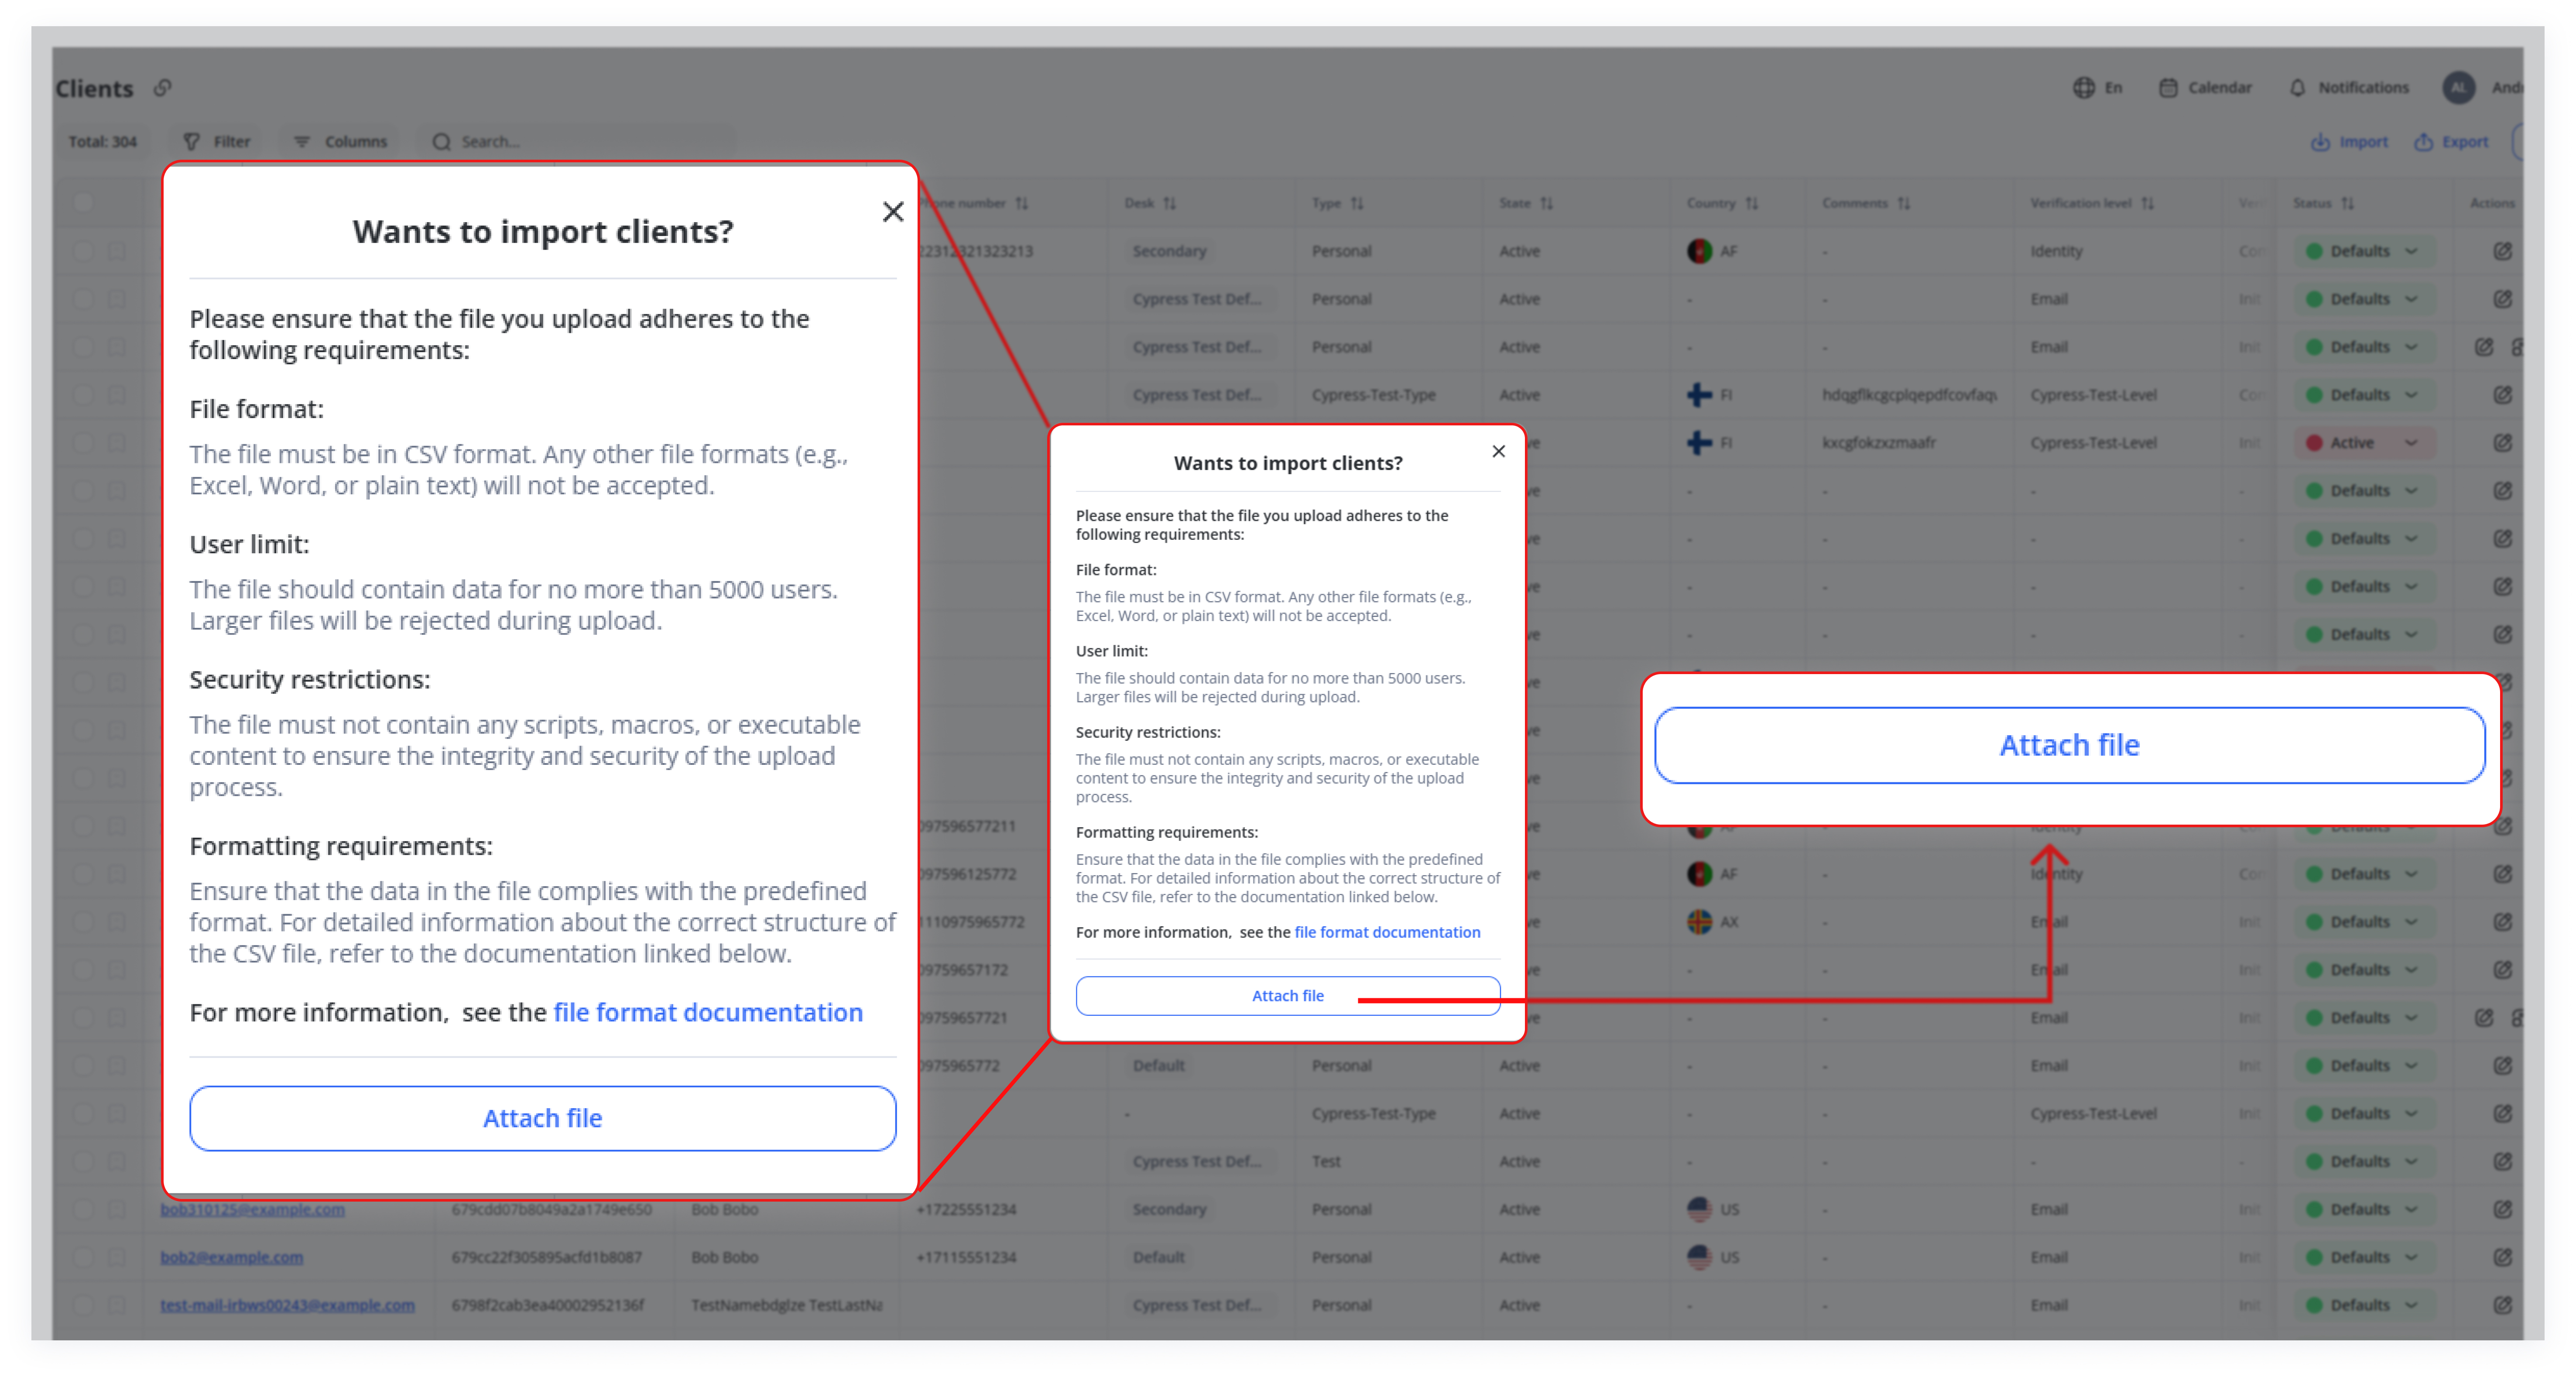
Click the Attach file button at the bottom of the modal.
In your file picker, locate and select the prepared CSV.
The modal will display your file name once attached—double-check it’s the correct file.
Hit Upload to begin processing.
4. Wait for the Import to Complete
After confirming, the system will show a brief “Processing…” status.
Do not refresh or close the browser; you can navigate elsewhere in the app while it runs.
Larger files (thousands of rows) may take a minute or two—be patient.
5. Check the Notification
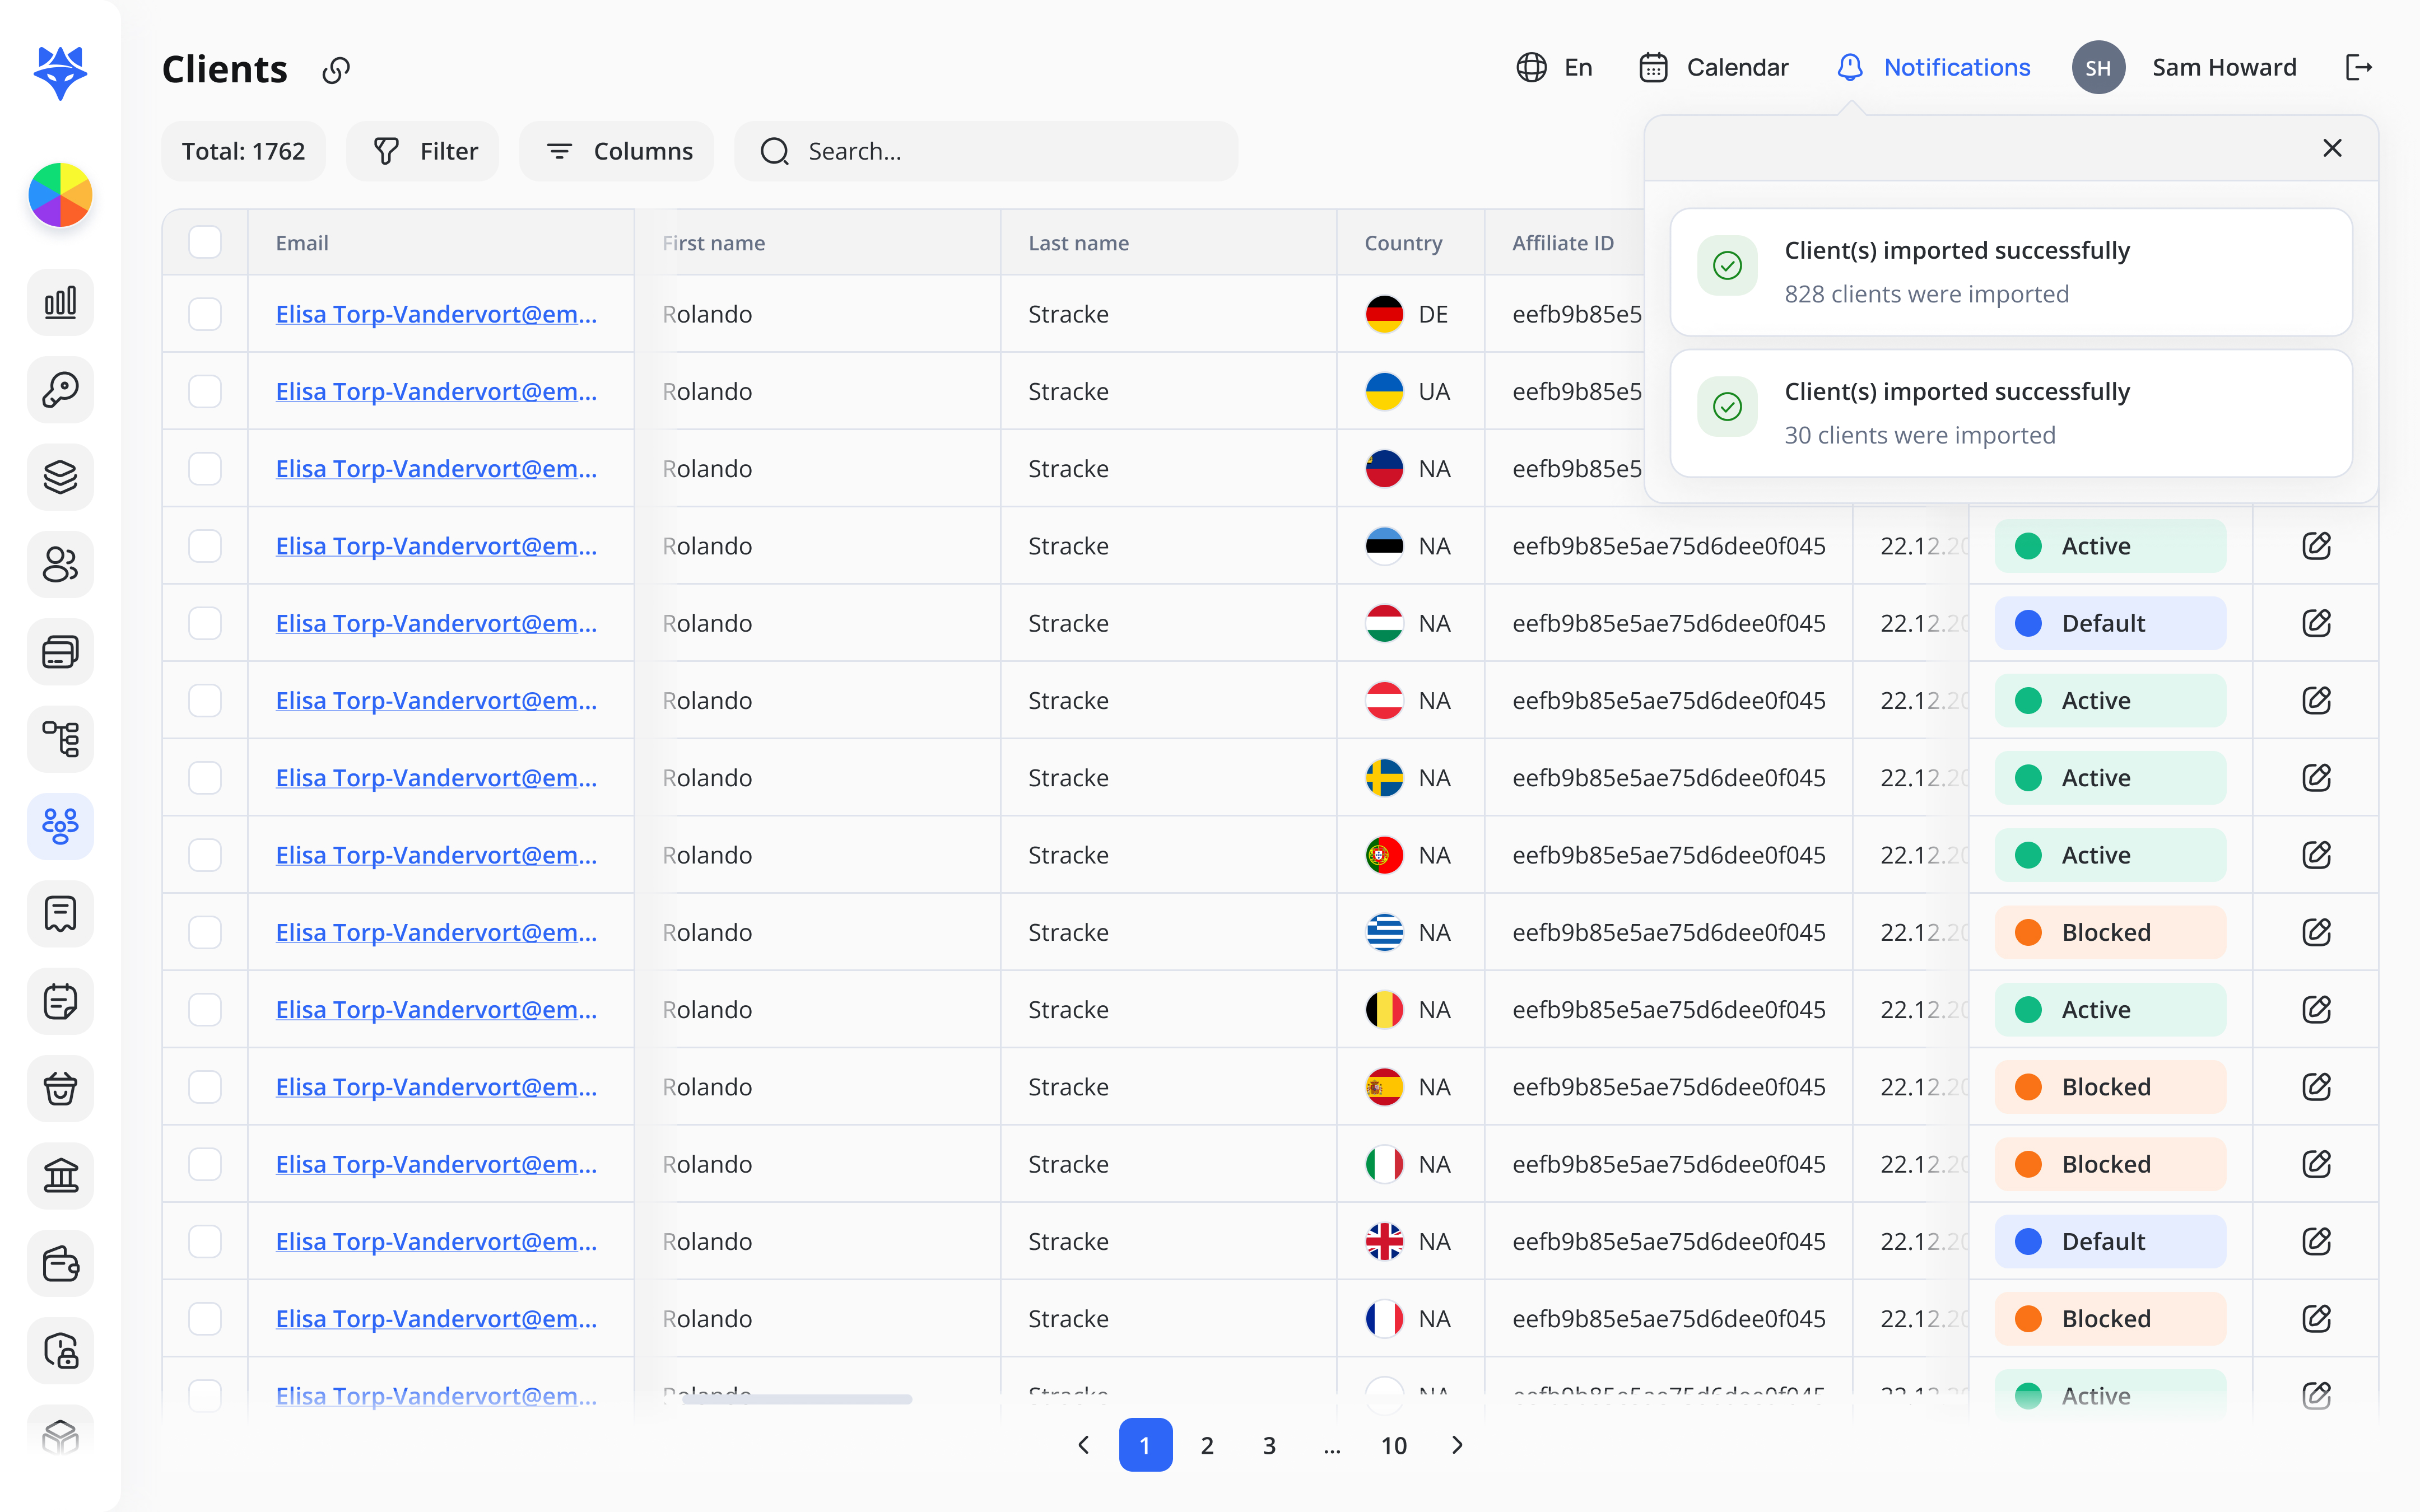
Once complete, open the Notifications bell icon in the header.
Look for messages like “Client(s) imported successfully — 828 clients were imported”.
If errors occurred, you’ll receive an “Import failed” alert with a link to download error details—fix your CSV and retry.
The notification confirms that your clients have been imported successfully.
Troubleshooting & Best Practices
-
Row-level errors: Download the error report (if offered) to see which lines failed.
-
Incremental updates: To update existing clients, include their
IDoremail. Fields you omit will remain unchanged.
-
Split large imports: If you exceed 5 000 rows, break into multiple files by alphabetical or date chunks.
-
Validate locally: Run a quick script or spreadsheet validation on your CSV to catch formatting issues before upload.
The Import tool empowers you to manage client records at scale—with minimal clicks and zero manual typing. Once your CSV is validated, you’ll have new or updated client profiles in seconds, freeing your team to focus on high-value work (onboarding calls, KYC checks, relationship building). If you need further details on field mappings or sample templates, see the file format documentation linked in the import modal.