
7. How to Import Clients
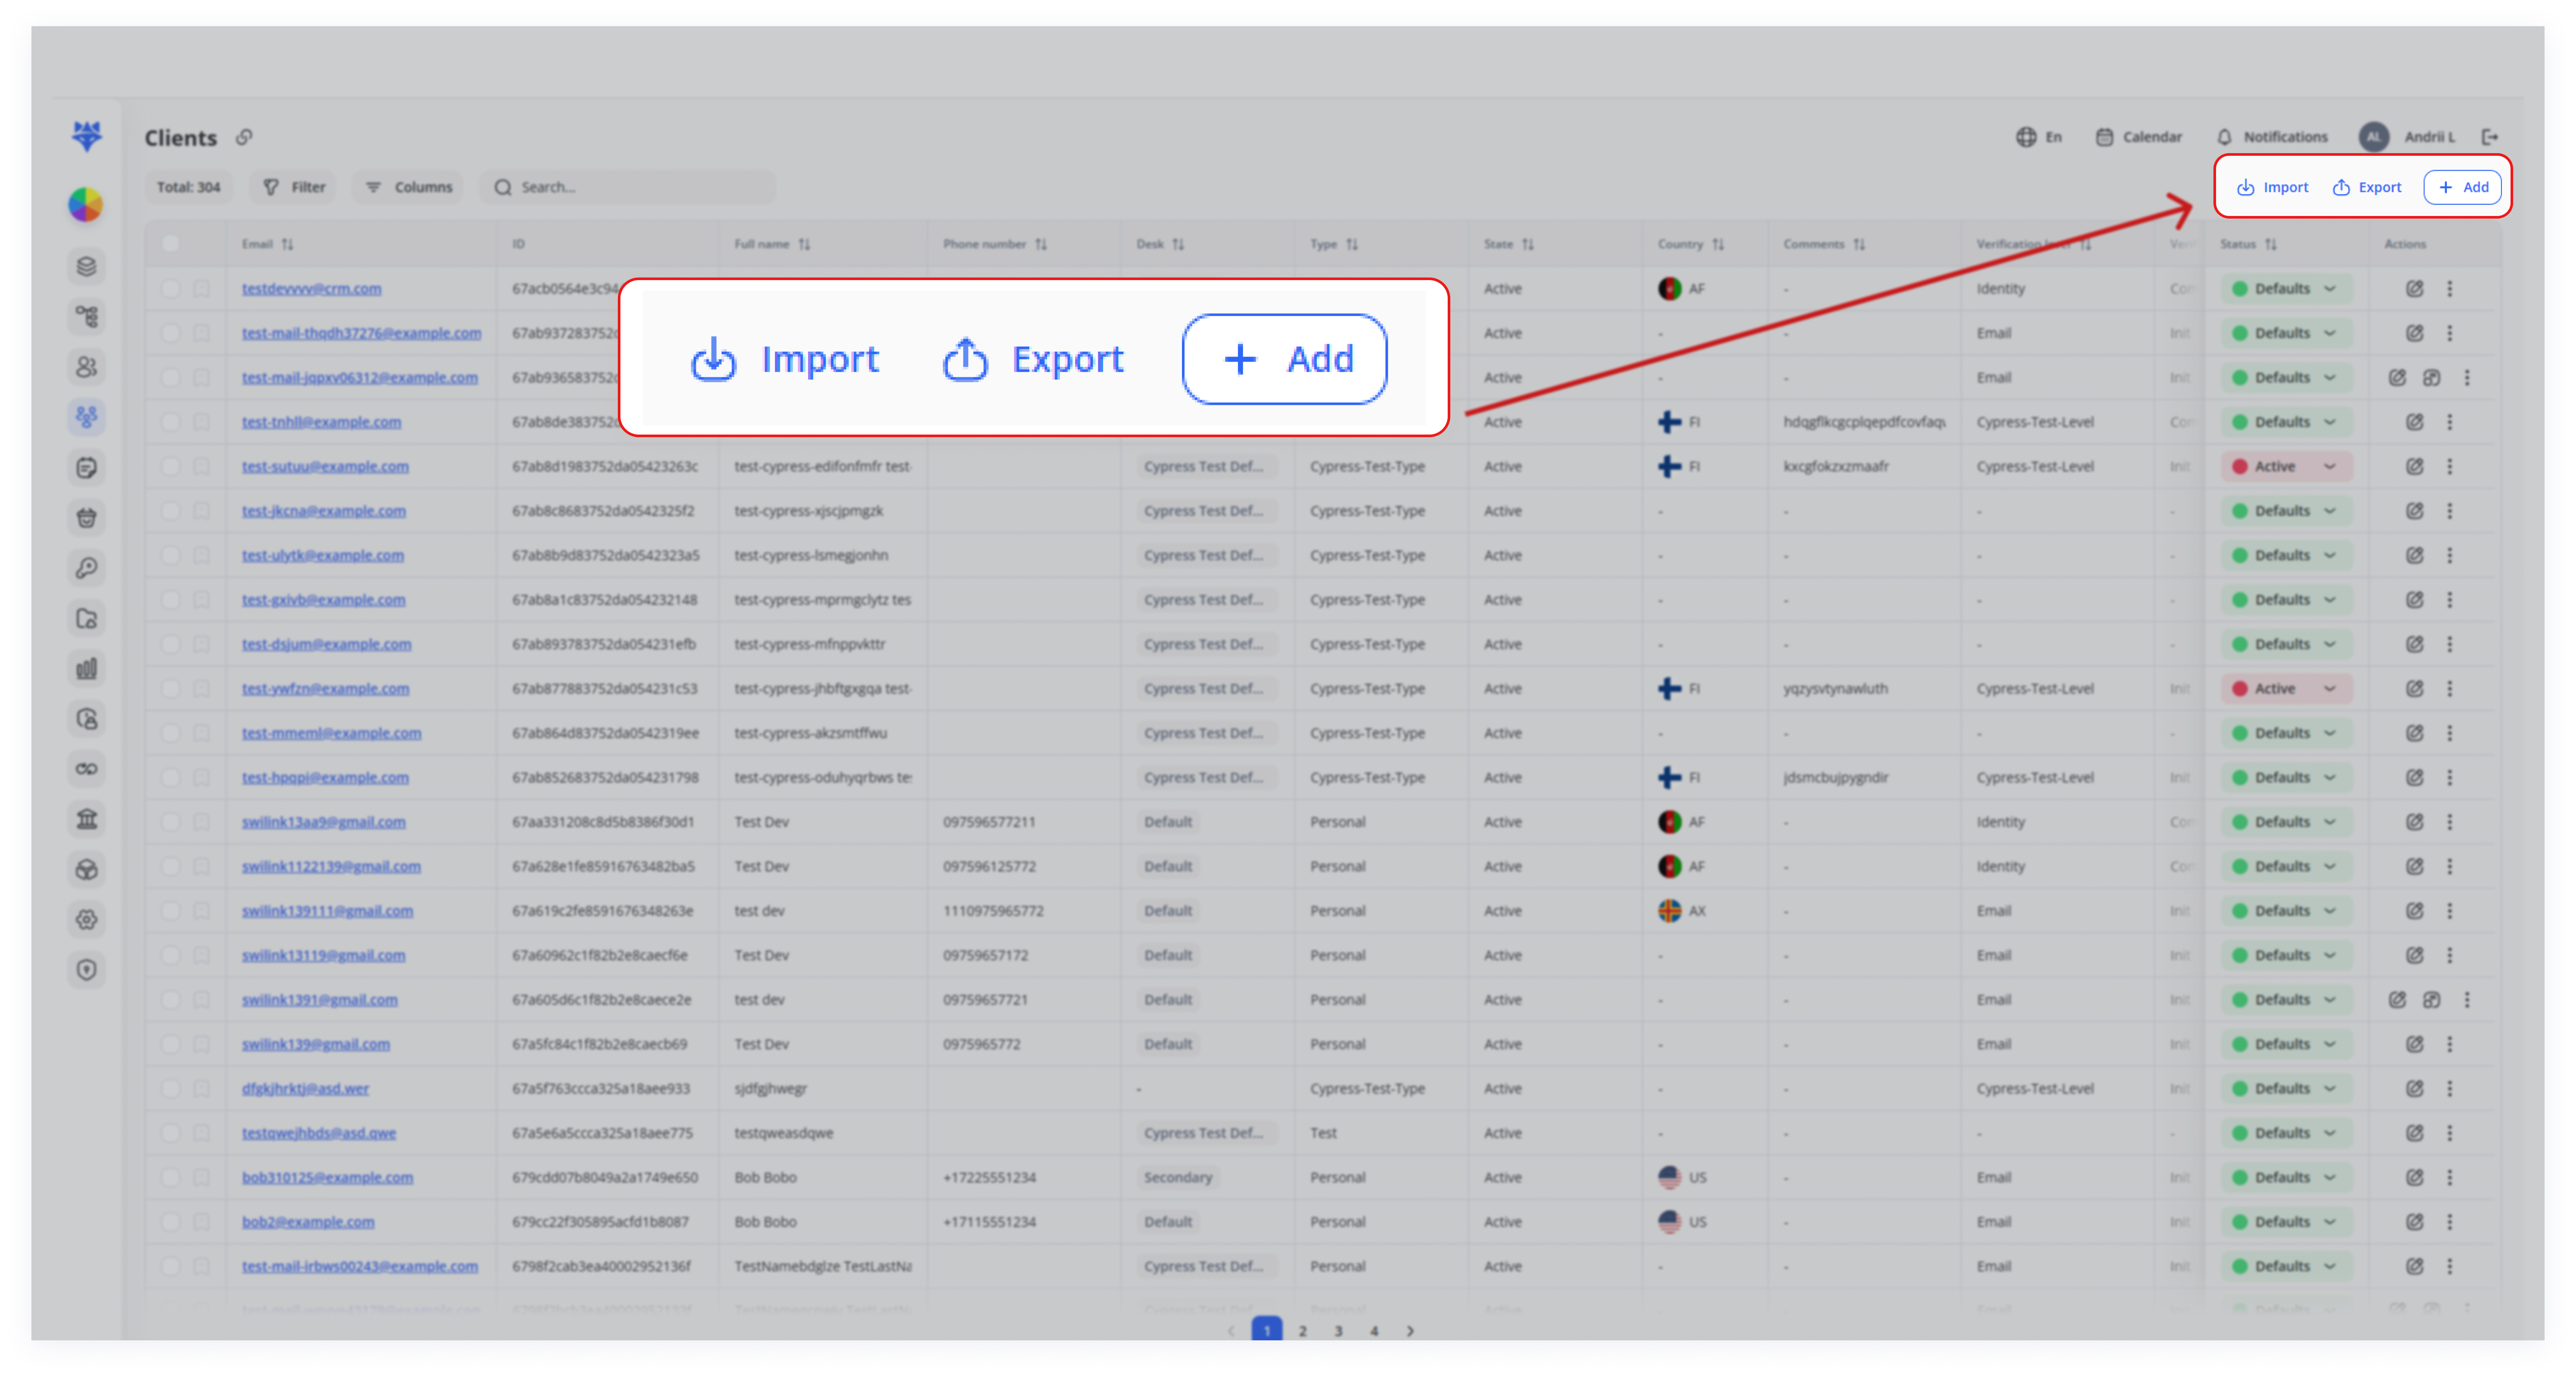
The Import feature simplifies the process of adding or updating large volumes of client data. By uploading a properly formatted CSV file, users can seamlessly onboard new clients or update existing records. The system supports default values for missing fields and ensures data consistency by validating unique identifiers like email addresses. This functionality is ideal for businesses looking to streamline client onboarding, manage bulk updates efficiently, and maintain up-to-date client records without manual entry.
Use Cases
-
Onboarding New Clients
Import a formatted CSV file to upload multiple client records at once, with default values automatically filling in missing data for streamlined onboarding. -
Bulk Updating Client Data
Import updated client details (e.g., email address changes) by re-uploading an edited CSV file. The system automatically updates existing records based on unique identifiers. -
Partner Data Onboarding
Import CSV files submitted by partners or affiliates, with missing fields auto-filled by default values, ensuring fast and consistent onboarding.
Detailed Steps
| ID | First Name | Last Name | Project | Desk | Active | Type | Created | |
|---|---|---|---|---|---|---|---|---|
|
|
|
|
66524609caa3558dd8f8da65 | 67a346ad8092c651c919337e | True | Personal | 2024-06-13T15:06:02.802Z |
|
|
Smith |
[email protected] |
66524609caa3558dd8f8da65 | 67a346ad8092c651c919337e | False | Personal | 2024-07-01T07:33:52.343Z |
|
|
Brown |
[email protected] |
66524609caa3558dd8f8da65 | 67a346ad8092c651c919337e | True | Personal | 2024-07-05T05:29:59.572Z |
File Format: CSV Only – Ensure the file is saved in CSV format before uploading.
CSV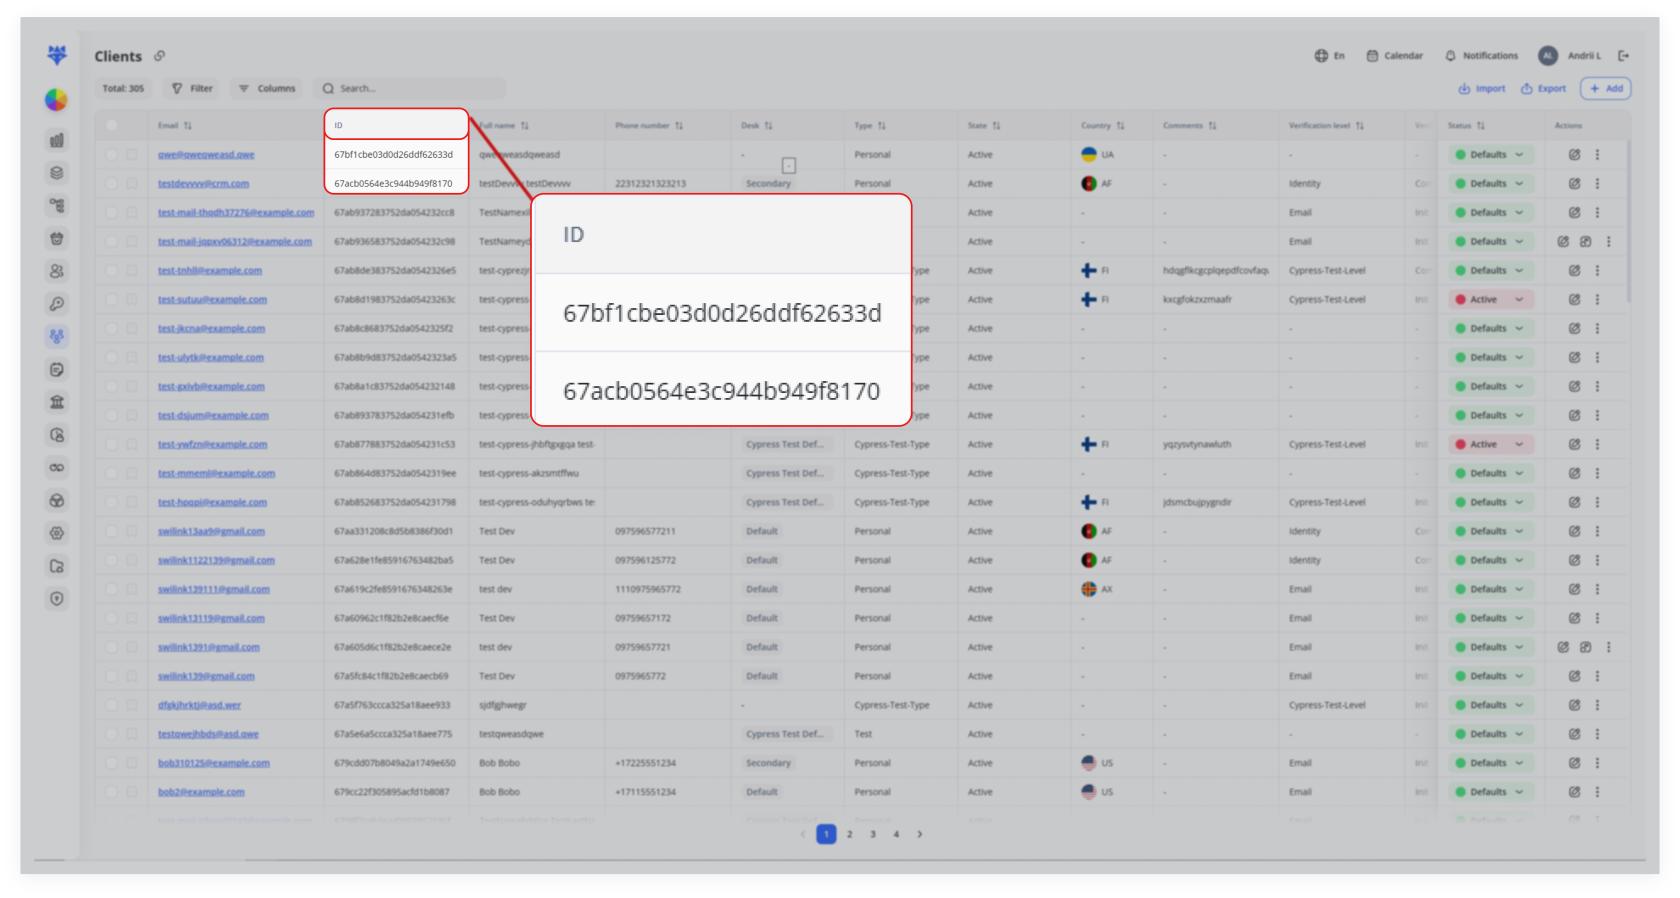
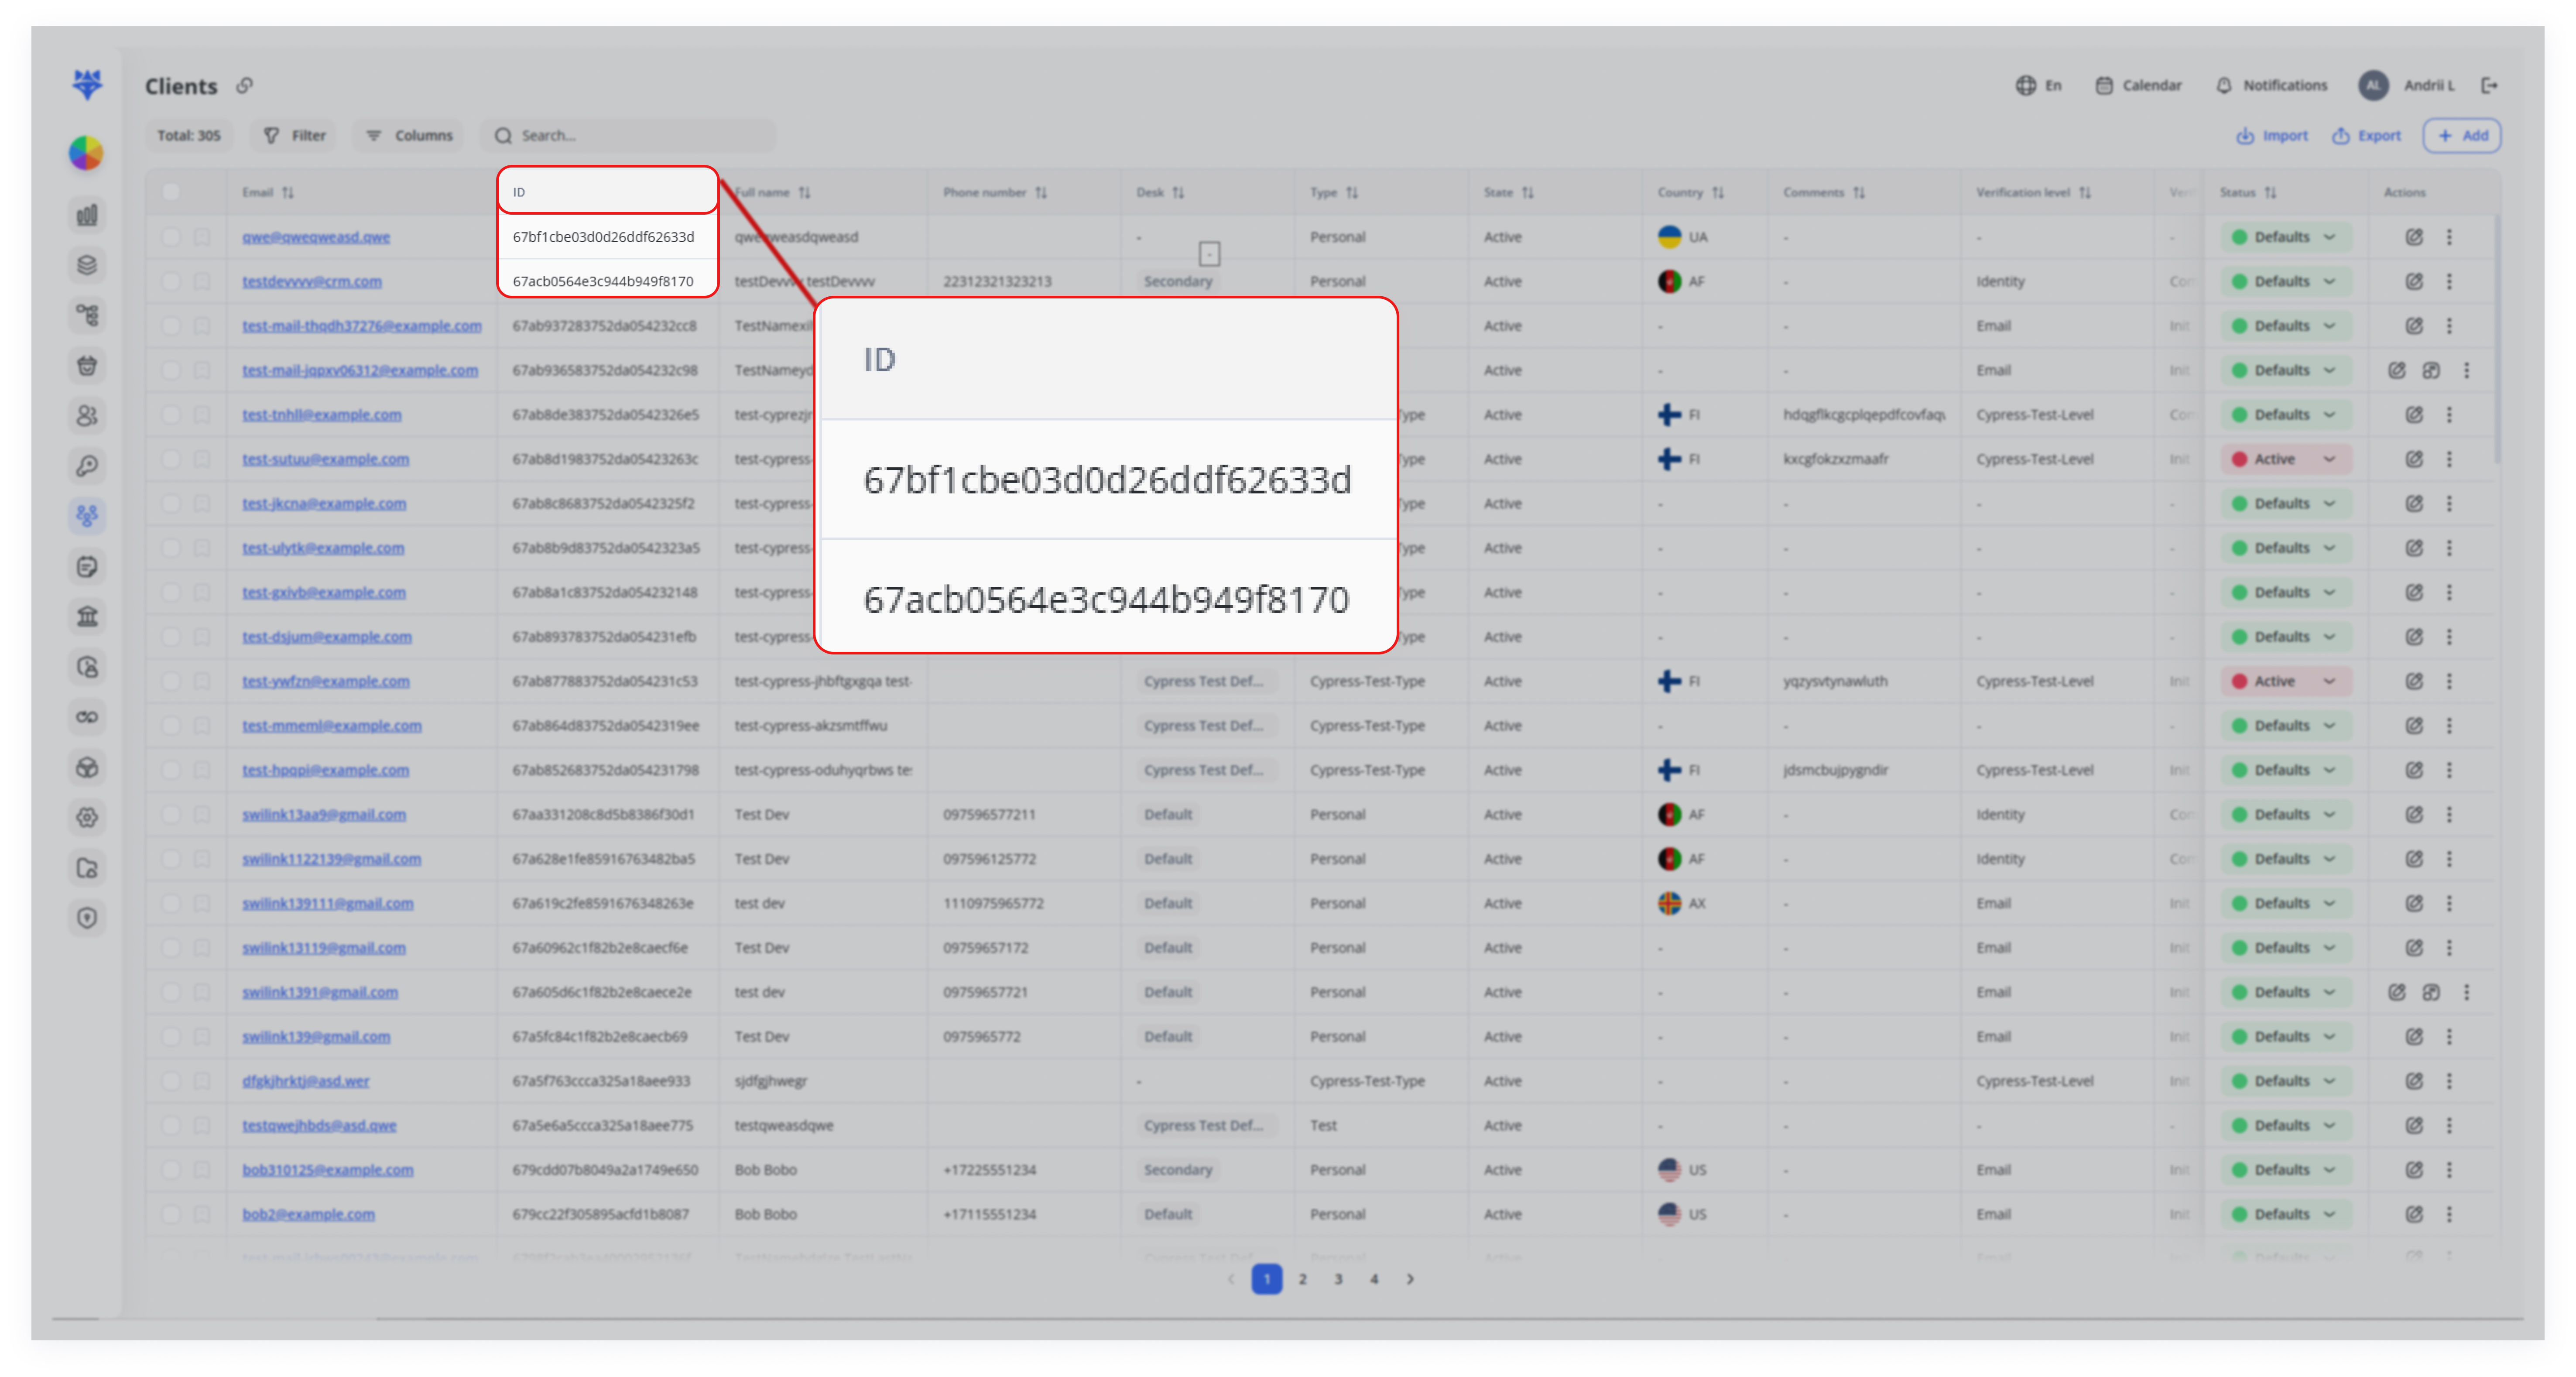
Important: FieldFor Descriptionsproject forand Clientdesk, Import:you must specify their ID values.
Column Descriptions:
- ID
(Required):
A unique identifier for each client (system-generated – do not modify). - firstName (Required): Client's first name.
- lastName
(Optional):
Client's last name. - email (Required): Client's email address (must be unique).
the client is associated with.usernameproject (Optional)Required): The IDClient'susernameof(auto-generatedtheifprojectomitted).
the desk assigned to the client.middleNamedesk (Optional)Required): The IDClient'smiddleofname.
thelastNameactive (Optional)Required):Client'sIndicateslastwhethername.client
Default Values for Missing Fields:
project:default- type
The type of client account.desk:(Required):default - created
The date and time when the client account was created.type:(Required):personal
Note: Only firstName and email are mandatory; all other fields will be assigned default values if not provided.
1. Click “Import”
In the upper‐right corner of the Clients page, click on Import.
2. Review the Import Requirements

A modal window appears titled “Wants to import clients?”.
Requirements typically include:
-
File format: CSV only
-
User limit: No more than 5000 records per file
-
Security restrictions: No scripts, macros, or executable content
-
Formatting: Must adhere to the CRM’s required field structure
3. Attach Your CSV File
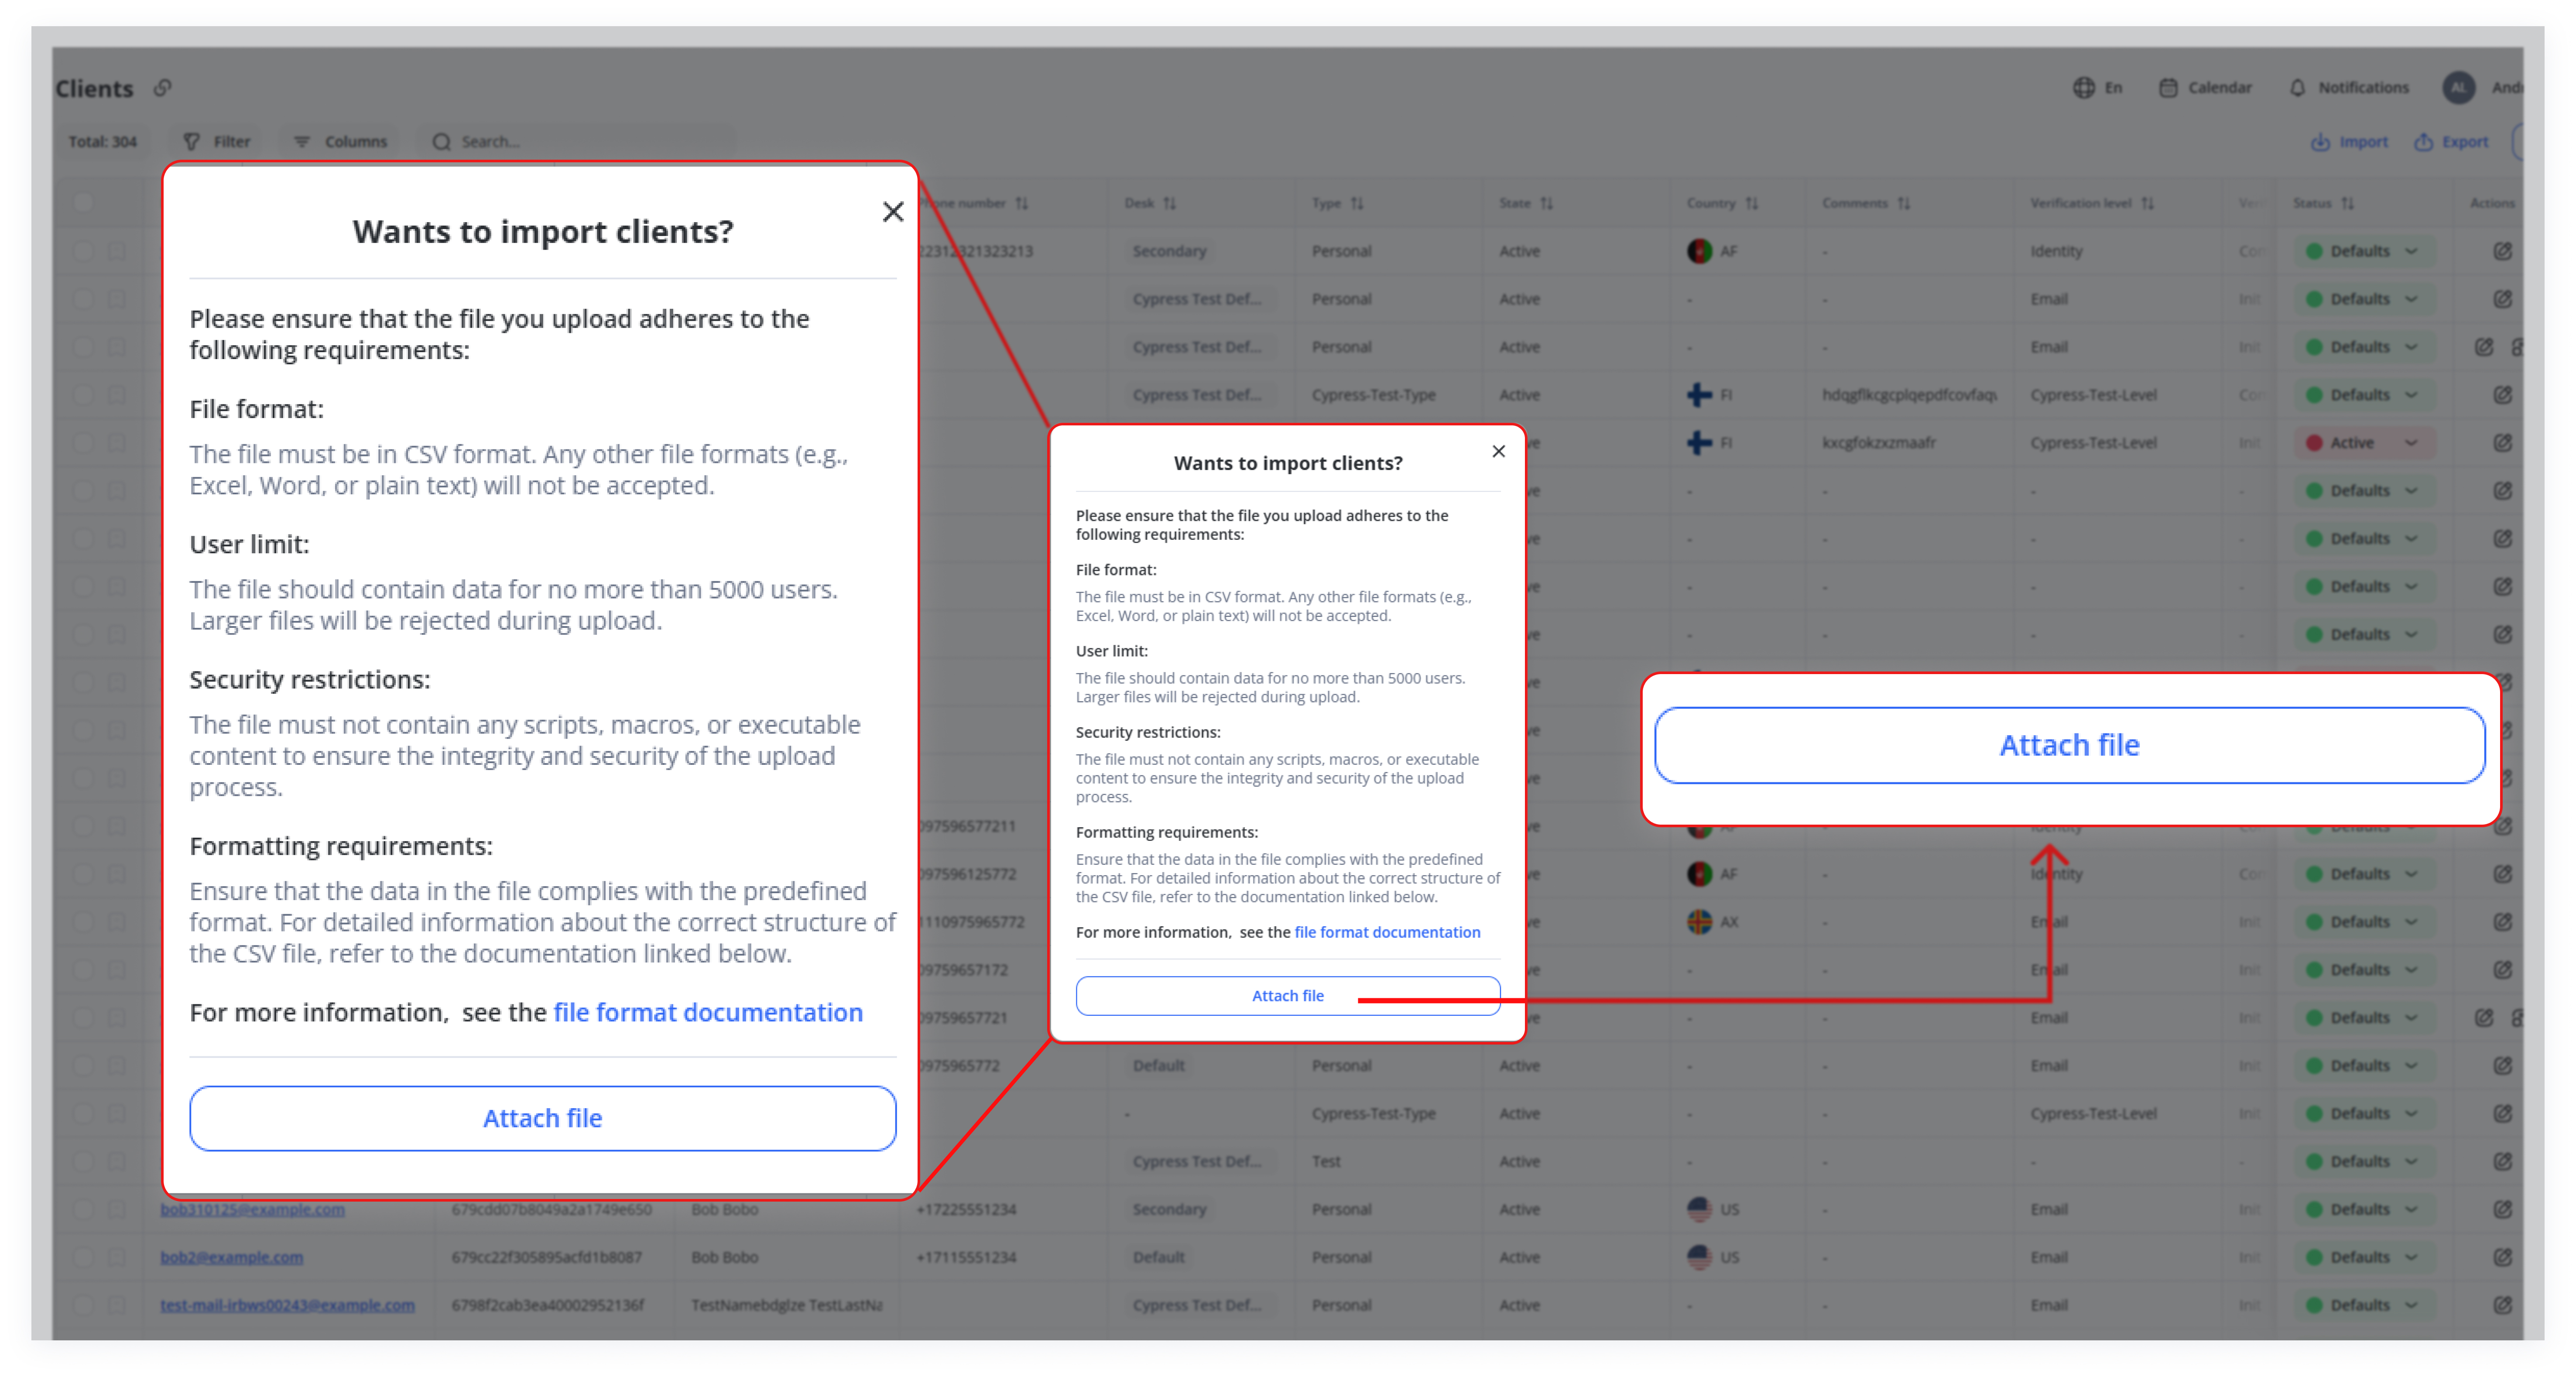
Click Attach file and select the CSV file from your computer.
4. Wait for the Import to Complete
The system uploads and processes your CSV.
While importing, the CRM may display a status message.
5. Check the Notification

Once the import finishes, a Notification will appear.
The notification confirms that your clients have been imported successfully.