
8.6. How to Manage Accounts
The Accounts module is designed to manage client accounts and is closely integrated with the Clients module. While you can view and edit accounts assigned to clients in their profiles, the primary management of accounts is done in the Accounts module.
In this module, you can:
-
View all accounts in the system (for clients visible to you).
-
Add new accounts.
-
Activate and deactivate accounts.
-
Filter and search for accounts.
-
Edit accounts and add assets and wallets to them.
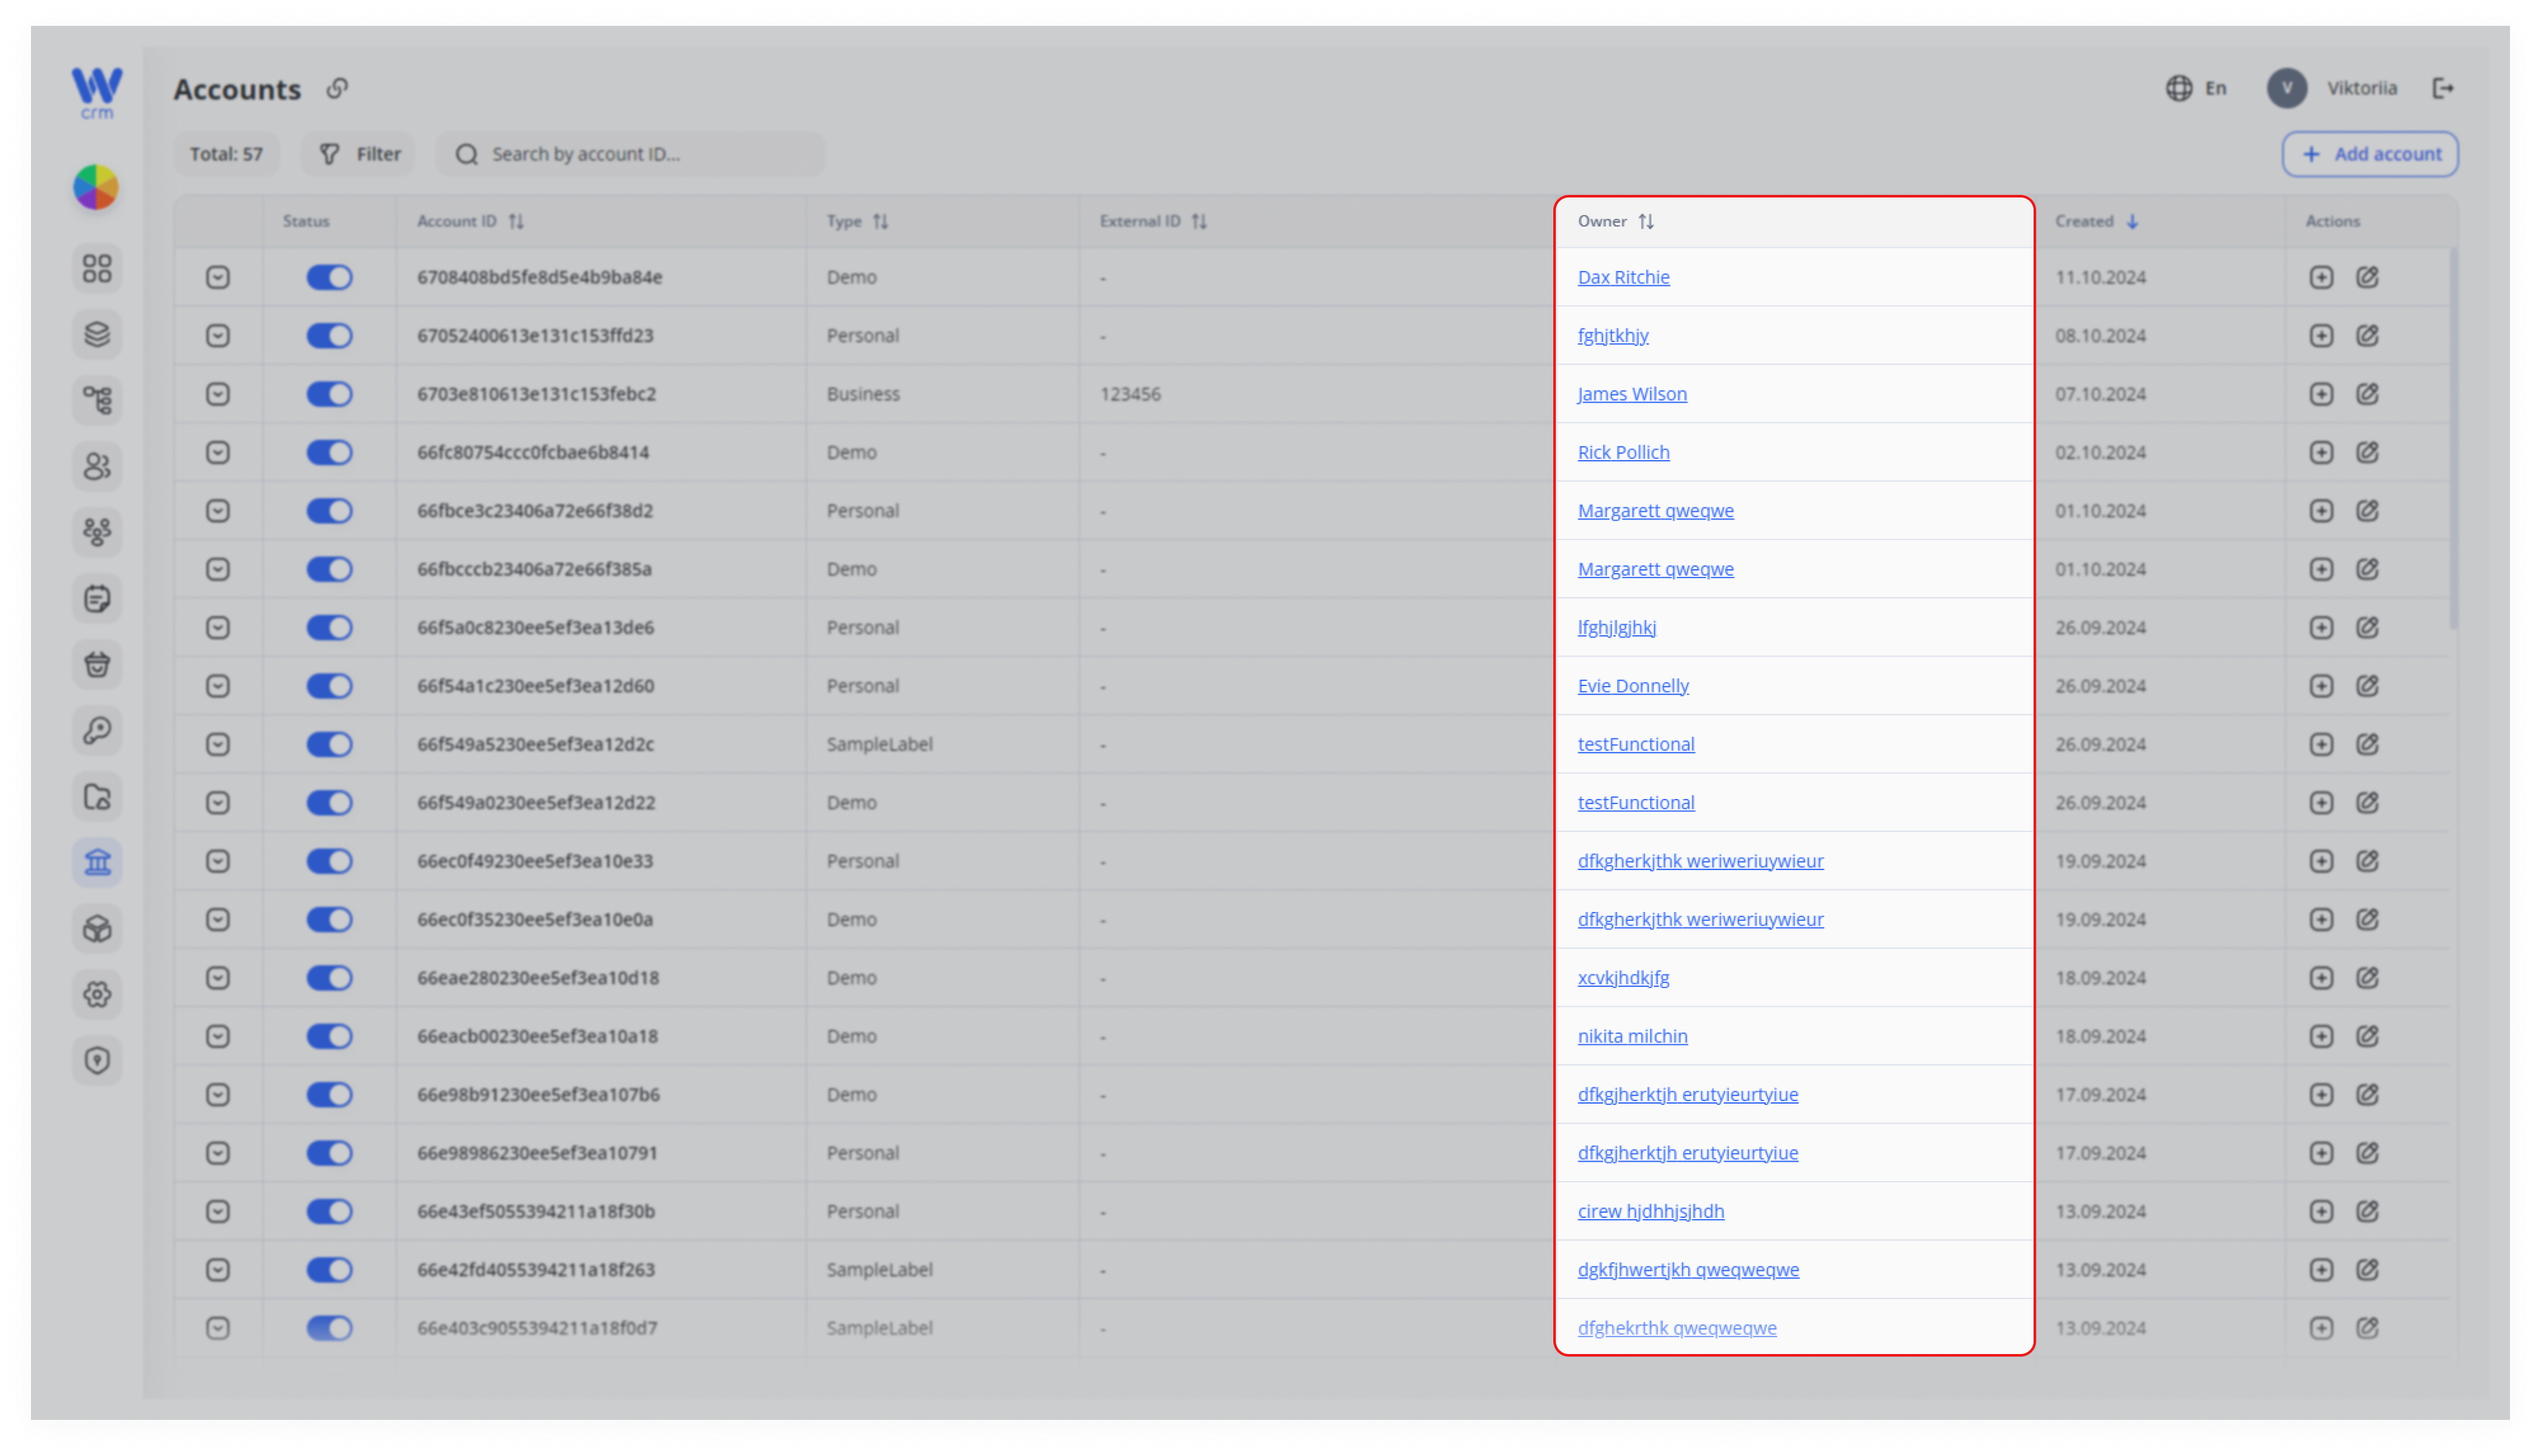
When you enter the Accounts module, you'll see a list of all accounts. To view details about the client who owns an account, click on the name in the Owner column of the corresponding row:
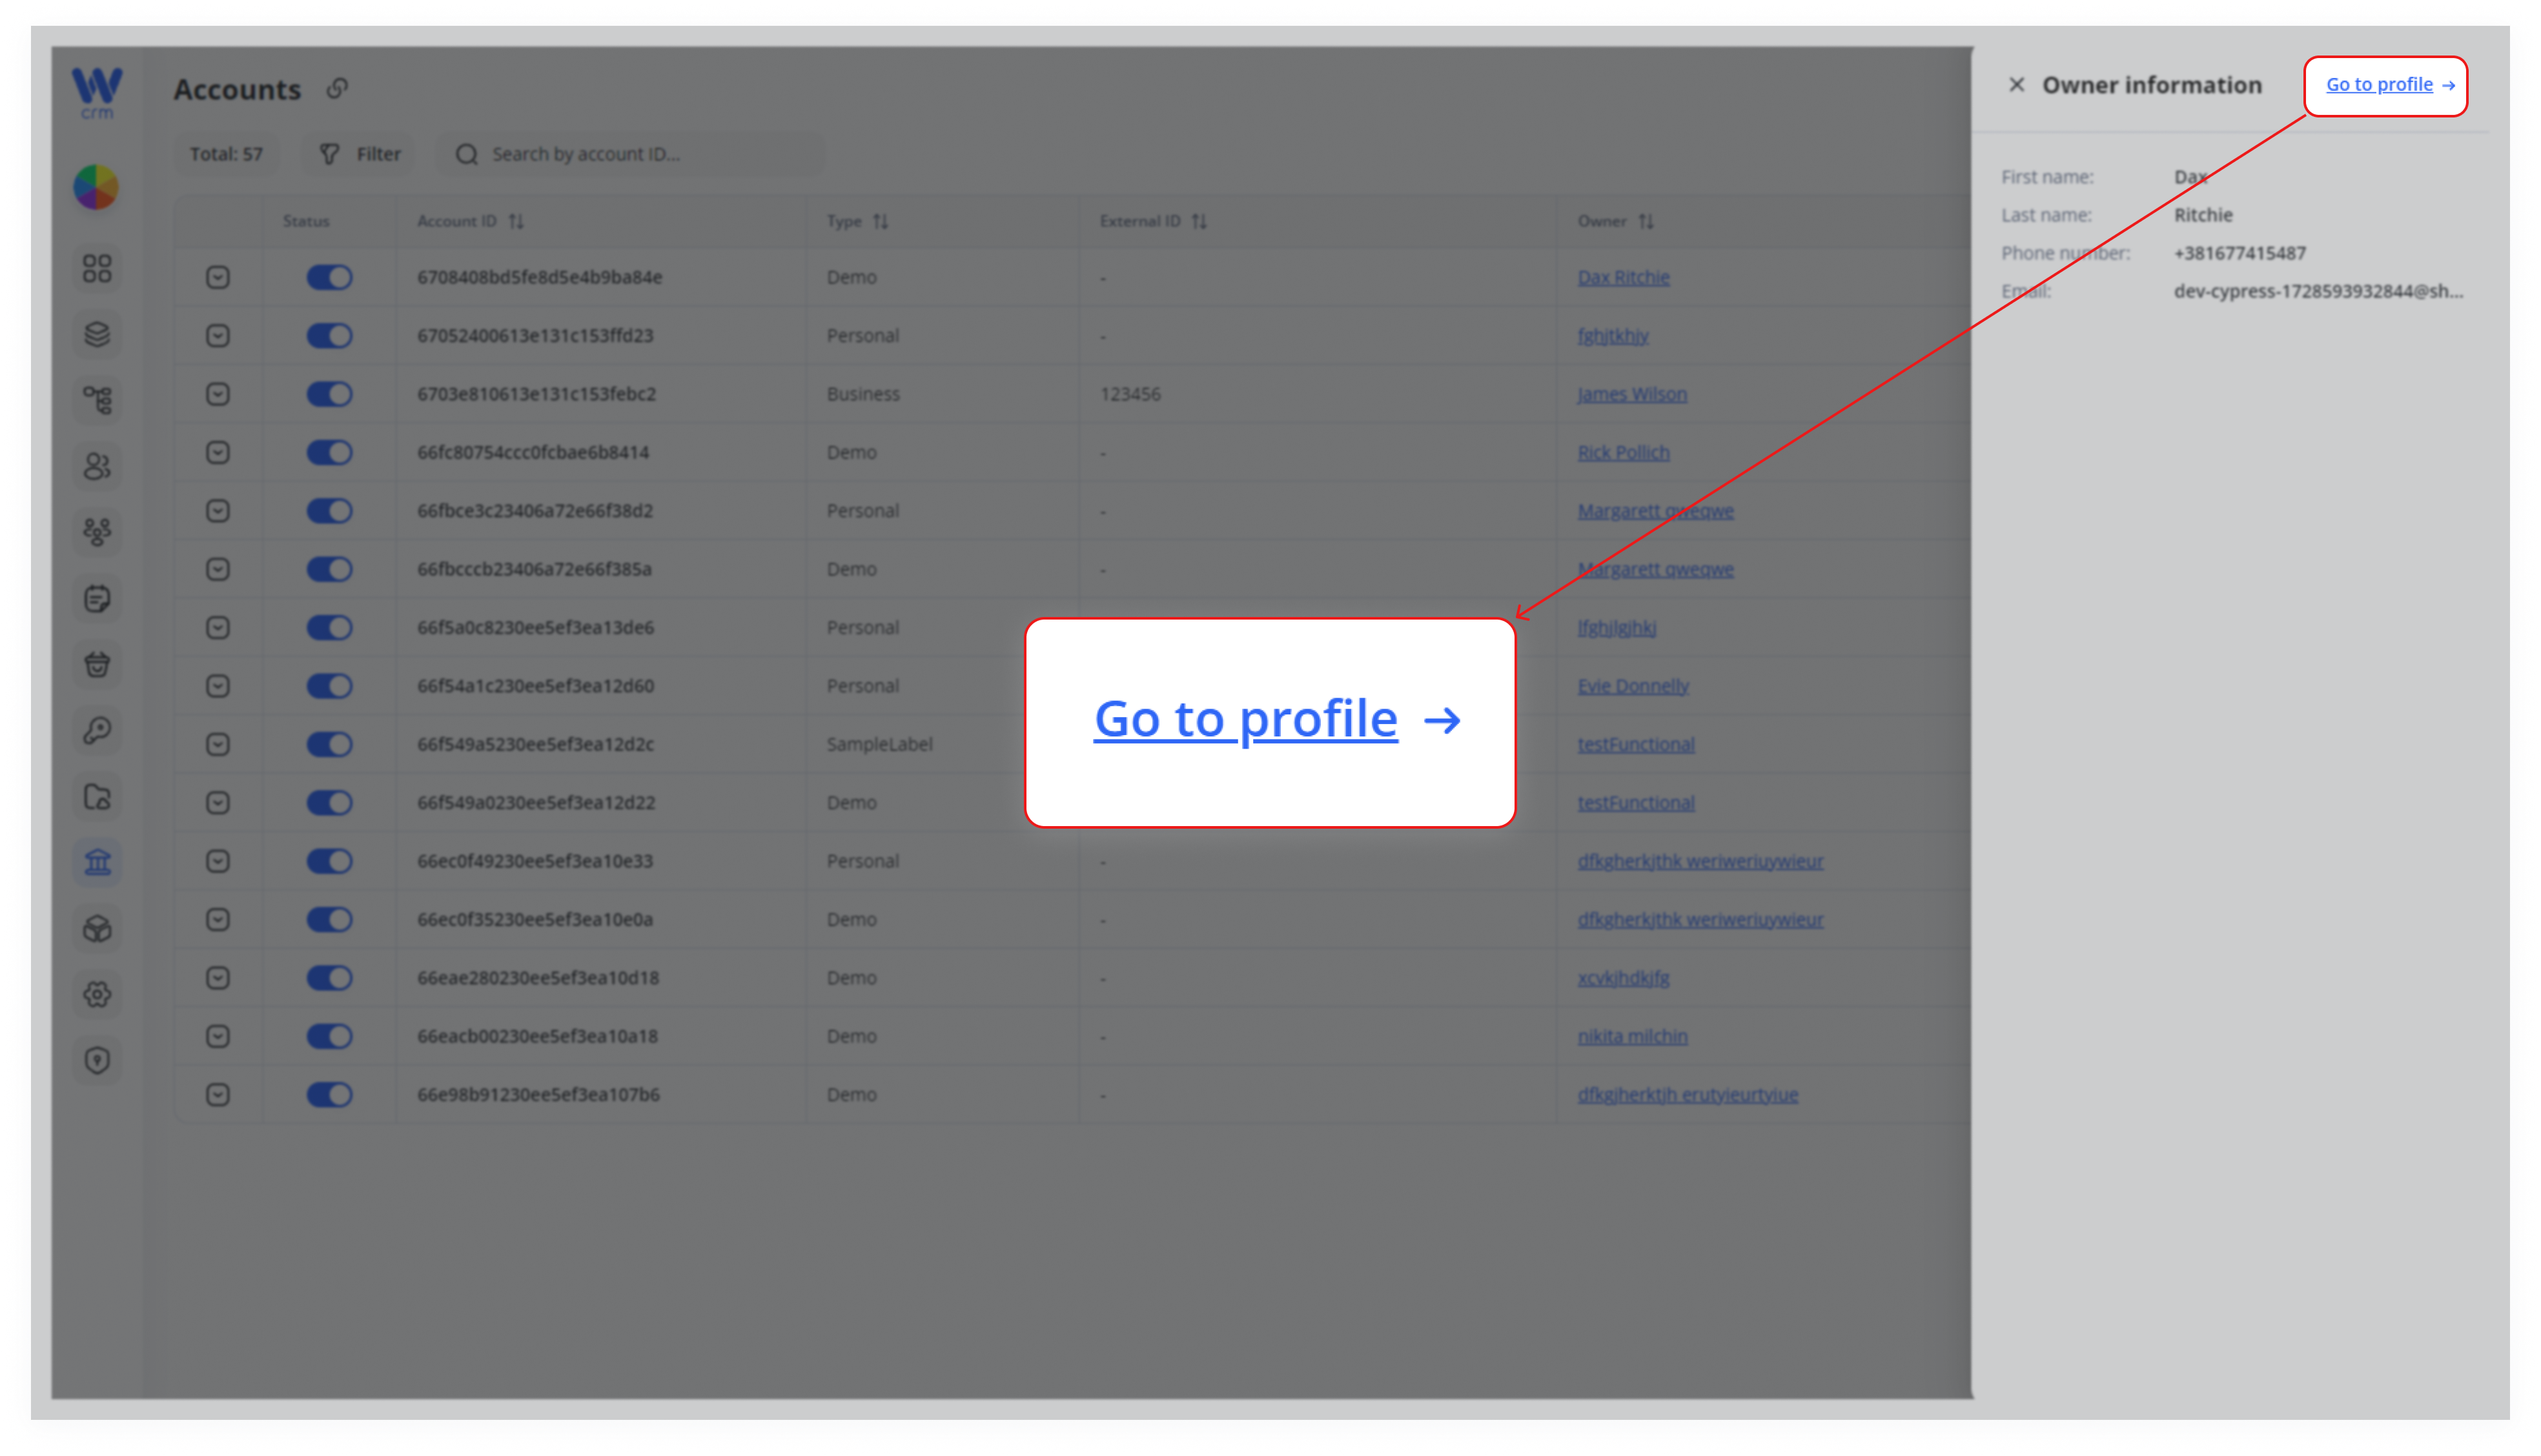
The owner's information will appear on the right. To see more details or edit the client’s profile, click Go to Profile:
To add a new account:
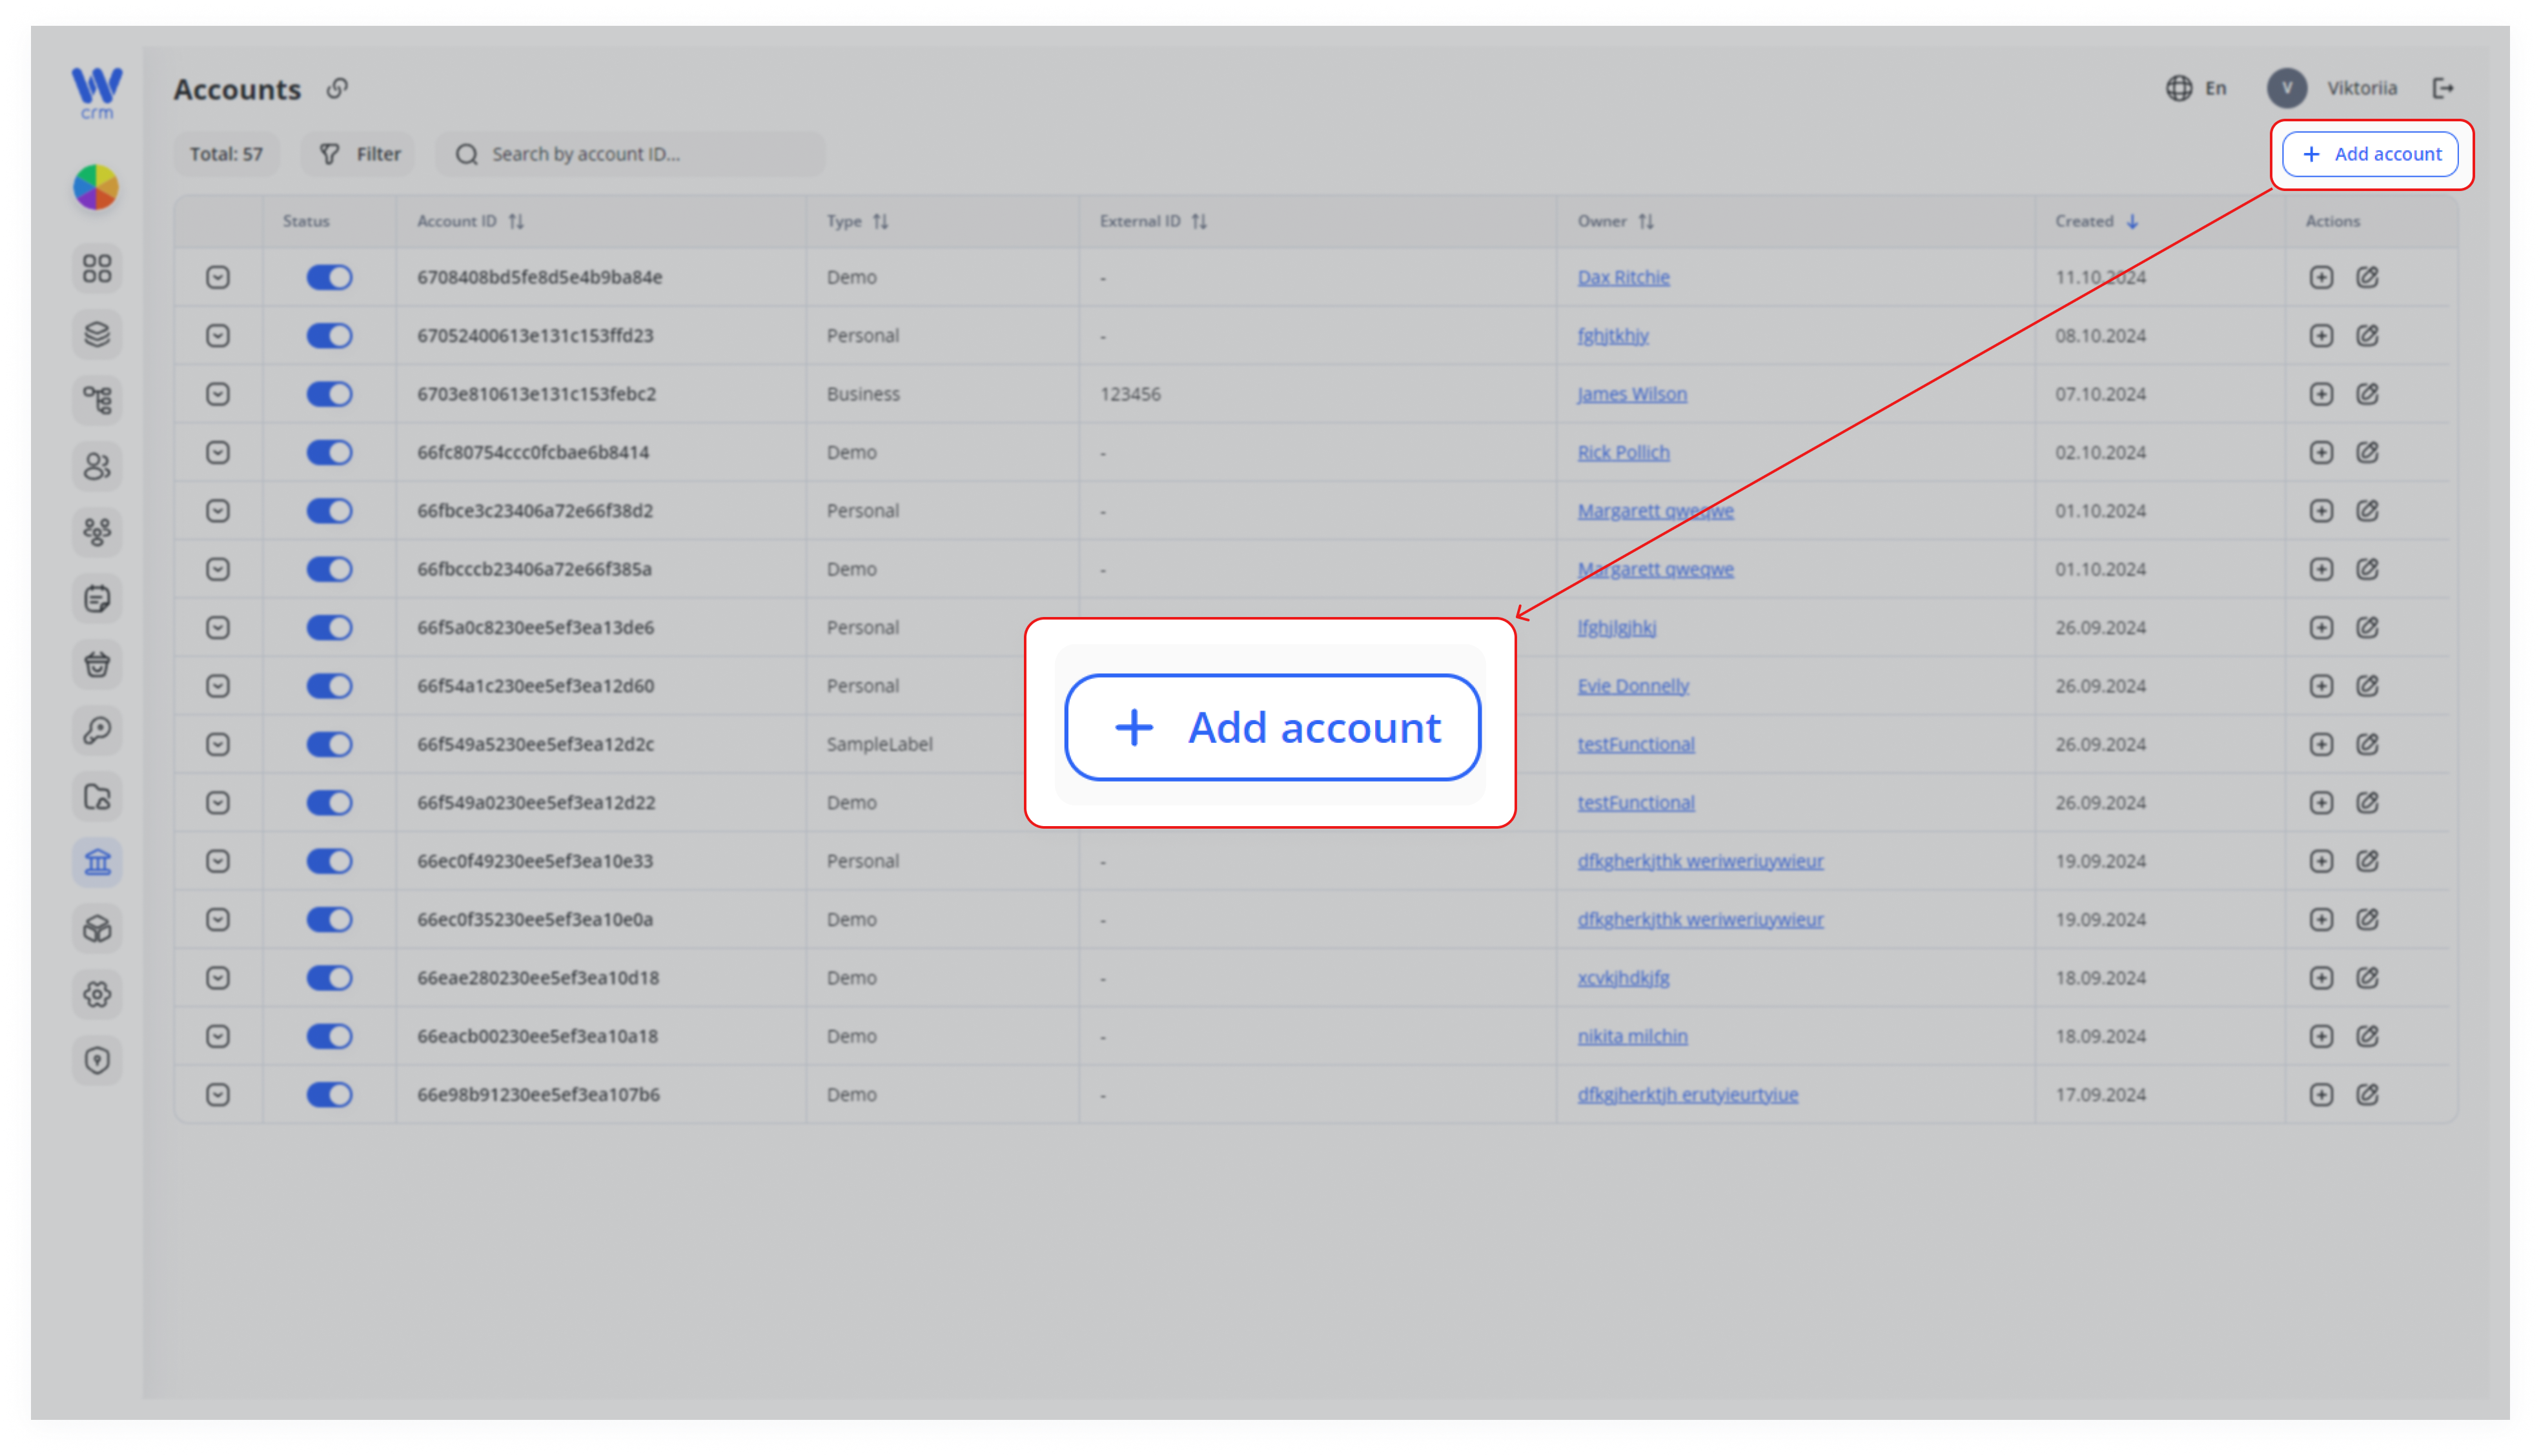
1. Click the the Add Account button in the upper-right corner of the Accounts tab.
2. Enter or select the following:
-
-
- Type: The type of account (e.g., Business, Personal, Crypto, Fiat). If no types are available, go to Core Banking > Configurations to create them.
- Owner: The client to whom the account belongs. If no clients are listed, go to the Clients module to create one.
- External ID: (Optional) An identifier for linking the account to a third-party platform via API.
-
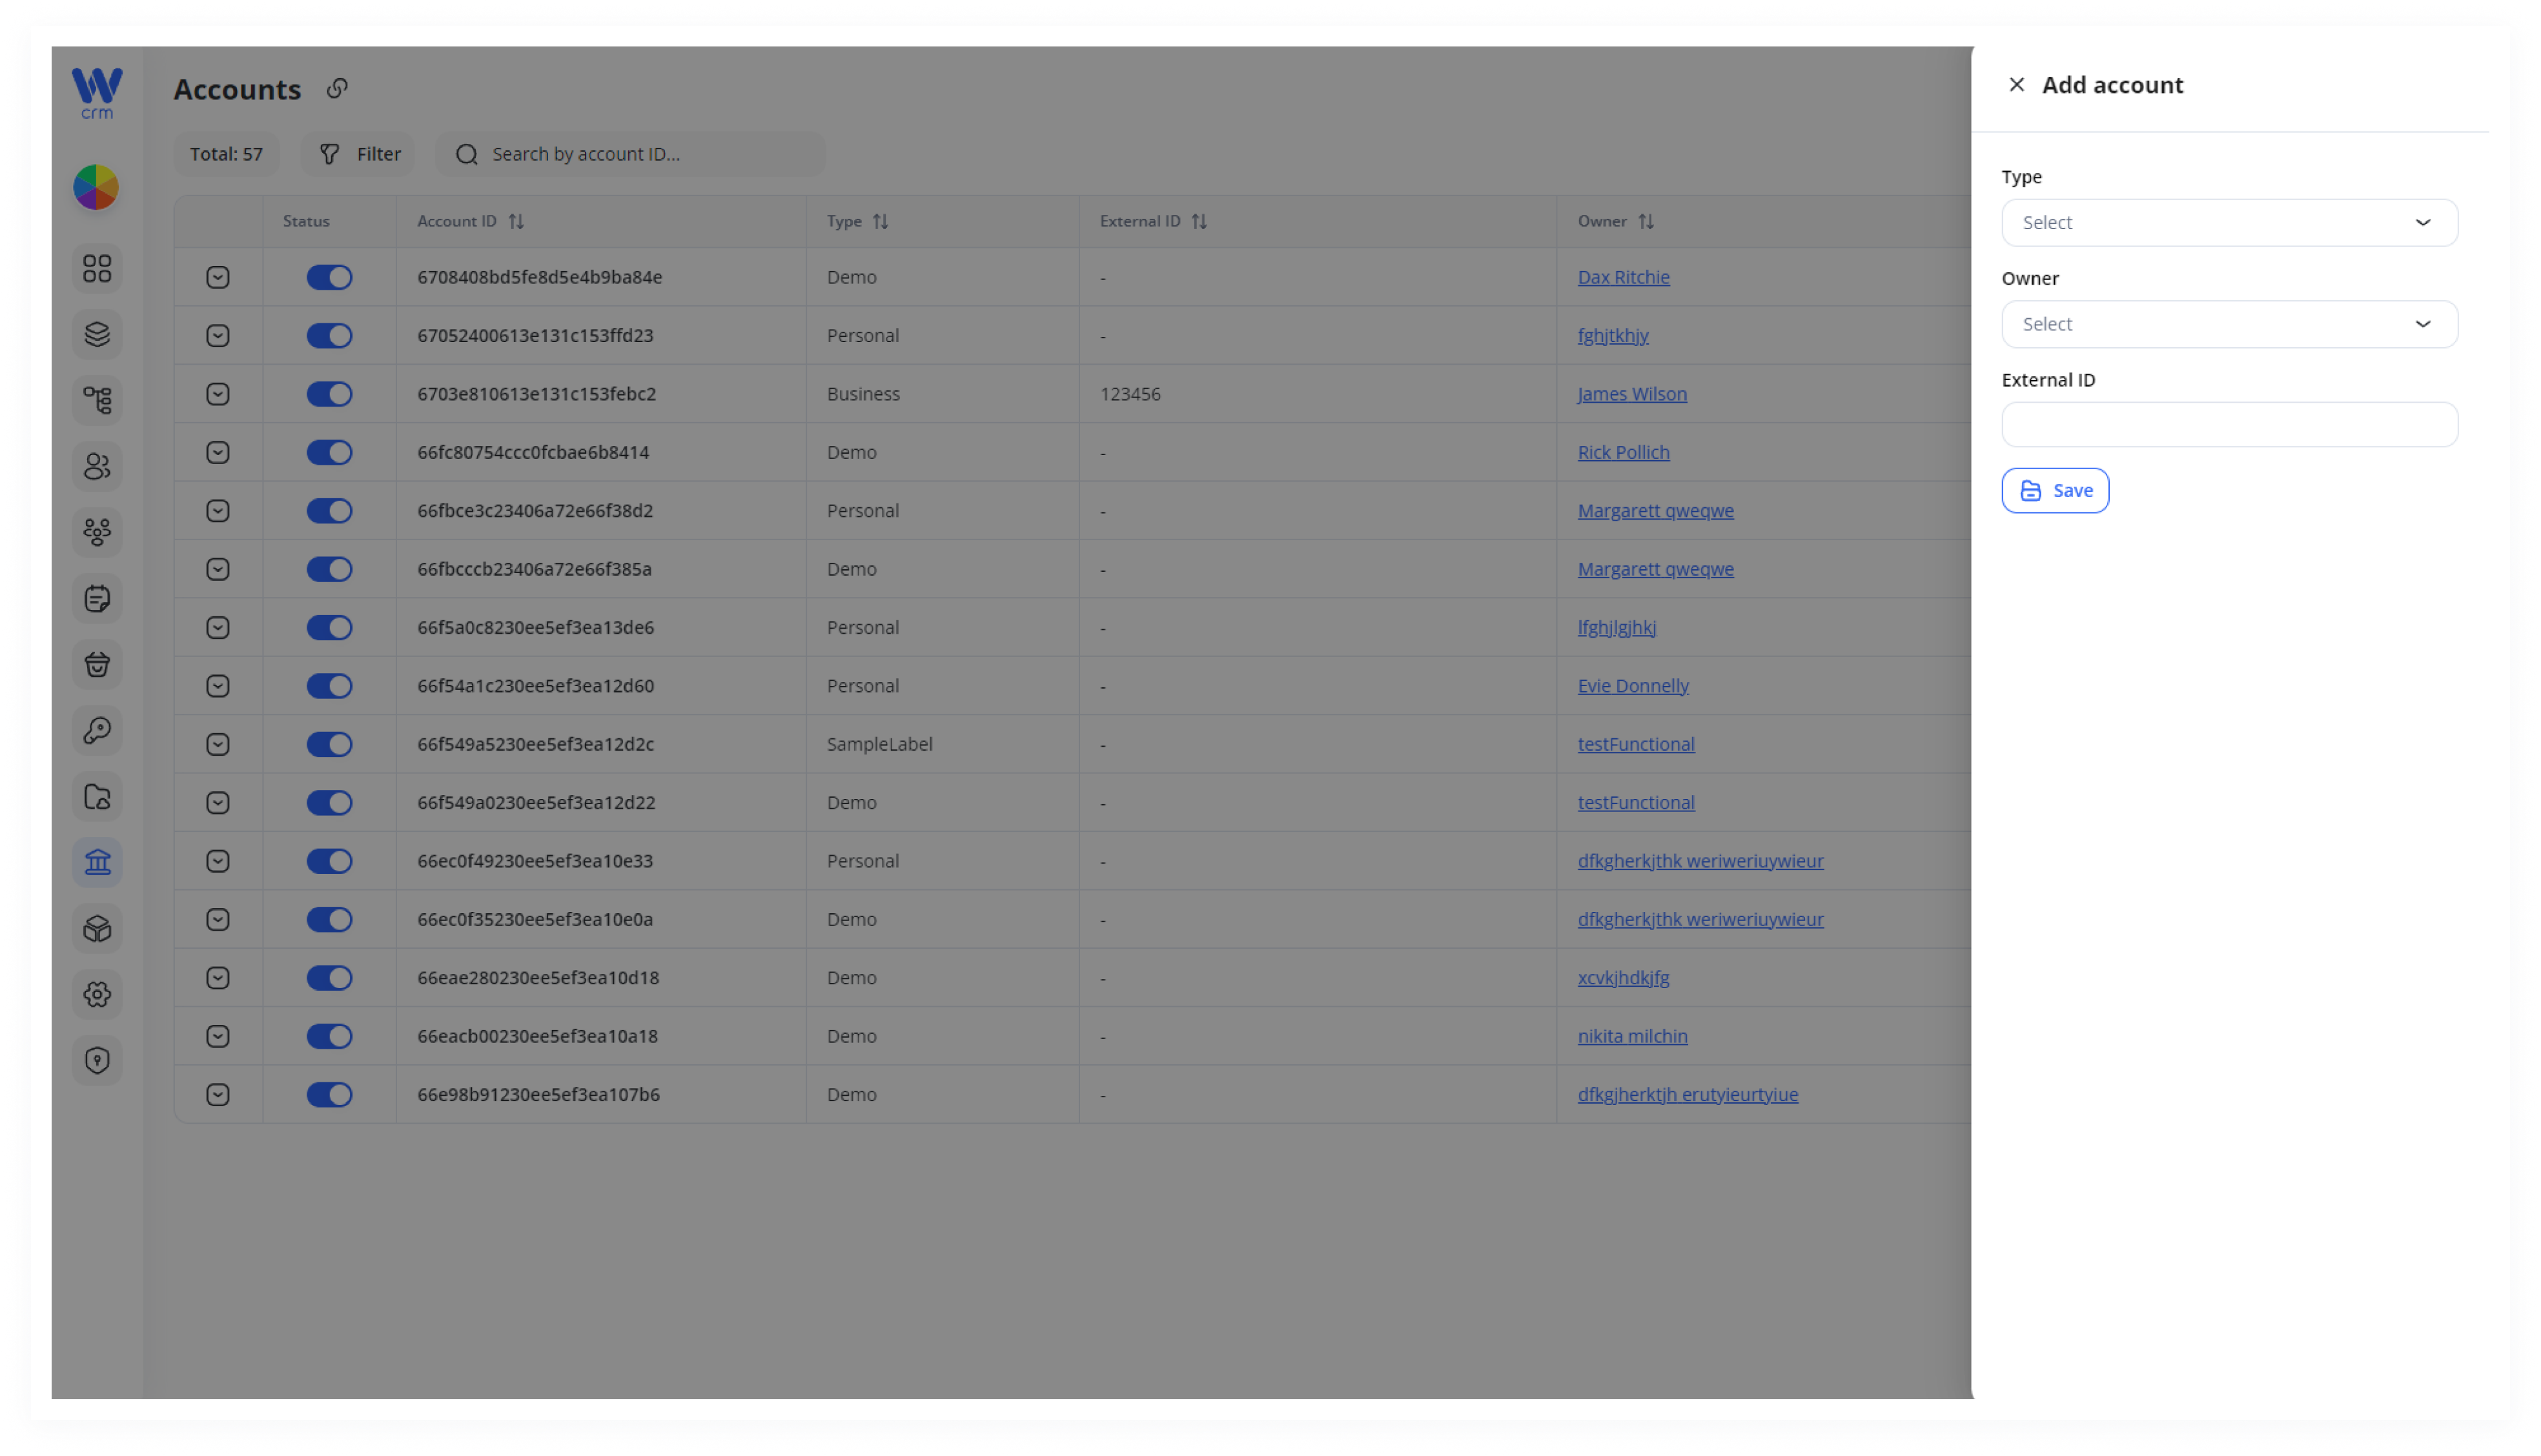
3. Click Save to create the account.
Note: A unique ID is automatically assigned to each account upon creation. Newly created accounts are not activated by default.
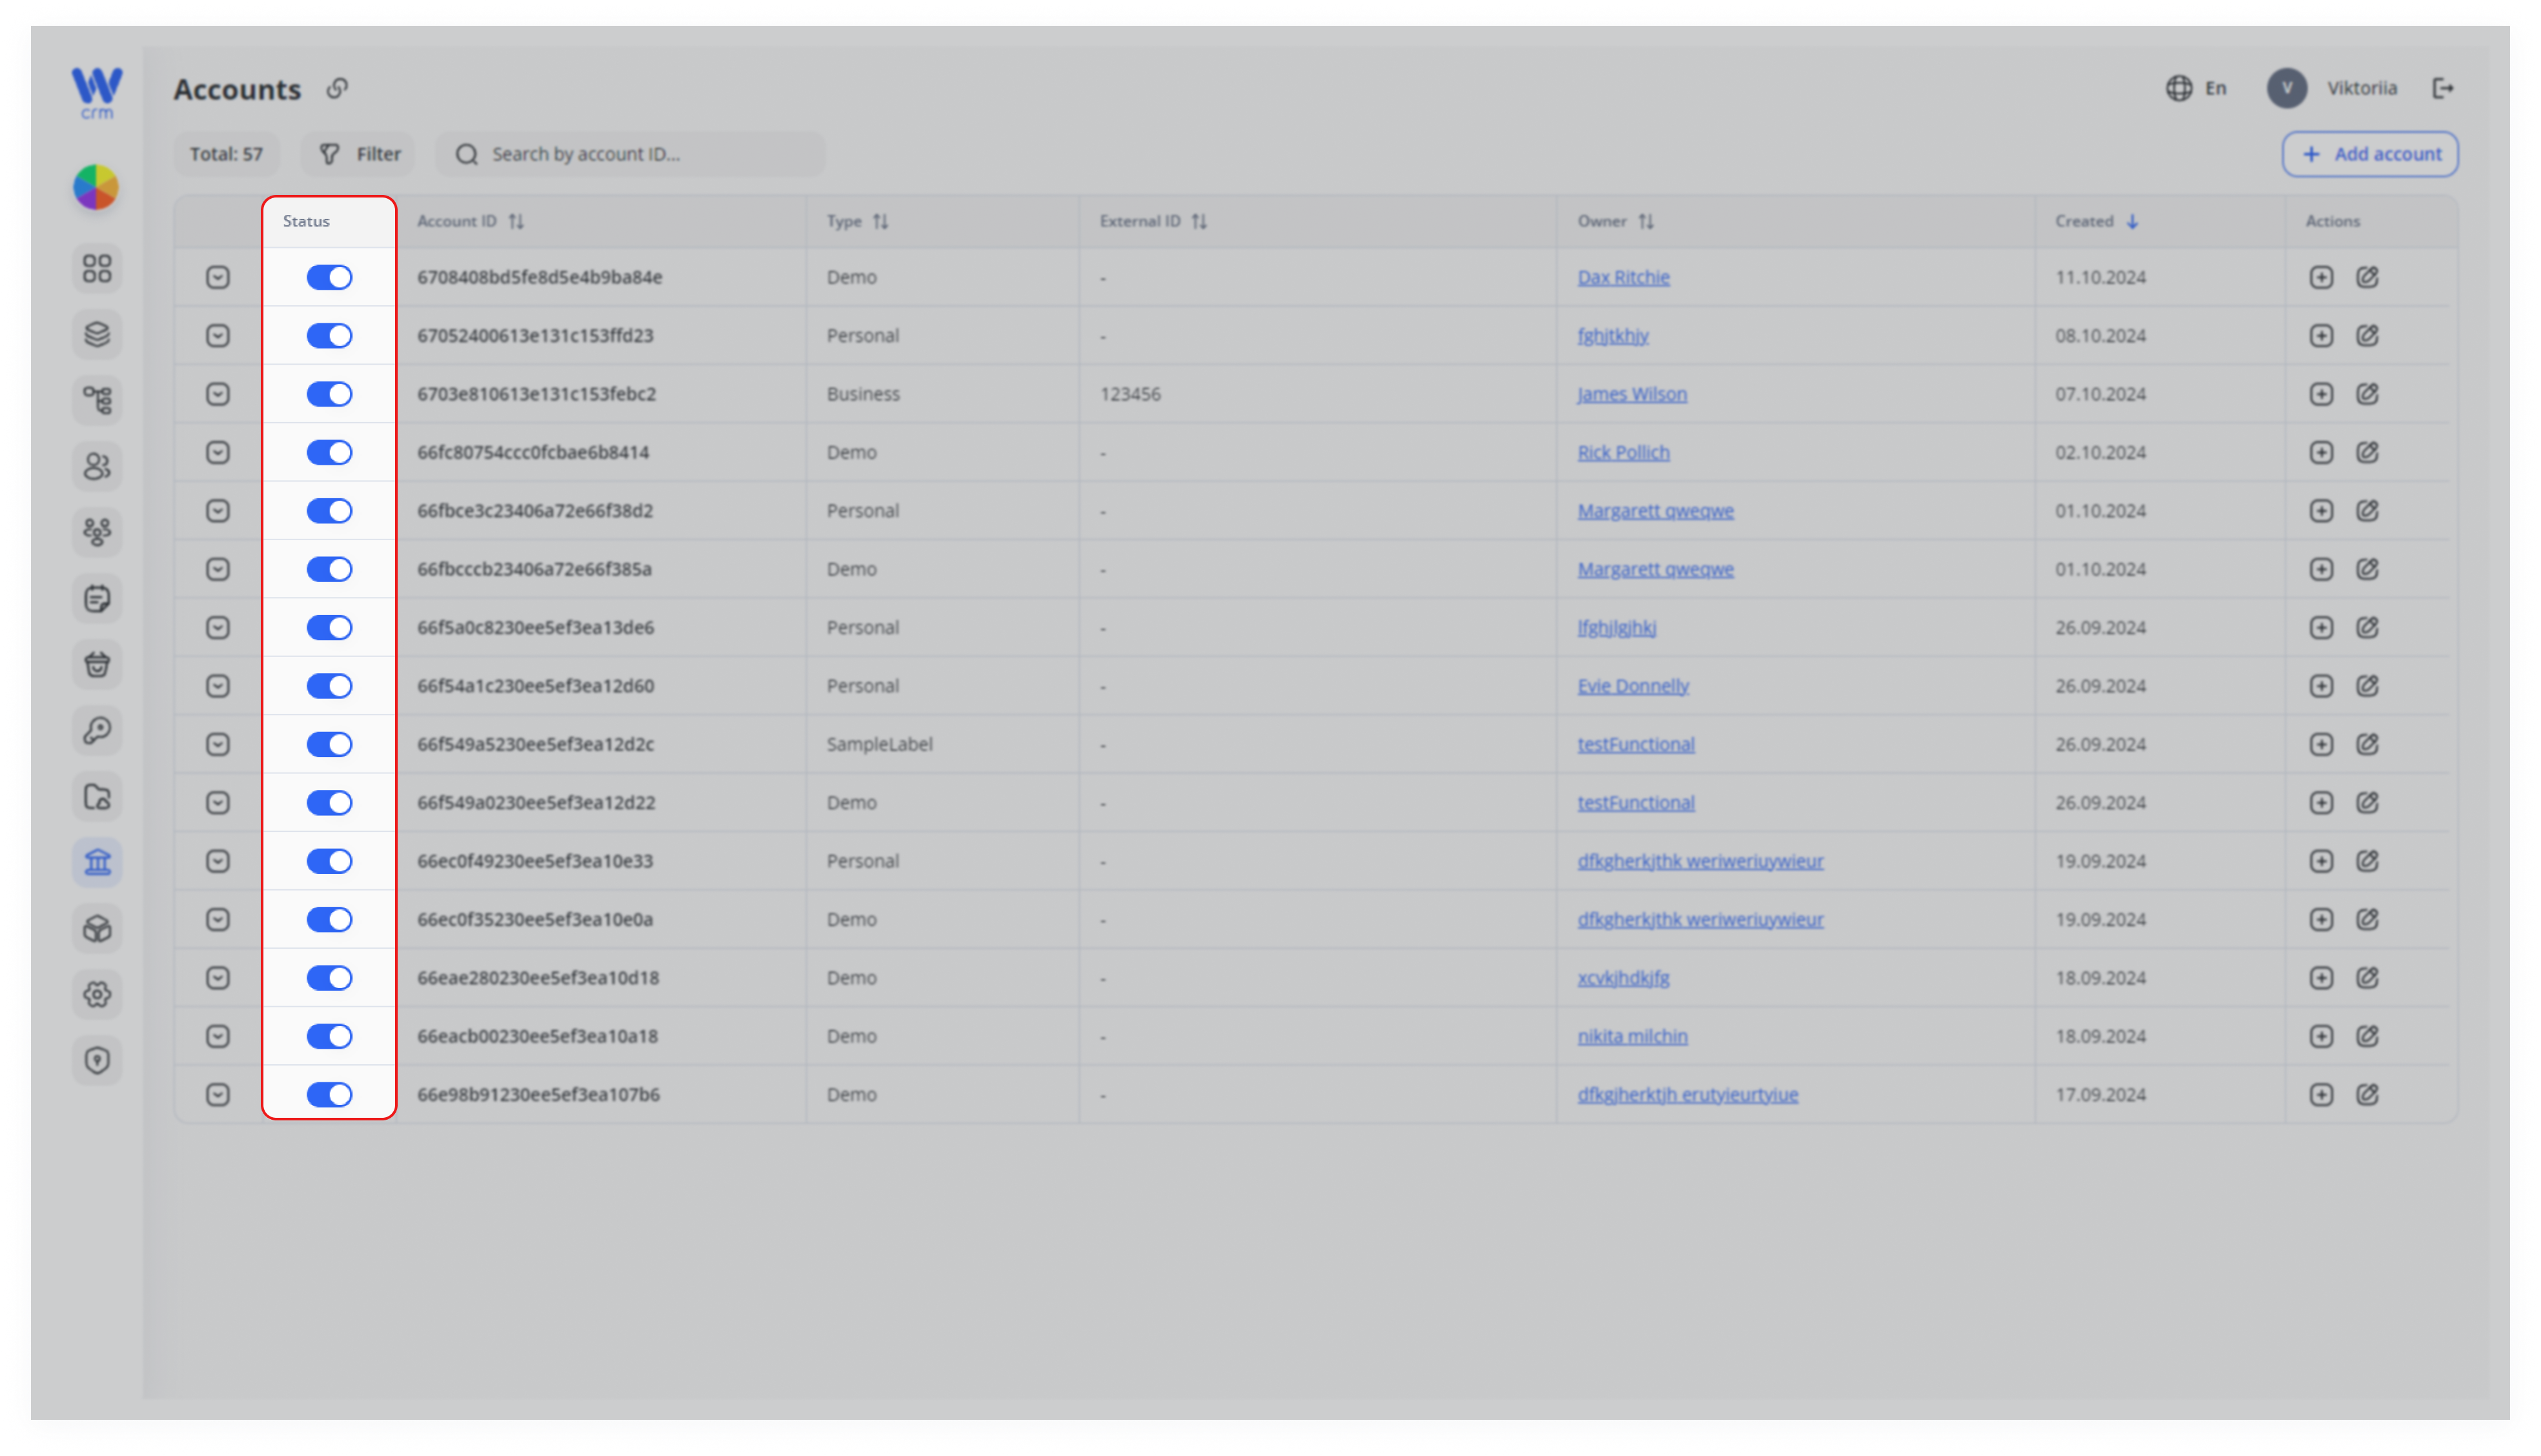
To activate or deactivate an account:
-
- To activate an account, toggle the switch in the Status column of the corresponding row. The switch will turn blue.
-
- To deactivate the account, toggle the switch again.
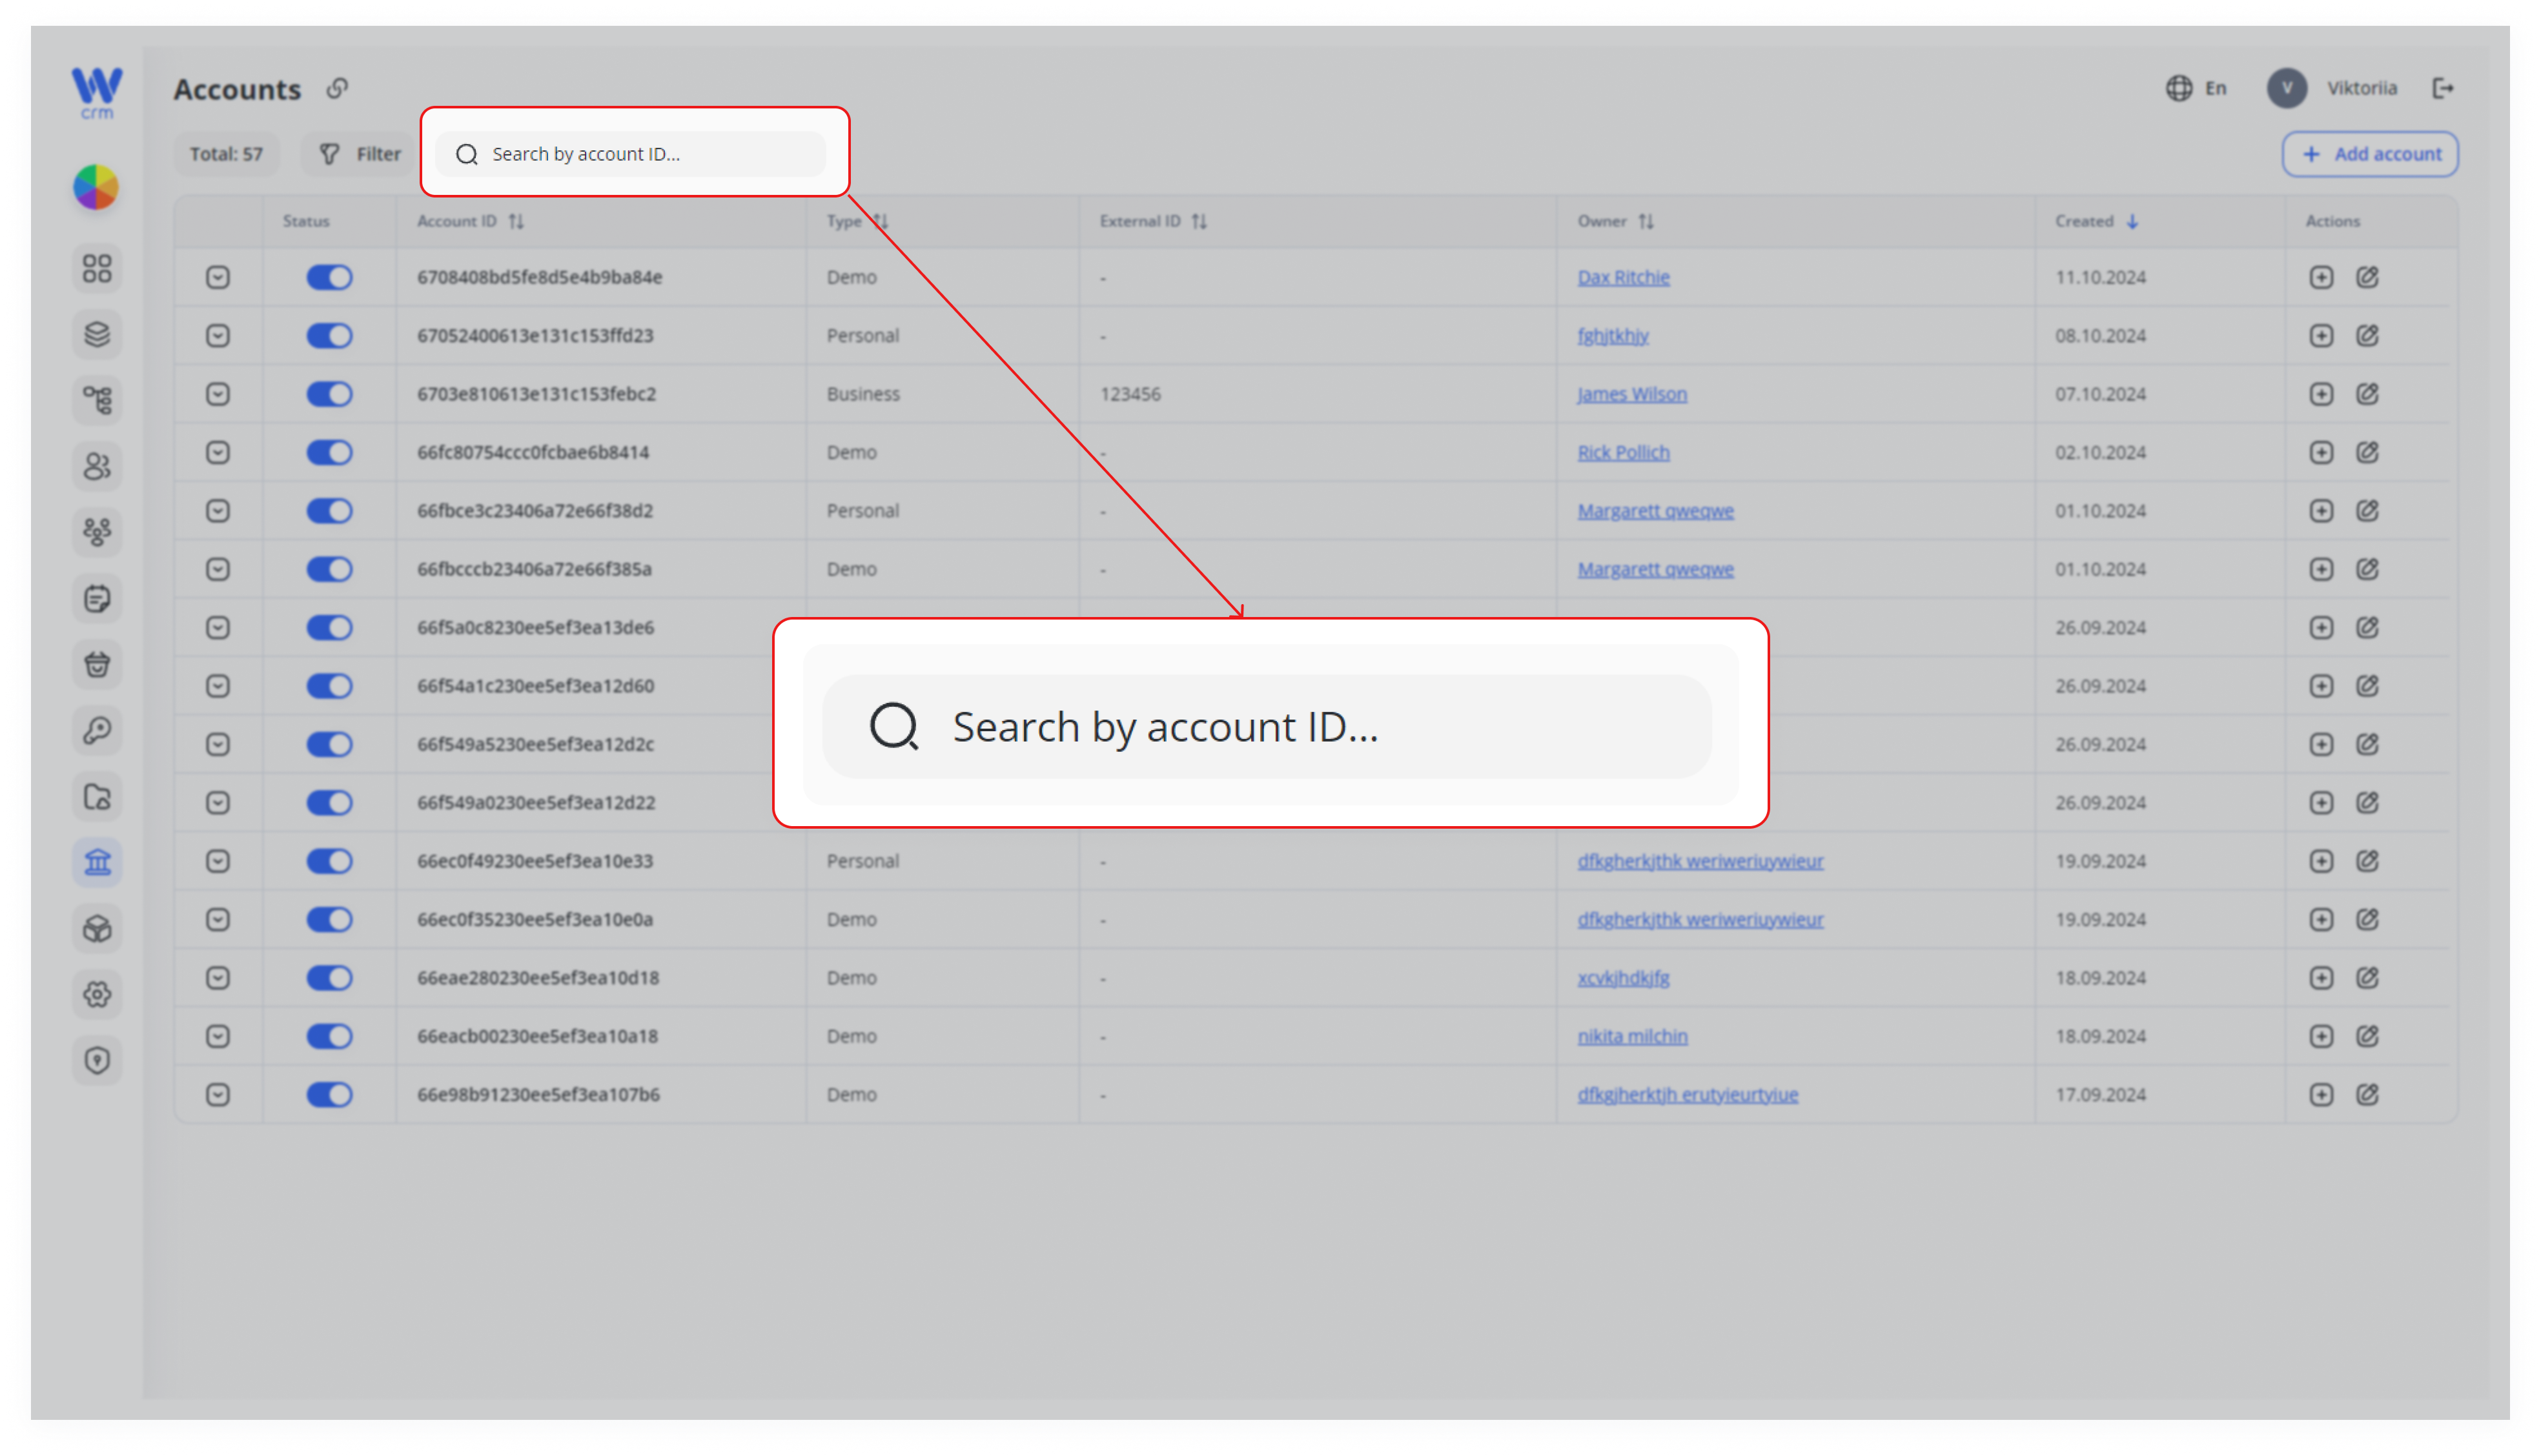
To search for an account:
-
- Type the Account ID in the Search field at the top of the tab.
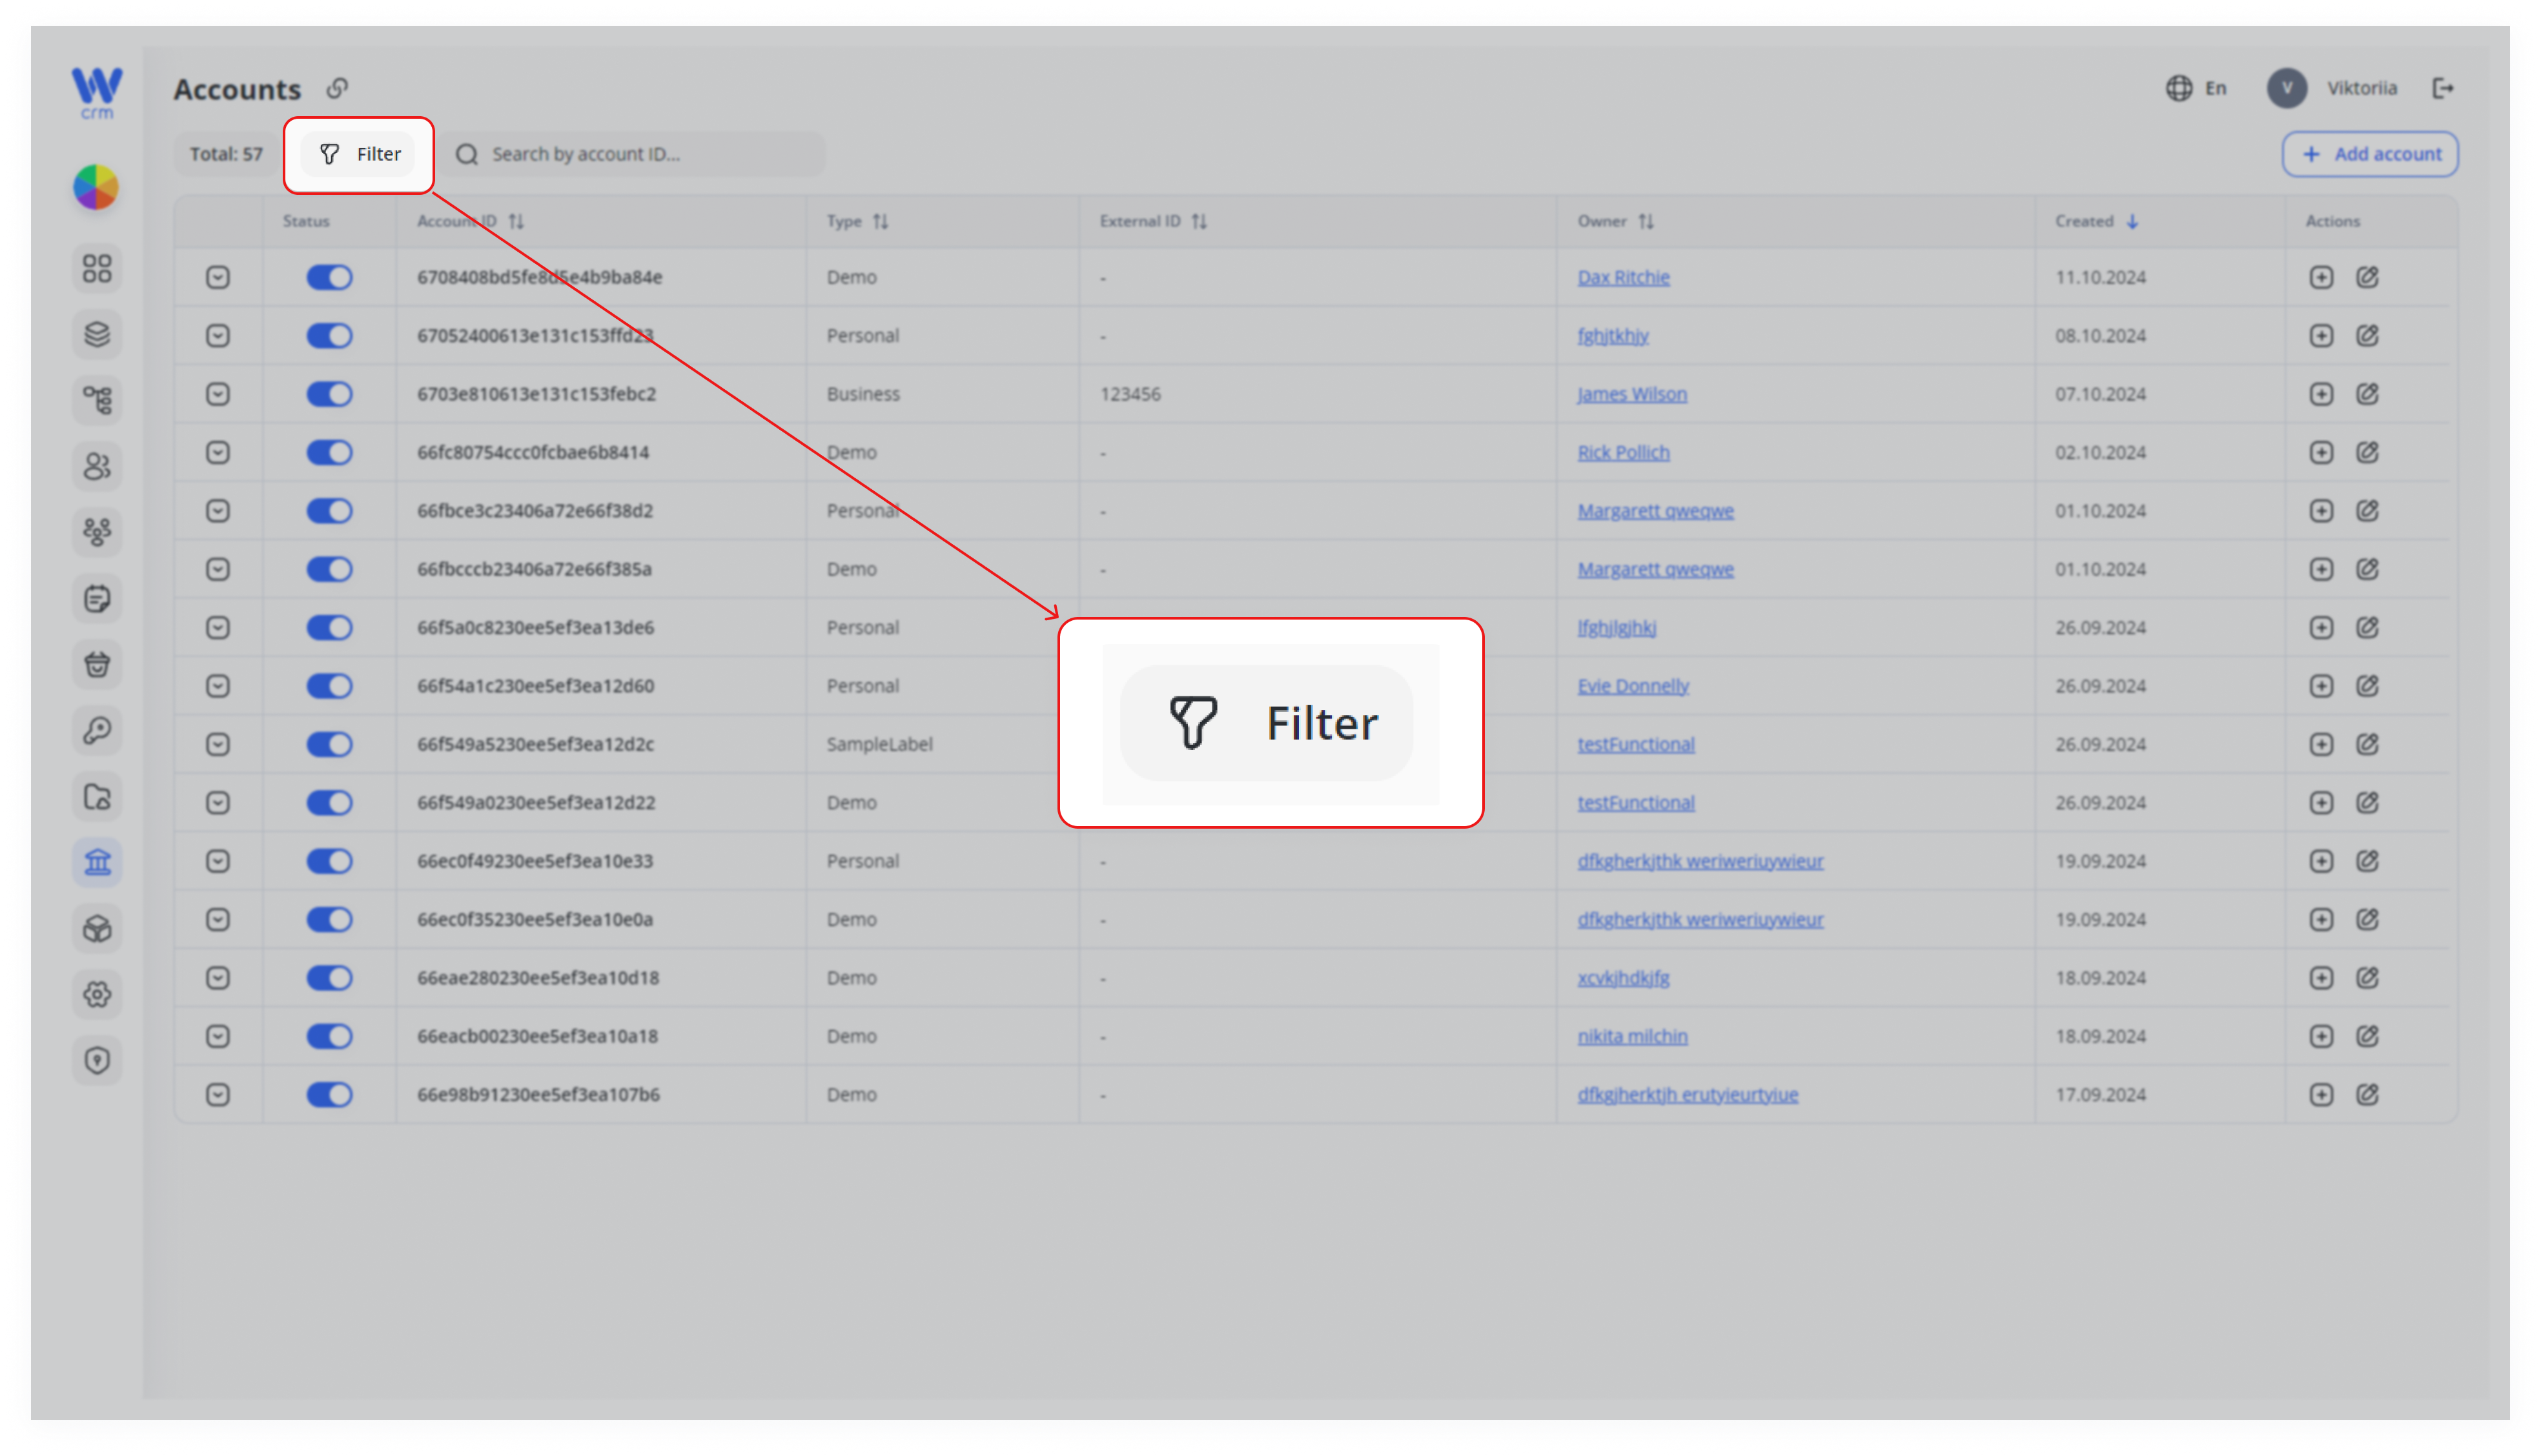
To filter accounts:
1. Click the the Filter button:
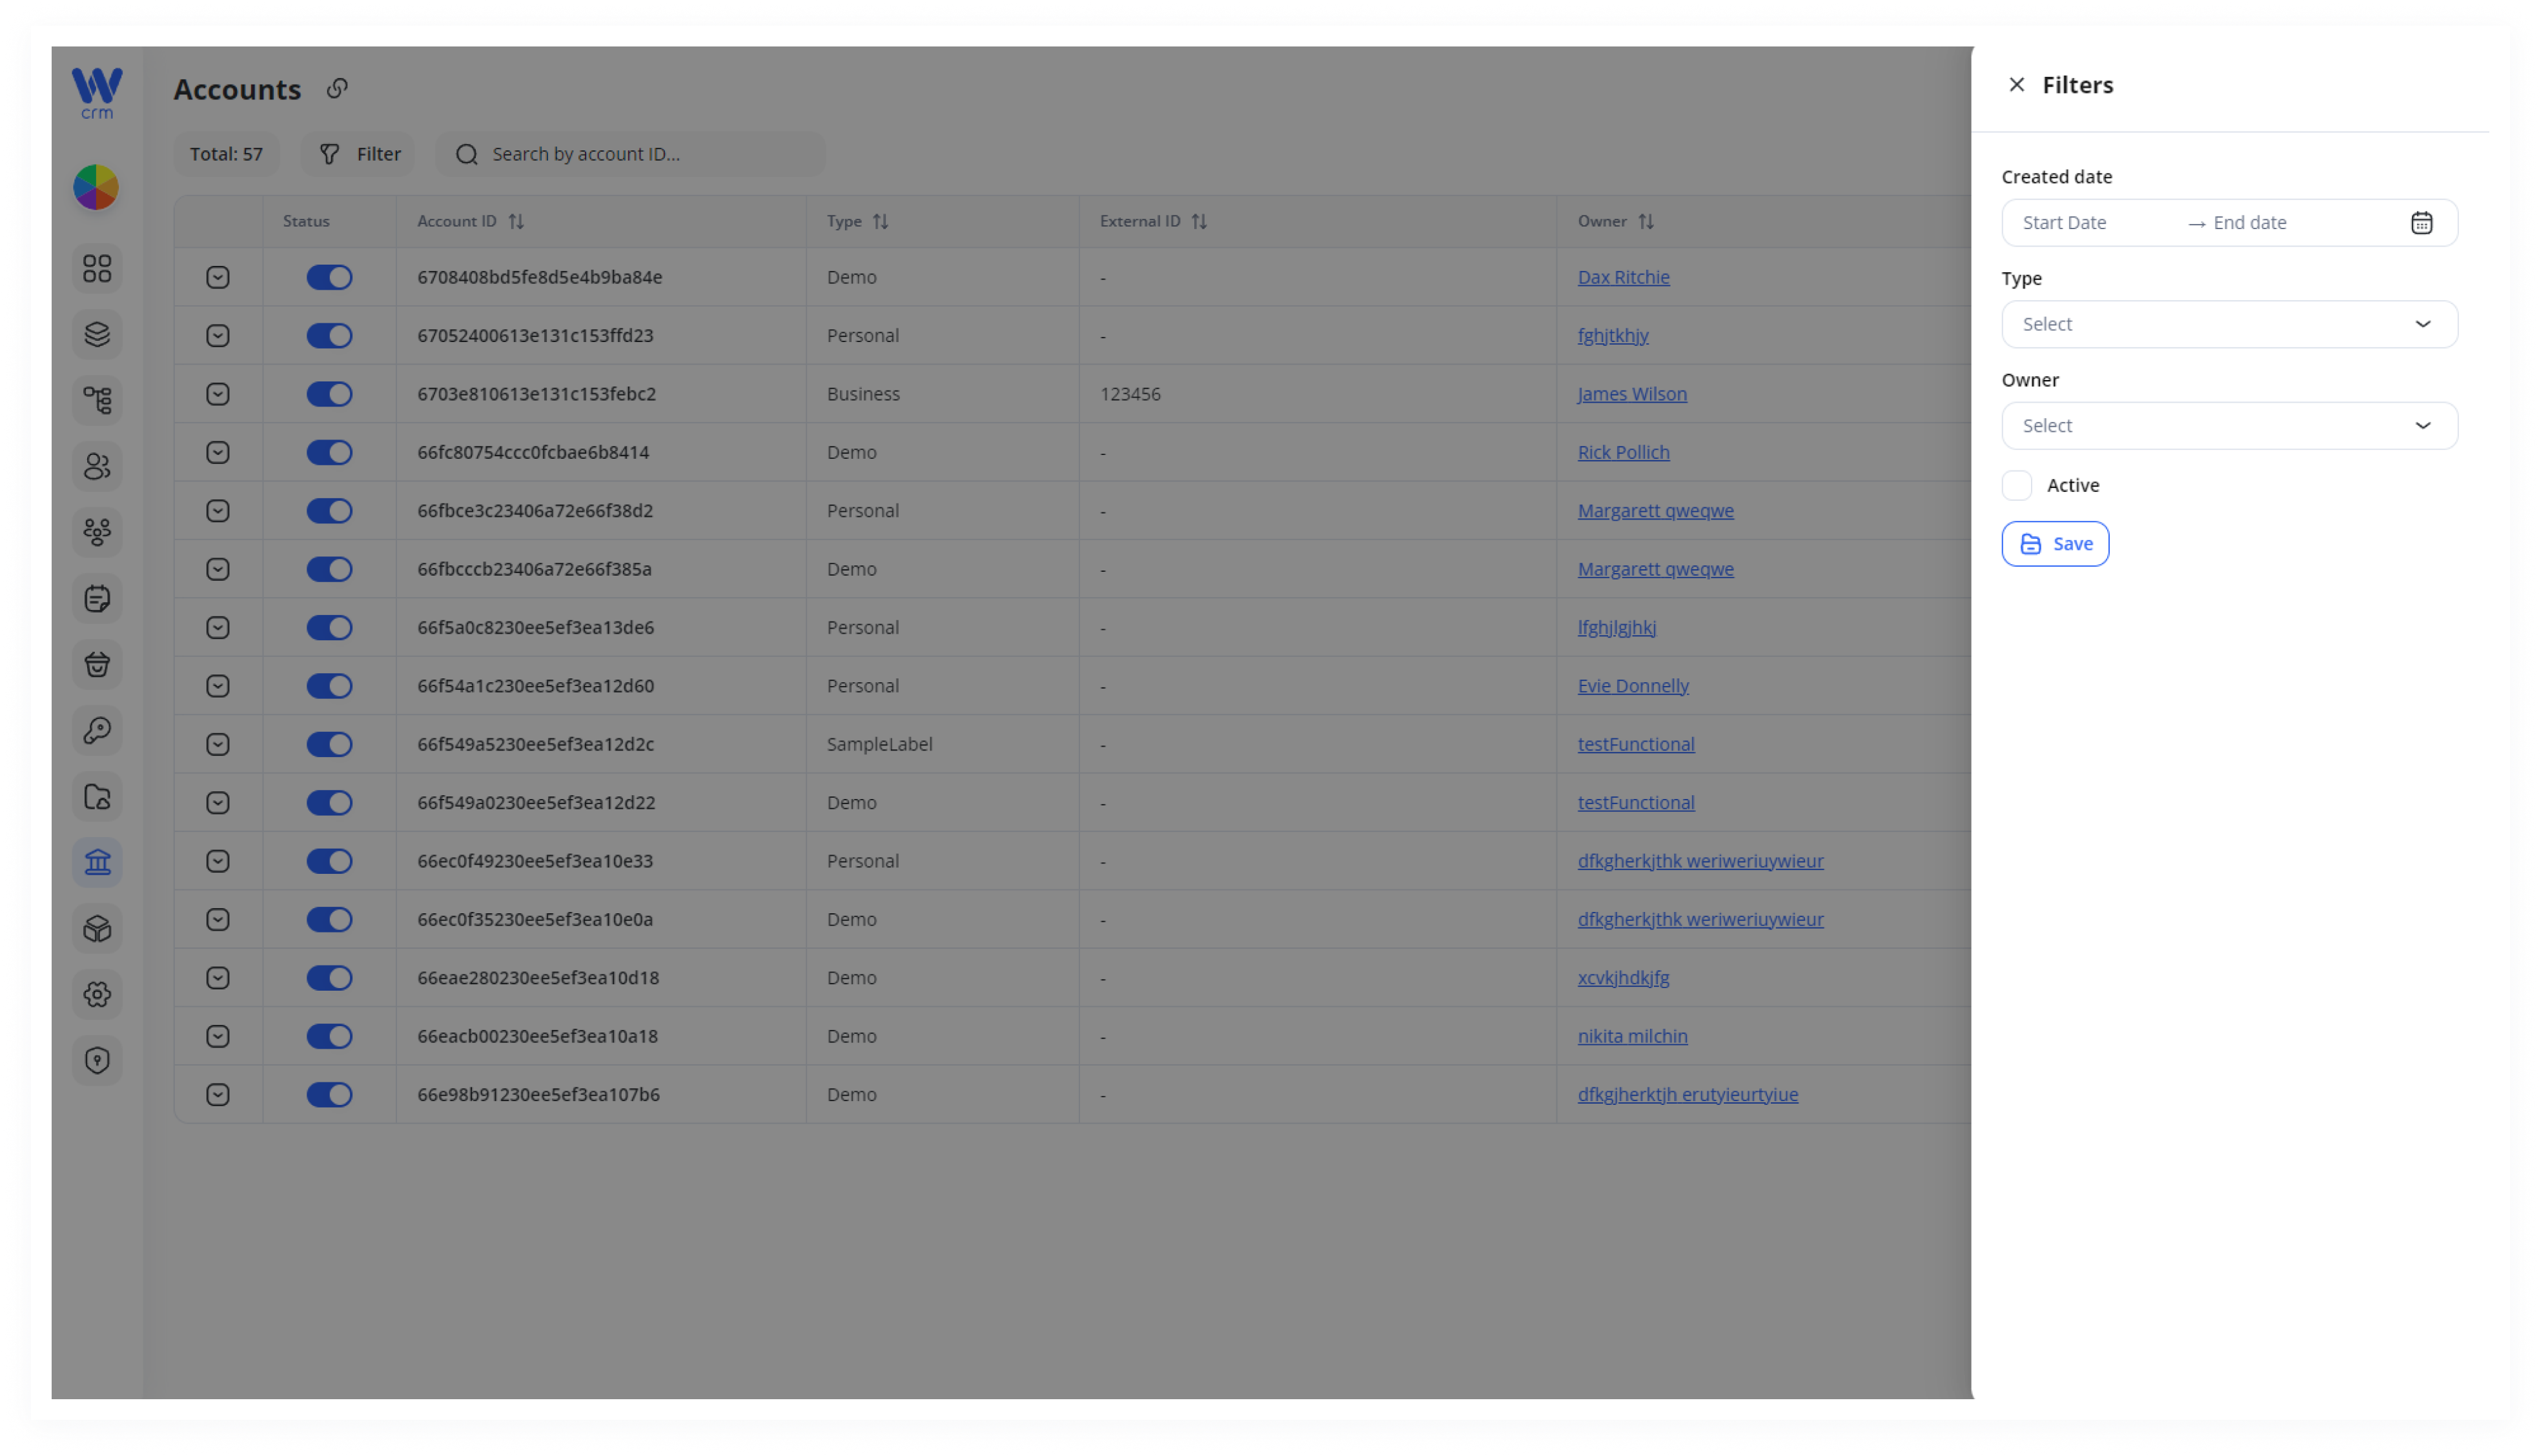
2. Select one or more parameters for filtering:
-
-
- Created Date: The period during which the account was created. If you know a specific date, set it as the End Date and select a Start Date before that.
- Type: The account type, based on the types you’ve set in Configurations.
- Owner: The specific client, searchable by email.
- Active or Inactive: Filter by account status using the checkbox.
-
To delete a specific filter, hover over the field and click the x icon.
3. Click Click Save to apply the filters.
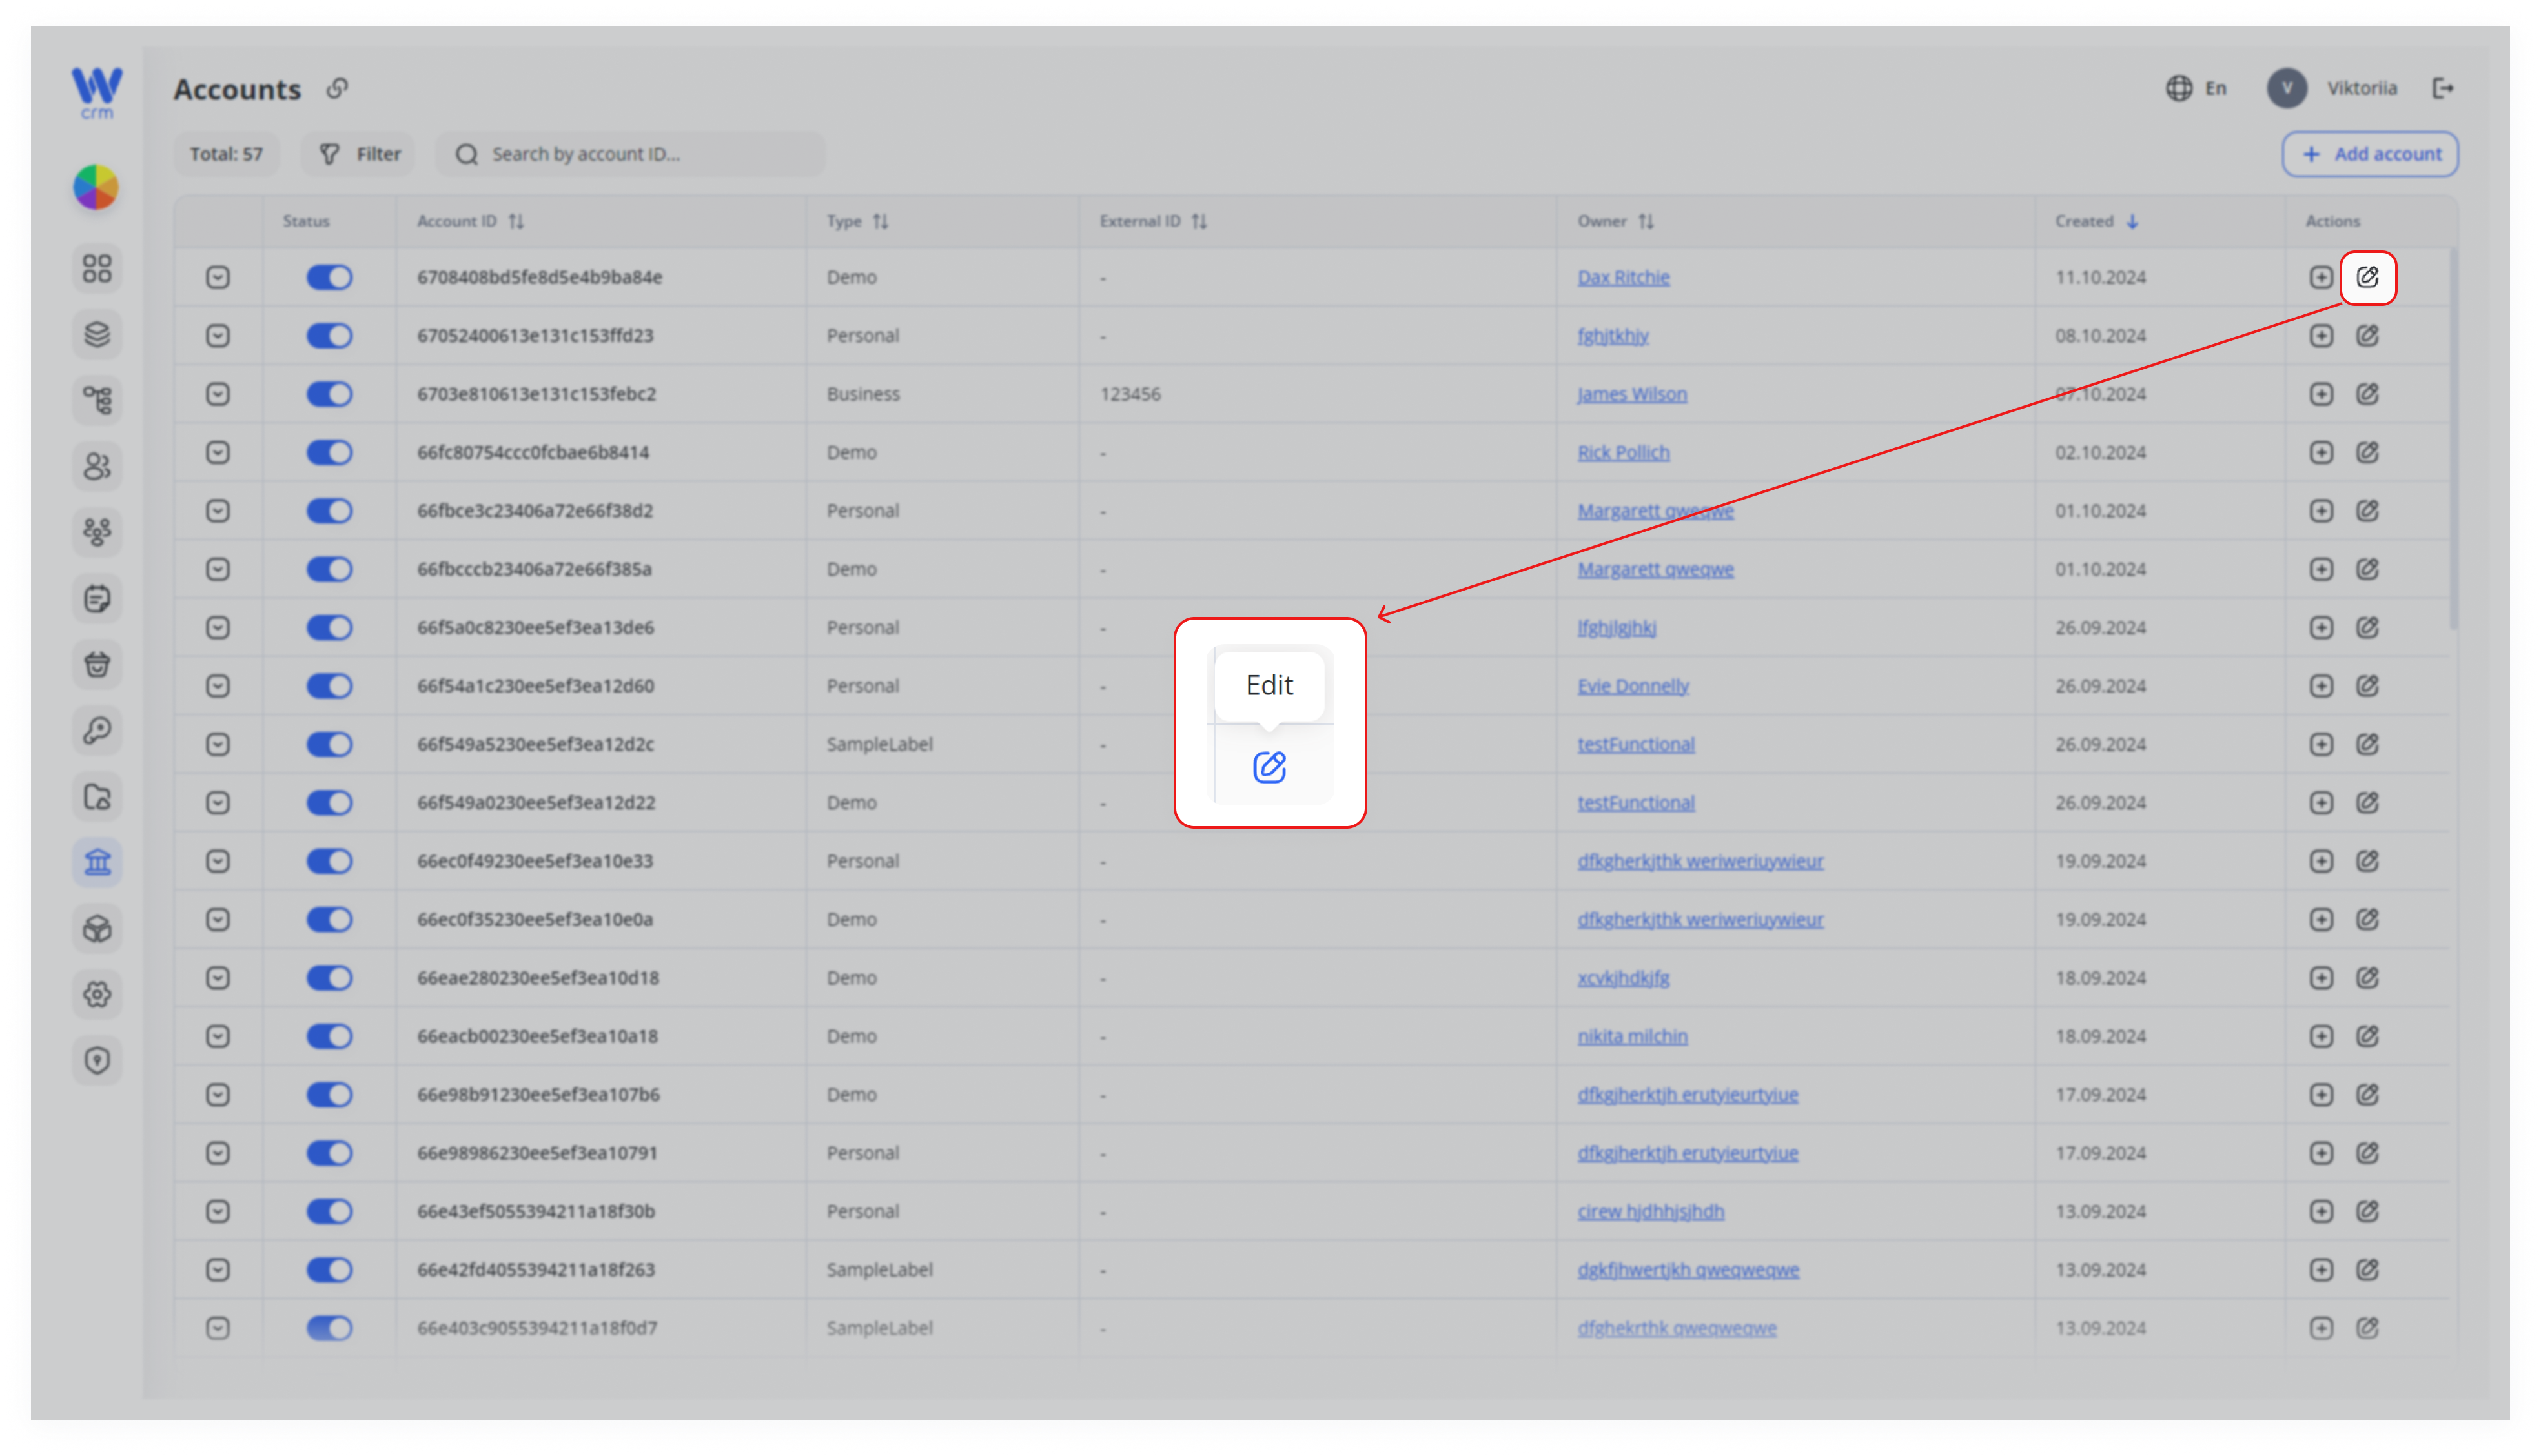
To edit the account, click the Edit icon in the corresponding row of the account:
In the Edit Account tab, you can:
-
-
Change the account’s Type.
-
Enter or update the External ID.
-
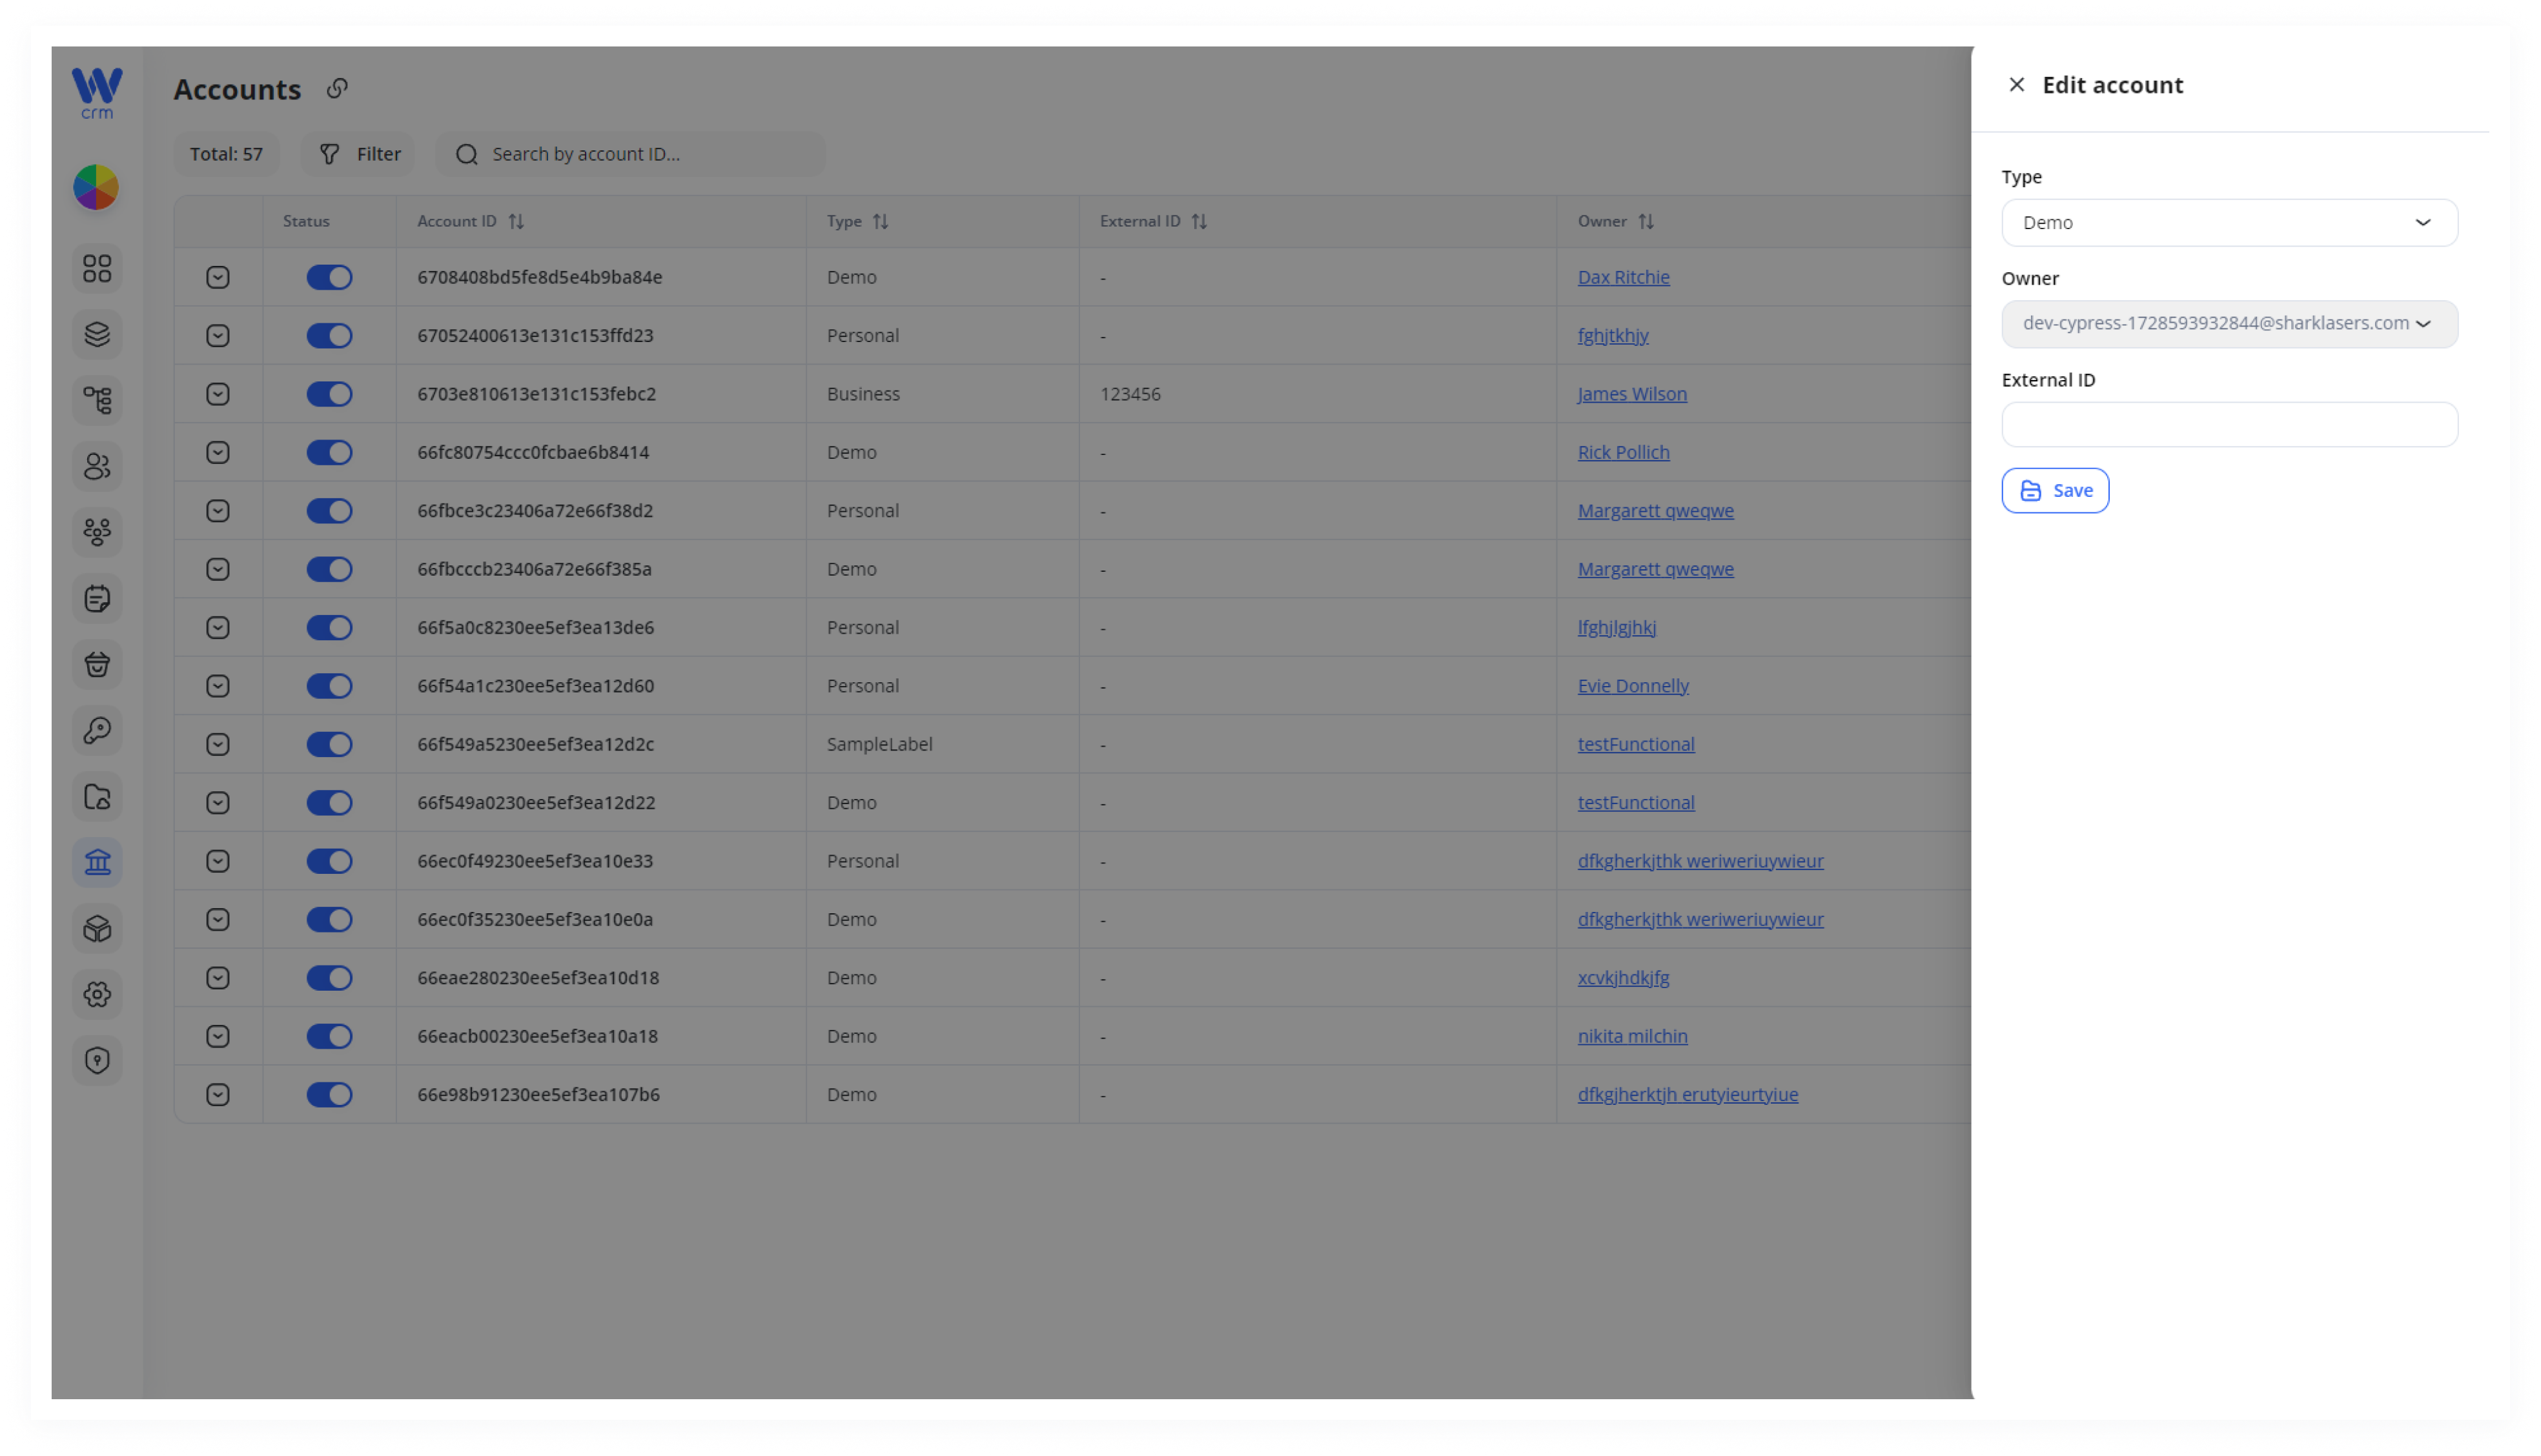
Note: You cannot change the owner of the account.
To view and manage account assets:
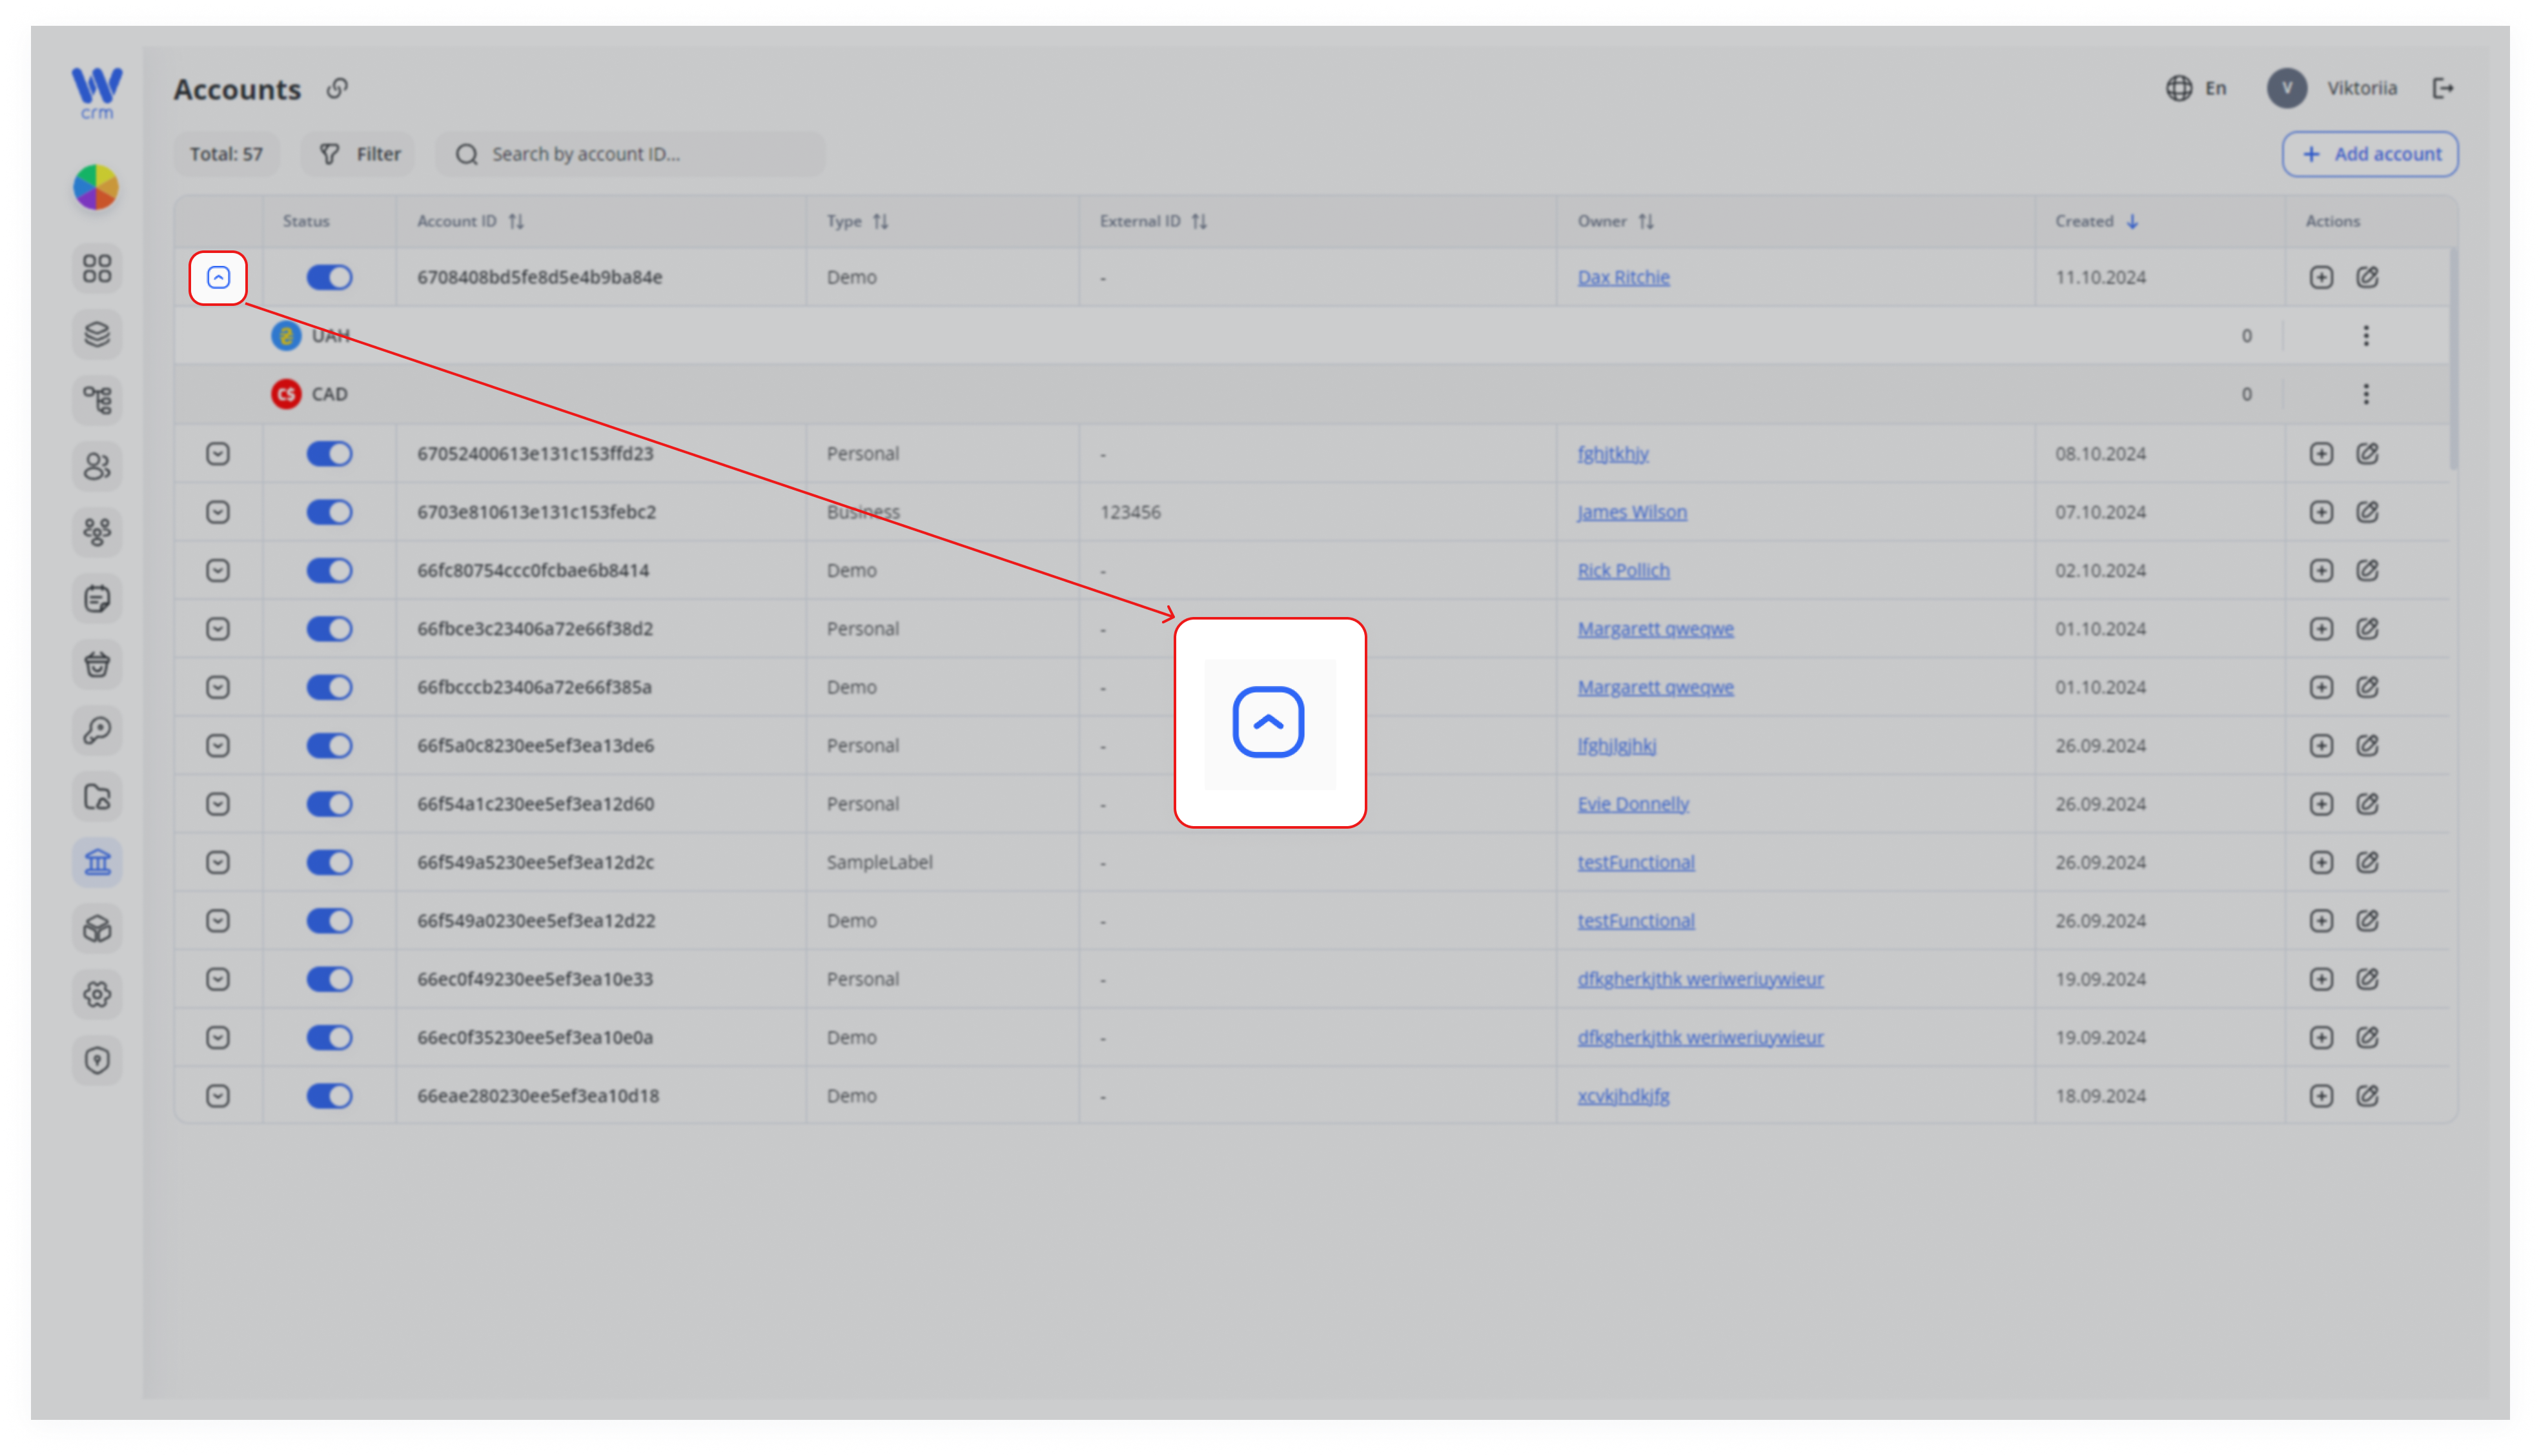
1. Click the the Expand icon in the corresponding account row to view all assets associated with the account.
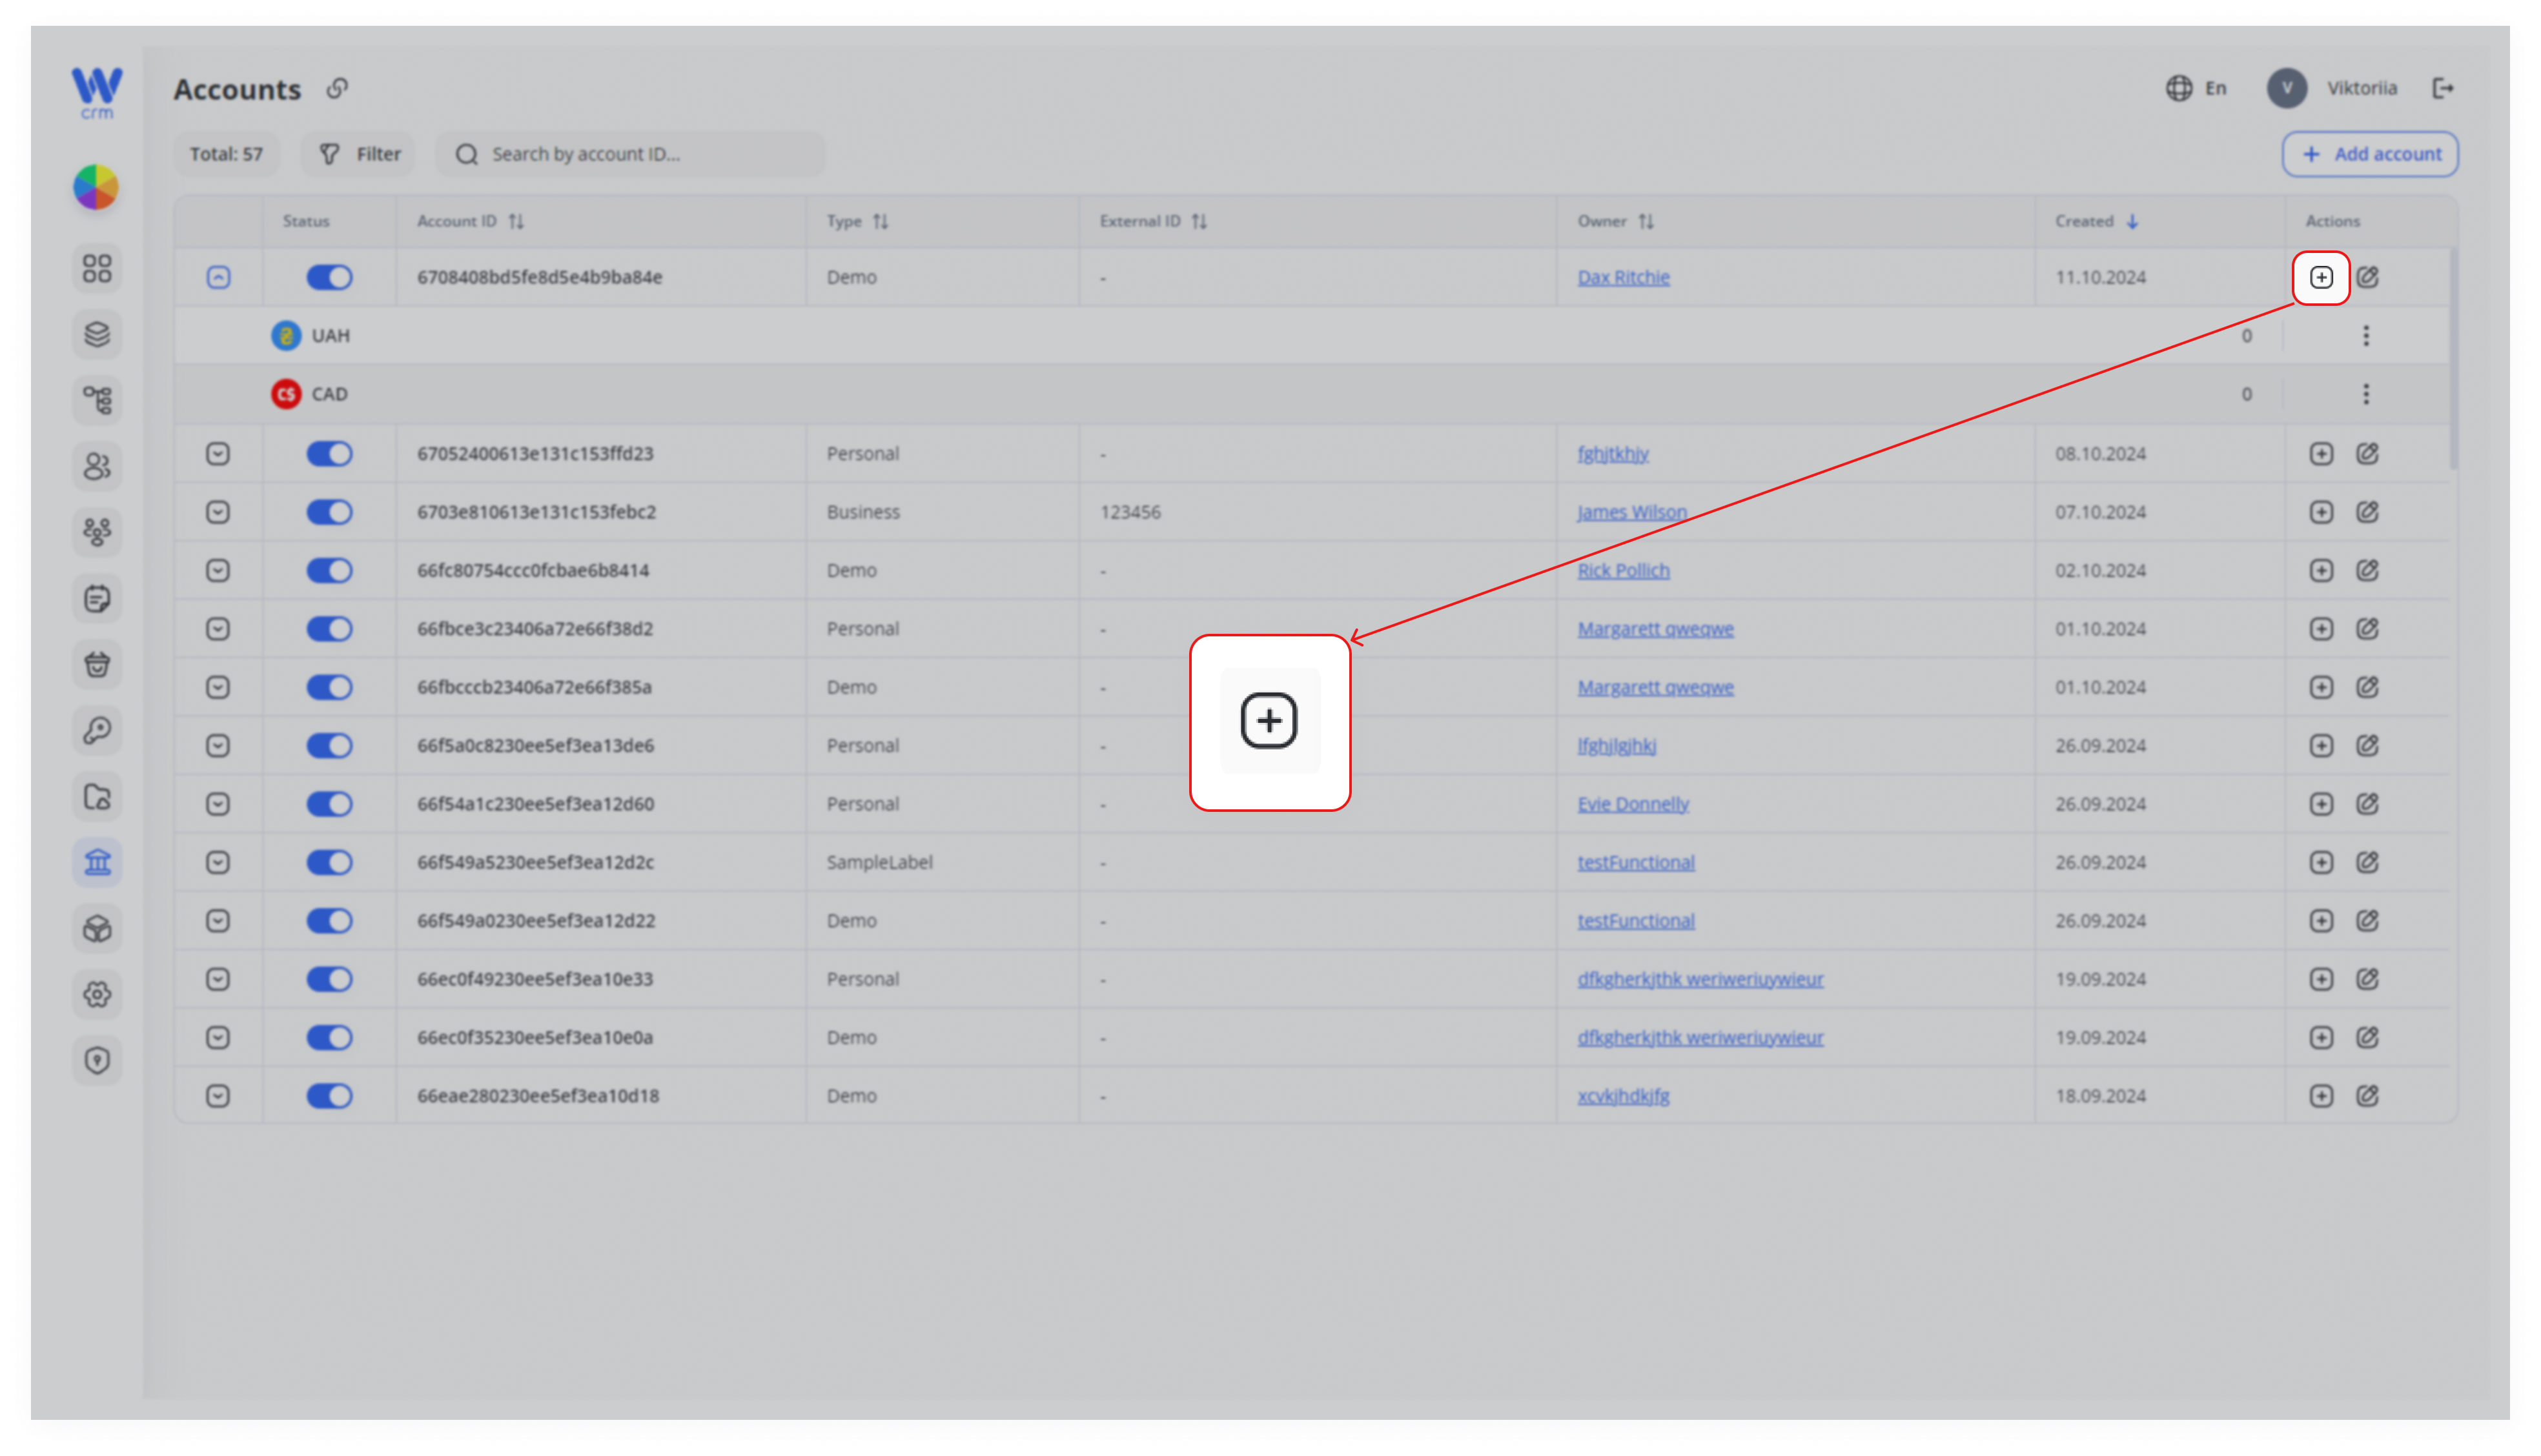
2. If you need to add an asset, click the the Add Asset icon.
To add an asset:
1. In the Add asset window, select:
-
-
-
Currency: Once selected, its type (fiat or crypto) will be automatically detected.
-
Balance: The initial balance of the asset.
-
(For fiat currencies) Address, External ID, and Bank (optional fields). If you are doing integration with a bank, you do not need to specify an address. If there is no integration with the bank, you should specify IBAN in the Address field.
-
Platform. Non-mandatory field. It is only filled in when integrating with third-party platforms. Read more about platforms
inin [How to Set Platforms].
-
-
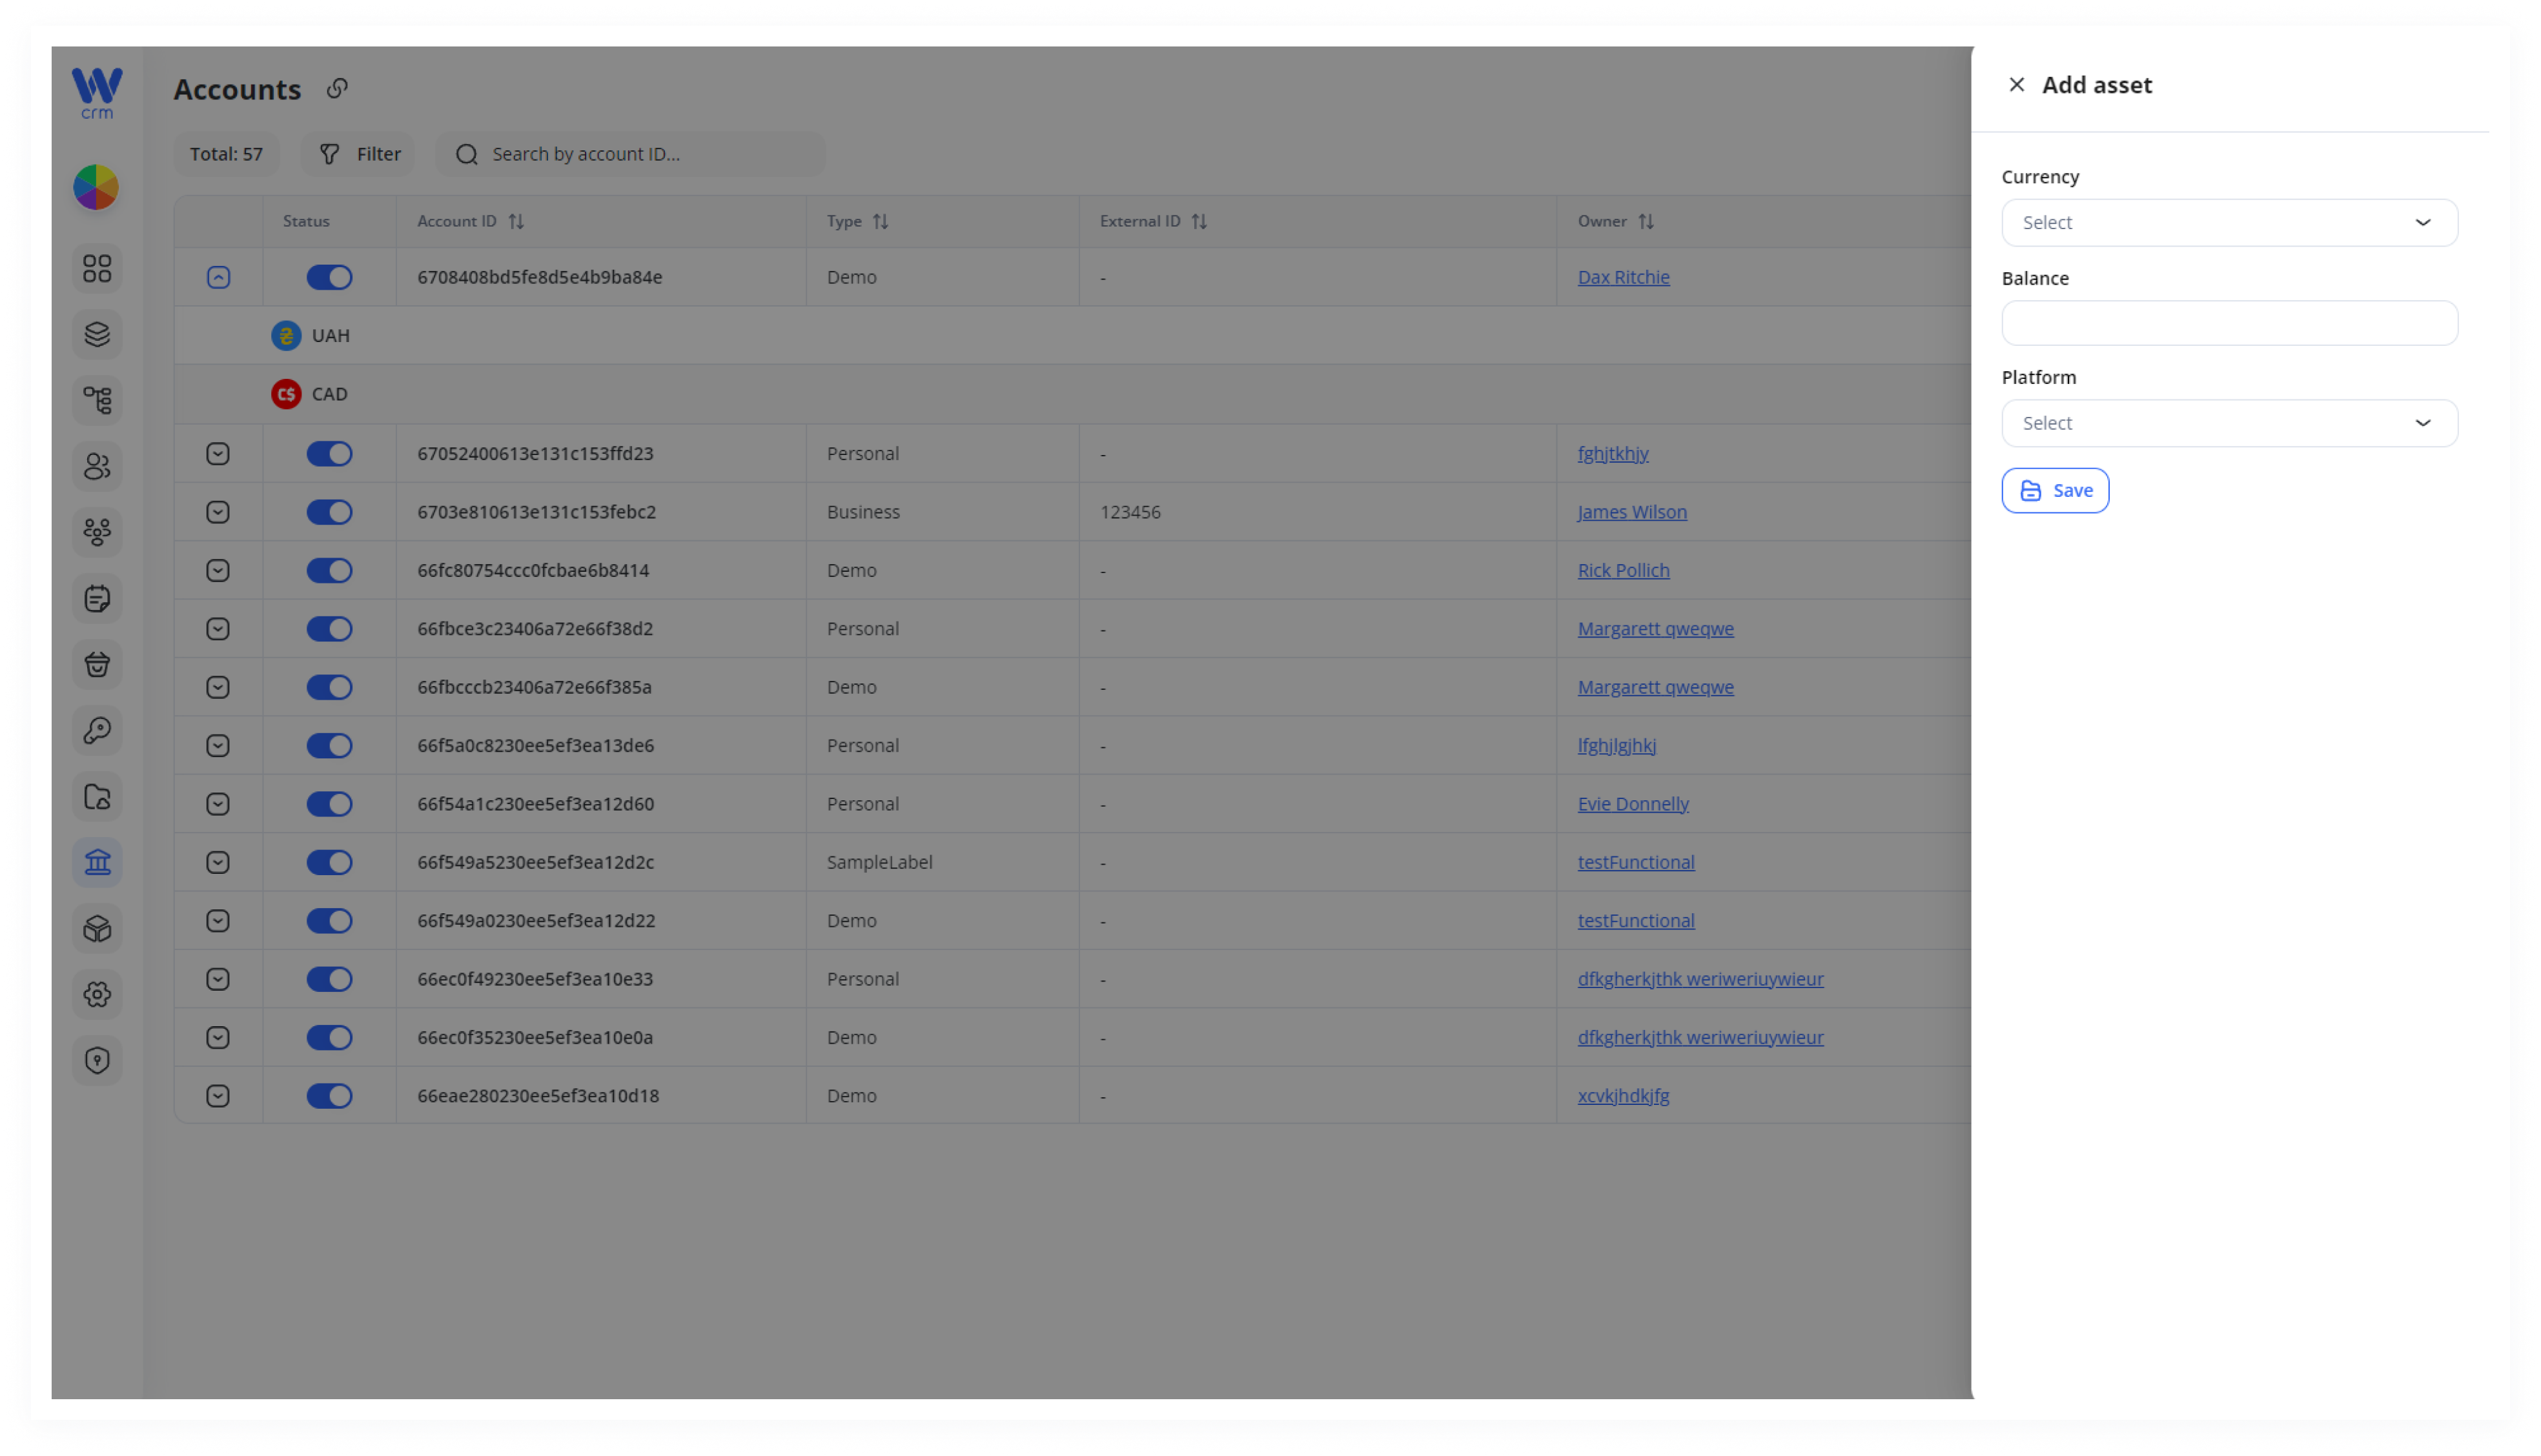
2. Click Save to add the asset.
Note: Once added, the asset will need to be activated. Activation can be done in the Assets module.
For cryptocurrencies with several different networks, you can also add wallets.
How to add a wallet:
1. Click the the Expand icon in the corresponding account row to view all assets associated with the account.
2. Click on the asset. If the asset is clickable, it will be highlighted in blue.
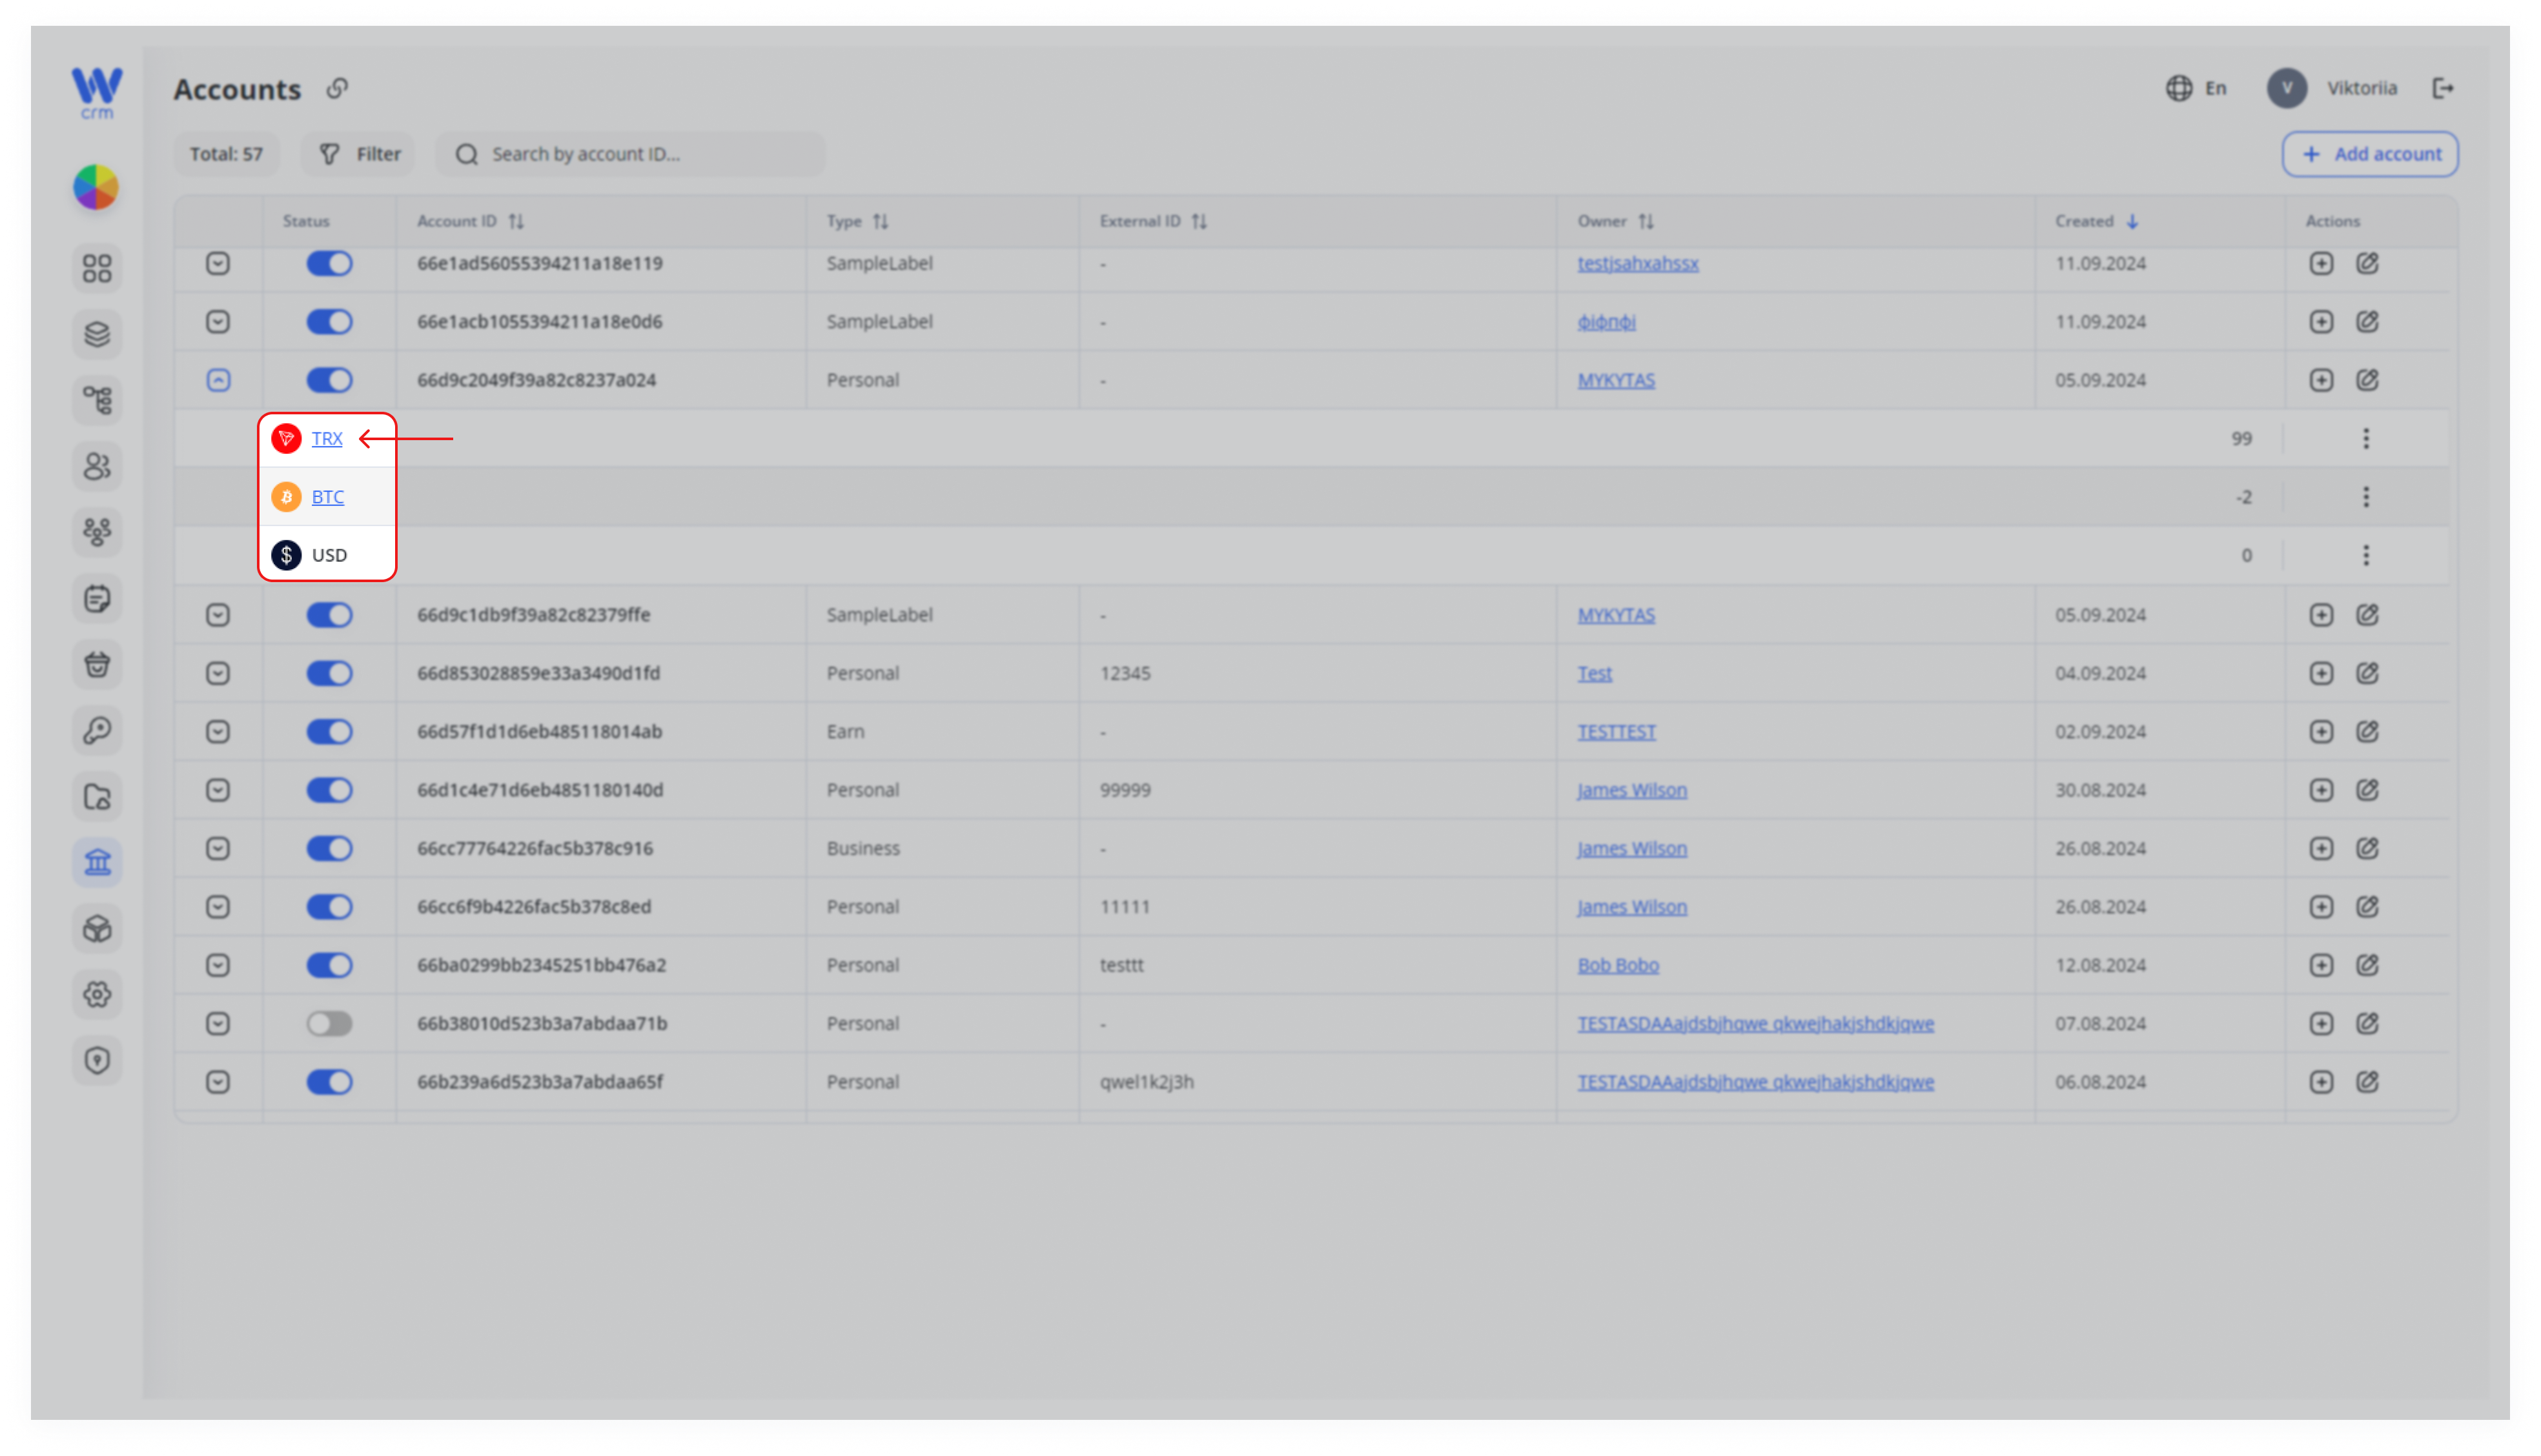
3. Click the the Add button in the upper-right corner.
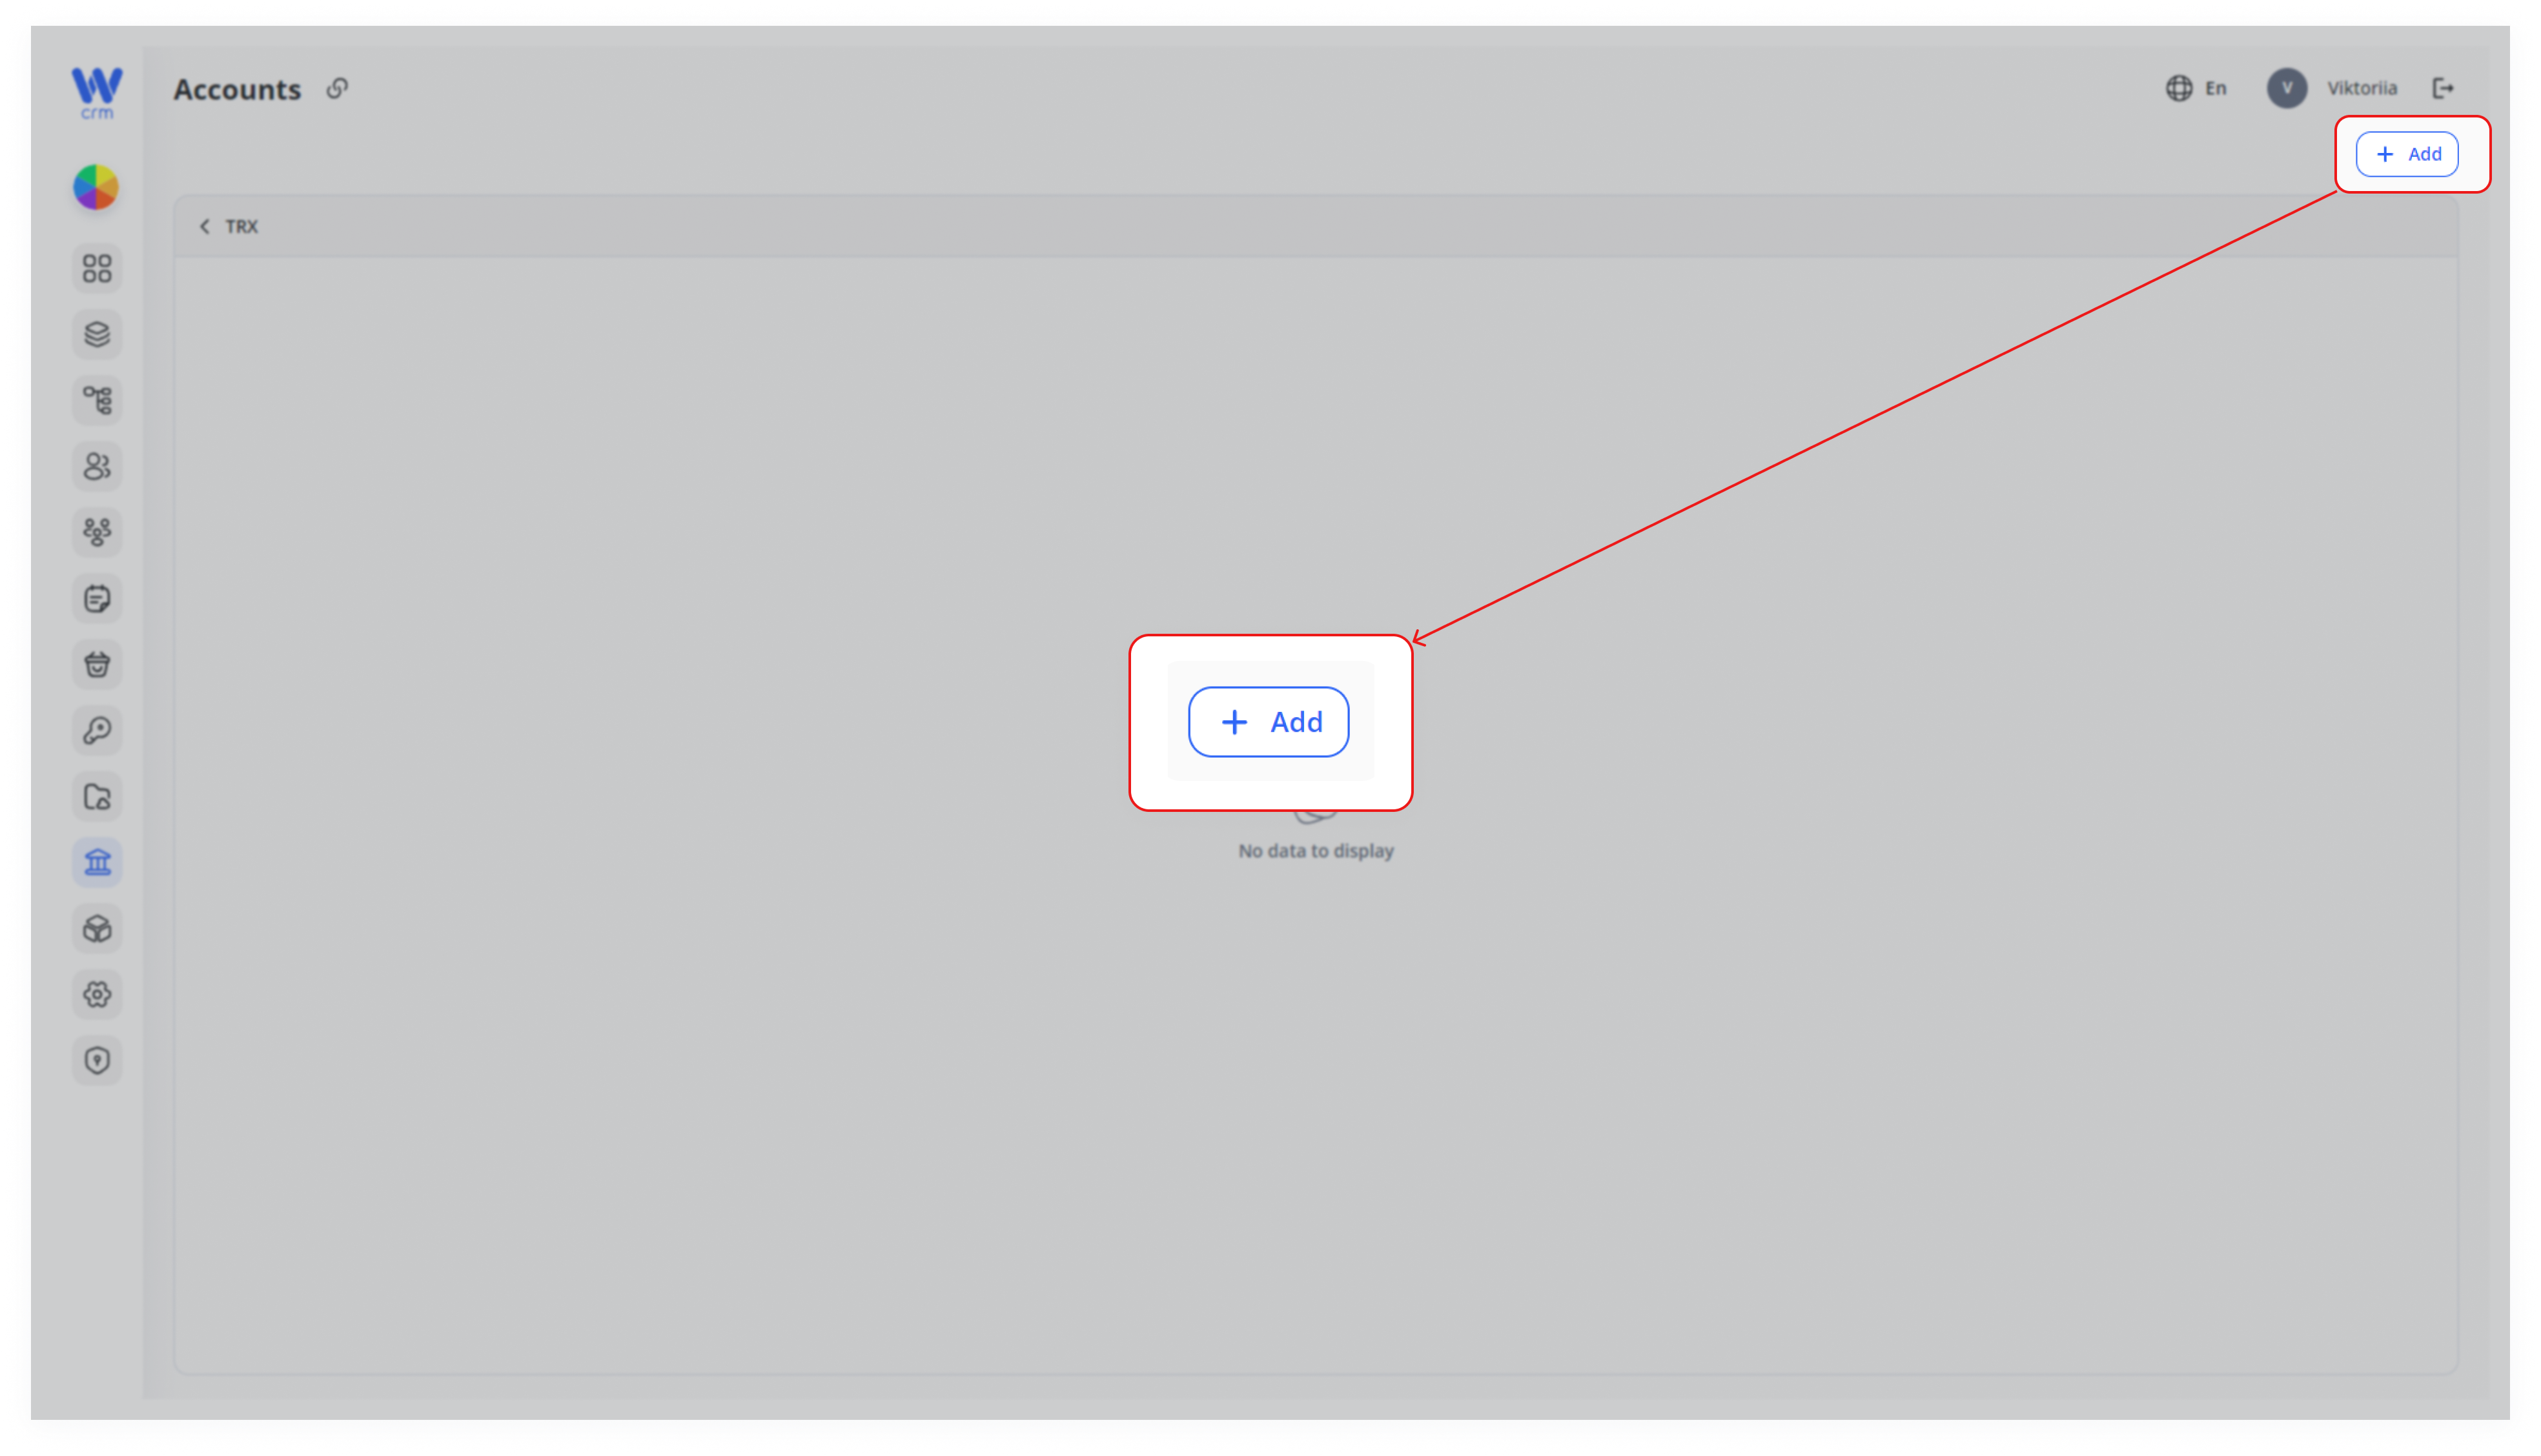
4. Enter or select from the drop-down list list Network and Address.
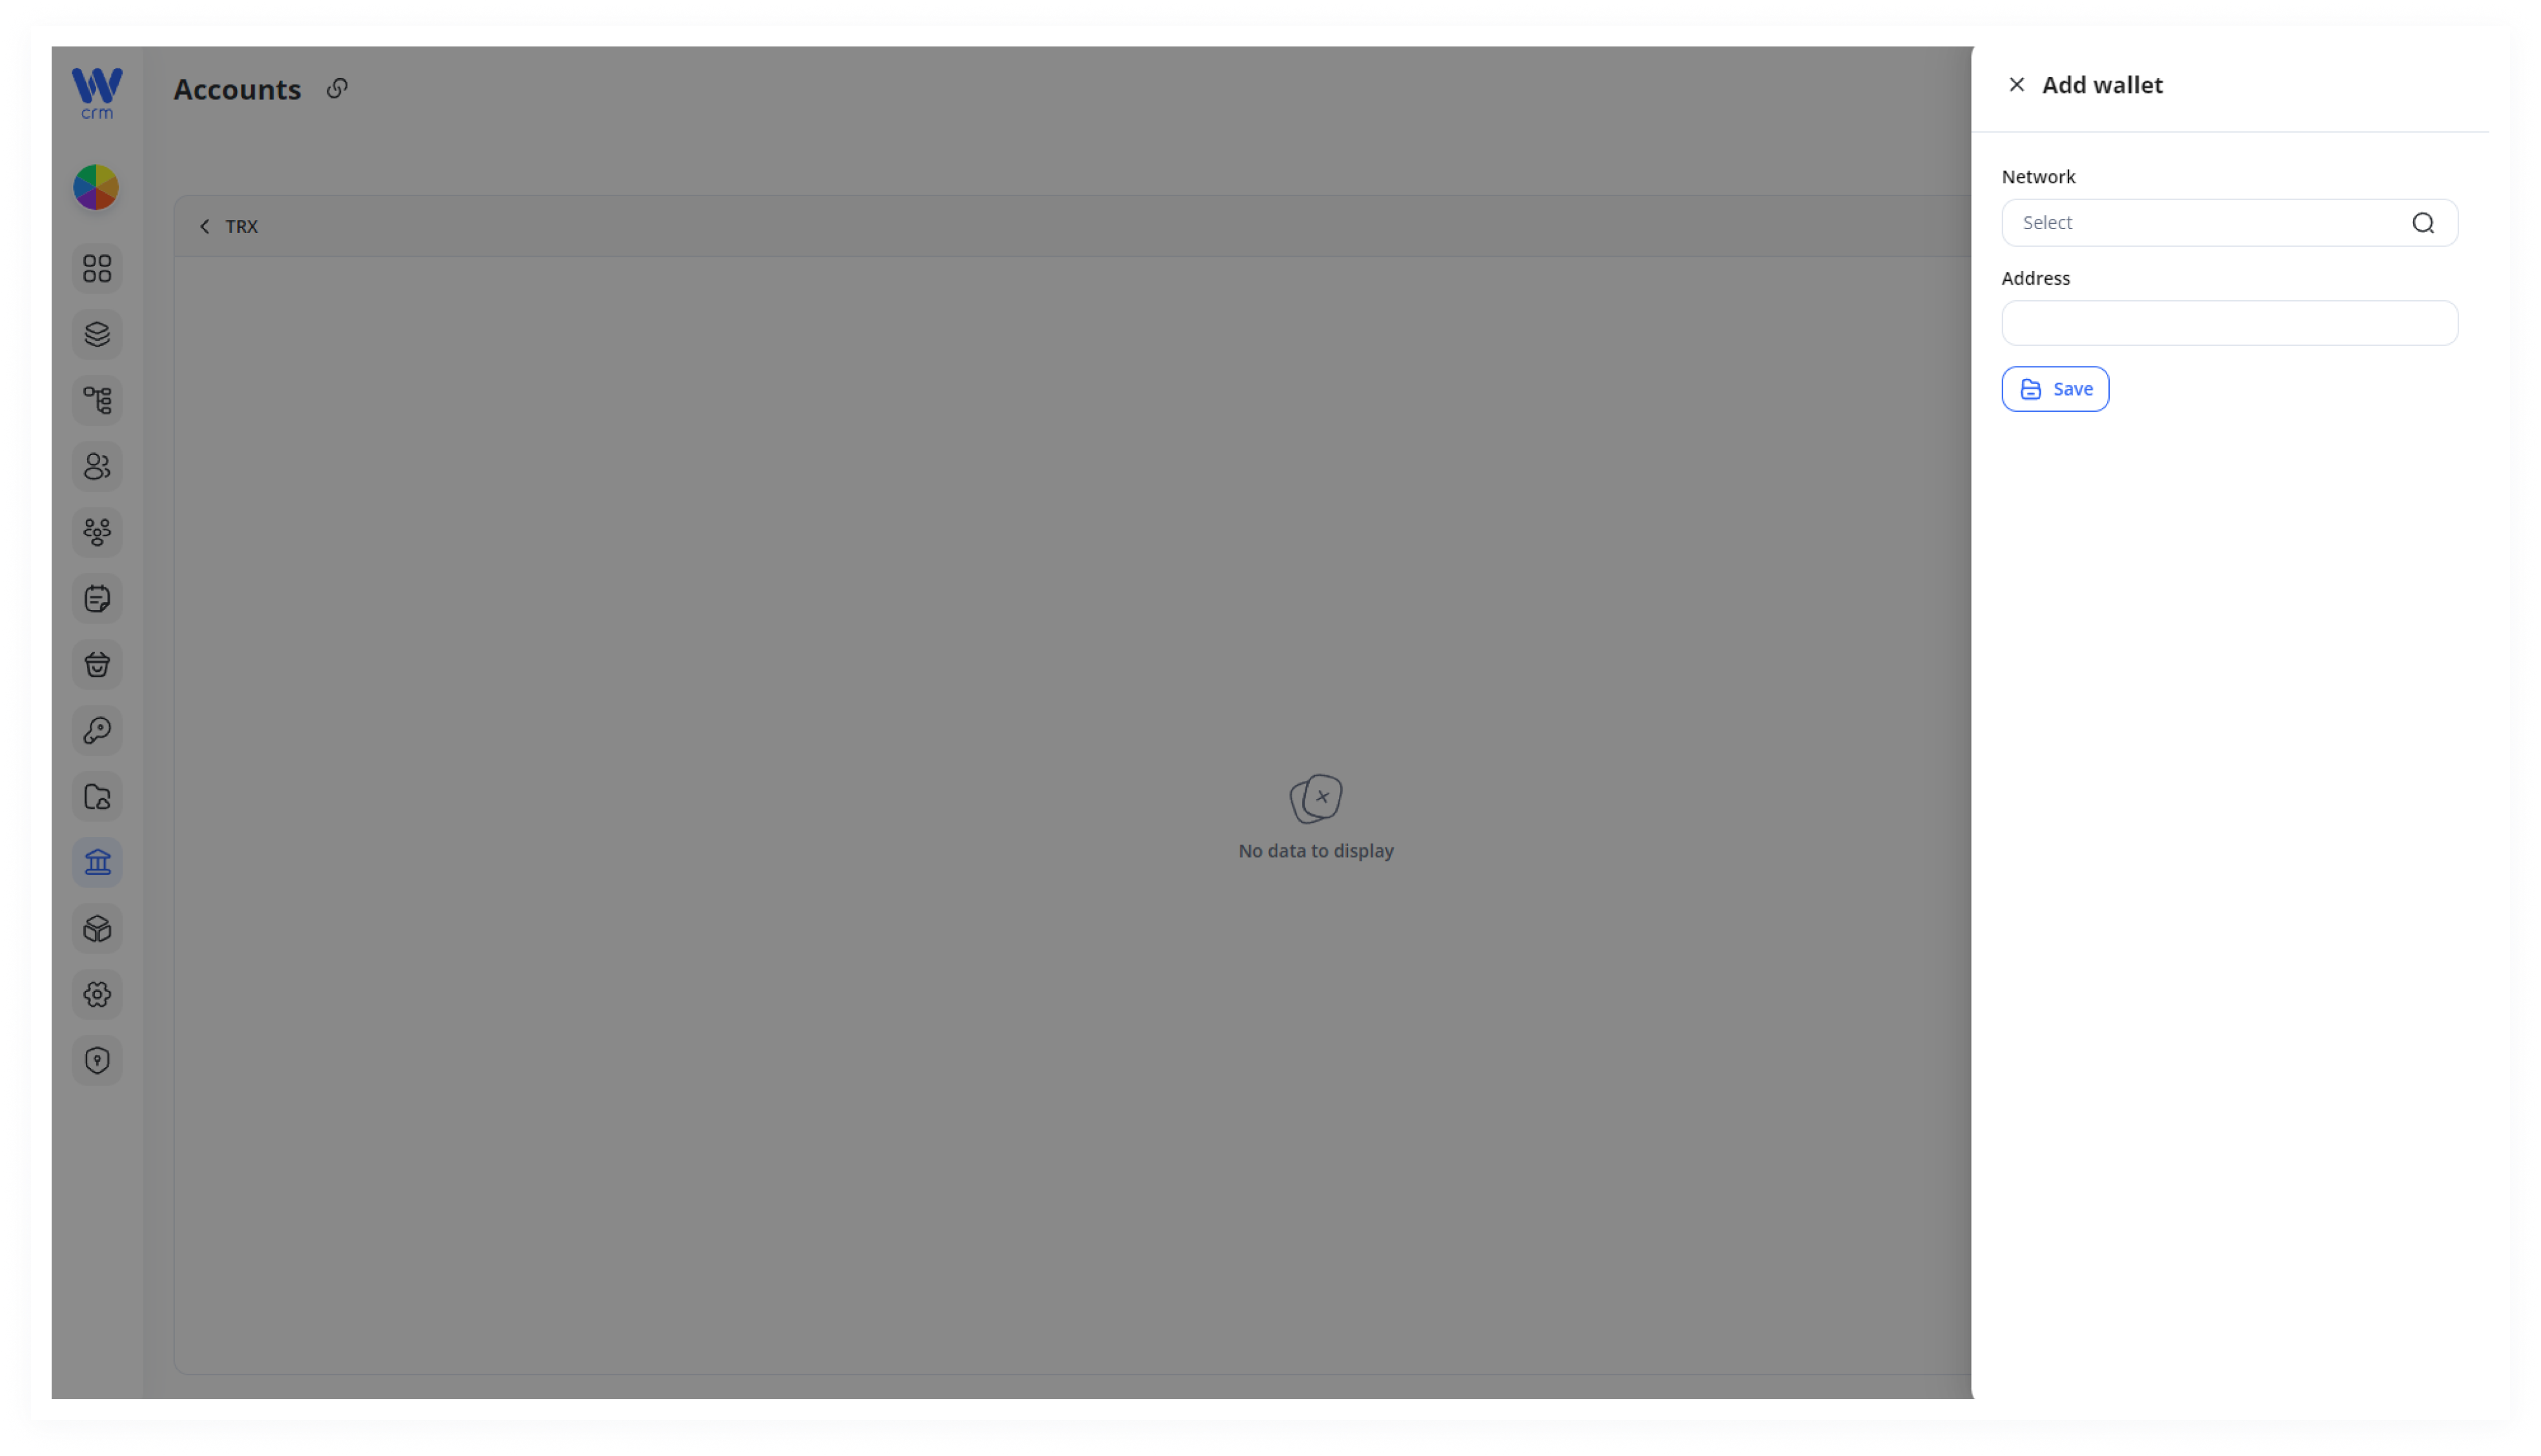
5. Click Save to apply changes.
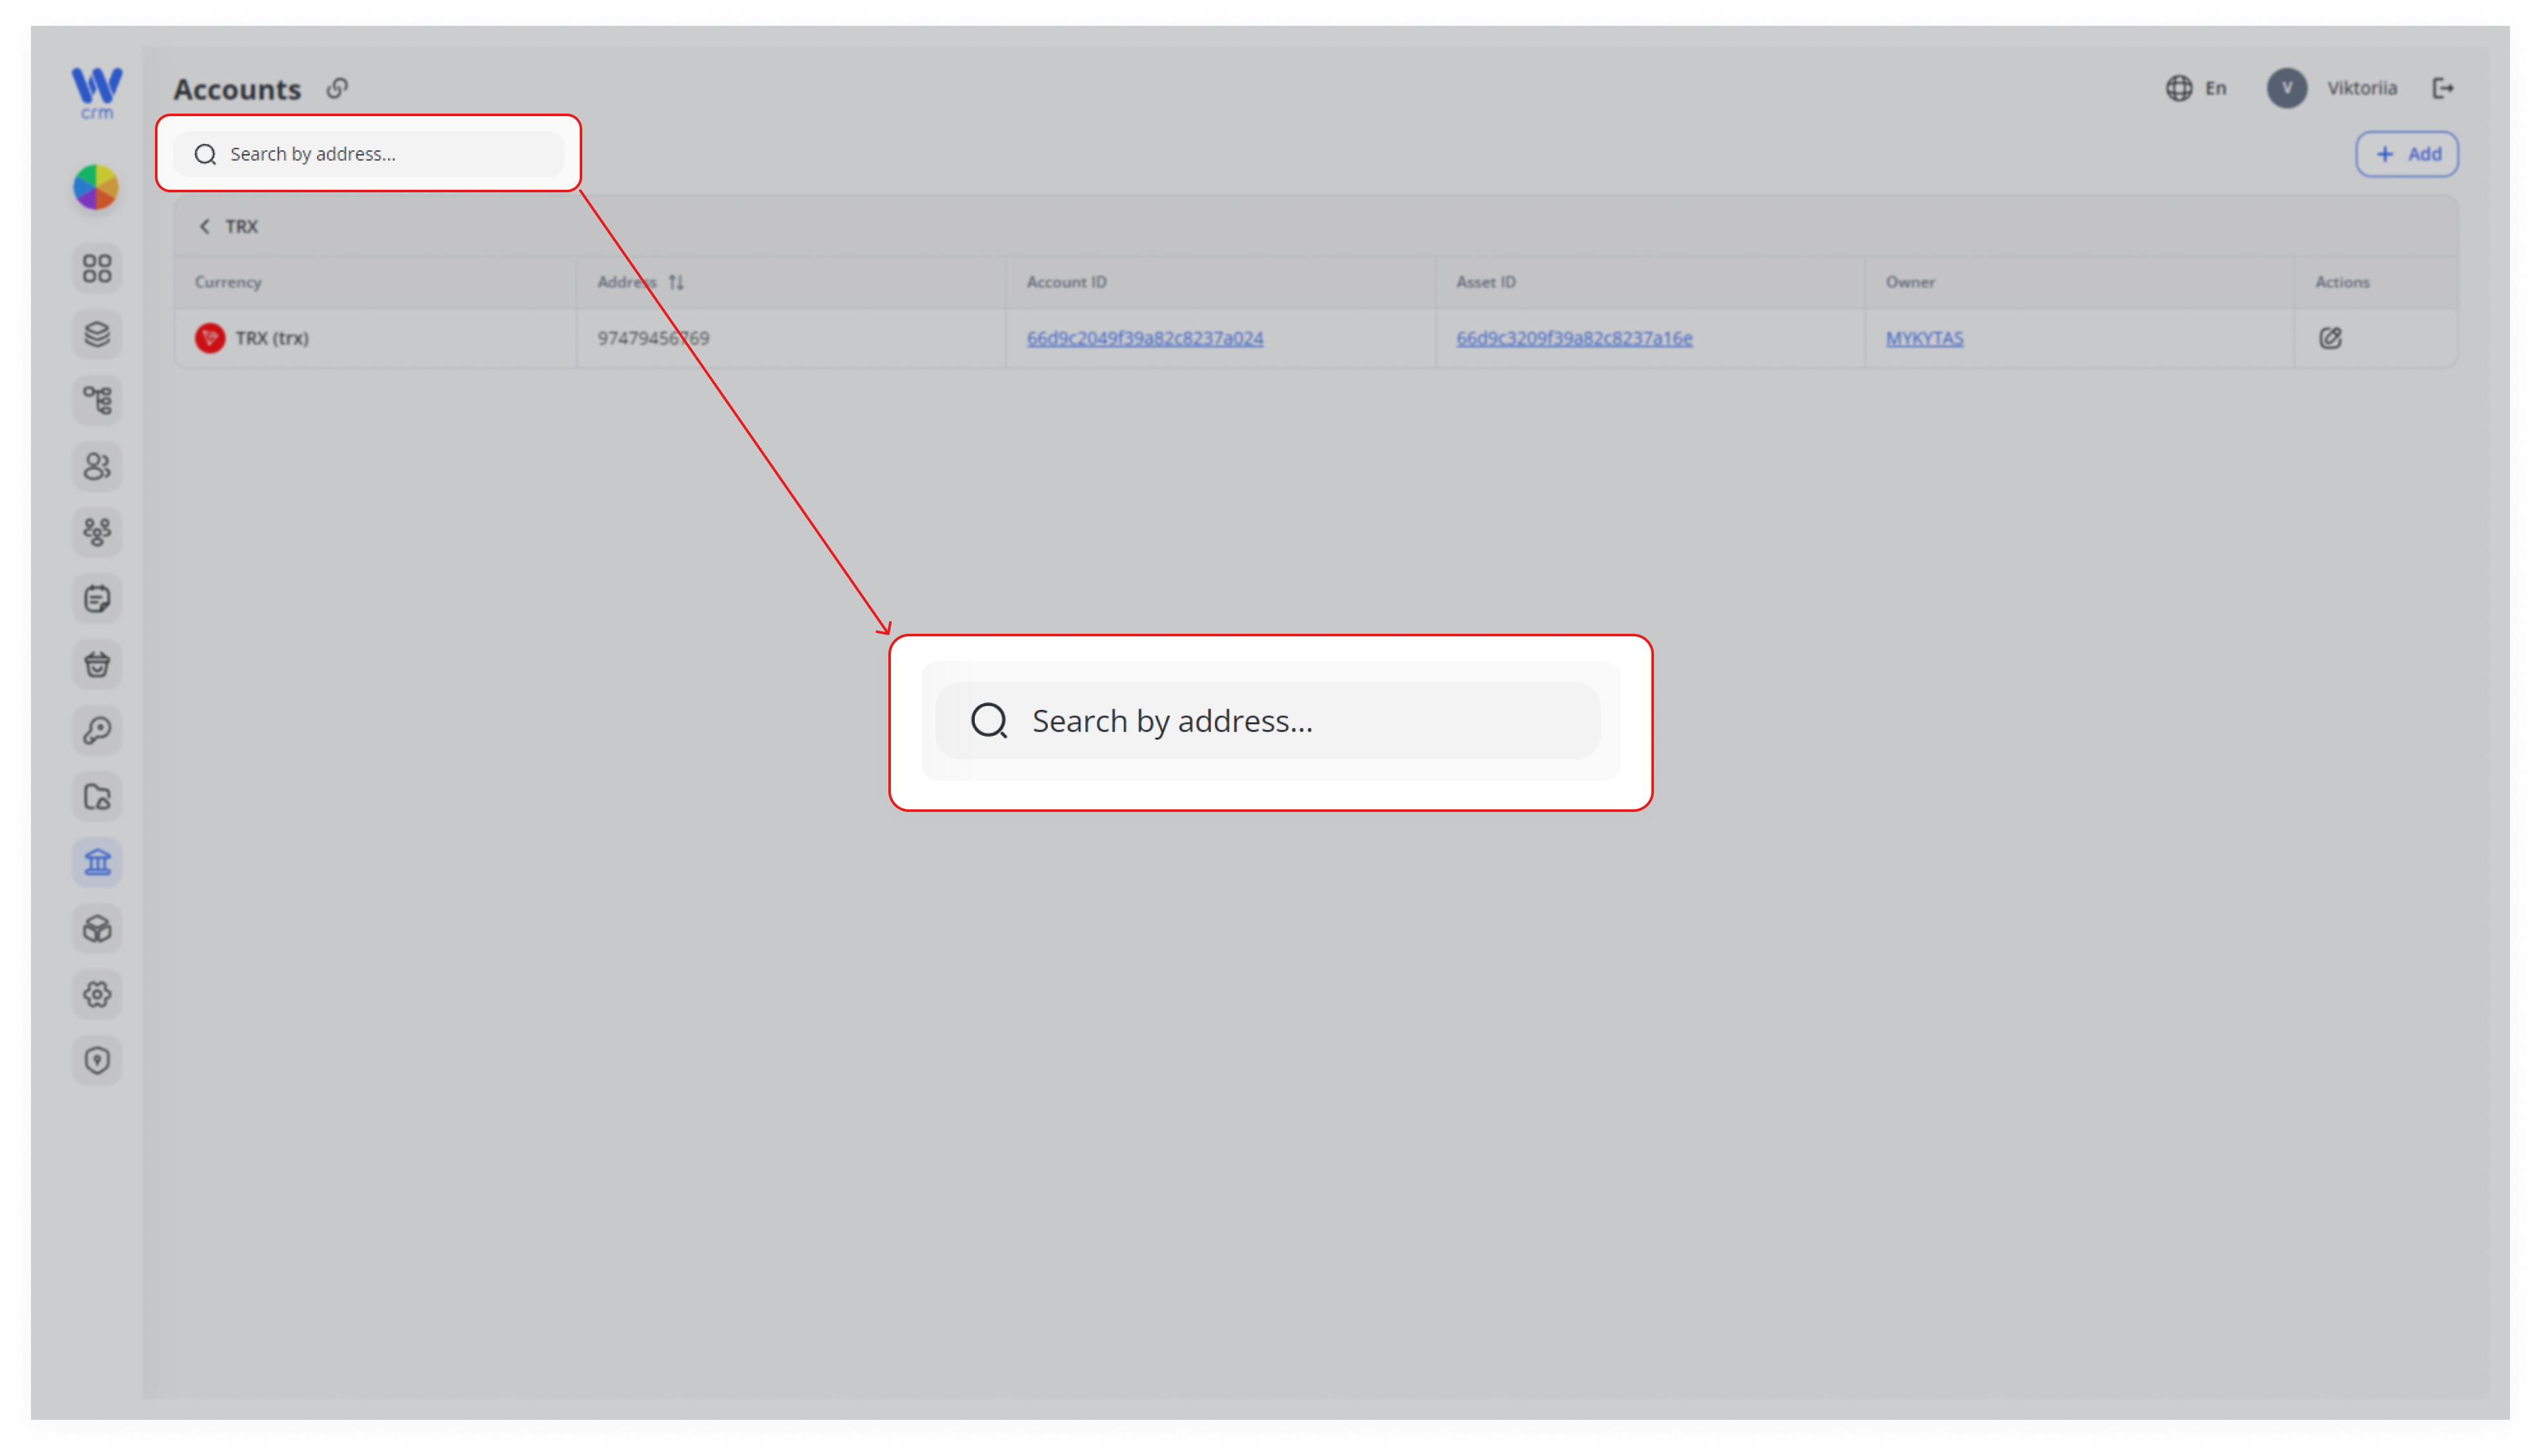
You can search created wallets by address, using the Search field:
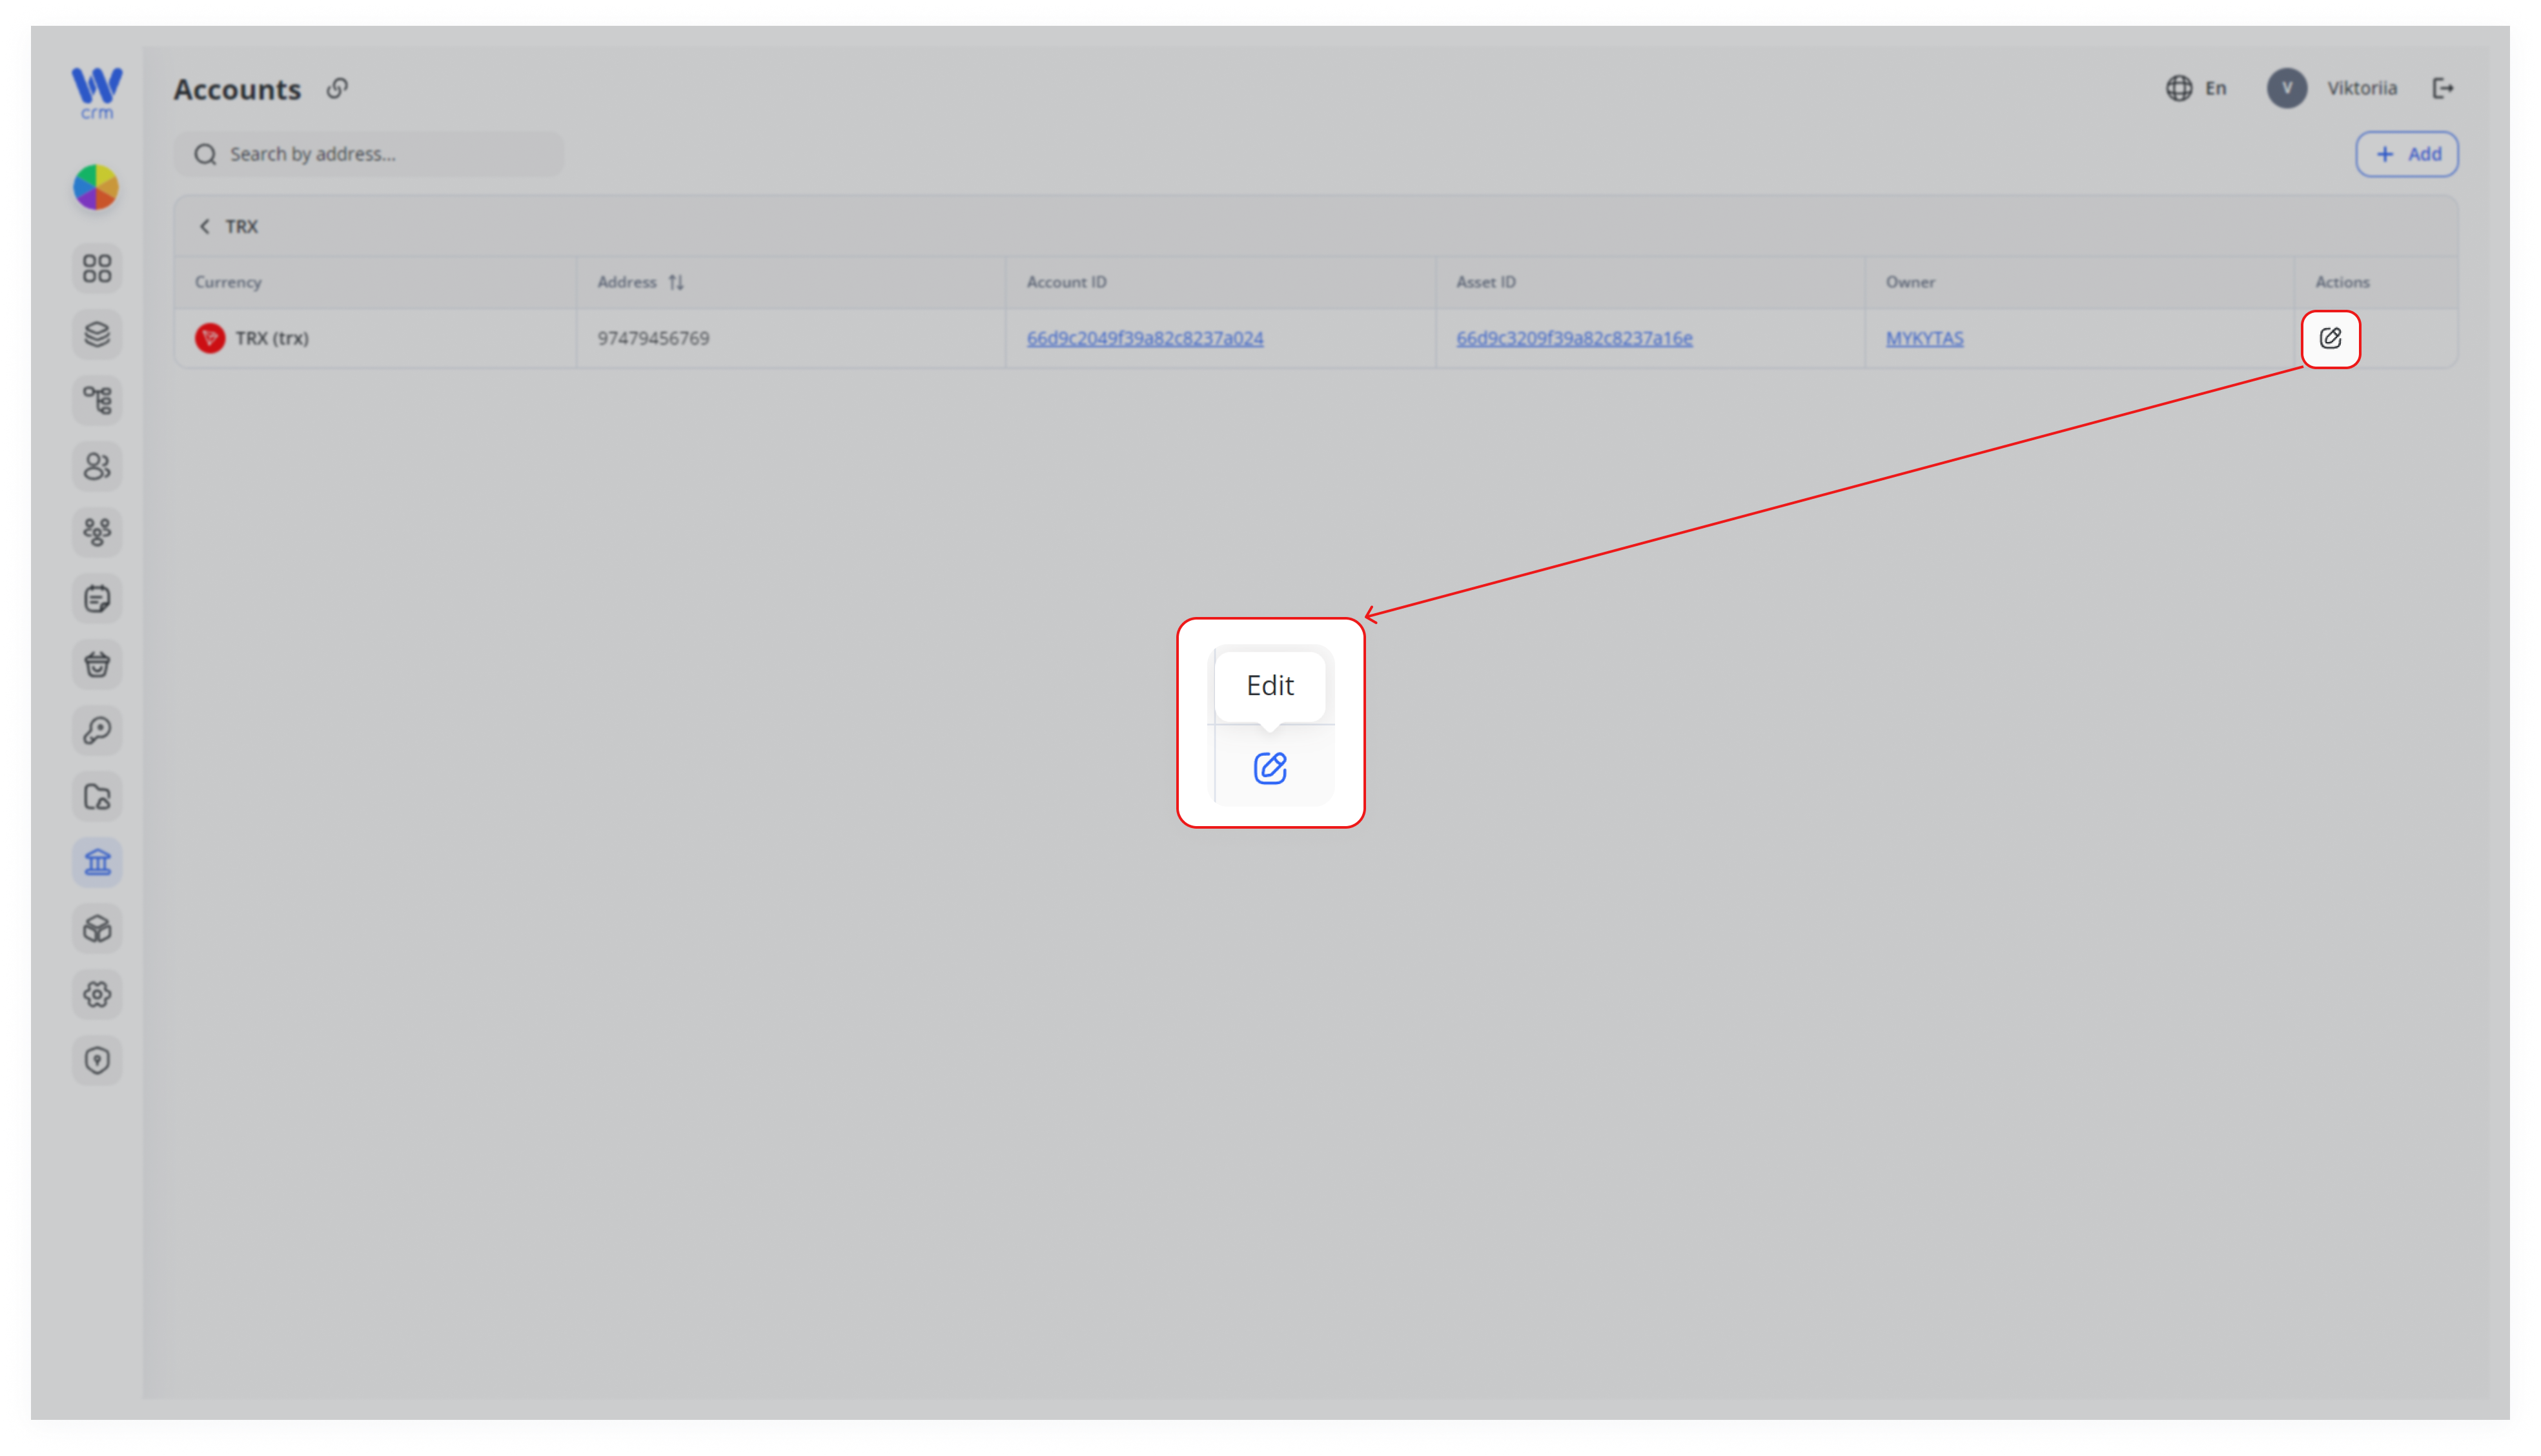
You can also change address of the wallet. To do that:
1. Click the the Edit icon in the corresponding wallet row:
2. Enter the new address.
3. Click Save to apply the changes.
Note: You cannot change the network of the wallet.