
6. How to Set Platforms
The Platforms module is used to integrate and customize third-party platforms (e.g., banks) that manage customer assets and accounts. If an asset or account is assigned to a platform, connecting to that platform is essential to display relevant information, such as balances.
Use Cases
- Switching Between Projects
Select a project to view or manage its unique financial configurations. If no settings exist, the section displays "No data to display" until configurations are added. - Cloning Configurations for New Projects
Use the "Clone from project" feature to copy currencies, transaction sub-types, or account types from an existing project, saving time and maintaining consistency across projects. - Cloning Currency Configurations
Clone currency settings (e.g., USD, EUR, USDT, TRX) from a project like Wibroker to a new one (Incur) to avoid manual currency entries, ensuring quick and consistent setup. - Cloning Transaction Sub-Types and Account Types
Apply existing configurations by cloning Sub-types of Transactions or Types of Accounts from one project (e.g., Cypress Test Default) to another (Incur), instantly reflecting them without manual input.
To add a new platform:
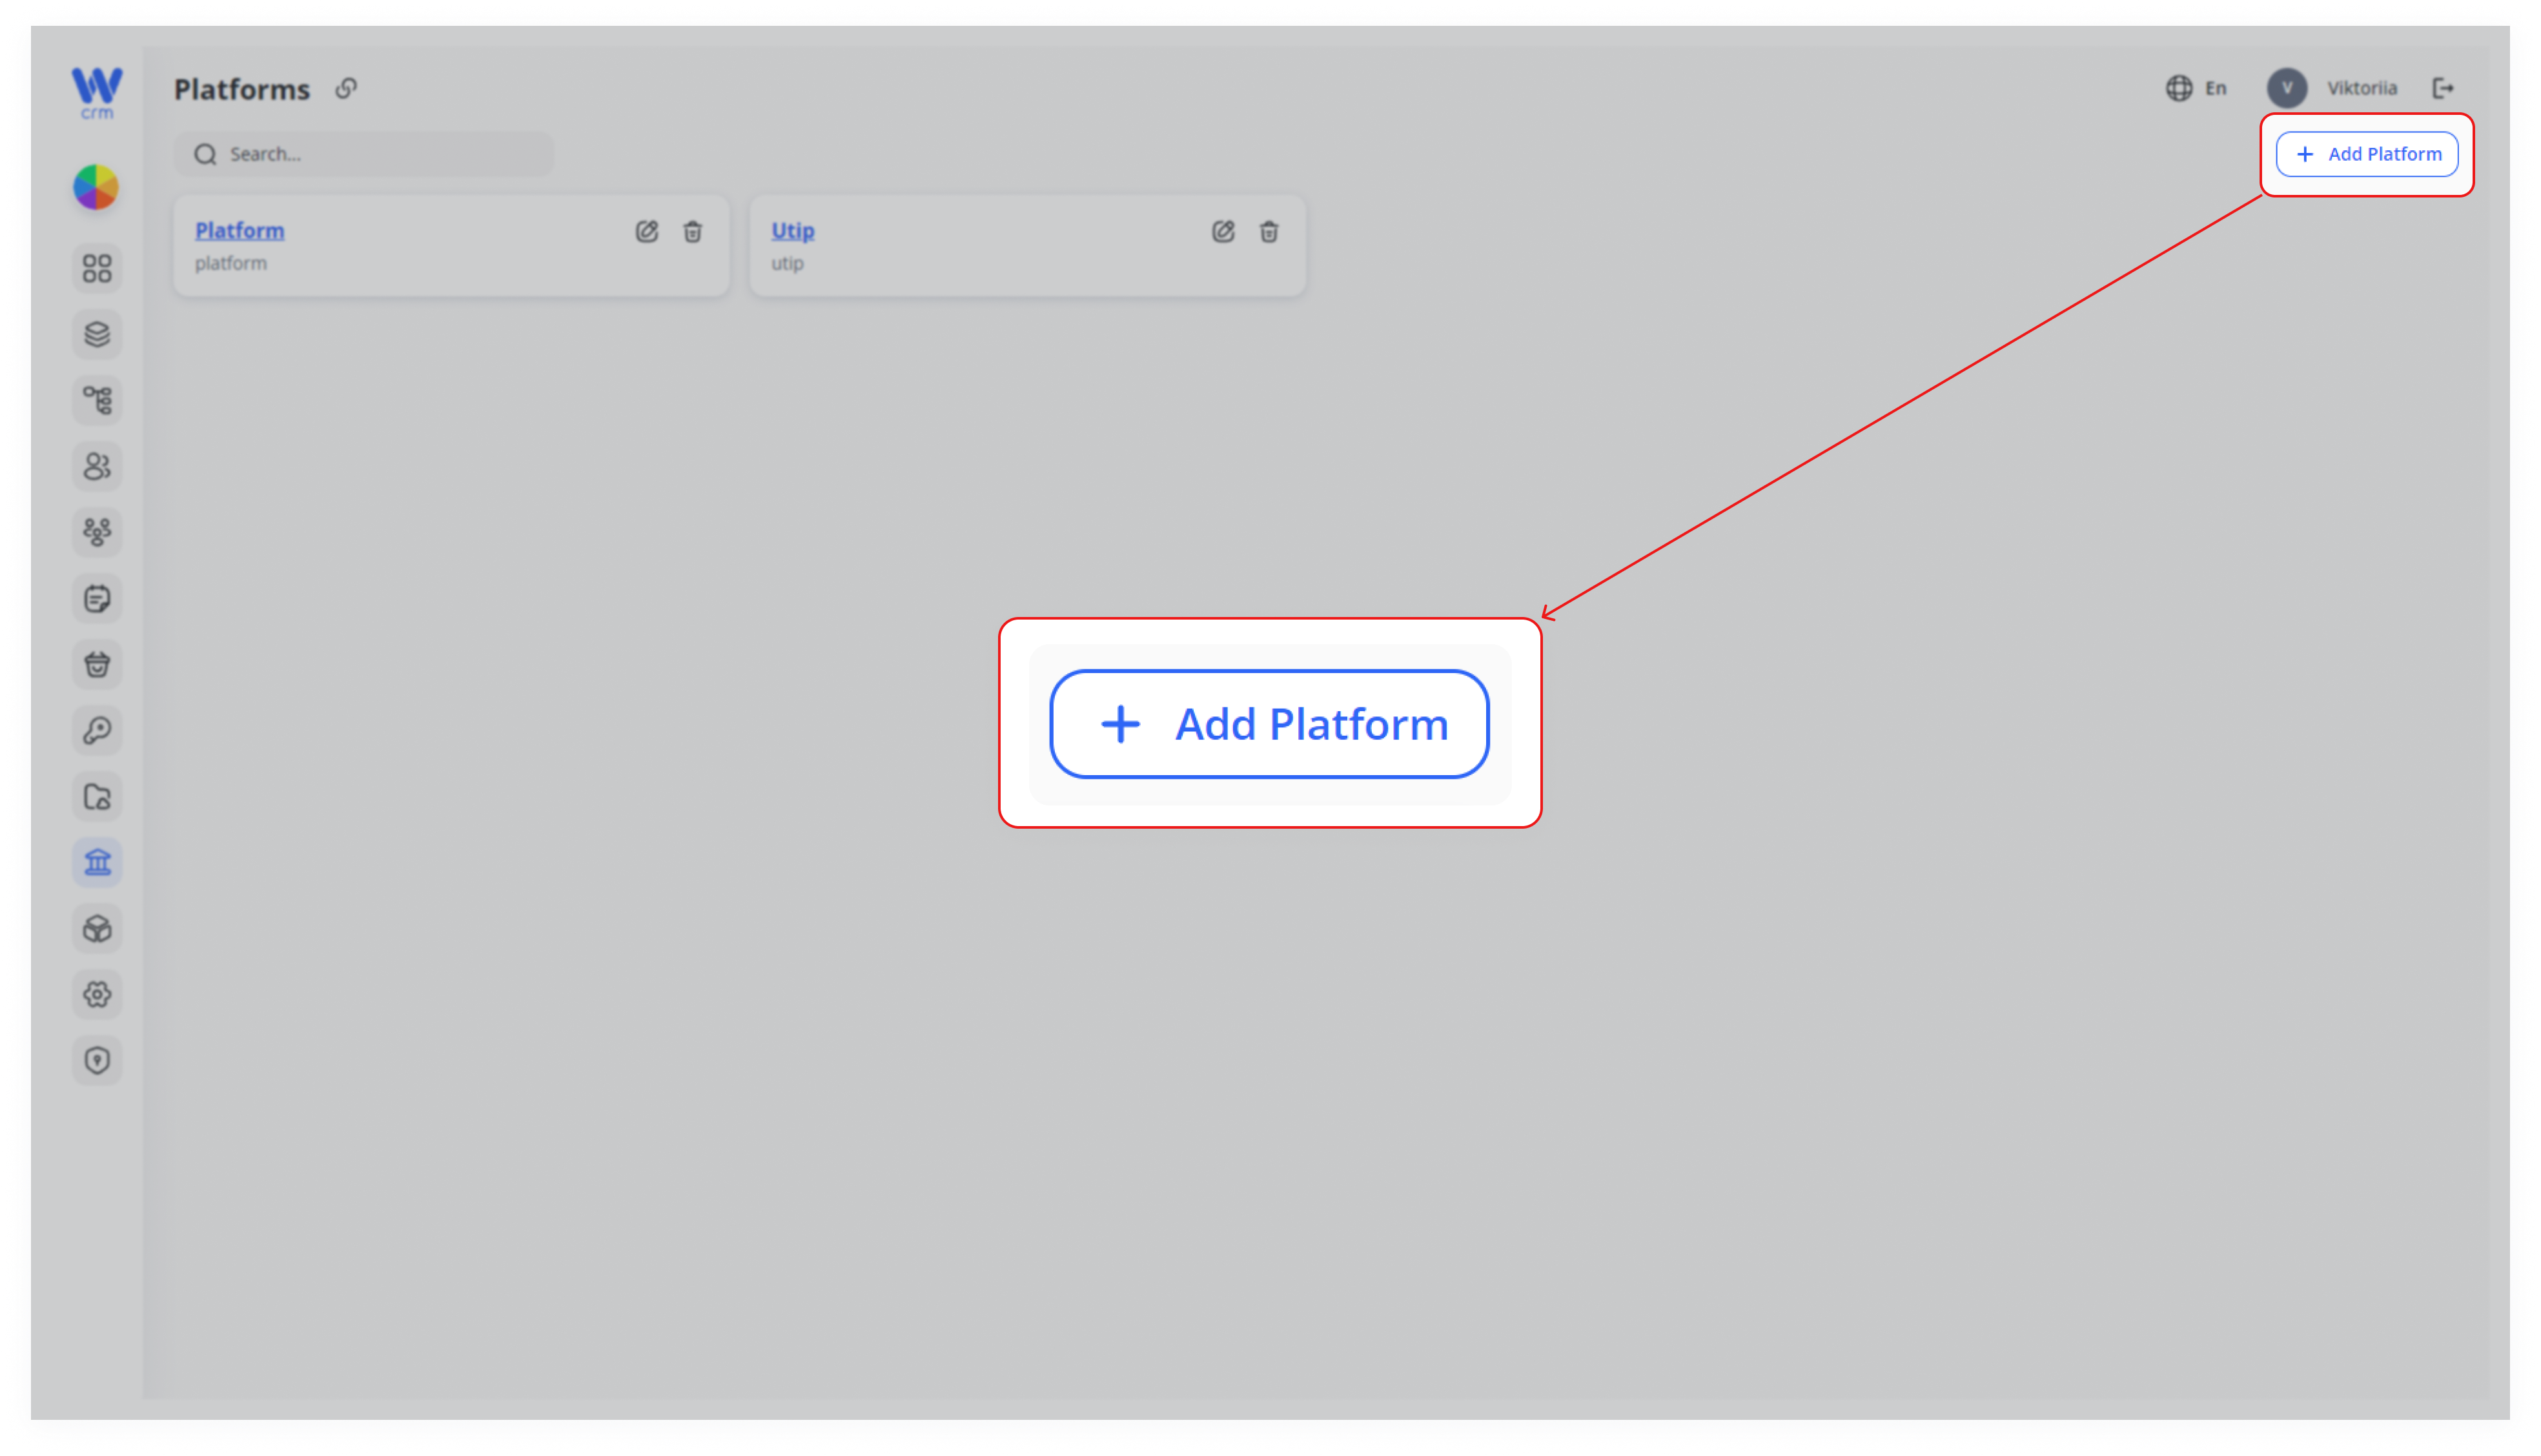
1. Click the Add Platform button in the upper-right corner of the Platforms module.
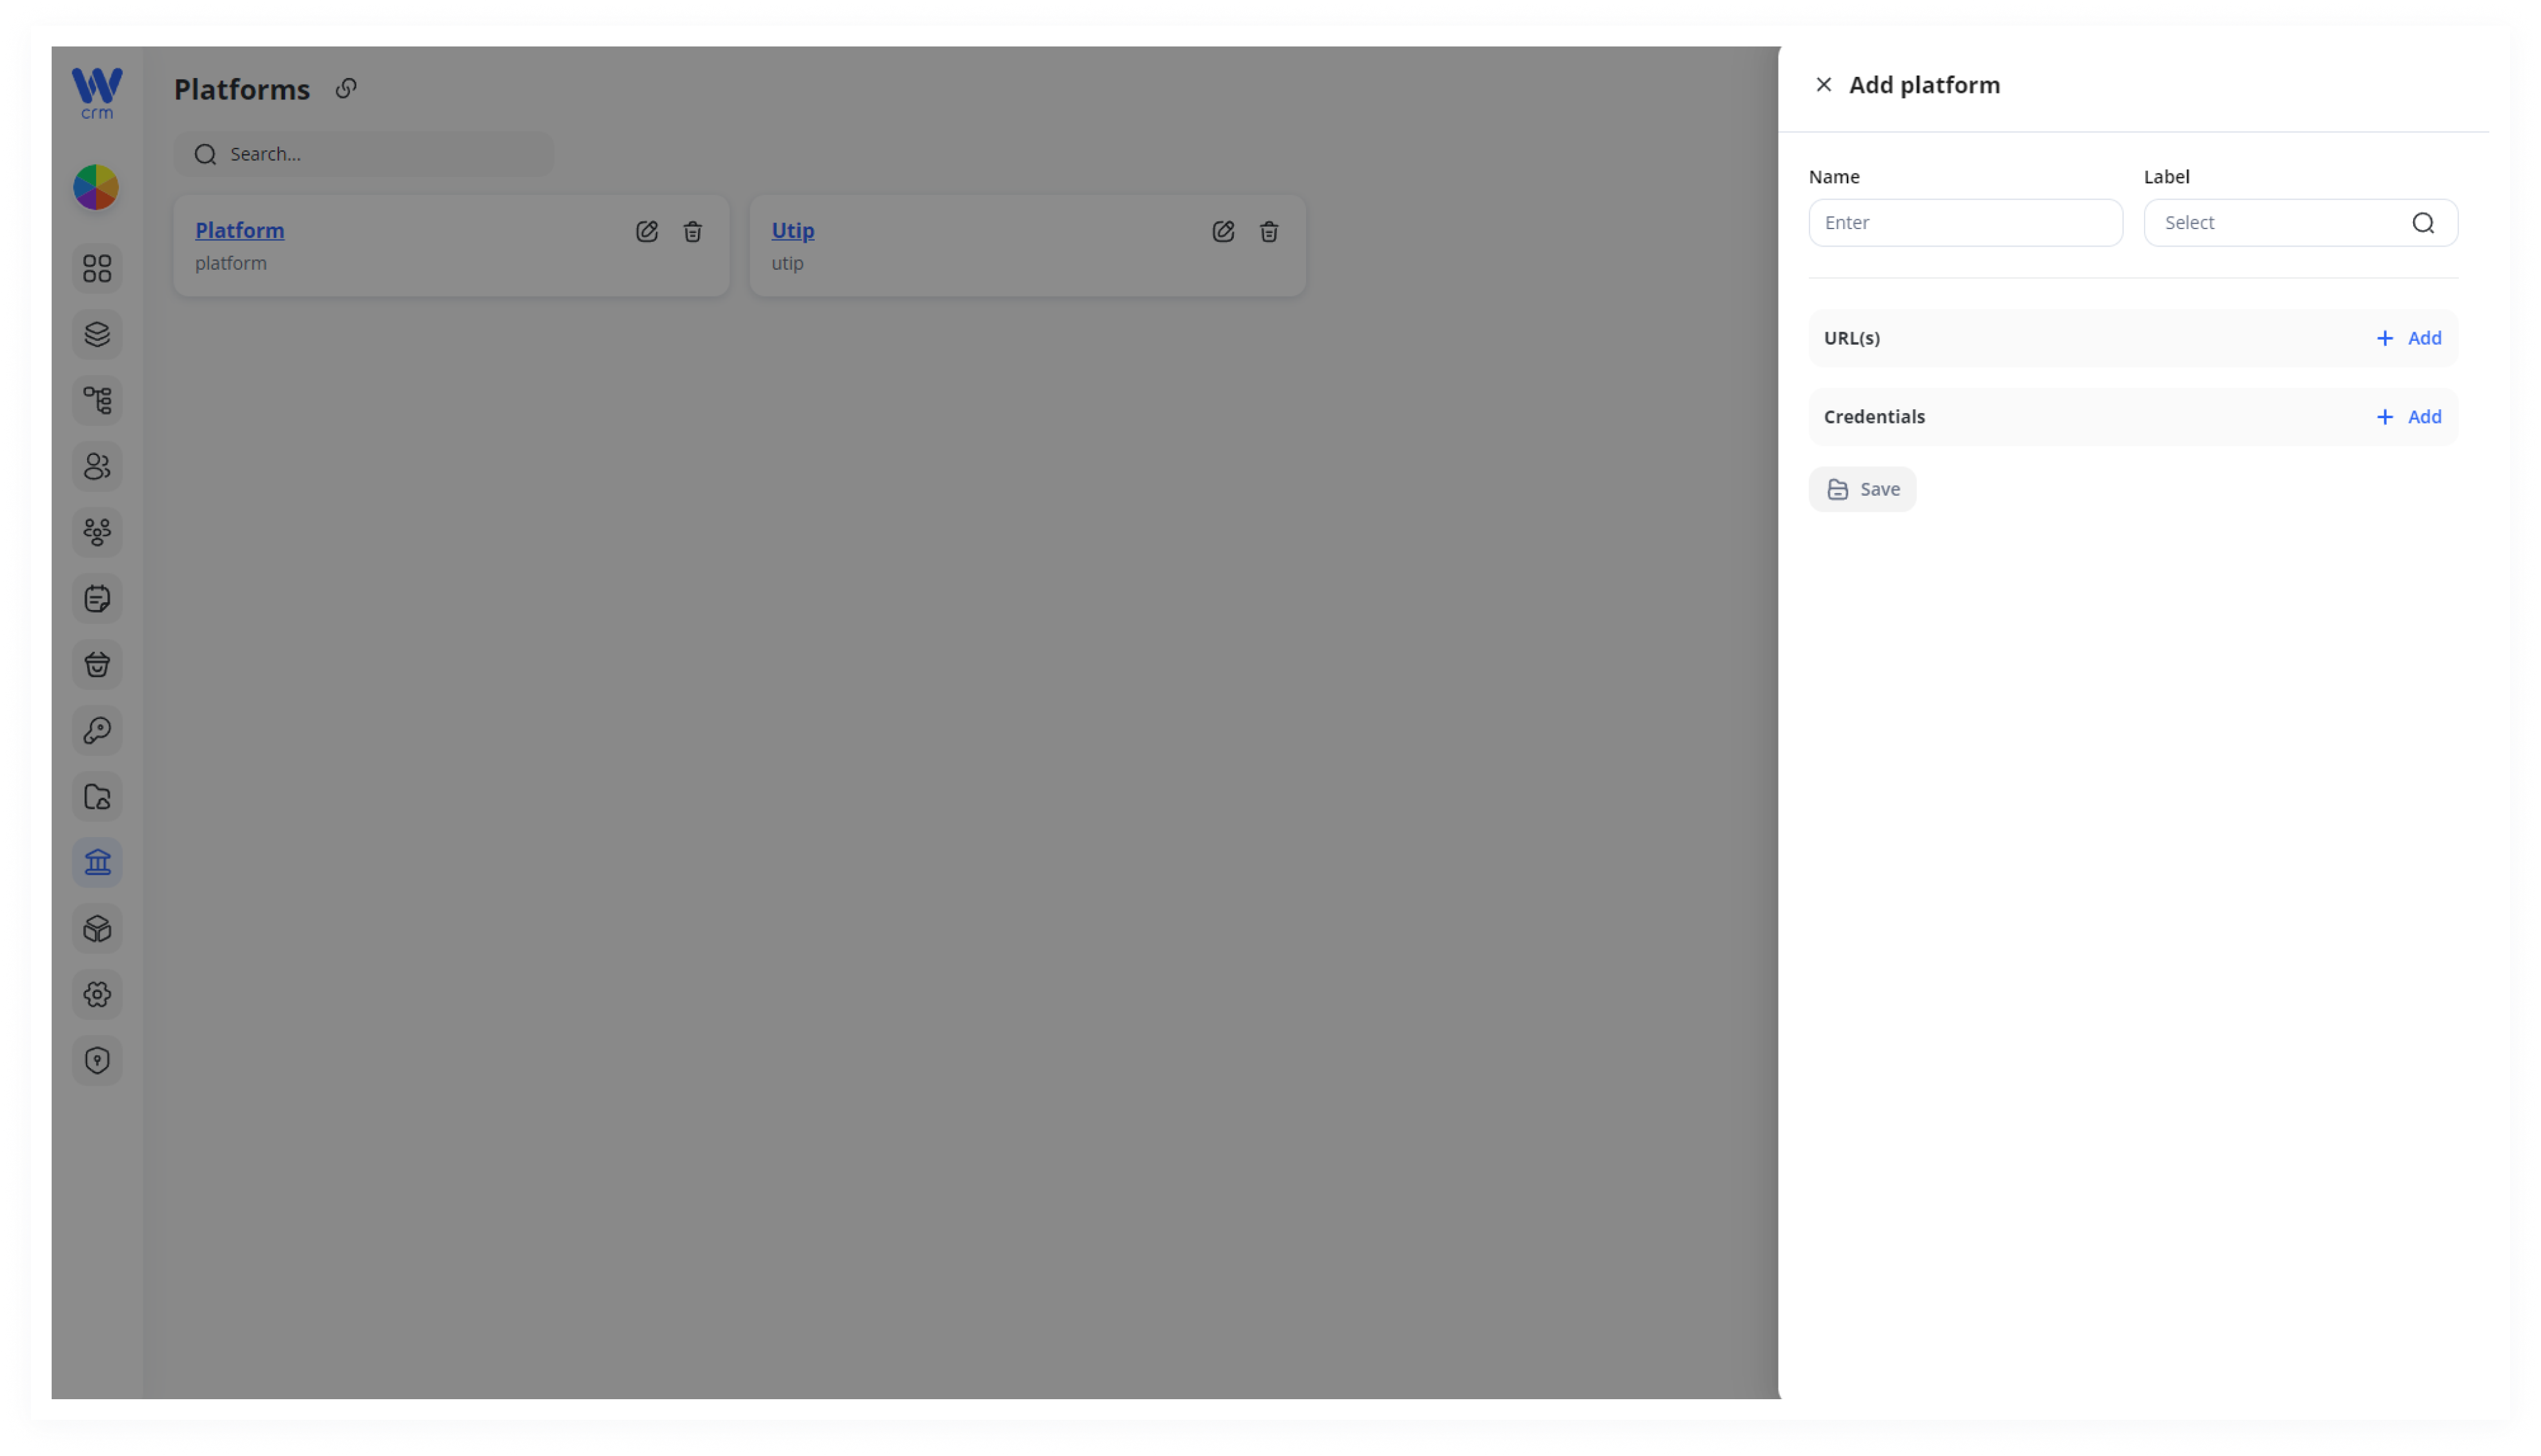
2. Enter or select from the drop-down list:
-
-
- Name: The name of the platform.
- Label: A unique identifier for the platform. The list will include platforms that are already integrated into CRM.
-
3. Add the necessary URL(s) and Credentials required to connect to the platform. If you select a label from the drop-down list, the required fields will be automatically populated.
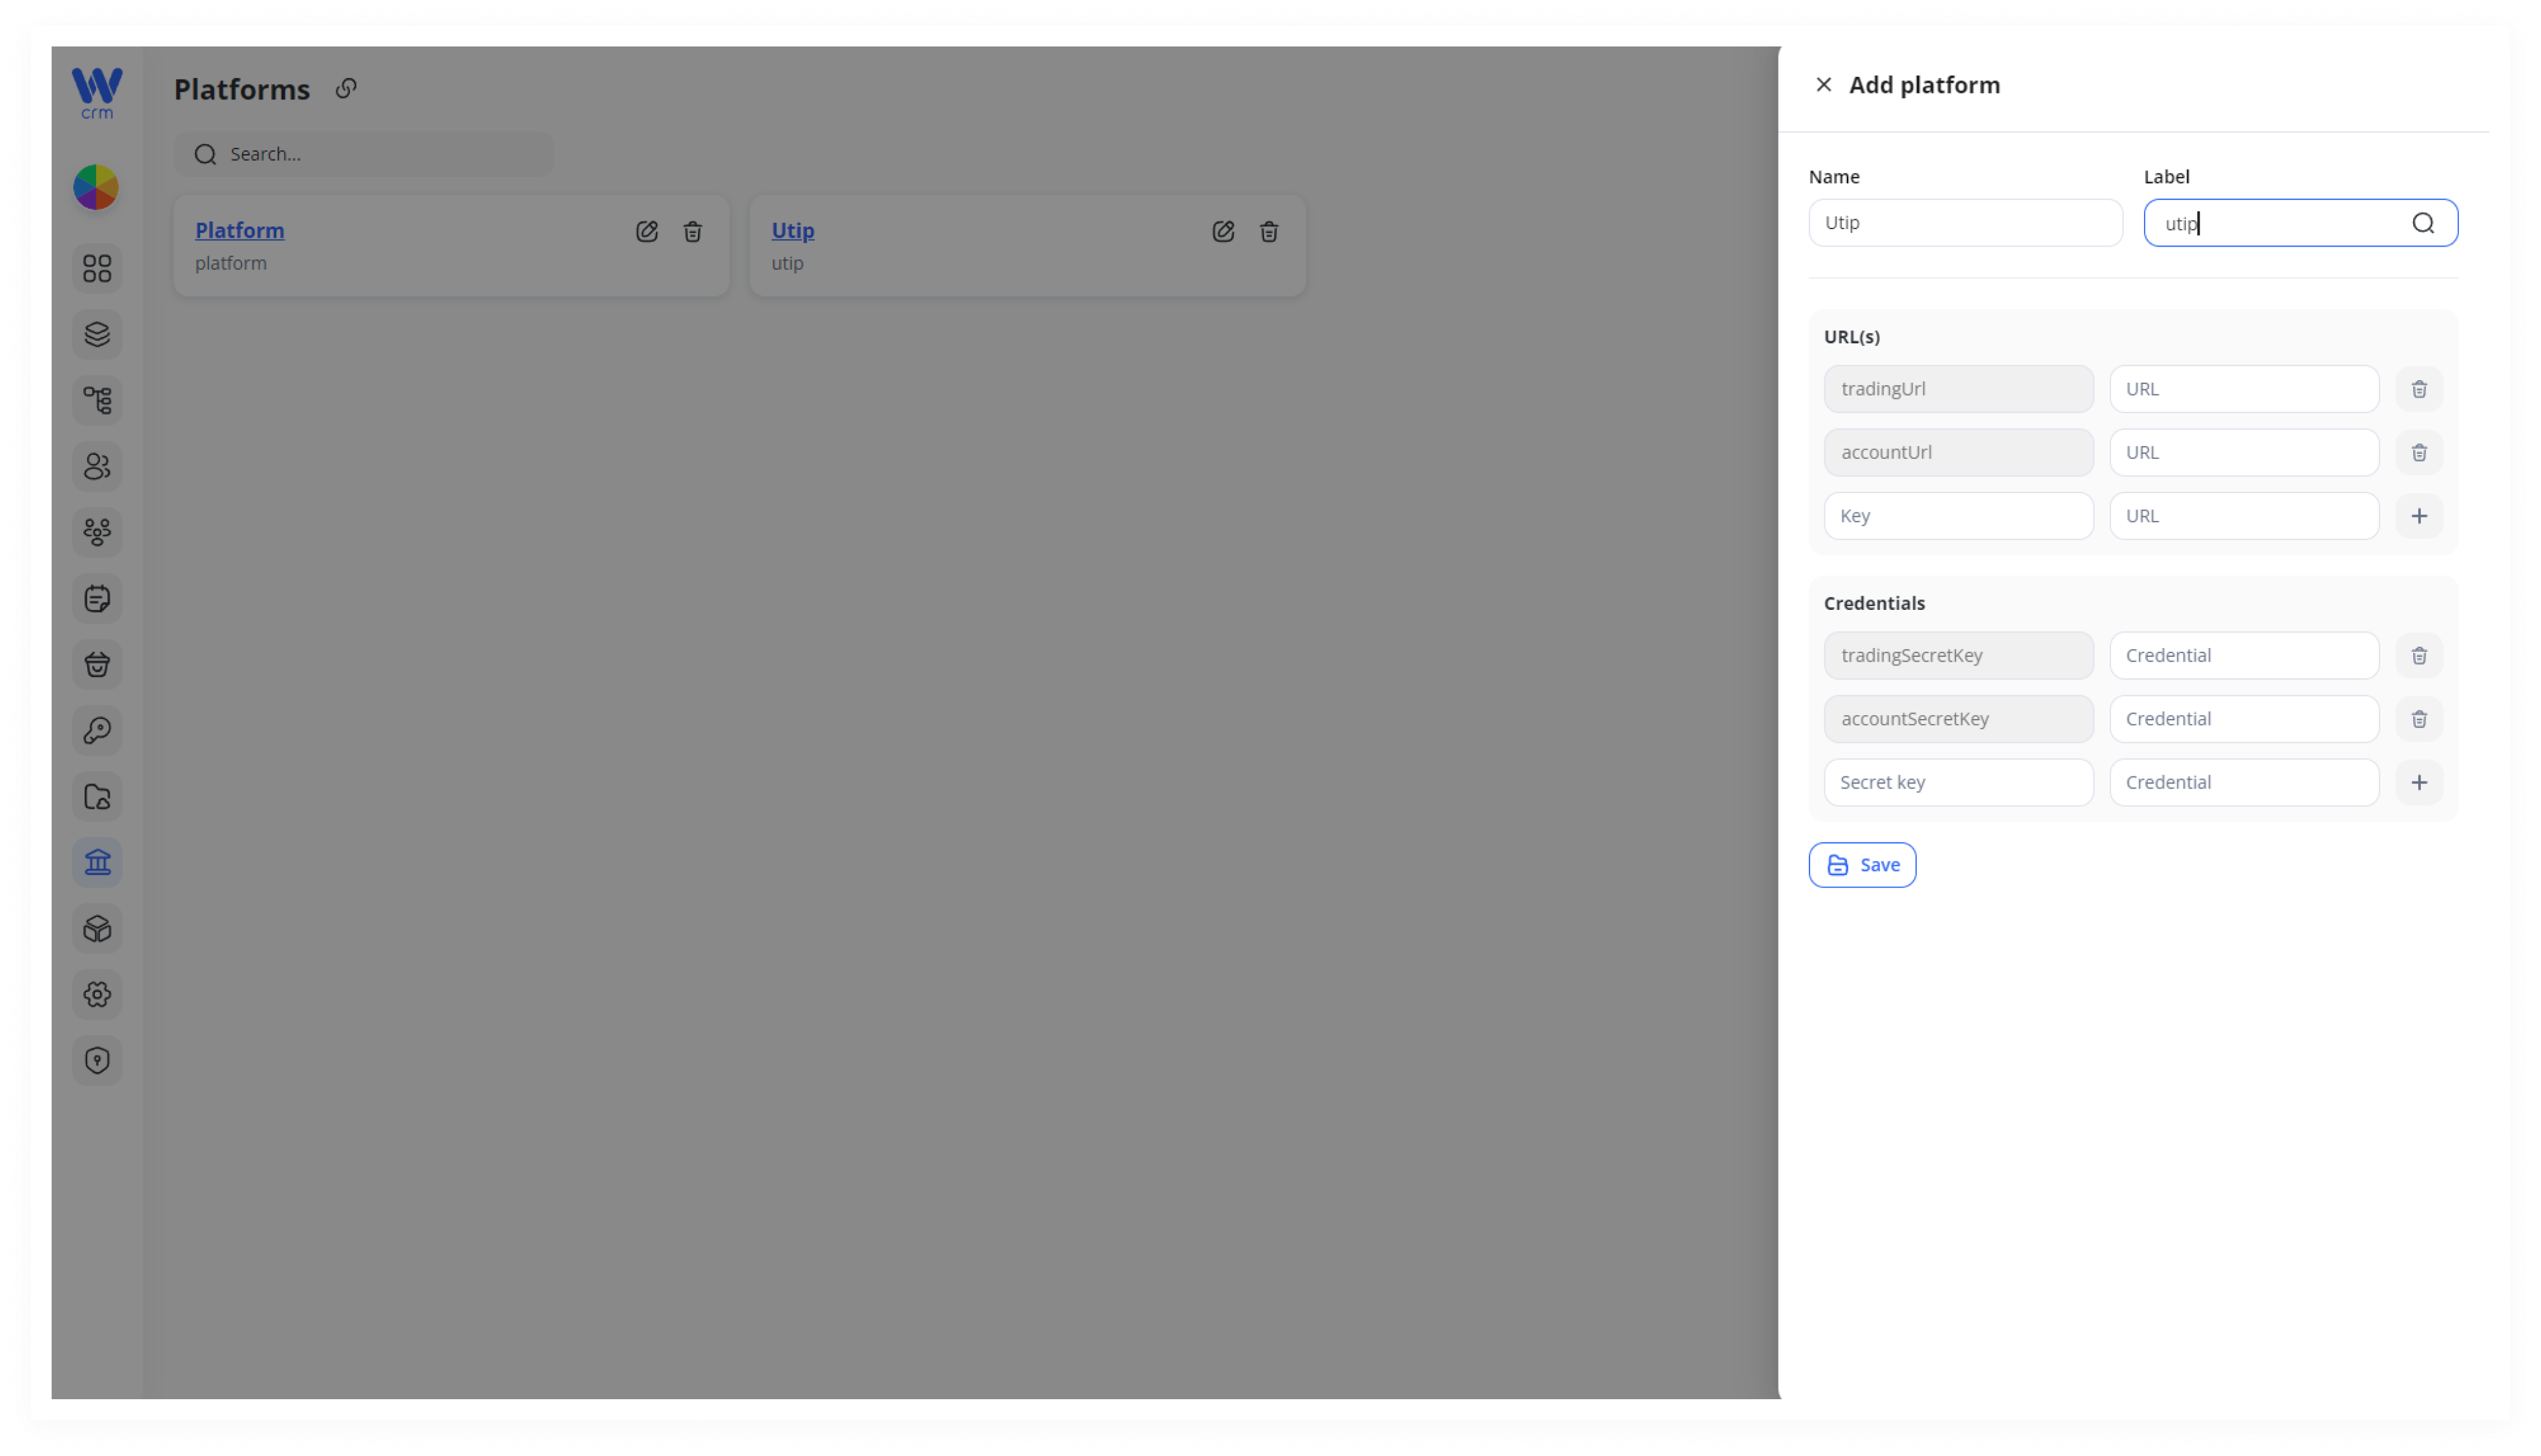
4. Click Save to apply the changes.
To edit a platform:
1. Click the Edit icon next to the platform.
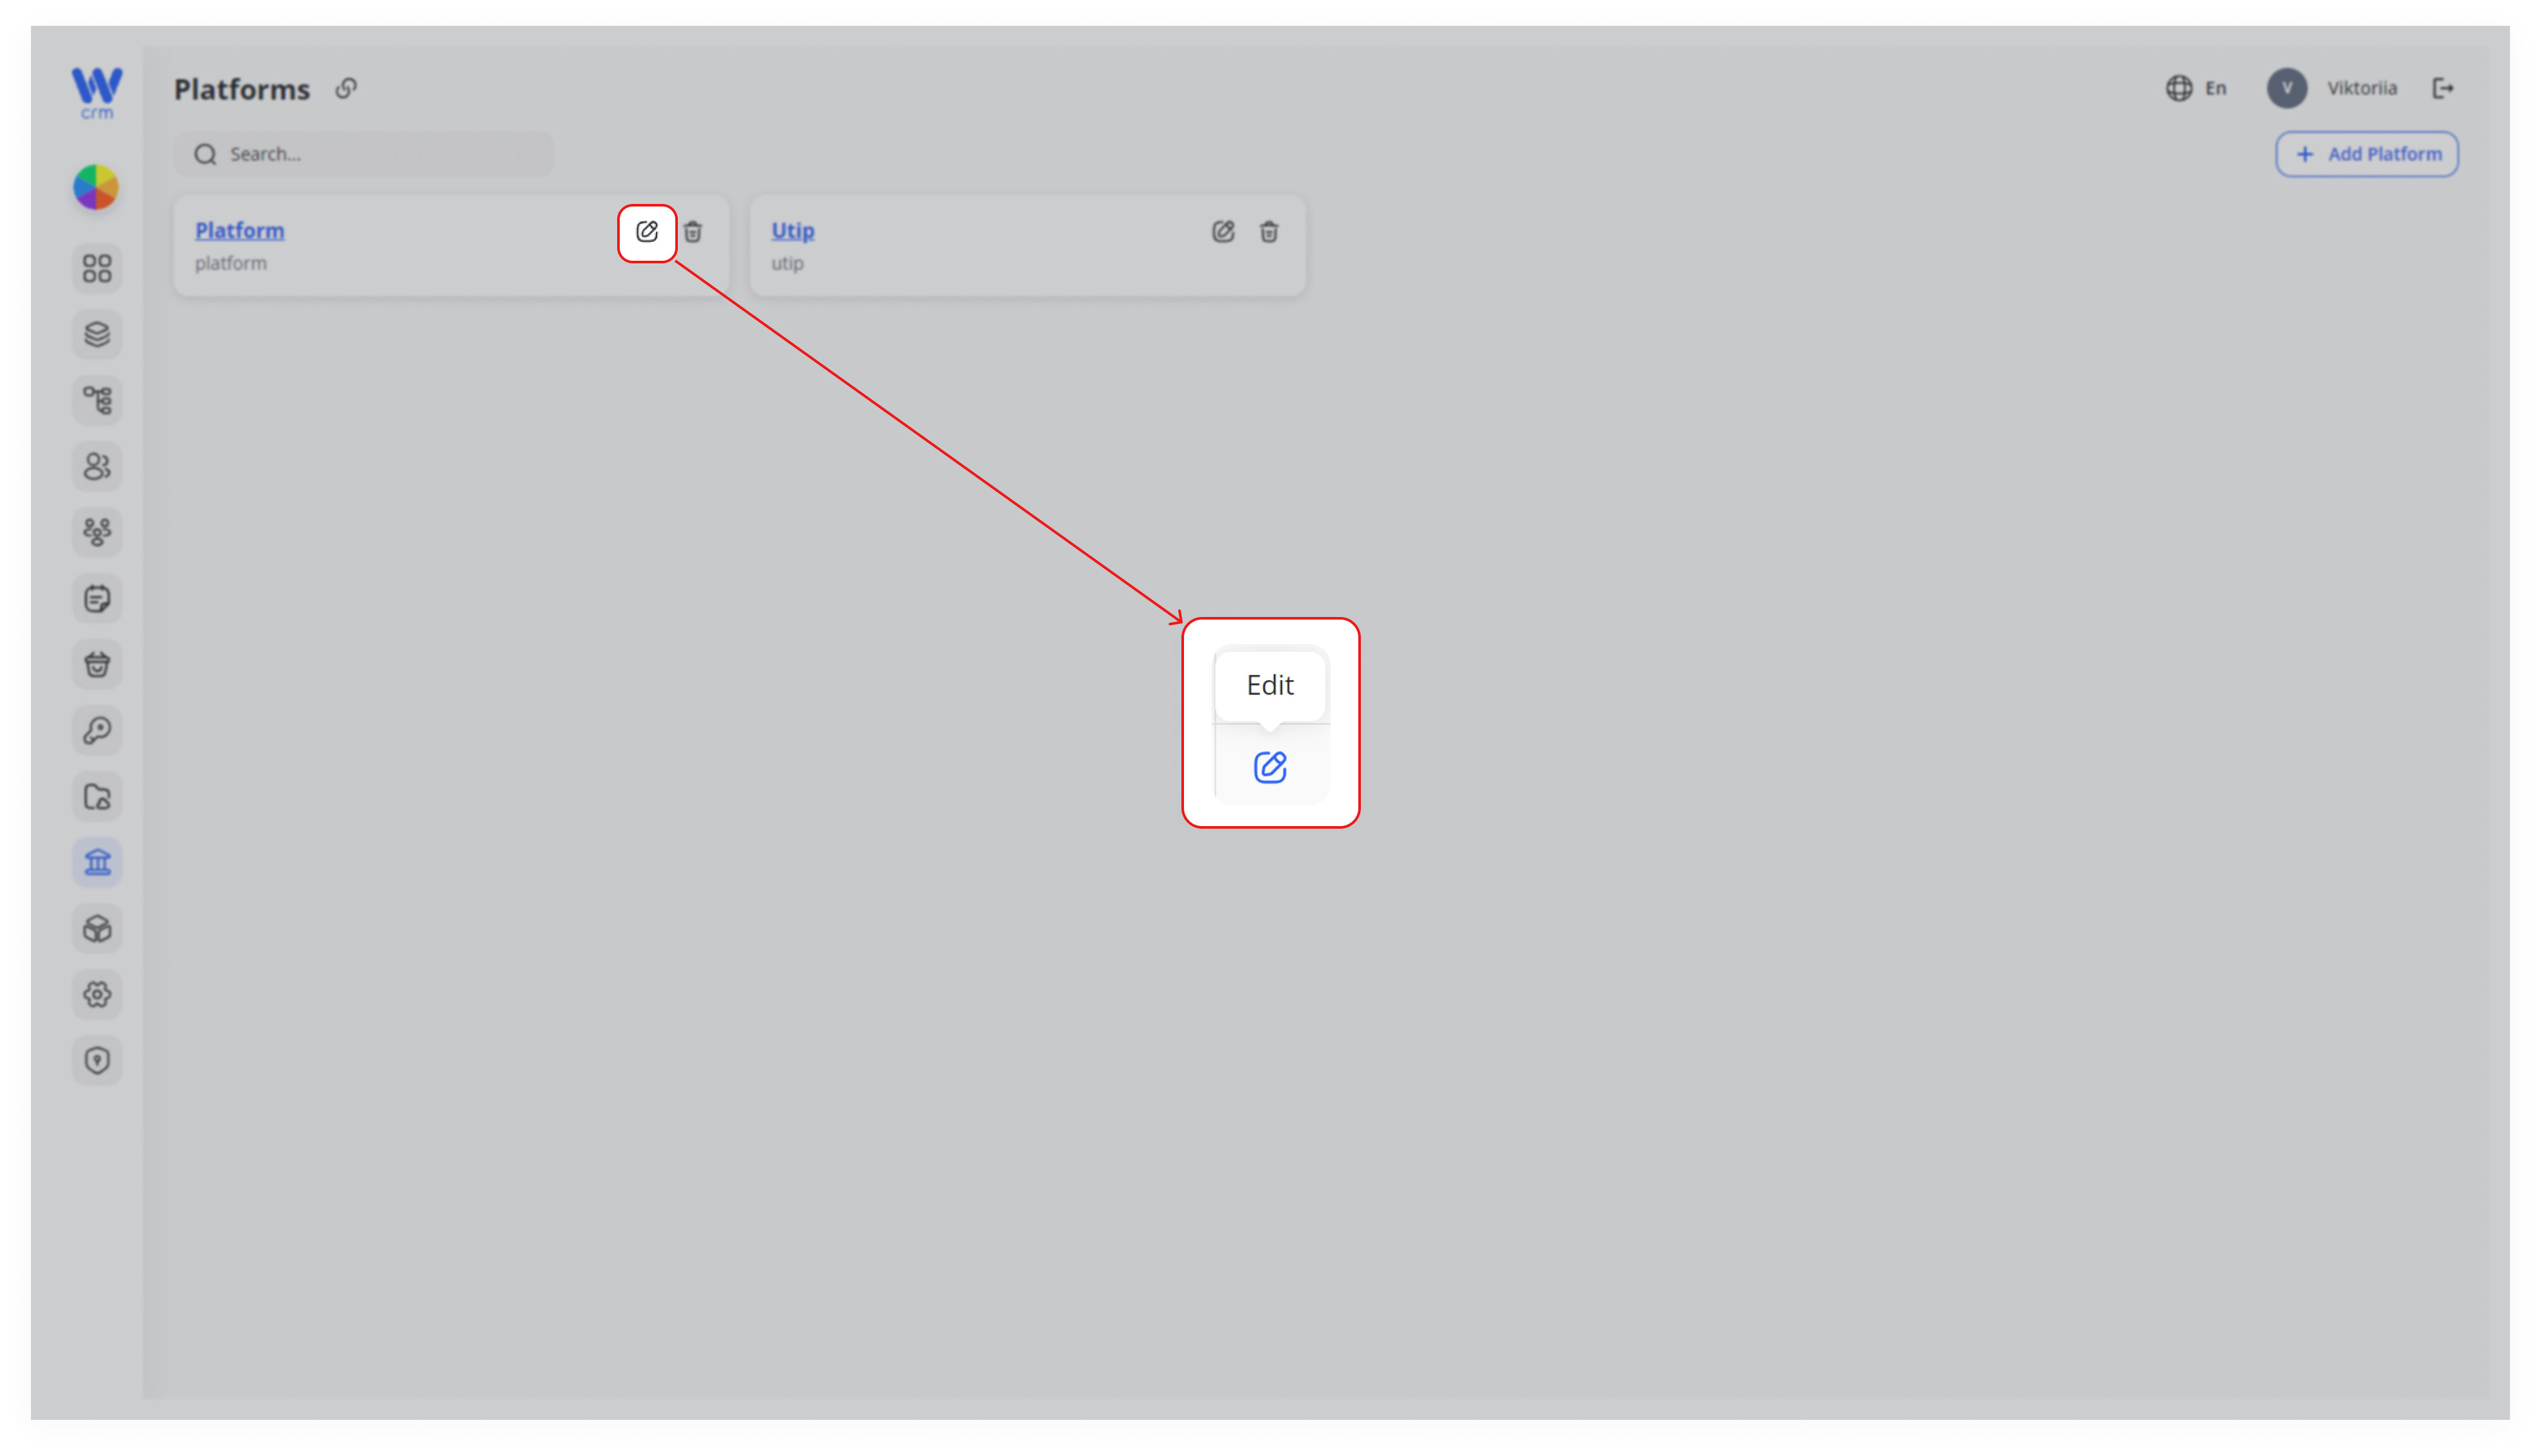
2. You can change the Name and update or add new URL(s) and Credentials (or modify existing values).
3. Click Save to apply the changes.
To delete a platform:
-
- Click the Delete icon next to the platform.
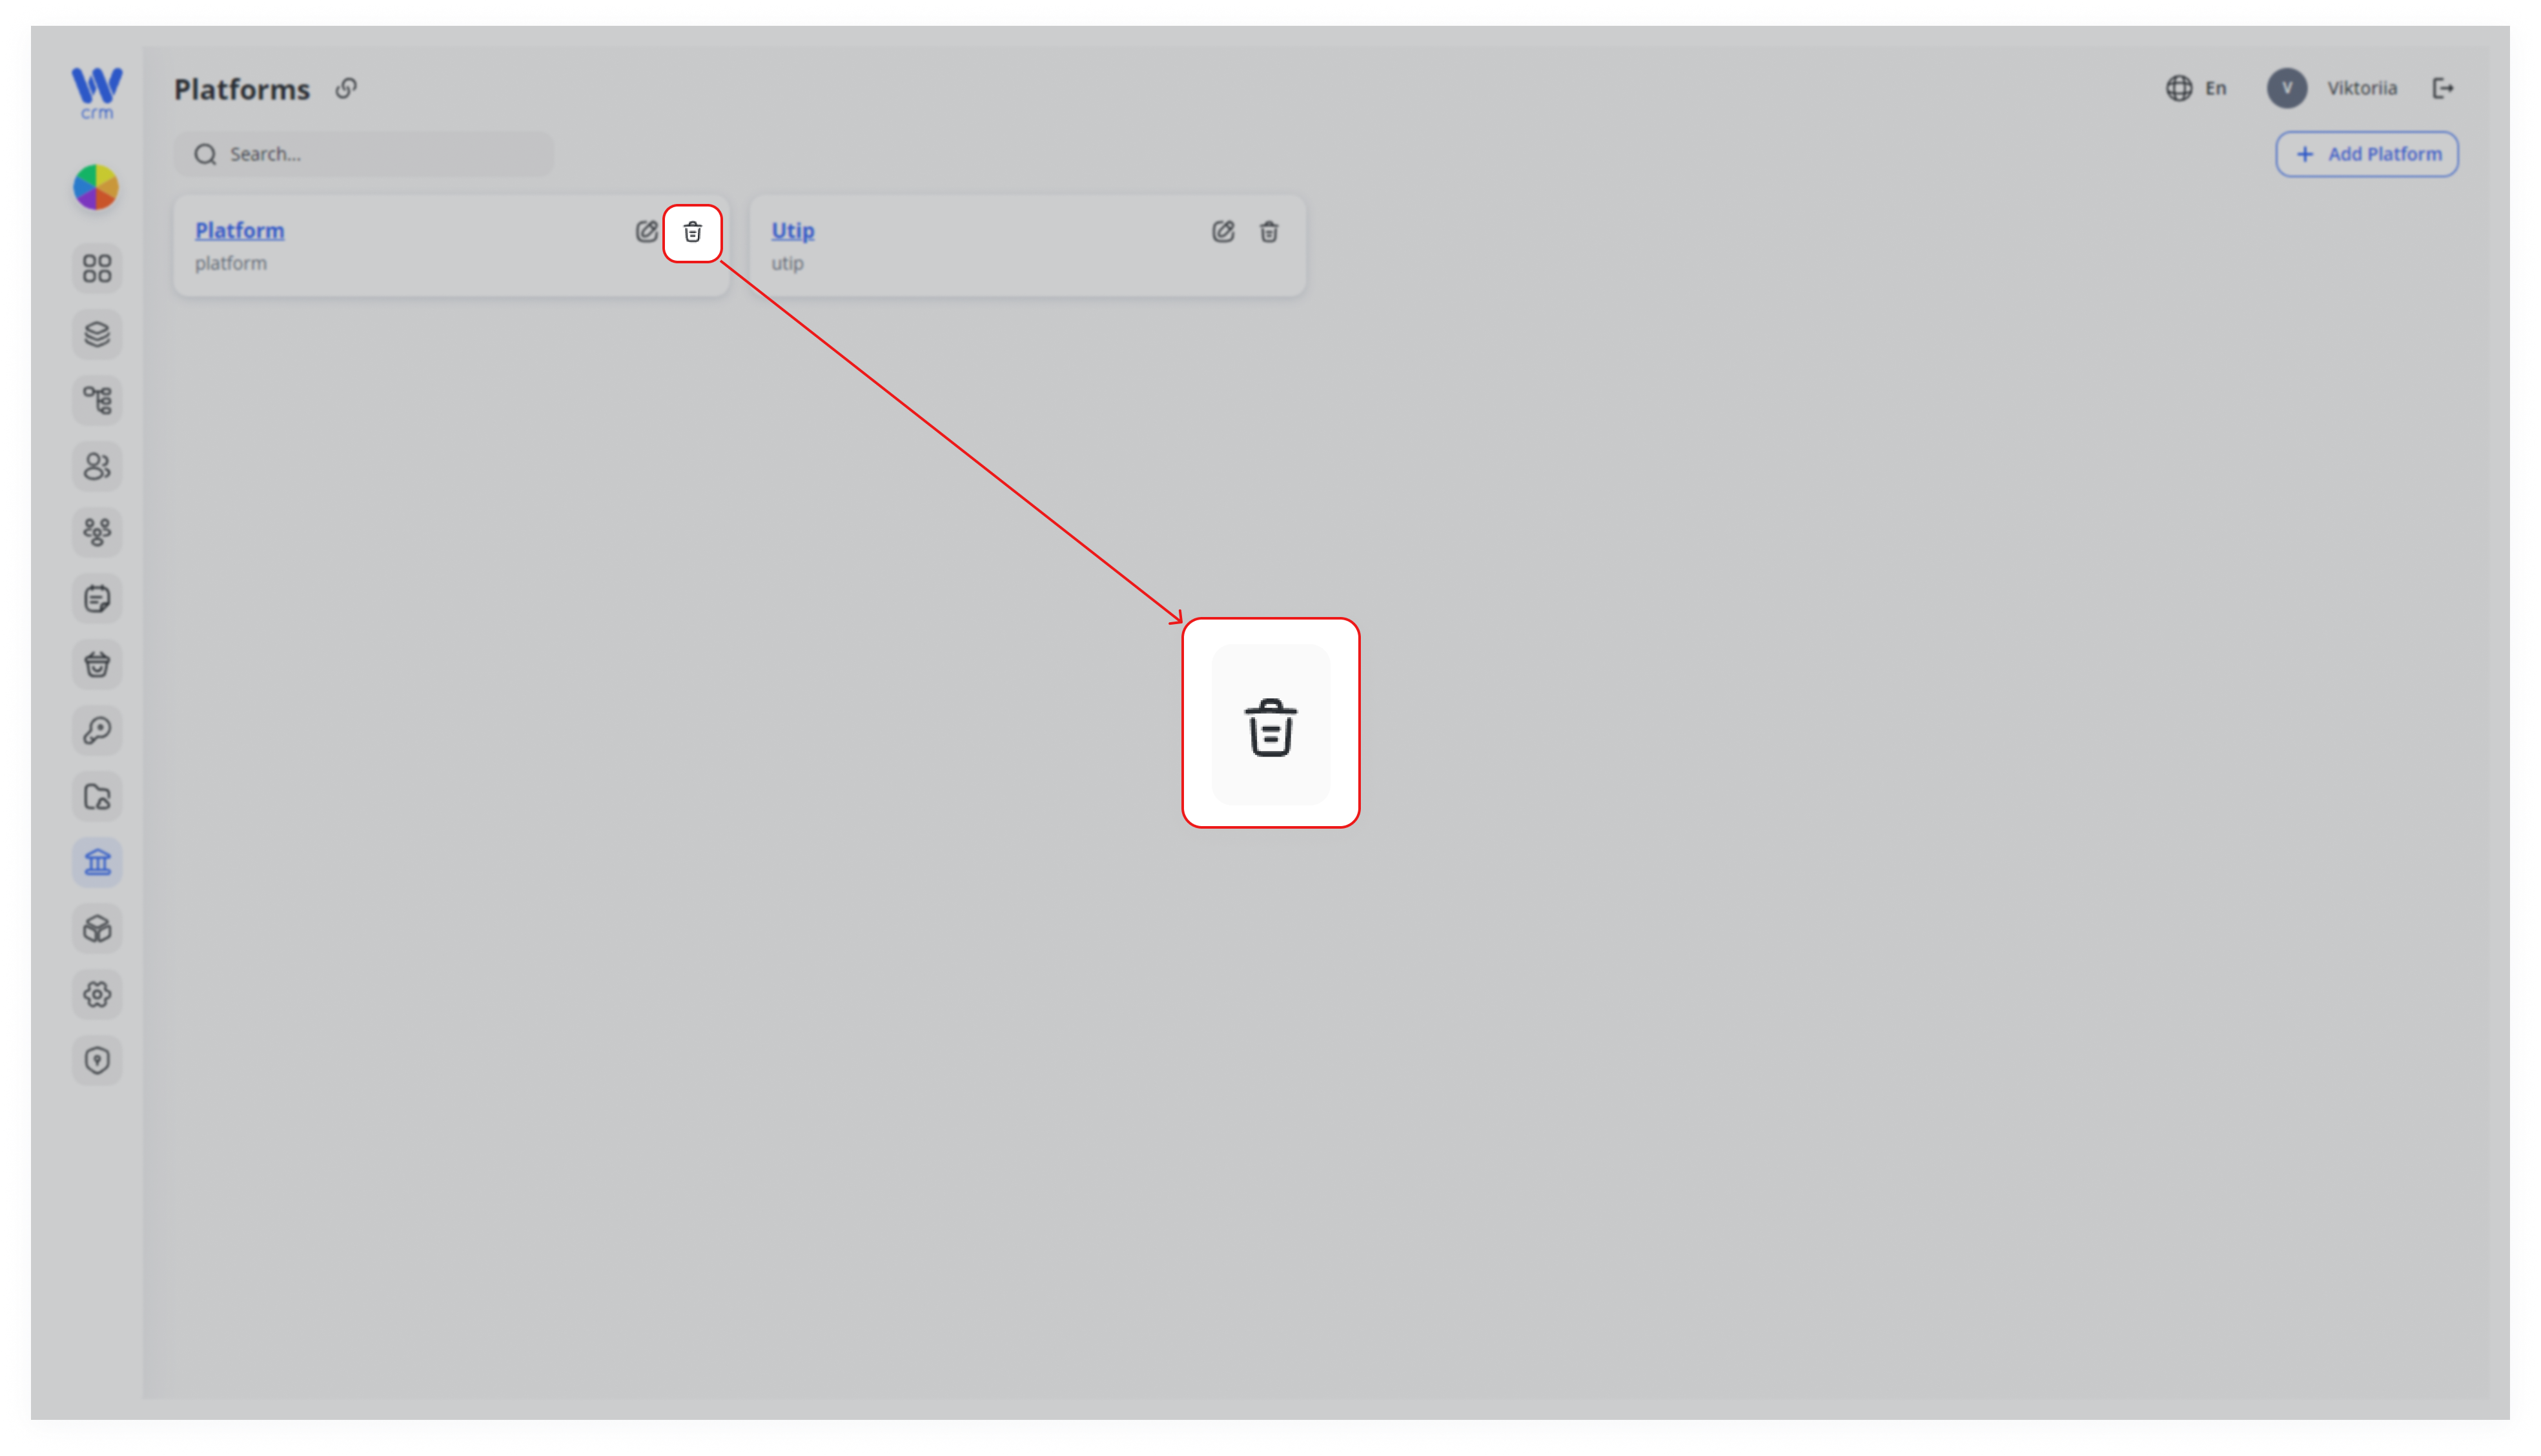
Note:Note: You can only delete platforms that have no associated assets. For more information on managing assets, refer to the [Assets section].
2. Viewing Platforms
1. Platforms Page
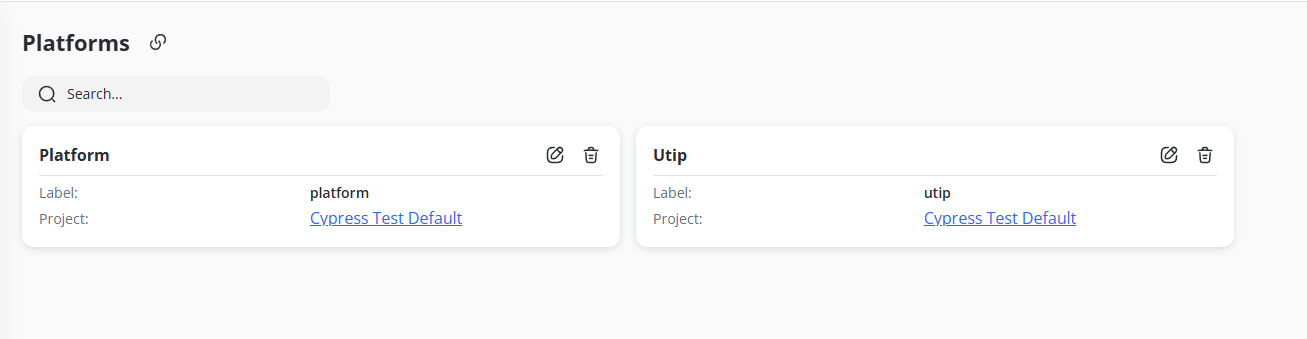
For instance, we have two existing platforms: “platform” and “Utip” (each card shows a Label and the Project it belongs to, such as “Cypress Test Default”).
The trash icon (for deleting a platform) and the pencil icon (for editing a platform) are visible only if the corresponding user permissions—(platforms.delete) for delete and (platforms.edit) for edit—are set to true.
2. Platform Details
Each platform has fields for Name, Label, URLs, and Credentials.
The example shows Utip with multiple URL fields (like tradingUrl, accountUrl) and credential fields (tradingSecretKey, accountSecretKey, etc.).
3. Linking Assets to a Platform
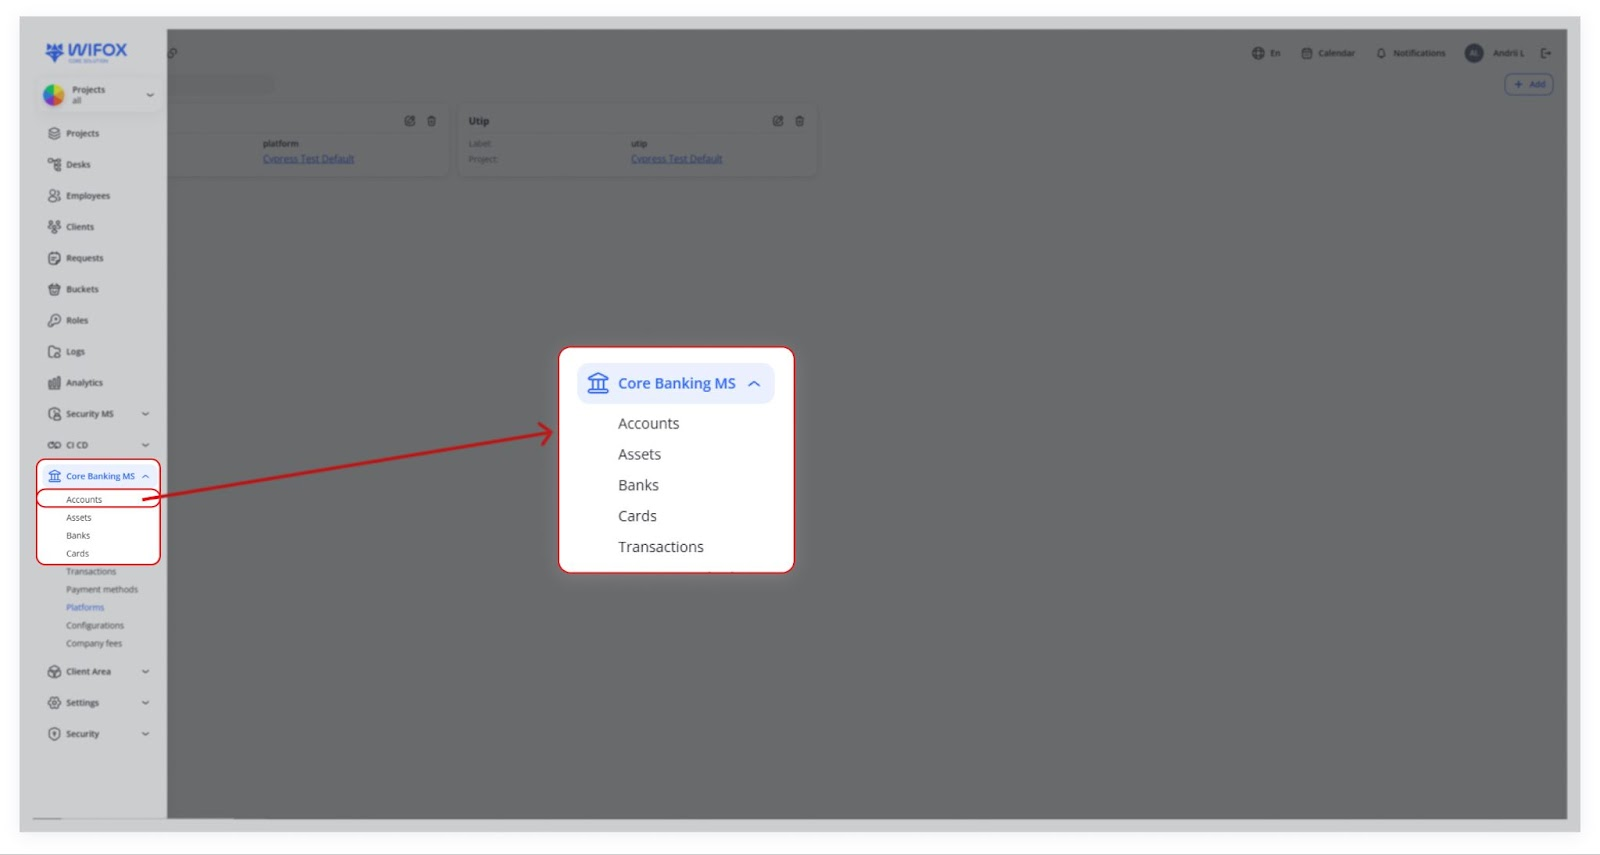
In the Core Banking MS menu, go to Accounts (see your screenshot with the red arrow pointing to “Accounts”).
2. Add or Edit an Asset
Within an account, you can Add asset (e.g., a USDT asset).
A dropdown labeled “Platform” appears.
Select “Utip” (or whichever platform you created).
3. Result
Any balance or transaction related to this asset is now stored on the external platform instead of the CRM’s internal database.
When you perform a deposit or withdrawal, our platform communicates with the platform via API to update balances.
4. Why Use External Platforms?
1. External Balance Storage
- Internal (no platform): If you create an asset without selecting a platform, its balance lives solely inside the CRM’s database.
- External (with platform): When you link an asset to an external platform (e.g. Utip), all balances and holdings are stored on that external system, and the CRM merely mirrors them.
2. Real-Time Transactions
- All deposits, withdrawals or trades are executed via the platform’s API.
- The CRM only updates its view of the balance once the external system confirms the change, ensuring accuracy and consistency.
3. Flexibility & Scalability
- Multiple integrations: You can configure as many platforms as needed (e.g. Utip, Binance, etc.).
- New integrations on demand: If your business adopts a new processor, just discuss the requirements and we can add it.
5. Example Workflow
A. Create a New Platform (Utip)
Result: Utip is now registered as an external platform for all future transactions.
B. Add a USDT Asset
-
Go to Accounts
In the CRM sidebar, select Accounts. -
Click Add asset
-
Fill in asset details
-
Currency:
USDT -
Type:
Crypto -
Platform: Choose Utip from the dropdown.
-
-
Save
Result: Your USDT asset is linked to Utip — all USDT movements will route through Utip’s API.
C. Perform a Deposit
-
Initiate deposit in CRM
User clicks “Deposit” on the USDT asset. -
CRM sends API request
The CRM calls Utip’sdepositendpoint with amount and account info. -
Utip processes & confirms
Utip updates its own ledger and returns the new balance. -
CRM reflects balance
The CRM refreshes the USDT balance to match Utip’s confirmed value.
Key Points
-
Project-Based: Every platform is scoped to a specific project.
-
Credentials & URLs: Must be configured correctly for seamless API communication.
-
External Balances: Any asset tied to a platform is managed off-platform; the CRM simply displays what the external system reports.
-
API-Driven Transactions: Deposits, withdrawals, and other operations always go through the platform’s API rather than internal database updates.
In summary, the Core Banking Platforms function allows you to add, edit, and manage integrations like Utip so that asset balances and transactions occur on an external platform rather than within the CRM itself. By configuring Name, Label, URLs, and API credentials, you enable real-time interaction between your chosen platforms, ensuring seamless and secure transaction management.