
6. How to Manage Texts
Long, structured content—such as notifications, email bodies, tooltips, and rich messages—is managed under Settings > Texts. This module lets you centrally edit, clone, and auto-translate entire text objects (often JSON trees) across any active language. By using it you ensure that every notification, onboarding message, or rich UI copy is consistent and localized without touching code.
Why Manage Texts Here?
-
Complex Structures: Handle nested content (titles, subtitles, descriptions) in one place.
-
Rich Formatting: Preserve HTML or Markdown within descriptions.
-
AI-Powered Translation: Leverage built-in “Translate” for bulk localization.
-
Version Control: Lock critical texts to prevent accidental deletion.
Viewing & Searching Texts
& Translating an Existing TextTo add a translation to any of these texts:
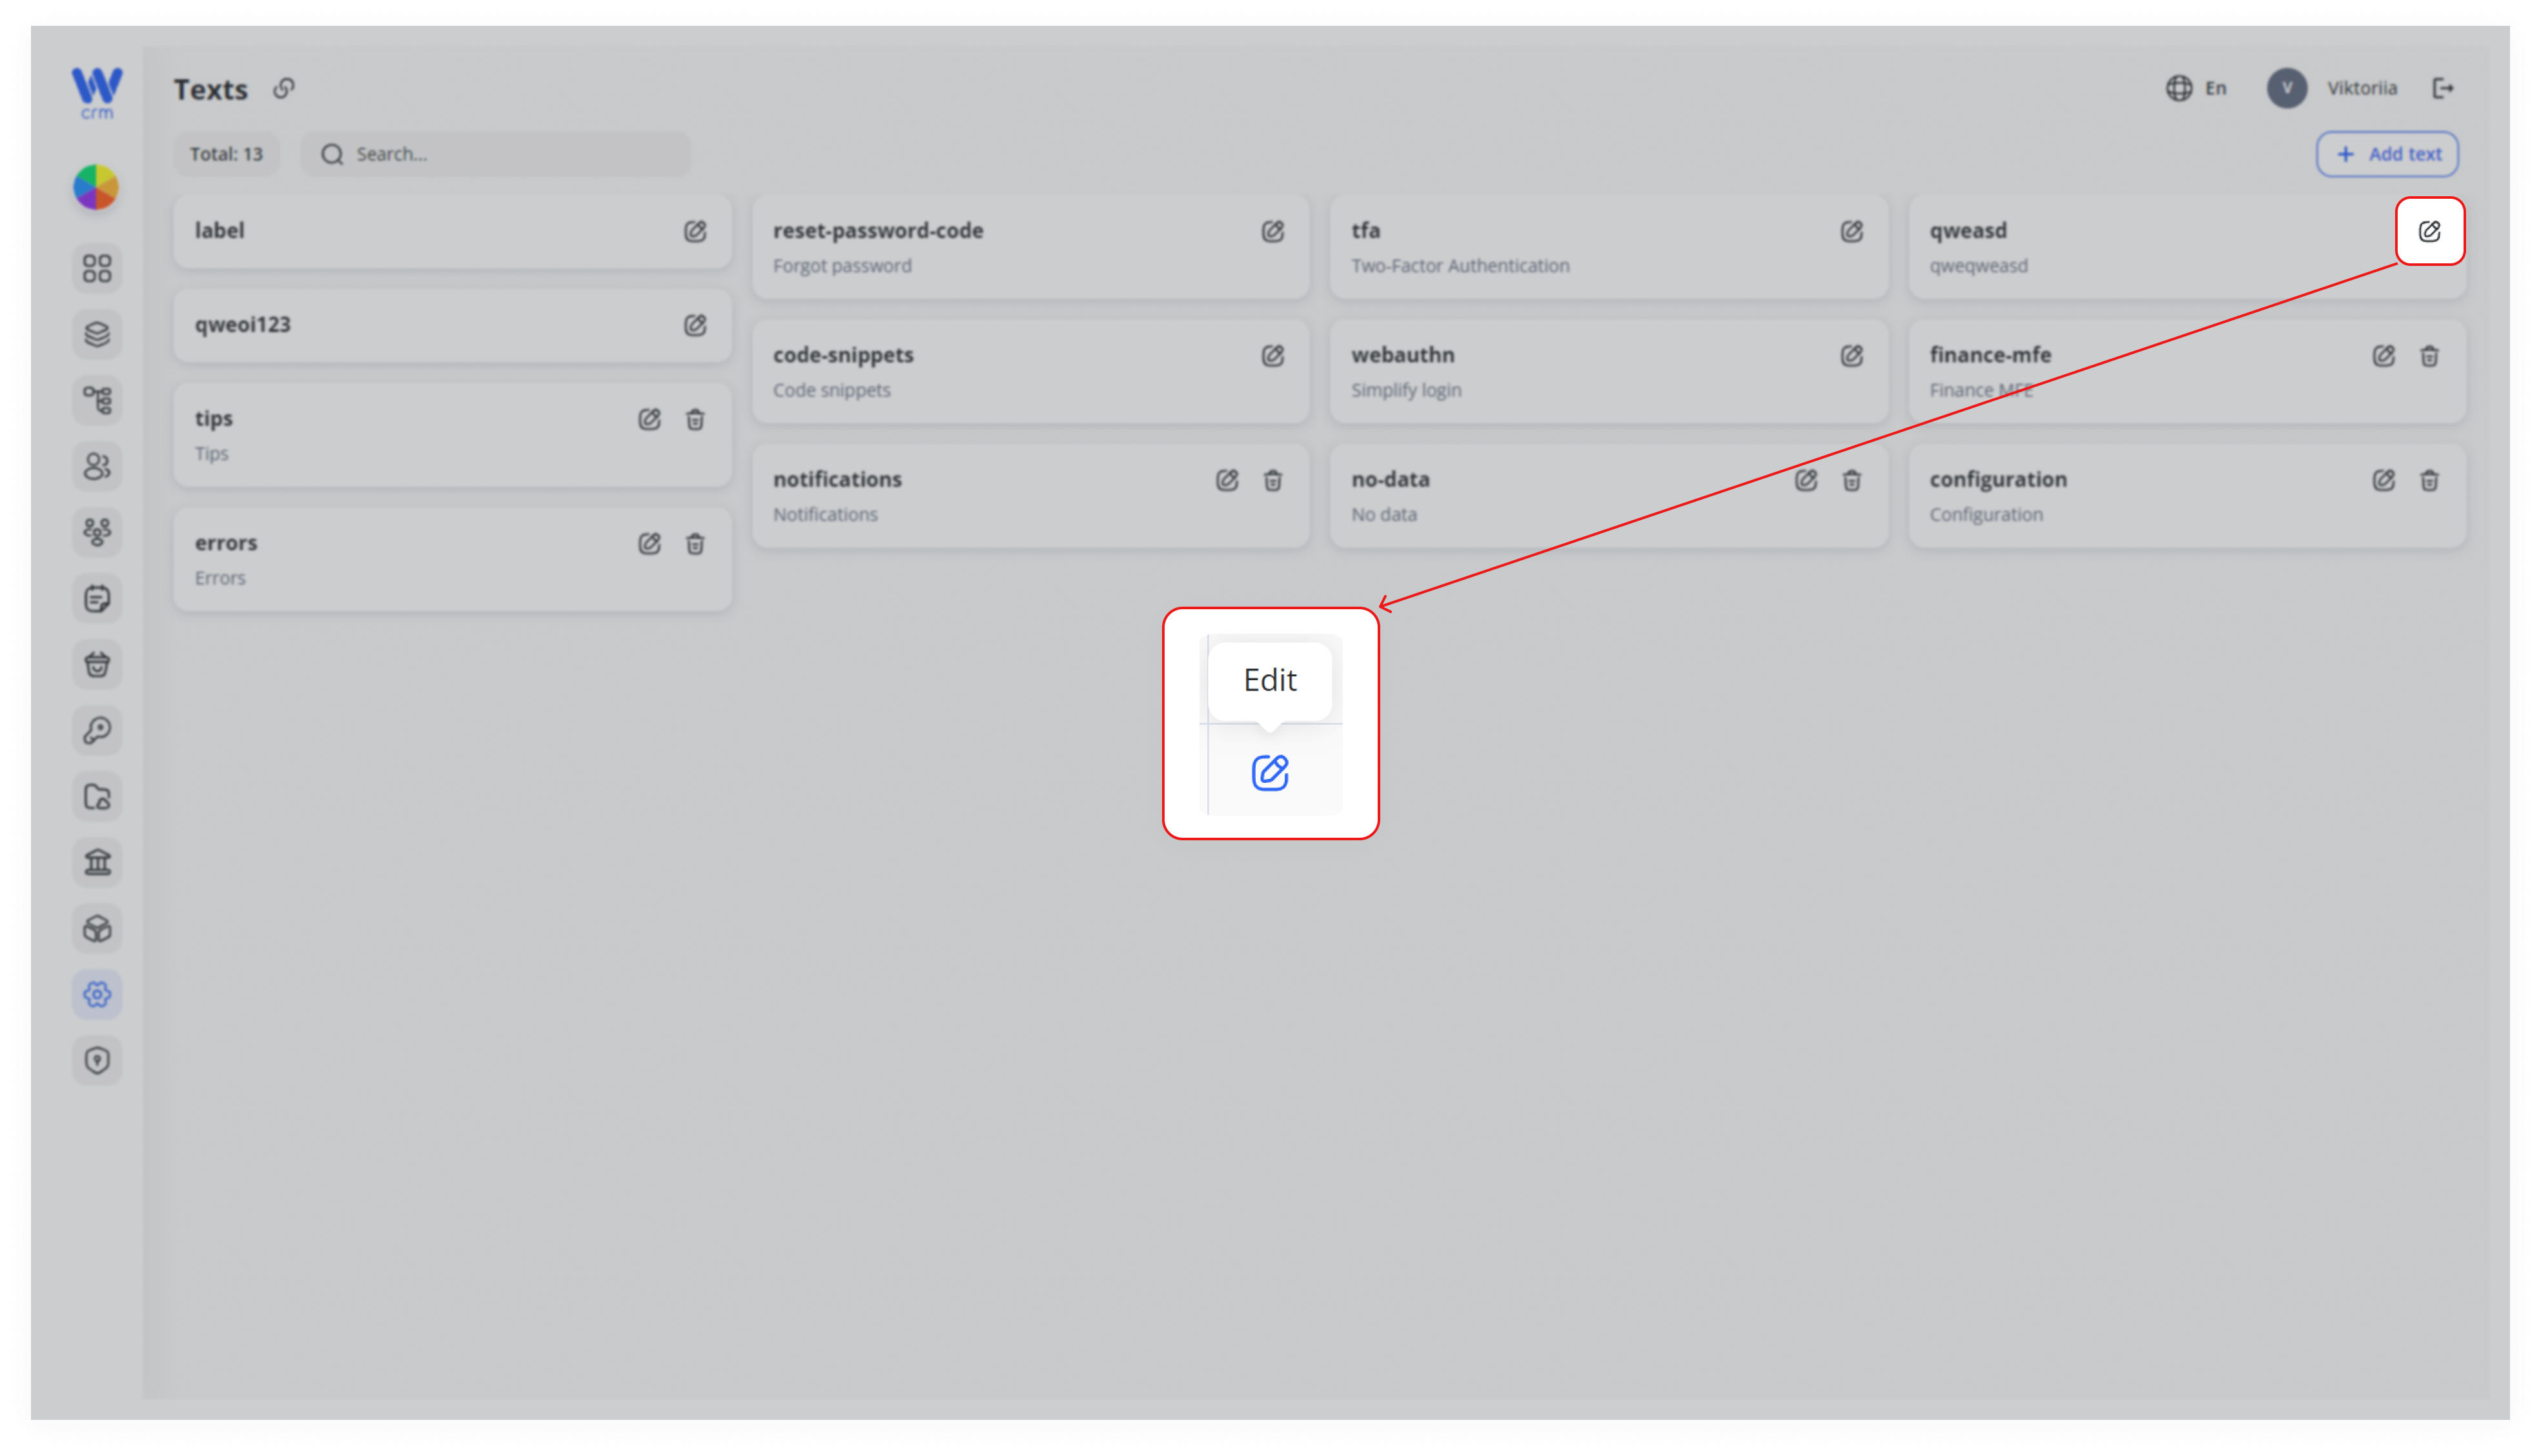
Click the Edit (pencil) icon
nexton the text card you want tothe corresponding text.update.
1.
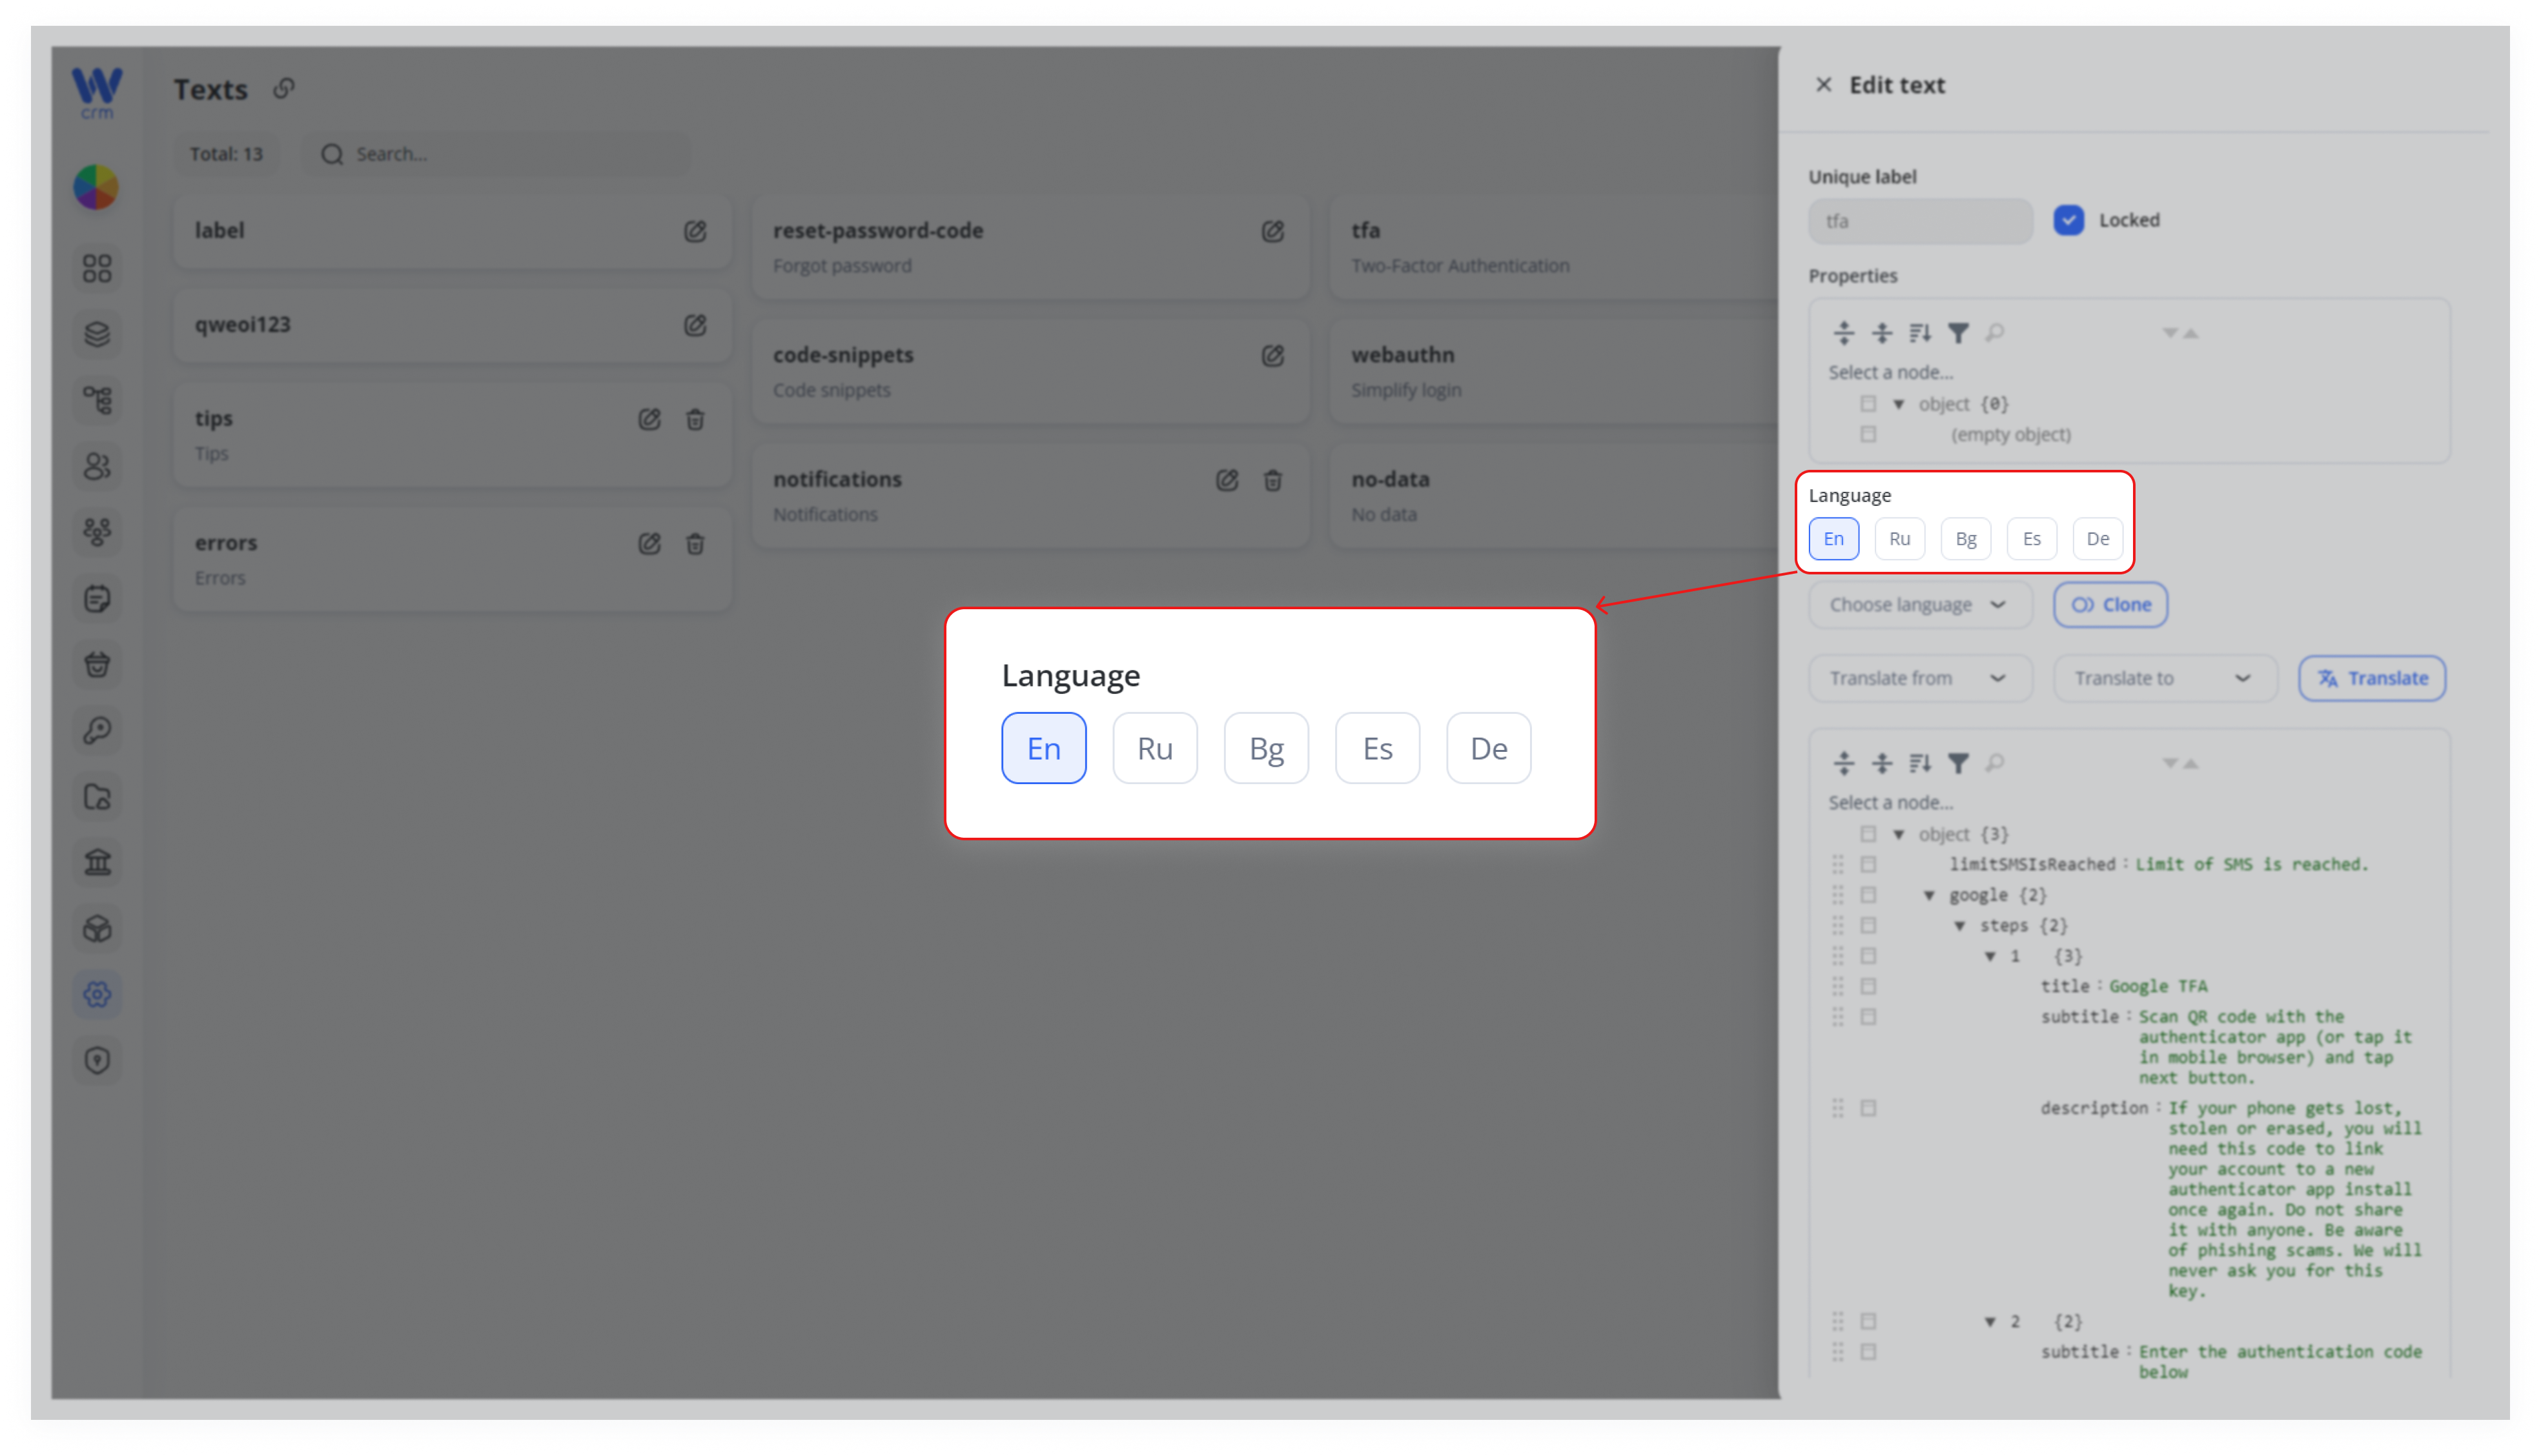
2. In the right-hand panel:
-
LanguageUnique labelfield,(read-only) identifies the object. -
Locked checkbox prevents deletion; leave checked for core messages.
-
Properties view shows the JSON structure (nodes you can select
thetotargetedit).language. -
Language tabs let you switch between existing translations.
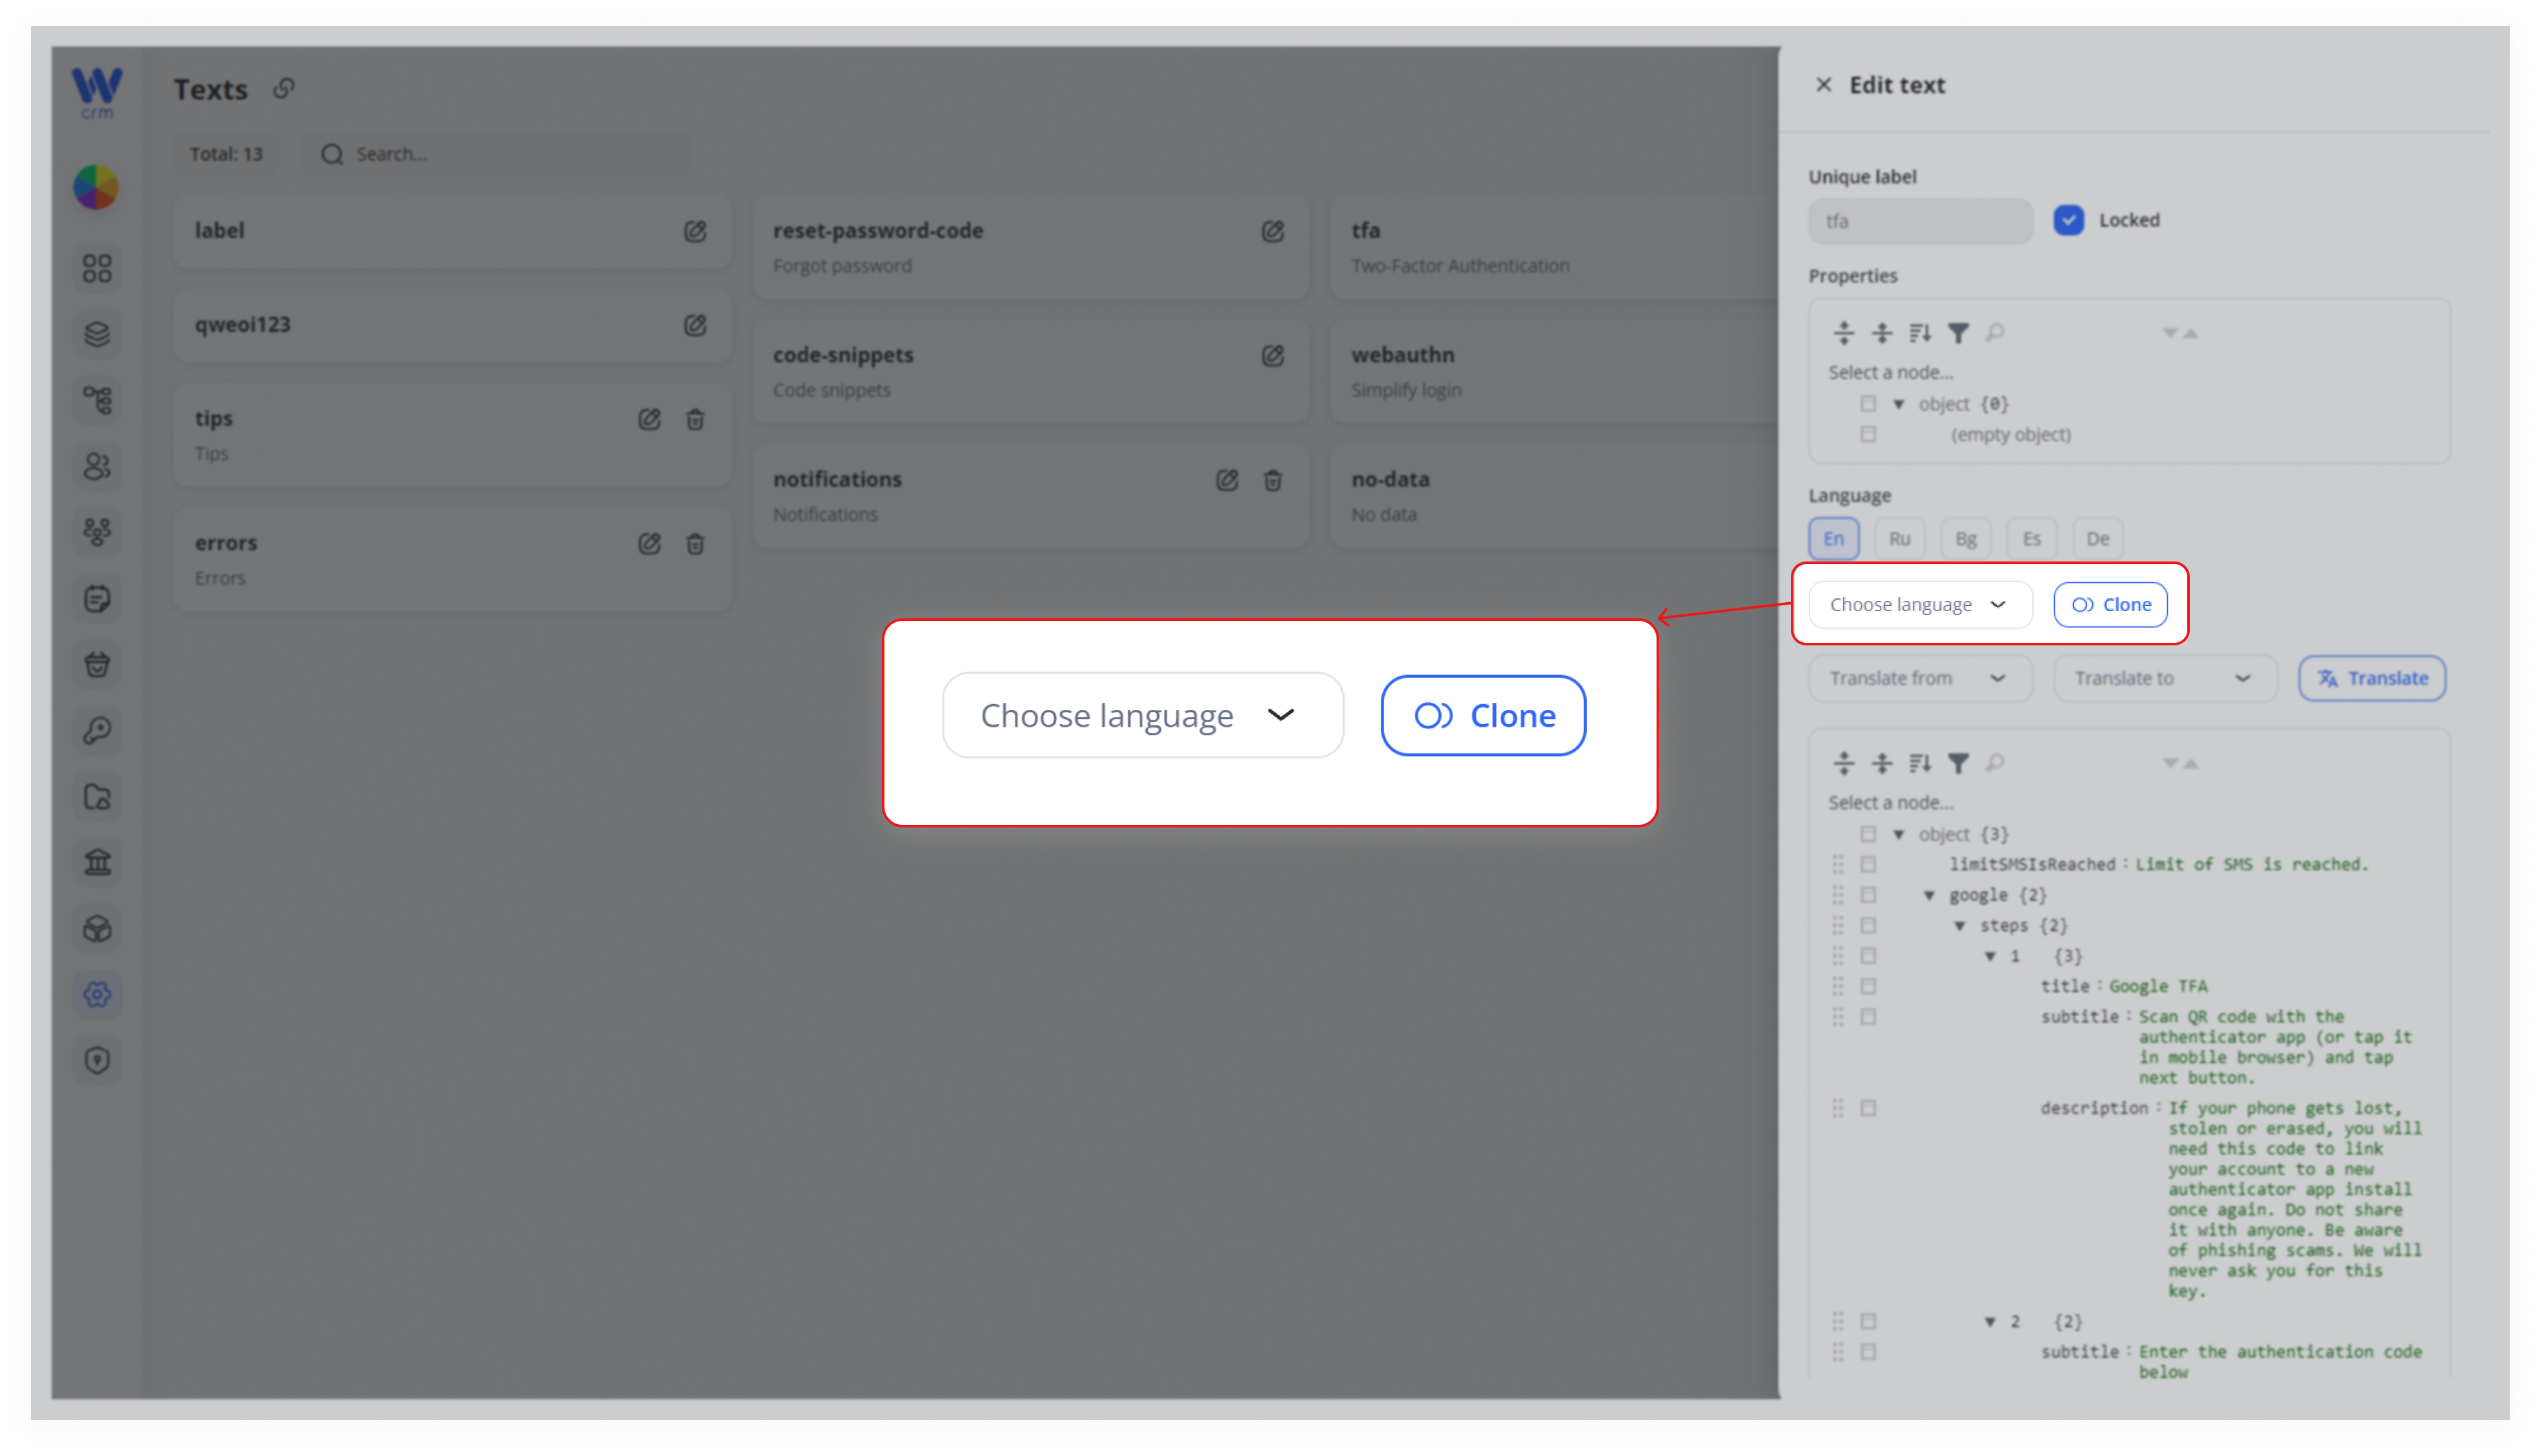
3. To copy data from the original language (for example, English), select it from the drop-down list and click the Clone button.from your source language to your target if you want to copy existing content pre-translation.
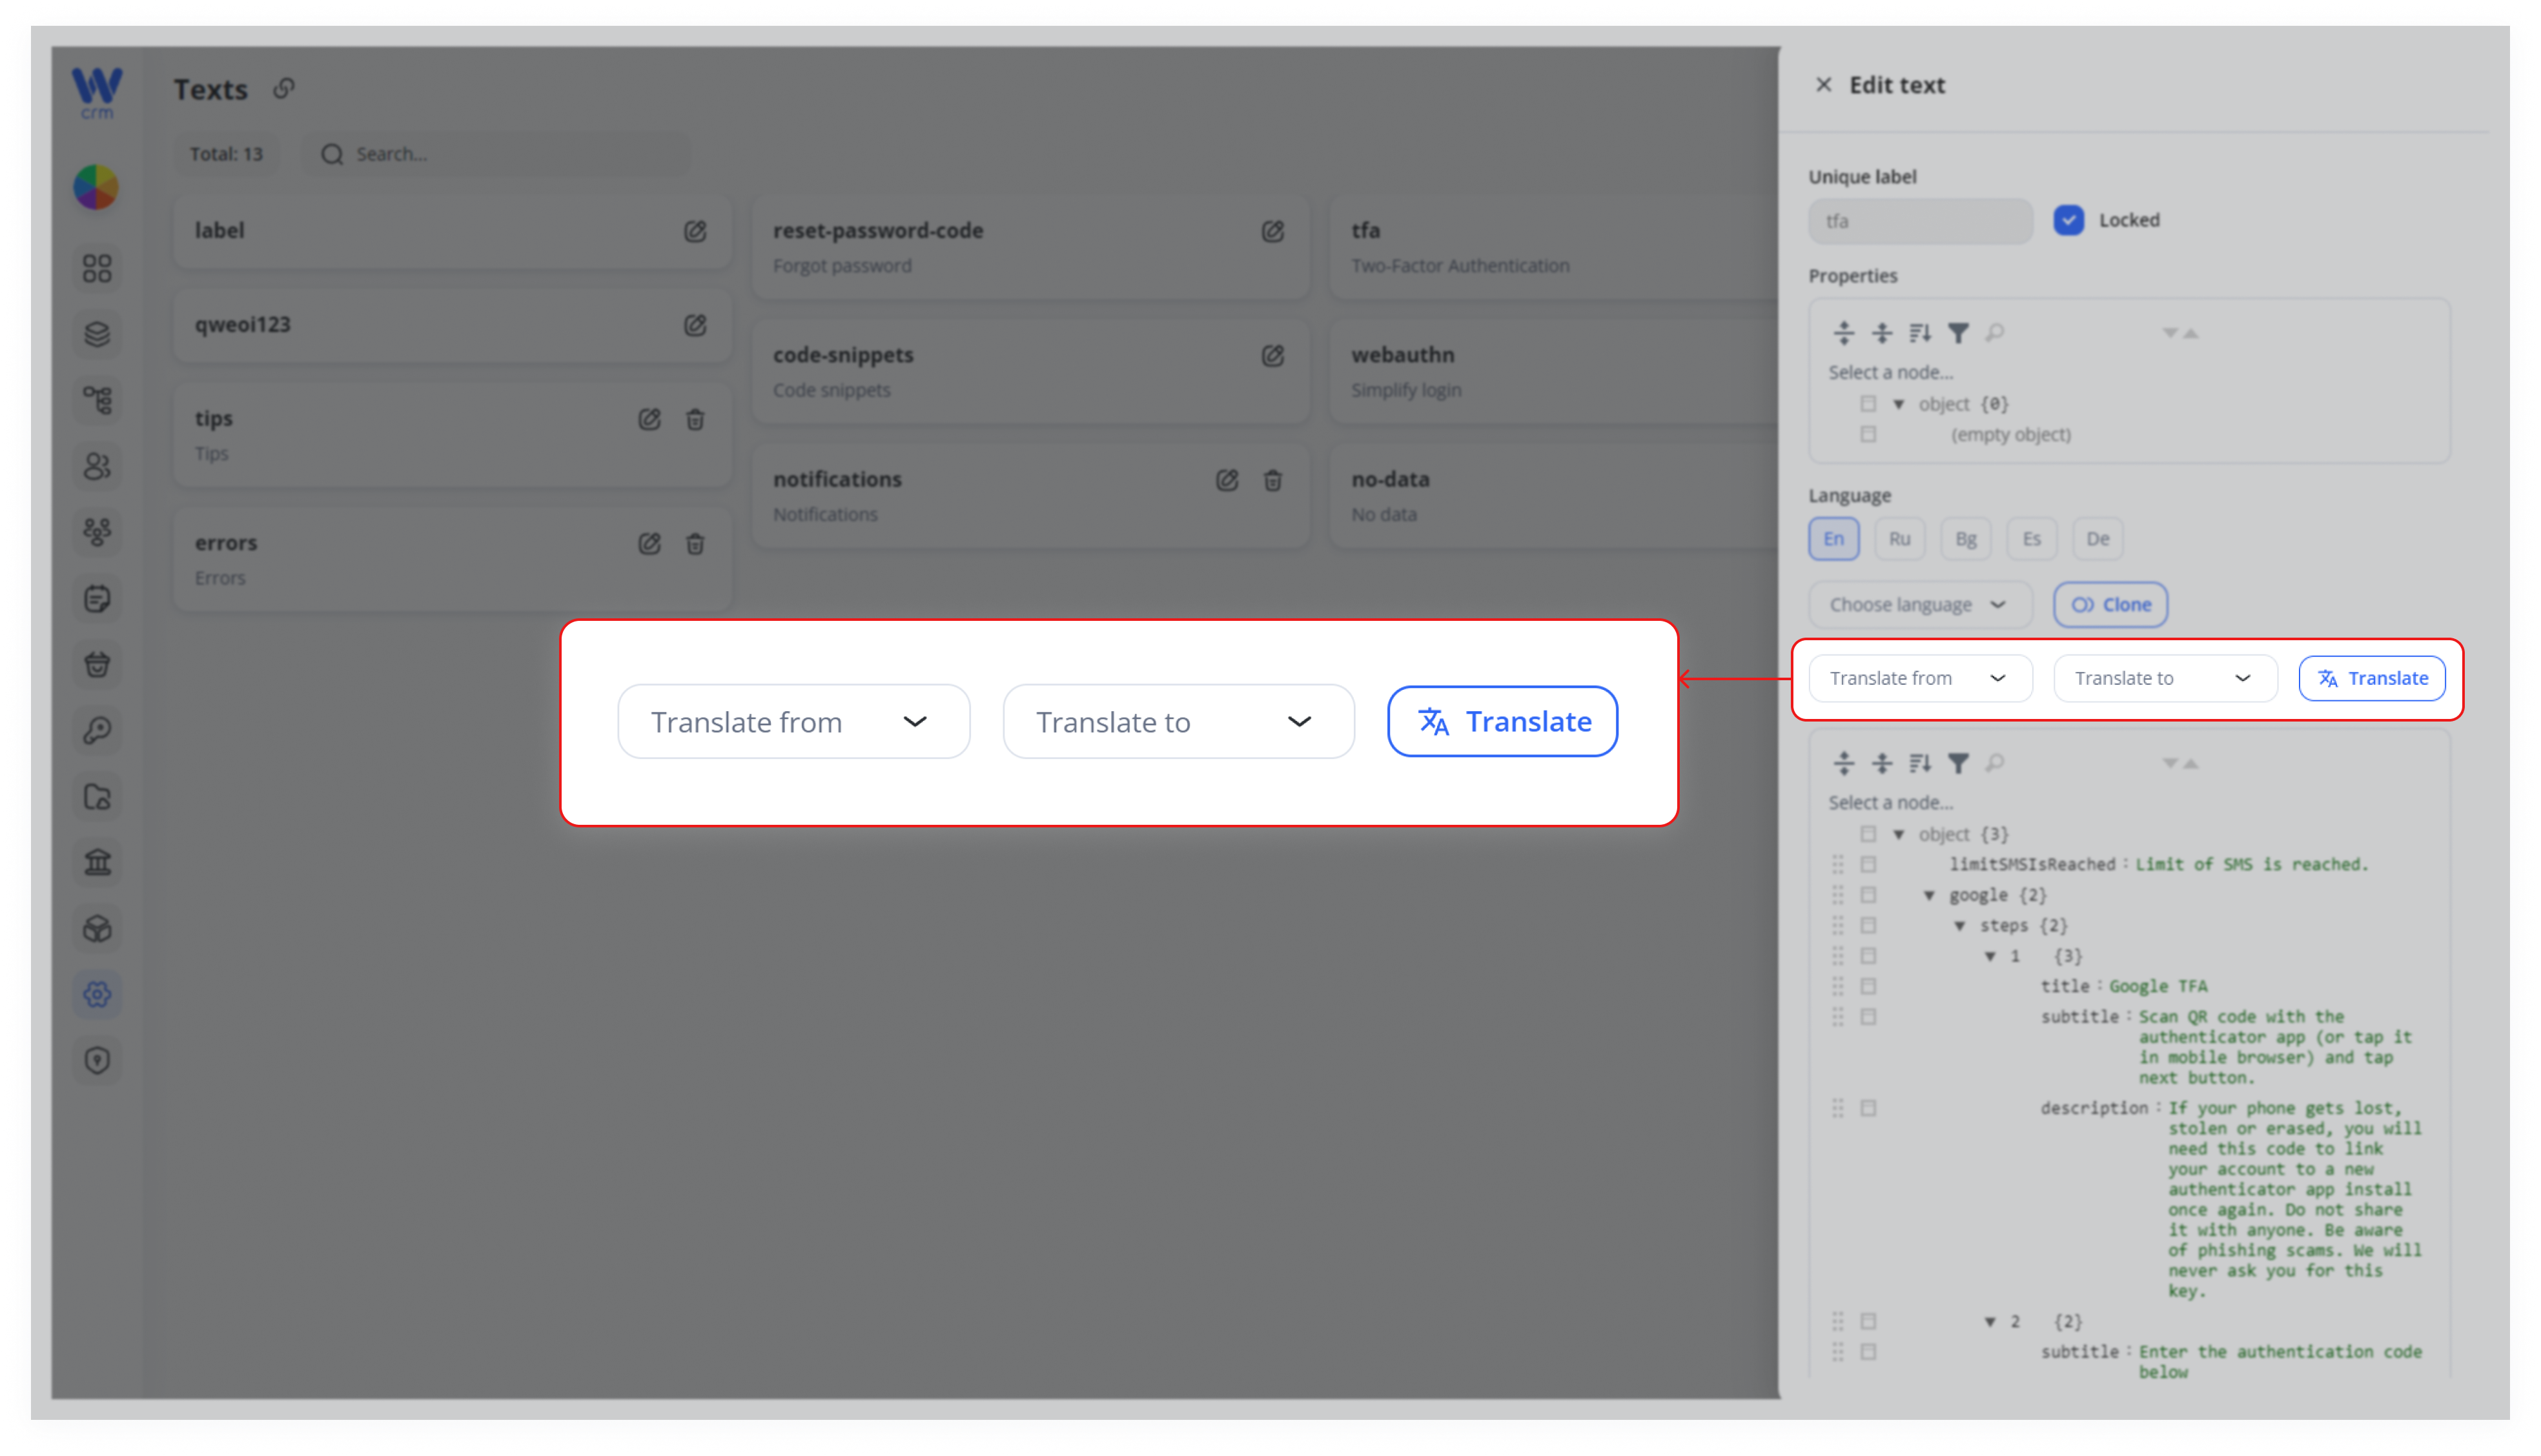
4. EnterAuto-translate: thechoose new“Translate values manually, or select the target languagesfrom” and “Translate to” languages, then click Translate forto automaticpopulate translationall withnodes via AI.
5. Manually tweak any node in the JSON tree as needed.
6. Click Save to apply the changes.
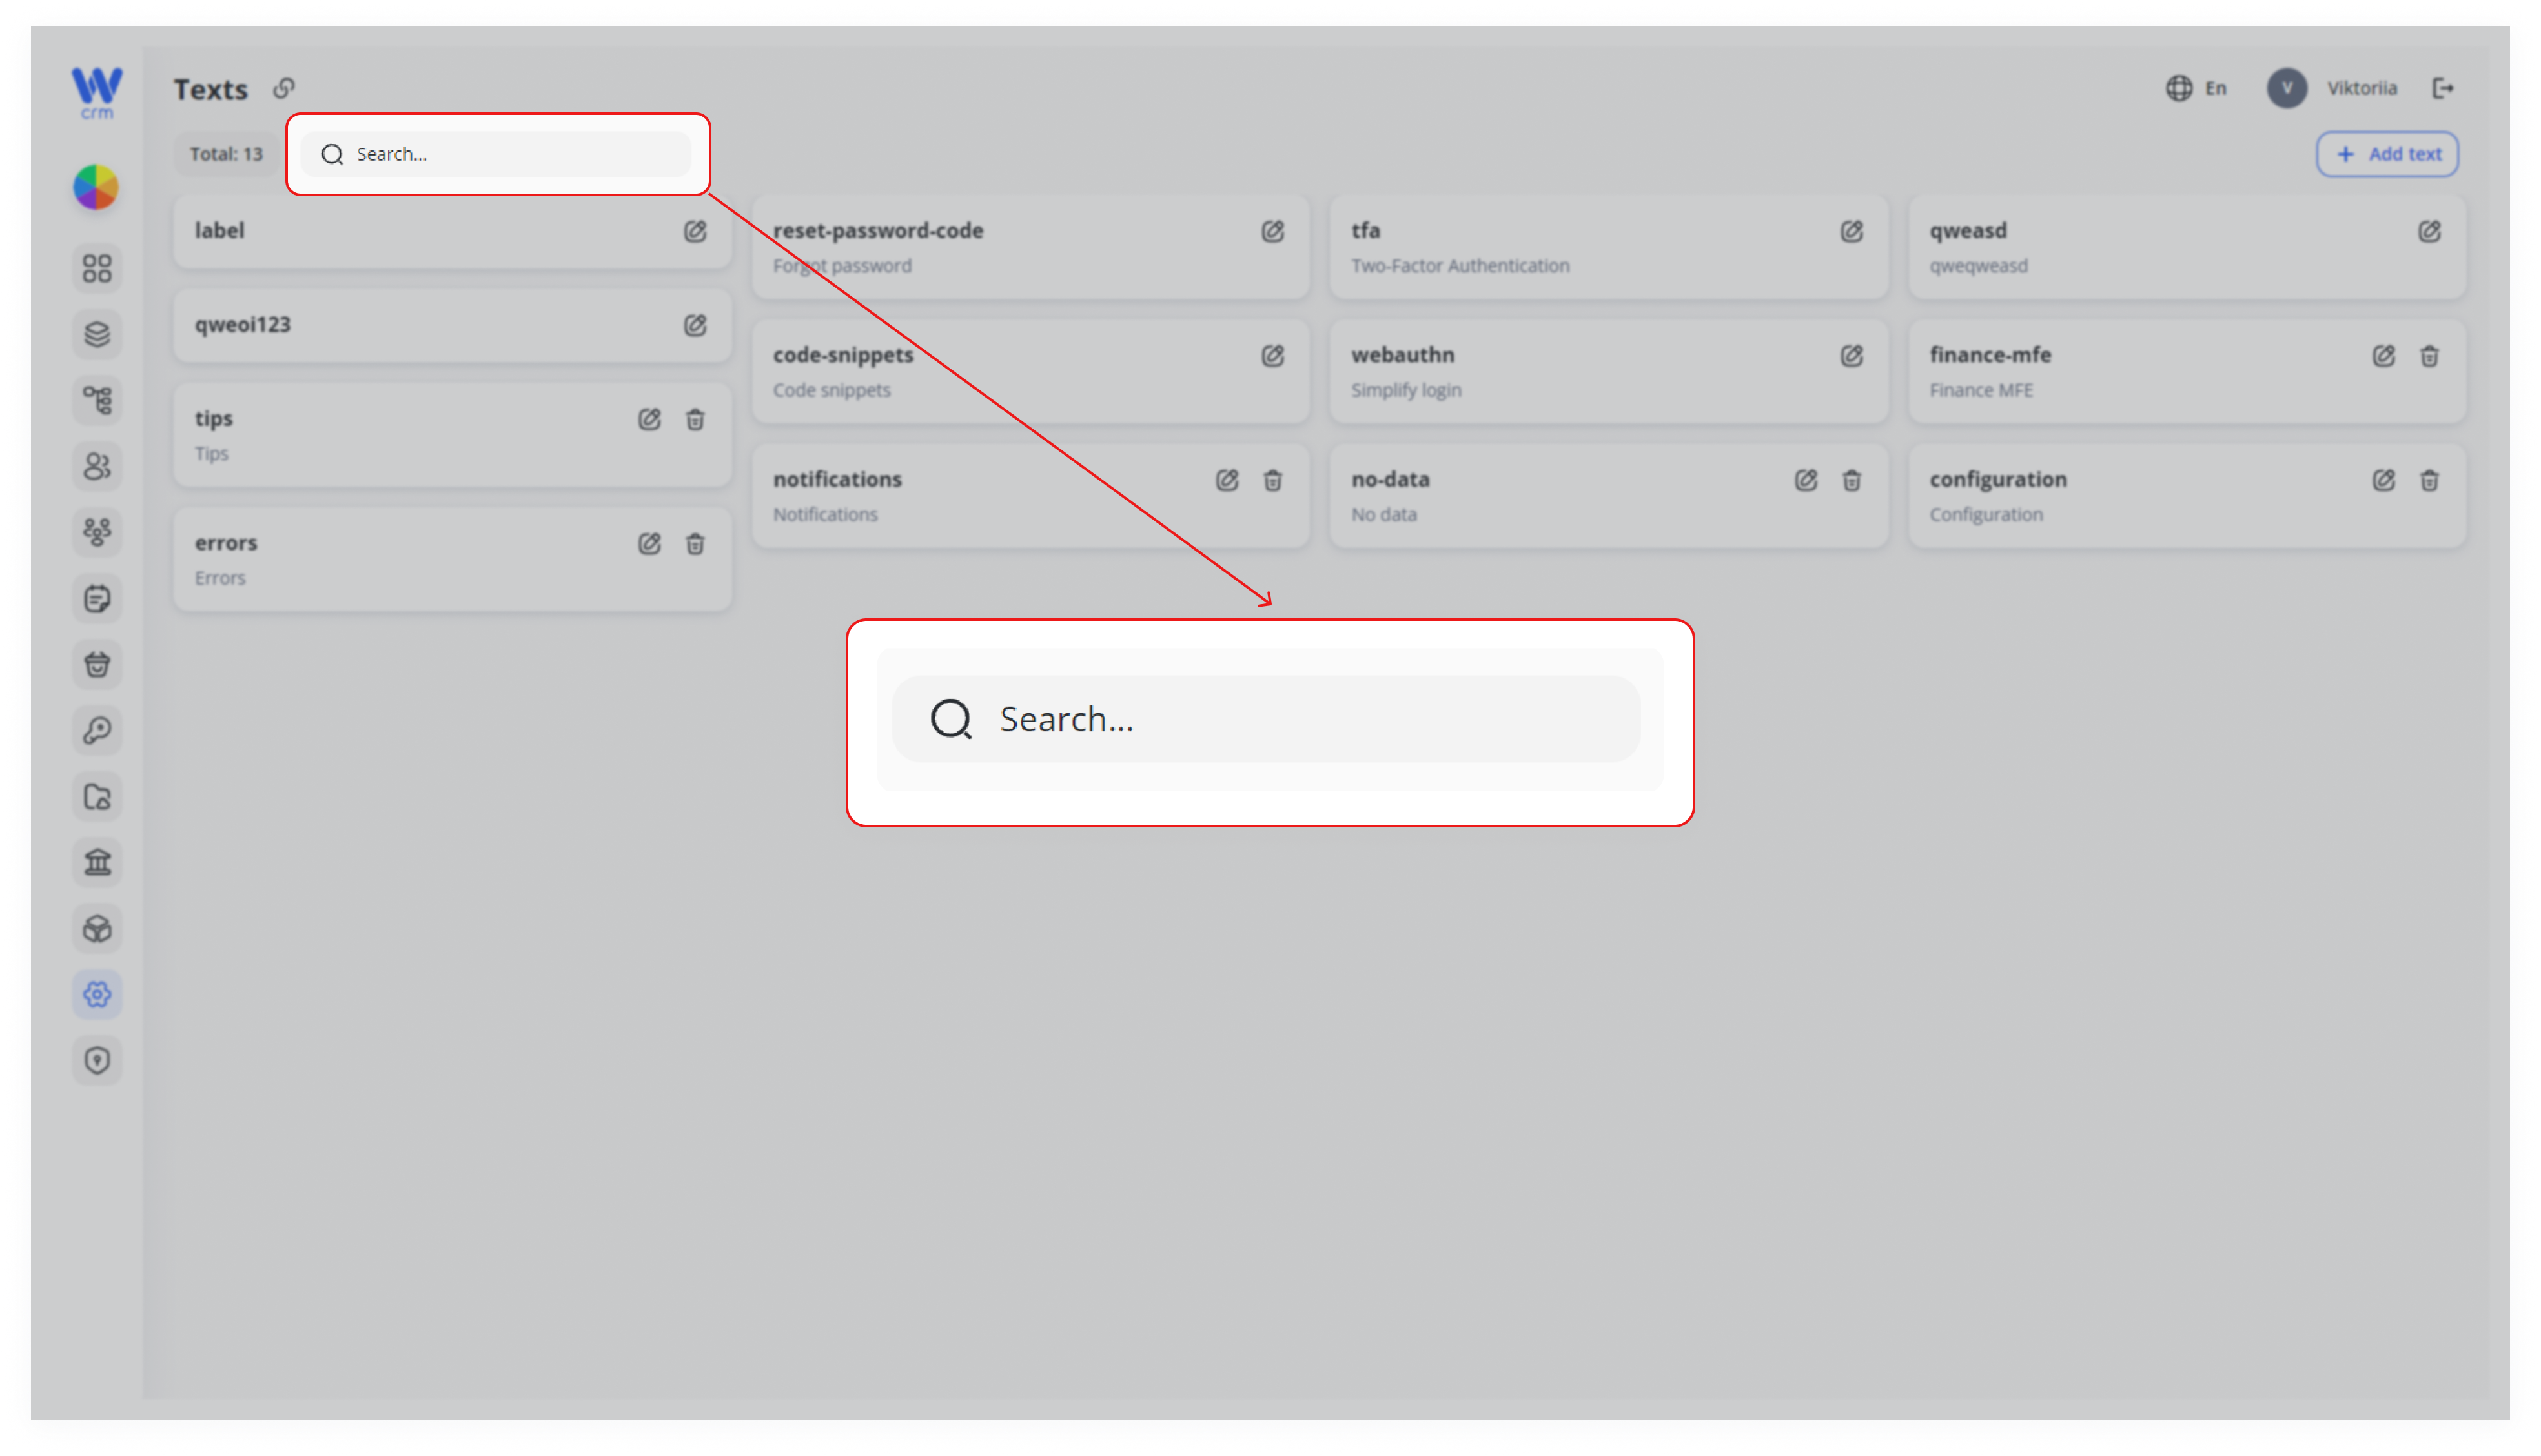
To search for a text:
-
- Start typing its label in the Search field.
Adding a New Text
To add a new text and its translations:
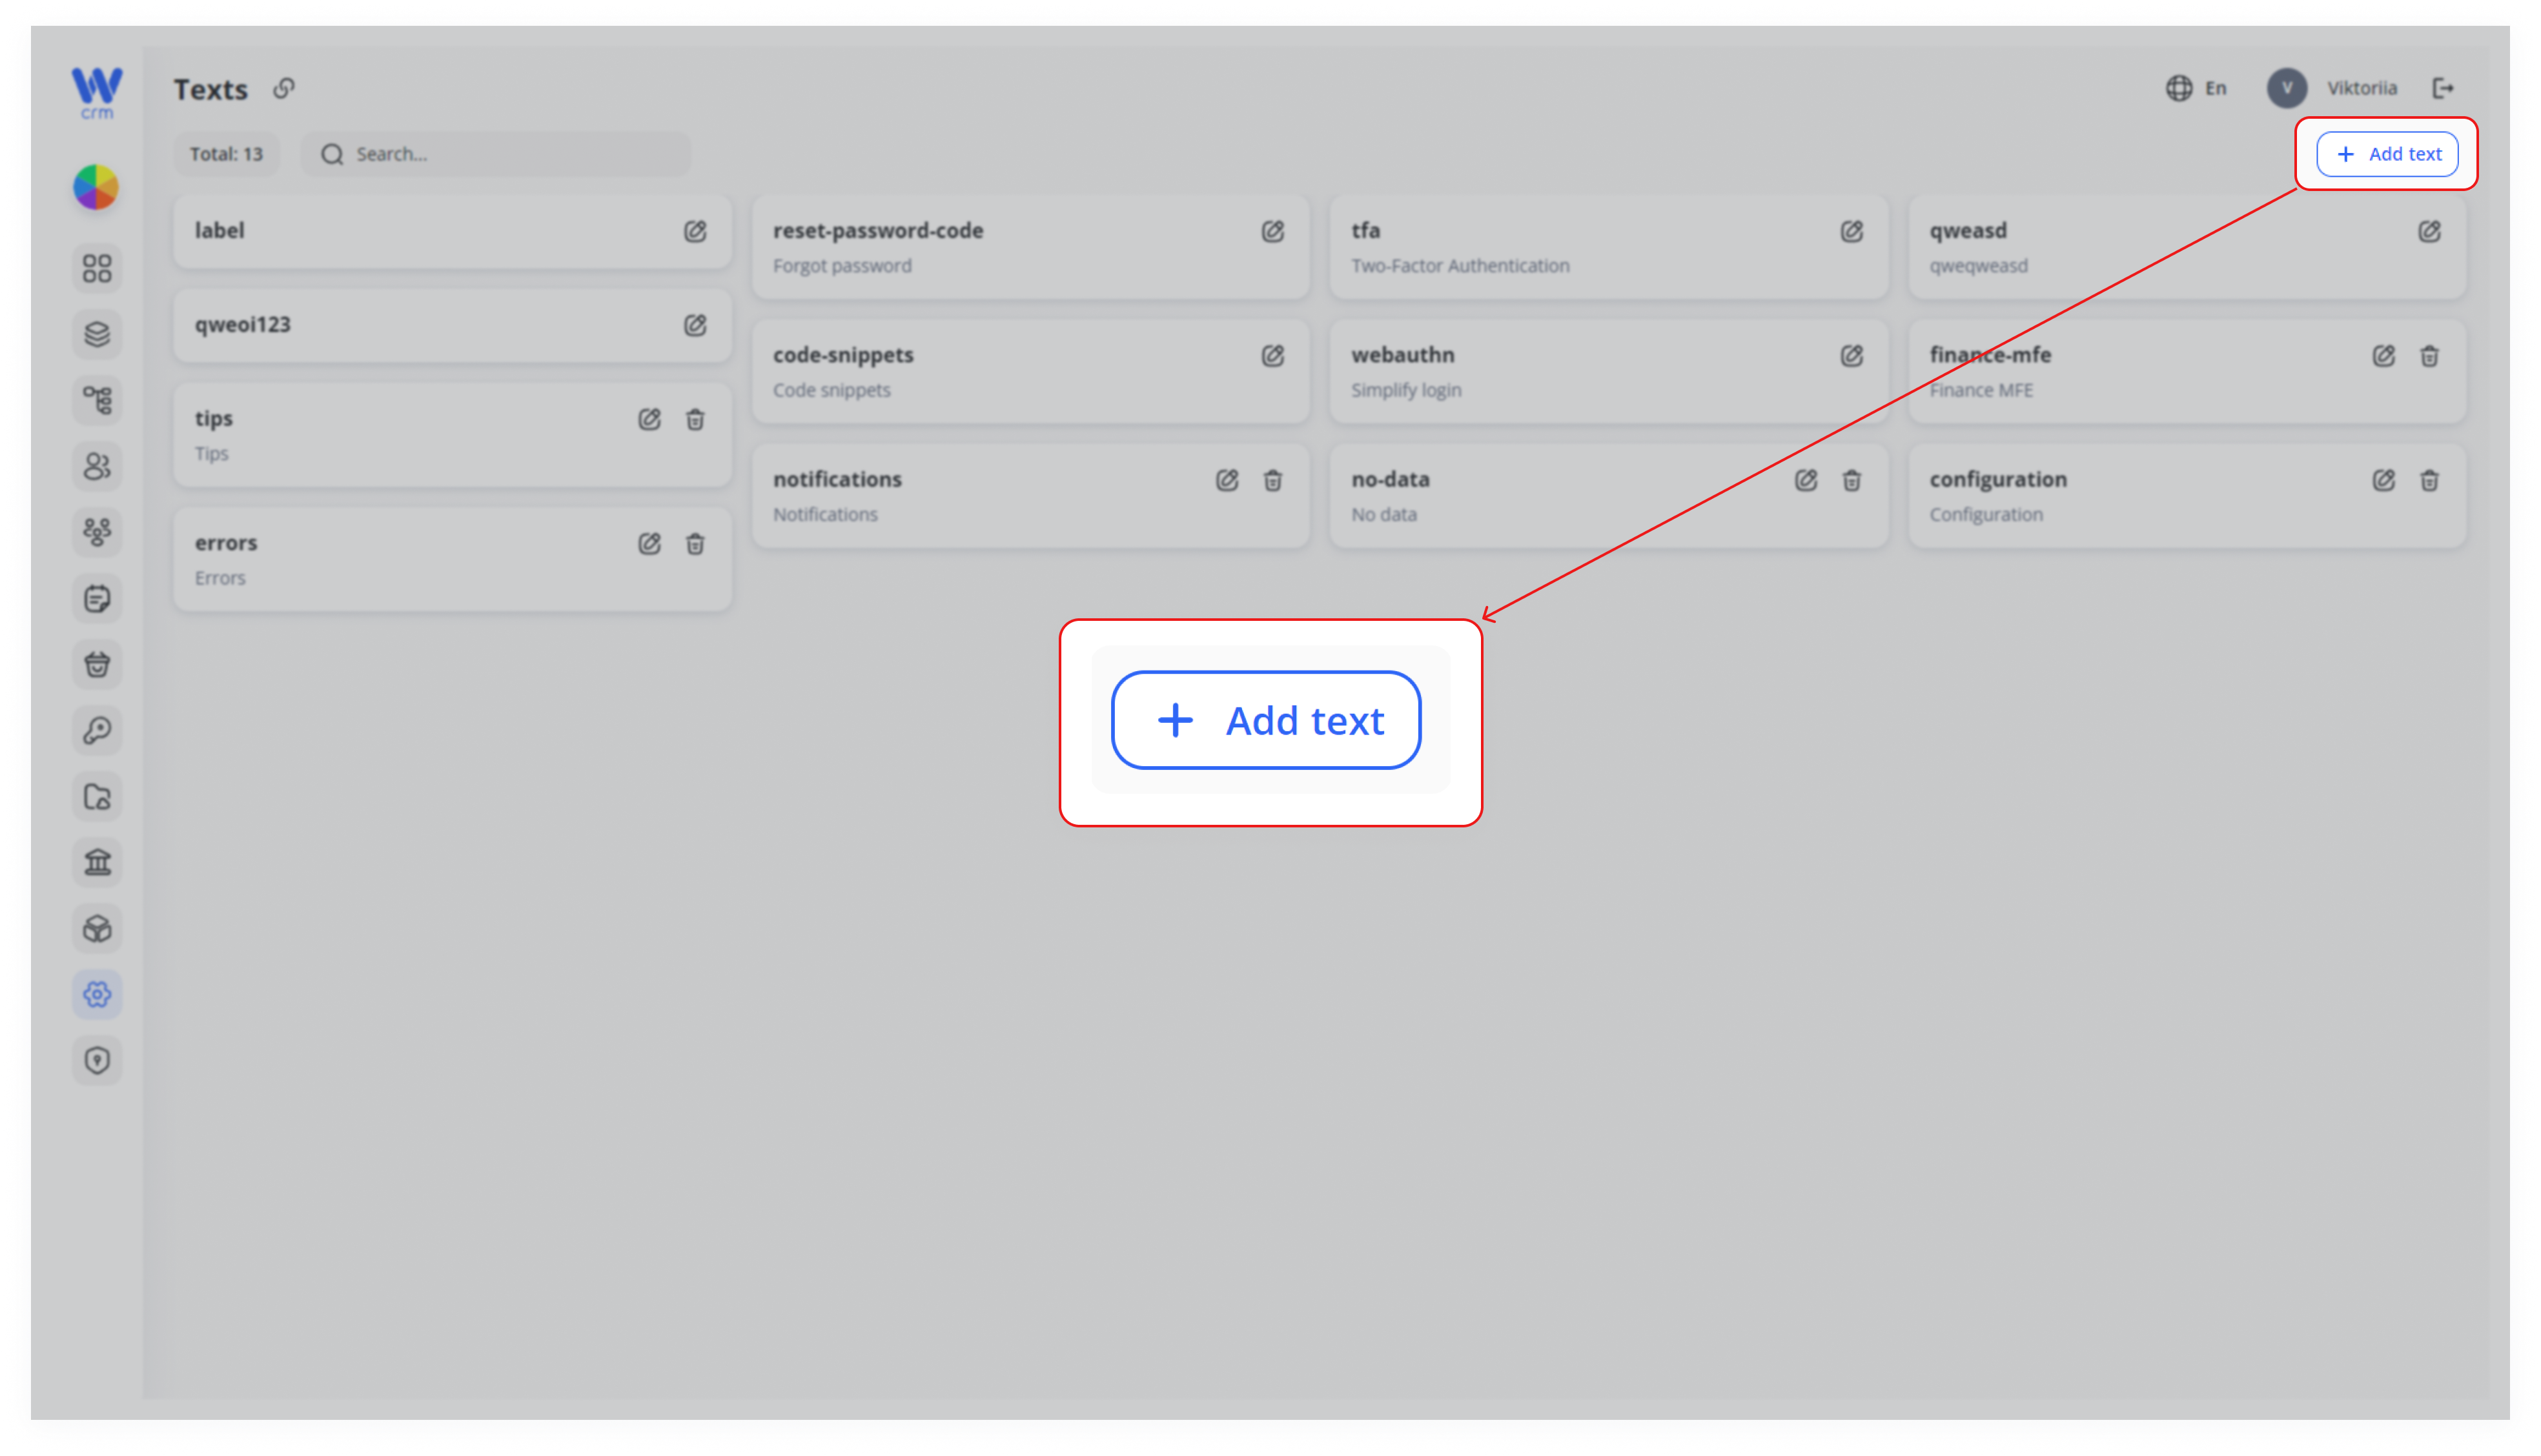
1. Click on the +Add Text button in the upper right corner.
2. EnterFill out the LabelUnique labeland, ifand necessary,check or uncheck PropertiesLocked.
3. SelectPopulate the Properties JSON structure by selecting nodes and entering content for each (e.g., title, description).
4. Switch to your target language intab, thethen either LanguageClone field and enteror TextTranslate and Description forinto it. Add custom fields if necessary.
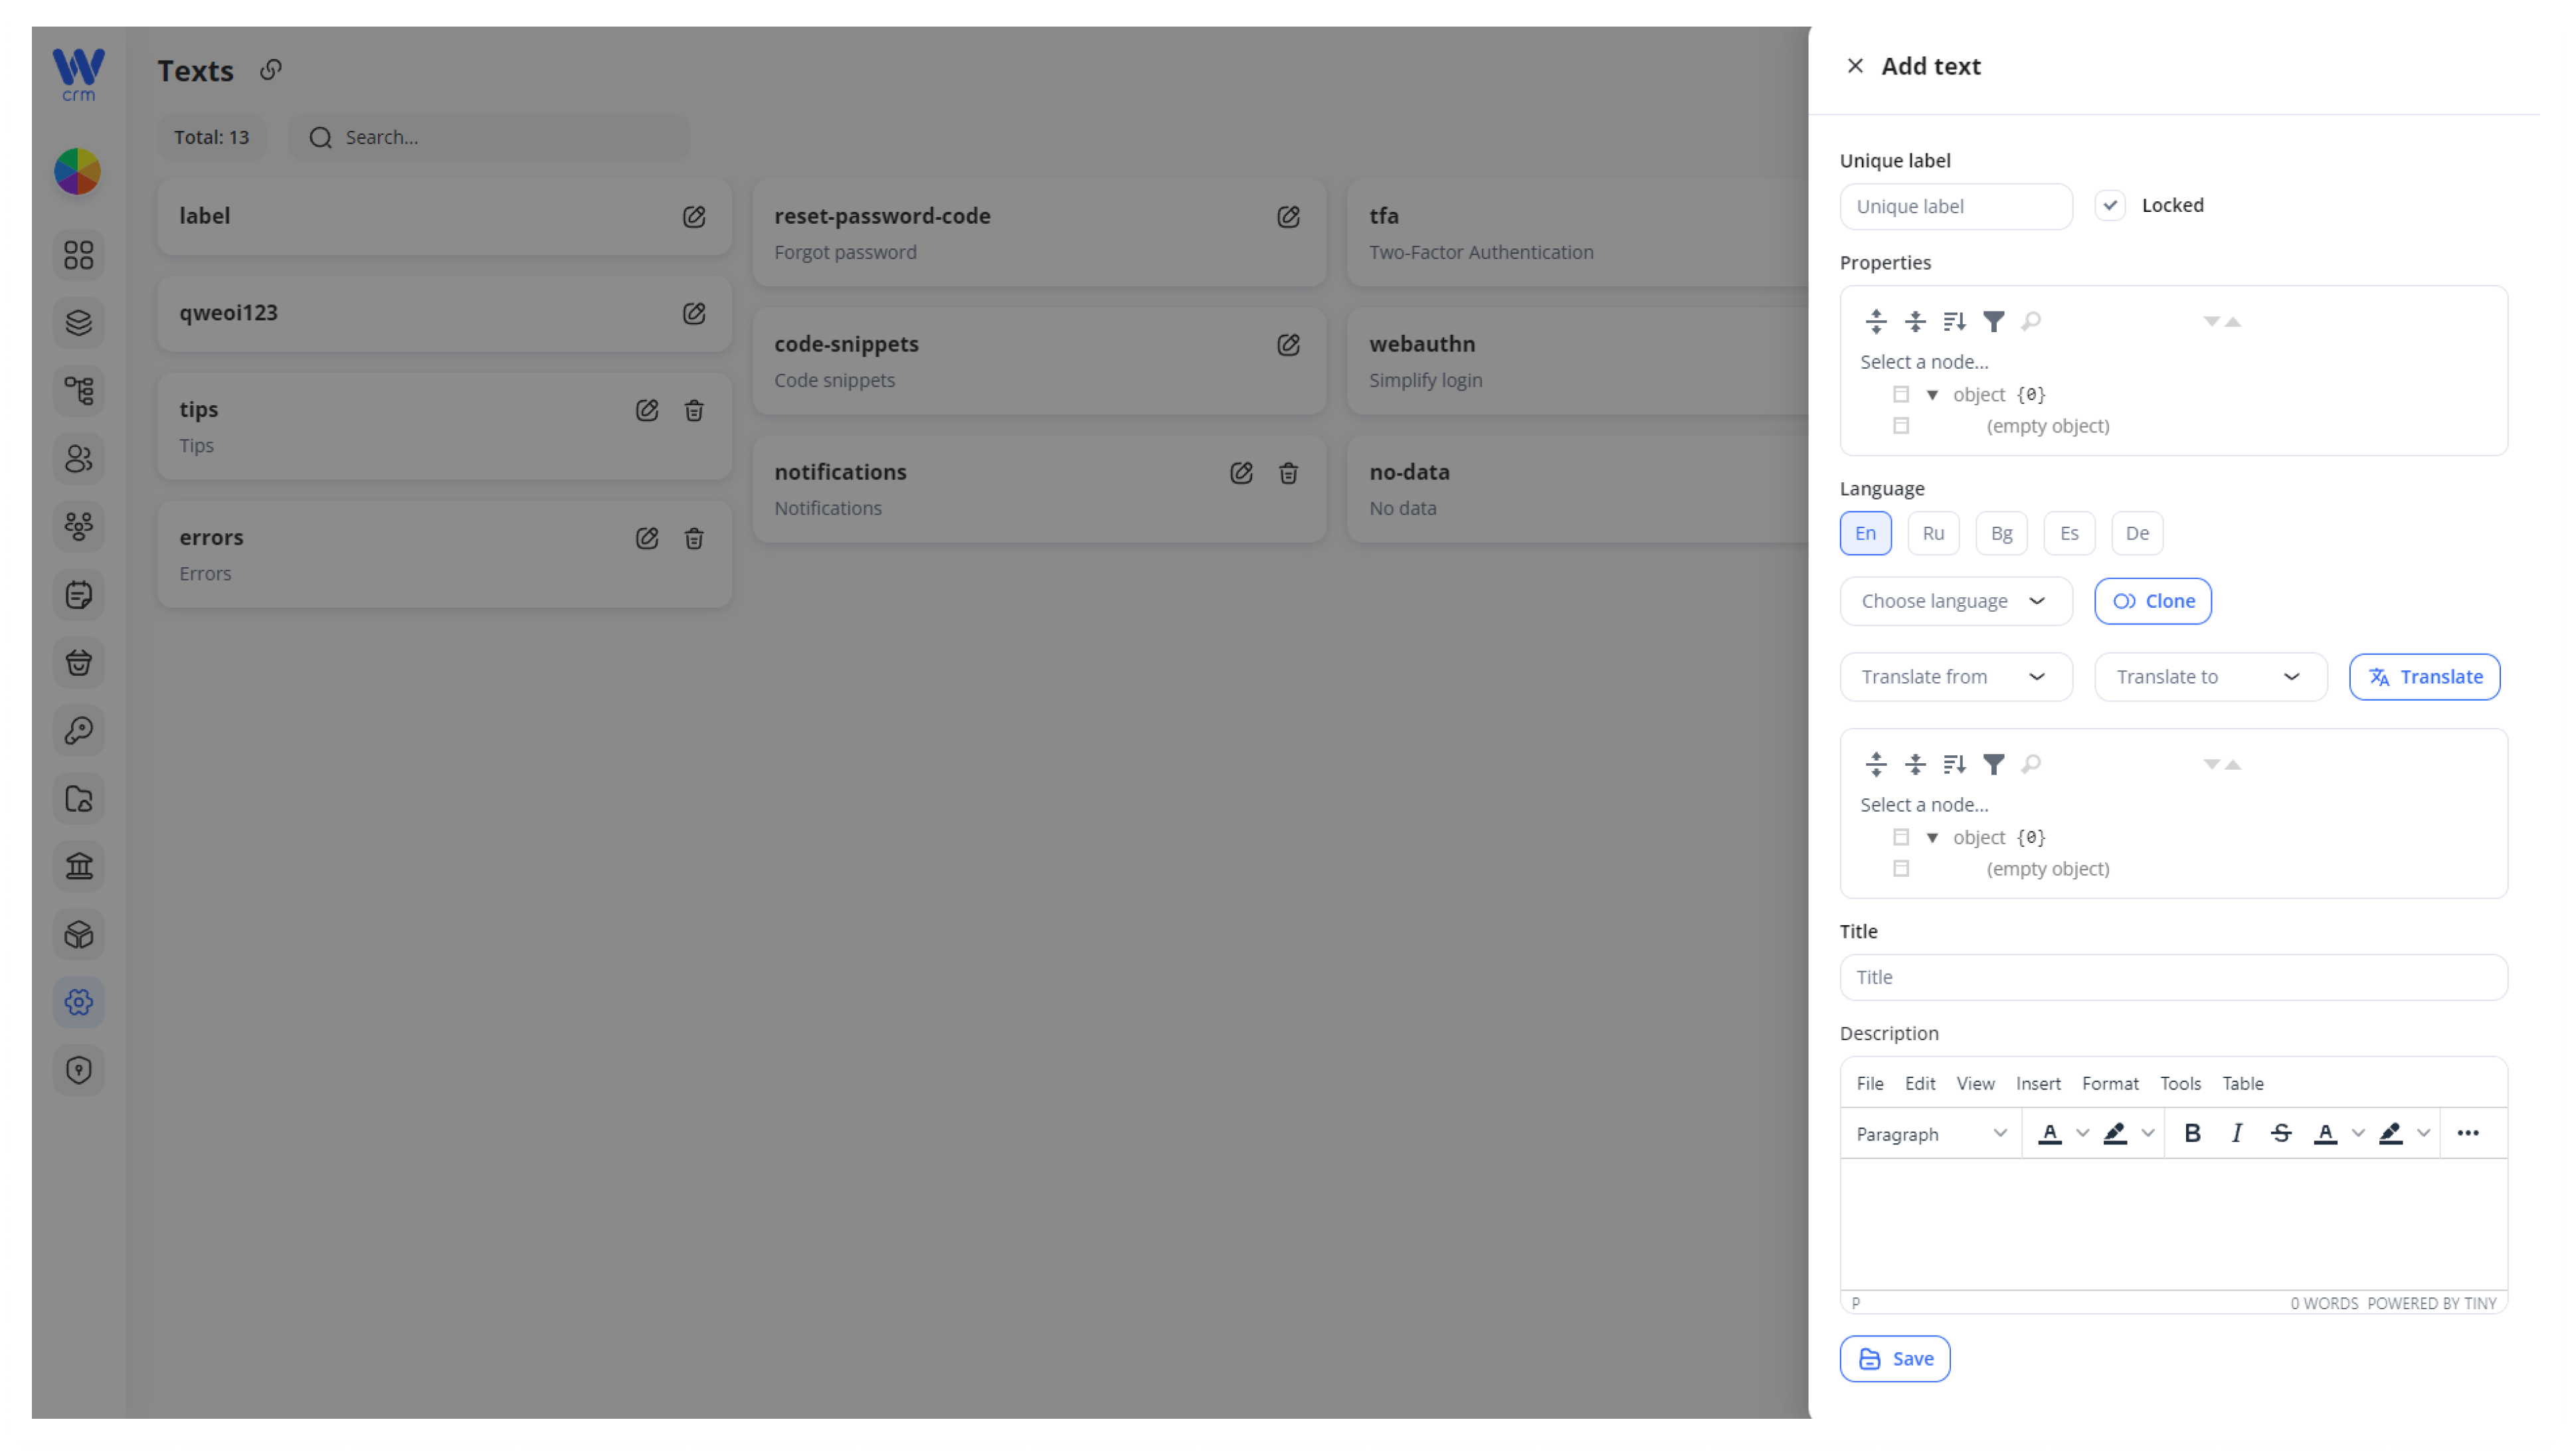
4.5. Add a plain-text translationsTitle inand Description at the samebottom wayfor assummary in the previous instructions.display.
5.6. Click Save—your tonew addtext theappears text.as a card.
Unlocking & Deleting Texts
By default, new texts are created as Locked—they cannot be deleted. To unlock a text:
Go to the text editing tab.
Uncheck the Locked checkbox.
2.
1.
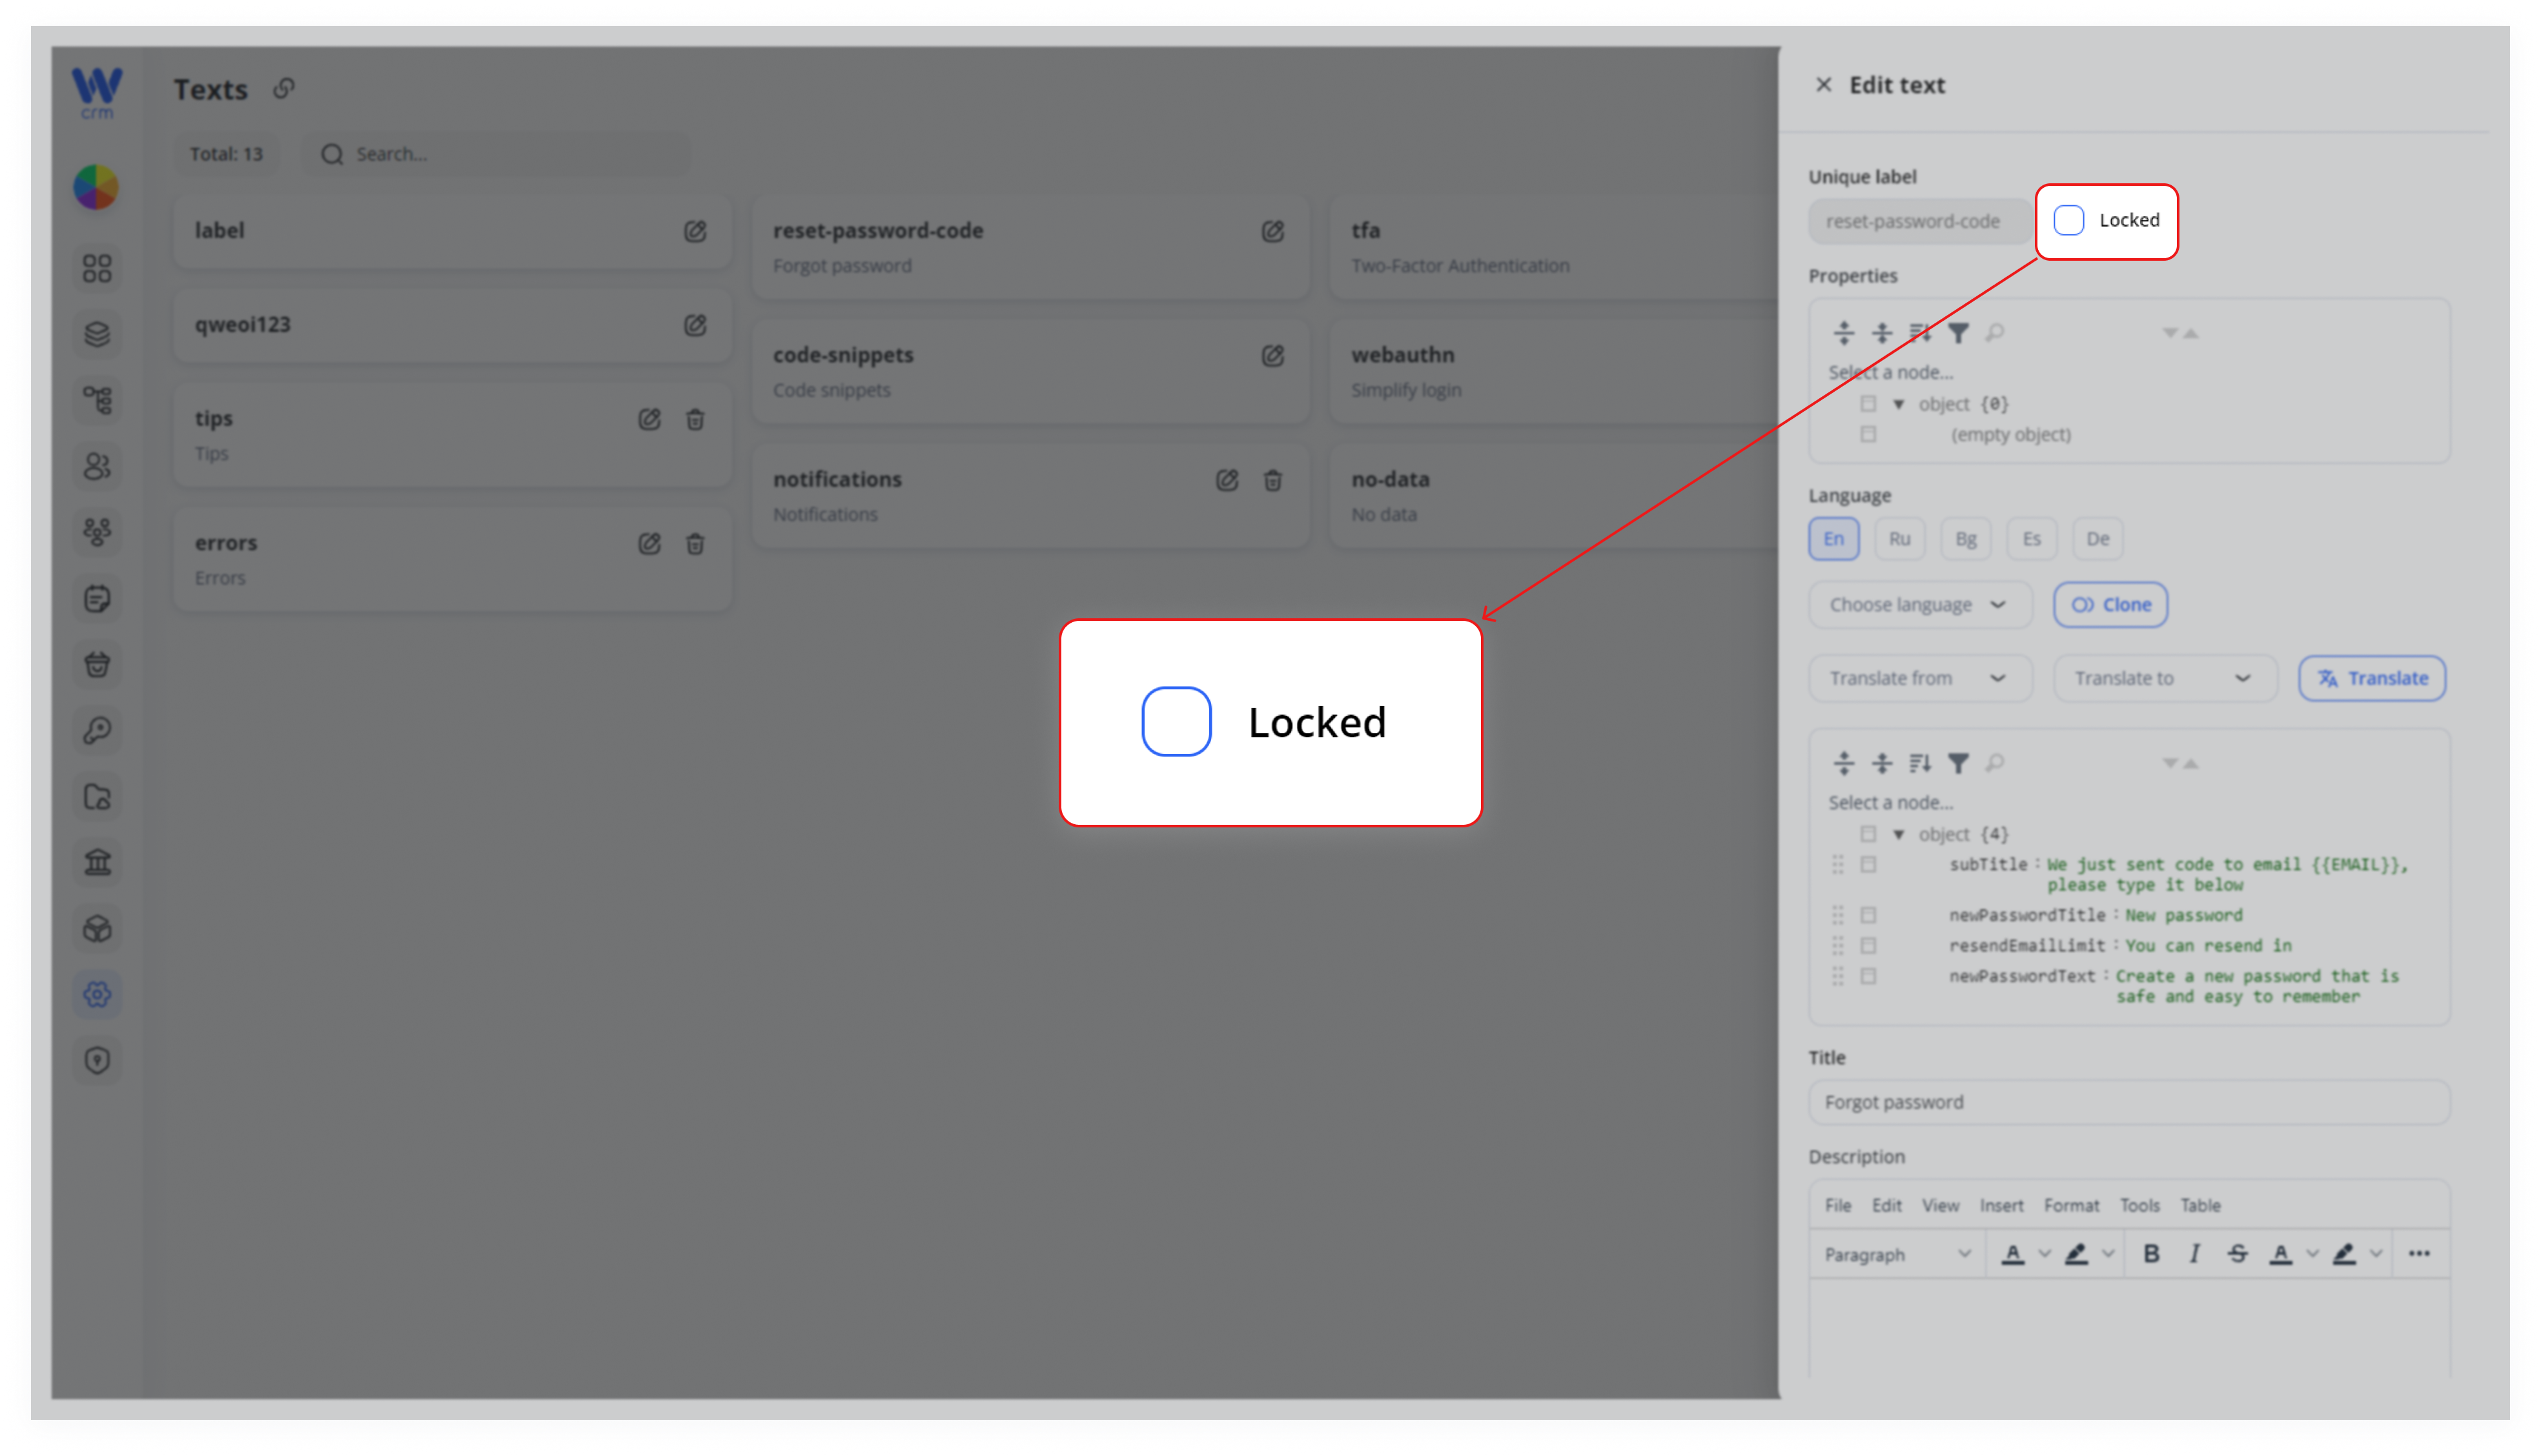
3. Click Save.
To delete text:
1. Make sure it is not locked. Back on the main Texts page, click the Delete (trash) icon on the unlocked card.
2. Click the Delete icon next to the corresponding text.
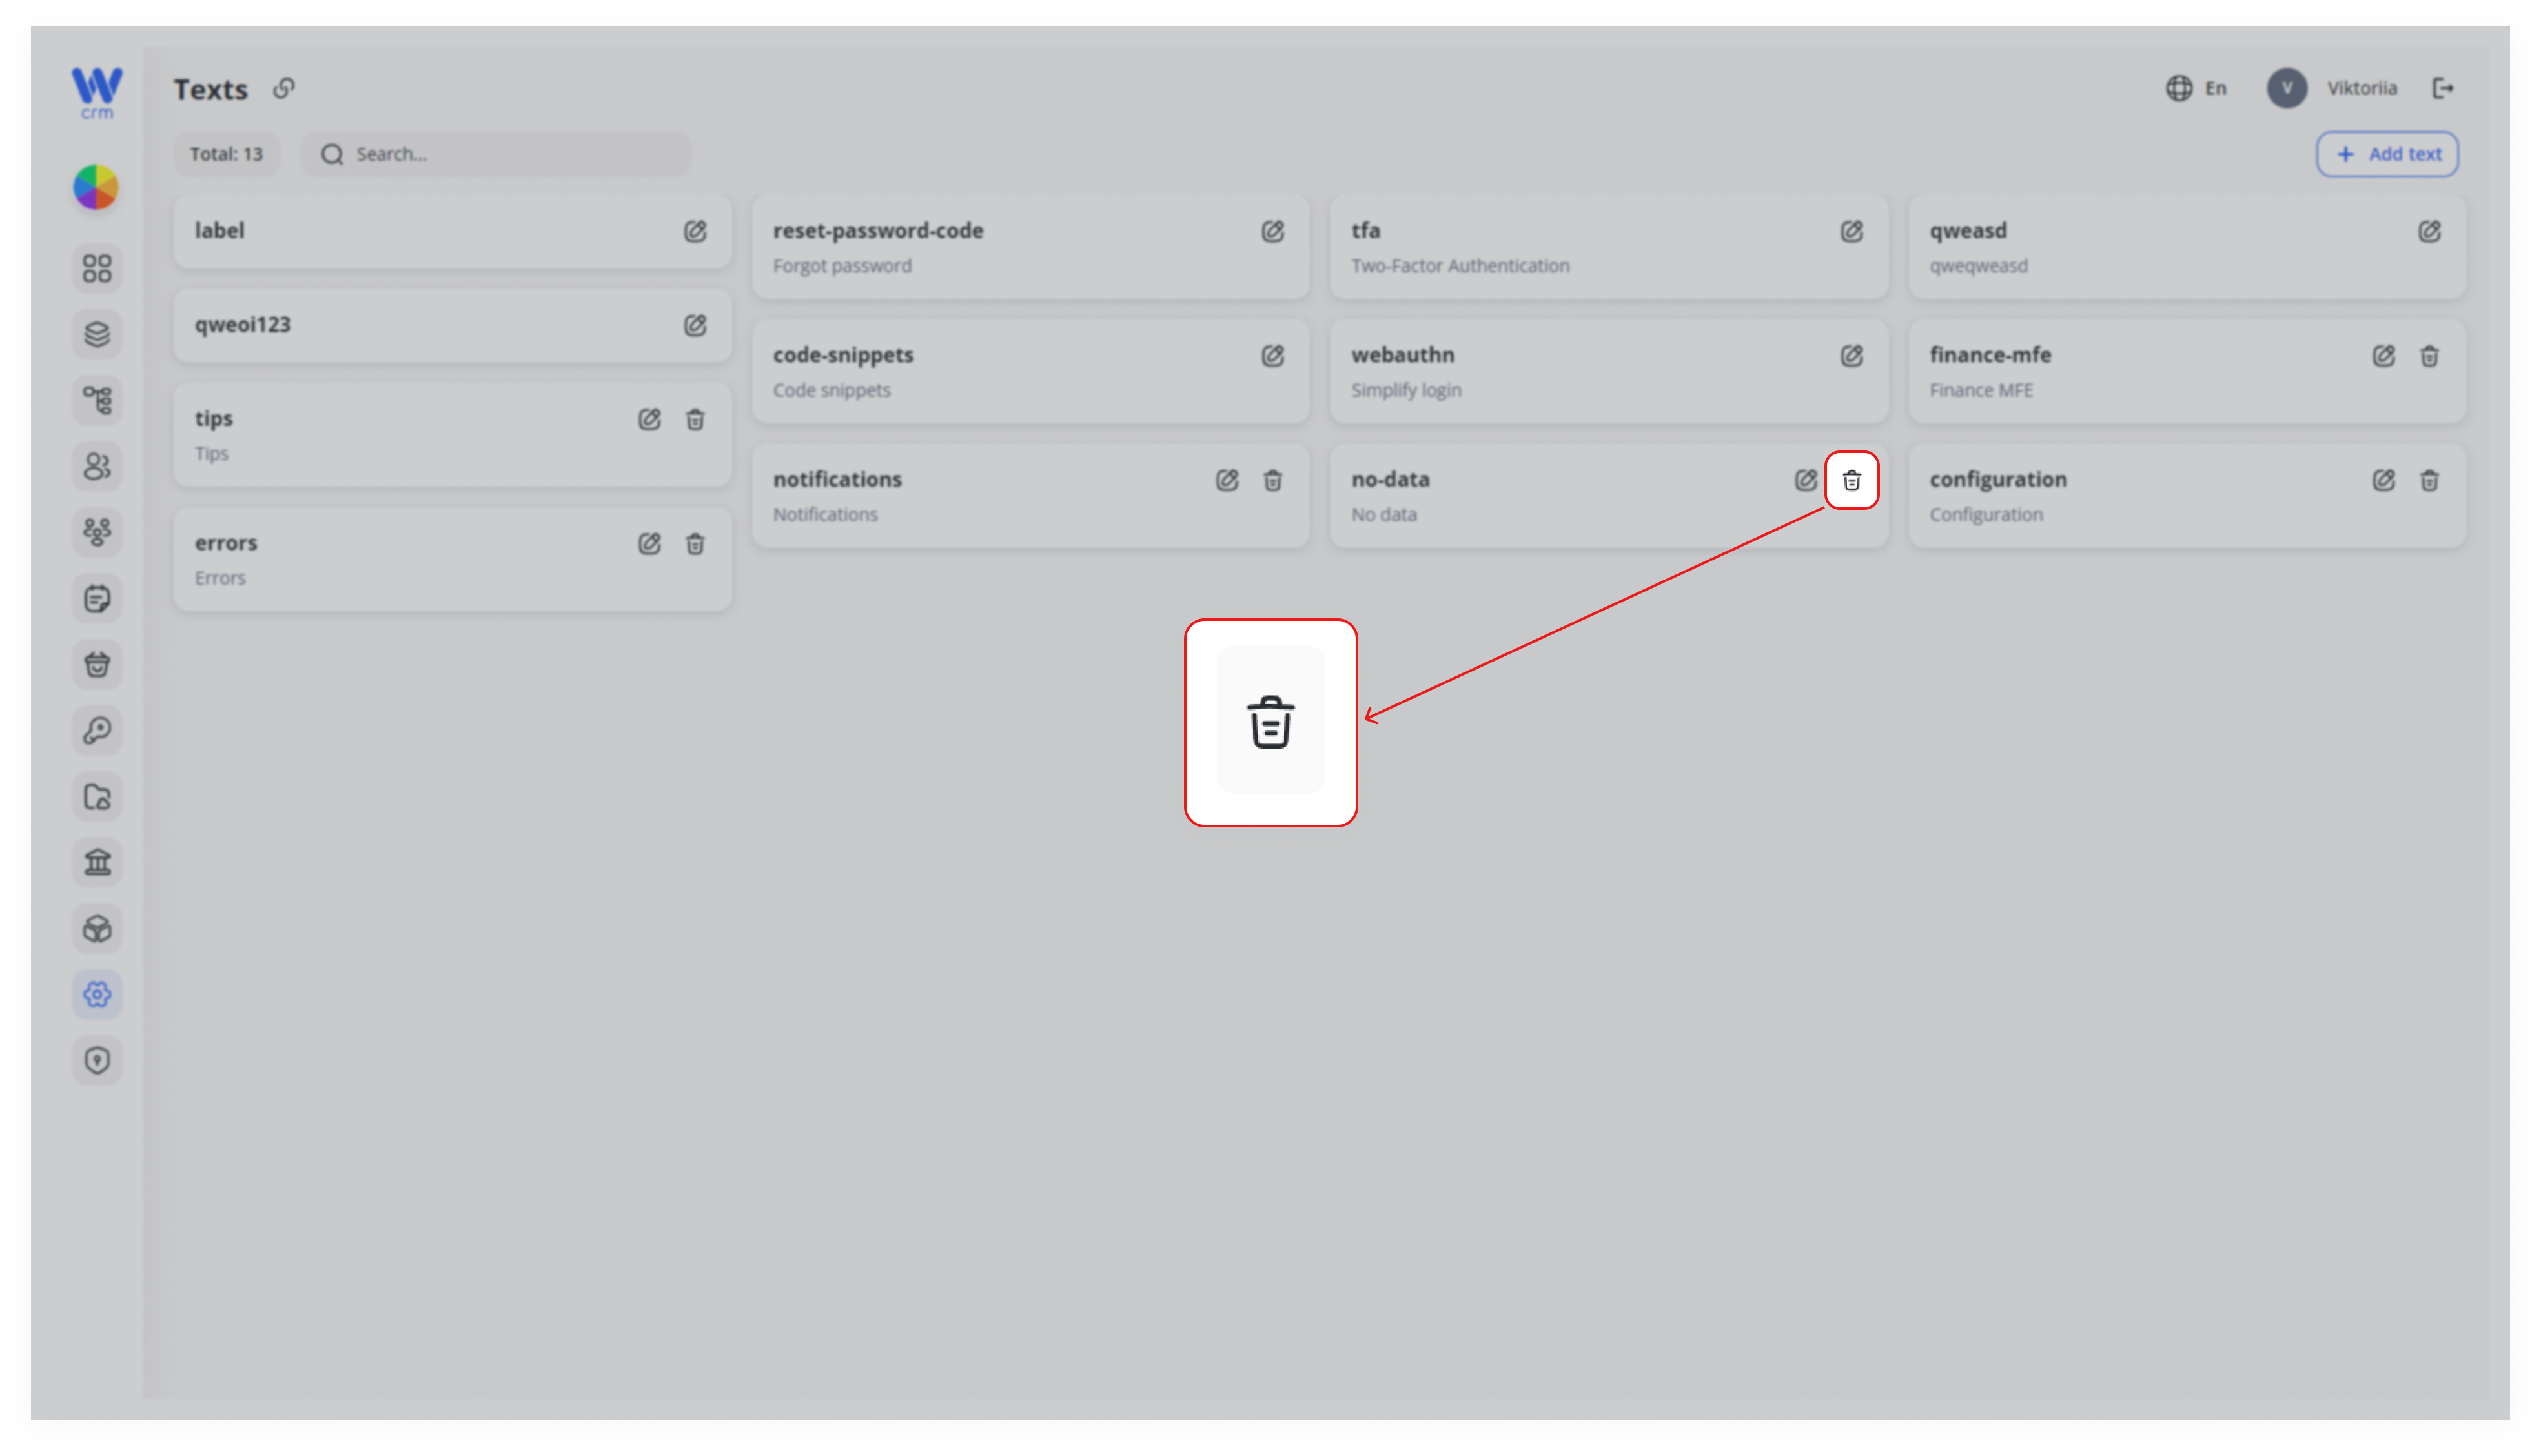
3. Confirm deletion.
Warning: Locked texts cannot be removed. Only unlock when you’re certain the text is obsolete.
Best Practices & Conclusion
-
Lock critical system messages to avoid accidental removal.
-
Review auto-translations for tone and accuracy.
-
Audit periodically to prune unused texts and trim JSON nodes.
-
Coordinate with your dev team: ensure labels here map to code references.
By centralizing rich-text management, your CRM stays cohesive, fully localized, and easy to update—without code deployments or scattered copy files.