
5. How to Set Payment Methods
The Payment Methods module is used to configure payment systems (e.g., ApplePay, LiqPay) that allow users to pay for goods and services on your site. You can set up two types of payment methods in the CRM:
-
Deposit
-
Withdrawal
You can perform the following actions for both deposit and withdrawal payment methods:
-
Adding
-
Activation/Deactivation
-
Searching
-
Editing
-
Deletion
Additionally, deposit methods can be activated or deactivated as needed.
To add a new deposit payment method:
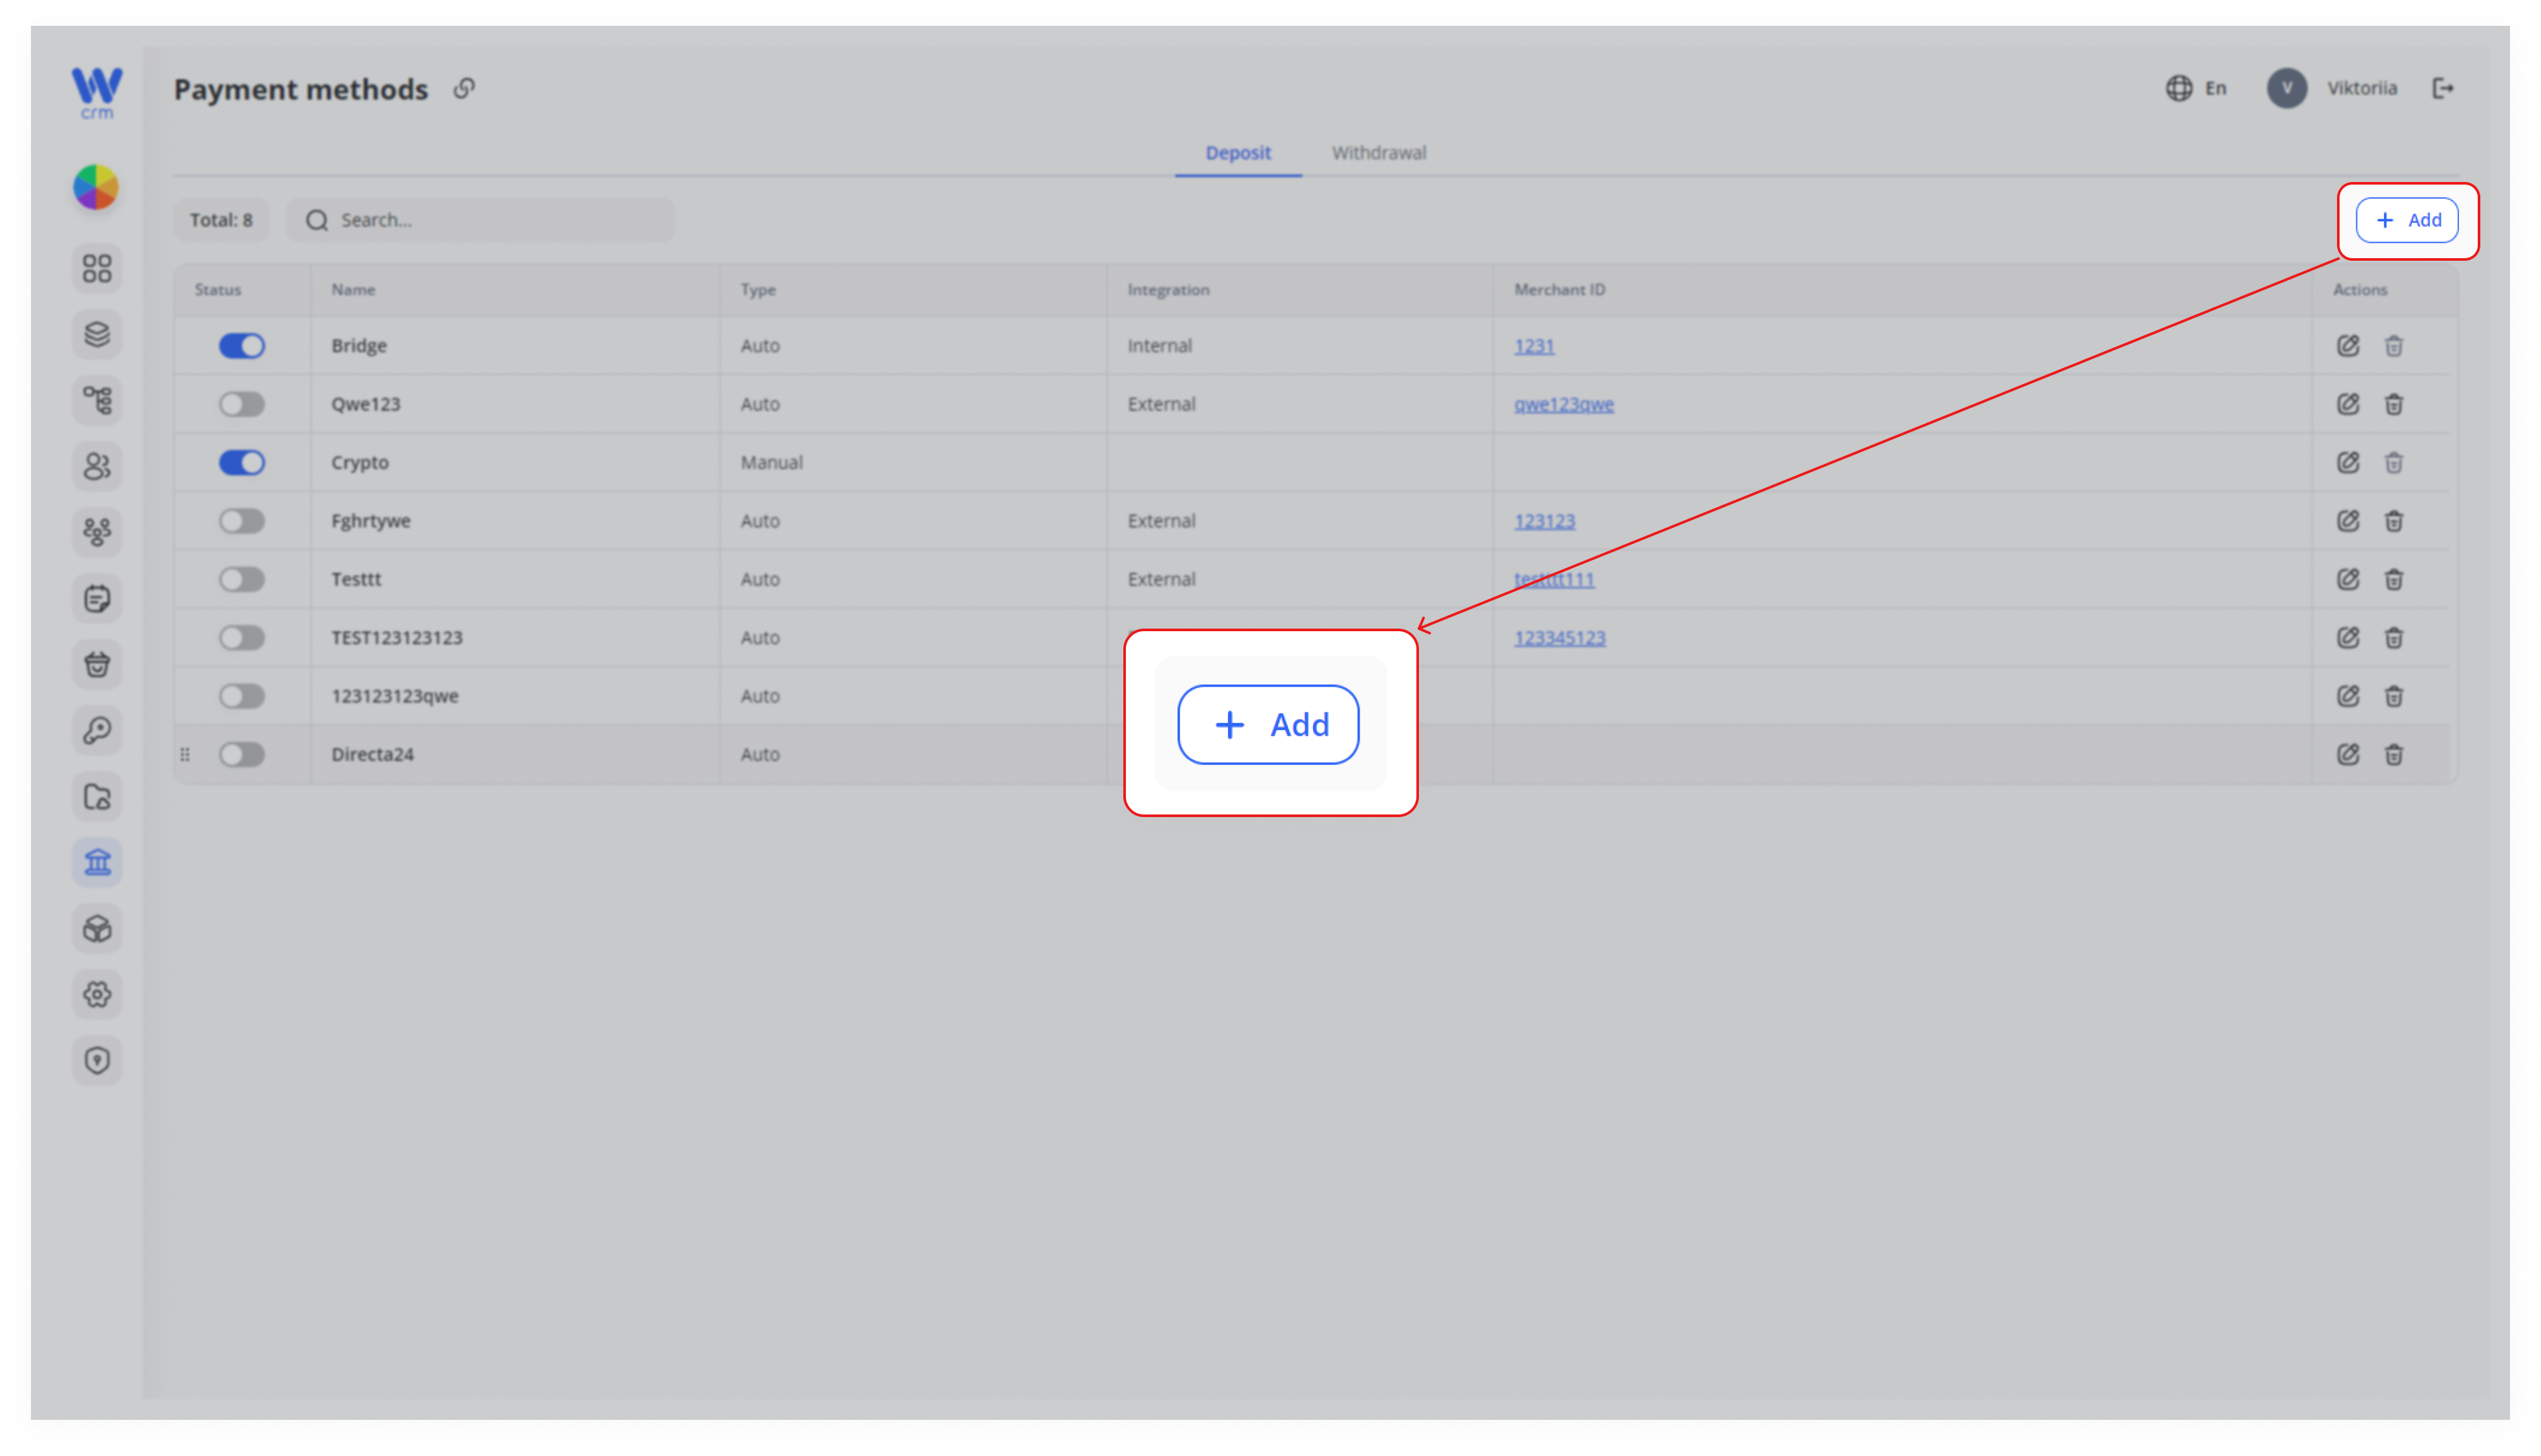
1. In the left-hand menu click Core Banking → Payment Methods, then select Deposit.
2. Click + Add
- Look at the upper-right of the Deposit table header (just above the “Actions” column).
3. Select the following from the drop-down list:
- Type is the first field on the left:
- Auto: Fully set up the payment system on your side, so the user can make payments directly through your site.
- Manual: Transfers the user to the payment system’s site via a link for payment.
- Integration dropdown sits immediately to its right:
- Internal: For your internal payment systems. When Server-to-Server (S2S) integration occurs and your platform allows the user to enter a card on the site.
- External: For third-party systems. When the user enters the payment amount and clicks Pay, they are taken to the payment system page where they fill in the card details, etc.
4. Enter a Name for the payment method.
5. In the Label field, select the required payment system from those already integrated into the CRM to automatically populate the remaining fields. Alternatively, you can fill in these fields manually.
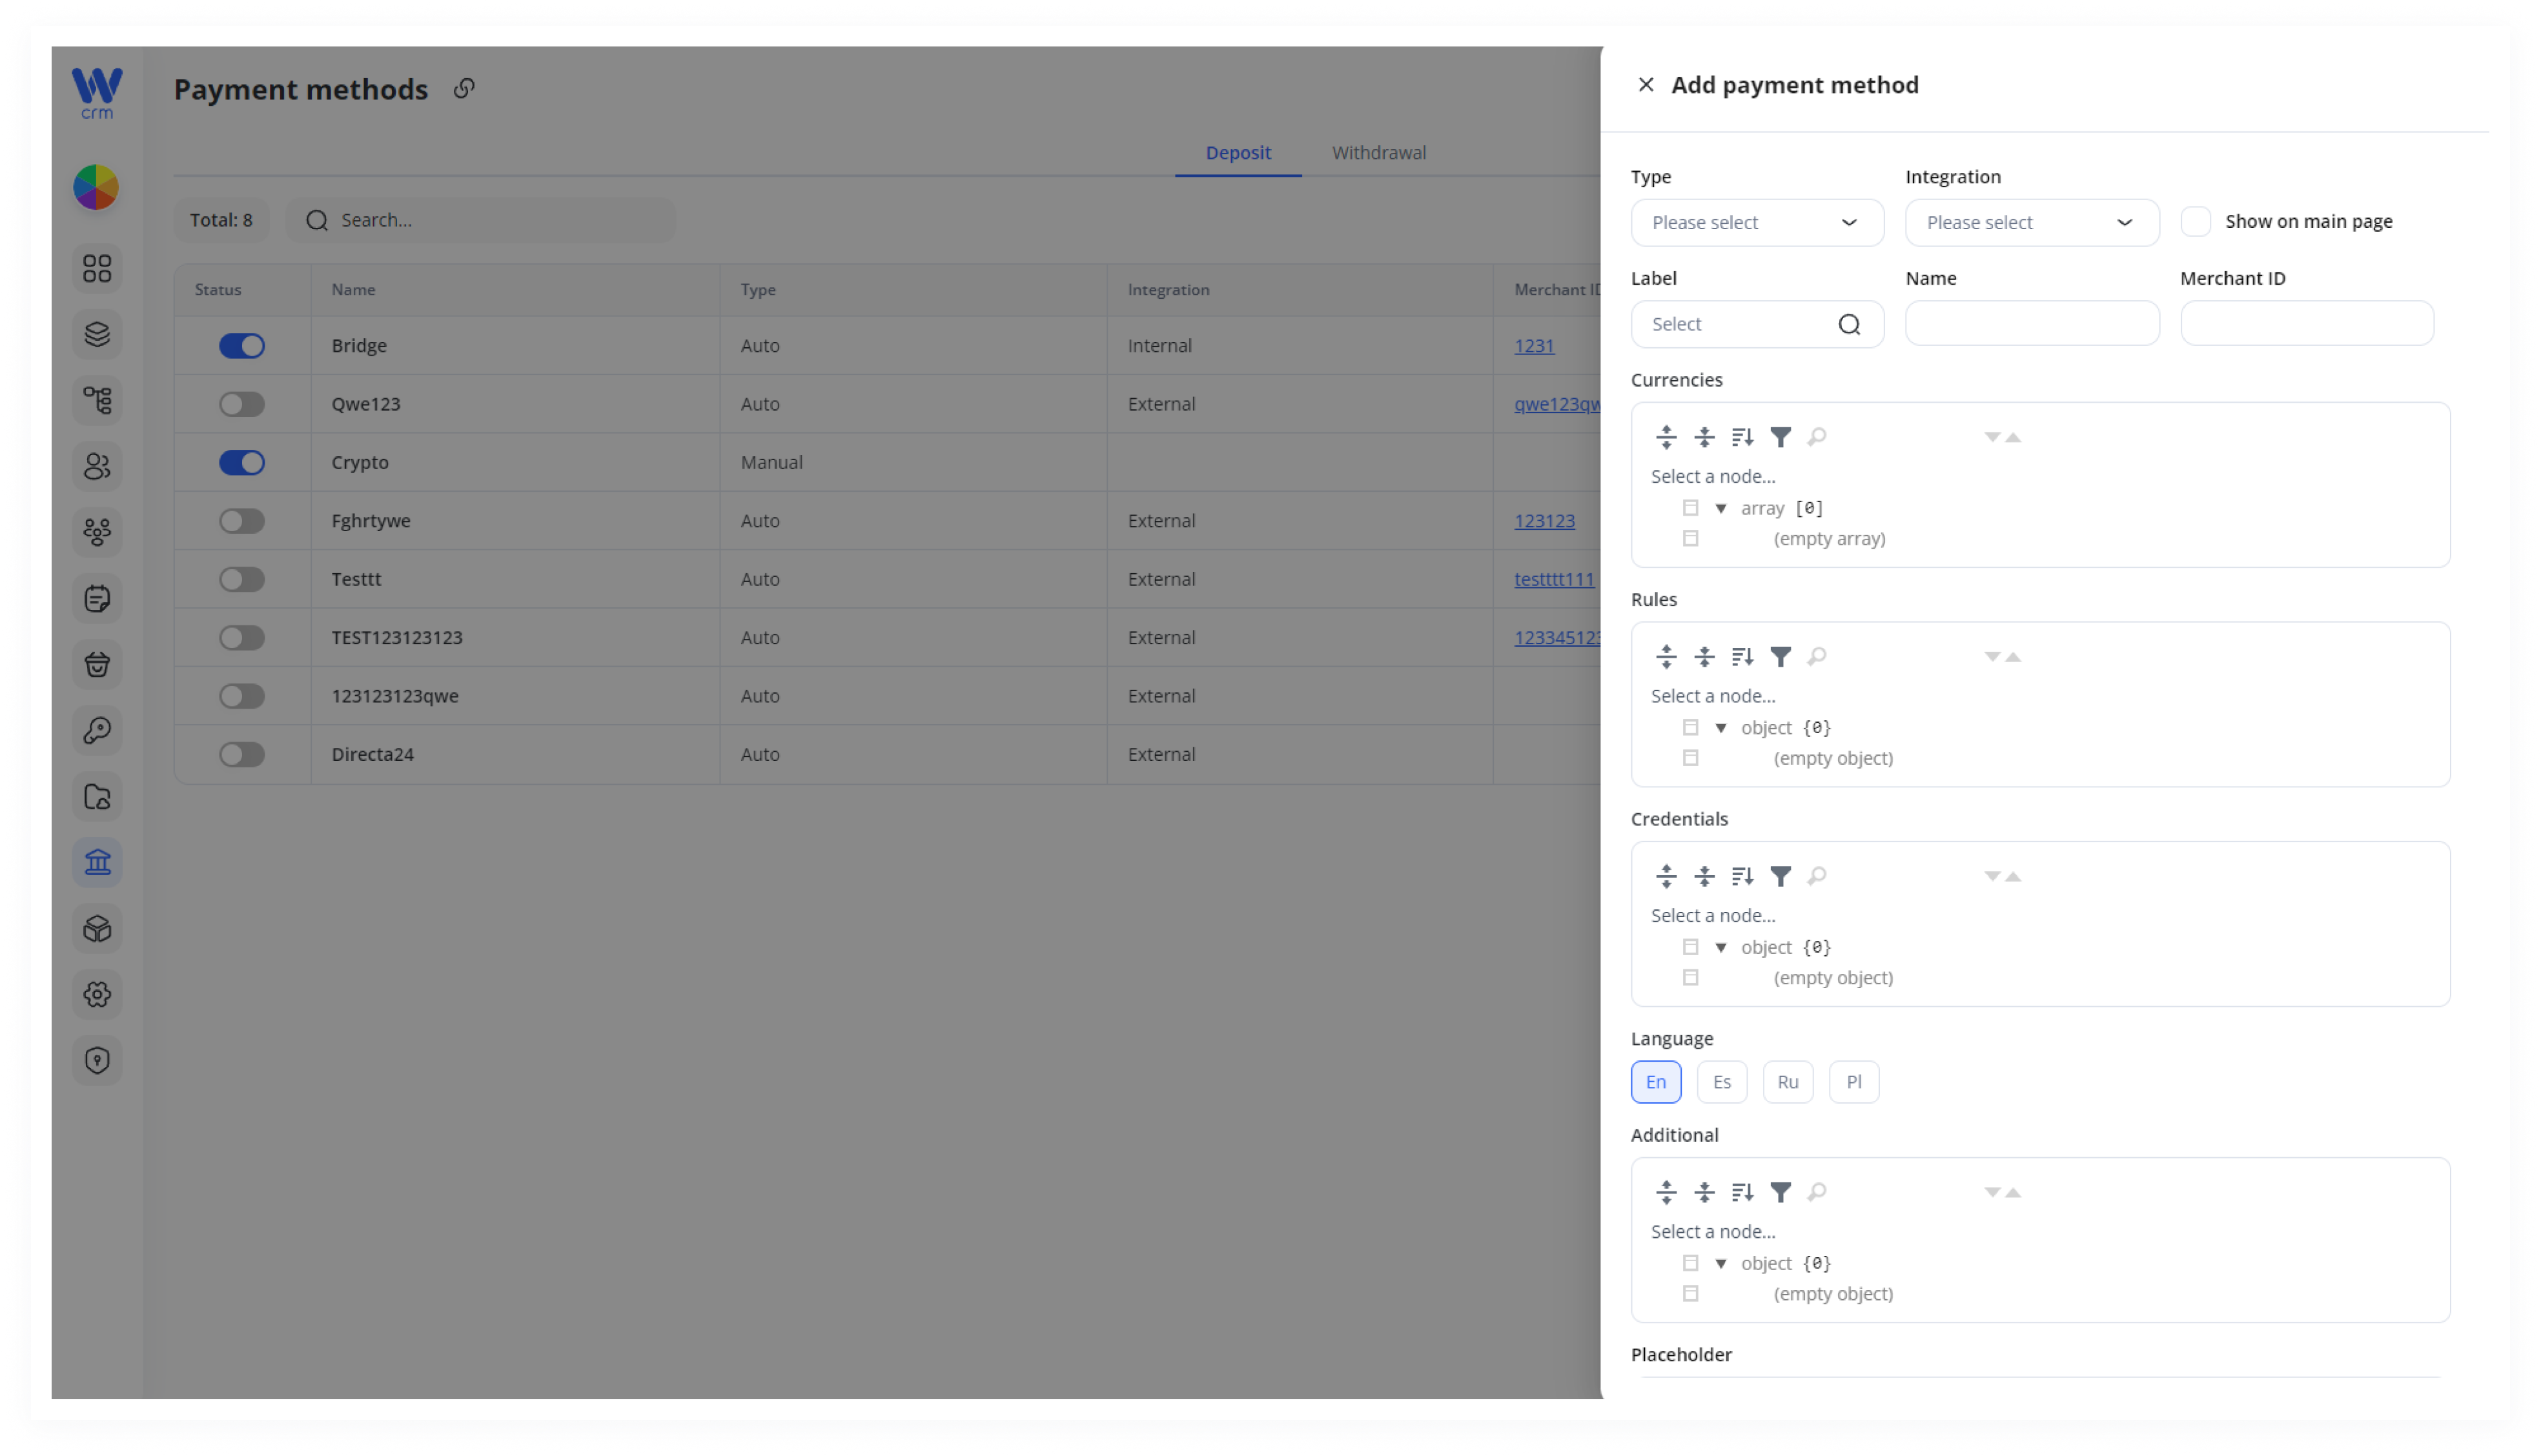
6. If necessary, fill in or edit the following fields:
- Label: The user-facing name (e.g. “Bank Transfer”).
- Name: Internal identifier (used in API/webhooks).
- Merchant ID: Your processor’s account ID.
- Currencies: Select which currencies are allowed (expand the array and tick each one).
- Language: Choose the default language for this method’s UI.
(Optional) Configure advanced settings
-
Rules: JSON object defining fraud checks, min/max amounts, etc.
-
Credentials: API keys or tokens for your gateway.
-
Additional: Any custom JSON your integration needs.
-
Placeholder: Custom “enter details” text.
Note: These fields are used for integration and are configured by developers or the integration team.
7. Click Save at the bottom of the panel to create the payment method.
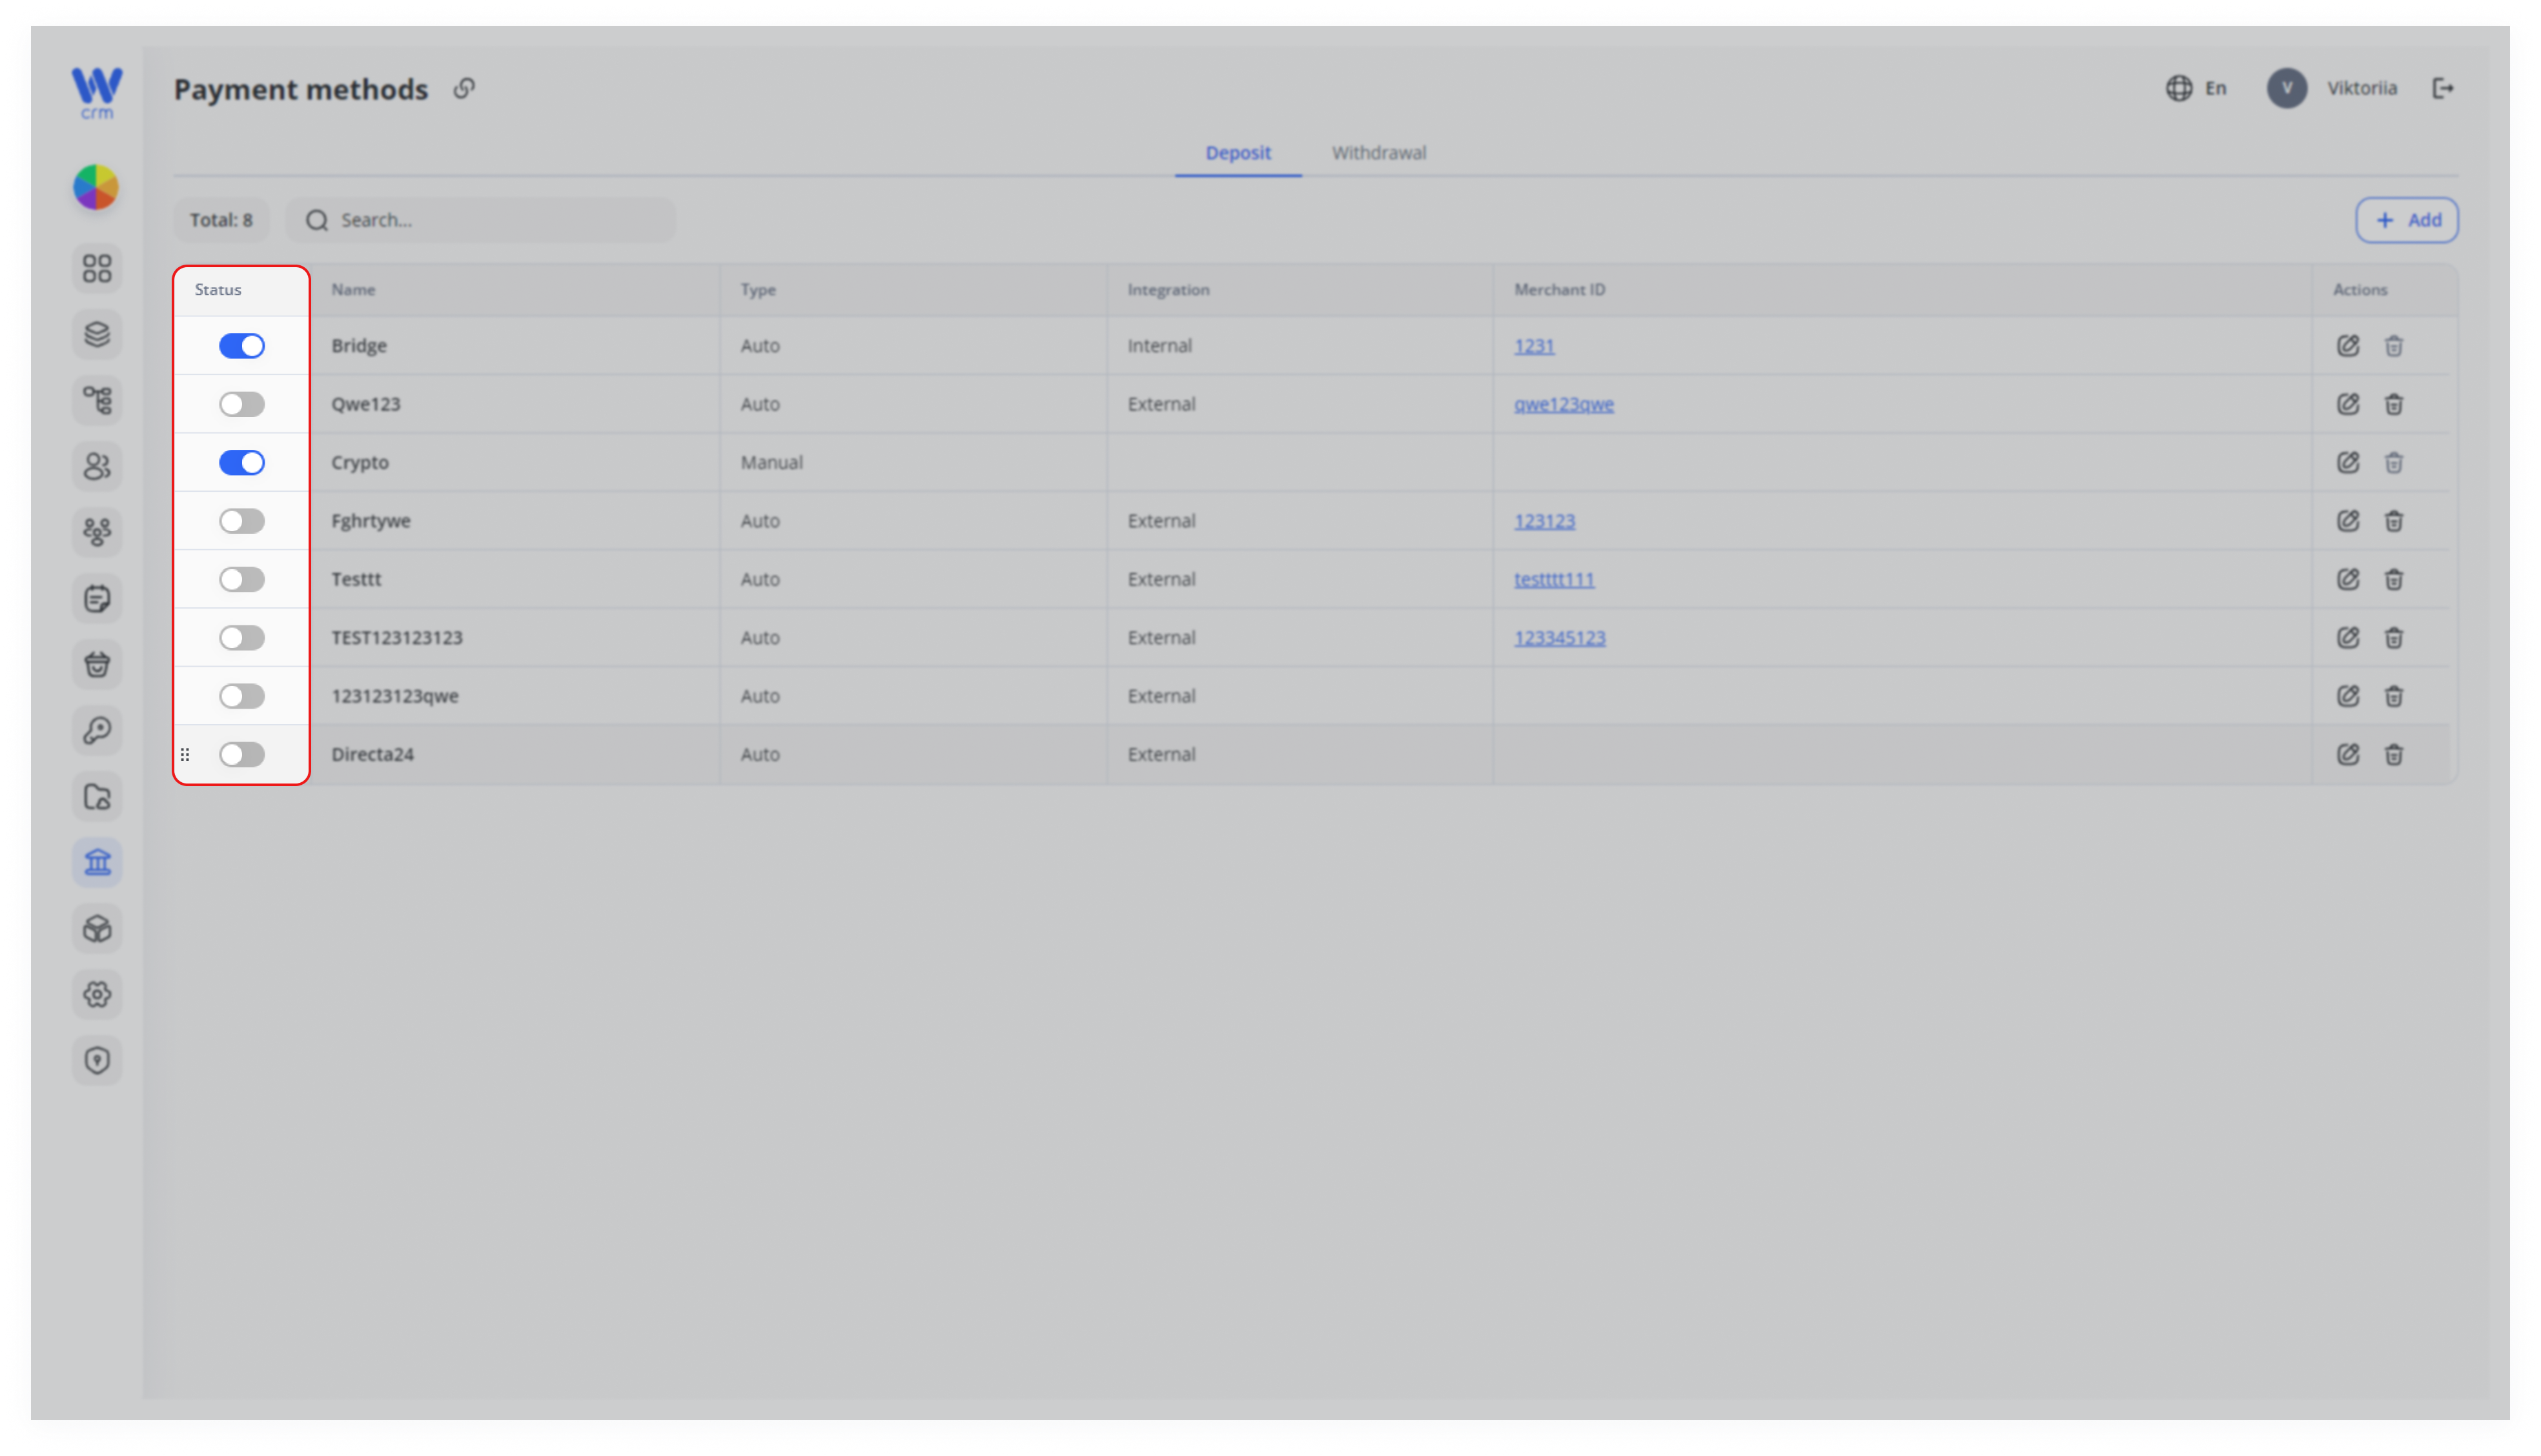
Note: After creation, a payment method is not automatically activated. To activate it, find the method in the list and toggle the switch in the Status column.
To add a new withdrawal payment method:
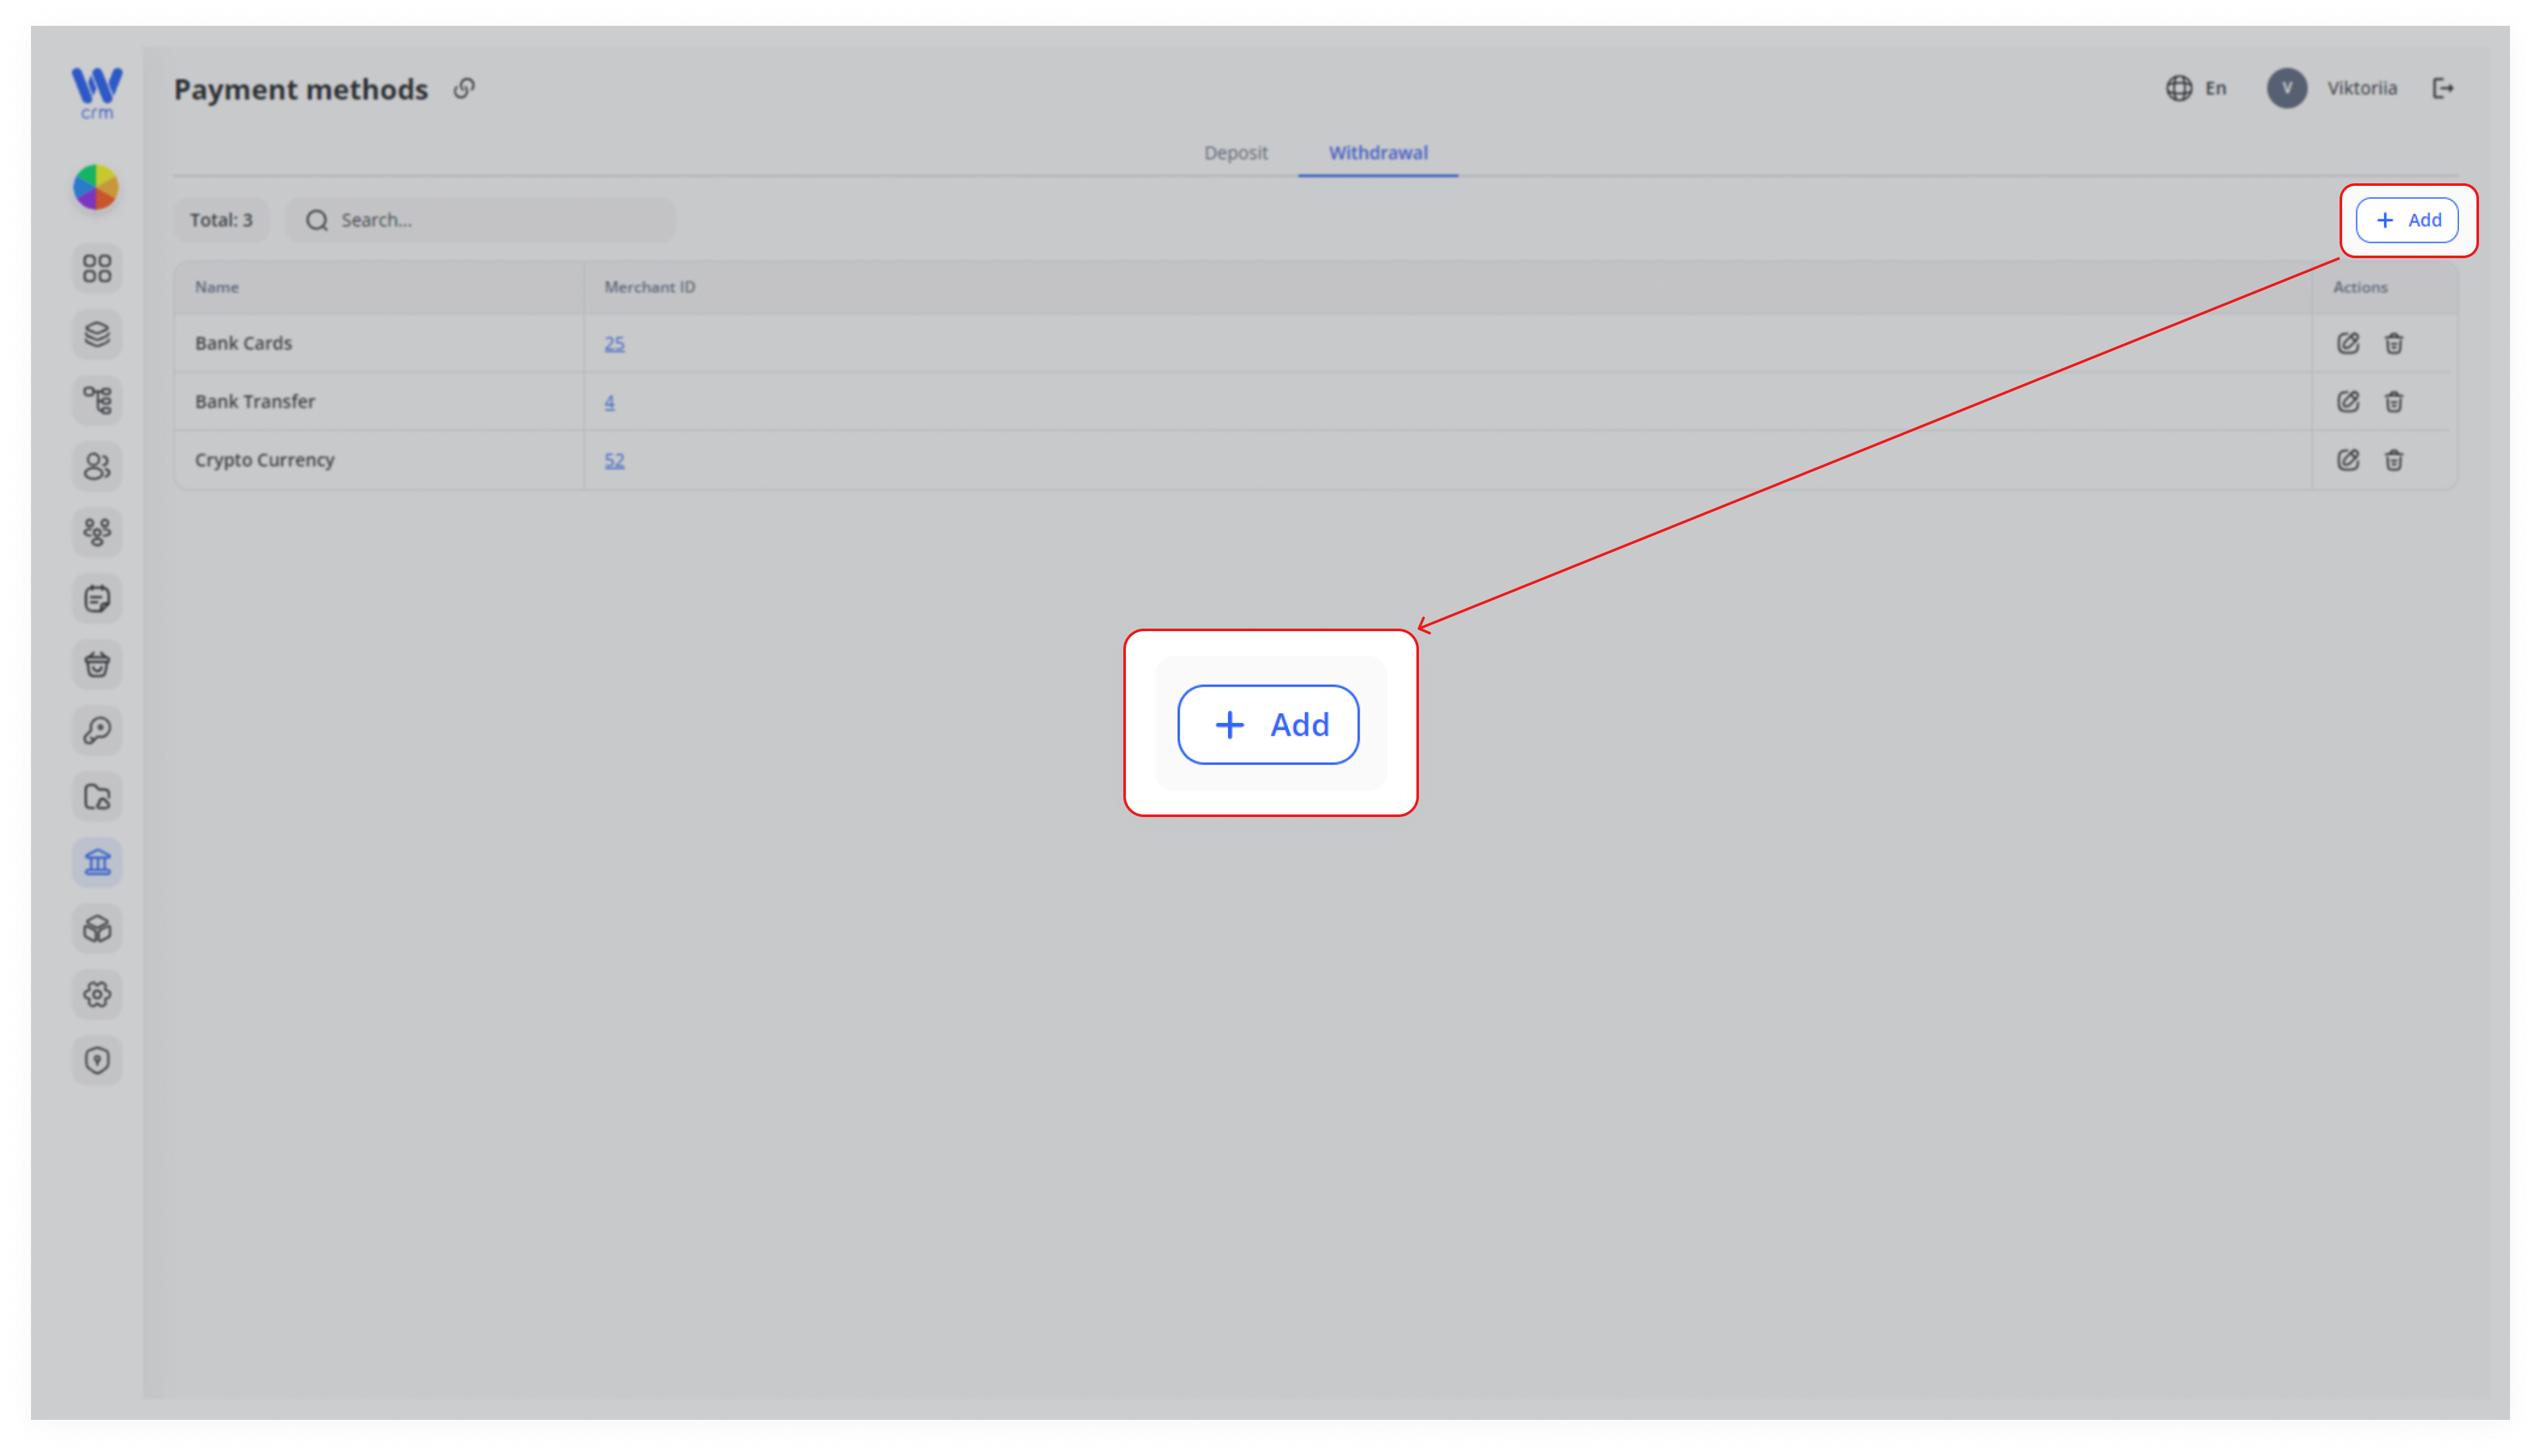
1. Click the Add button in the upper-right corner of the Withdrawal tab.
2. Enter a Label and a Name for the method.
3. If necessary, fill in the MerchantID and Currencies fields.
4. Select the appropriate Language from the available options.
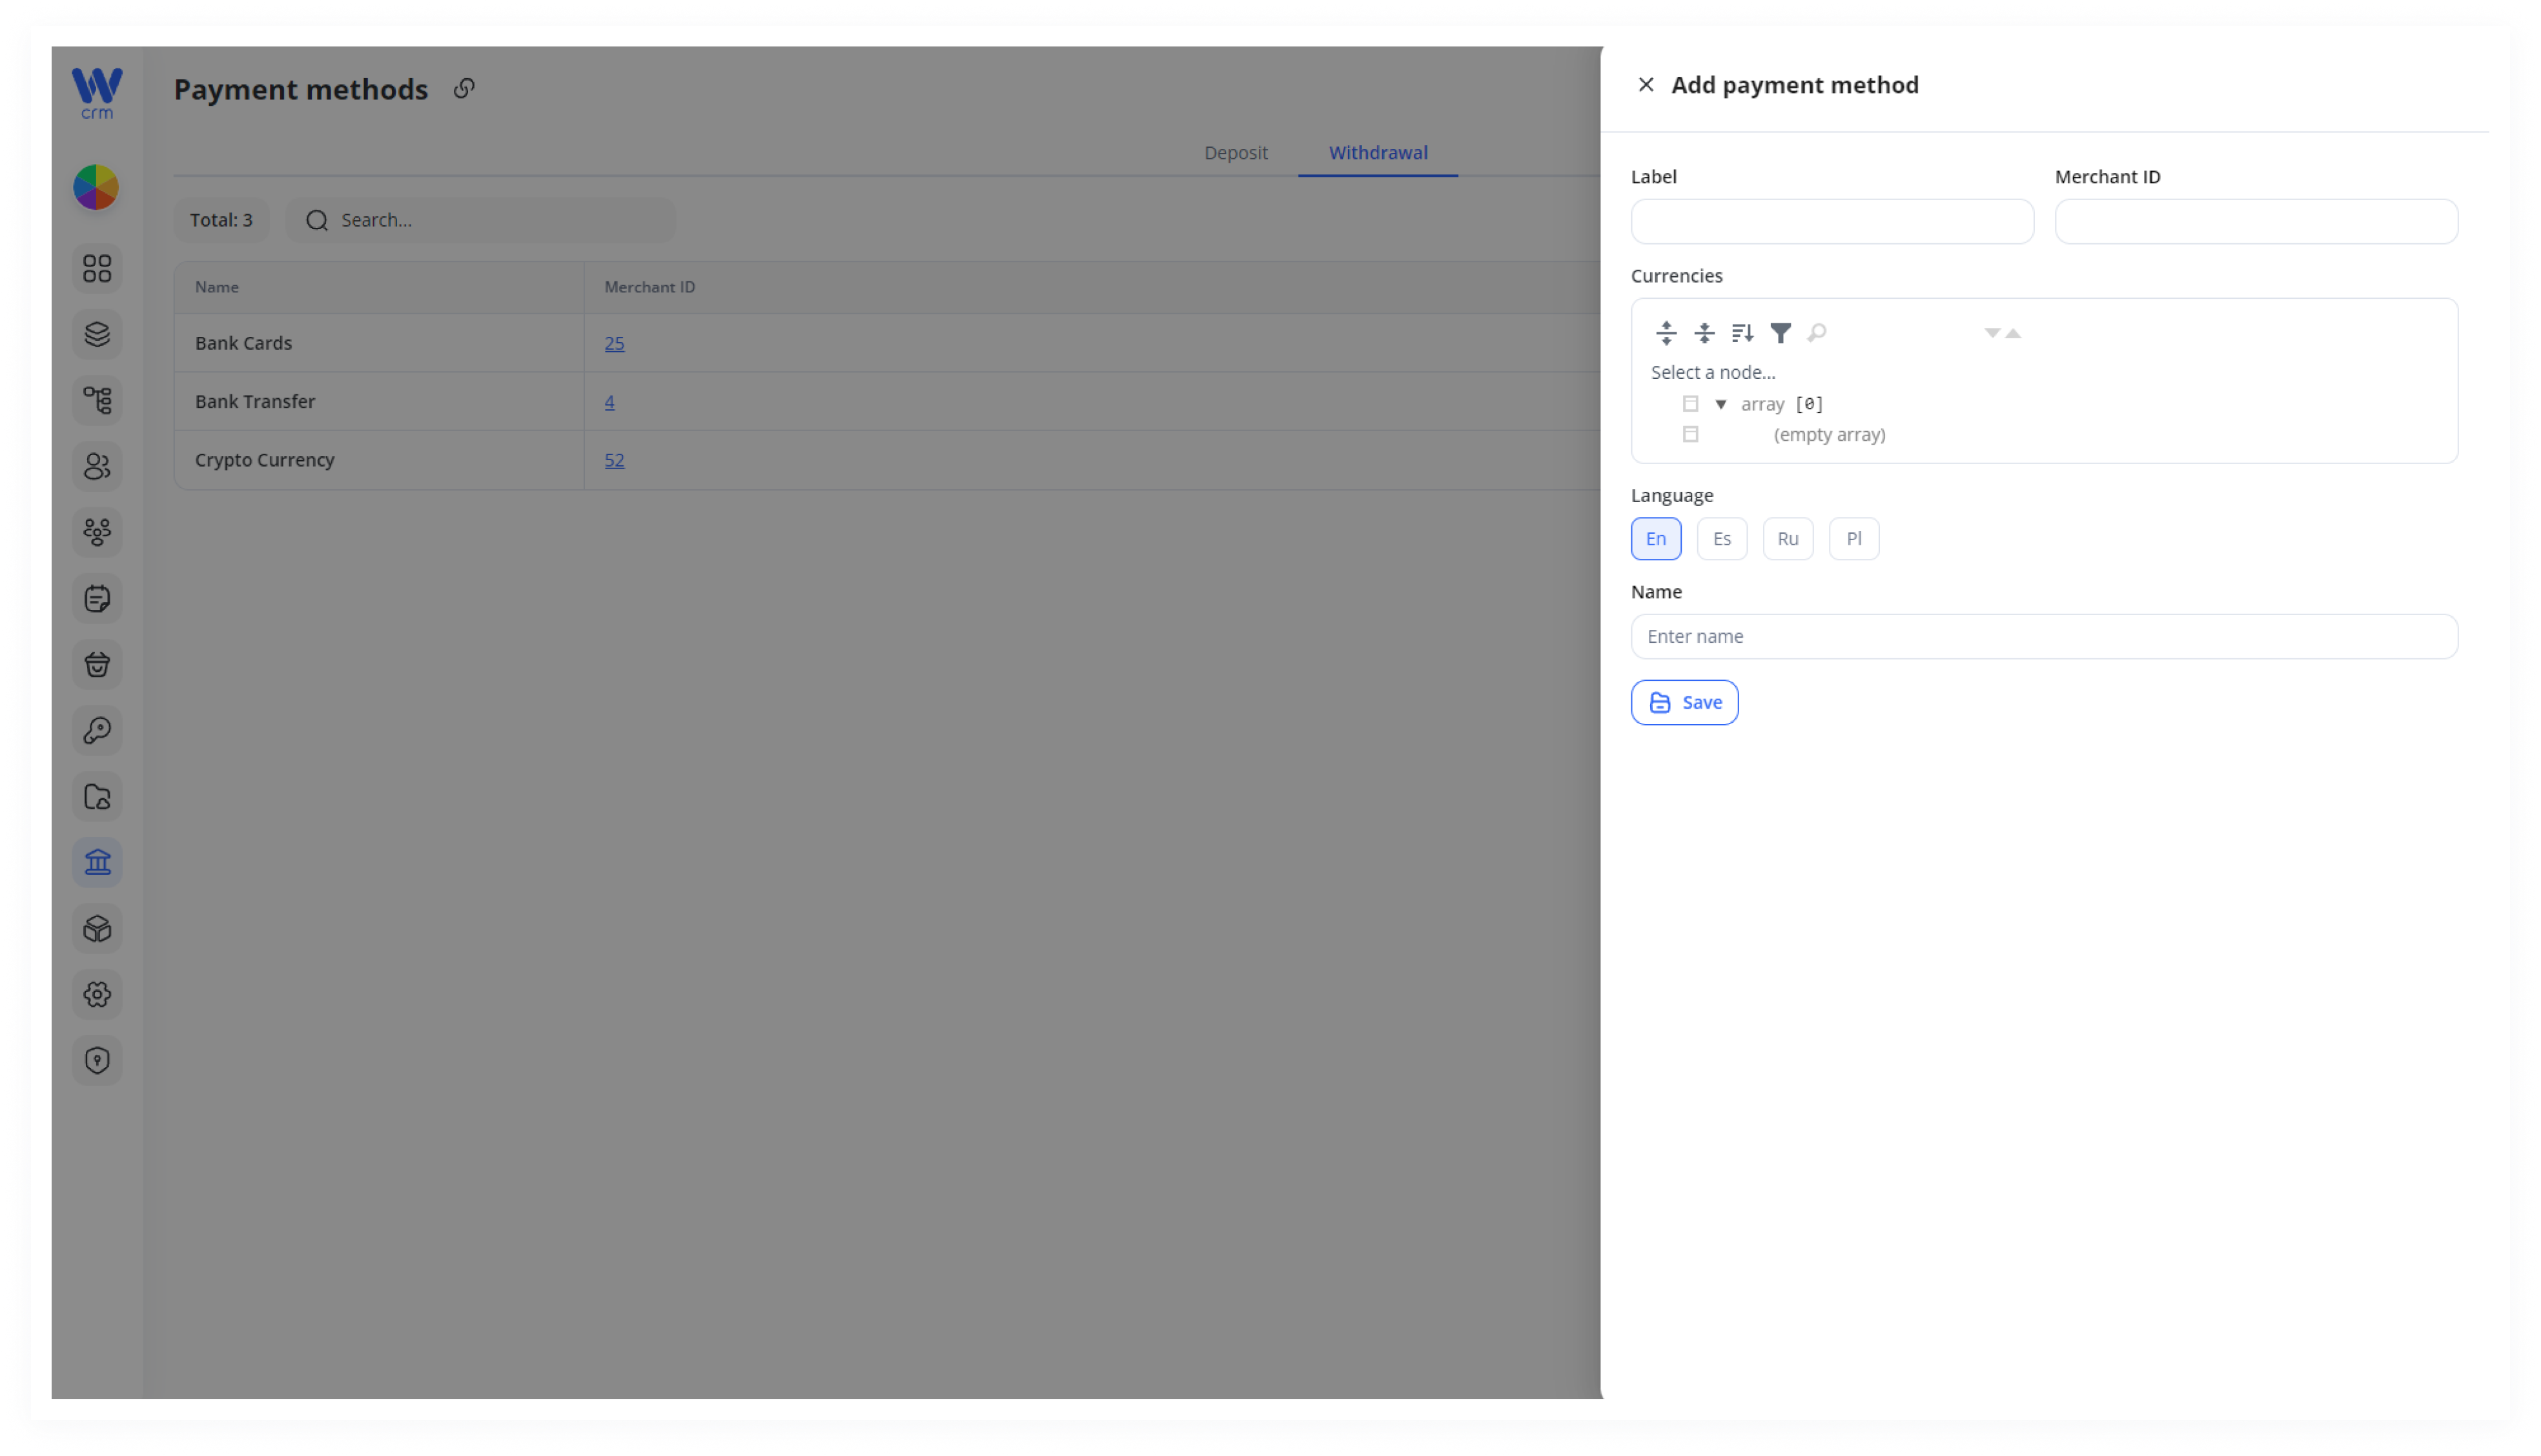
5. Click Save to apply the changes.
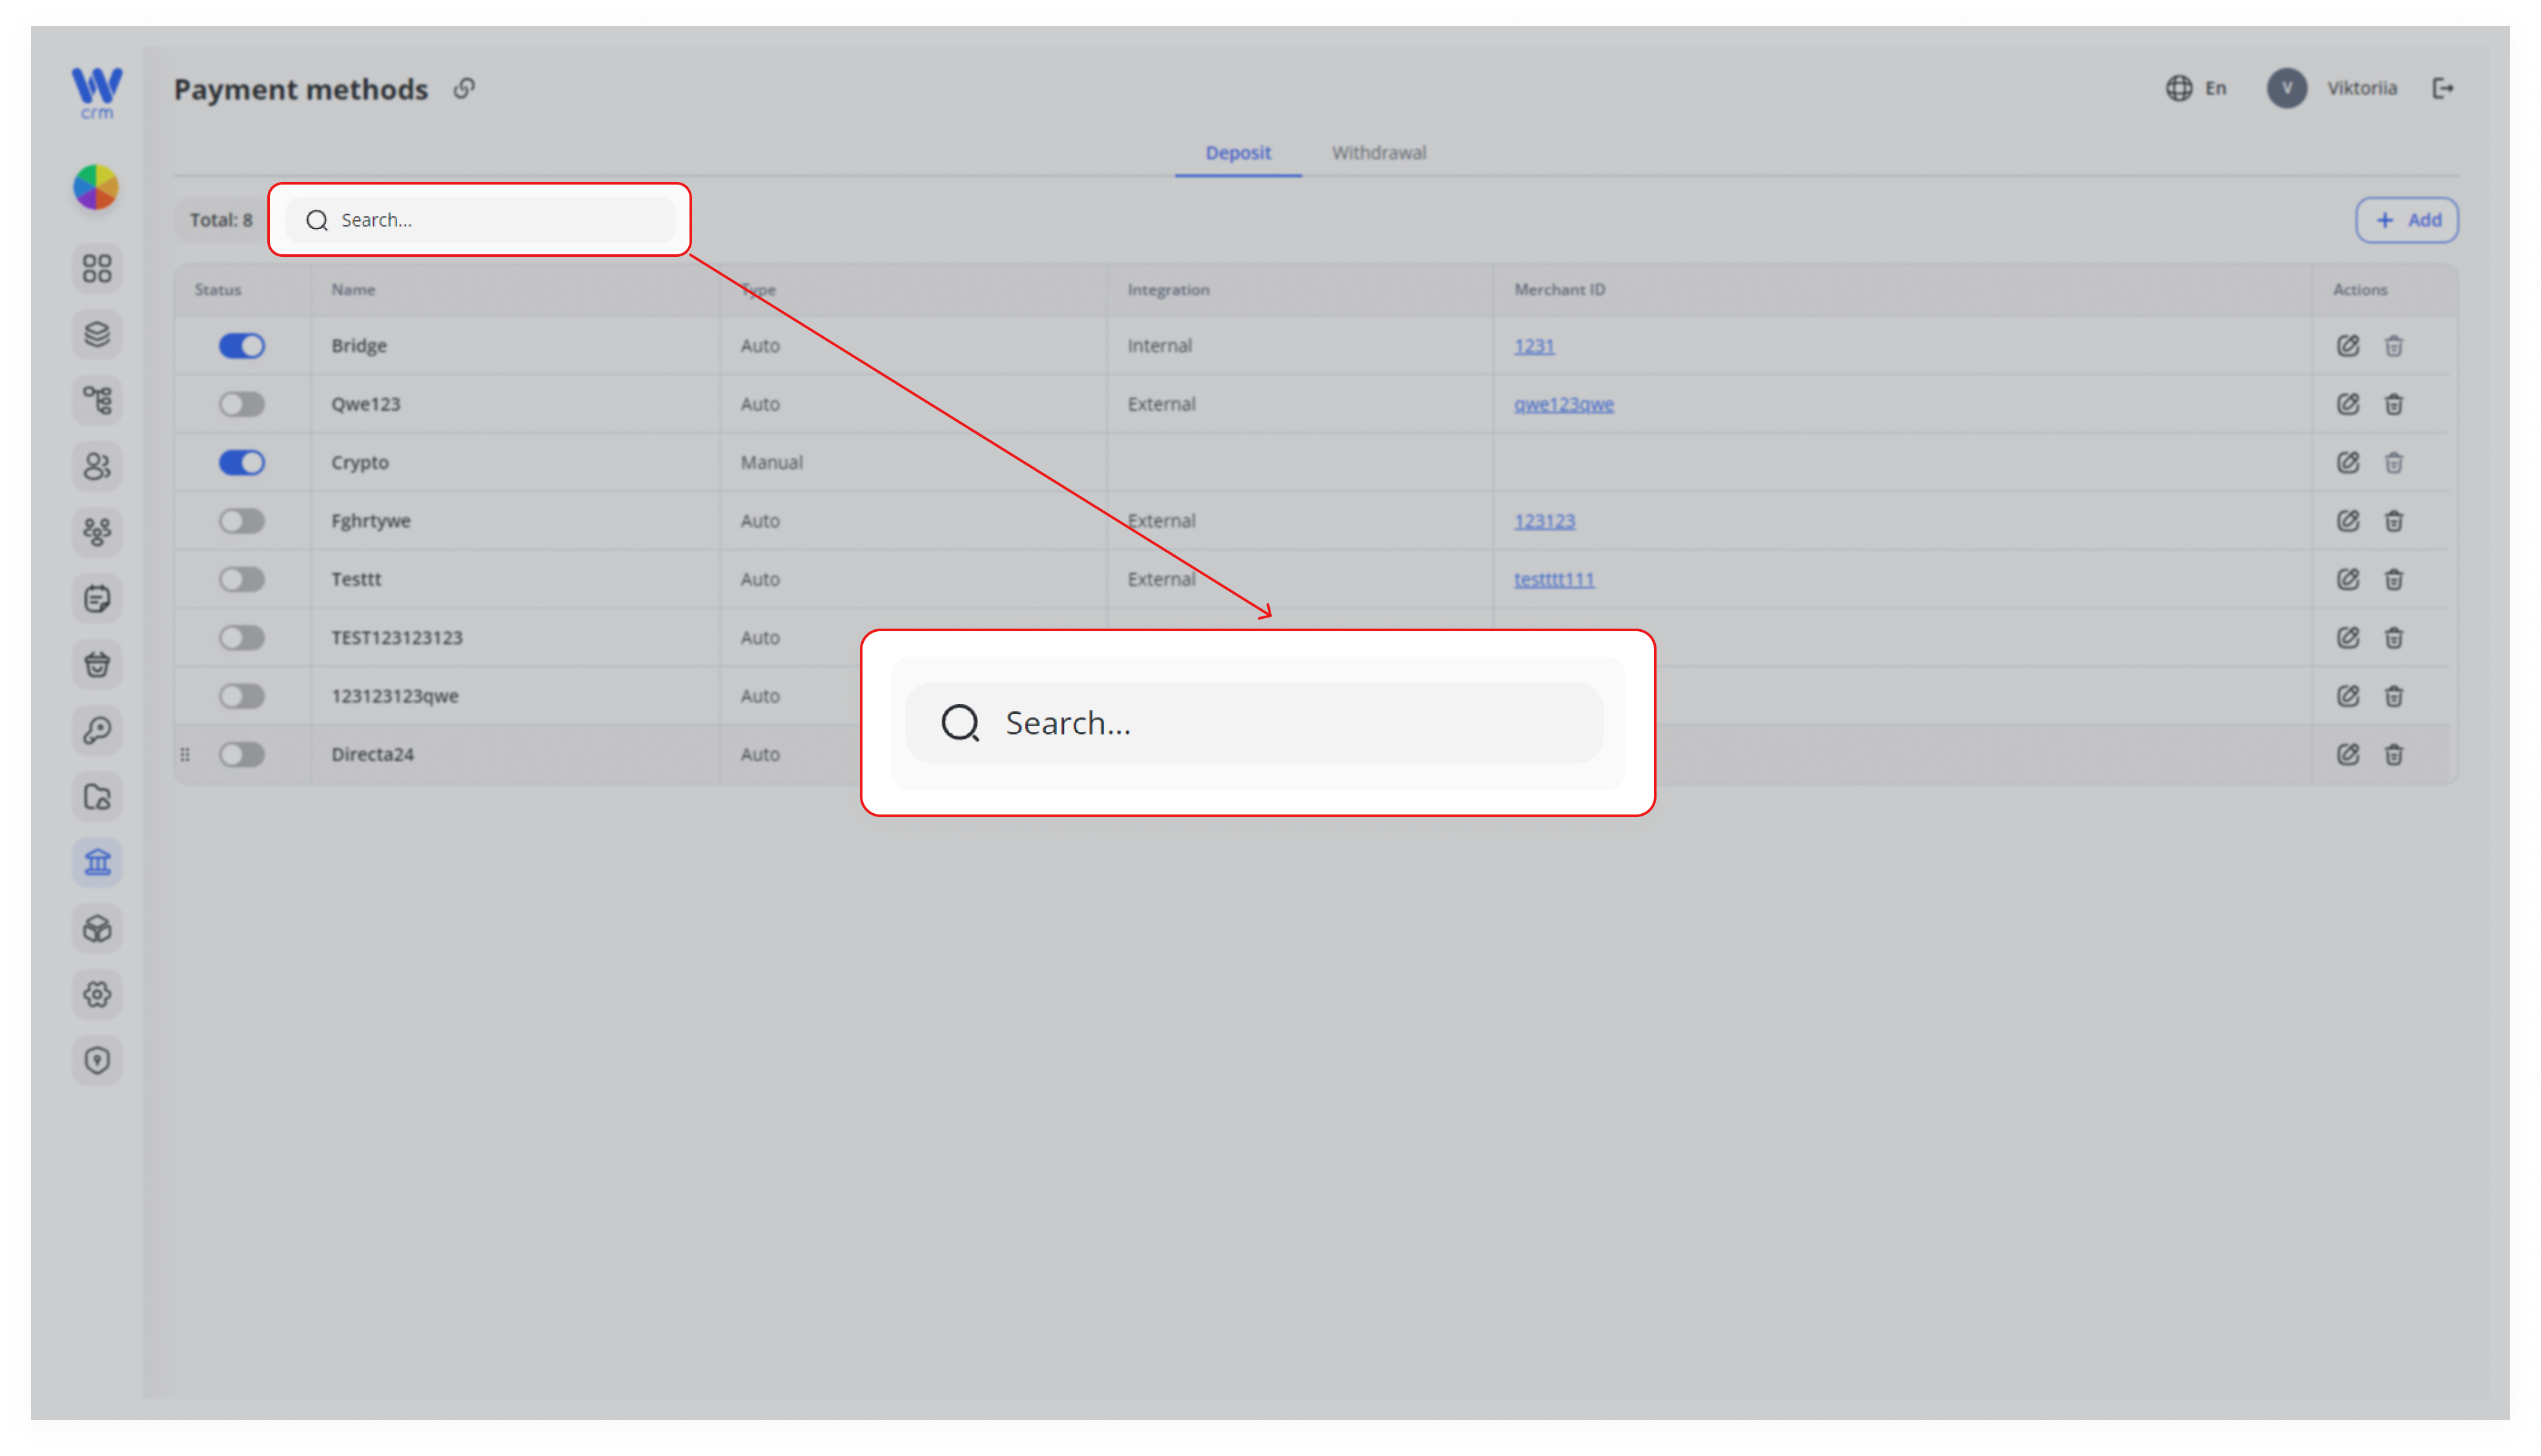
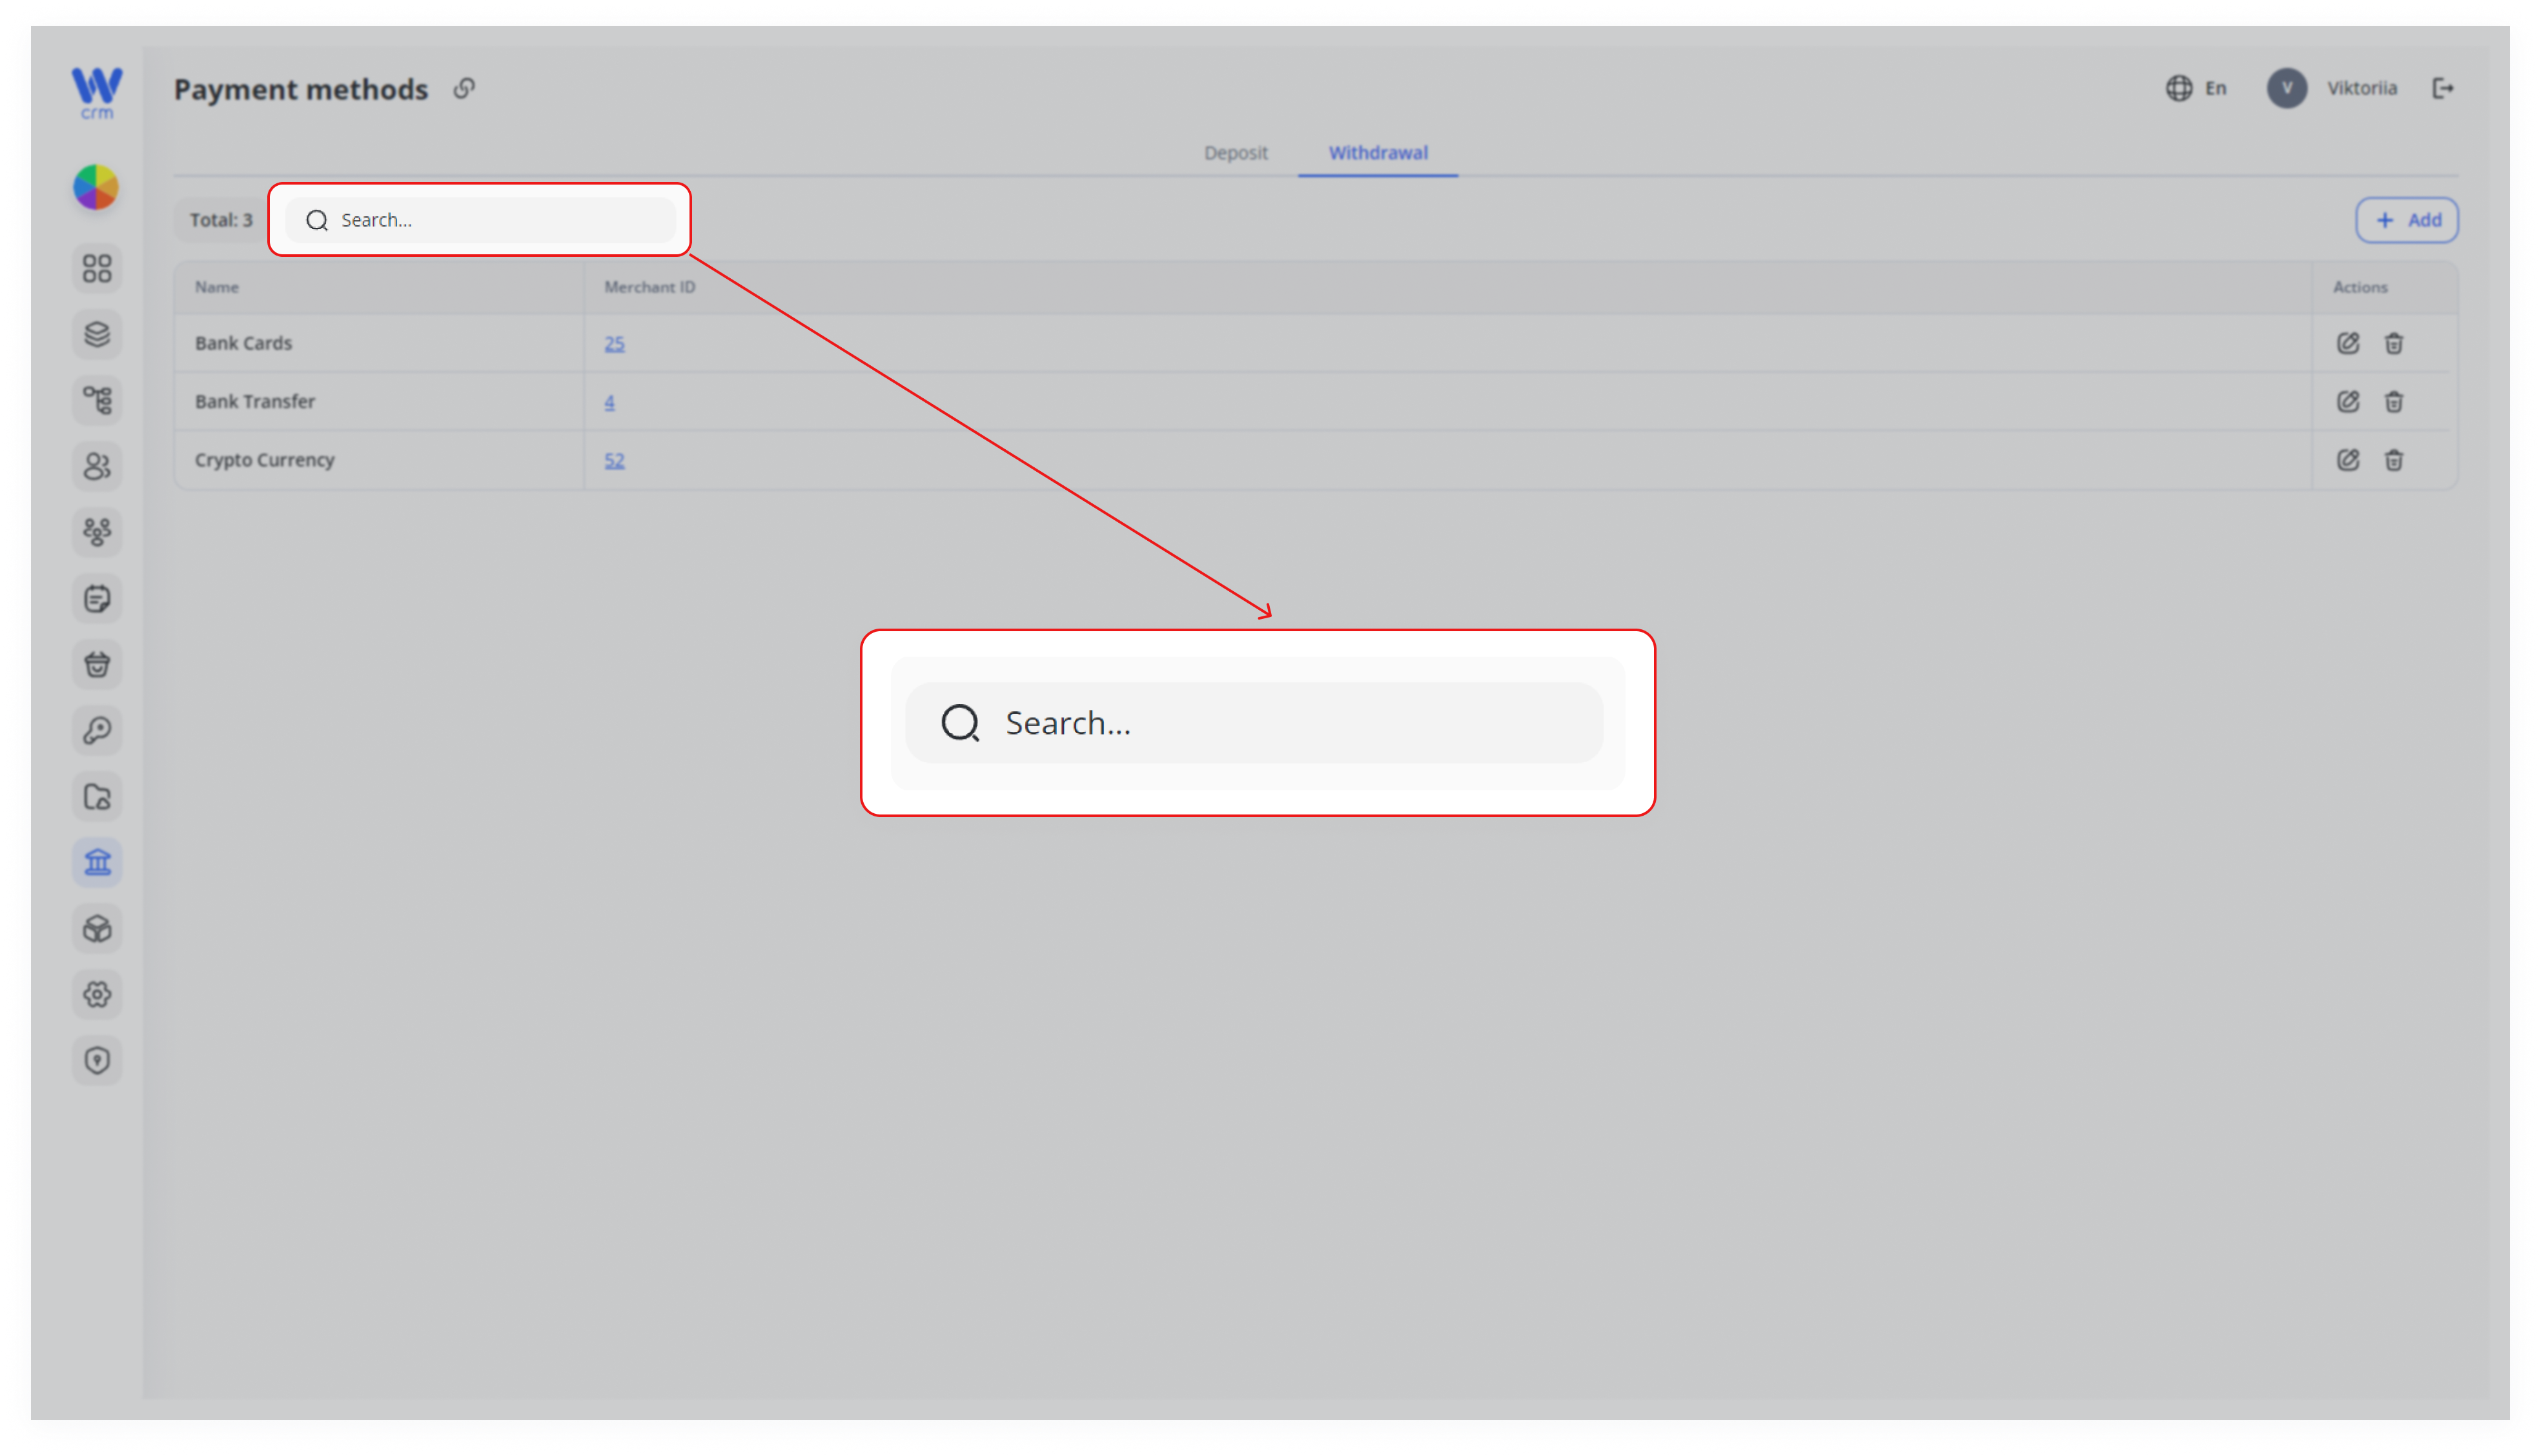
To search for a payment method:
Works in both (Depost and Withdrawal) tabs.
-
Click into the Search… field at the top-left.
- Begin typing the payment method’s label in the Search field at the top of the tab.
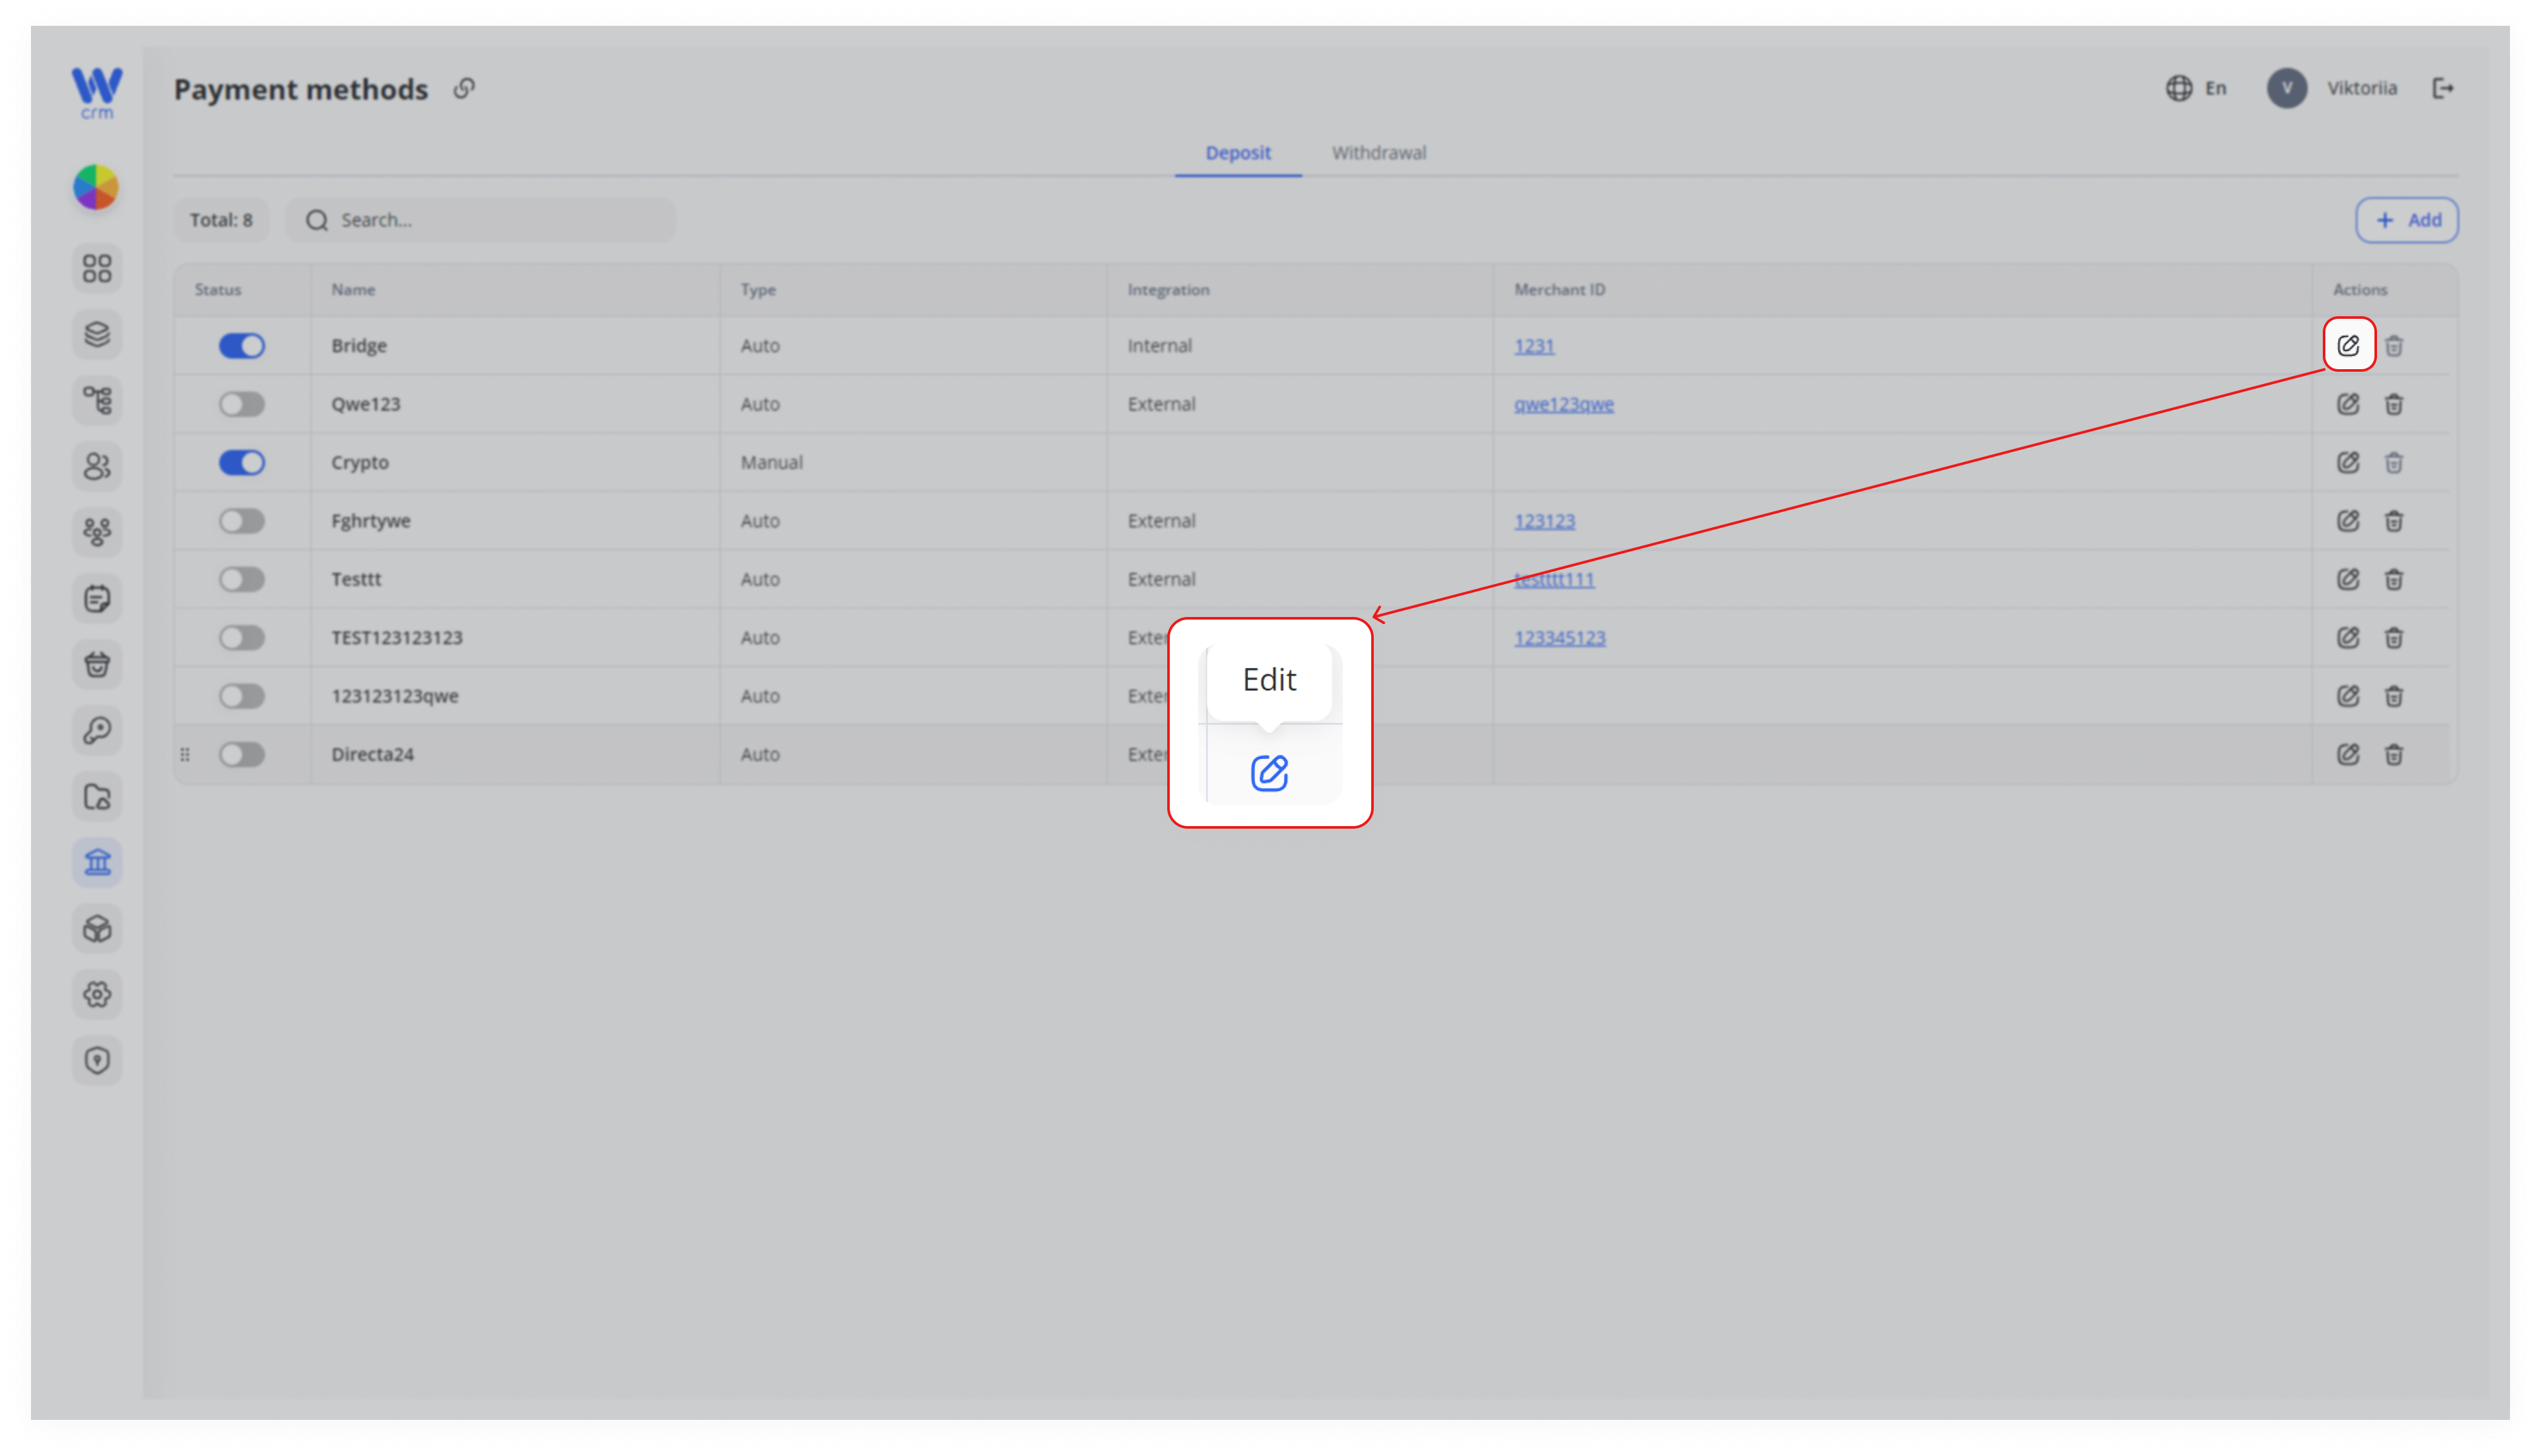
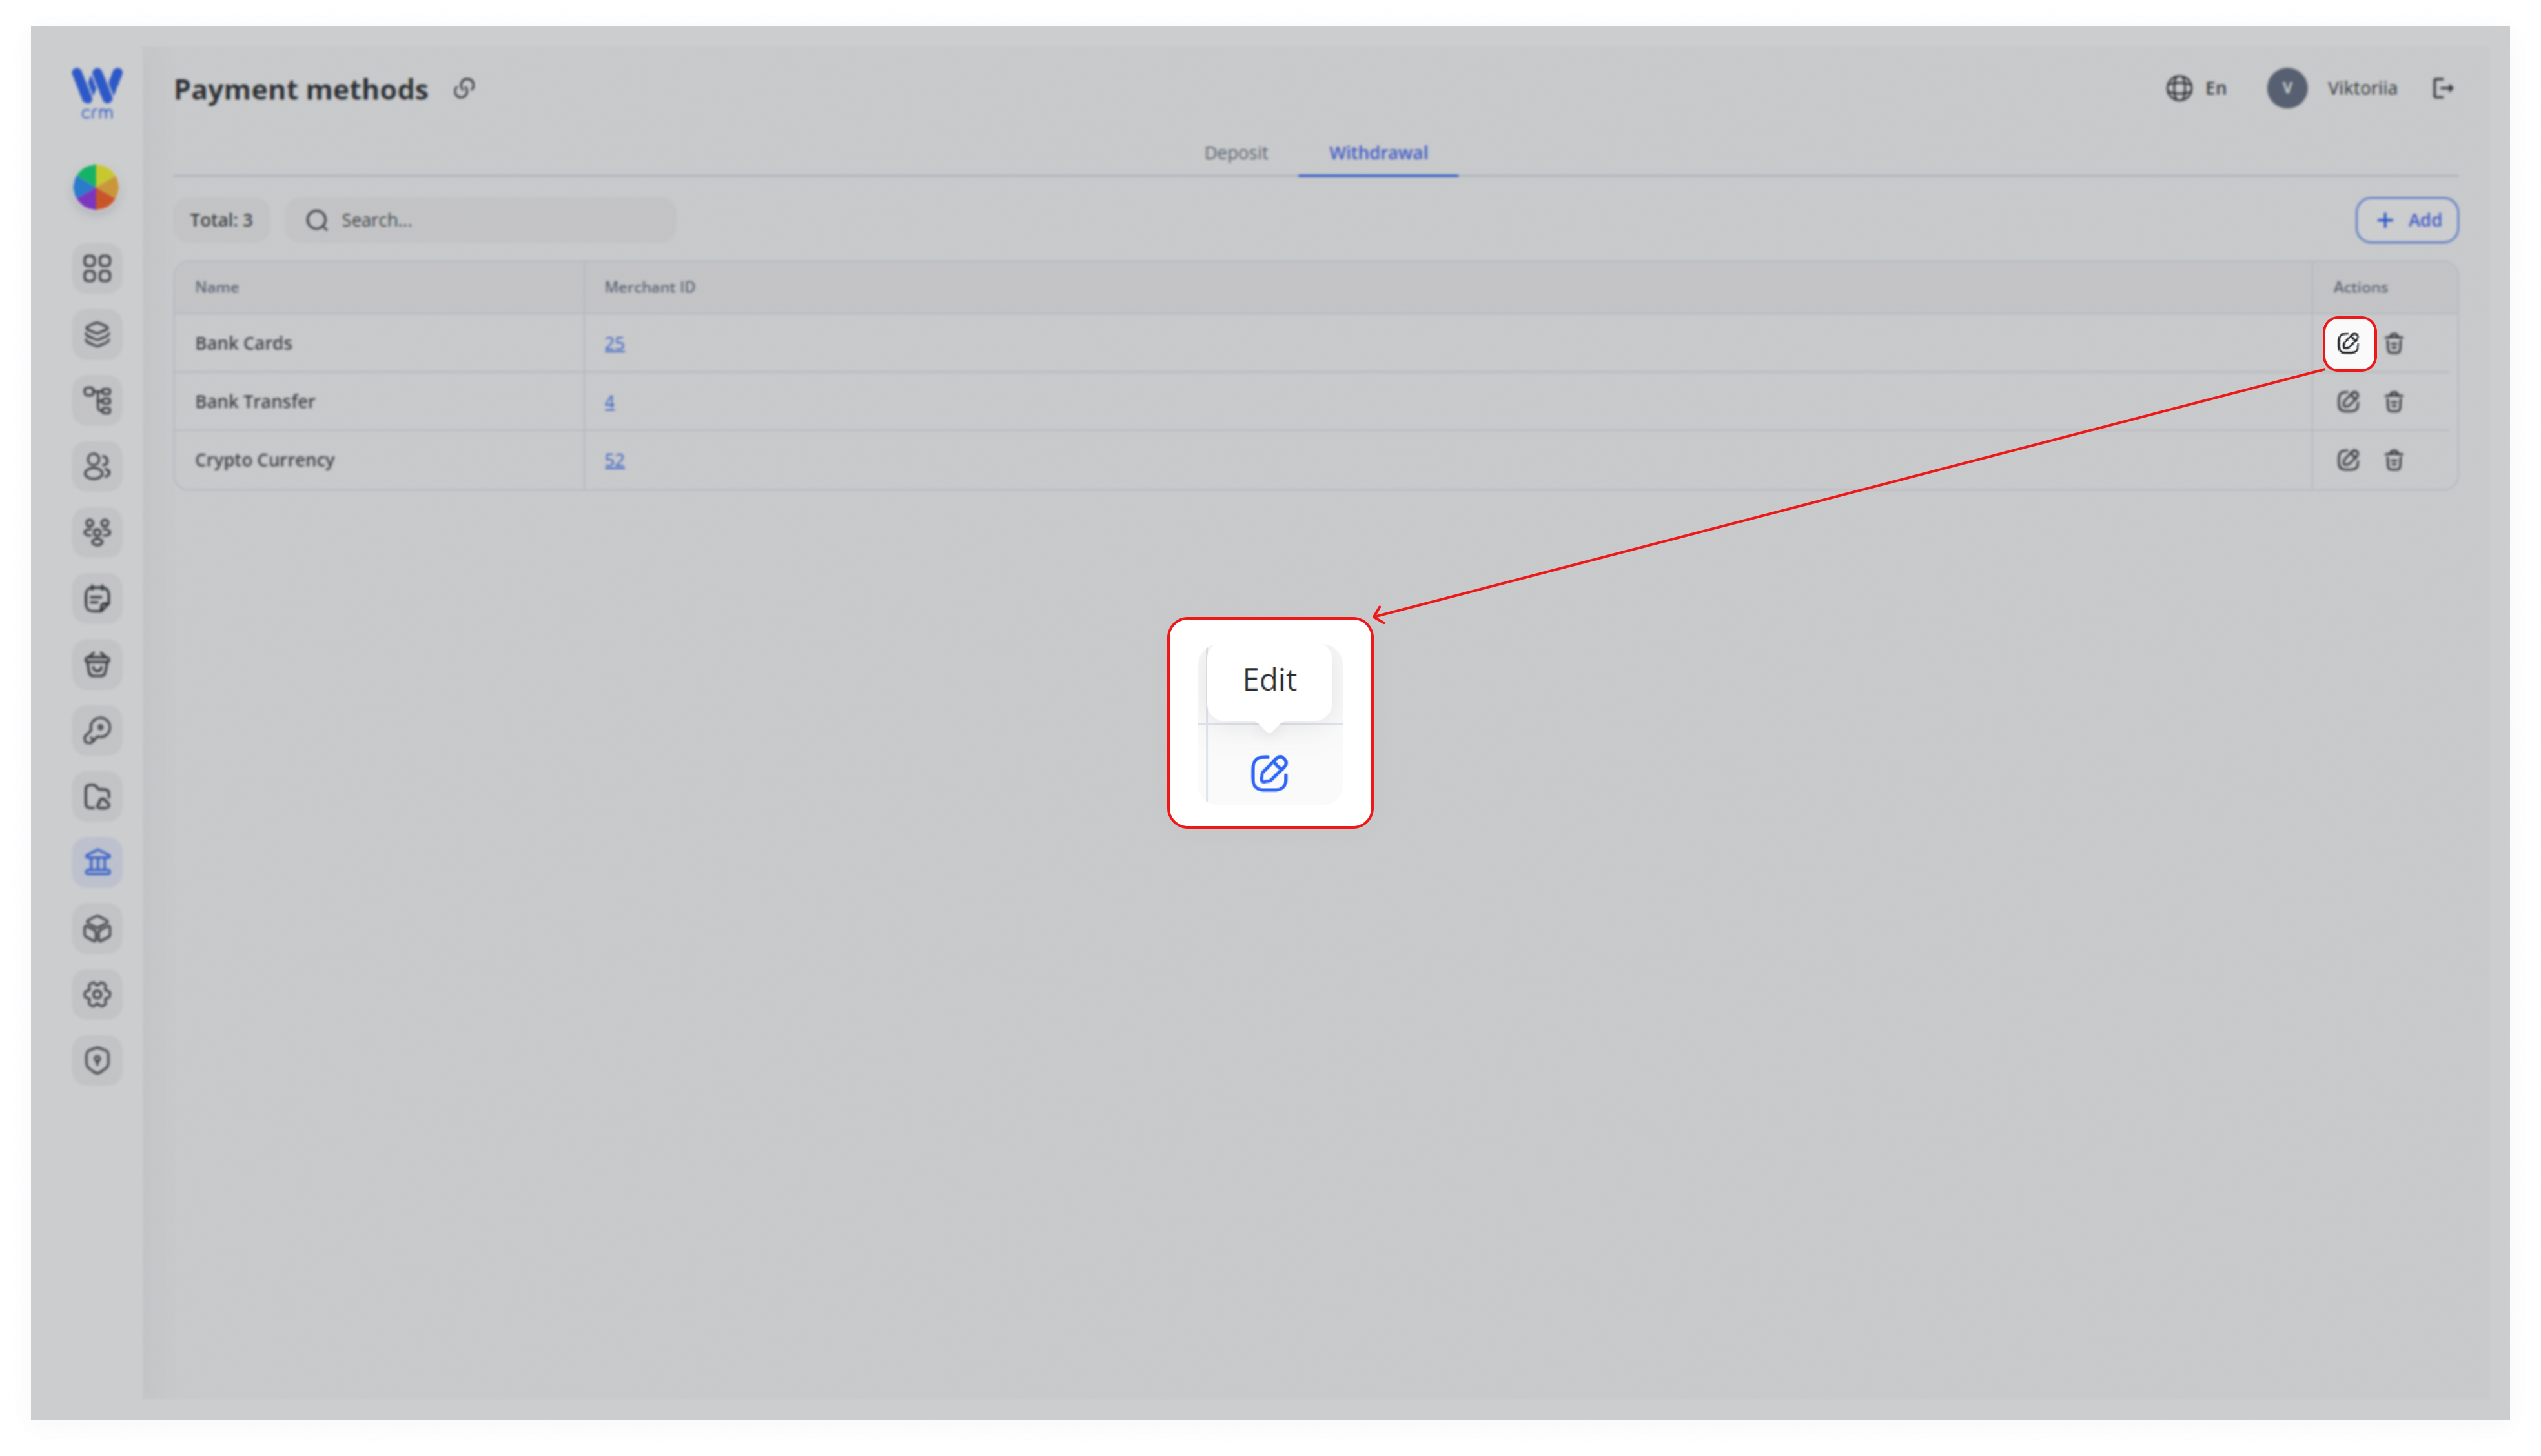
To edit a payment method:
Works in both (Depost and Withdrawal) tabs.
-
Locate the row you want to change.
-
Click the ✎ Edit icon in the rightmost Actions column.
-
Update any editable fields in the panel (all except Label).
-
Click Save to apply your changes.
Note: You cannot edit the label of a payment method.
To delete a payment method:
Works in both (Depost and Withdrawal) tabs.
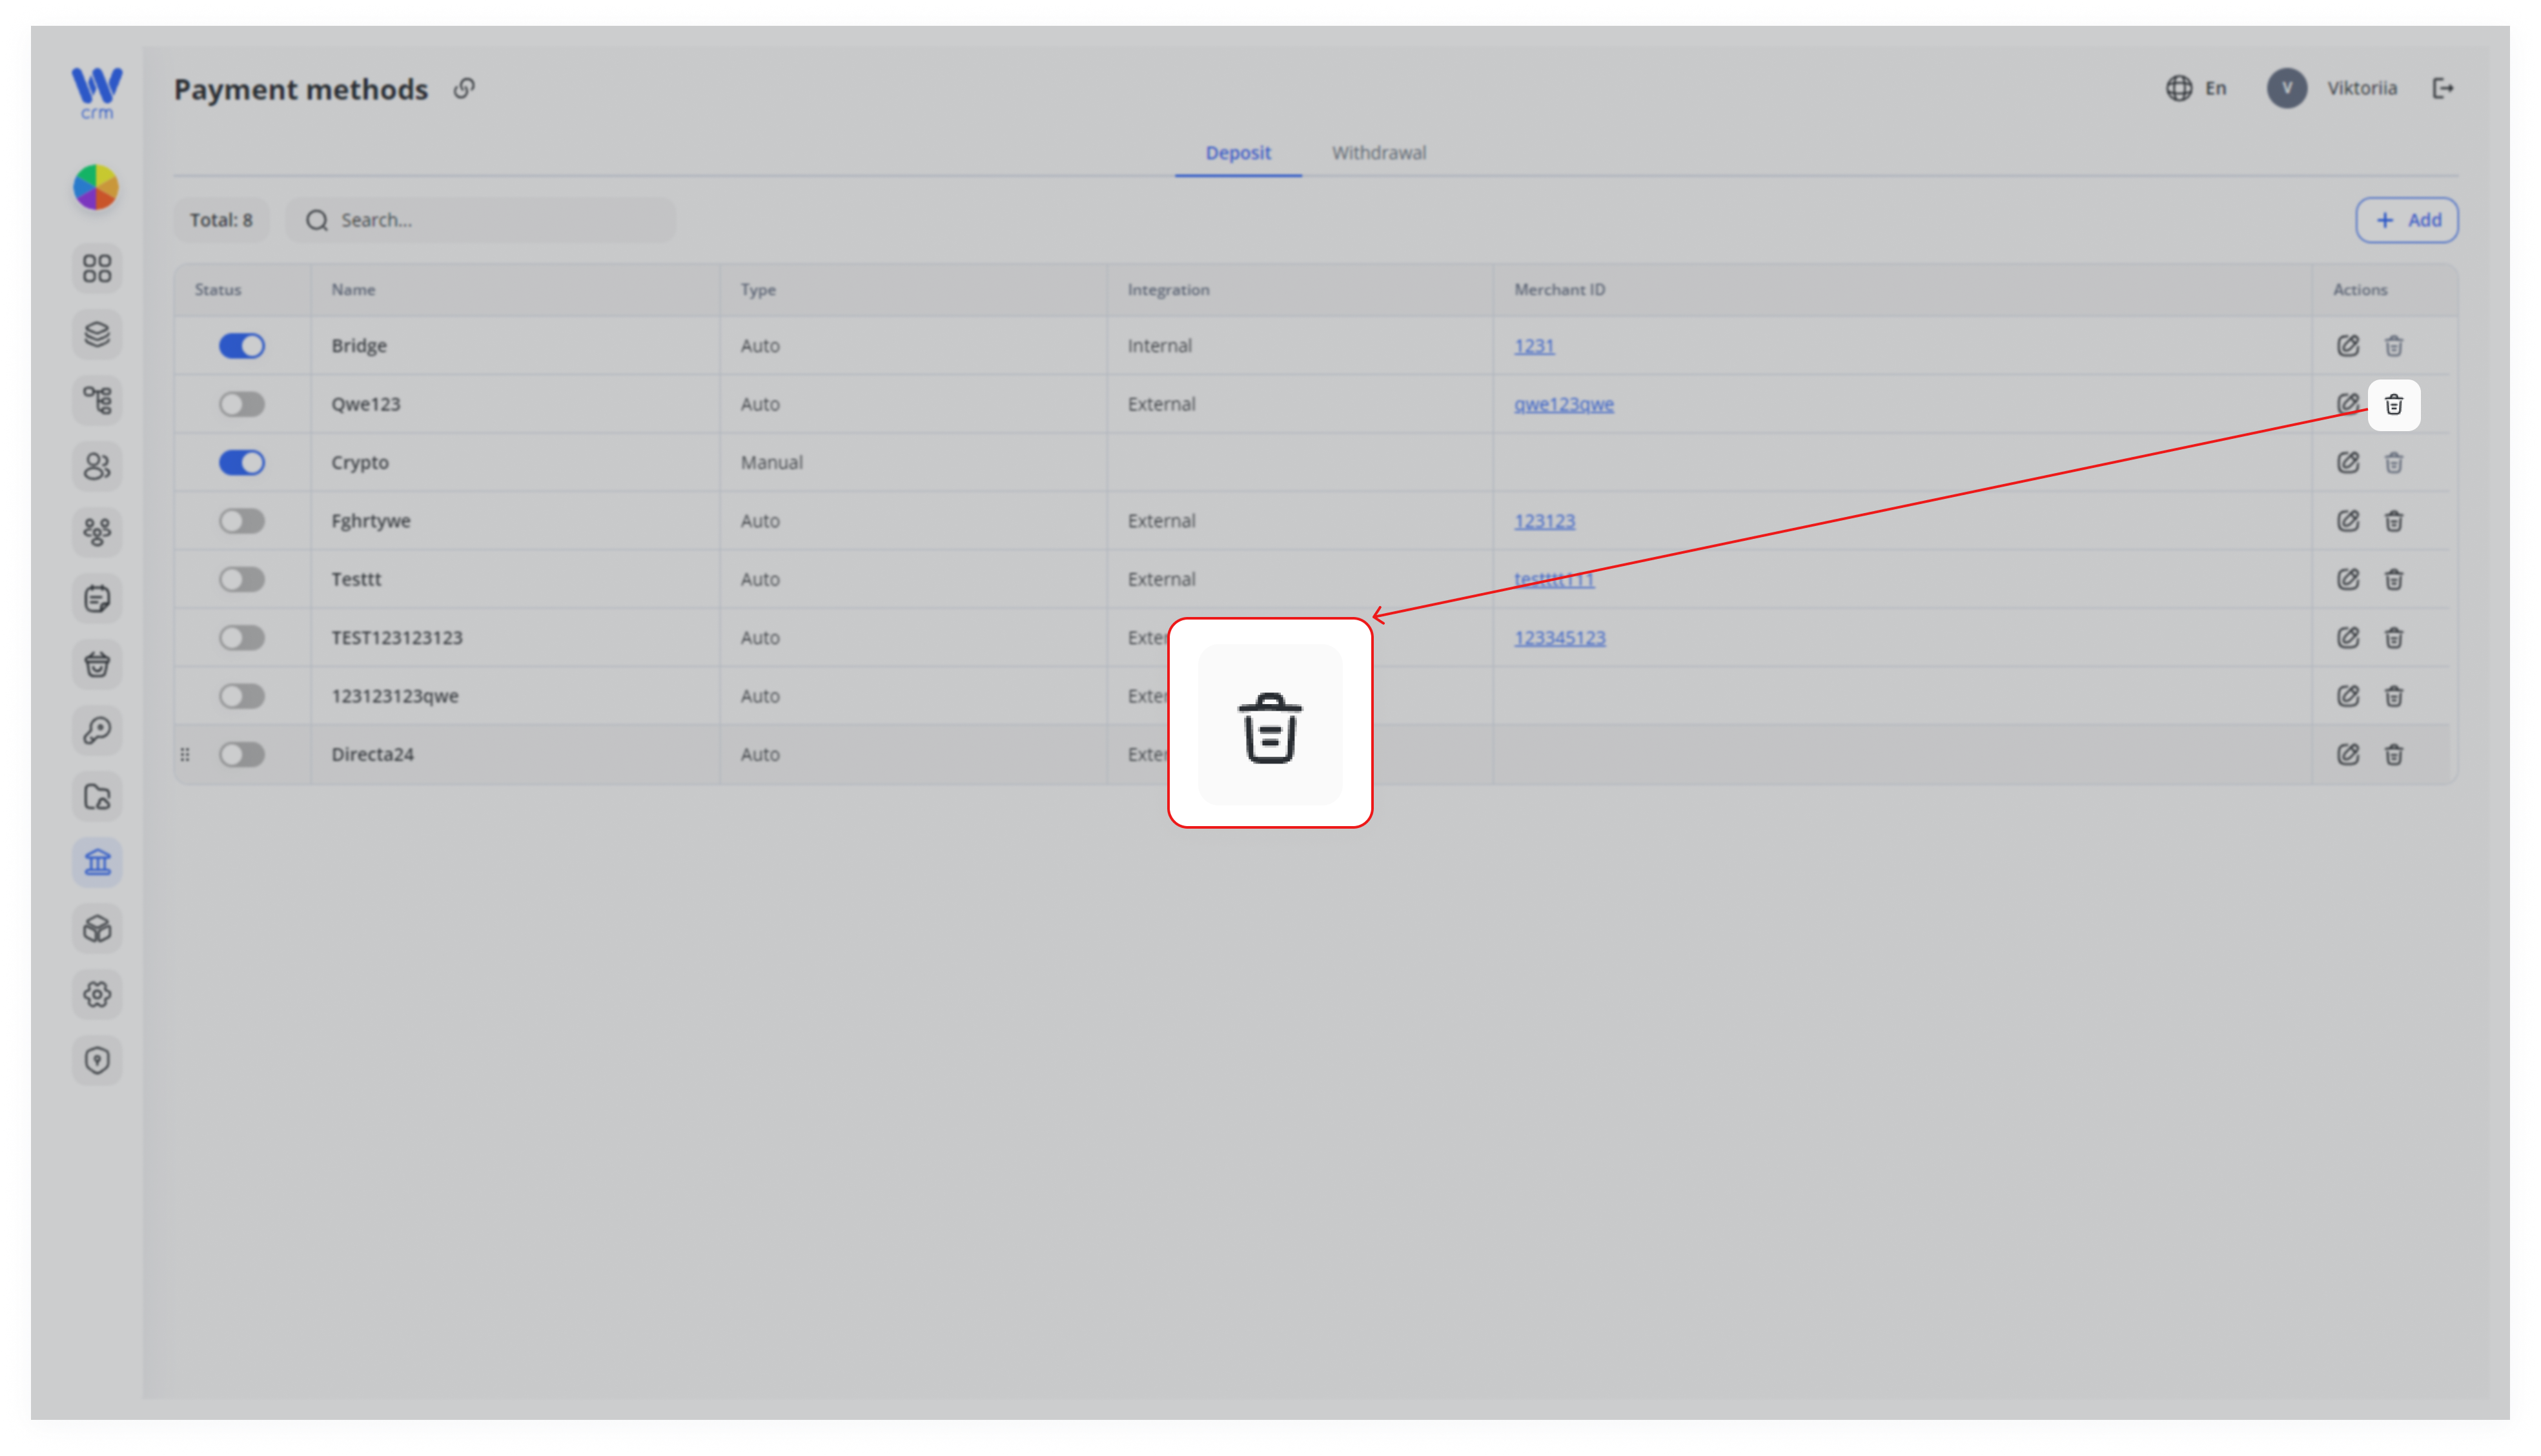
1. For deposit methods, ensure the method is deactivated first. Deactivate a method by clicking the toggle in the Status column (deactivated methods will turn gray).
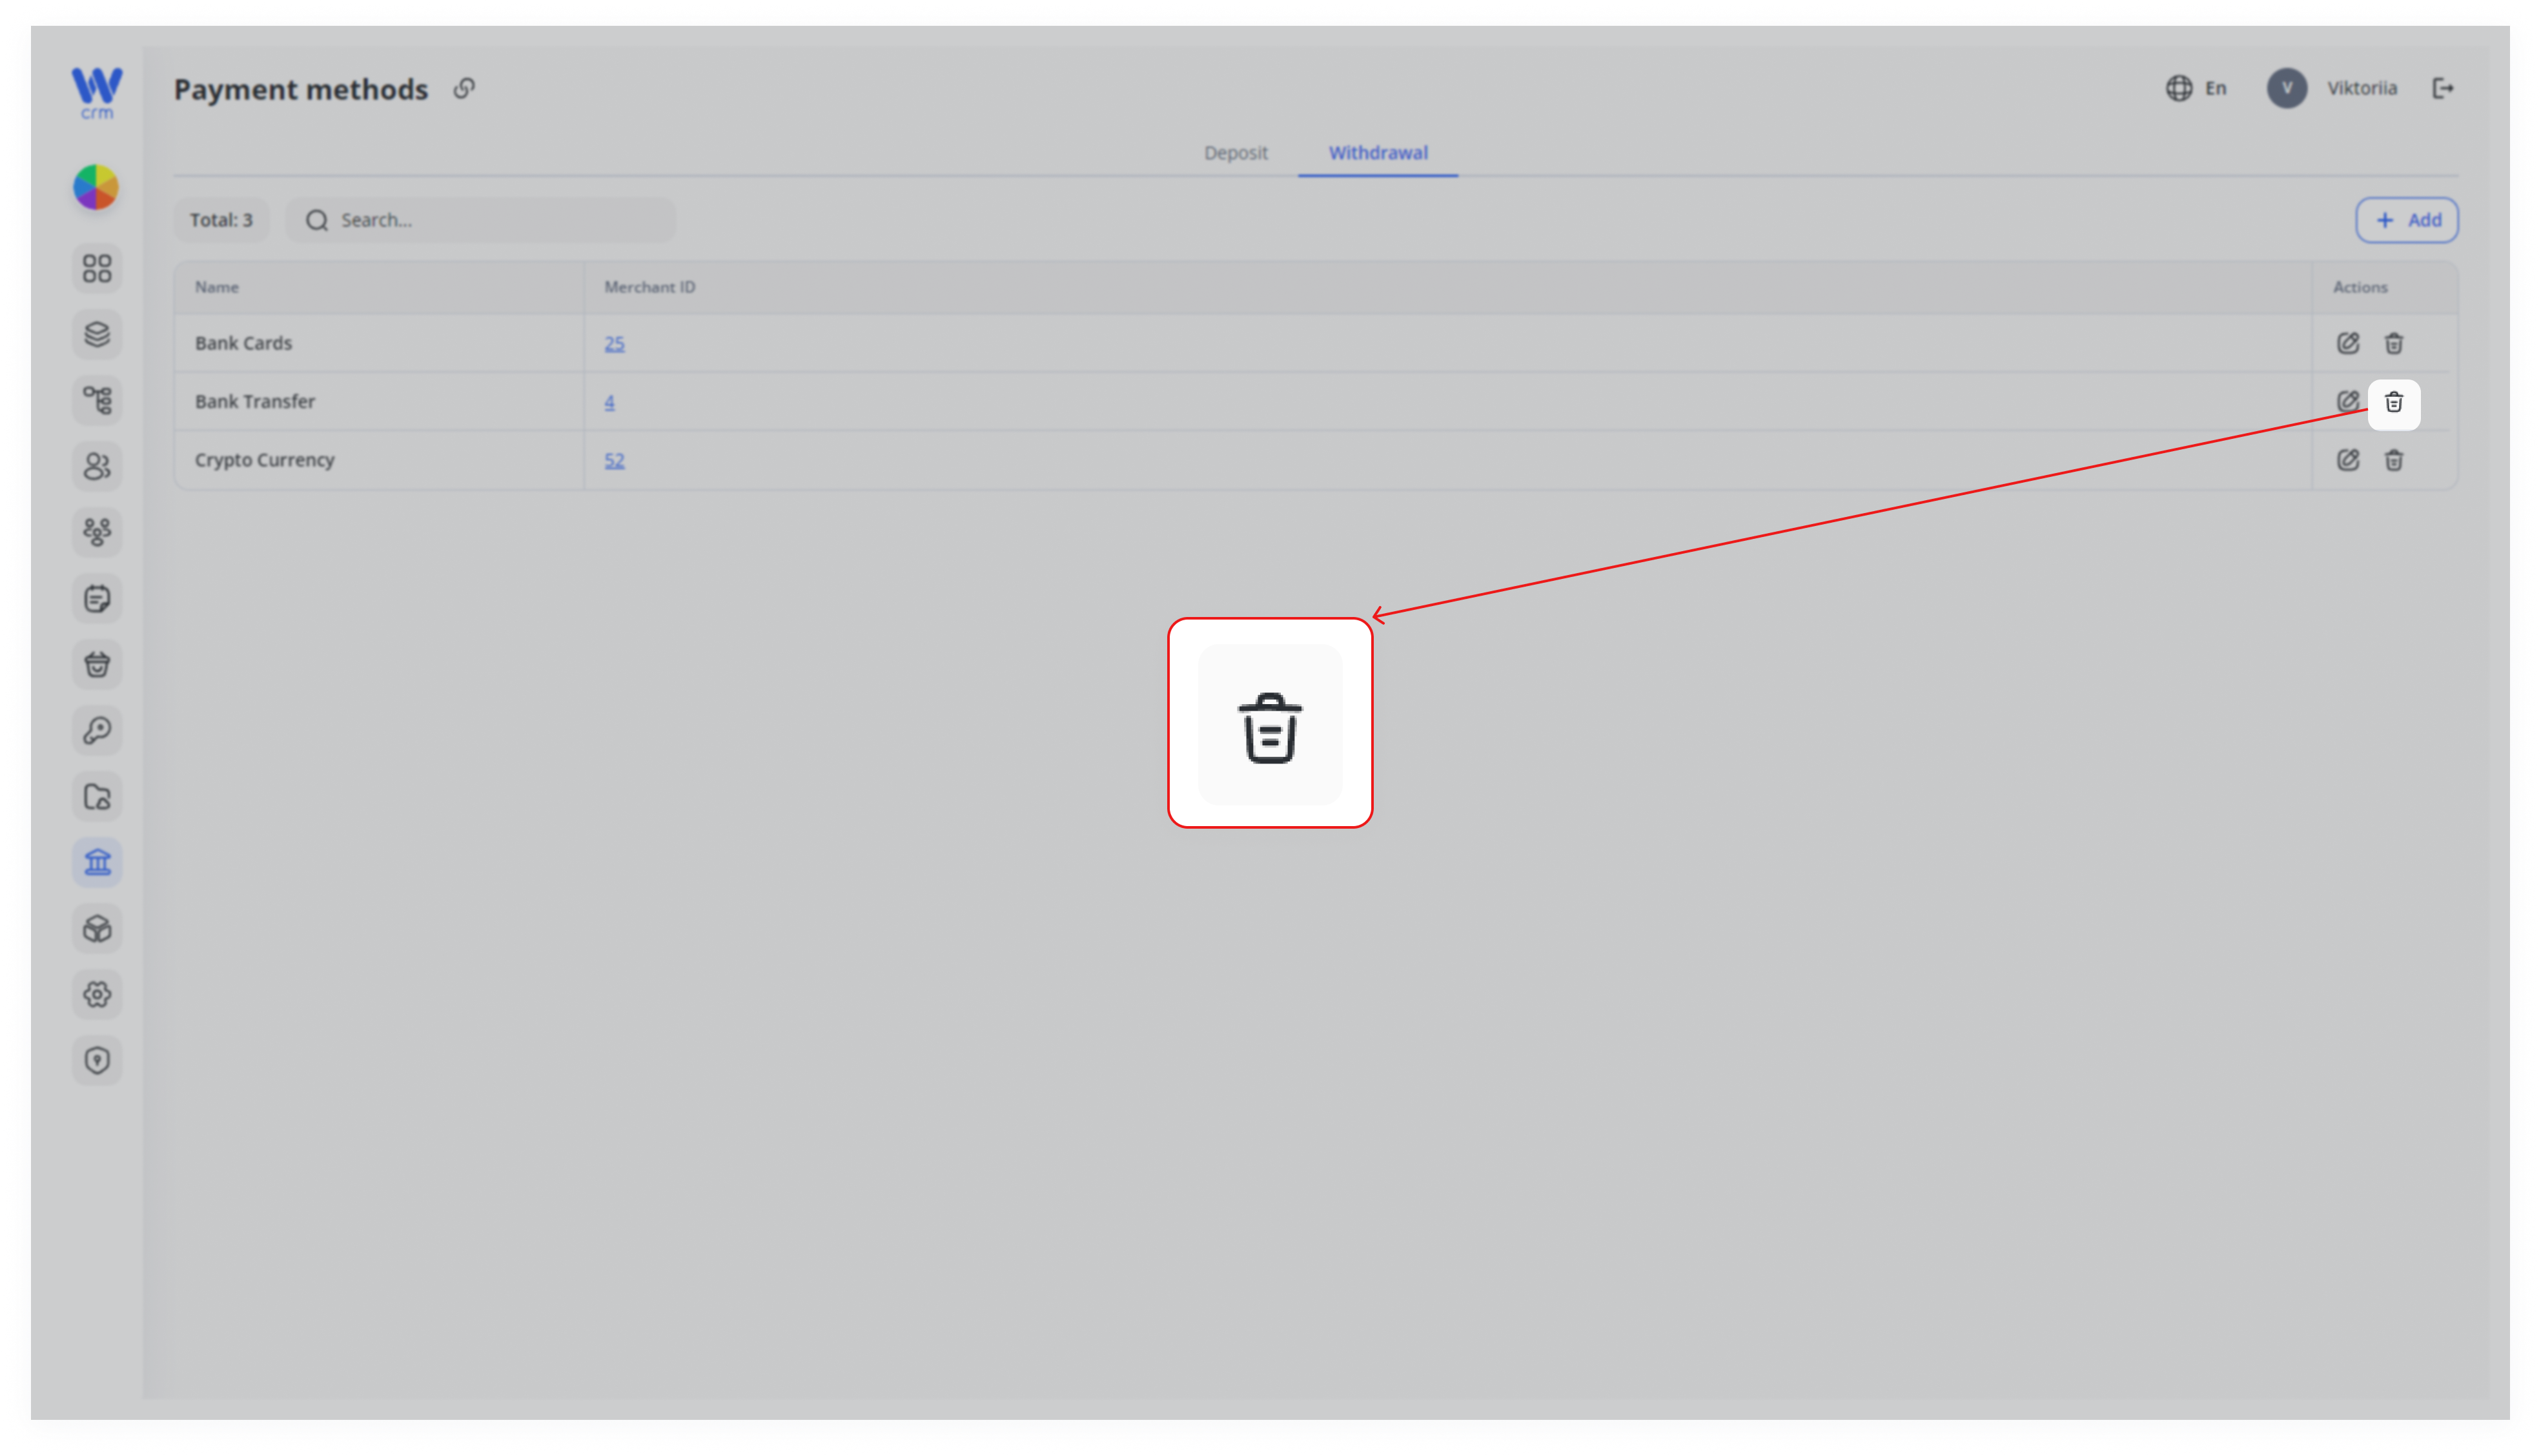
2. Click the Delete icon in in the Actions column:
Warning: Deleted payment methods cannot be restored.