
5. How to Manage Translations
Short UI elements—like button labels, menu items, and field names—are handled in Settings > Translations. This section lets you review, edit, and add translations for all “labels” (internal identifiers) used throughout the CRM. Keeping these up to date ensures that every small piece of text in the interface is fully localized.
Why Use Translations?
-
Consistent UI: Make sure every button or menu item appears correctly in each active language.
-
Rapid Updates: Quickly fix typos or change wording without redeploying code.
-
Custom Elements: Add new labels (for custom development) and translate them for your users.
Viewing & Searching Existing Translations
1. Go to ⚙️ Settings → Translations.
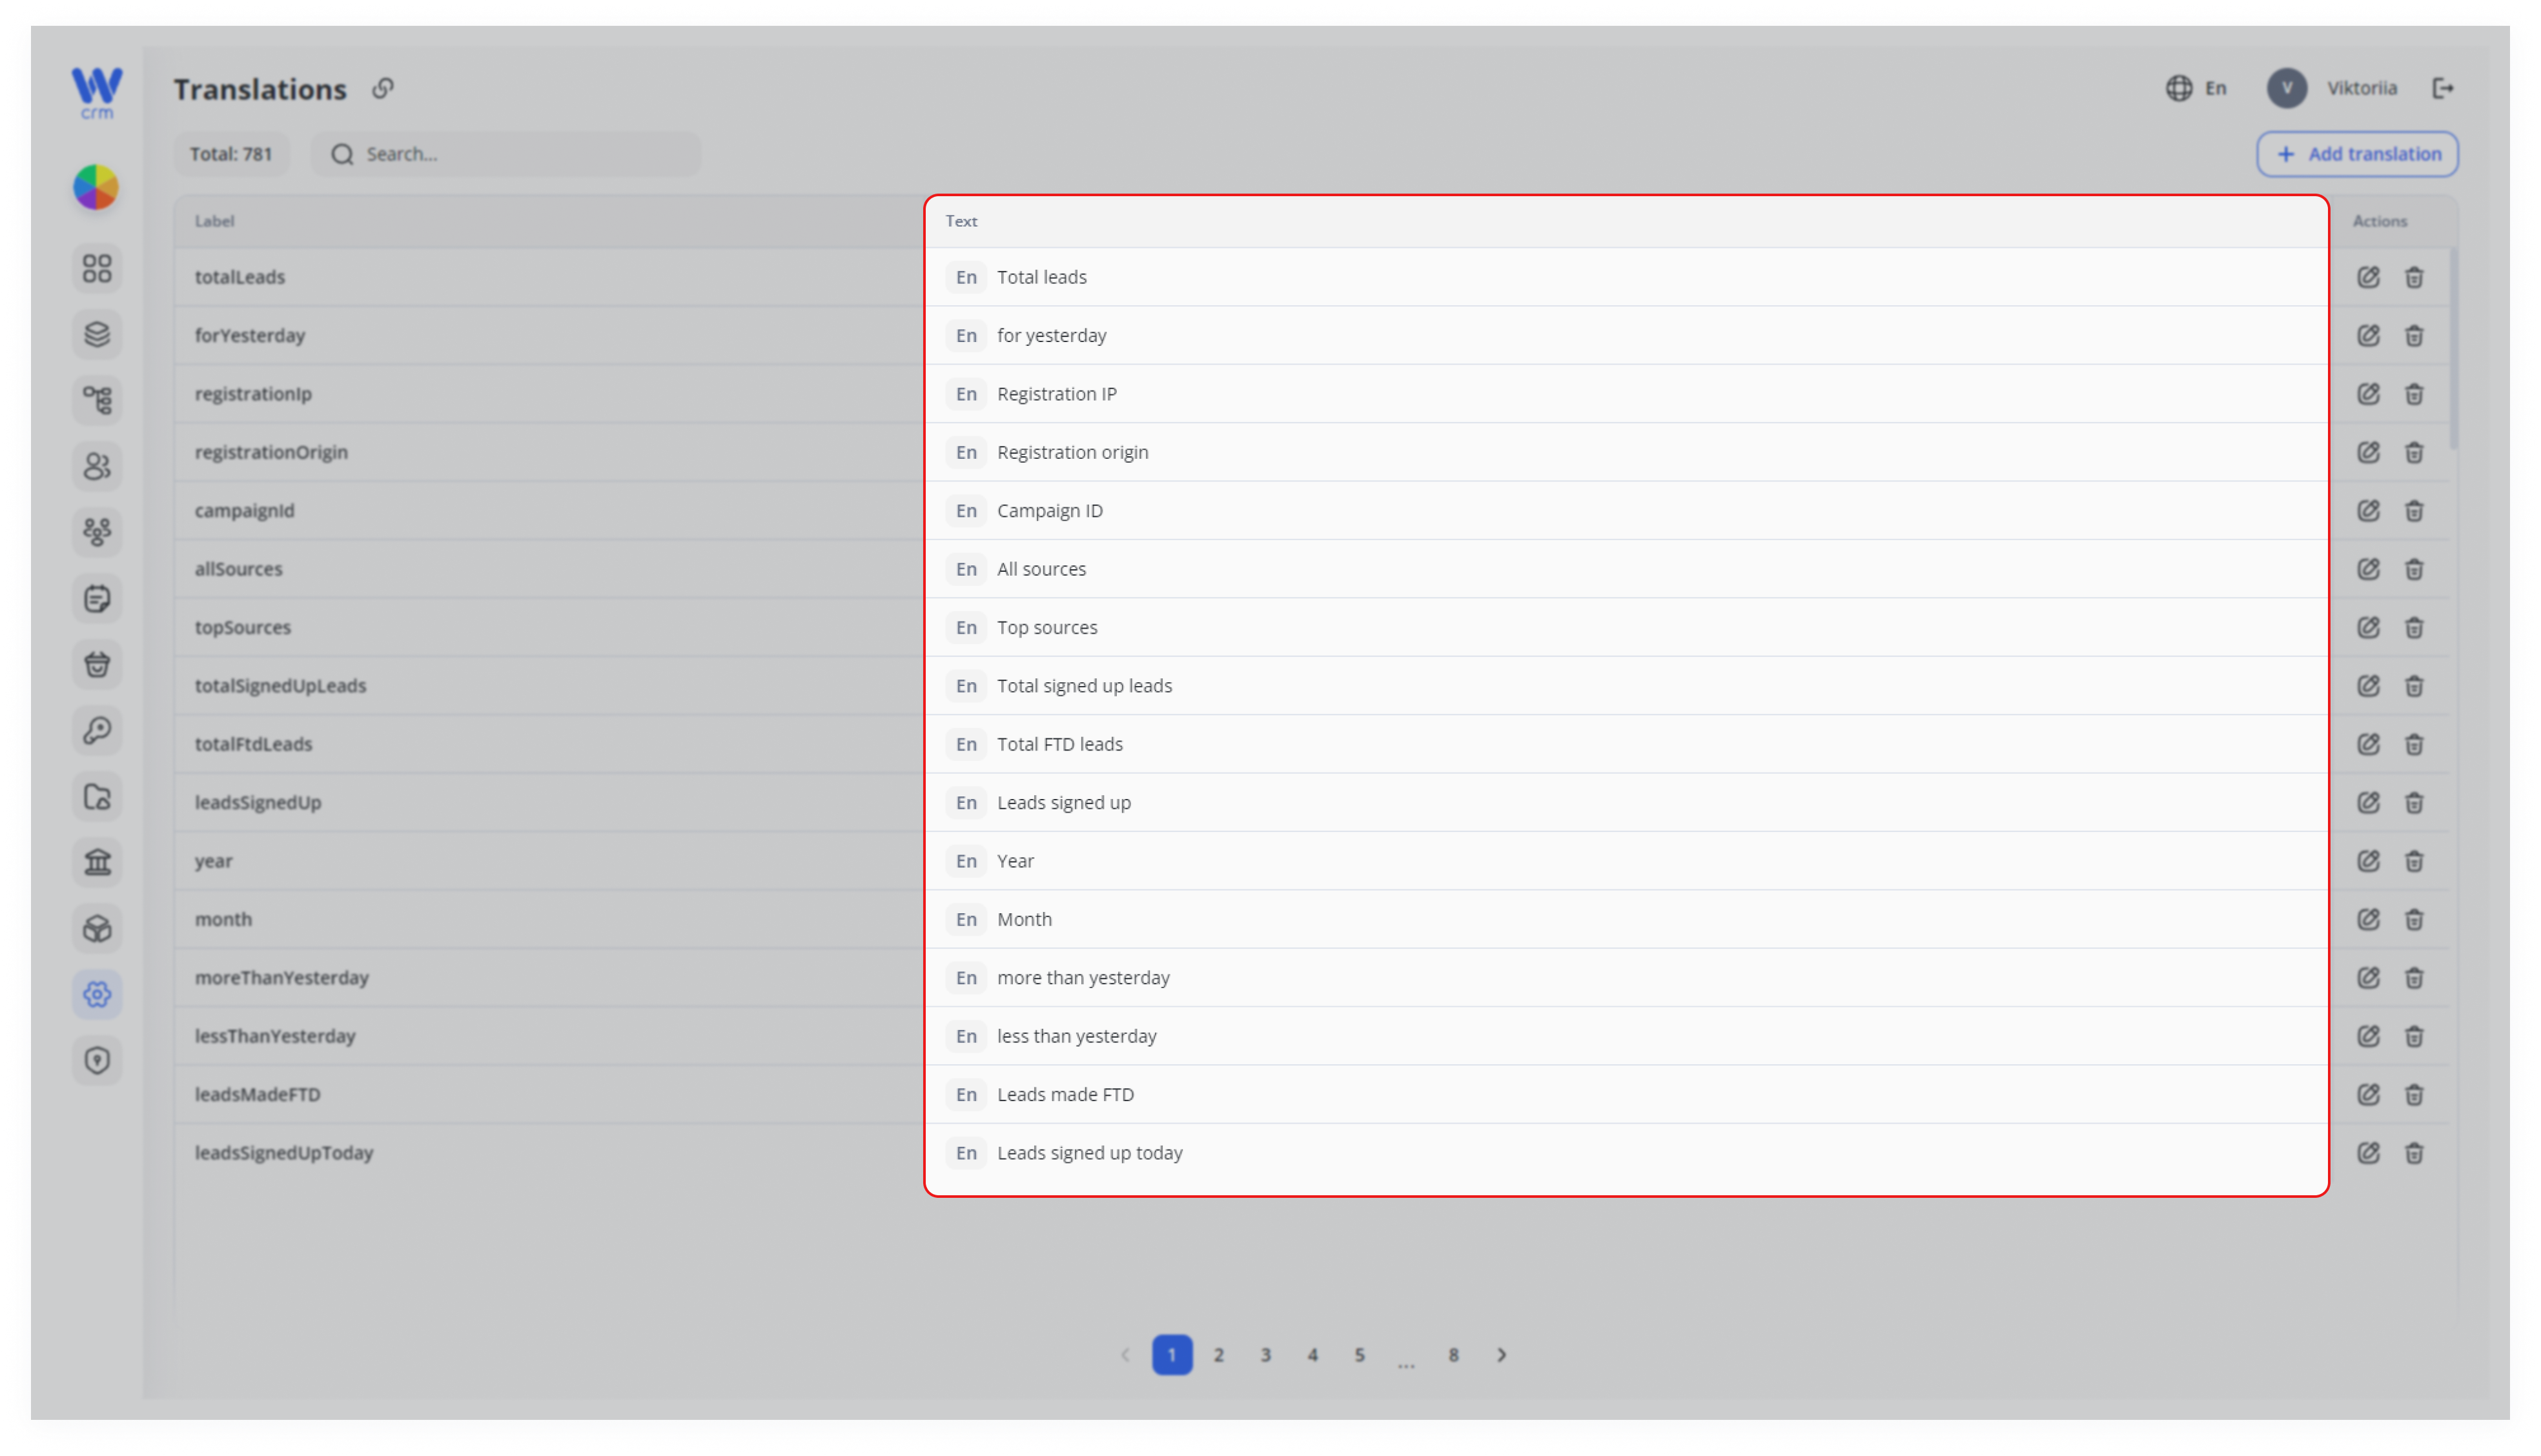
2. You’ll see a table with two main columns:
-
Label: the internal key (e.g.,
totalLeads). -
Text: the currently translated string, along with language badges (
En,Bg, etc.).
Editing a Translation
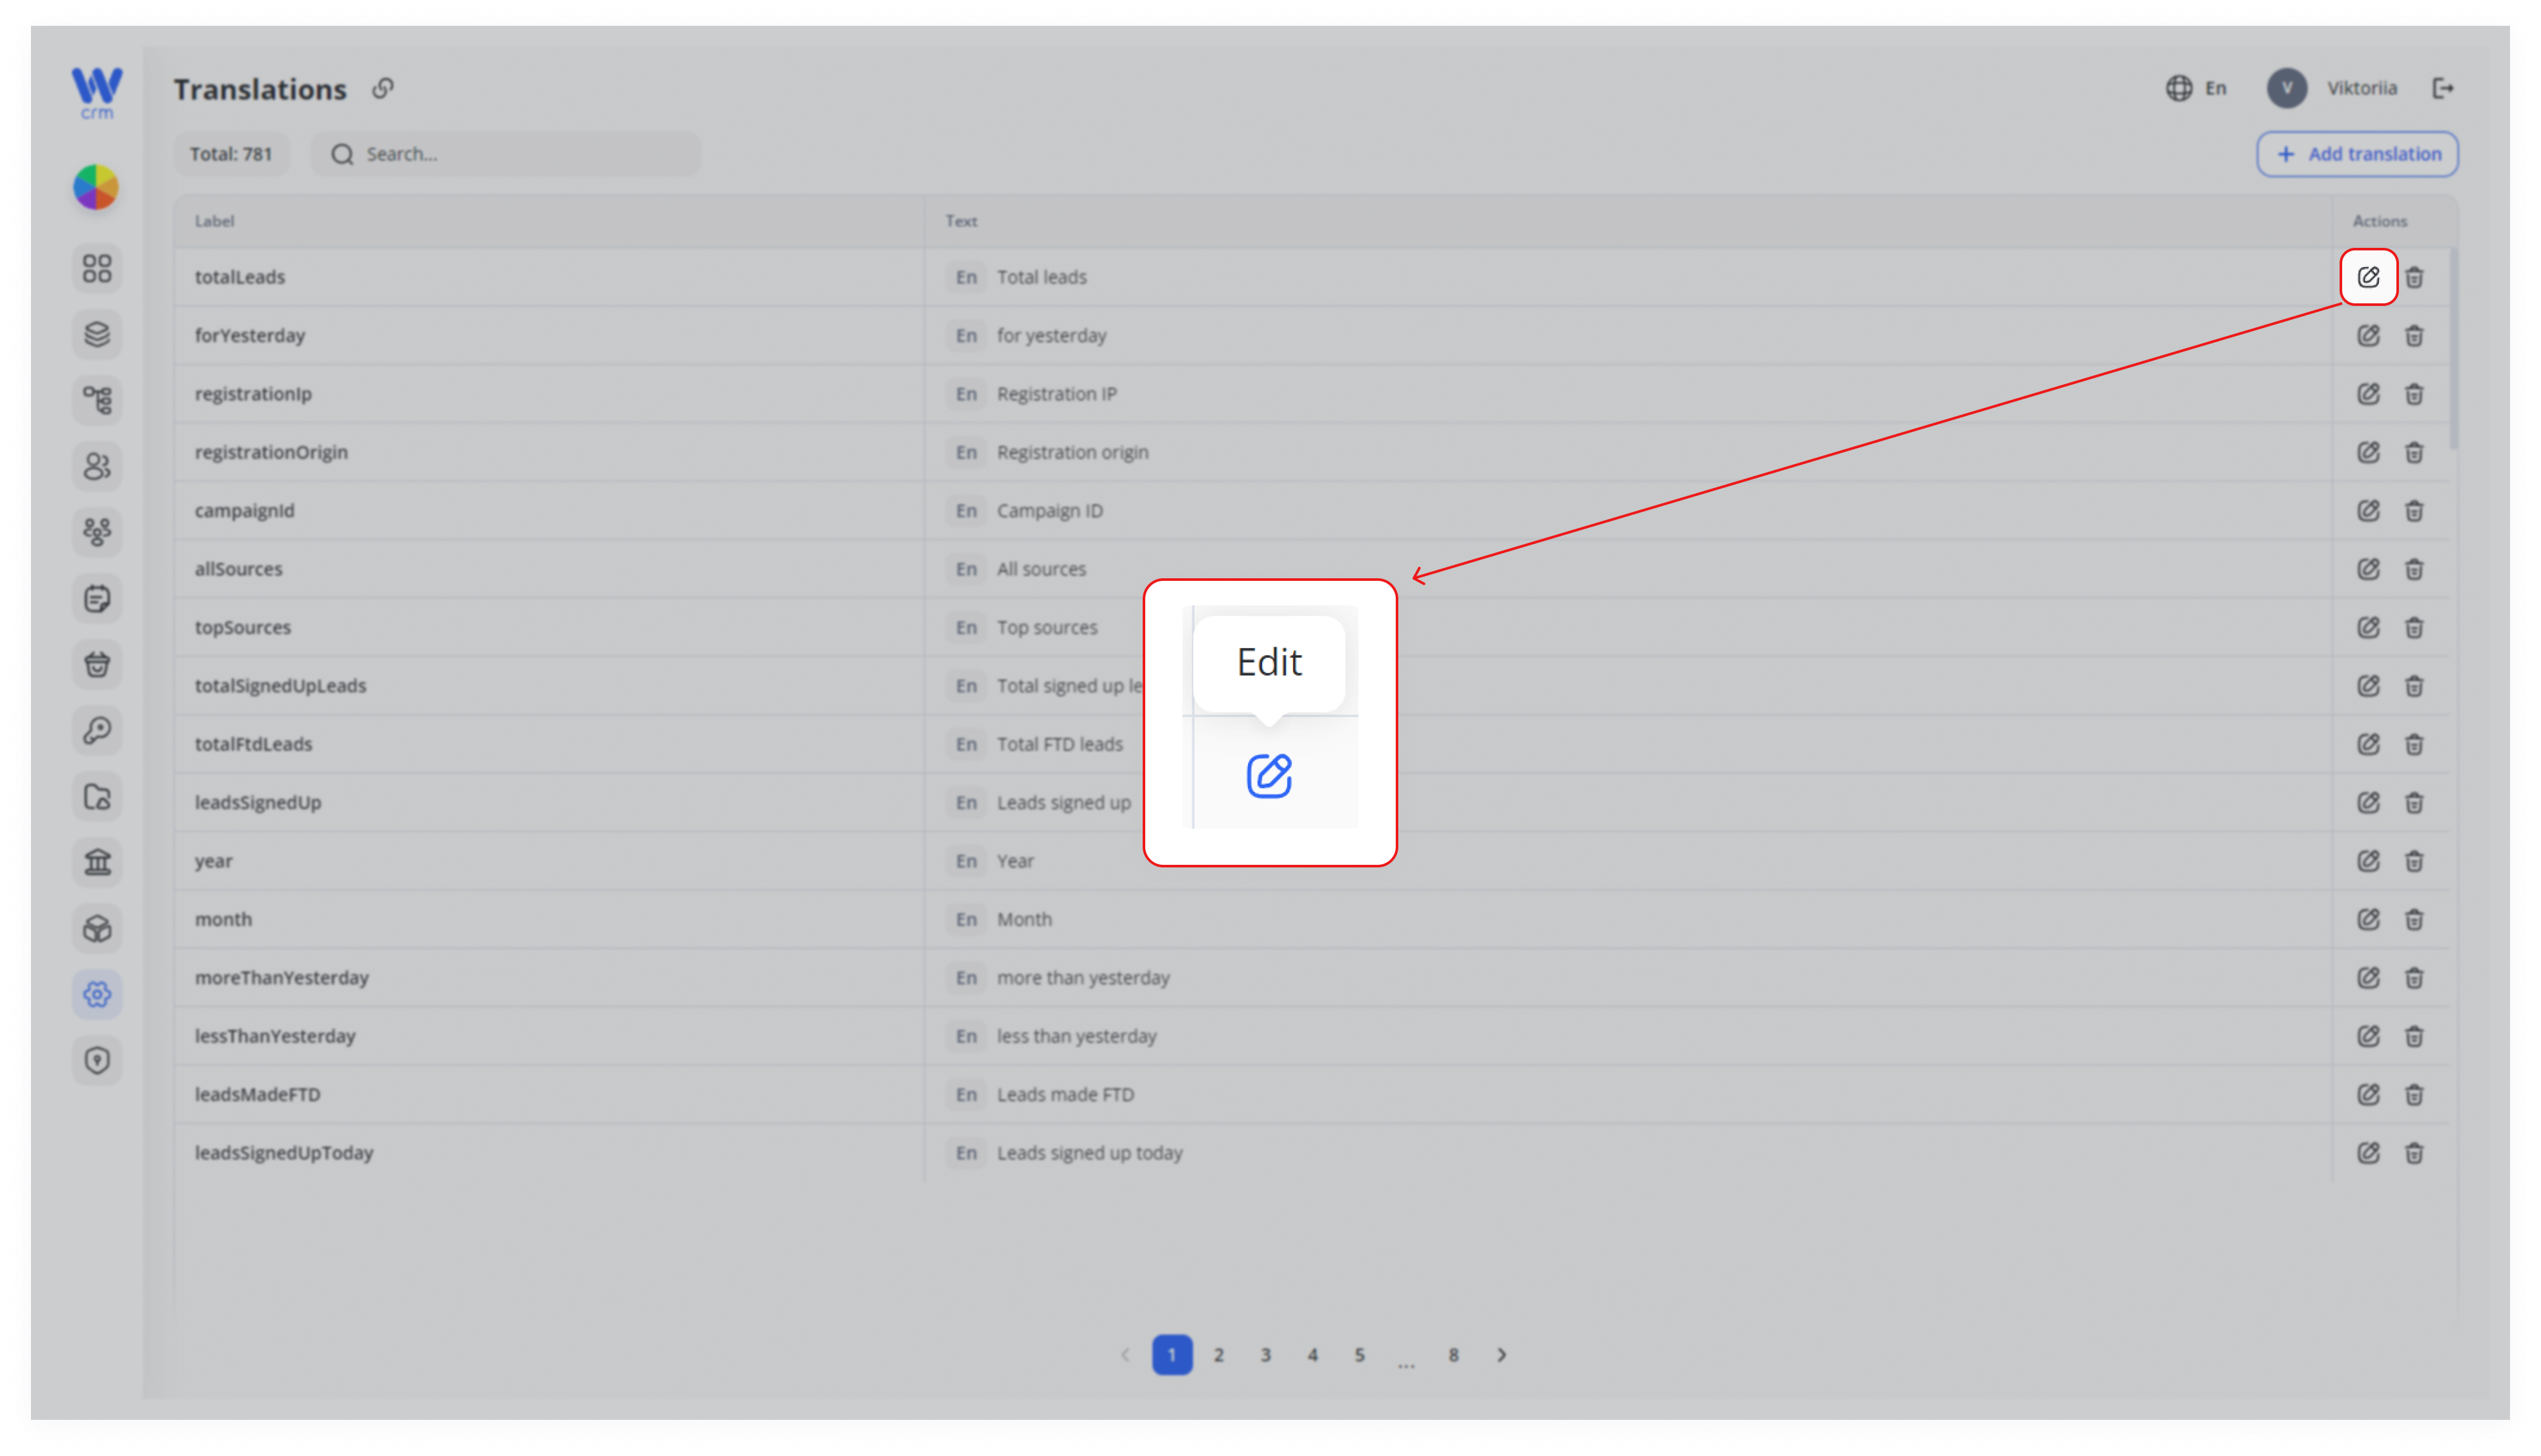
To add a translation of an element:
1. Click the Edit icon on the right of the row you want to update.
2. In the panel that appears:
-
Label (read-only) shows which key you’re editing.
-
Languages badges indicate which target languages have entries.
-
Text field: enter or update the translated string for the selected language.
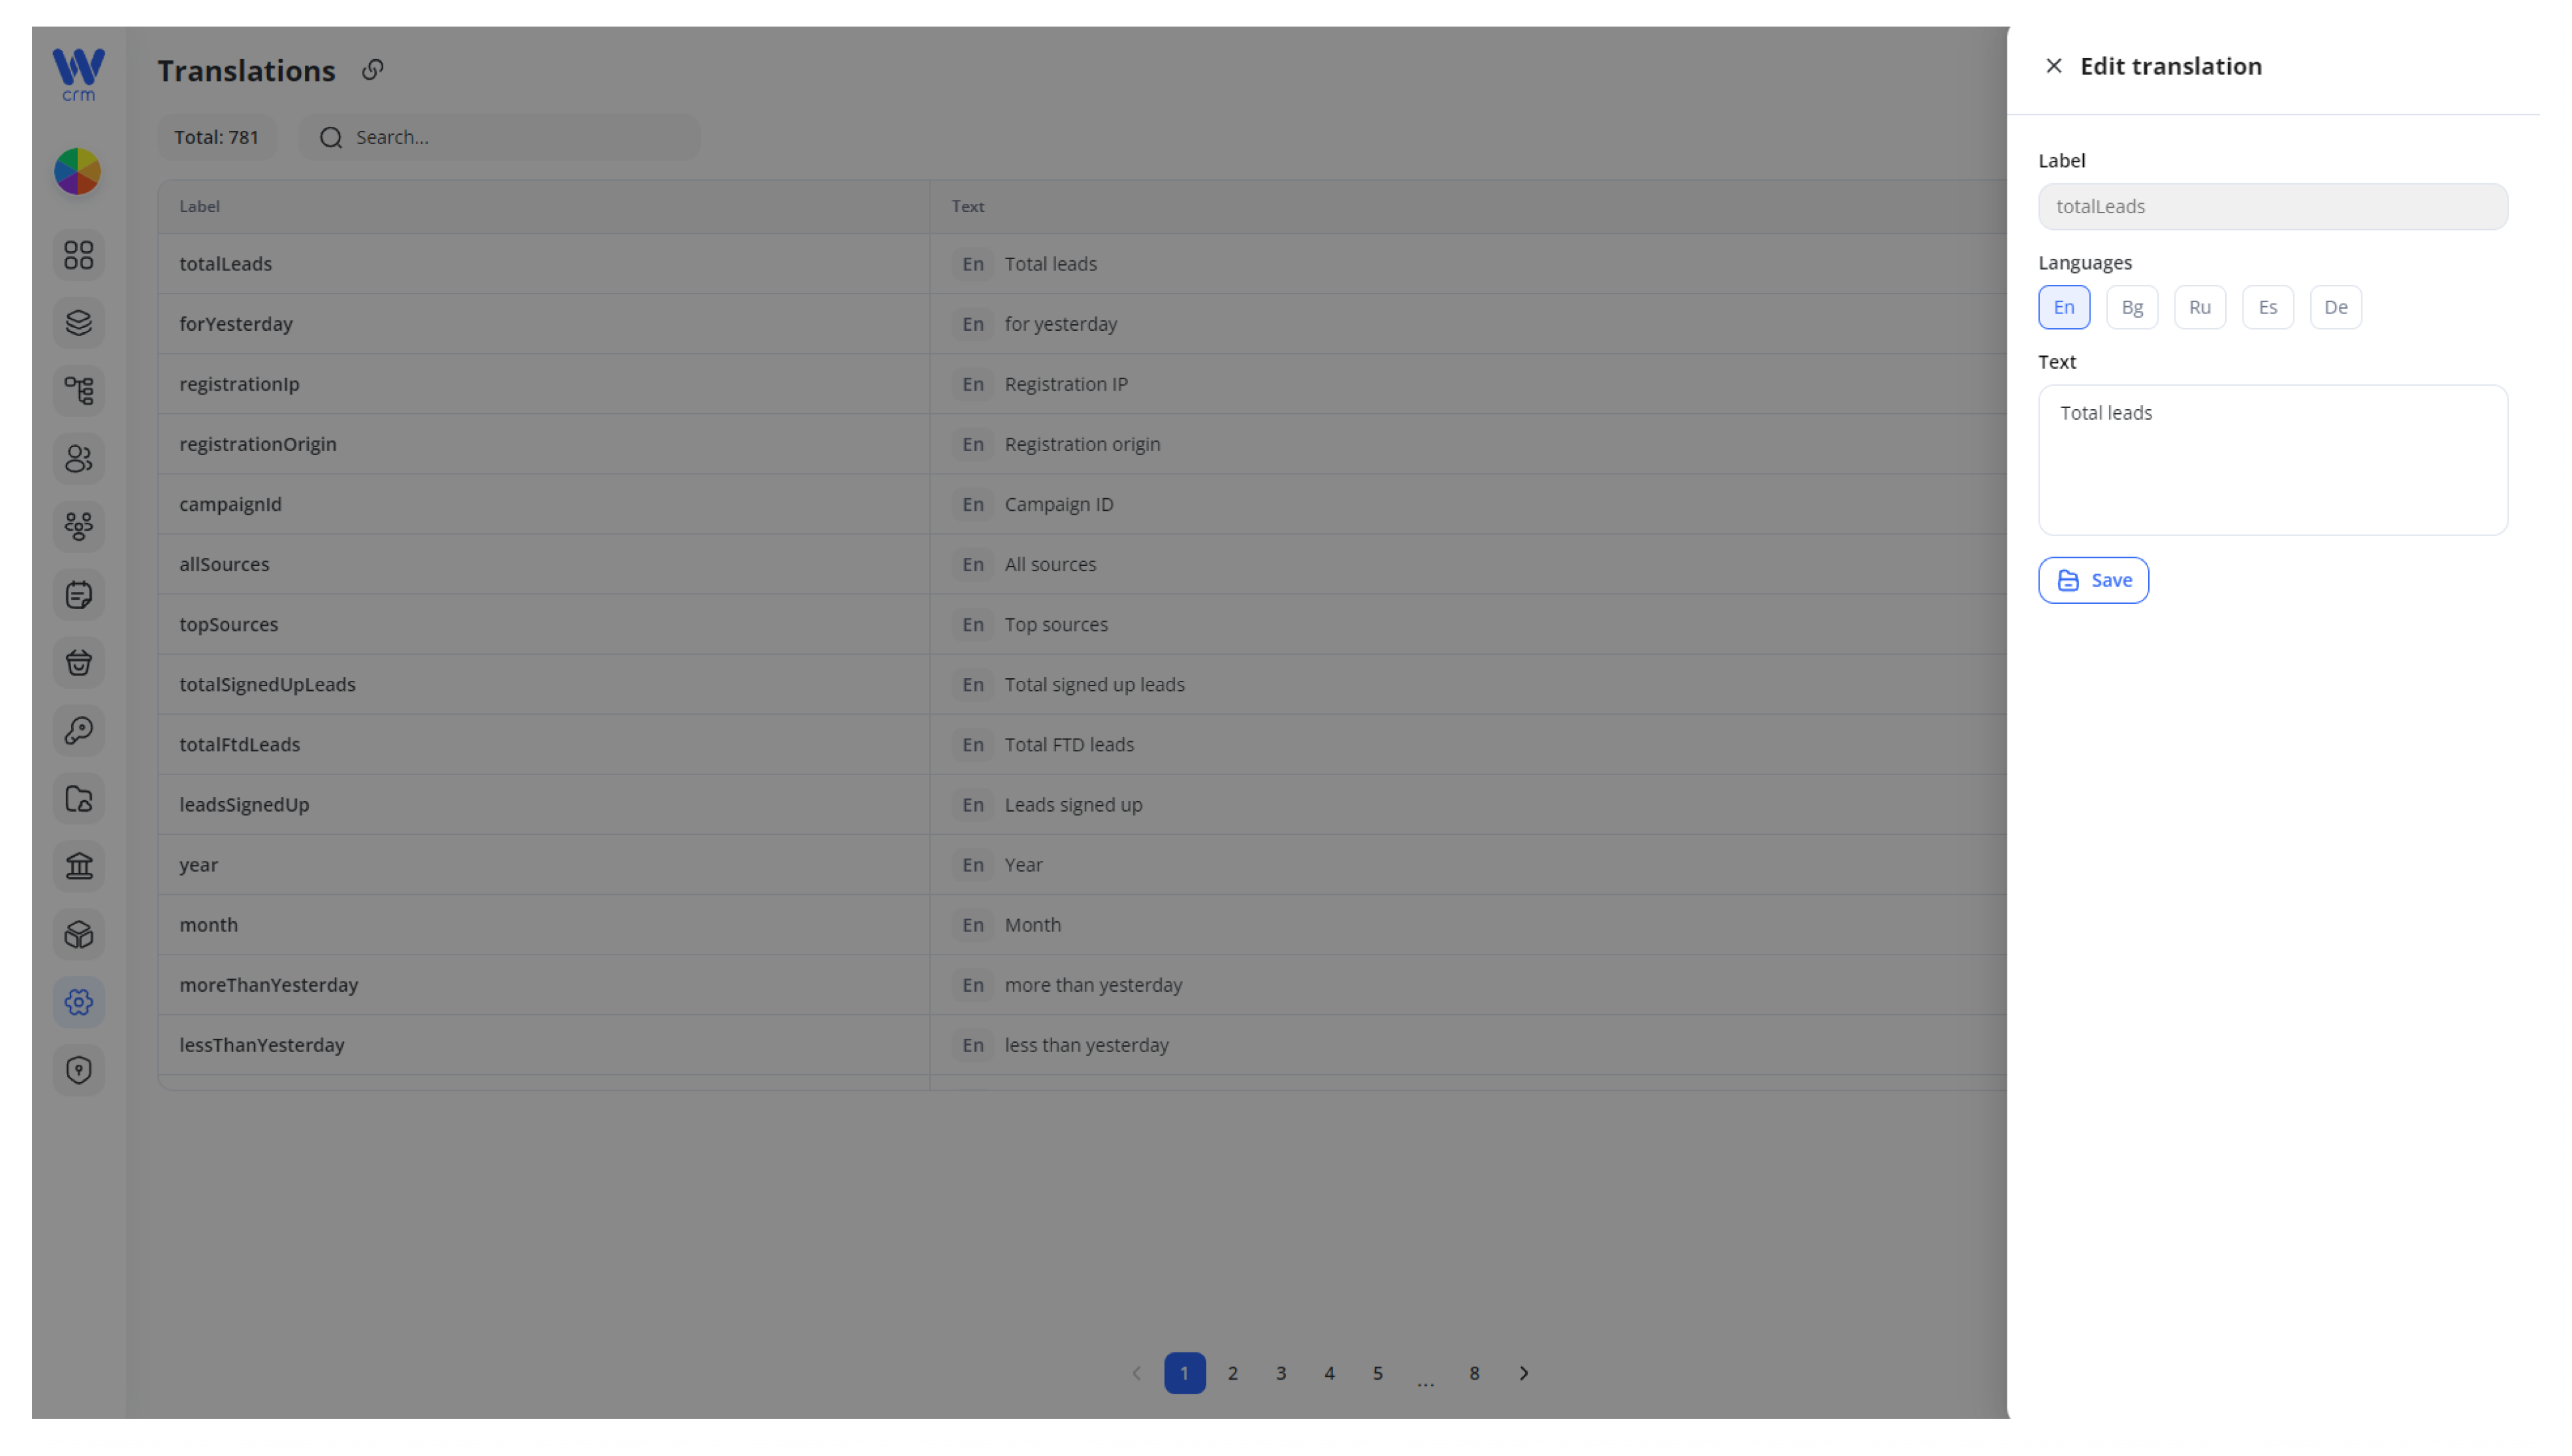
4. Click Save to apply the changes.
To easily search for elements:
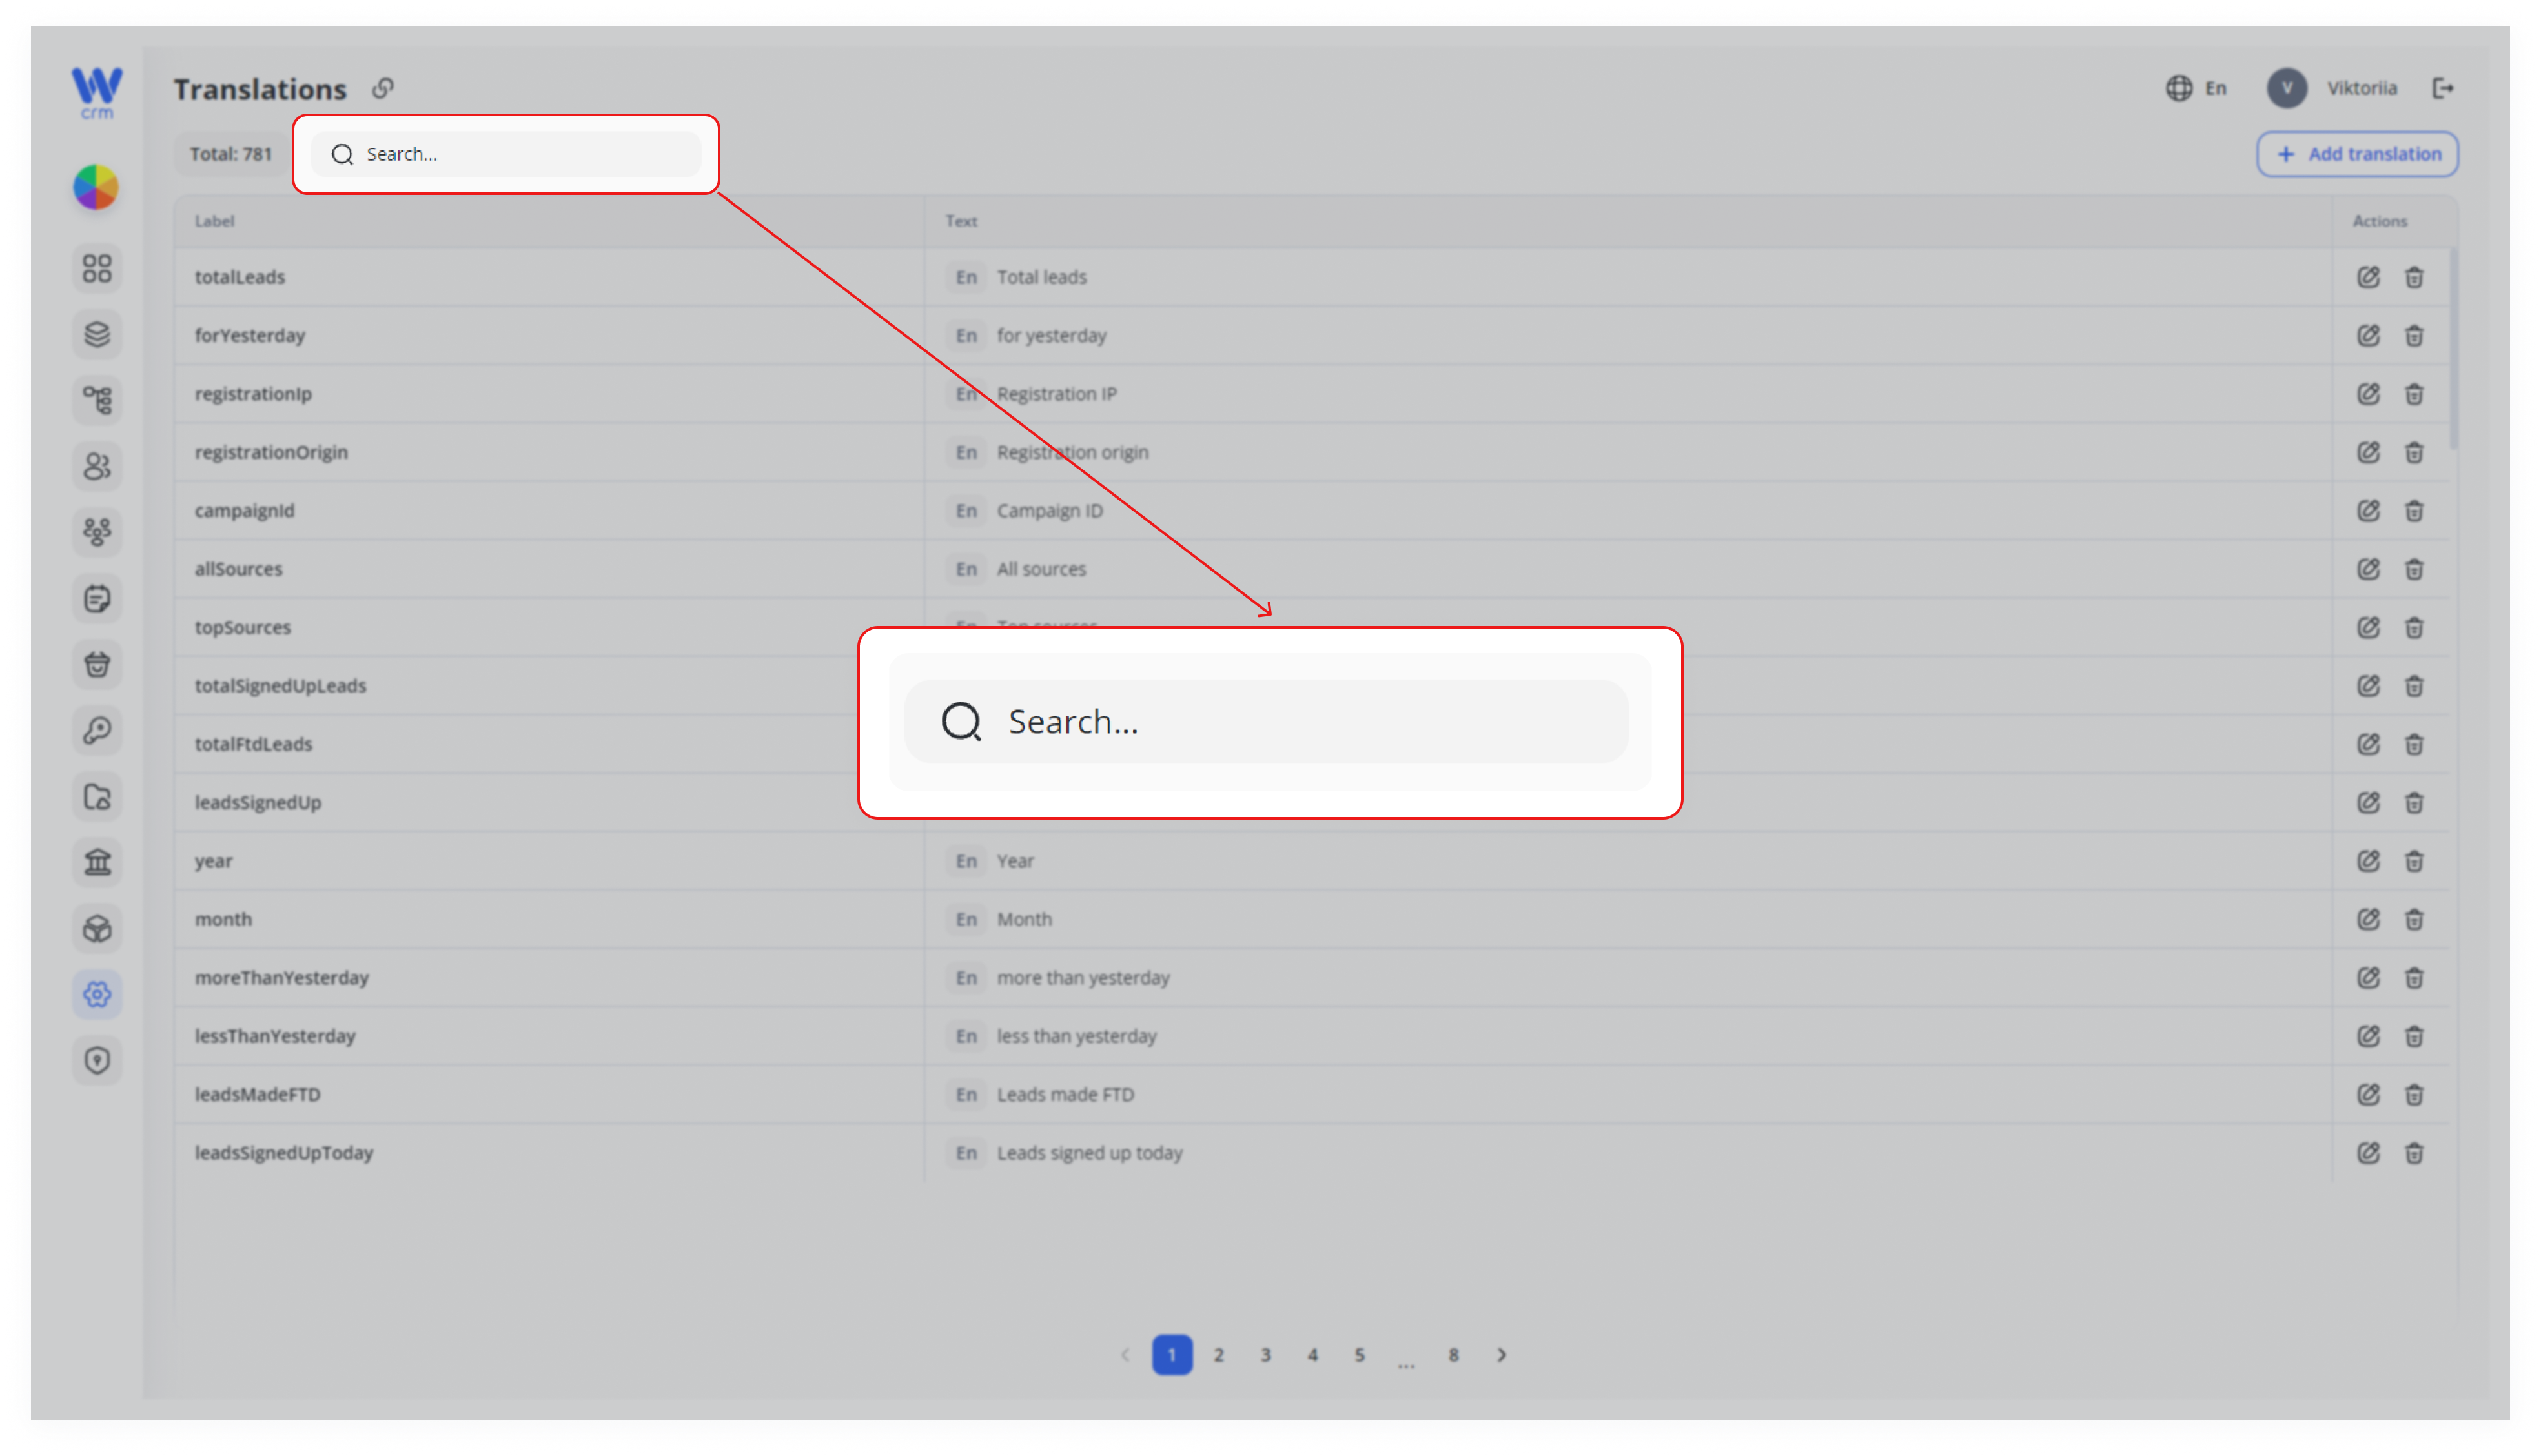
- To find a specific item, use the Search field at the top. Typing part of a label filters the list in real time.
Note: Adding custom elements is intended for development purposes only. The translation object label should be added to the code by developers. Otherwise, if you add a label just with this functionality, it will not be displayed anywhere on the page.
Cloning & Translating with the Widget
To speed up localization, you can bulk-copy all strings from an existing language and even drive translations for specific integrations right from a single button:
- Open the translation drawer
Go to Settings → Translations, click the ✏️ Edit icon on any row.
The side-panel shows the Label, language badges, and a Text field.
- Clone translations from another language
Click Clone translation from beneath the language badges.
In the Clone from modal, select the source language (e.g. English → Spanish).
Click Clone to populate the panel with every string from that language.
Tweak any entries as needed, then hit Save to commit all at once.
- Use the unified “Translate” button in Marketplace
In the Marketplace → Product module (where you manage integrations), the translations widget has been simplified to a single Translate button.
Clicking Translate opens the Clonemodal fromwith modal—buta now the toptop-level dropdown readslabeled Integration—but insteadthis ofactually language.lists your configured translation engines (e.g. OpenAI, Google Translate, DeepL).
Pick
- Select the
integrationengineyou’reyouworking onwant (e.g. “StripeOpenAI”). - Click Translate to pull in its
defaultsuggestedstrings.stringsfor your current locale.
- As before, adjust any text in the drawer and press Save to store them.
Why this helpsBulk bootstrapyour new locale or integration with one click.Consistency: leverage proven translations instead of starting from scratch.Simplicity: one button drives both language-level and integration-specific cloning.
Adding a New Translation
To add a custom element:
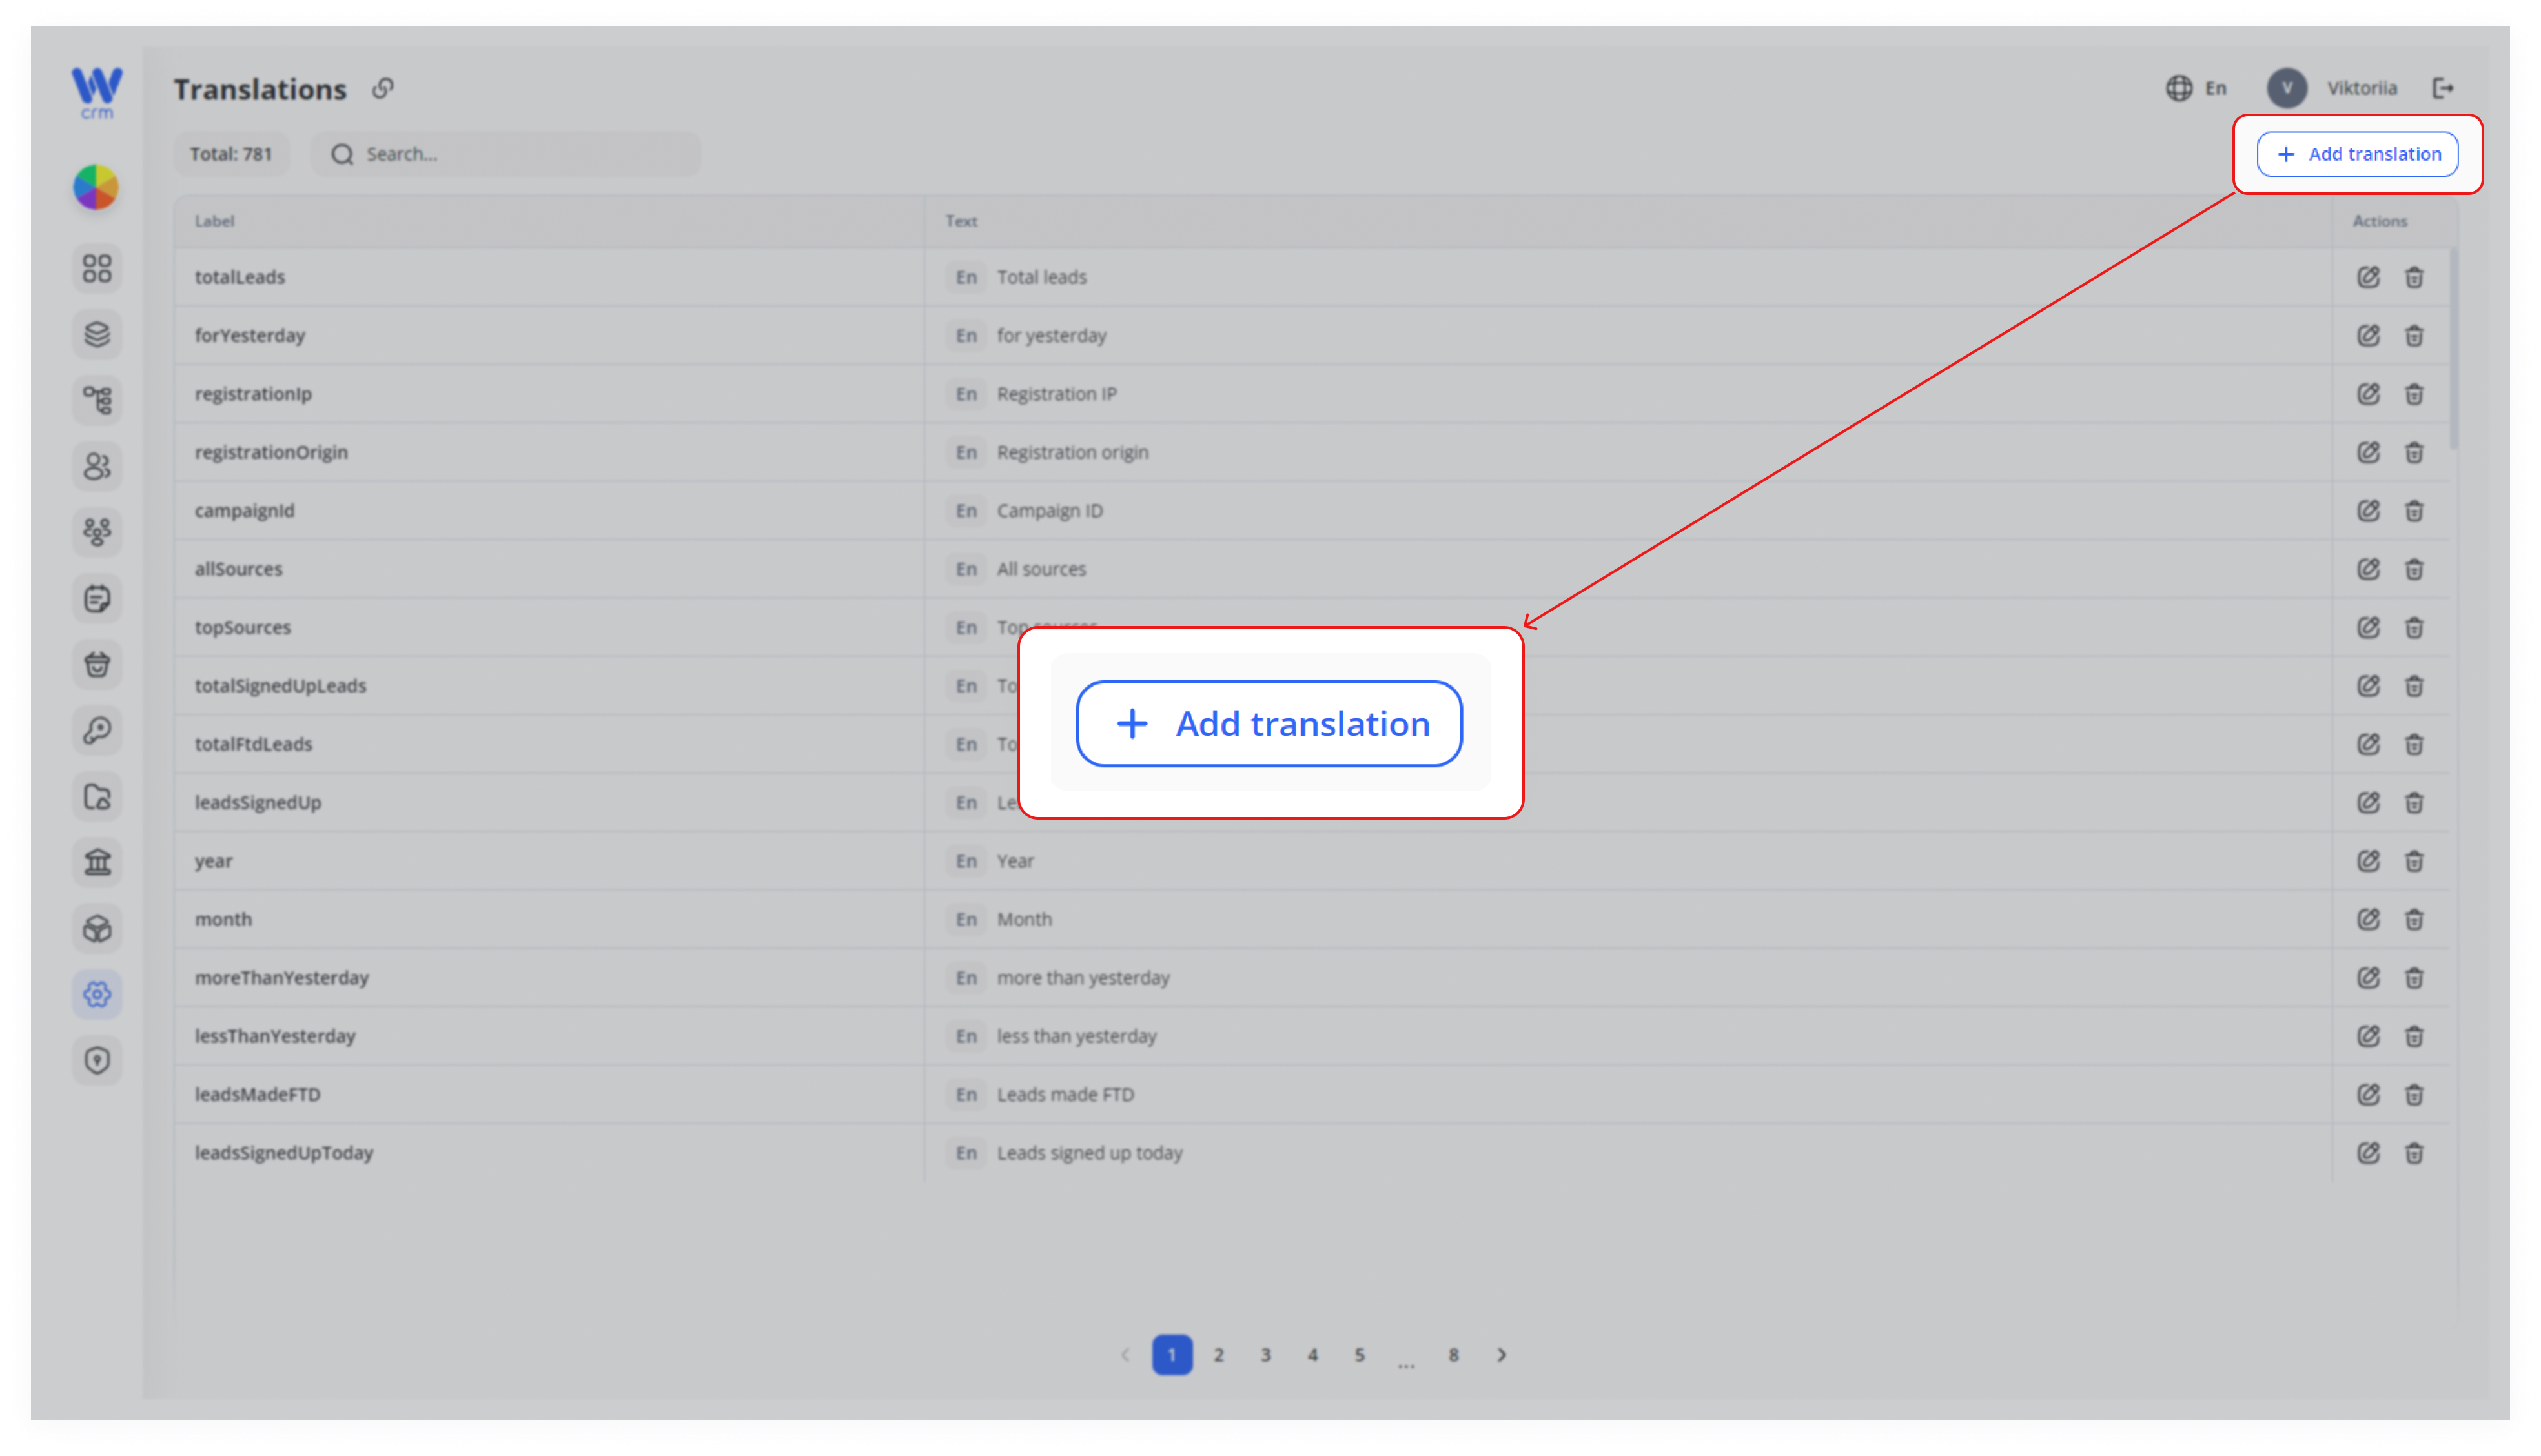
1. Click the +Add Translation button in the upper right corner.
2. In the Add translation panel:
- Label: enter a unique key (e.g.,
newButtonLabel). - Languages: check each language you want to provide.
- Text: fill in the translation for each selected language.
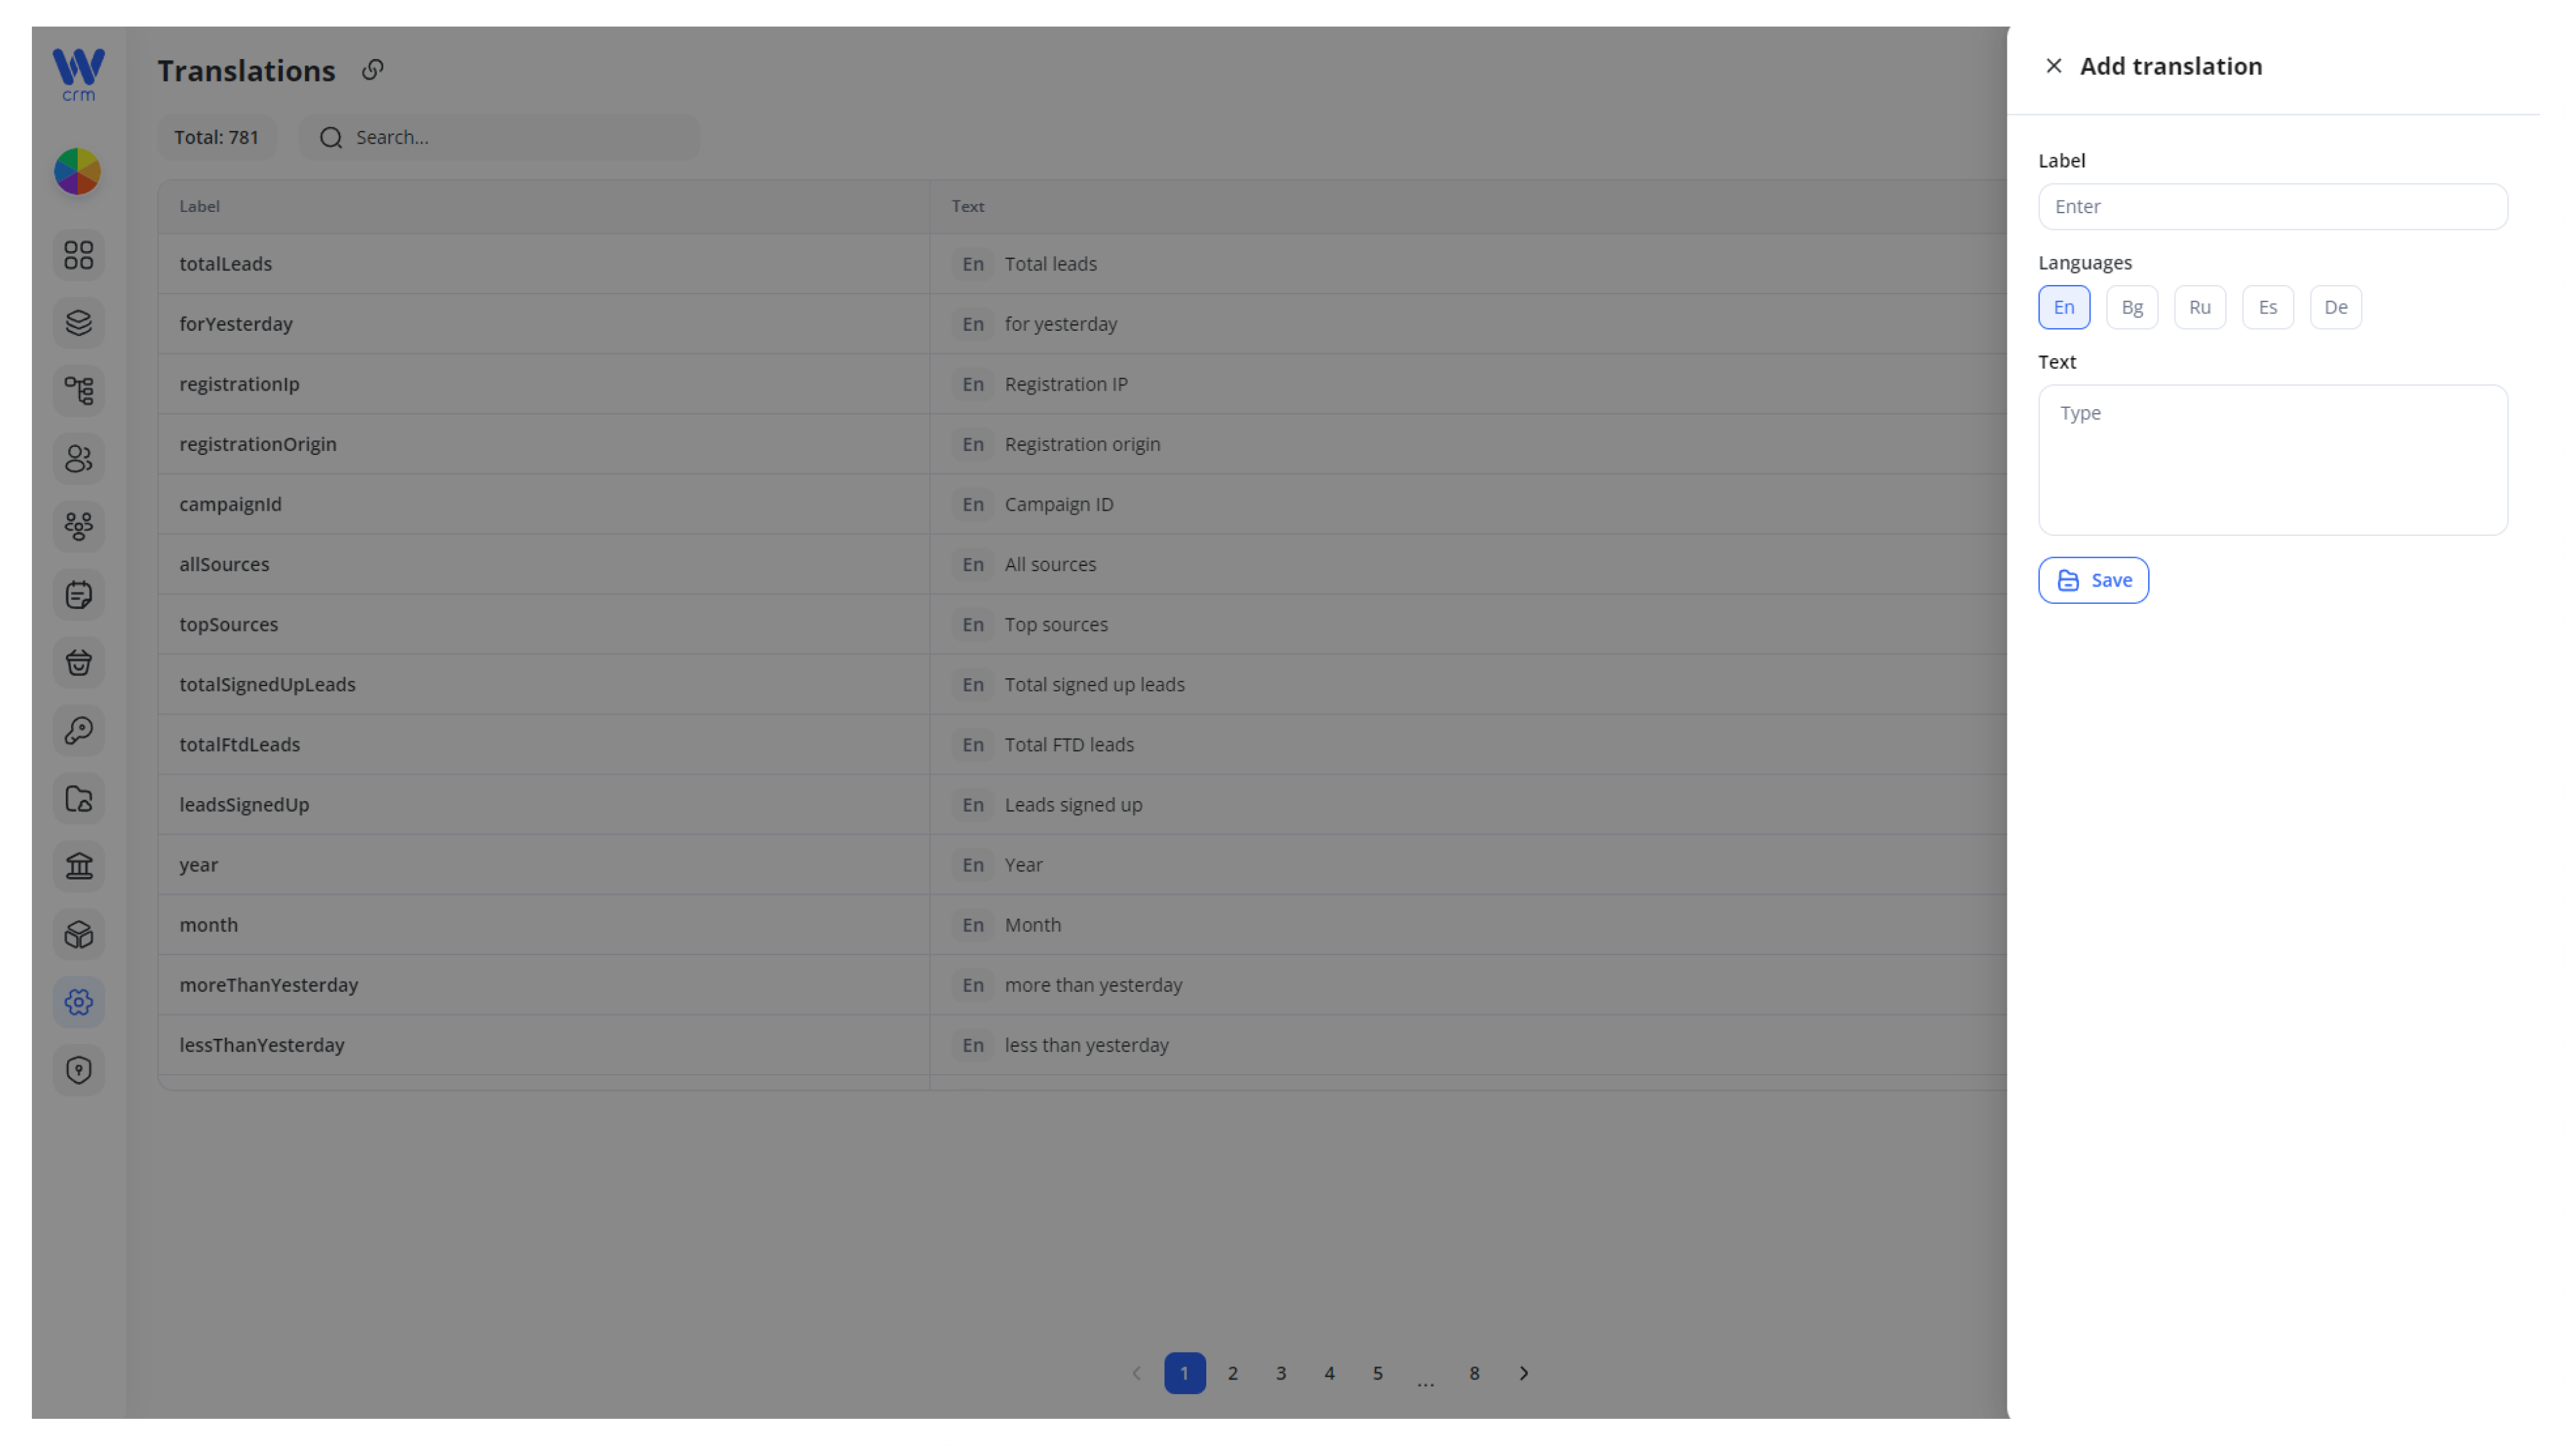
3. Click Save. The new label now appears in the table, ready to be referenced in code.
Deleting a Translation
1. Click the Delete (trash) icon on the row you wish to remove.
2. Confirm the deletion in the prompt.
You can also delete current items using the Delete icon. It is not recommended to delete items already defined in the system.
Best Practices & Conclusion
-
Batch your changes: When rolling out a new feature or language, edit multiple translations at once to maintain consistency.
-
Coordinate with developers: Ensure that any custom labels added here are actually referenced in the codebase.
-
Review periodically: As UI evolves, legacy labels may become obsolete—clean them up to keep the table manageable.
By centrally managing your short-text translations, you guarantee that every button, tooltip, and menu option in your CRM remains clear, accurate, and localized for all users.