
5. How to Manage Translations
ToShort translateUI shortelements—like CRMbutton elementslabels, (e.g.,menu buttons),items, goand tofield names—are handled in Settings > Translations. YouThis willsection lets you review, edit, and add translations for all “labels” (internal identifiers) used throughout the CRM. Keeping these up to date ensures that every small piece of text in the interface is fully localized.
Why Use Translations?
-
Consistent UI: Make sure every button or menu item appears correctly in each active language.
-
Rapid Updates: Quickly fix typos or change wording without redeploying code.
-
Custom Elements: Add new labels (for custom development) and translate them for your users.
Viewing & Searching Existing Translations
1. Go to ⚙️ Settings → Translations.
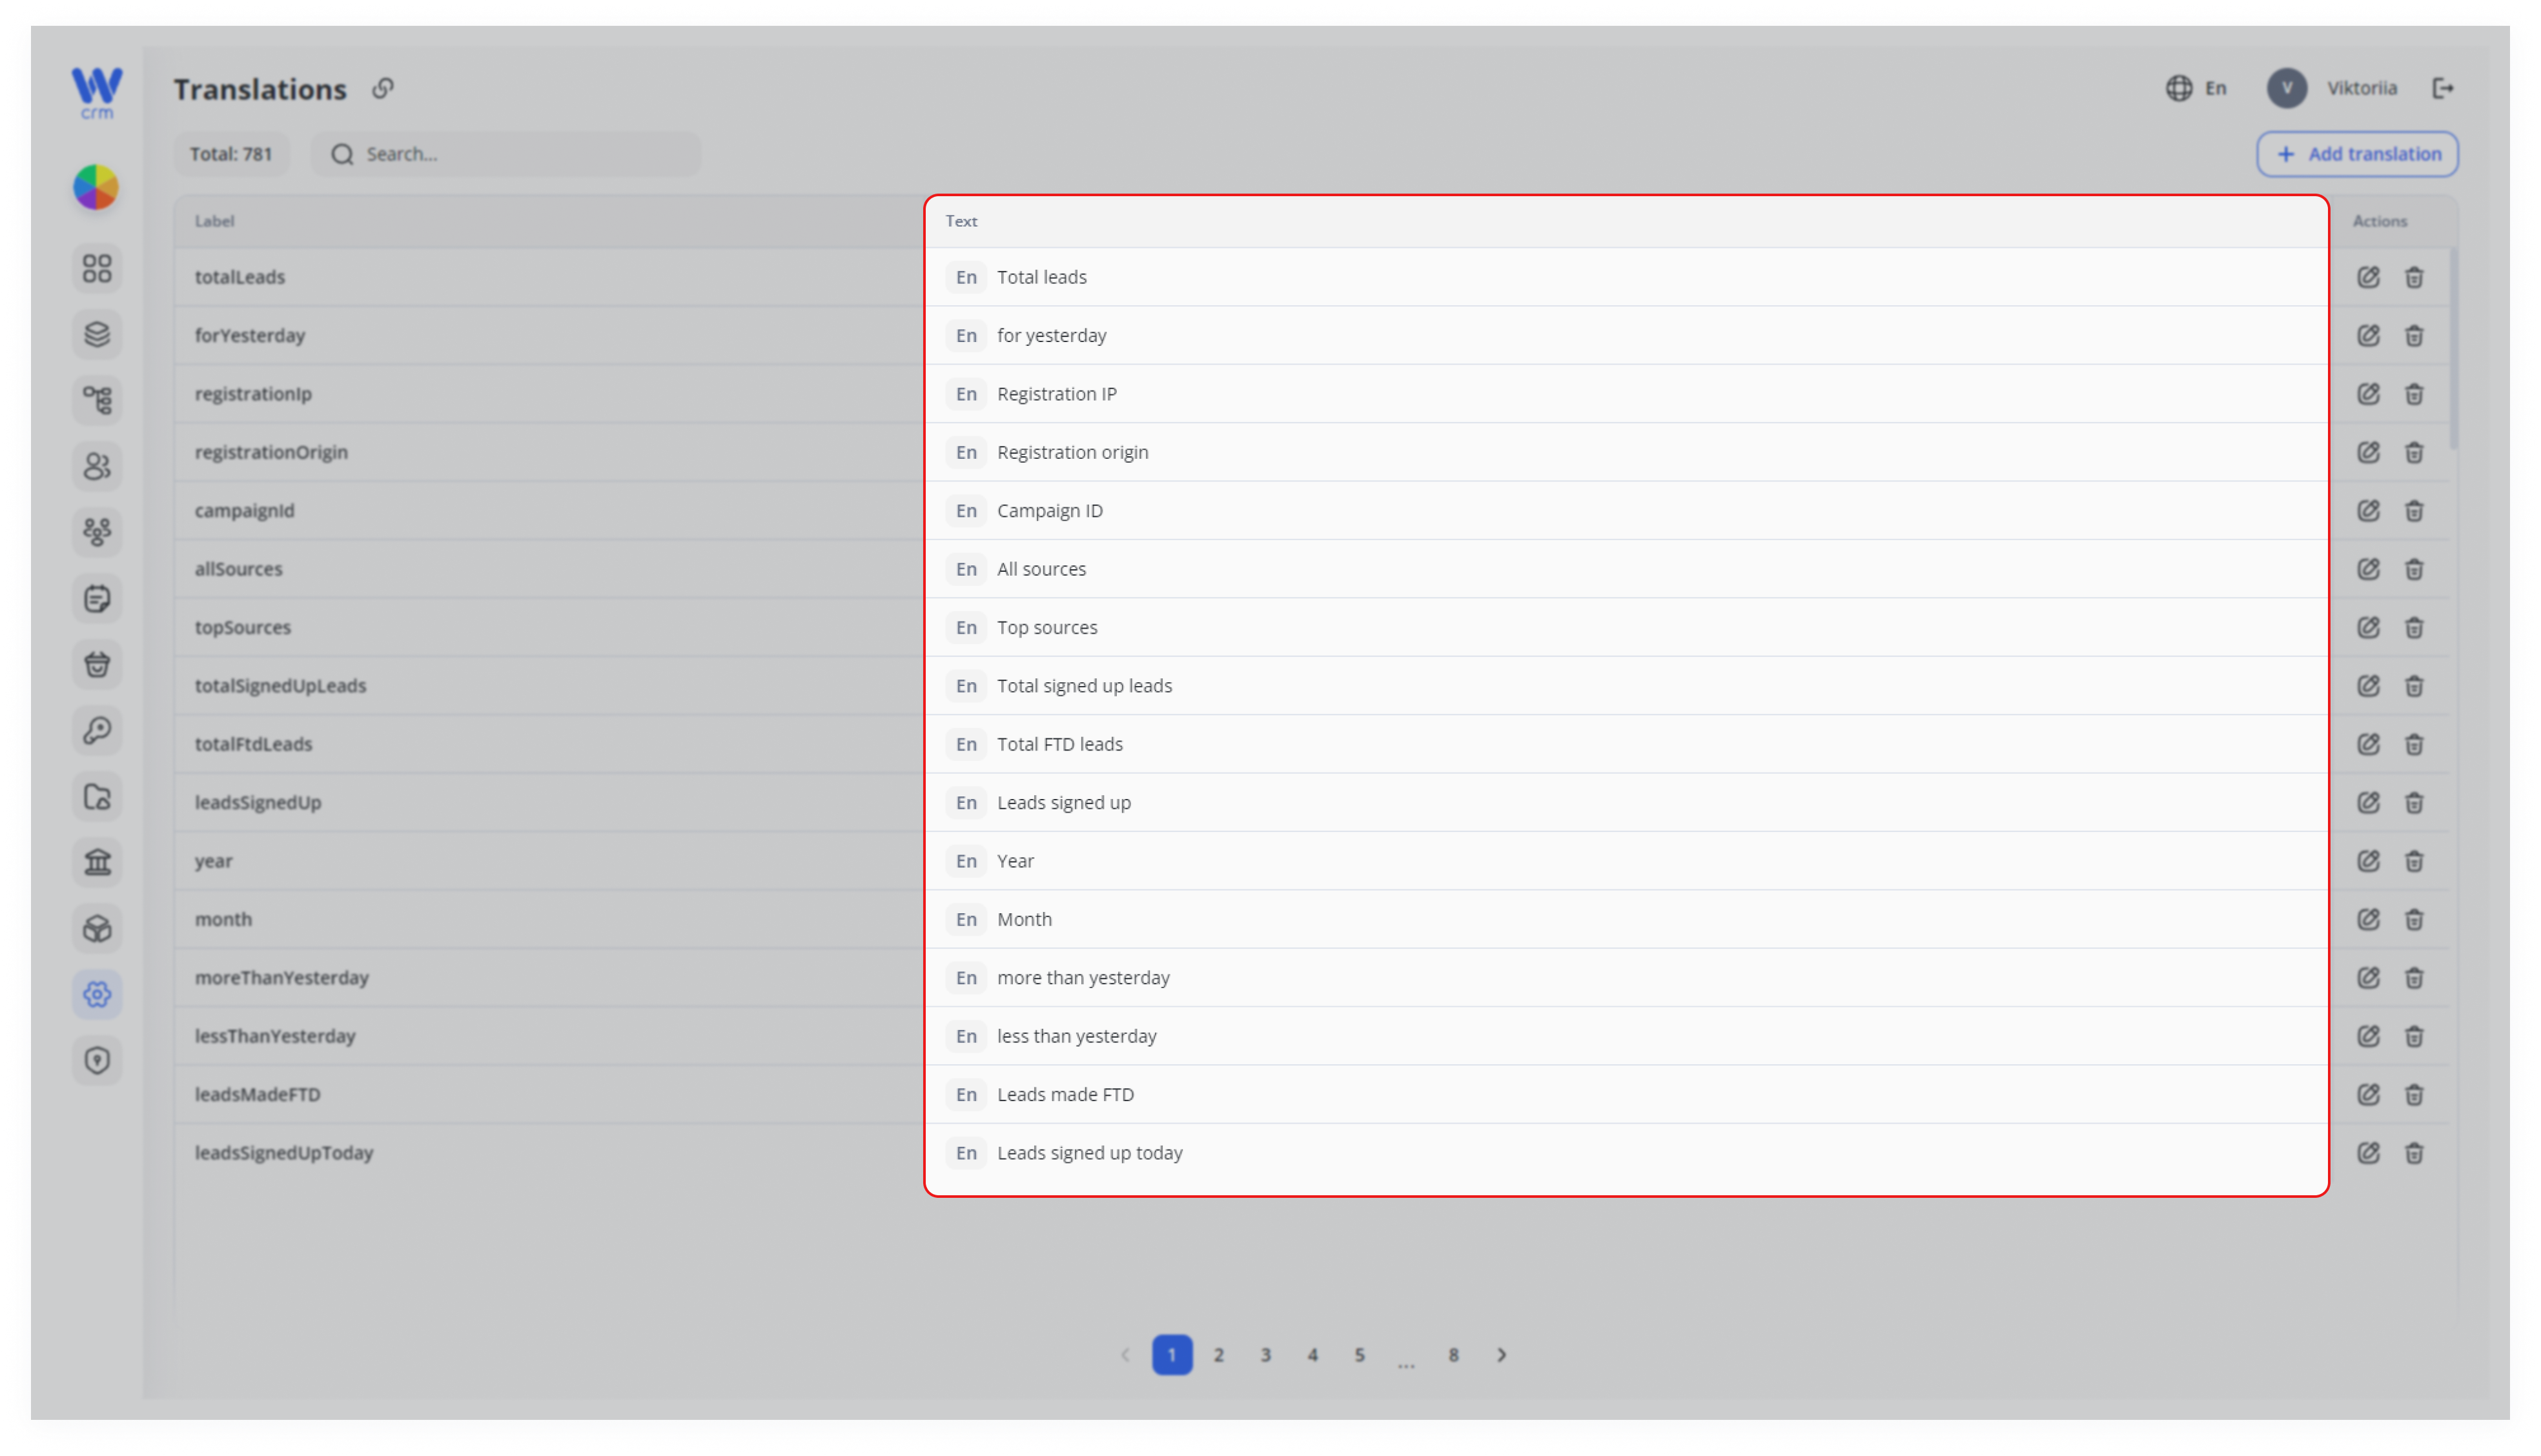
2. You’ll see a listtable ofwith alltwo main columns:
-
Label: the internal key (e.g.,
totalLeads). -
Text: the currently
availabletranslateditems.string,ThealongTextcolumn will show in whichwith languagetheybadgesare(En,available.Bg, etc.).
Editing a Translation
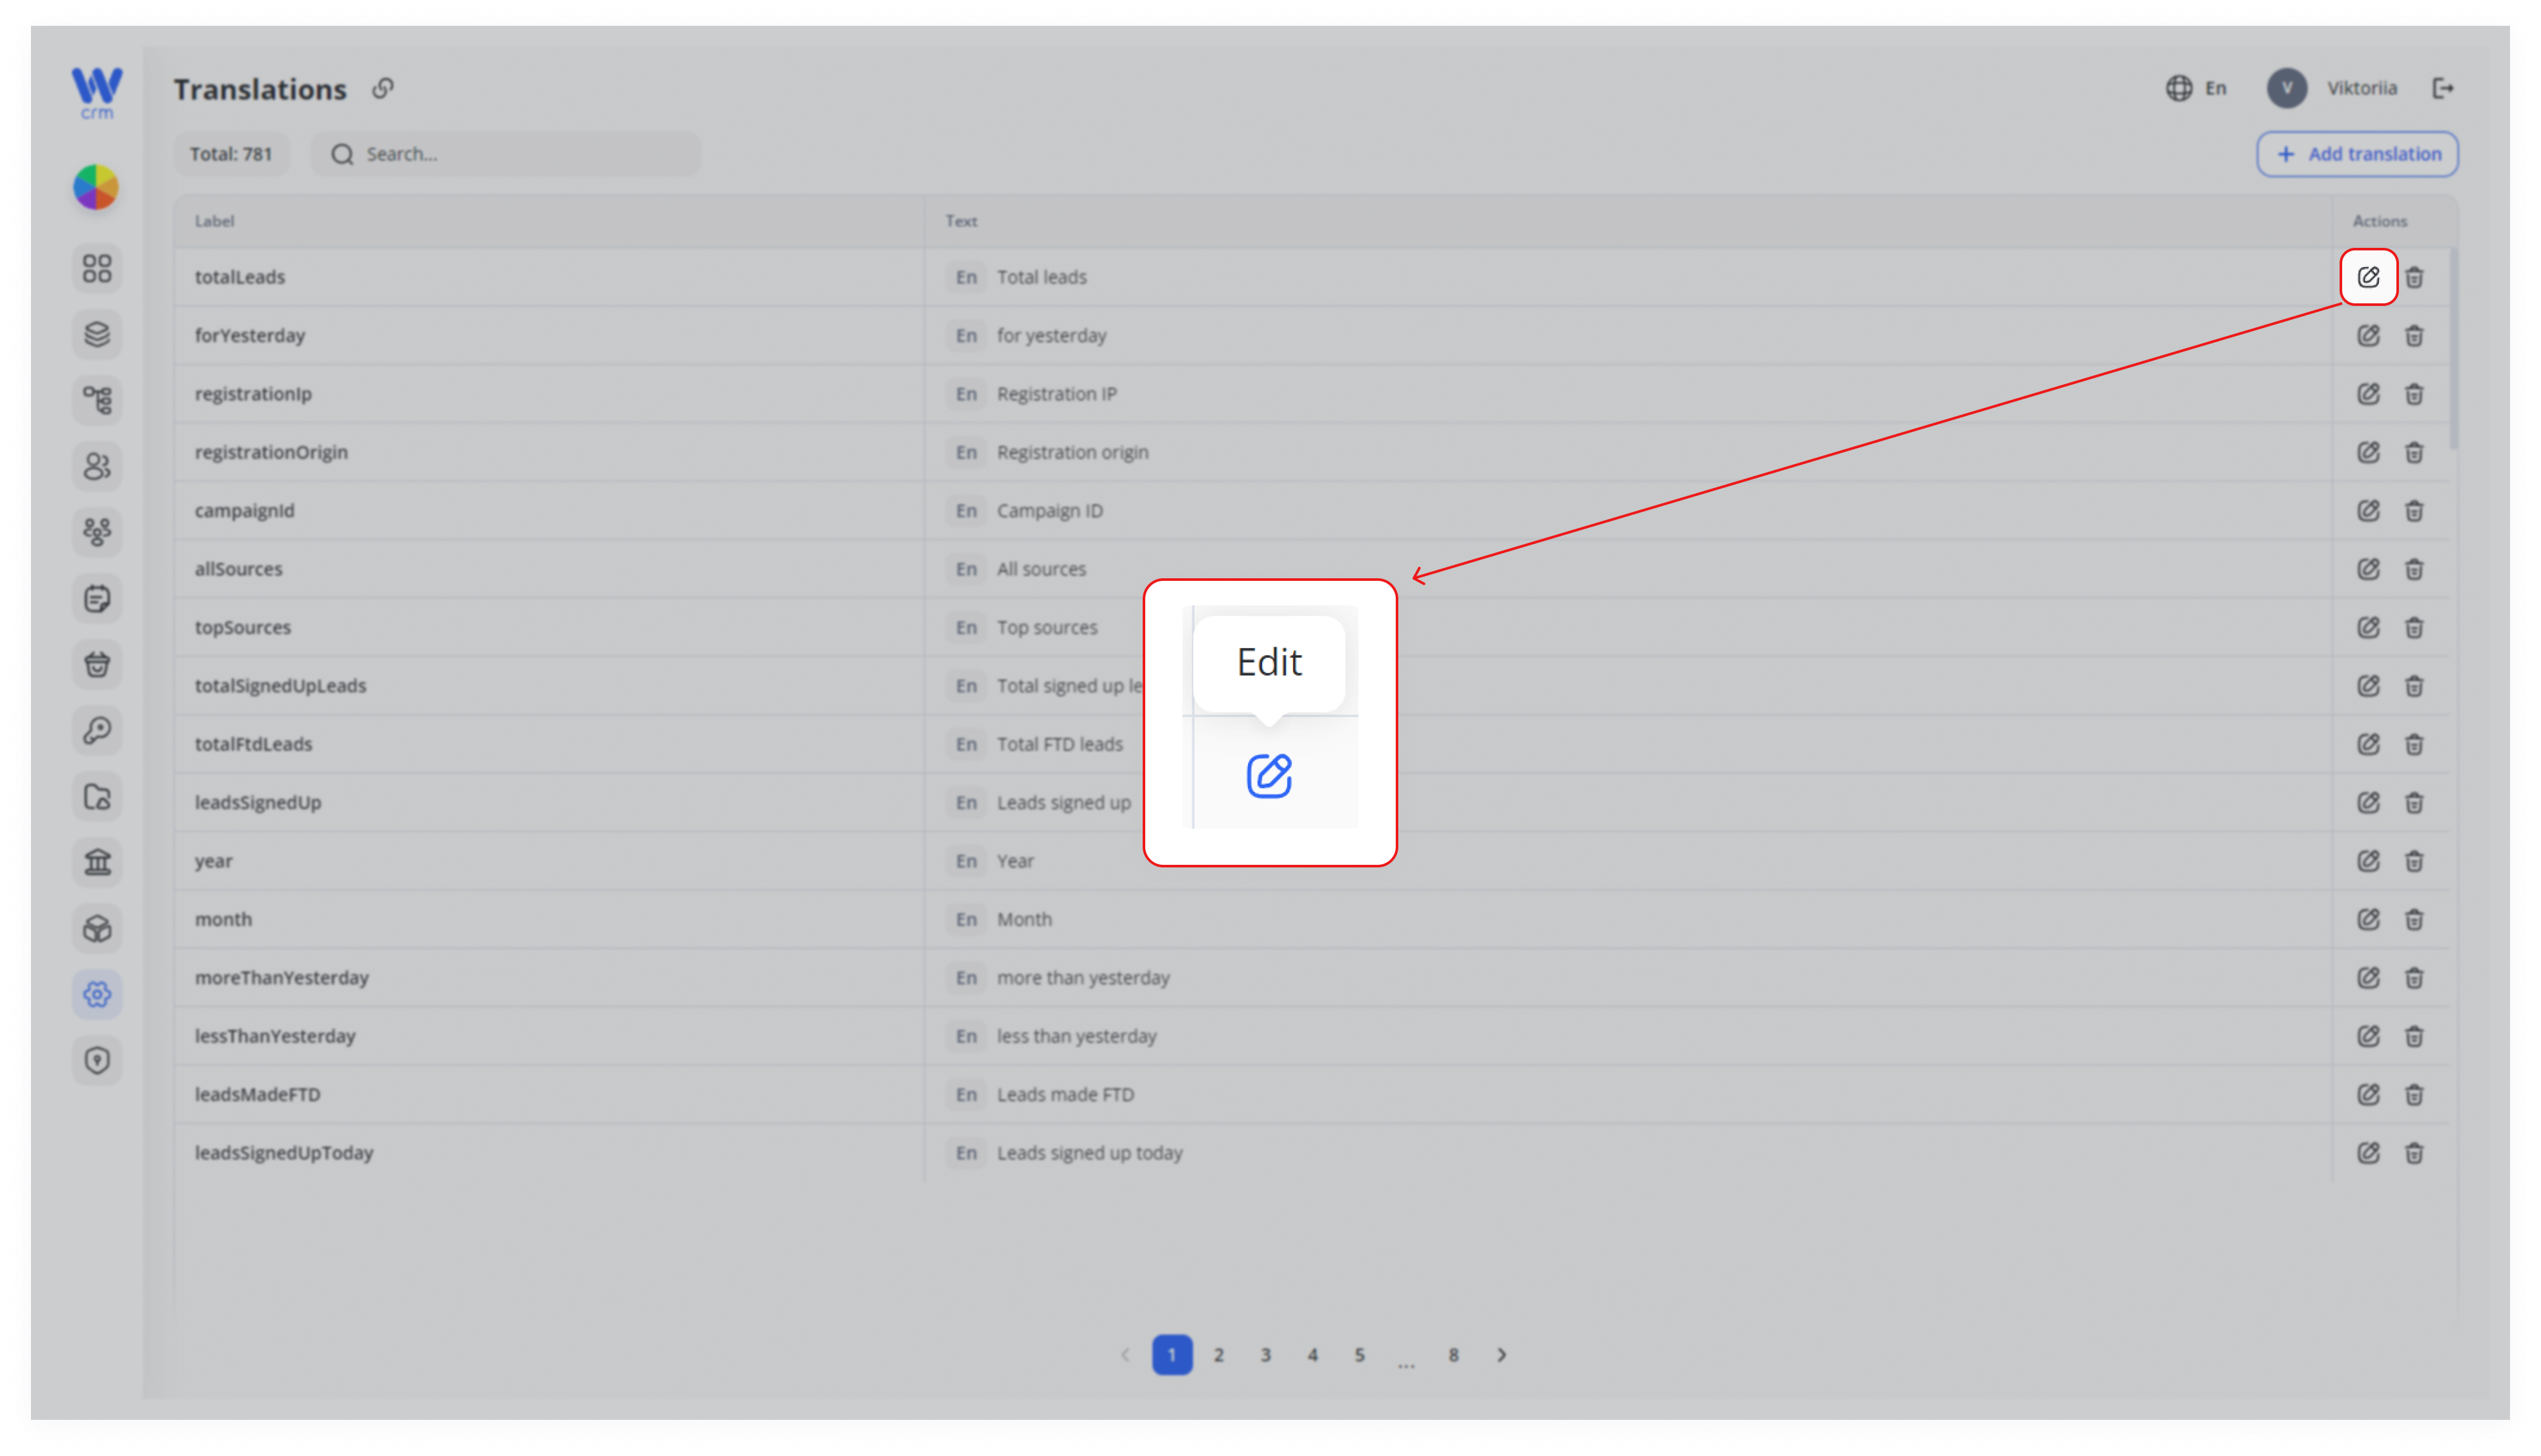
To add a translation of an element:
- Click
- the
- Edit
Clickicon on theEditrighticon inof thecorrespondingrowrow.you want to update.
- Edit
1.
2. In the panel that appears:
-
LanguageLabelfield,(read-only)selectshowsthewhich key you’re editing. -
Languages badges indicate which target
languagelanguages(thehaveinformation will be pulled from theActive Languageslist).entries. -
3. In theTextfield,field: enter or update thetranslation.translated string for the selected language.
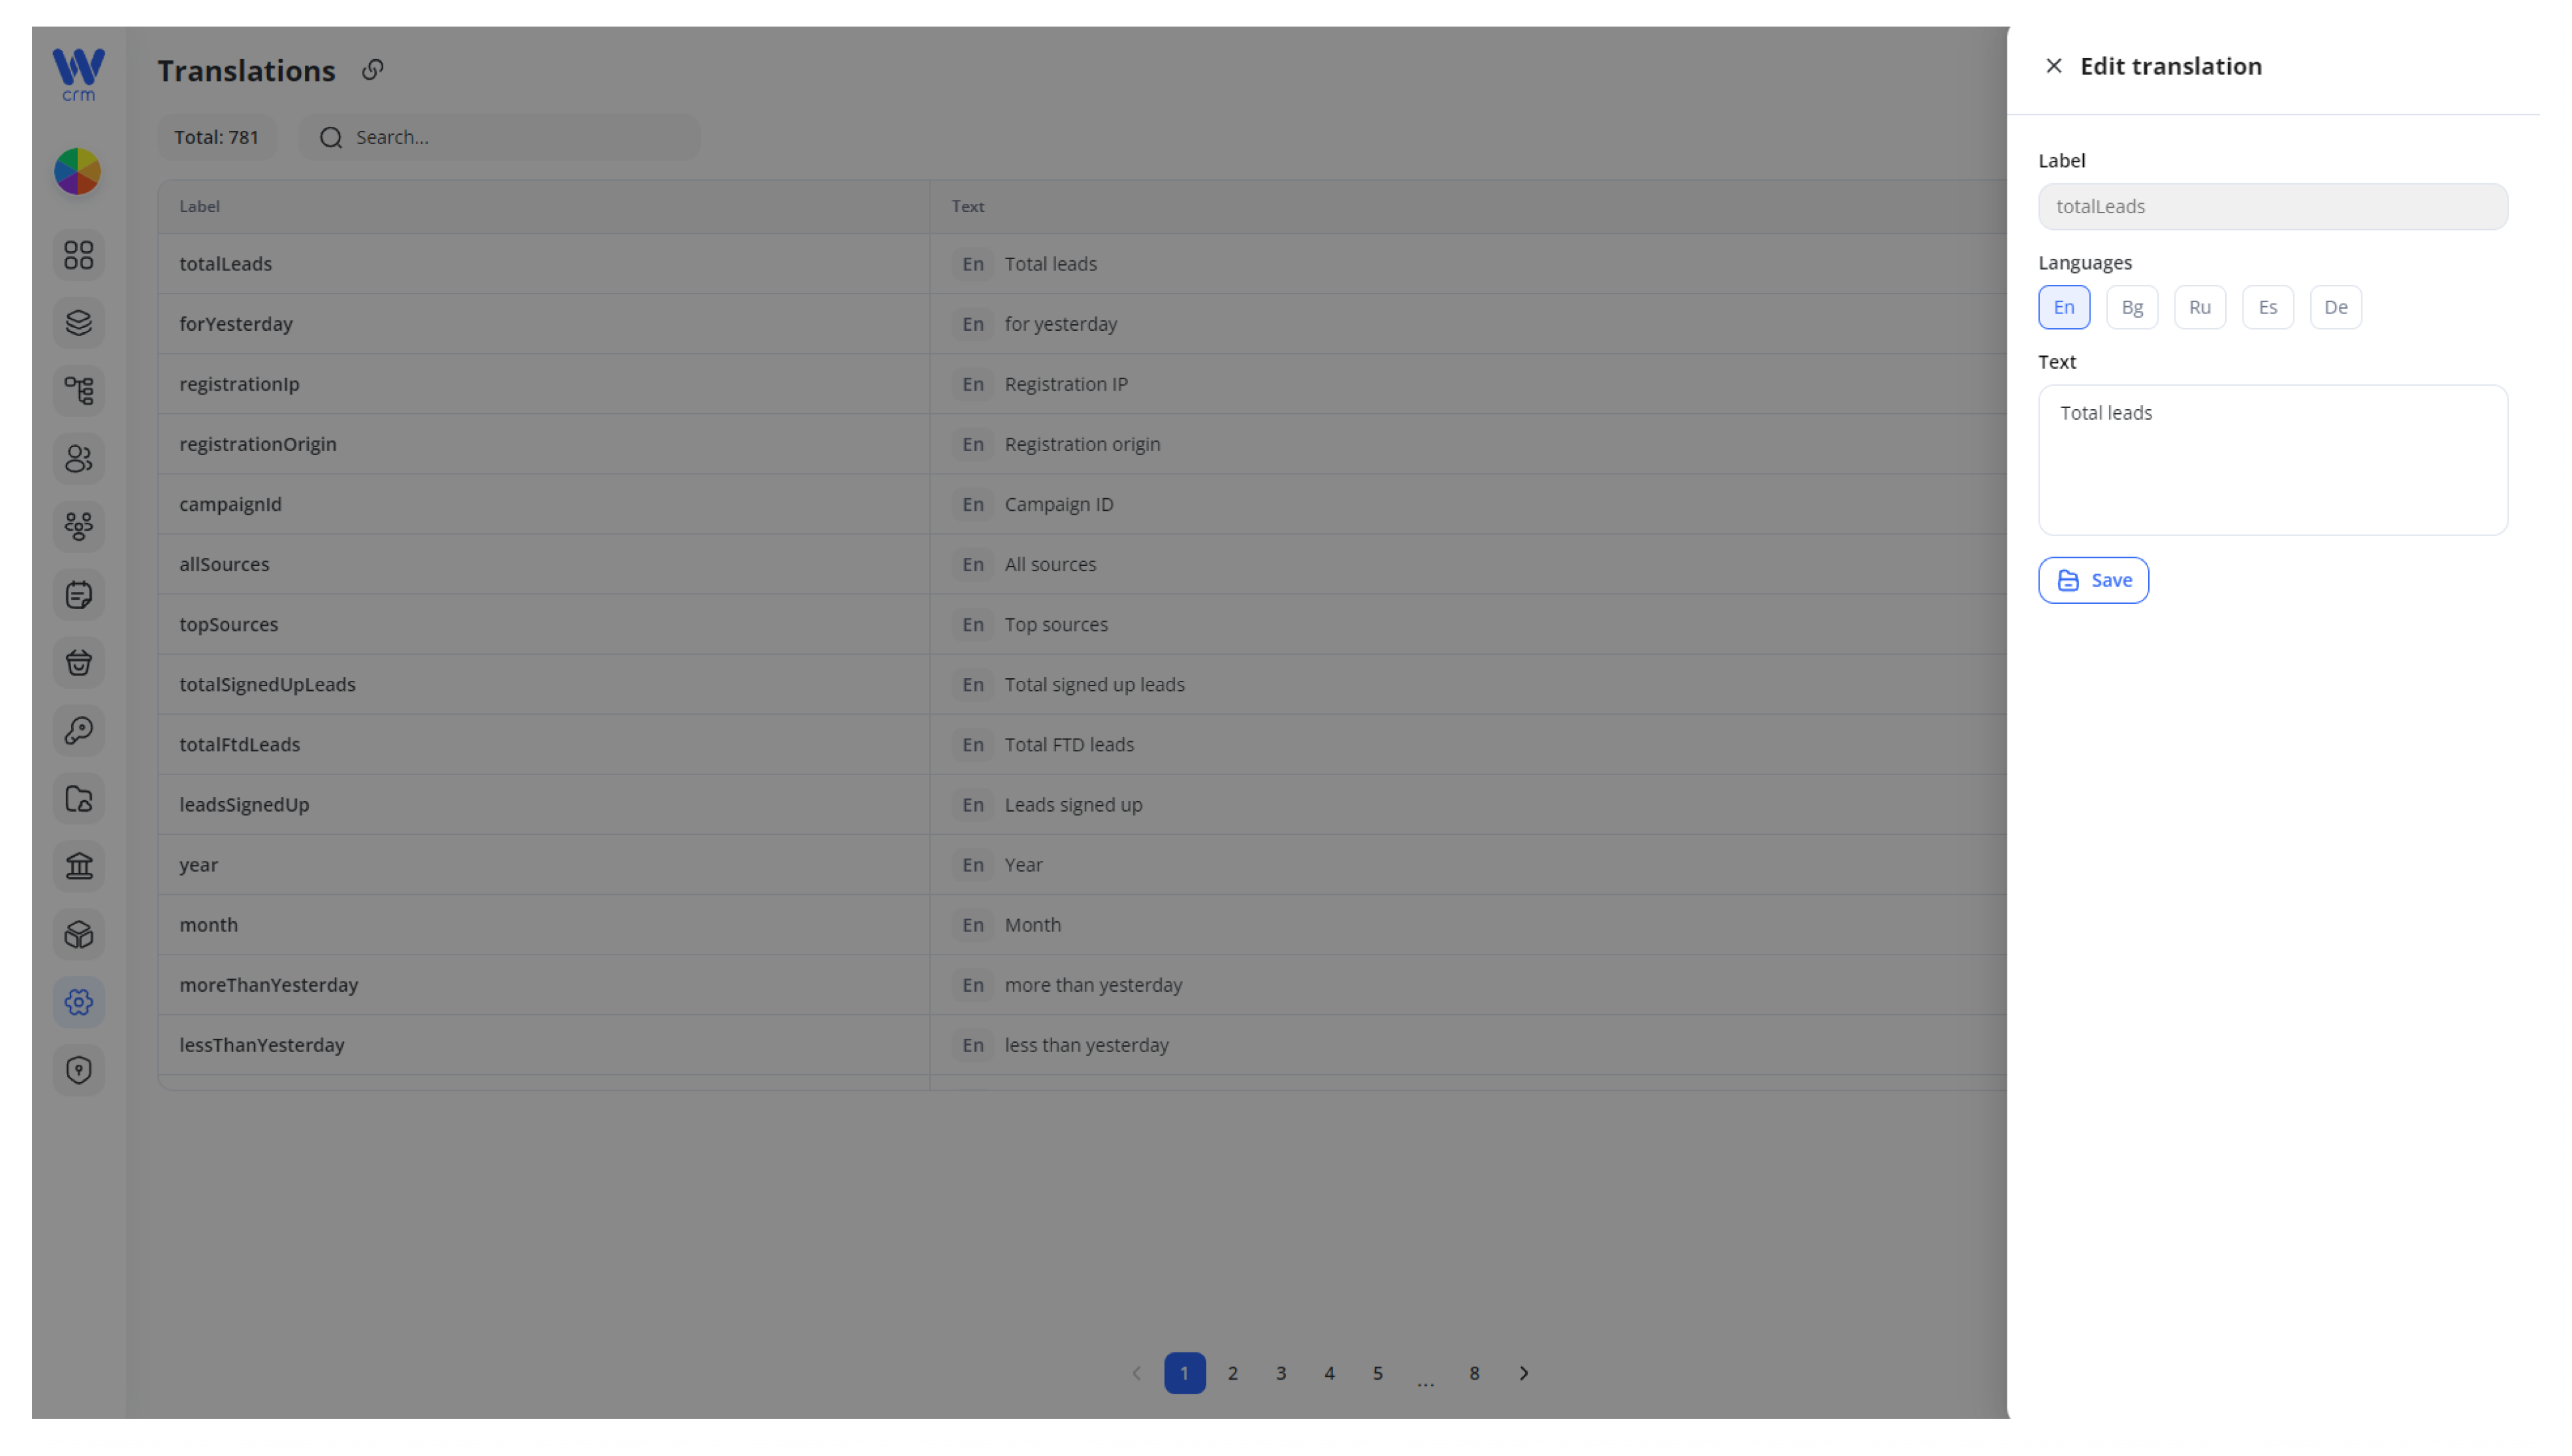
4. Click Save to apply the changes.
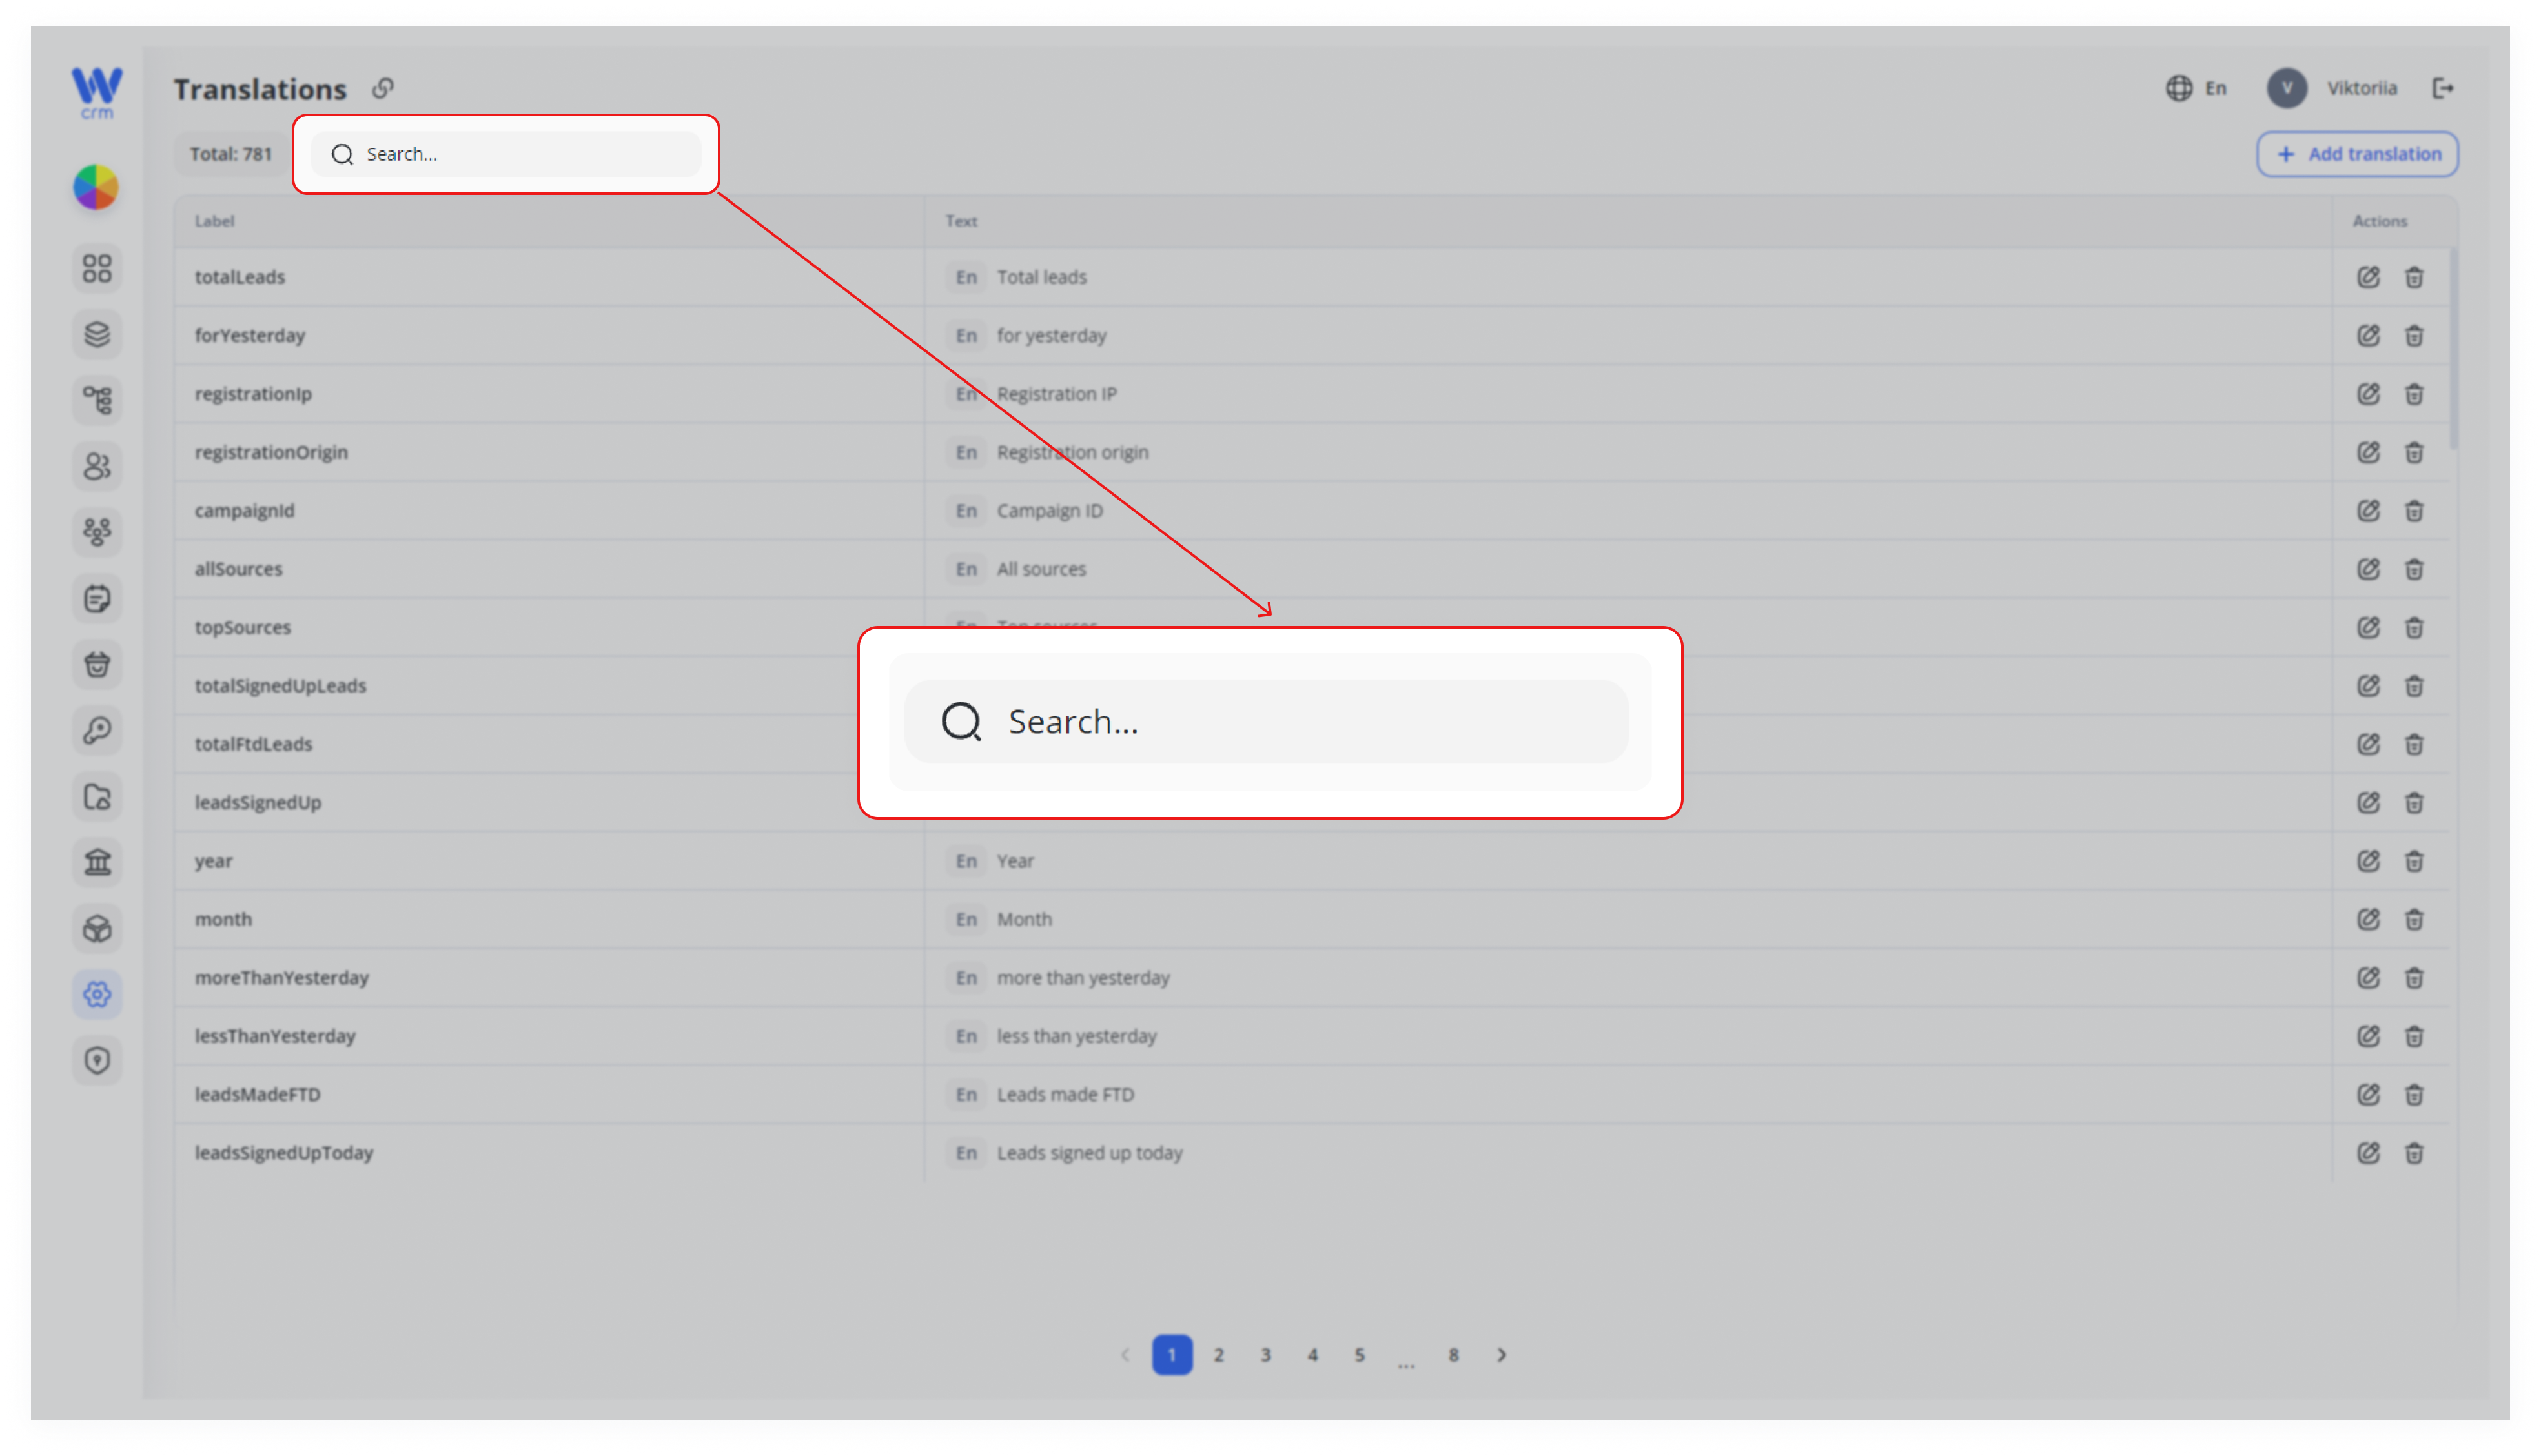
To easily search for elements:
- To
- find
- a
fieldStartspecifictypingitem,its label inuse the Searchfield.at
- a
Note: Adding custom elements is intended for development purposes only. The translation object label should be added to the code by developers. Otherwise, if you add a label just with this functionality, it will not be displayed anywhere on the page.
Adding a New Translation
To add a custom element:
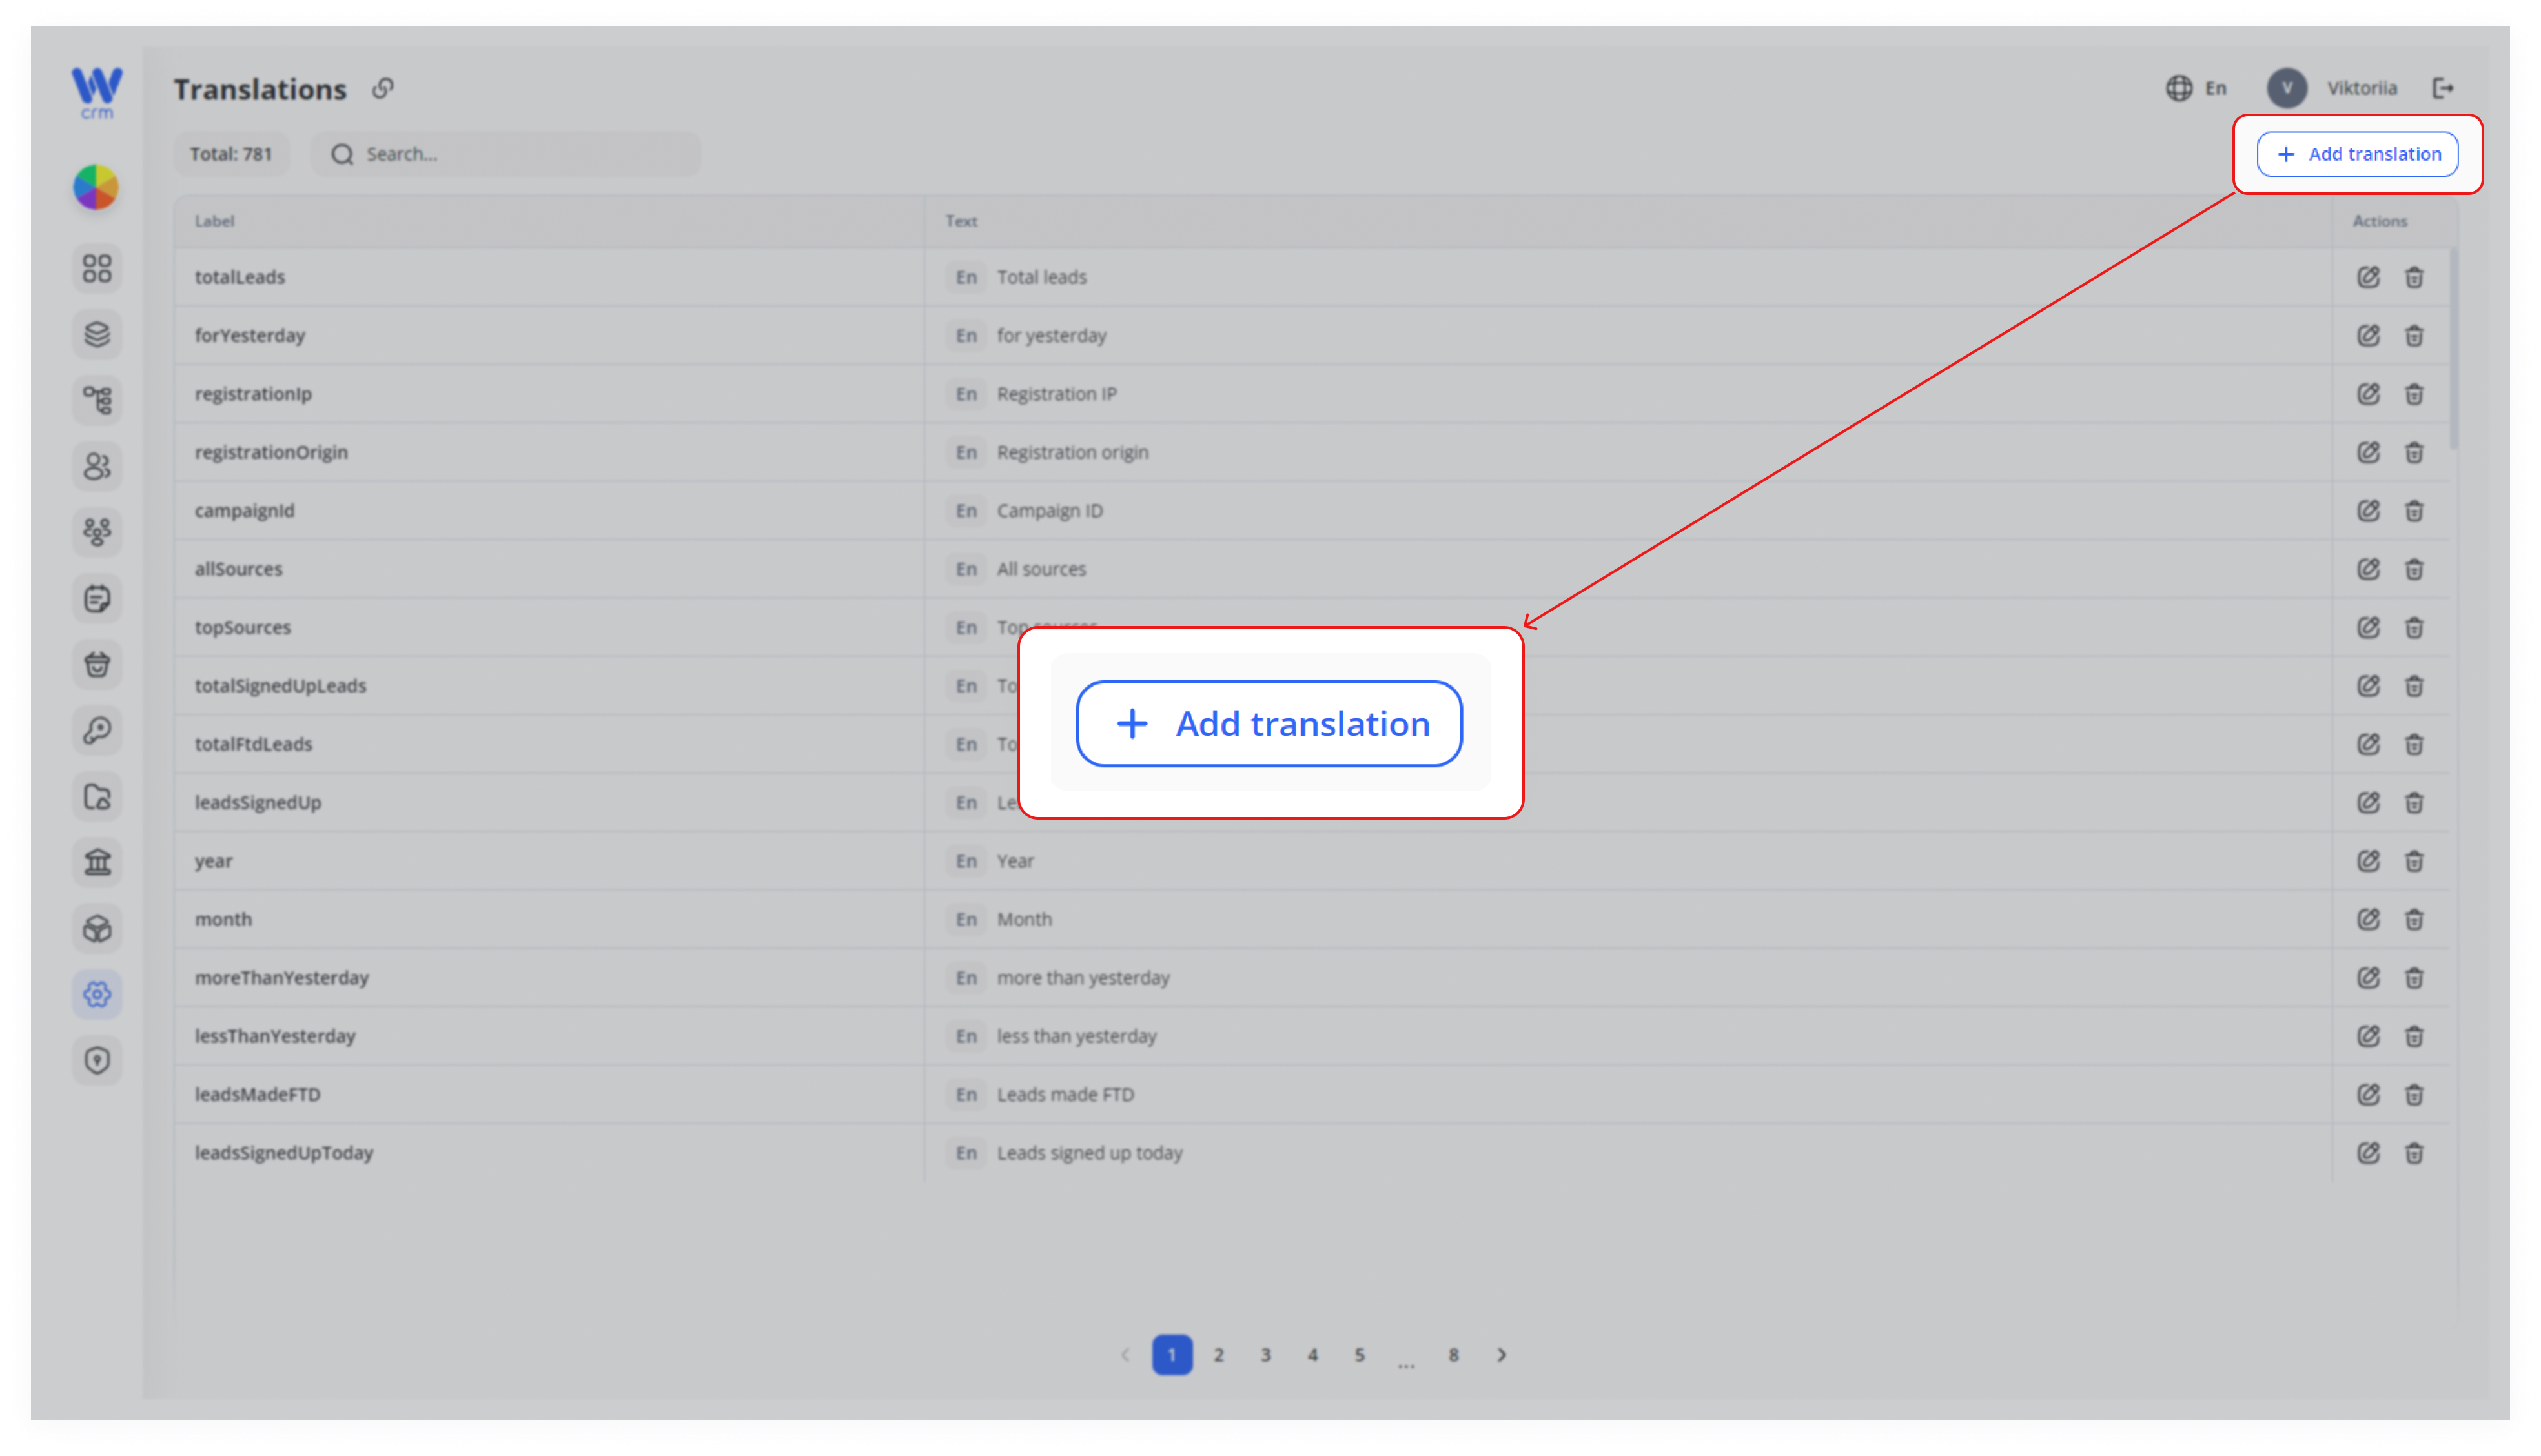
Click the +Add Translation button in the upper right corner.
1.
2. EnterIn the Add translation panel:
- Label:
(enter a uniqueidentifier)key (e.g.,newButtonLabel). - Languages:
andcheckentereach language you want to provide. - Text: fill in the translation for
each.each selected language.
3. Select one or more
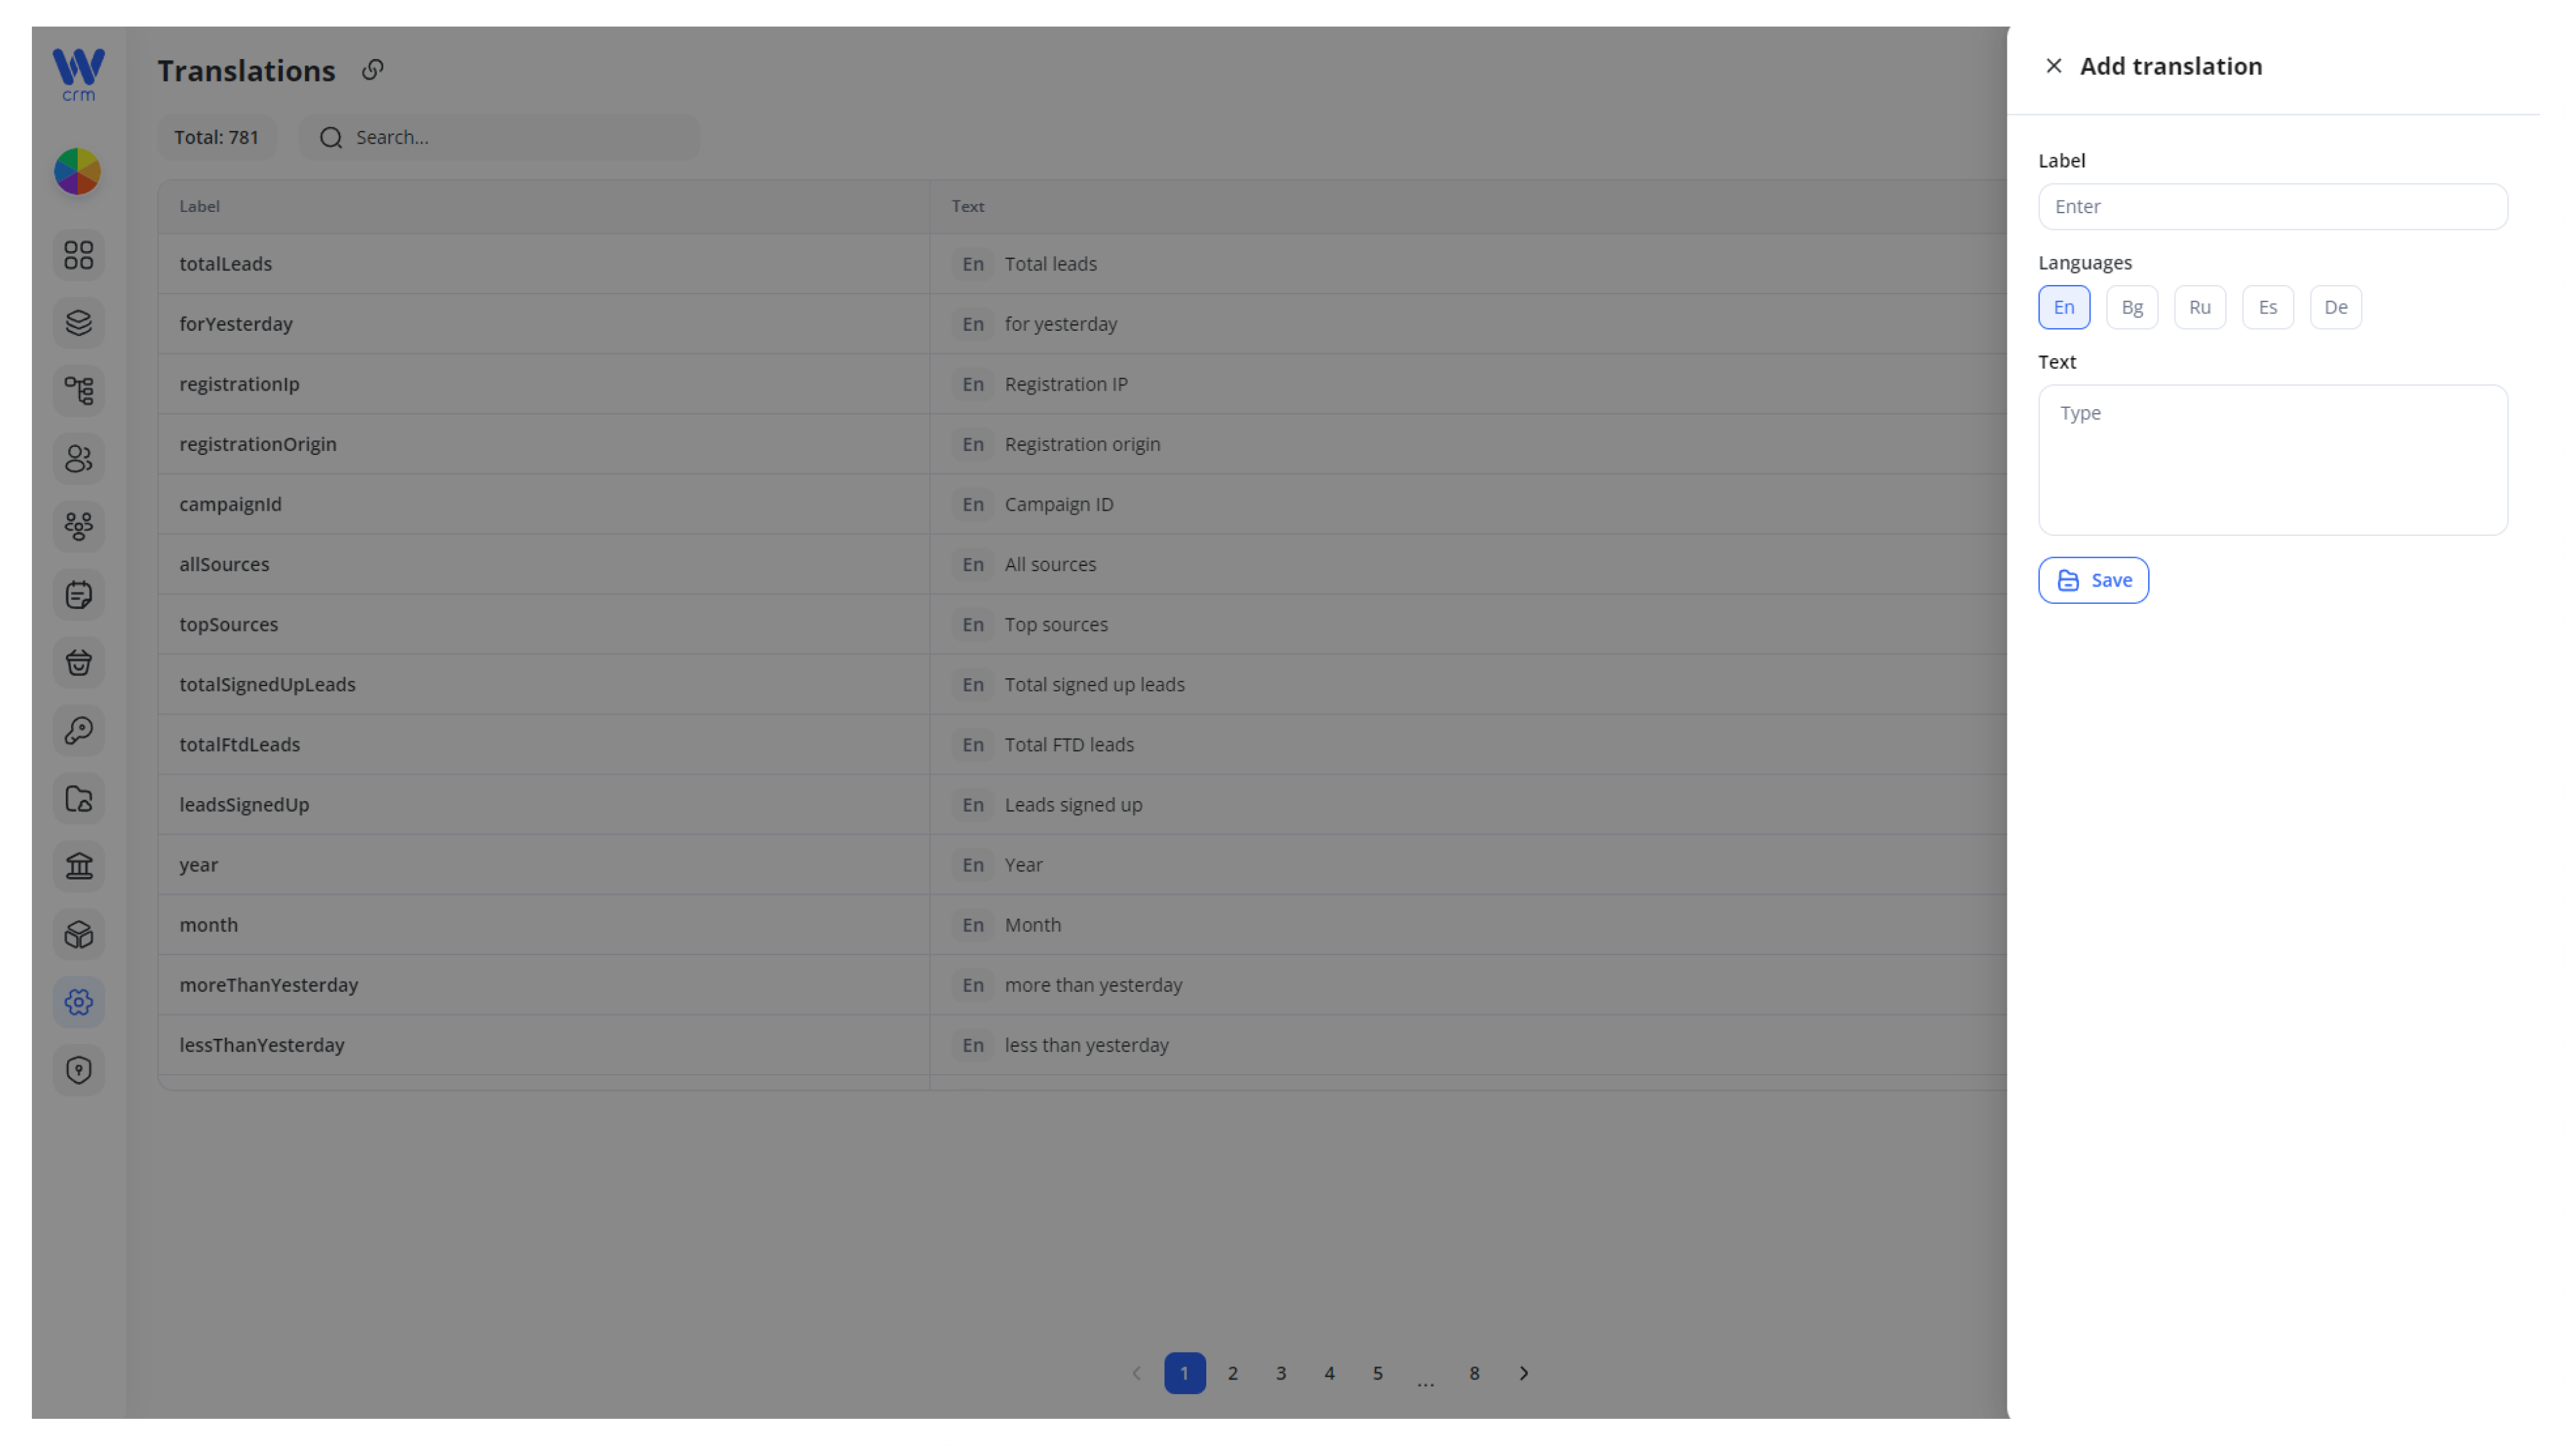
4.3. Click Save. The new label now appears in the table, ready to be referenced in code.
Deleting a Translation
1. Click the Delete (trash) icon on the row you wish to remove.
2. Confirm the deletion in the prompt.
You can also delete current items using the Delete icon. It is not recommended to delete items already defined in the system.
Best Practices & Conclusion
-
Batch your changes: When rolling out a new feature or language, edit multiple translations at once to maintain consistency.
-
Coordinate with developers: Ensure that any custom labels added here are actually referenced in the codebase.
-
Review periodically: As UI evolves, legacy labels may become obsolete—clean them up to keep the table manageable.
By centrally managing your short-text translations, you guarantee that every button, tooltip, and menu option in your CRM remains clear, accurate, and localized for all users.