
3. How to Manage Translations
The Translations module is your single source of truth for every short text element in the Client Area—buttons, labels, tooltips, error messages, and more. By centralizing all keys and their localized values here, you ensure consistency across the entire UI and make it easy to keep every language up to date.
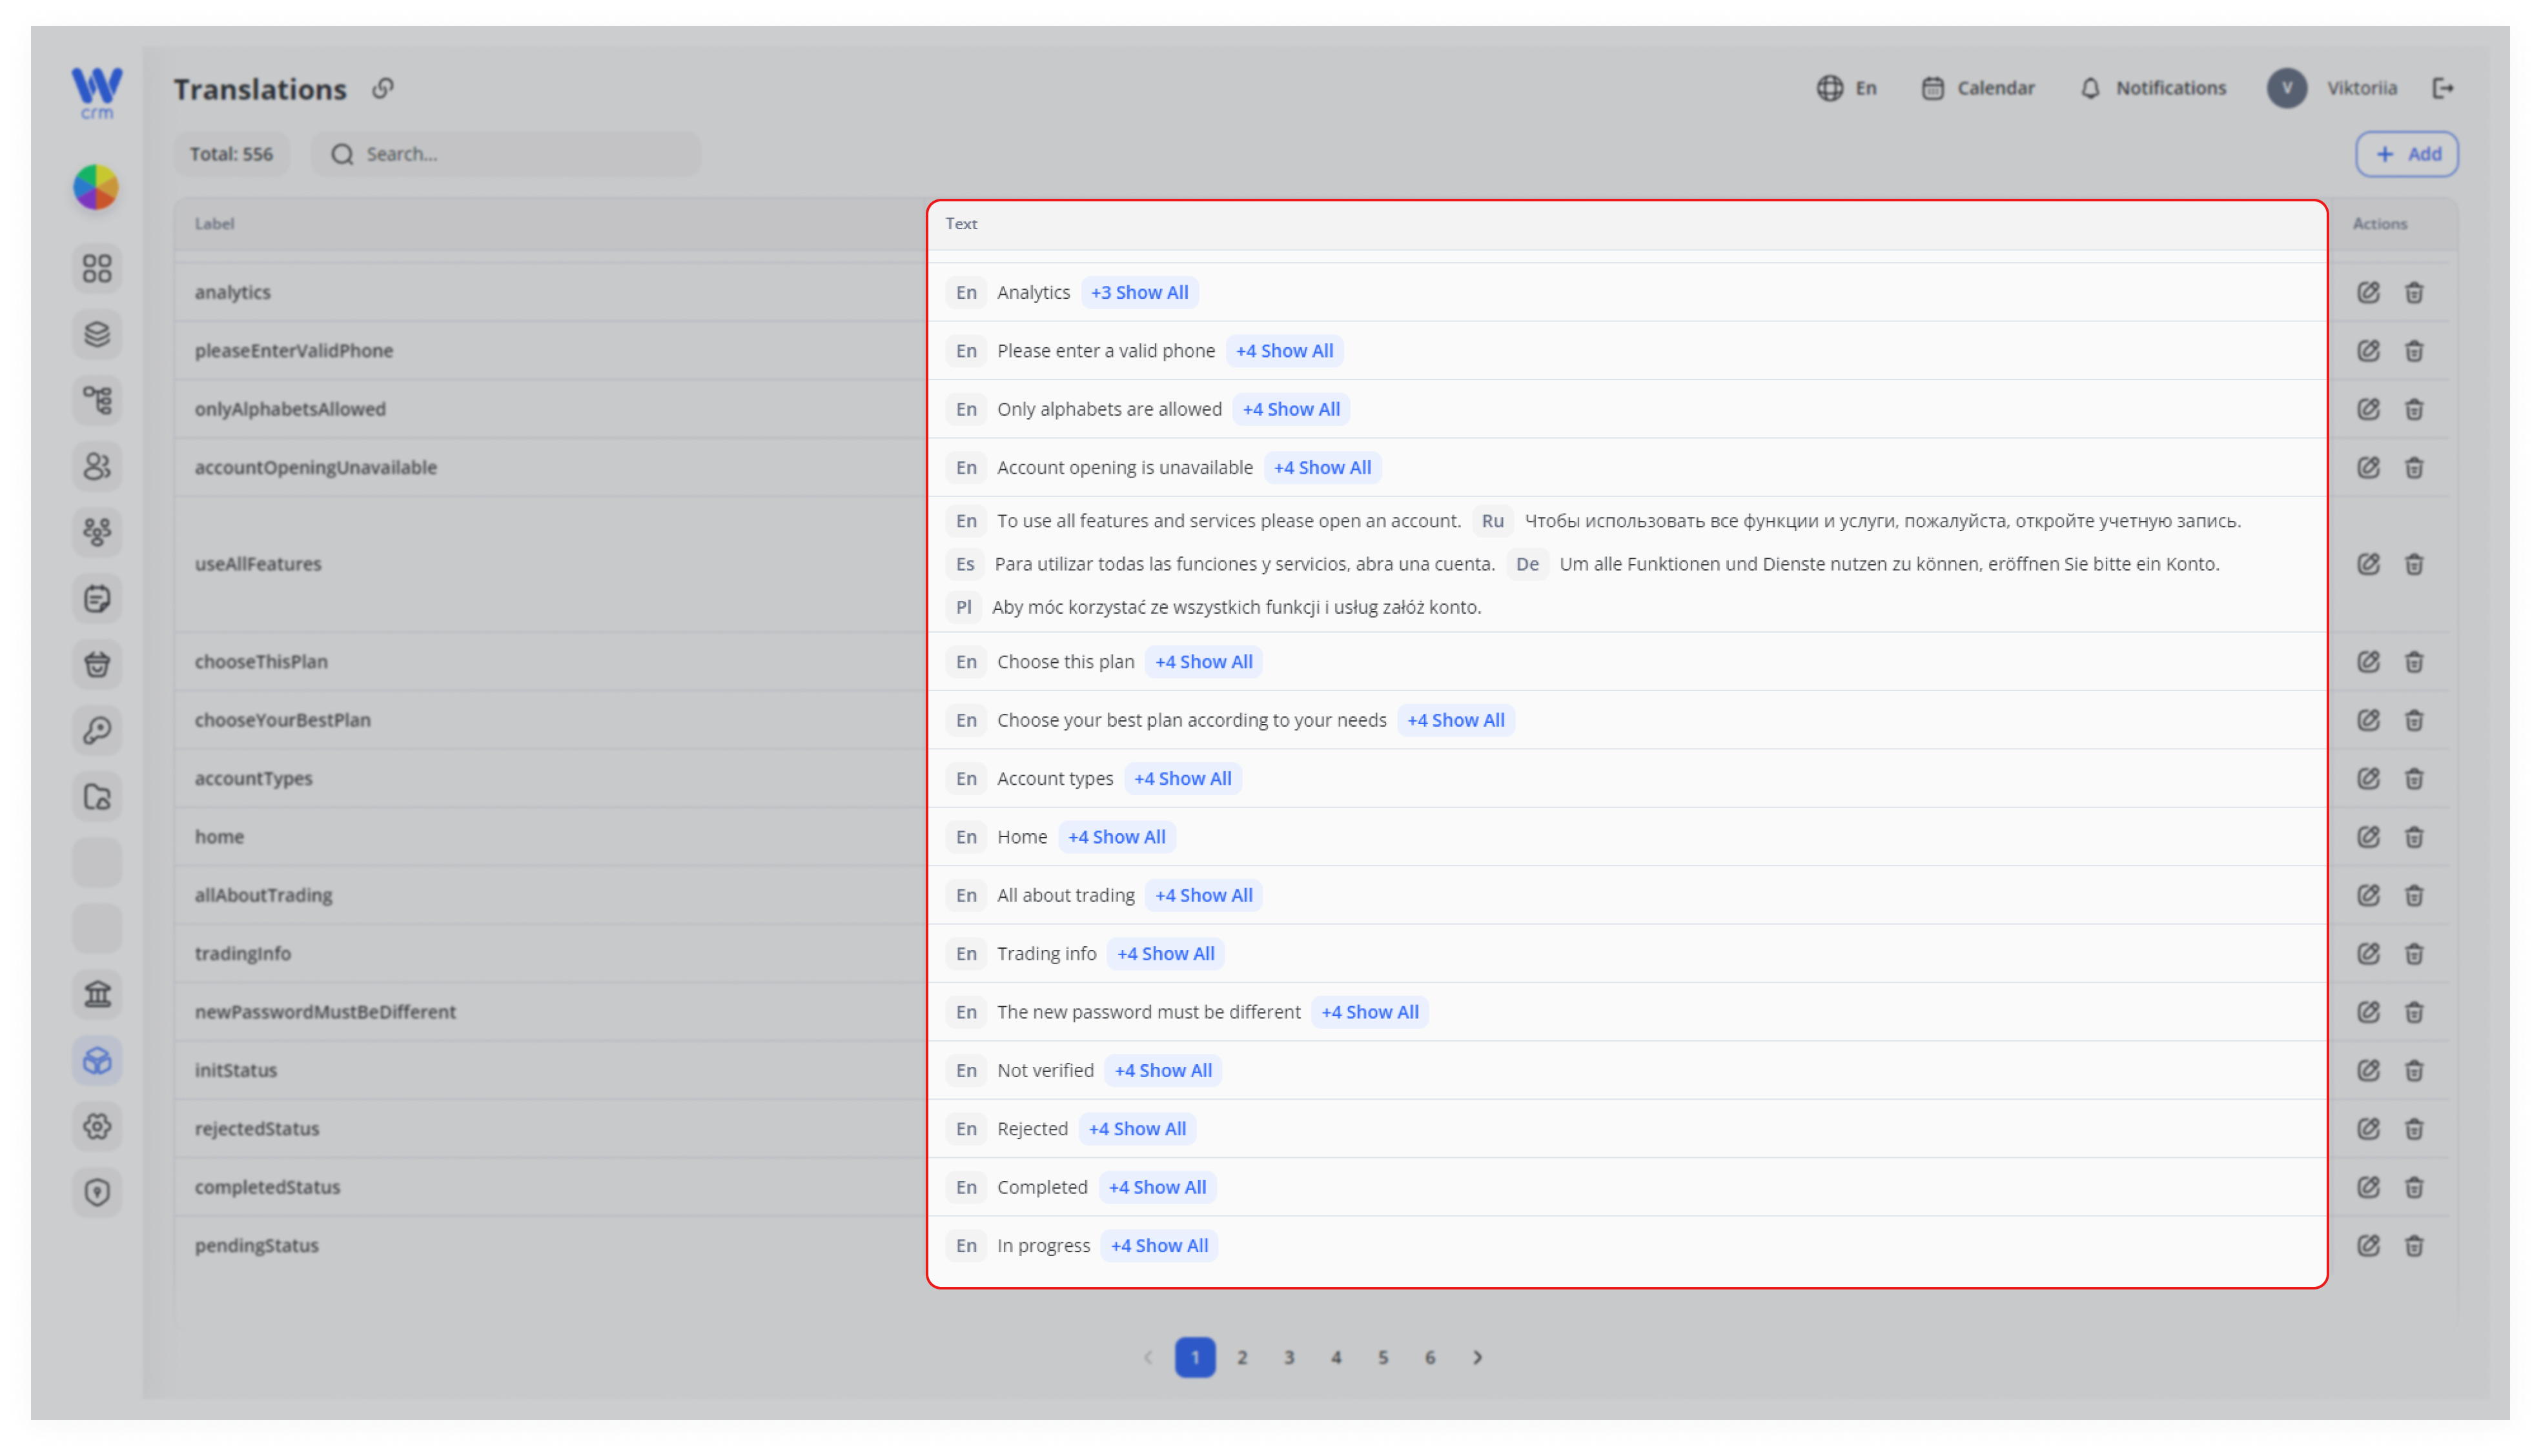
To translate short elements (e.g., buttons), go to Client Area > Translations. You will see a list of all currently available items. The Text column will show in which language they are available.
To add a translation of an element:
-
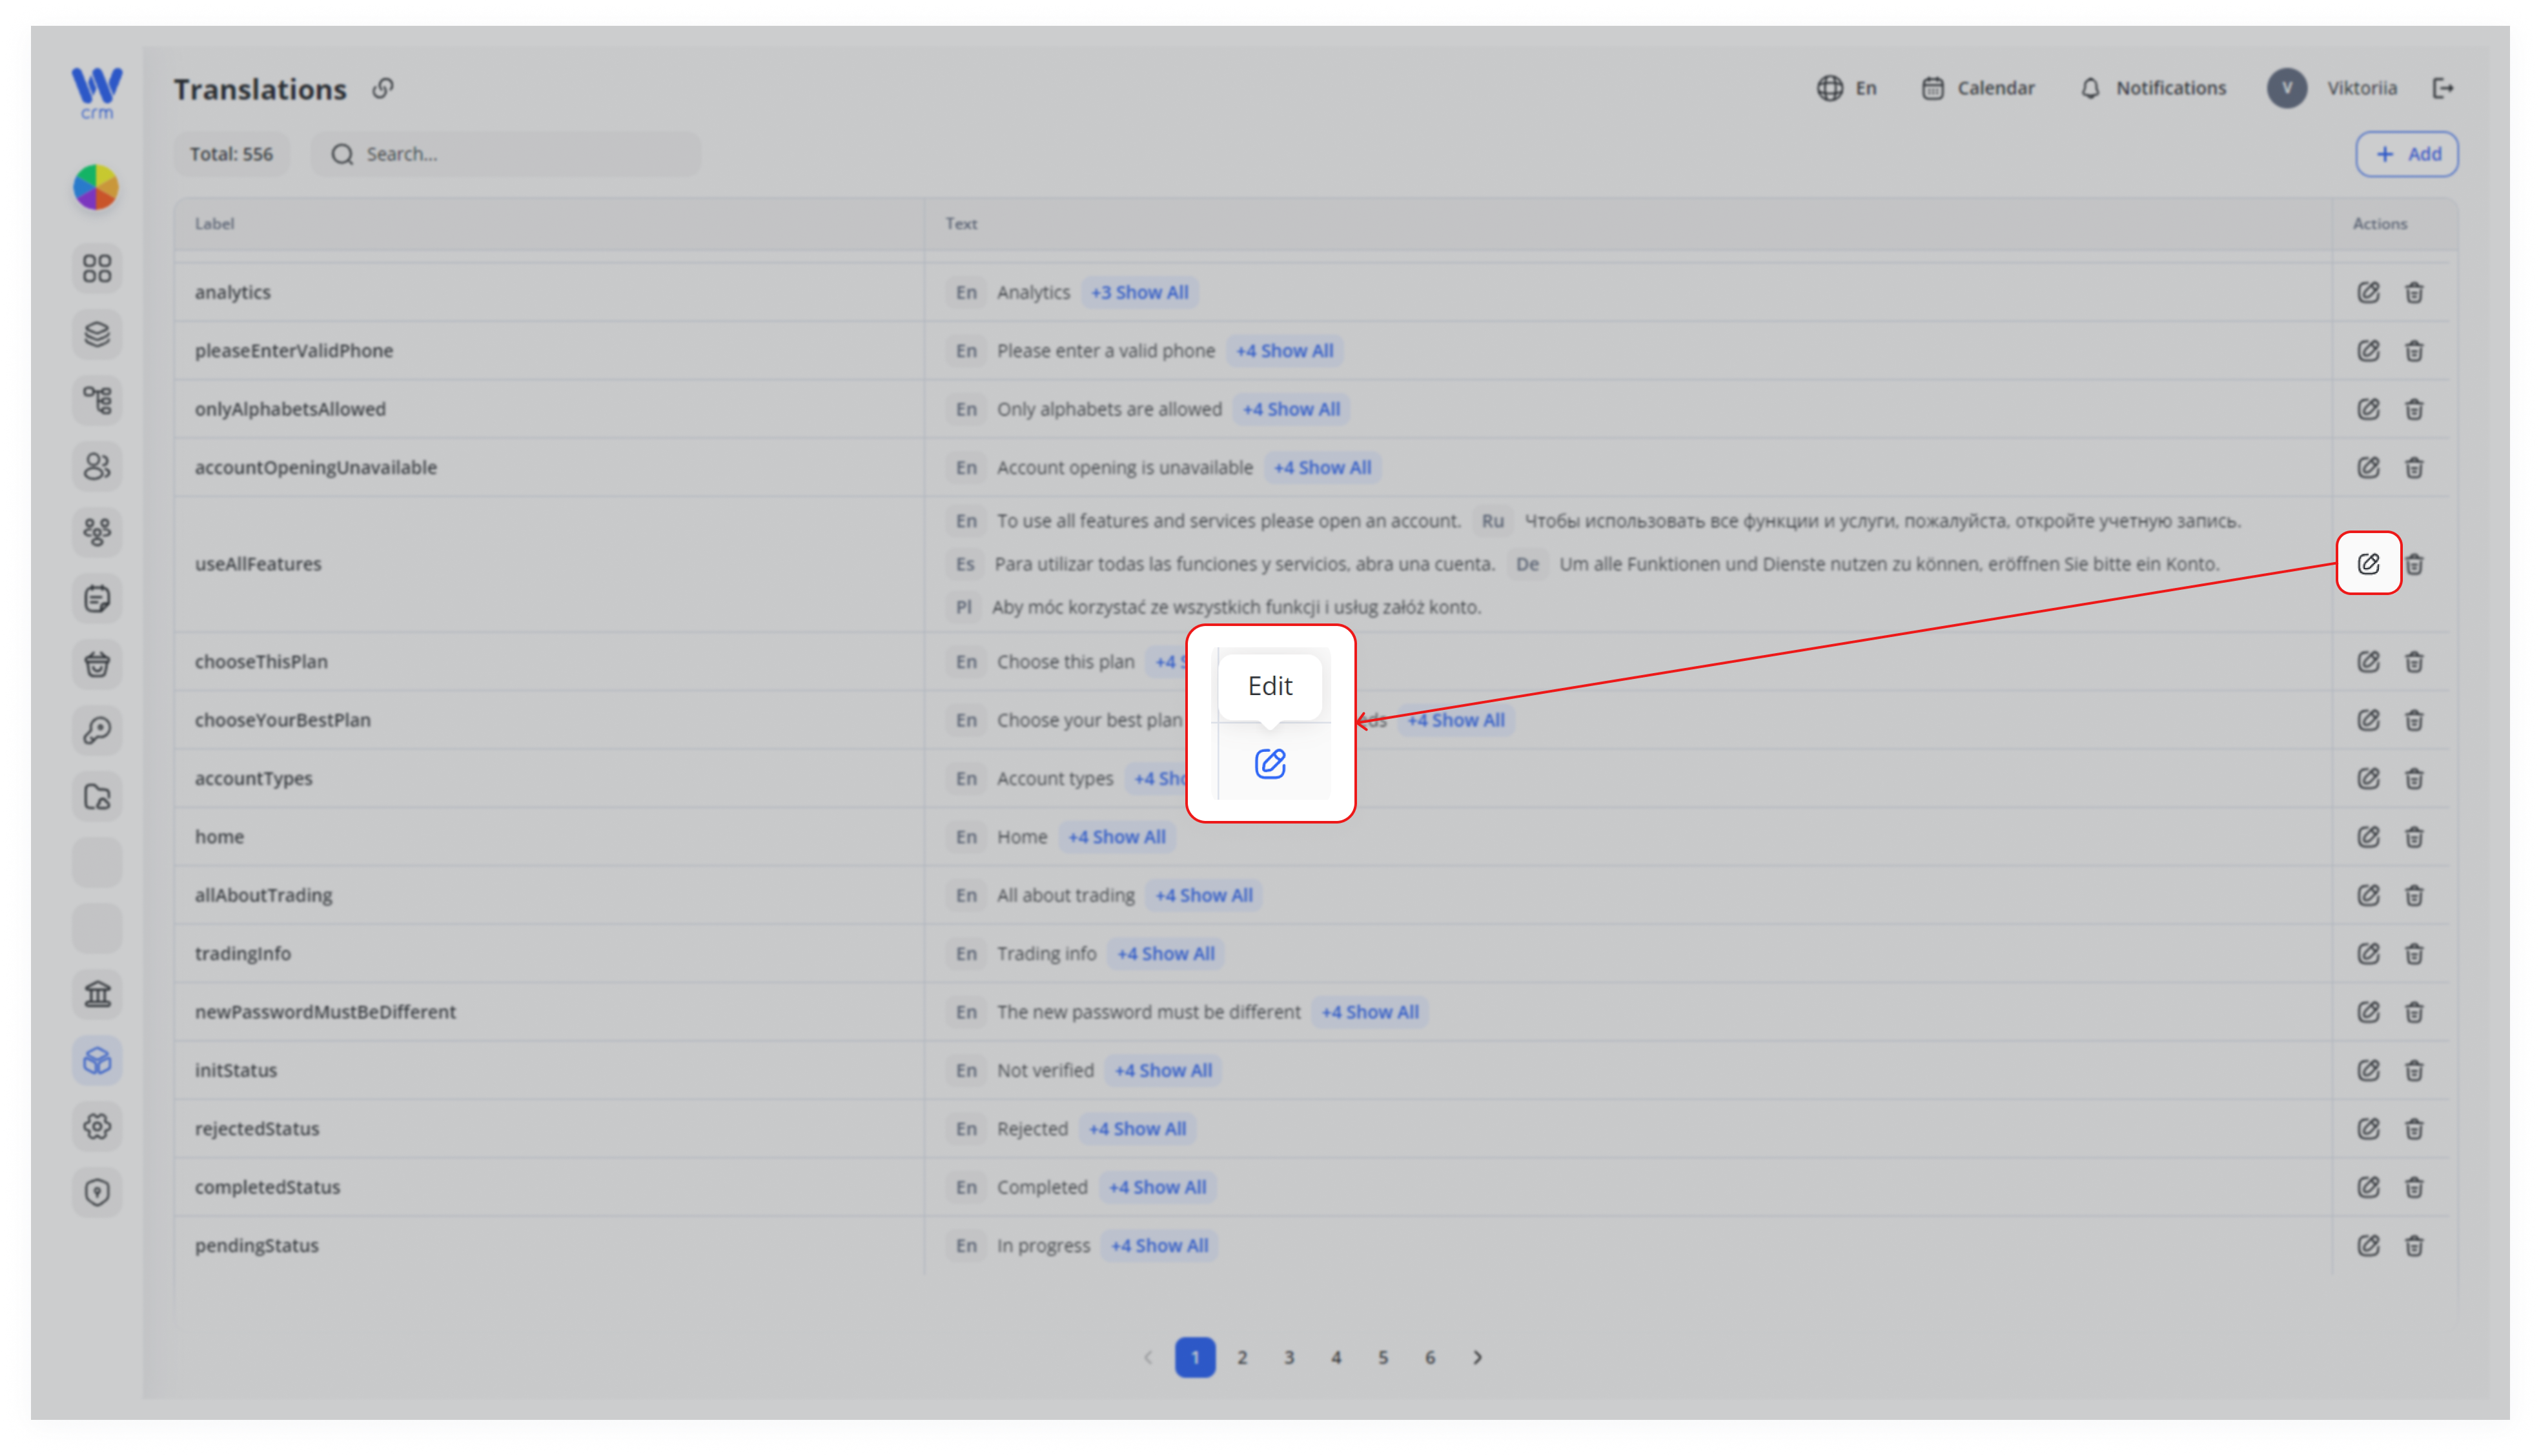
- Click on the Edit icon in the corresponding row.
2. In the Language field, select the target language (the information will be pulled from the Active Languages list).
3. In the Text field, enter the translation.
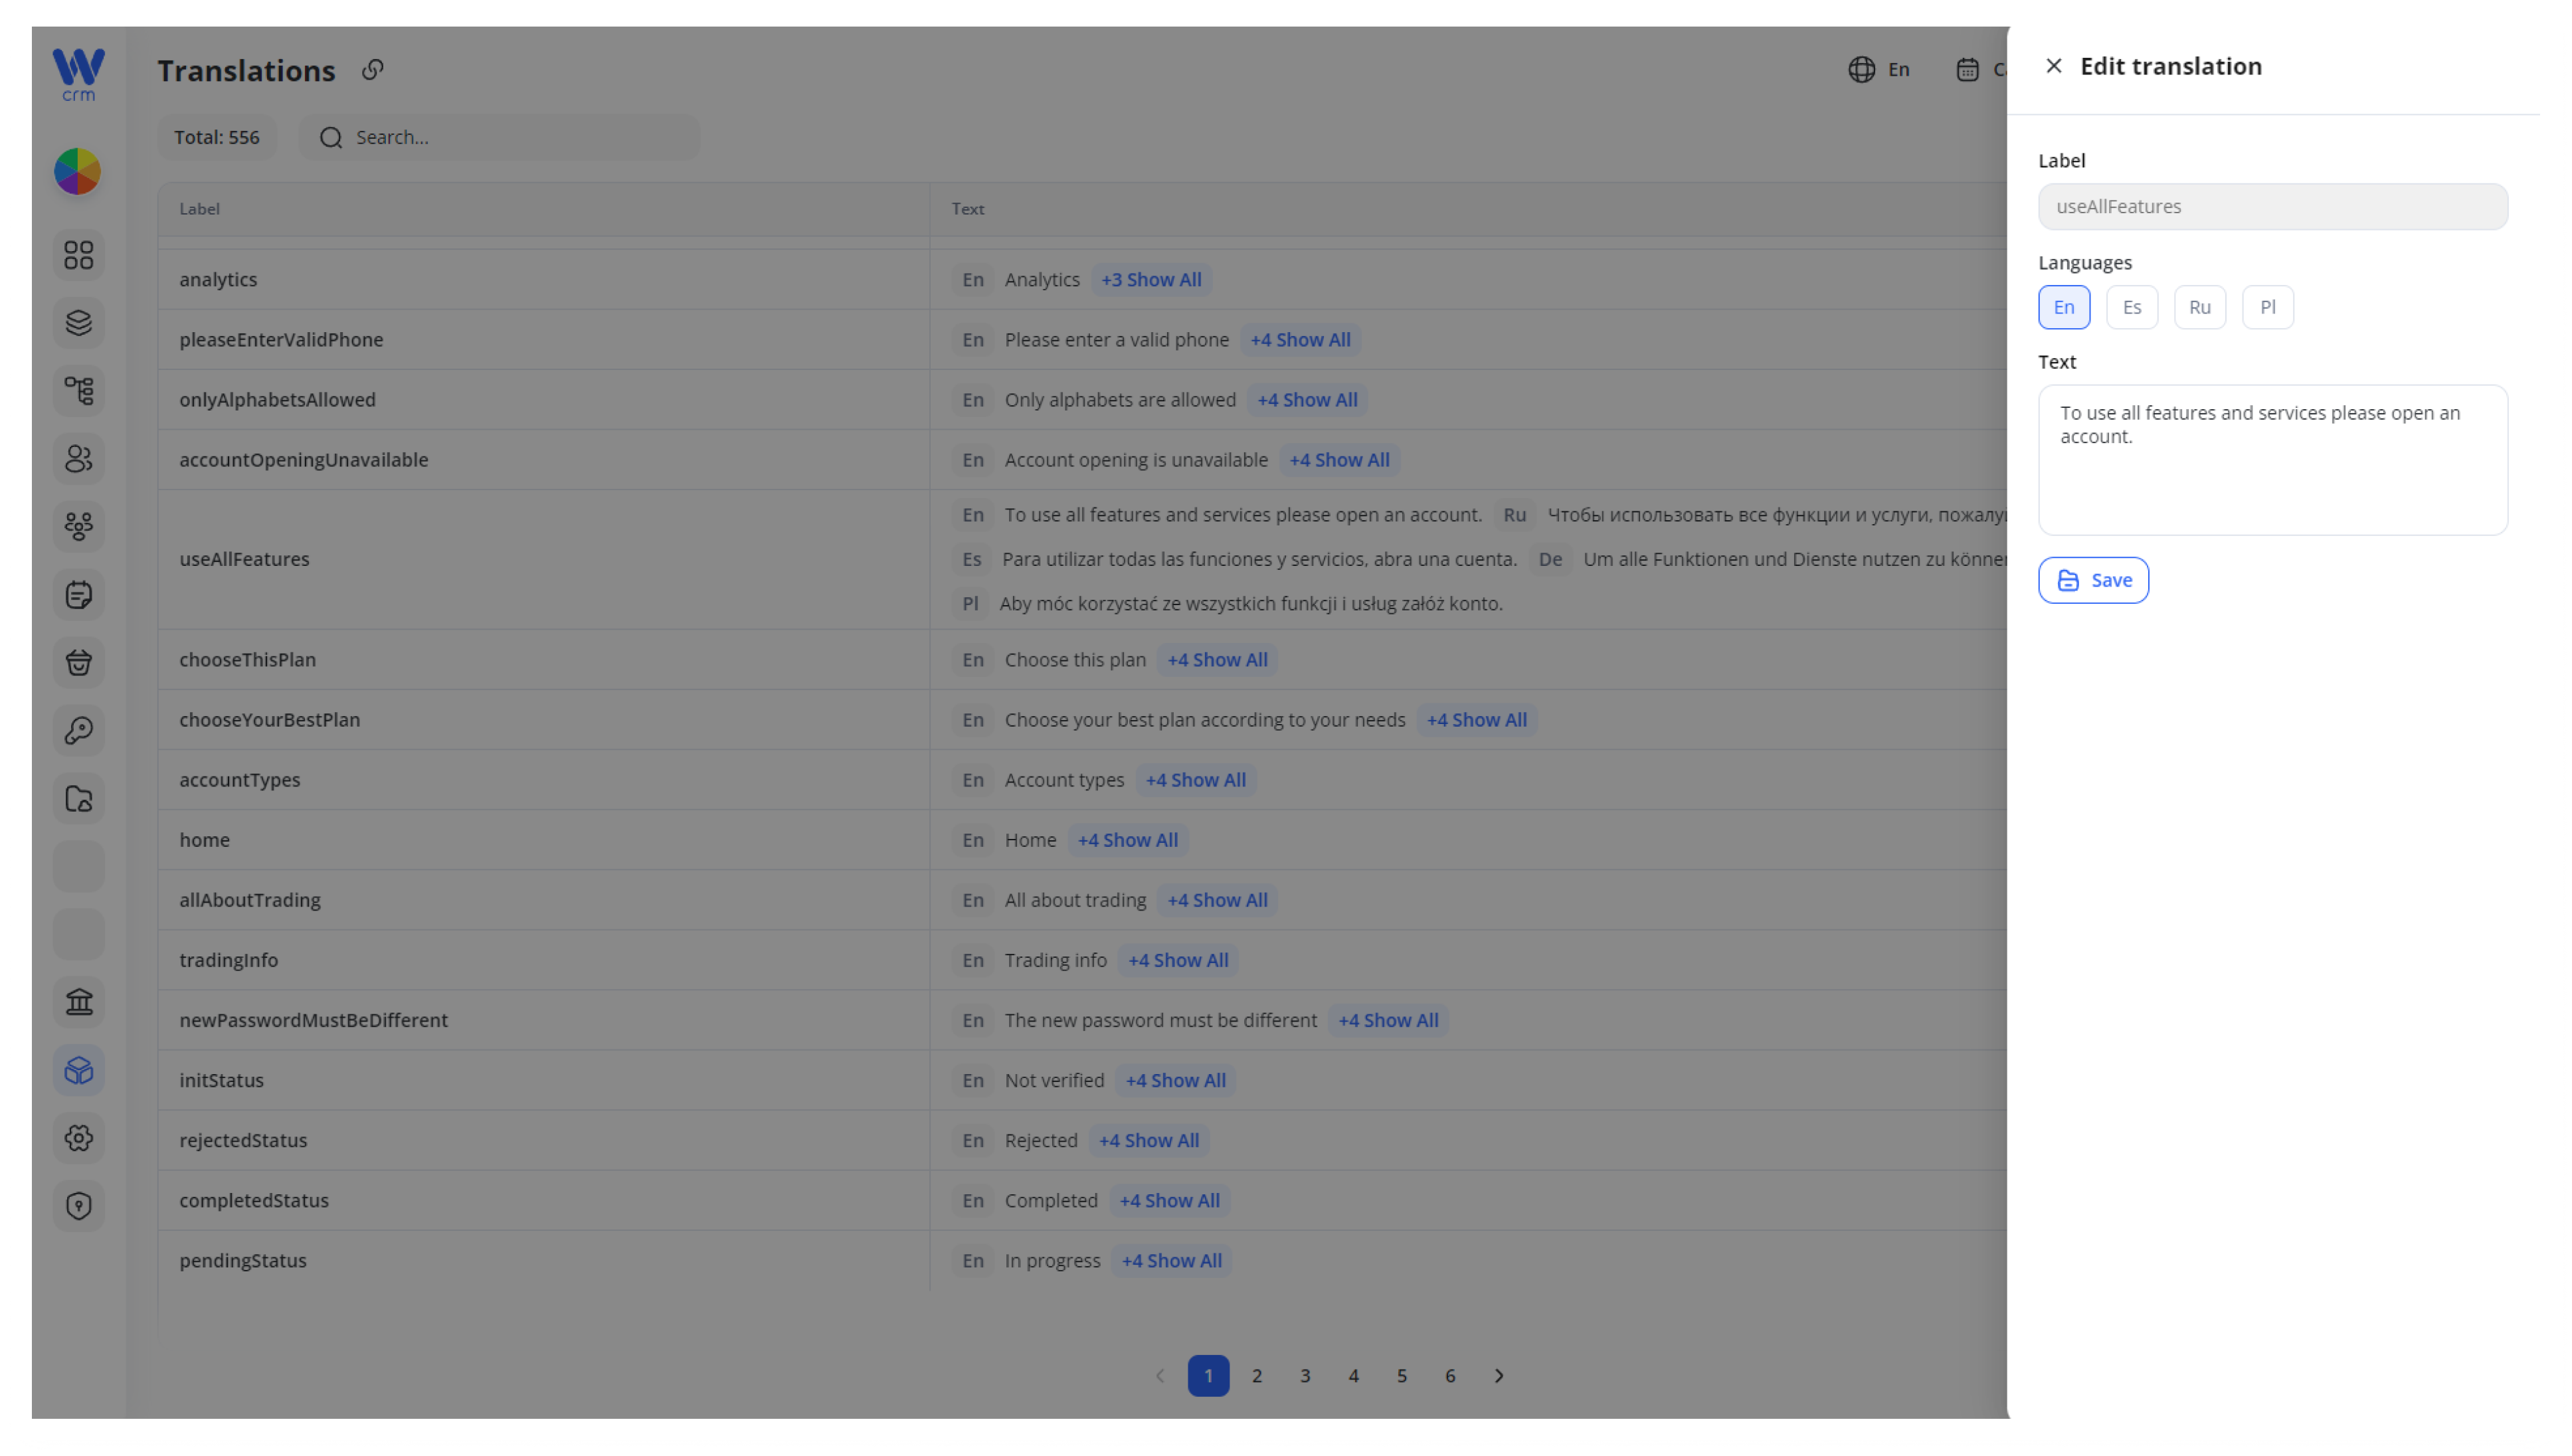
4. Click Save to apply the changes.
To easily search for an element:
-
-
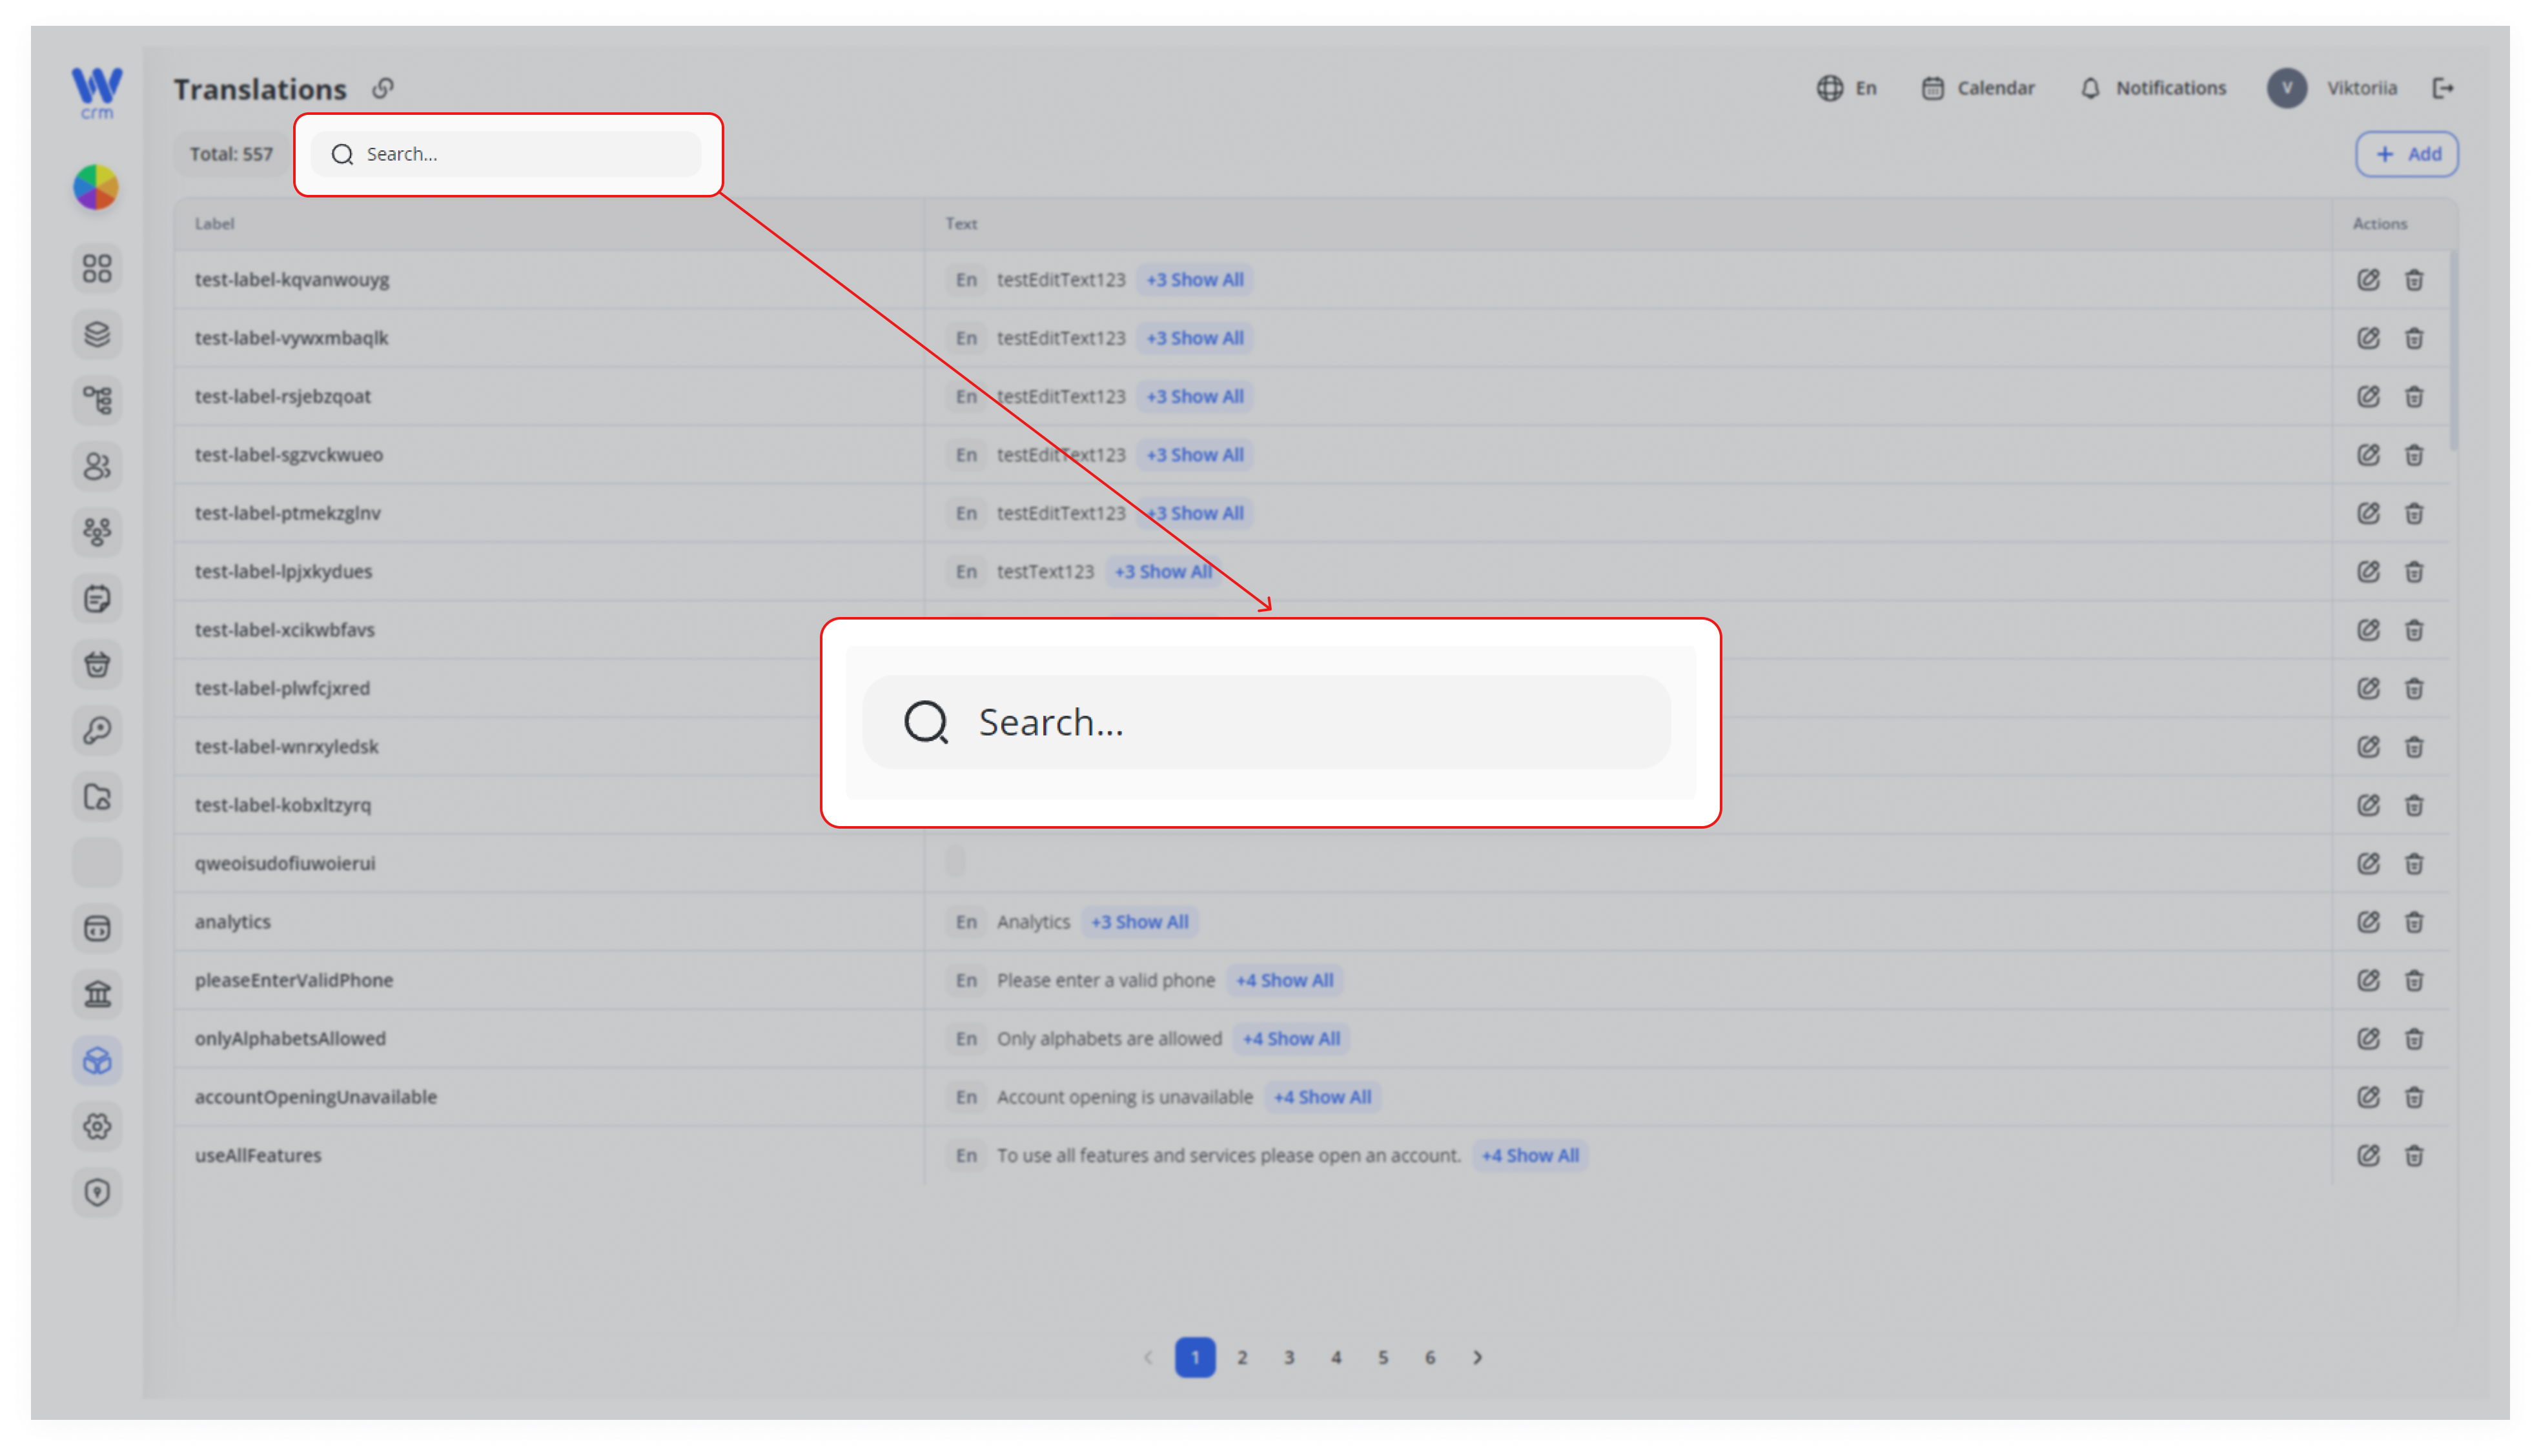
Start typing its label in the Search field.
-
Note: Adding custom elements is intended for development purposes only. The translation object label should be added to the code by developers. Otherwise, if you add a label just with this functionality, it will not be displayed anywhere on the page.
To add a custom element:
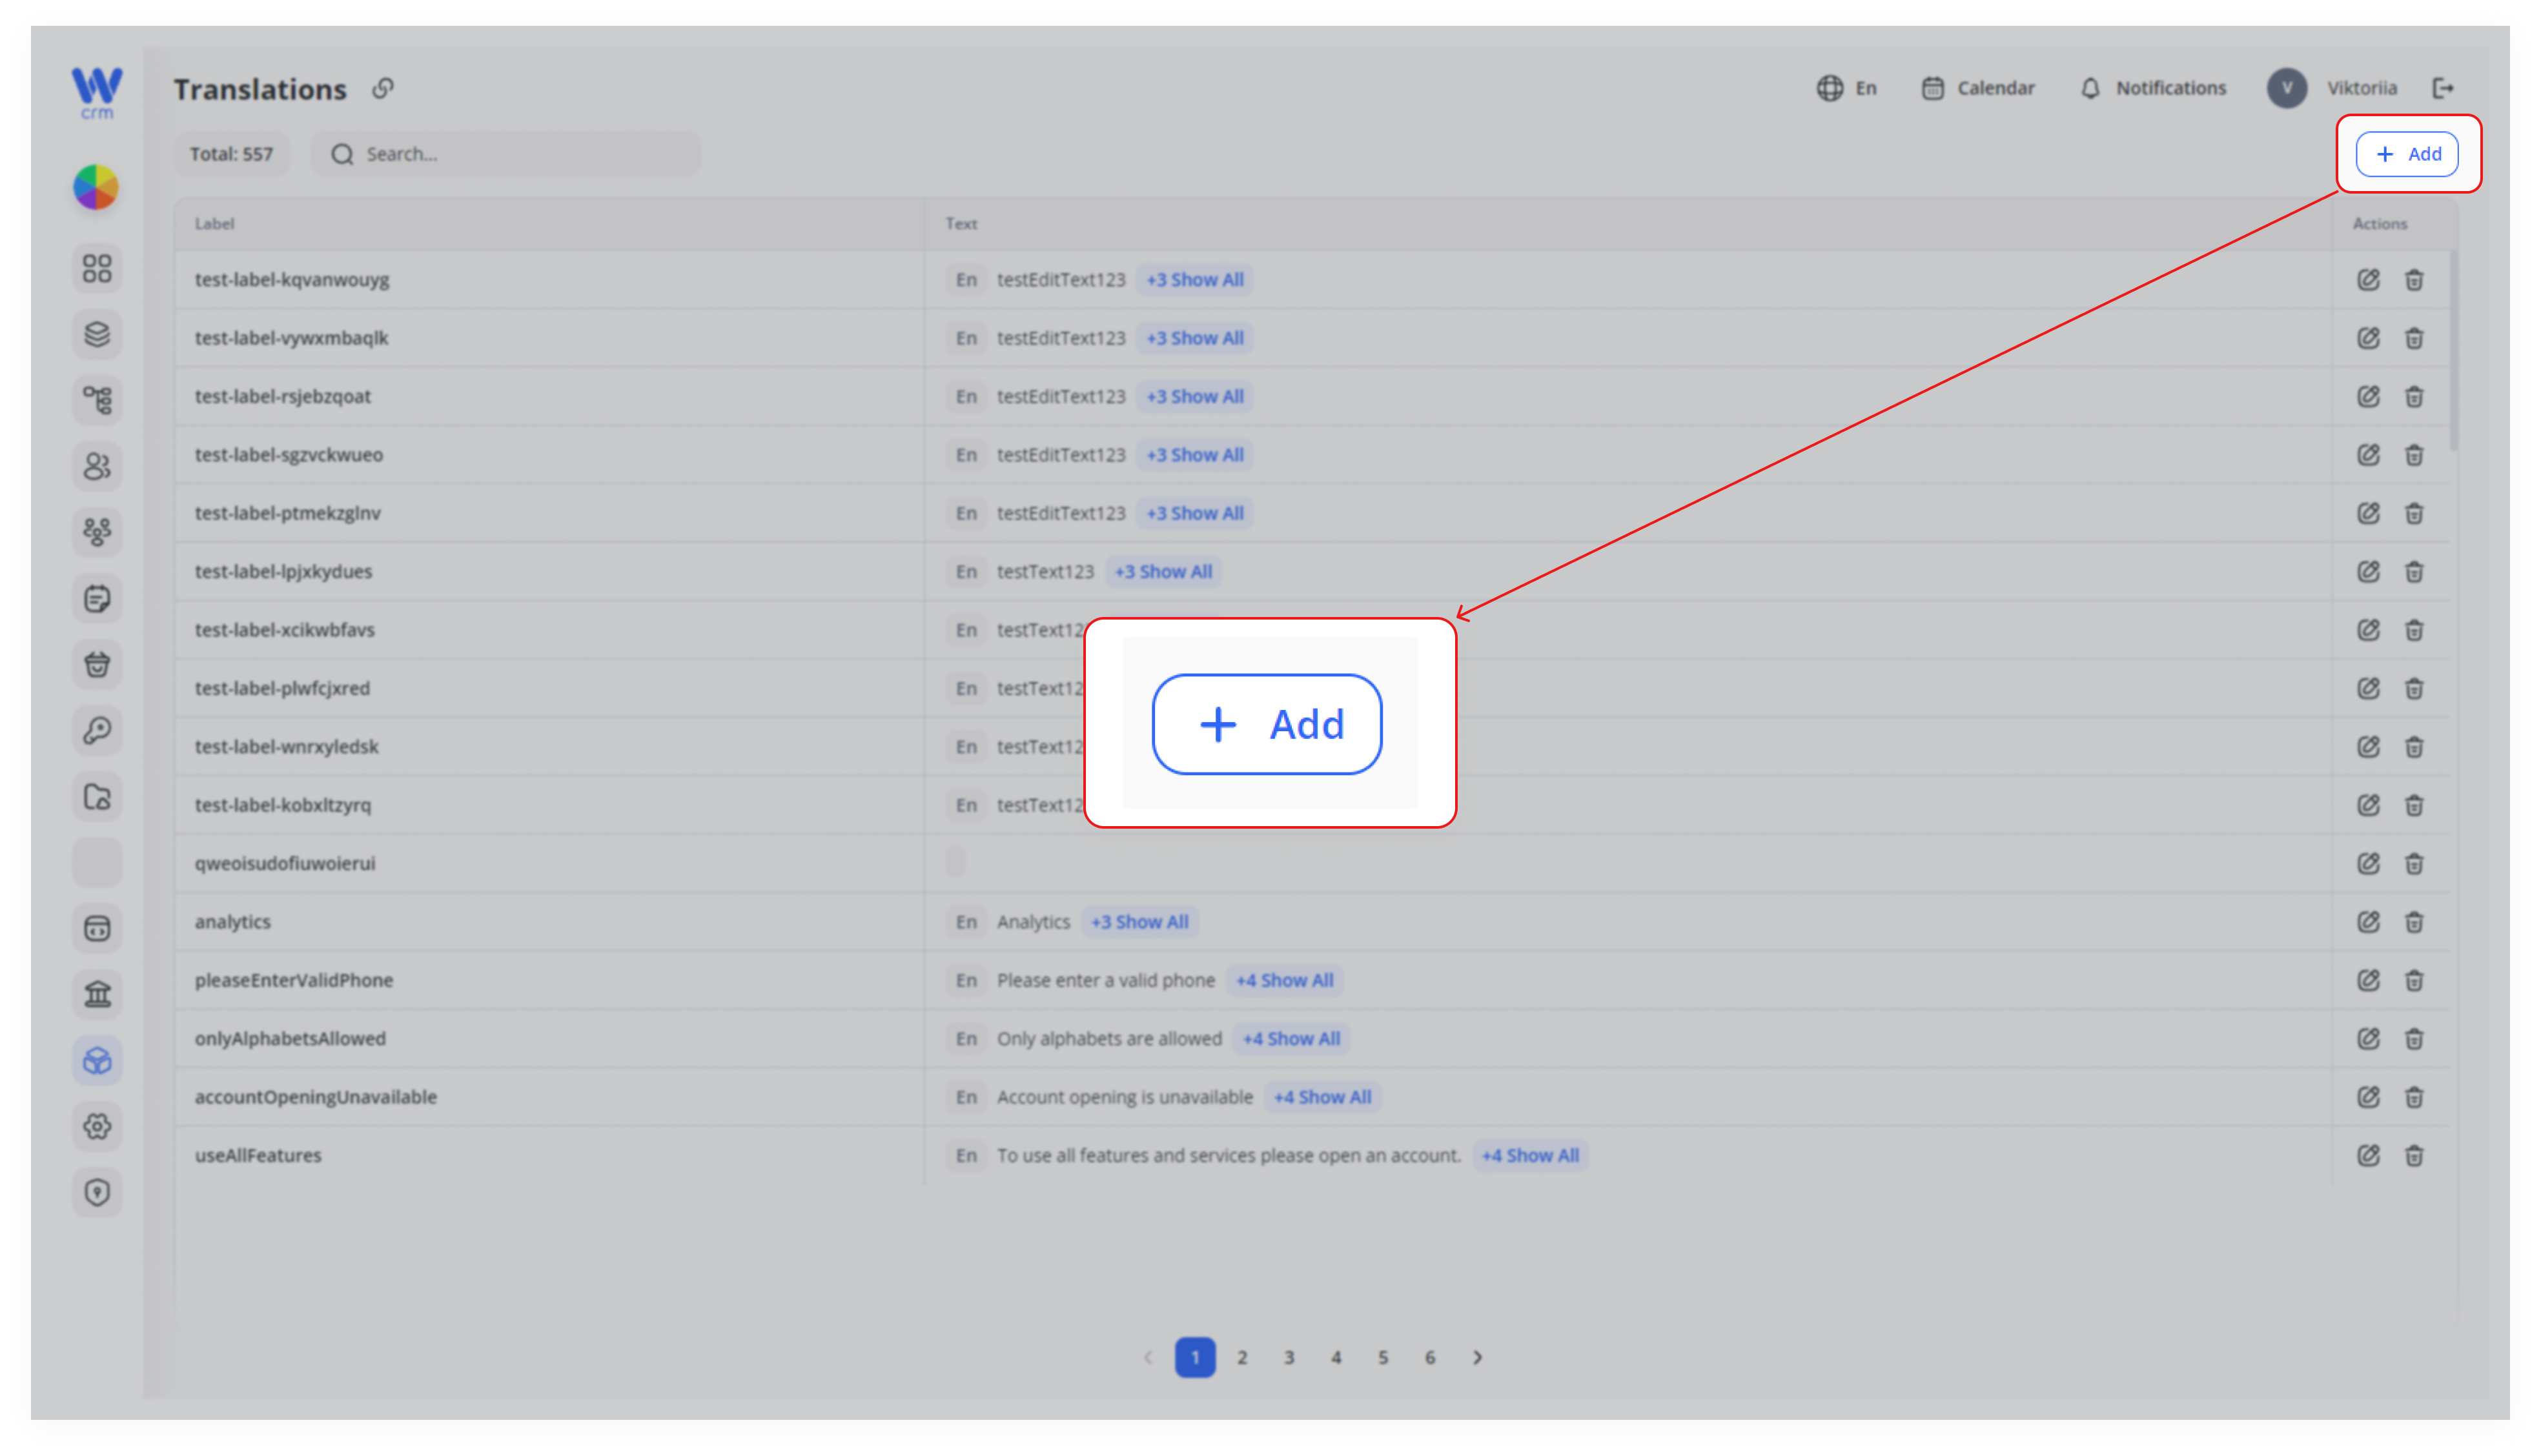
1. Click the Add button in the upper right corner.
2. Enter Label (a unique identifier).
3. Select one or more Languages and enter Text for each.
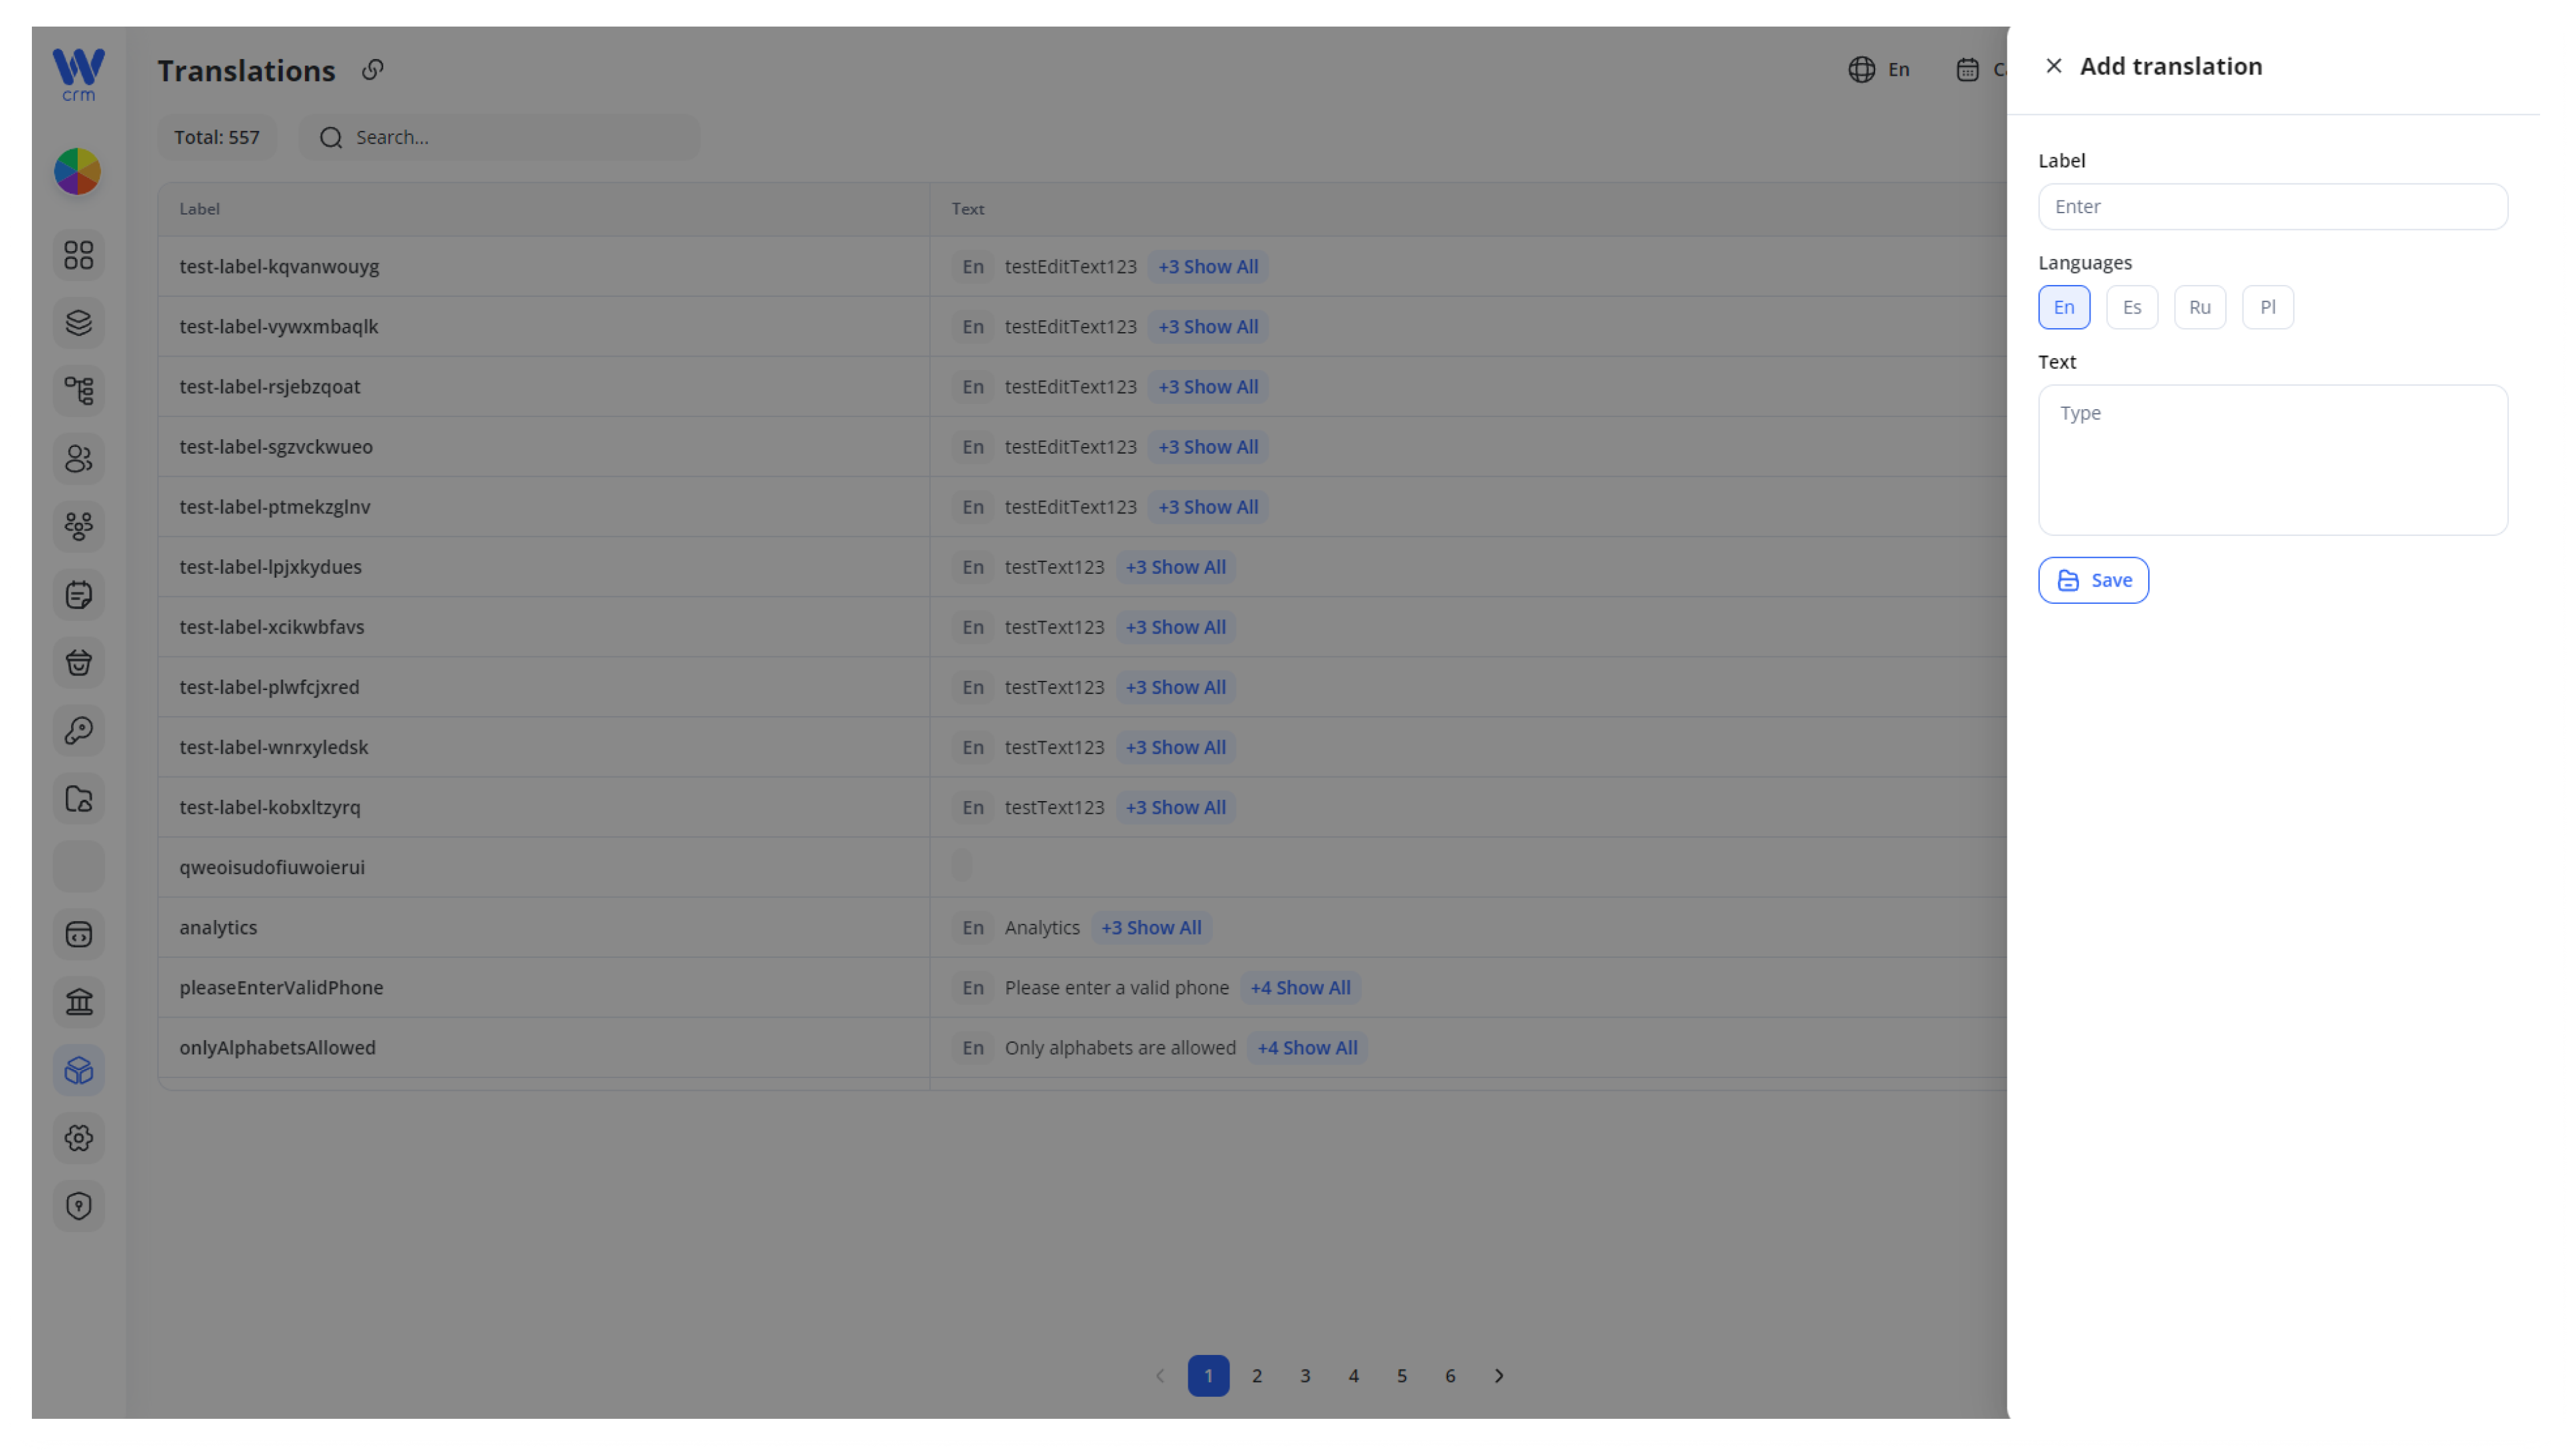
4. Click Save.
You can also delete current items using the Delete icon. Before deletion, make sure you are no longer use the item in your product.