
4. How to Manage Languages and Translate CRM
Supporting multiple languages in your CRM ensures that users across regions can work in their preferred tongue and that customer‐facing elements display correctly. In Settings > Configurations > Languages, you control which languages are available for translation and which appear in the top‐level language selector. These settings work in concert with the Translations and Texts modules to provide a fully localized experience.
Use Cases
-
Multi-Regional Teams: Let support agents in Germany, Argentina, and Japan use the CRM in their local language.
-
Global Customer Portals: Ensure customer-facing emails, buttons, and notifications render in the end user’s language.
-
Phased Roll-Outs: Activate a new language only once all required labels, UI elements, and text blocks have been translated.
Languages and translations are managed in CRM through three sections:
-
-
Languages
-
Translations
-
Texts
-
Accessing the Languages Configuration
To translate CRM into another language,language:
You will see two blocks:
Available
Languages:Languages (to the left): All languages available in our system.Active
Languages:Languages (to the right): Languages that are used in your CRM.
Adding
To add a language from the list of available languages to the list of active languages:
In the Available
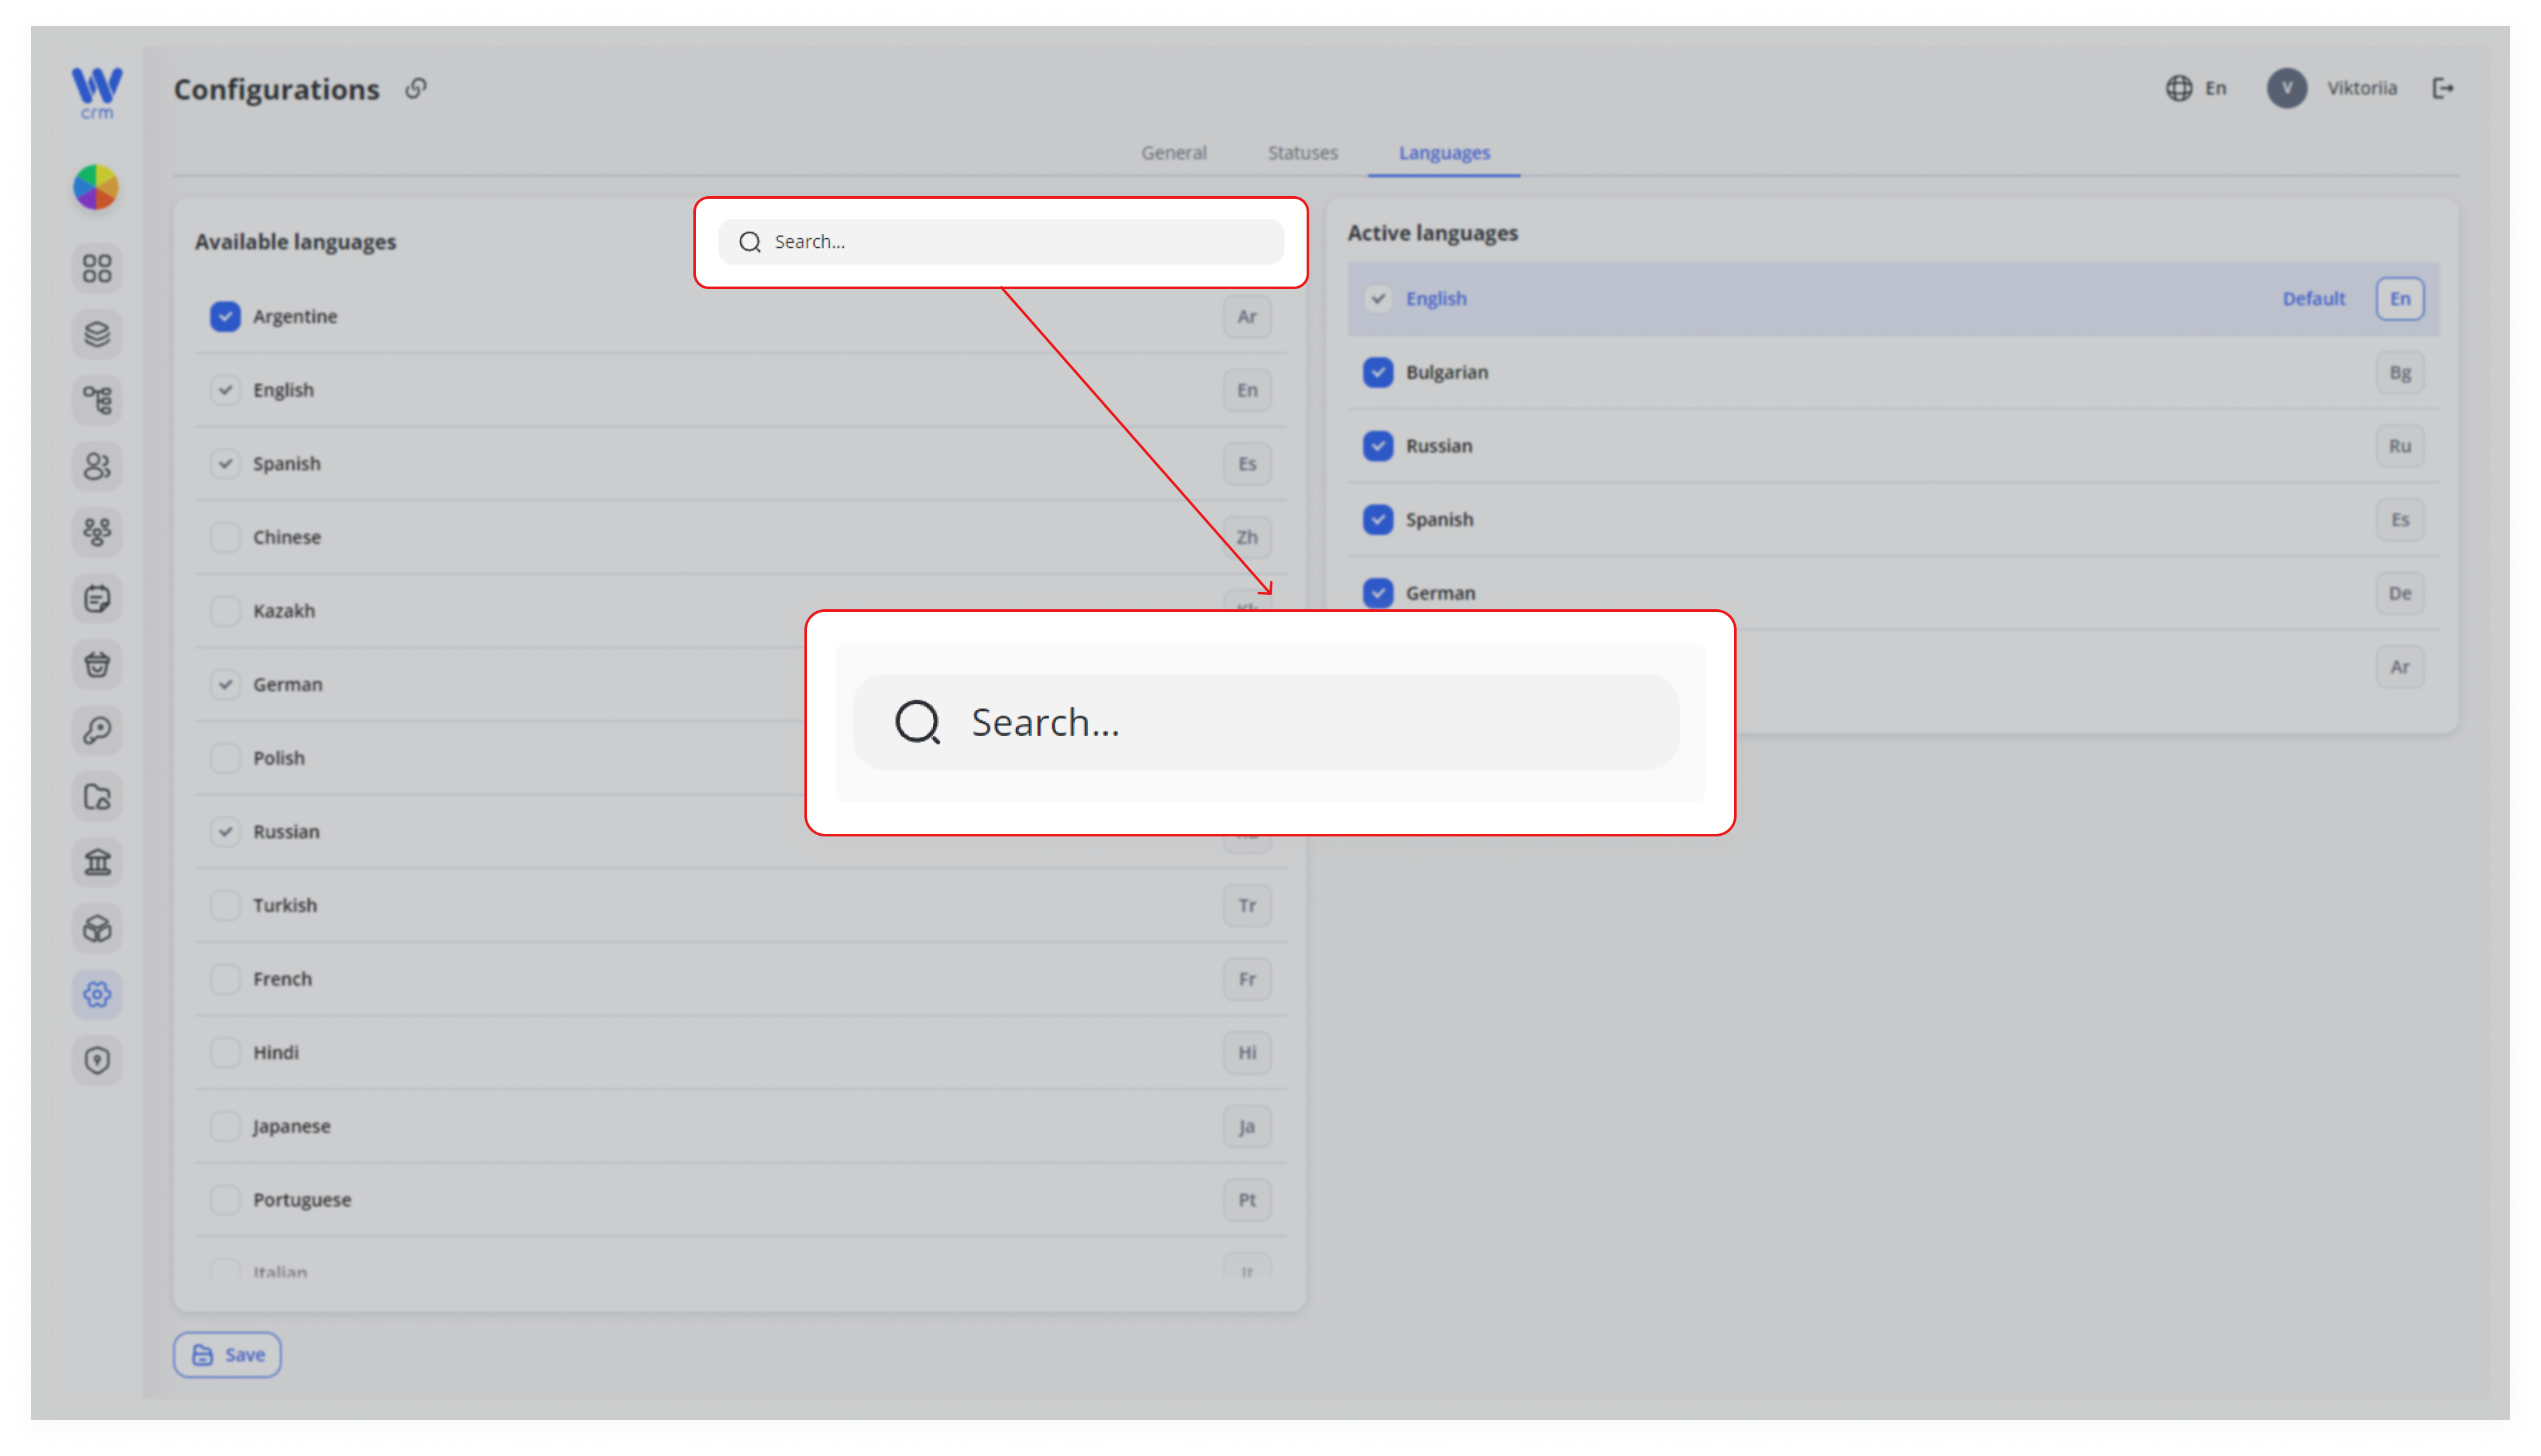
Languageslanguagesblock,panel,selectscroll or use thecheckboxSearch field to find your target language (e.g., “German,” “Japanese”).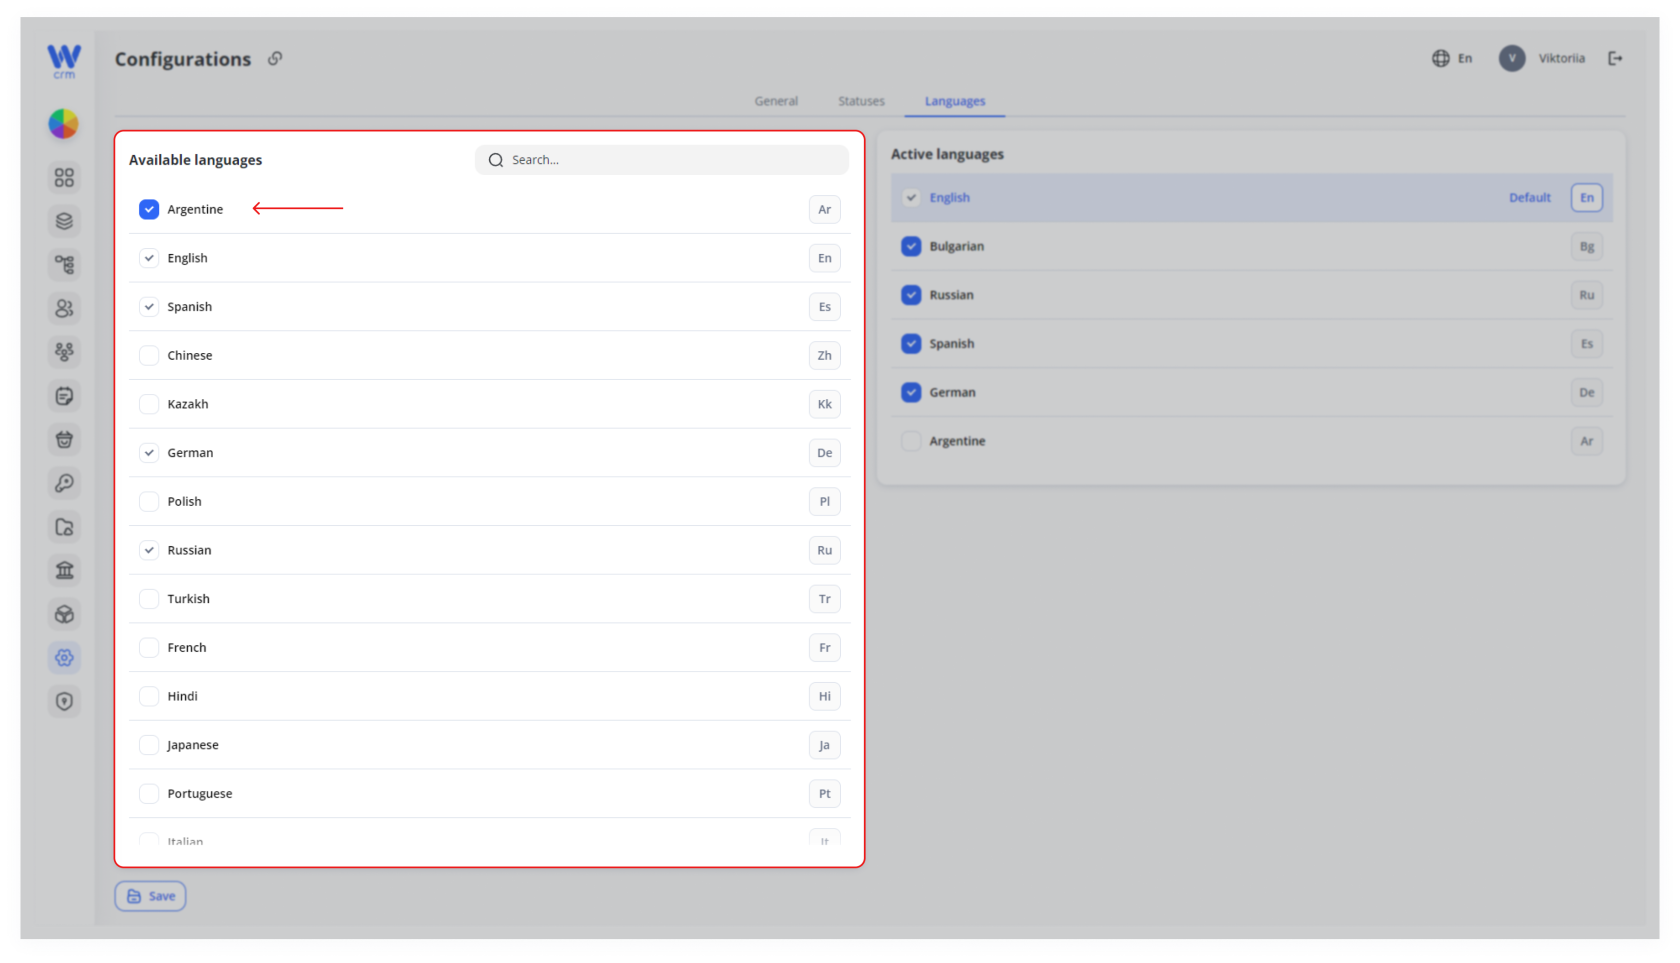
2. Check the box next to the language you
wantwish to add. A
or
1.
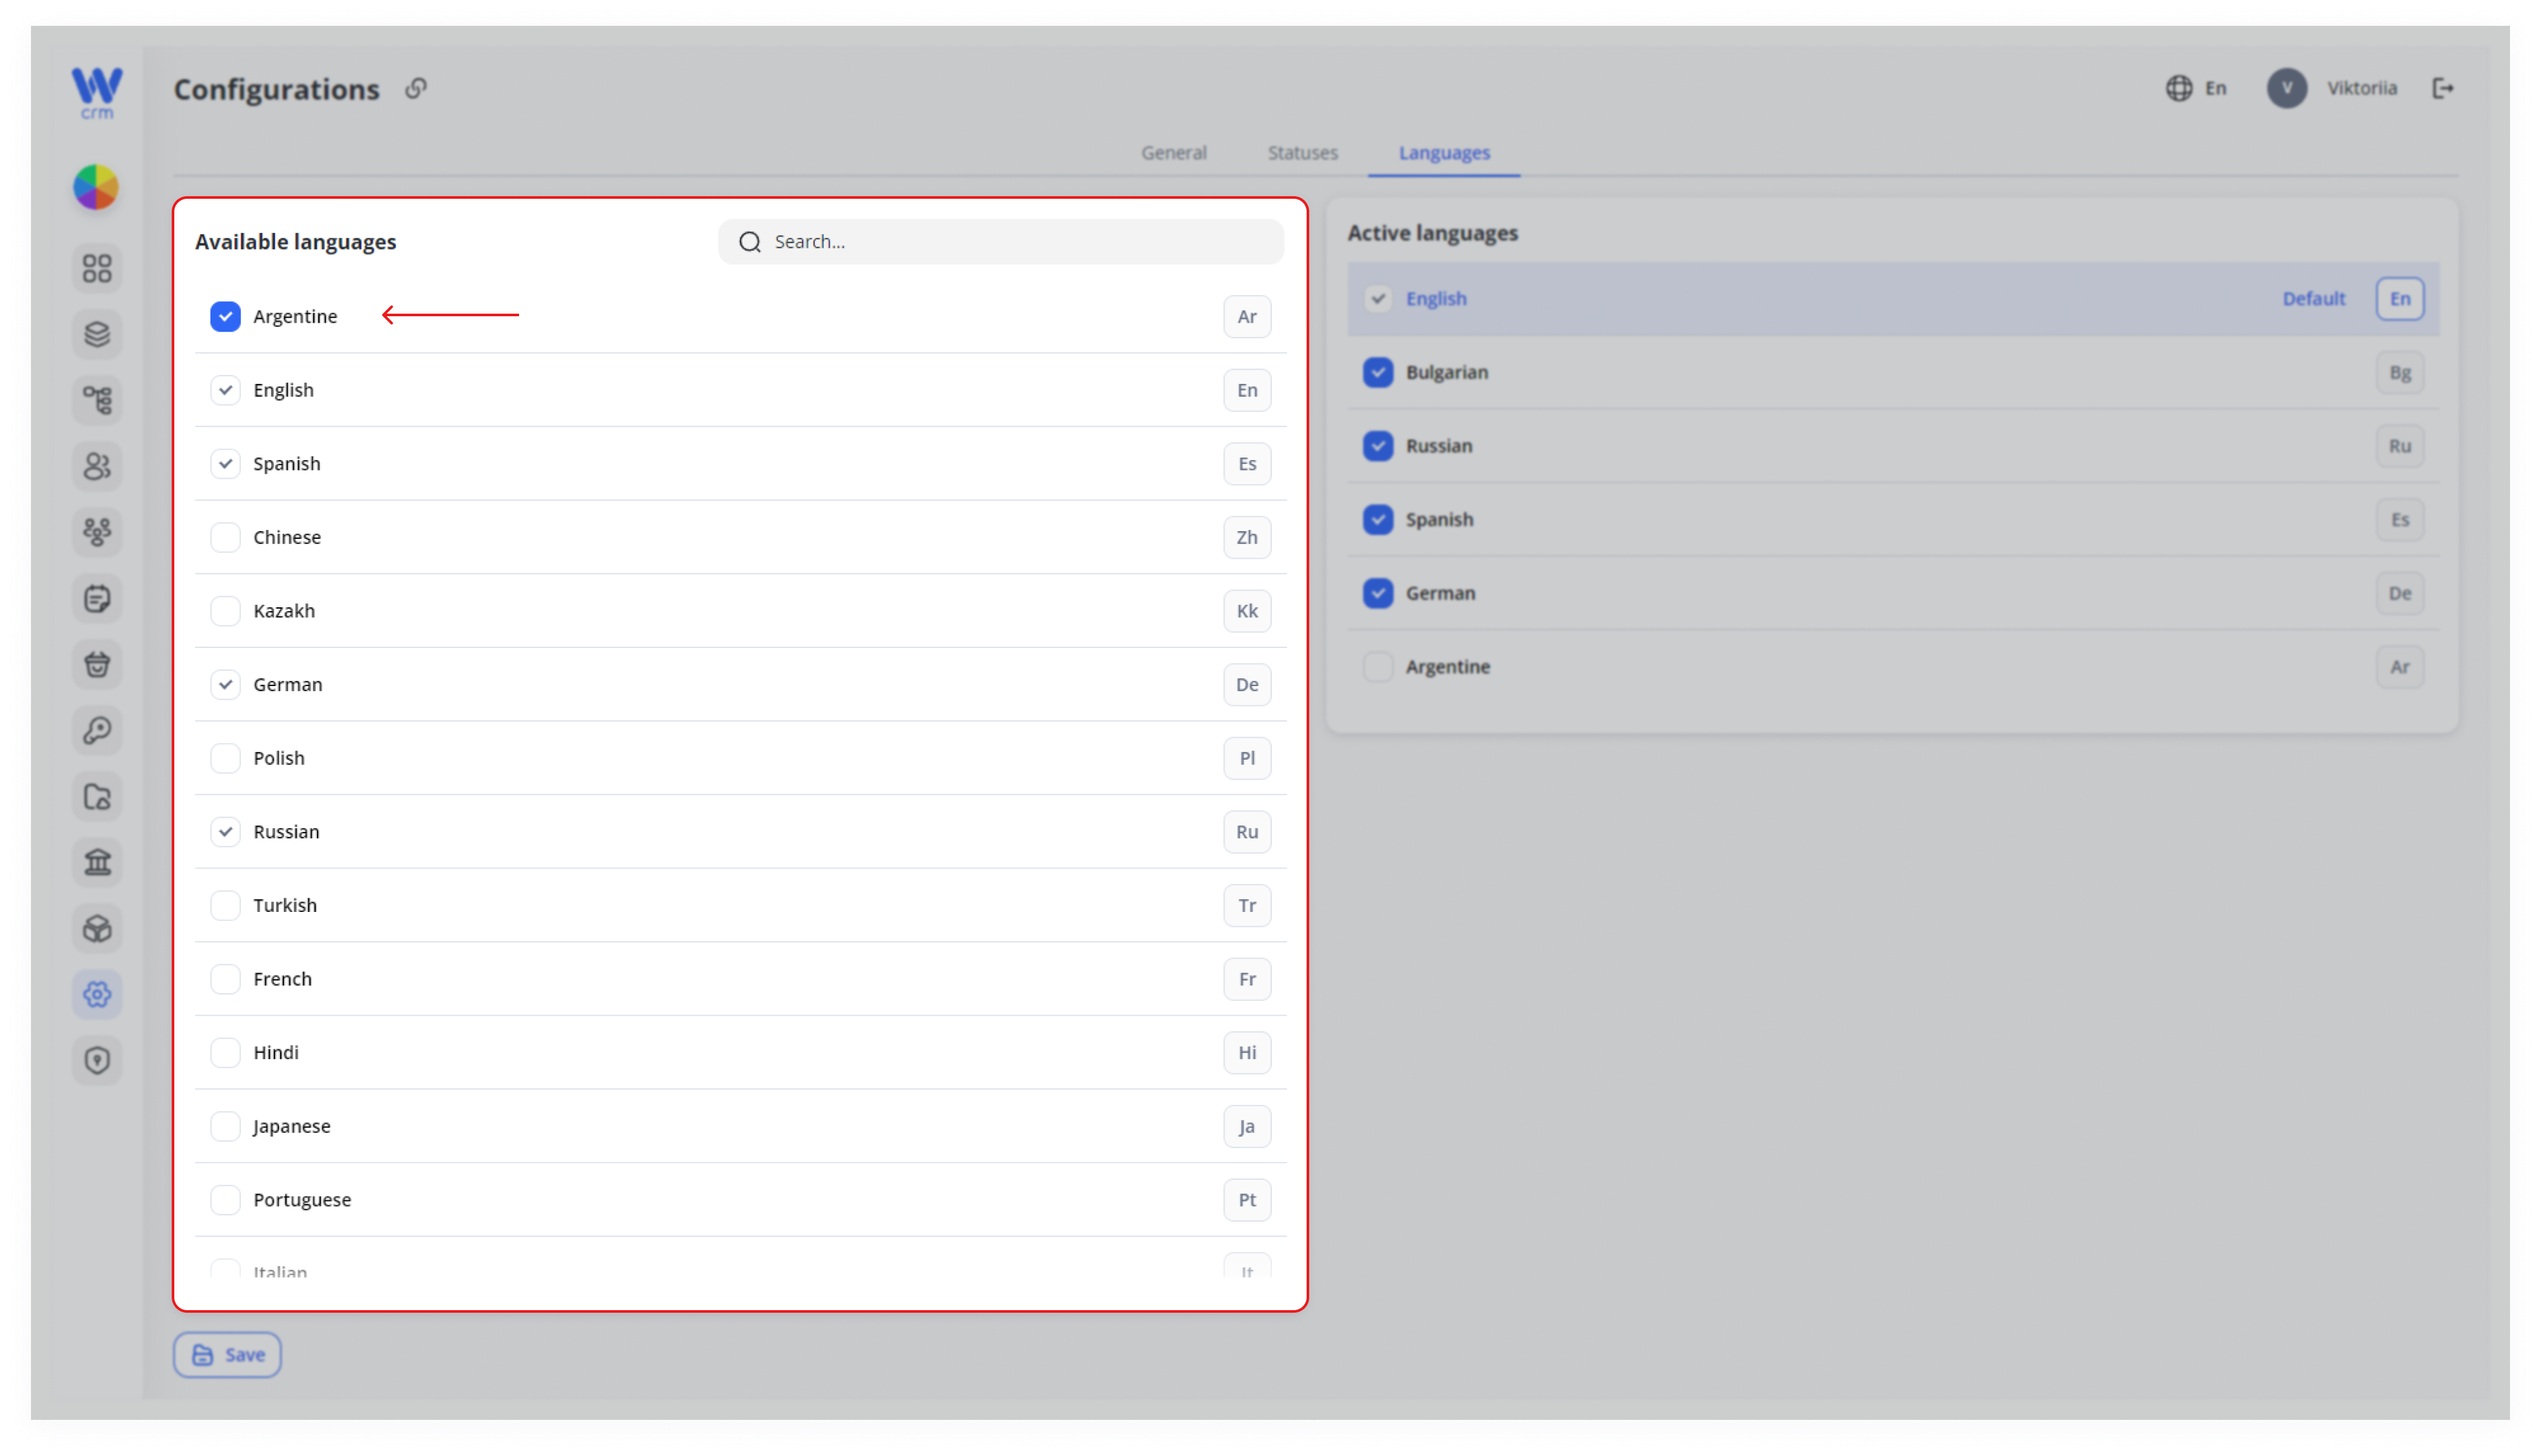
2.“Ar” Tofor makeArgentine itSpanish) easierappears to find the language you need, use the Search field. Start typing the name of the language, for example, German or Japanese.right.
3. Click Save at the bottom to apply the changes.
Note: The language will appear in the list of active languages, but will not yet be available for selection in the new menu. Before adding, it is recommended to translate CRM items into that language. Refer to the [How to Manage Translations] and [How to Manage Texts] for more information.
Enabling a Language for Users
When you have all the necessary texts and CRM elements translated:
Go back to Languages.
In the Active
Languageslanguageslist,panel, check the box next to the language you’ve translated content for.3. (Optional) If you’d like this language to be the default for
whichnewyouusers,haveclickaddedMaketranslations.as default next to it.
2.
1.
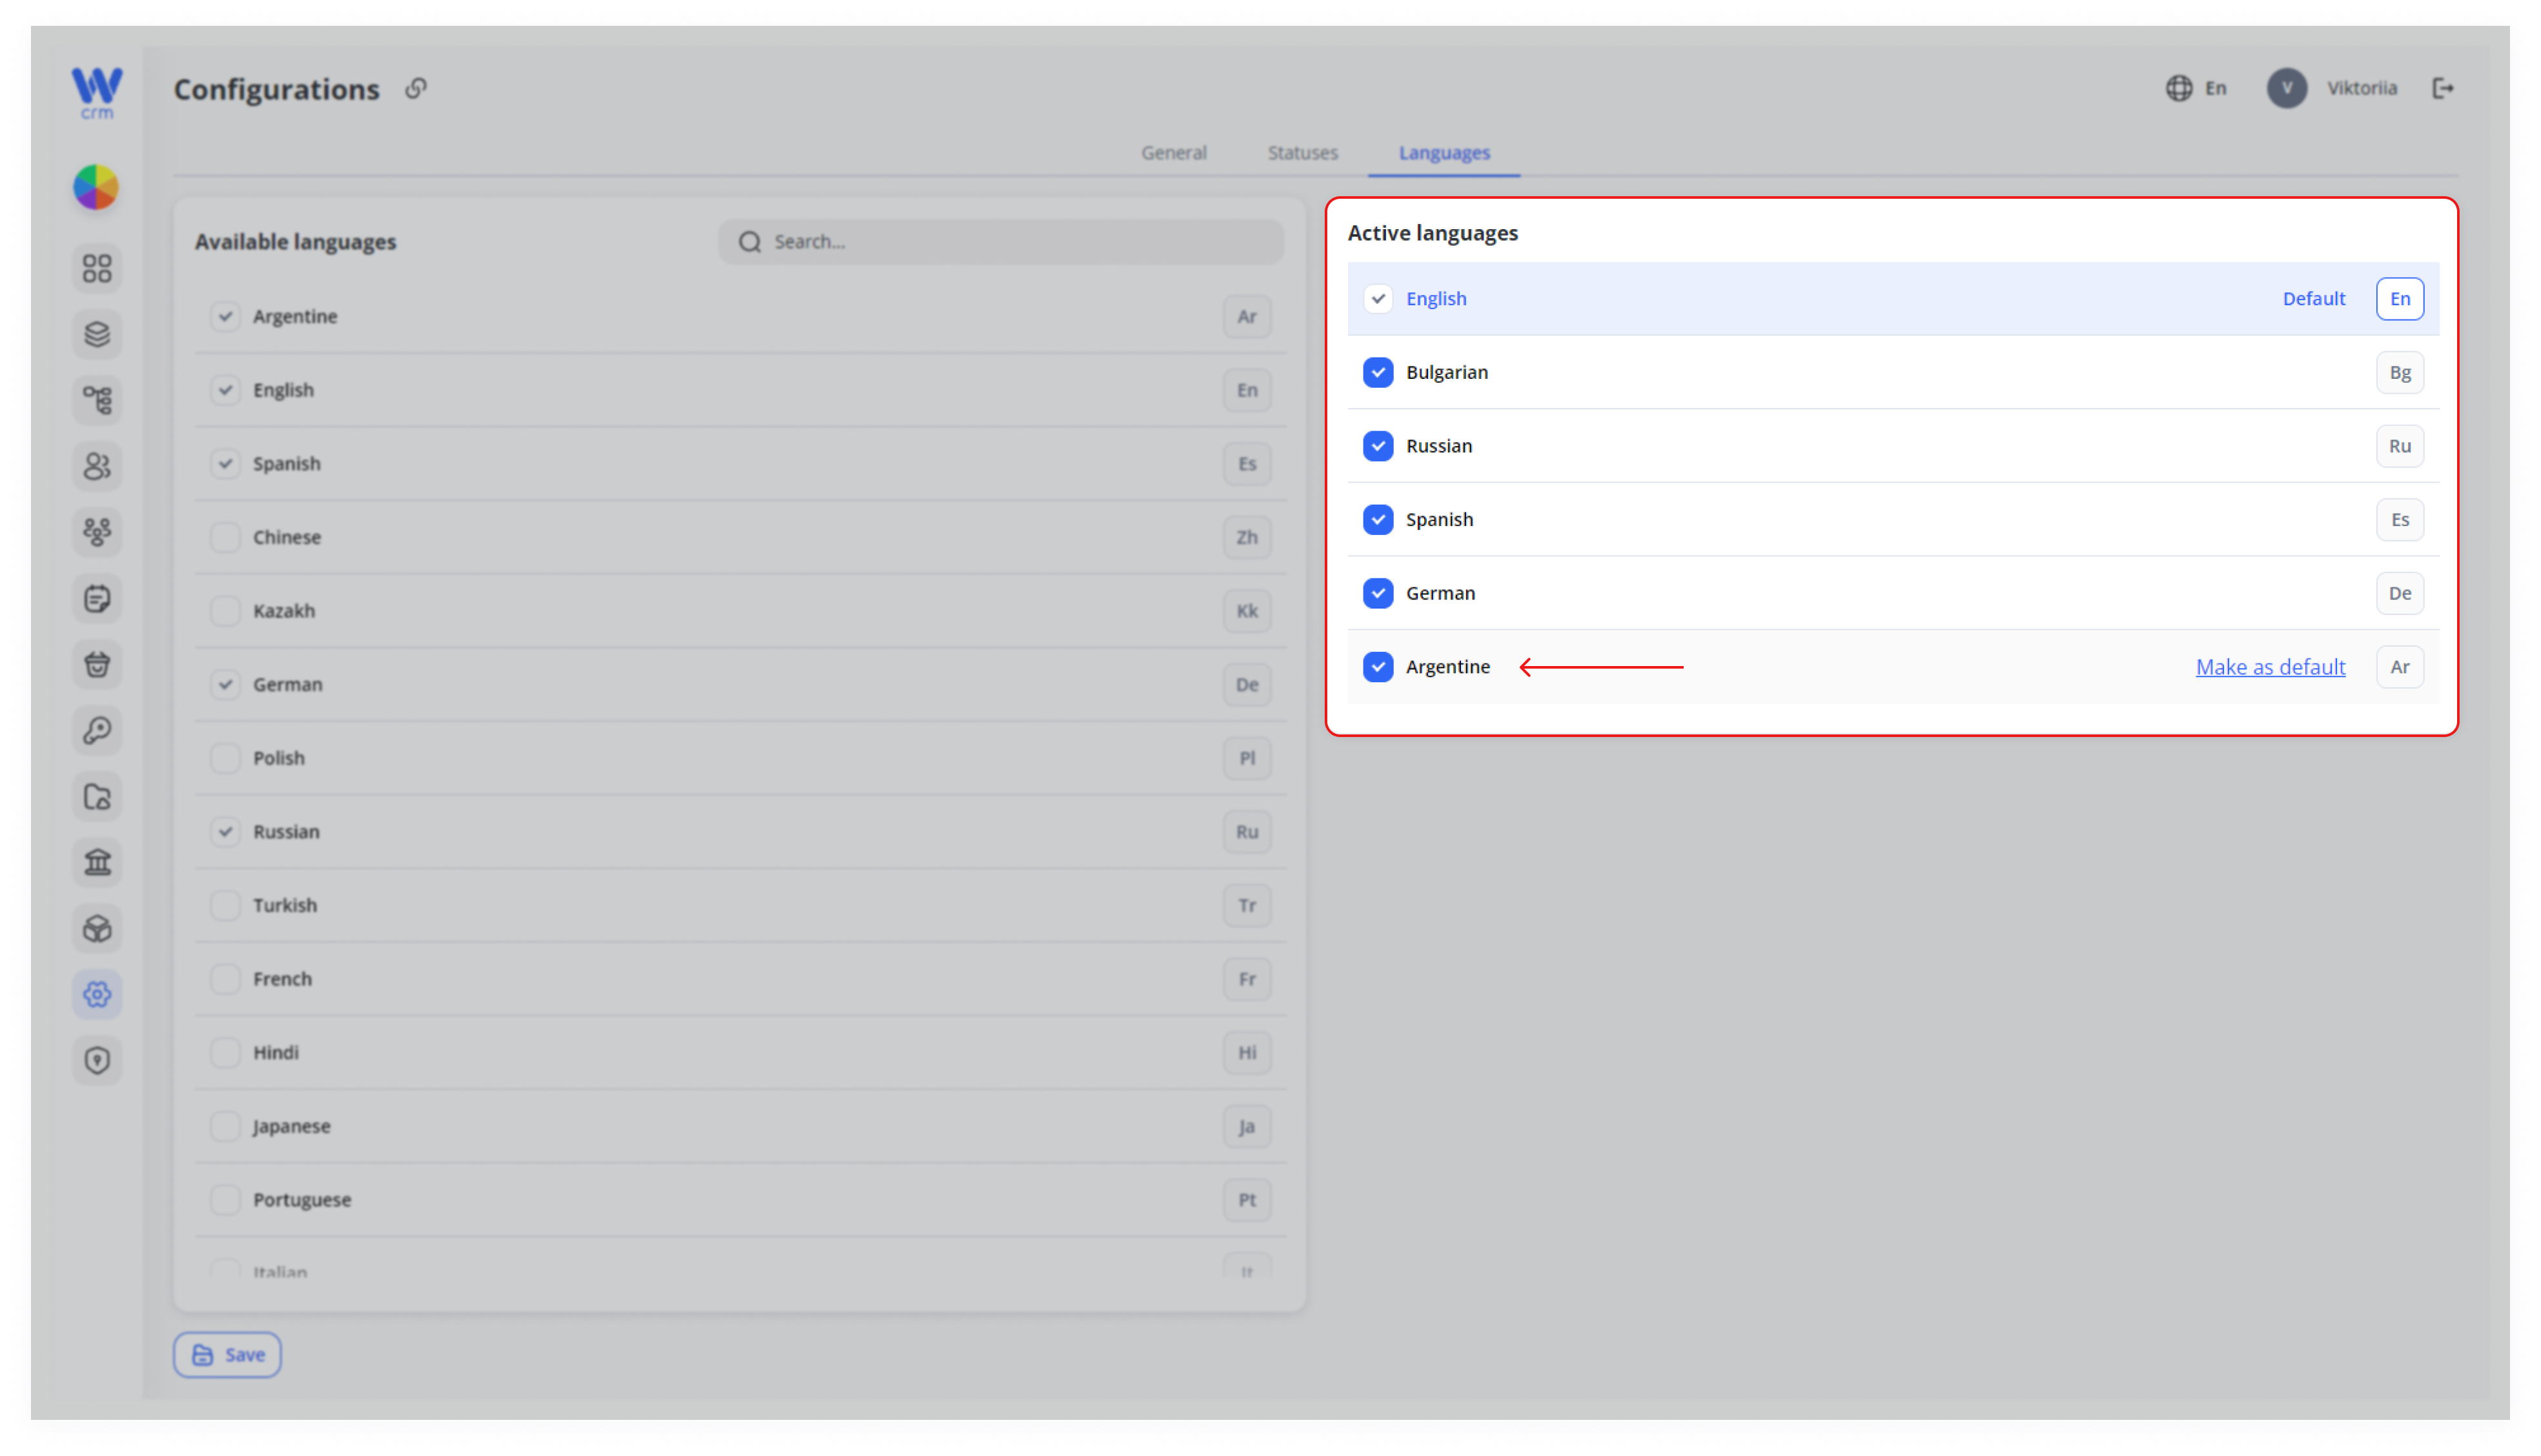
3.4. Click Save .again.
4. It will now appear in the top menu and be available for selection by all users.
By managing Available vs. Active languages, you control the rollout of new translations and prevent incomplete or partially-translated elements from going live. Always activate a language only after verifying that all UI labels (Translations module) and longer texts (Texts module) have been properly localized. This phased approach ensures a seamless, professional multilingual experience for both your team and your customers.