
4. How to Edit and Search a Bucket
Once a bucket is created, you may need to update its settings—whether to adjust its name, swap out the affiliate contact, or toggle its active status. Follow these steps to make edits safely without disrupting client assignments.
How to Edit a Bucket
1. In the left sidebar, click Buckets to view all existing buckets.
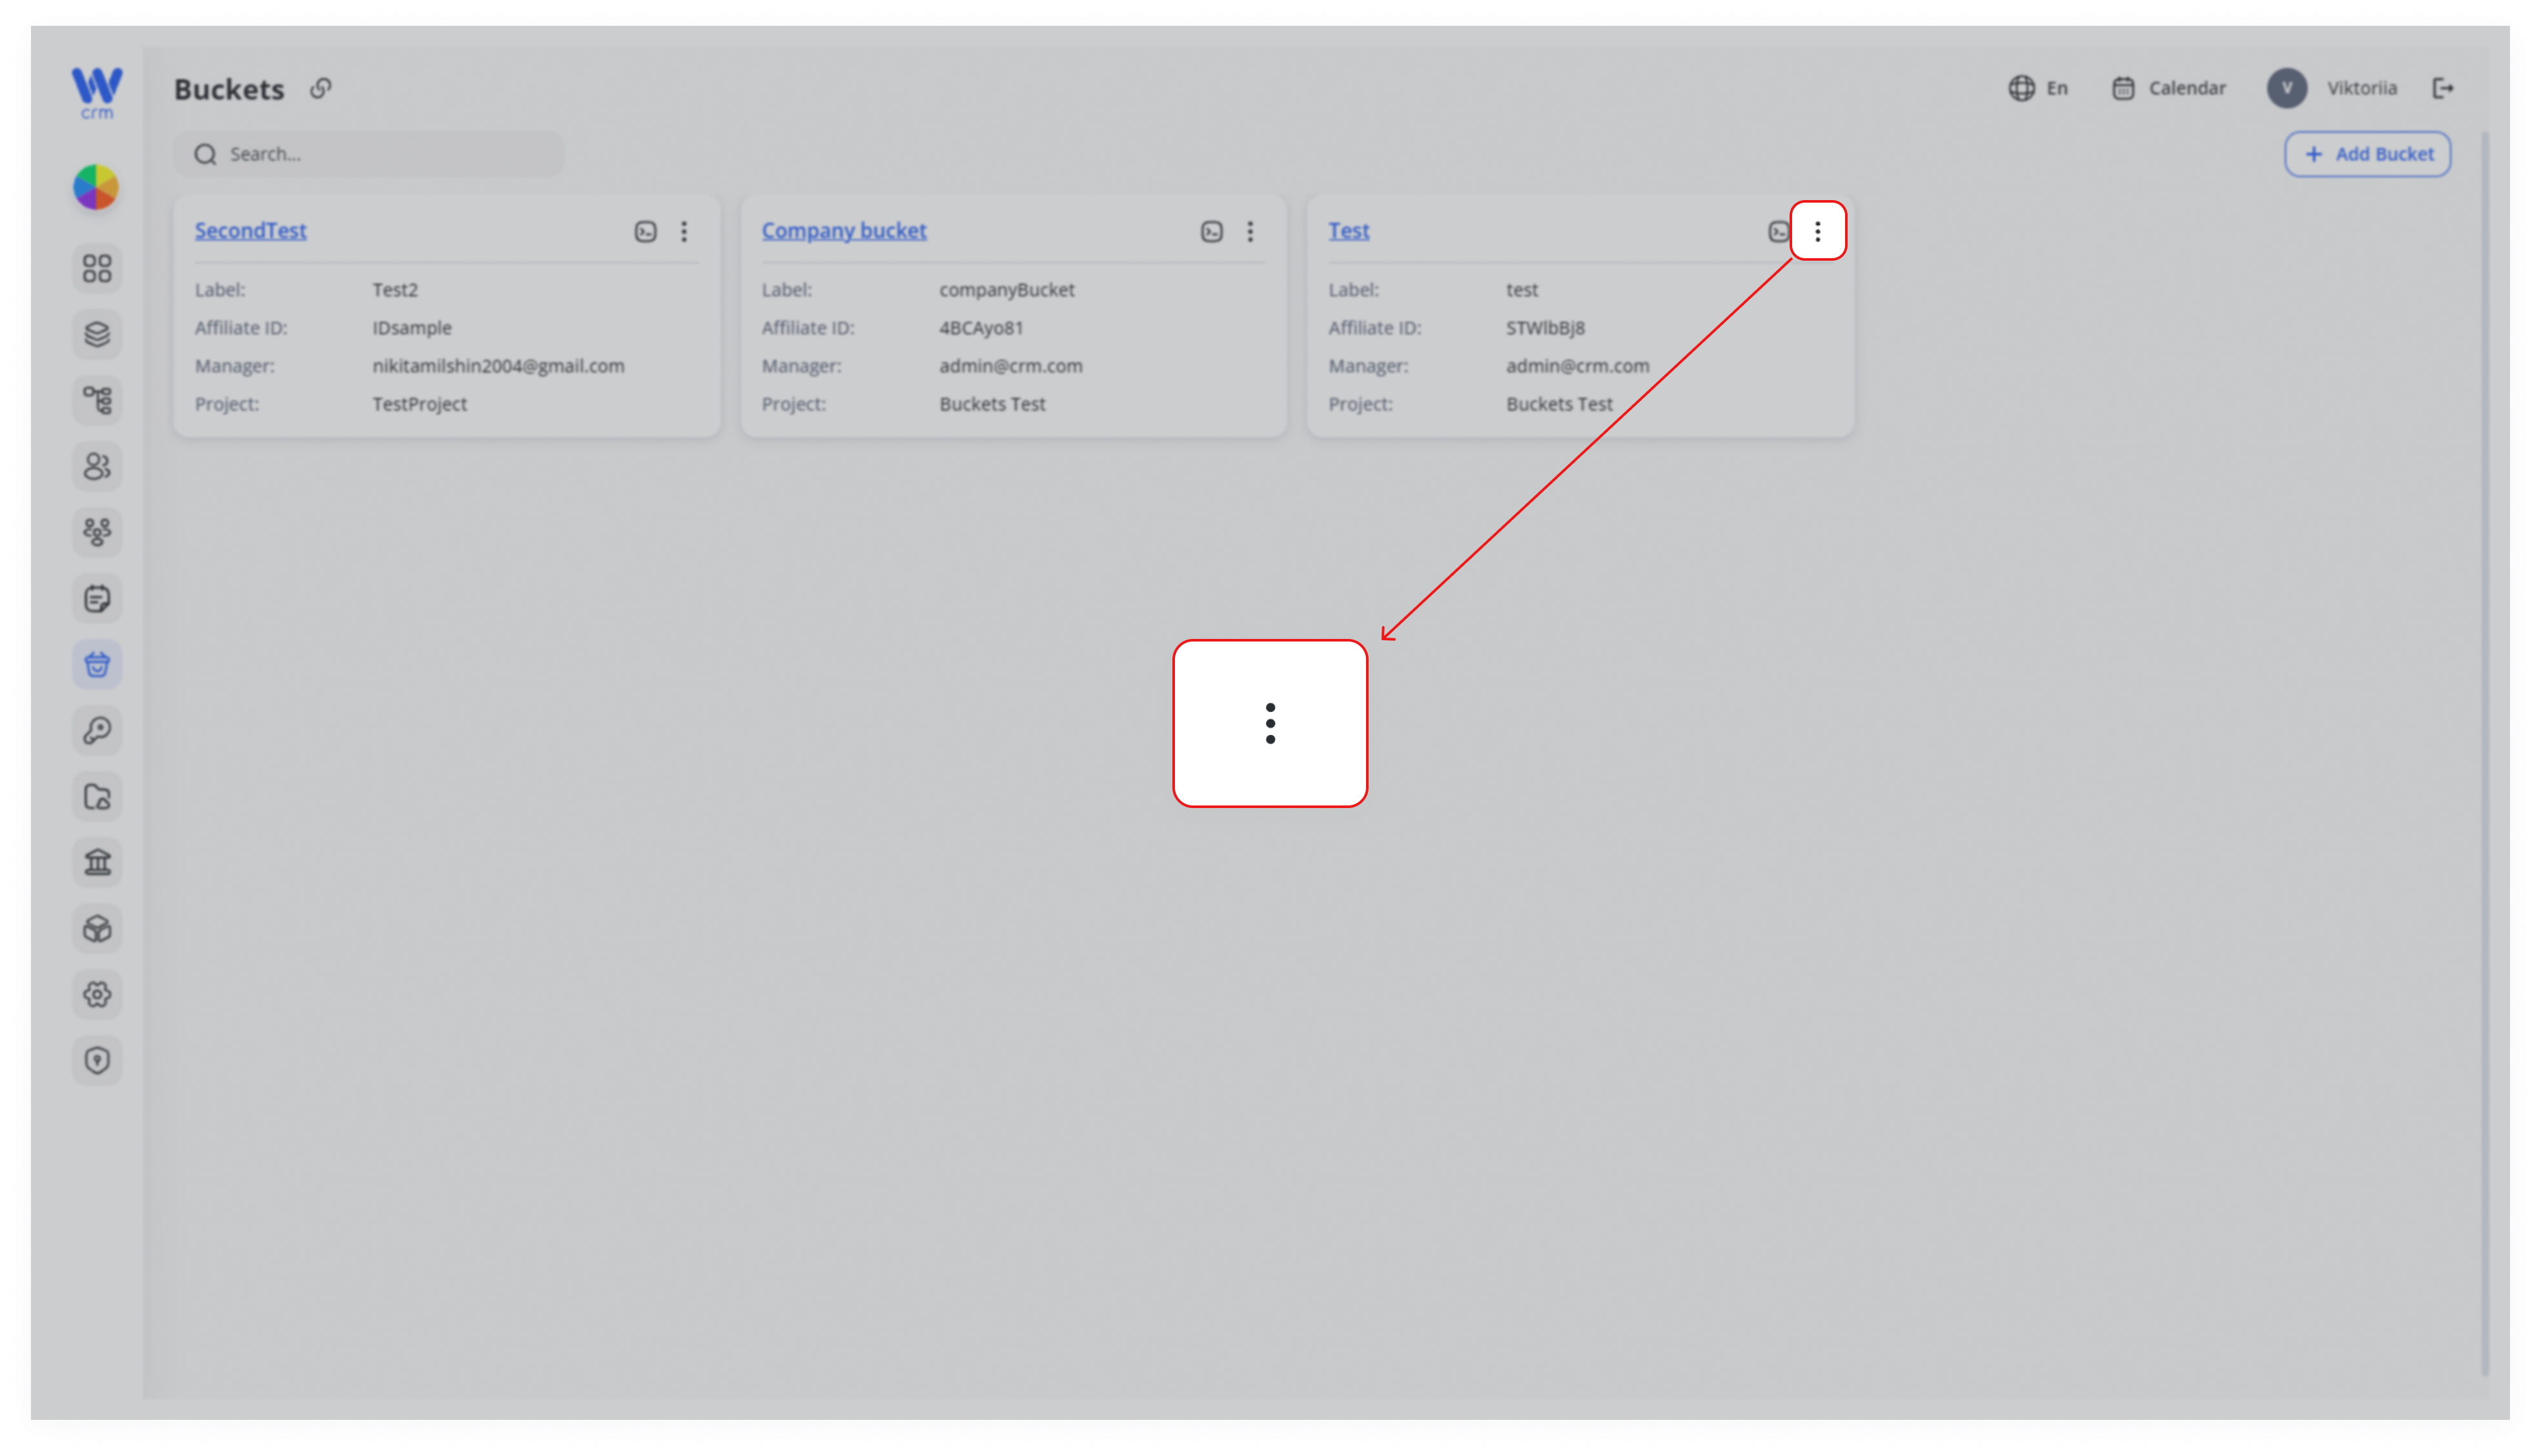
2. Click on the three-dot menu in the upper-right corner of the bucket.
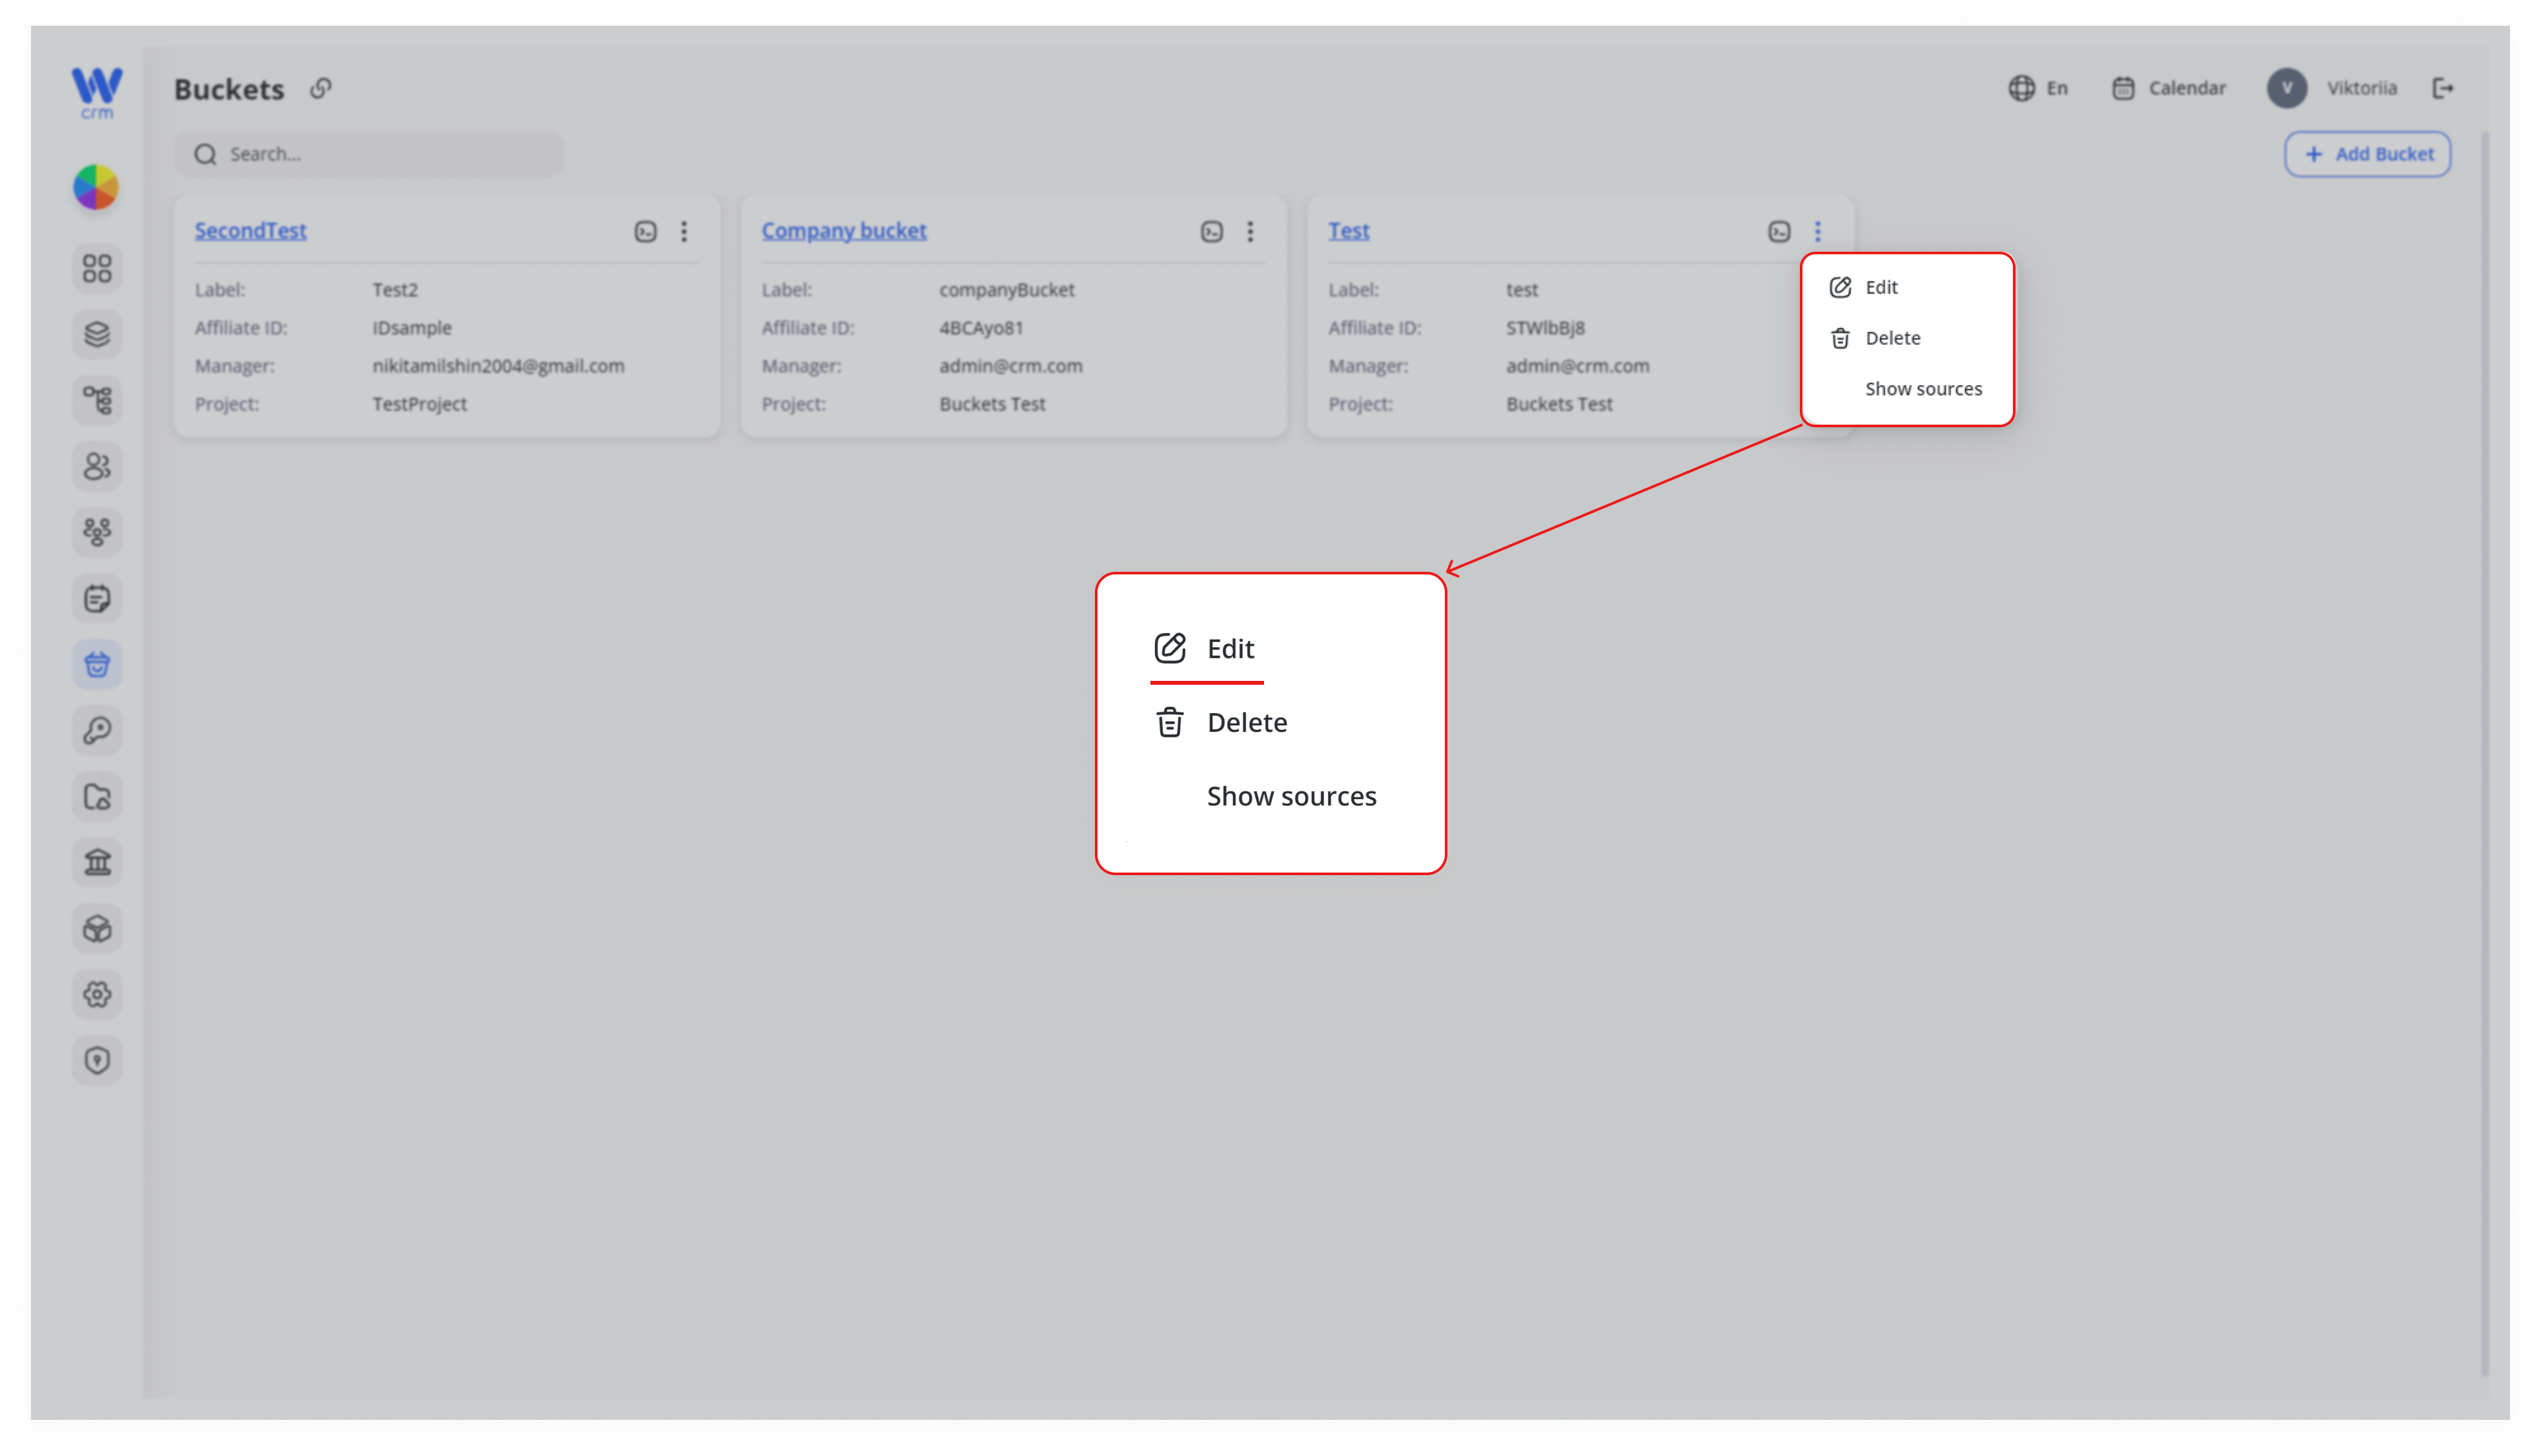
3. From the dropdown, choose Edit to open the bucket’s configuration sidebar.
4. Modify the Bucket Details
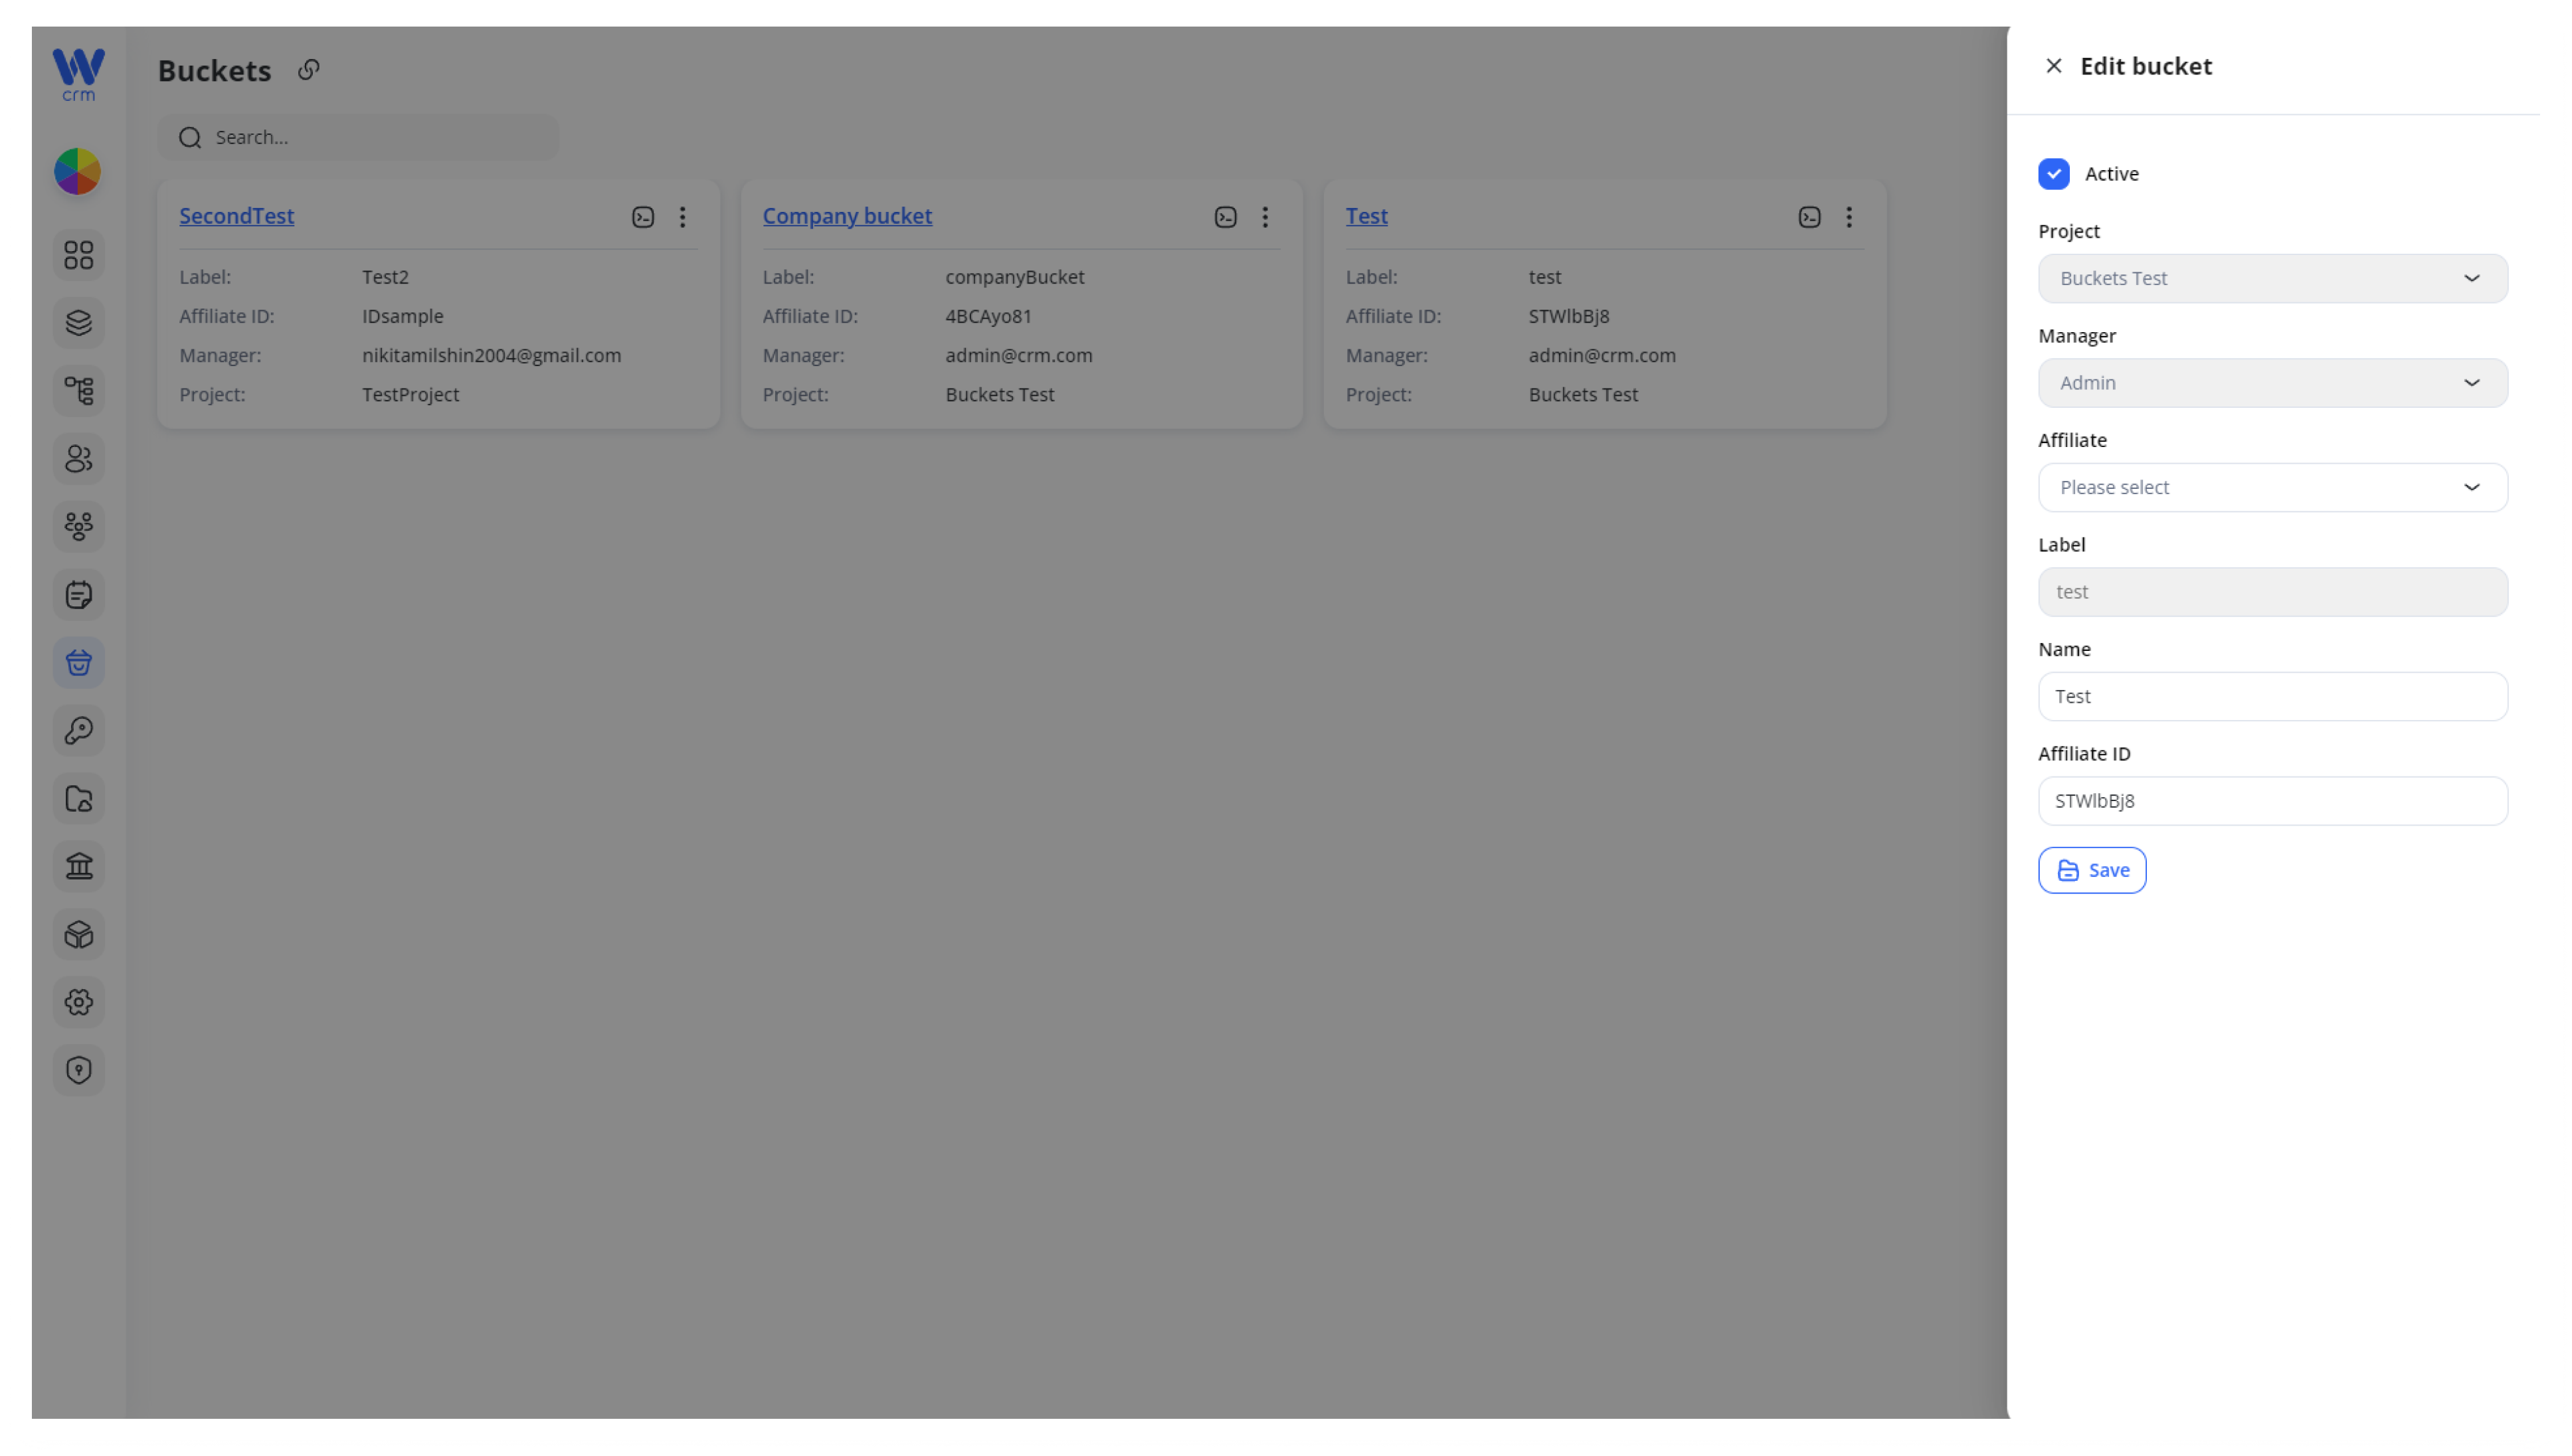
In the Edit bucket form, you can update:
-
Active — Toggle on/off to enable or pause the bucket.
-
Affiliate — Change who is credited for bringing in these clients.
-
Name — Adjust the public-facing title displayed to your team.
-
Affiliate ID — Update the tracking code if needed.
Important: The Project, Manager, and Label fields are locked once the bucket is created to preserve your routing logic and API integrations.
5. Save Your Changes
After making your updates, click Save at the bottom of the sidebar. You will see a confirmation toast (“Bucket Successfully Updated”) and your edits will immediately take effect.
How to Search for a Bucket
When you have many buckets, the Search box helps you quickly locate the one you need by filtering the list in real-time.
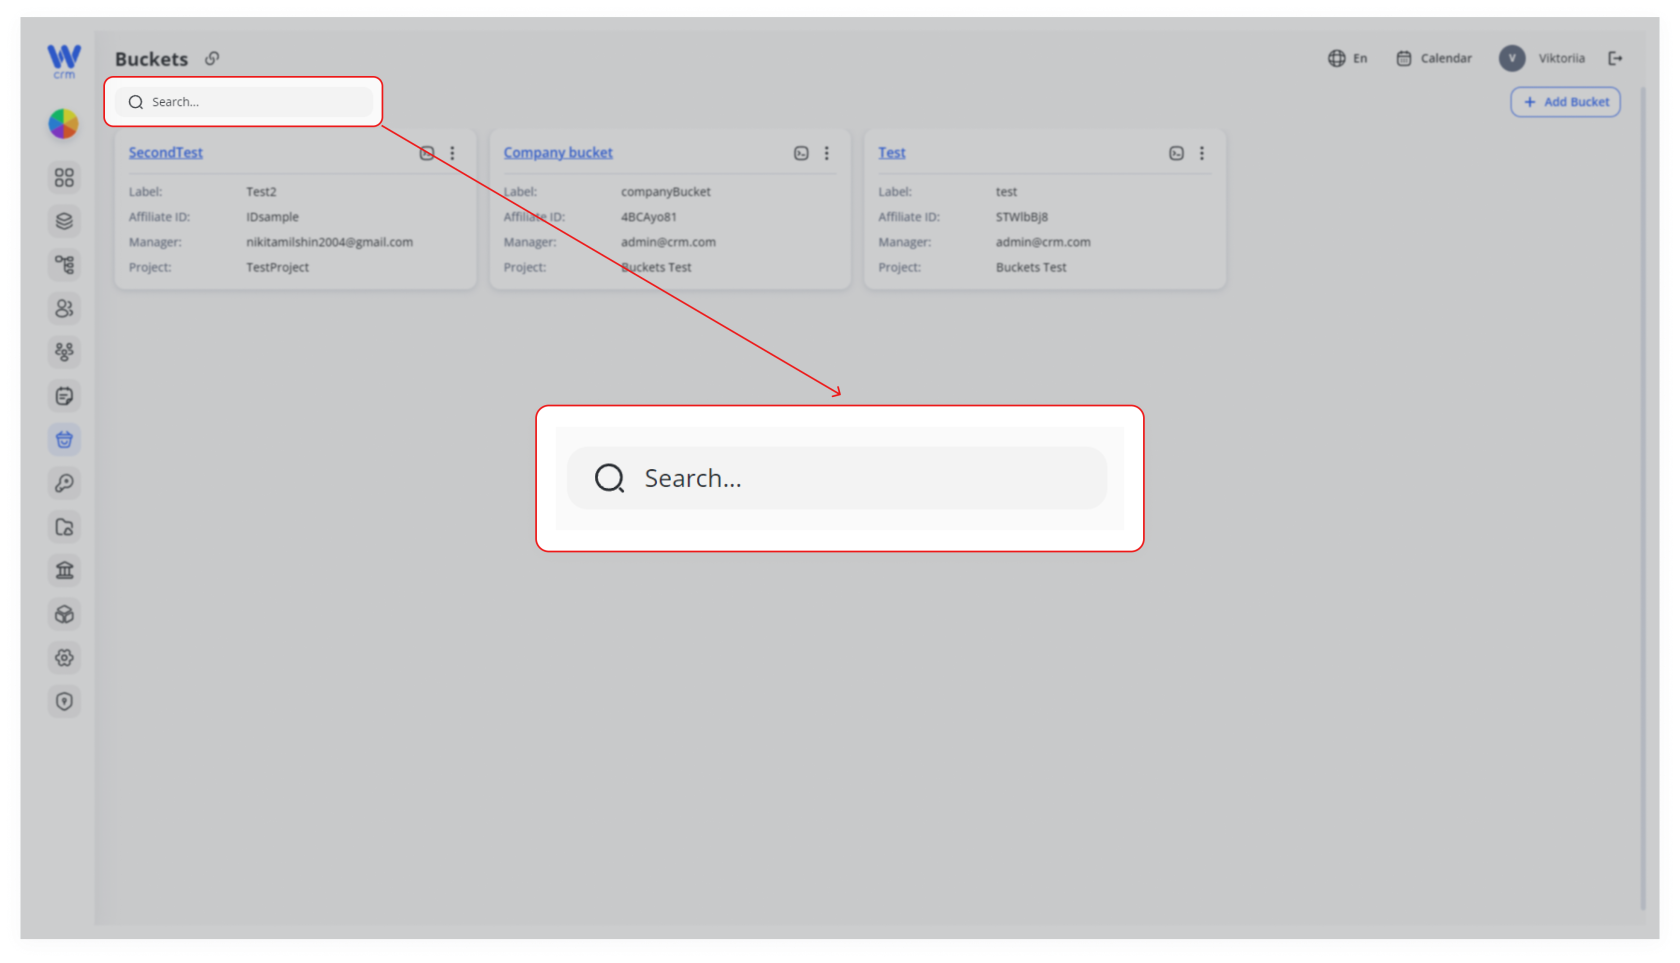
1. Locate the Search field
At the top of the Buckets page, you’ll see a search input with a magnifying-glass icon.
2. Type any part of the bucket’s label or name
As you enter text, the displayed bucket cards will instantly narrow down to those whose Label or Name contains your query.
3. Select your bucket
Click the matching bucket card to drill in, or use its kebab menu to edit, delete, or view sources.
Tip: You can search on partial words—e.g. typing “Test” will match both “SecondTest” and “TestBucket.”
Next Steps & Tips
-
Client Re-routing: If you’ve changed the affiliate or toggled Active off, verify that any automated assignments or desk mappings still behave as expected.
-
Audit Logs: Check your system’s audit trail to confirm who made the change and when—useful for compliance and troubleshooting.
-
Communicate Changes: Let your team know if you’ve renamed a bucket or updated its affiliate ID so reporting dashboards and integrations remain in sync.
By regularly reviewing and updating bucket settings, you ensure your client acquisition workflows stay aligned with evolving marketing strategies and operational needs.