
4. How to Edit a Request
The Requests module not only lets you log new client requests, but also provides a full edit interface for updating request details, changing status, and chatting with clients—all without leaving the CRM. Use the Edit Request panel to keep your support tickets, feedback items, or consultation bookings current and to maintain a clear audit trail of all communications.
After creating a request, the Edit window will open automatically.
1. Open the Edit Request Panel
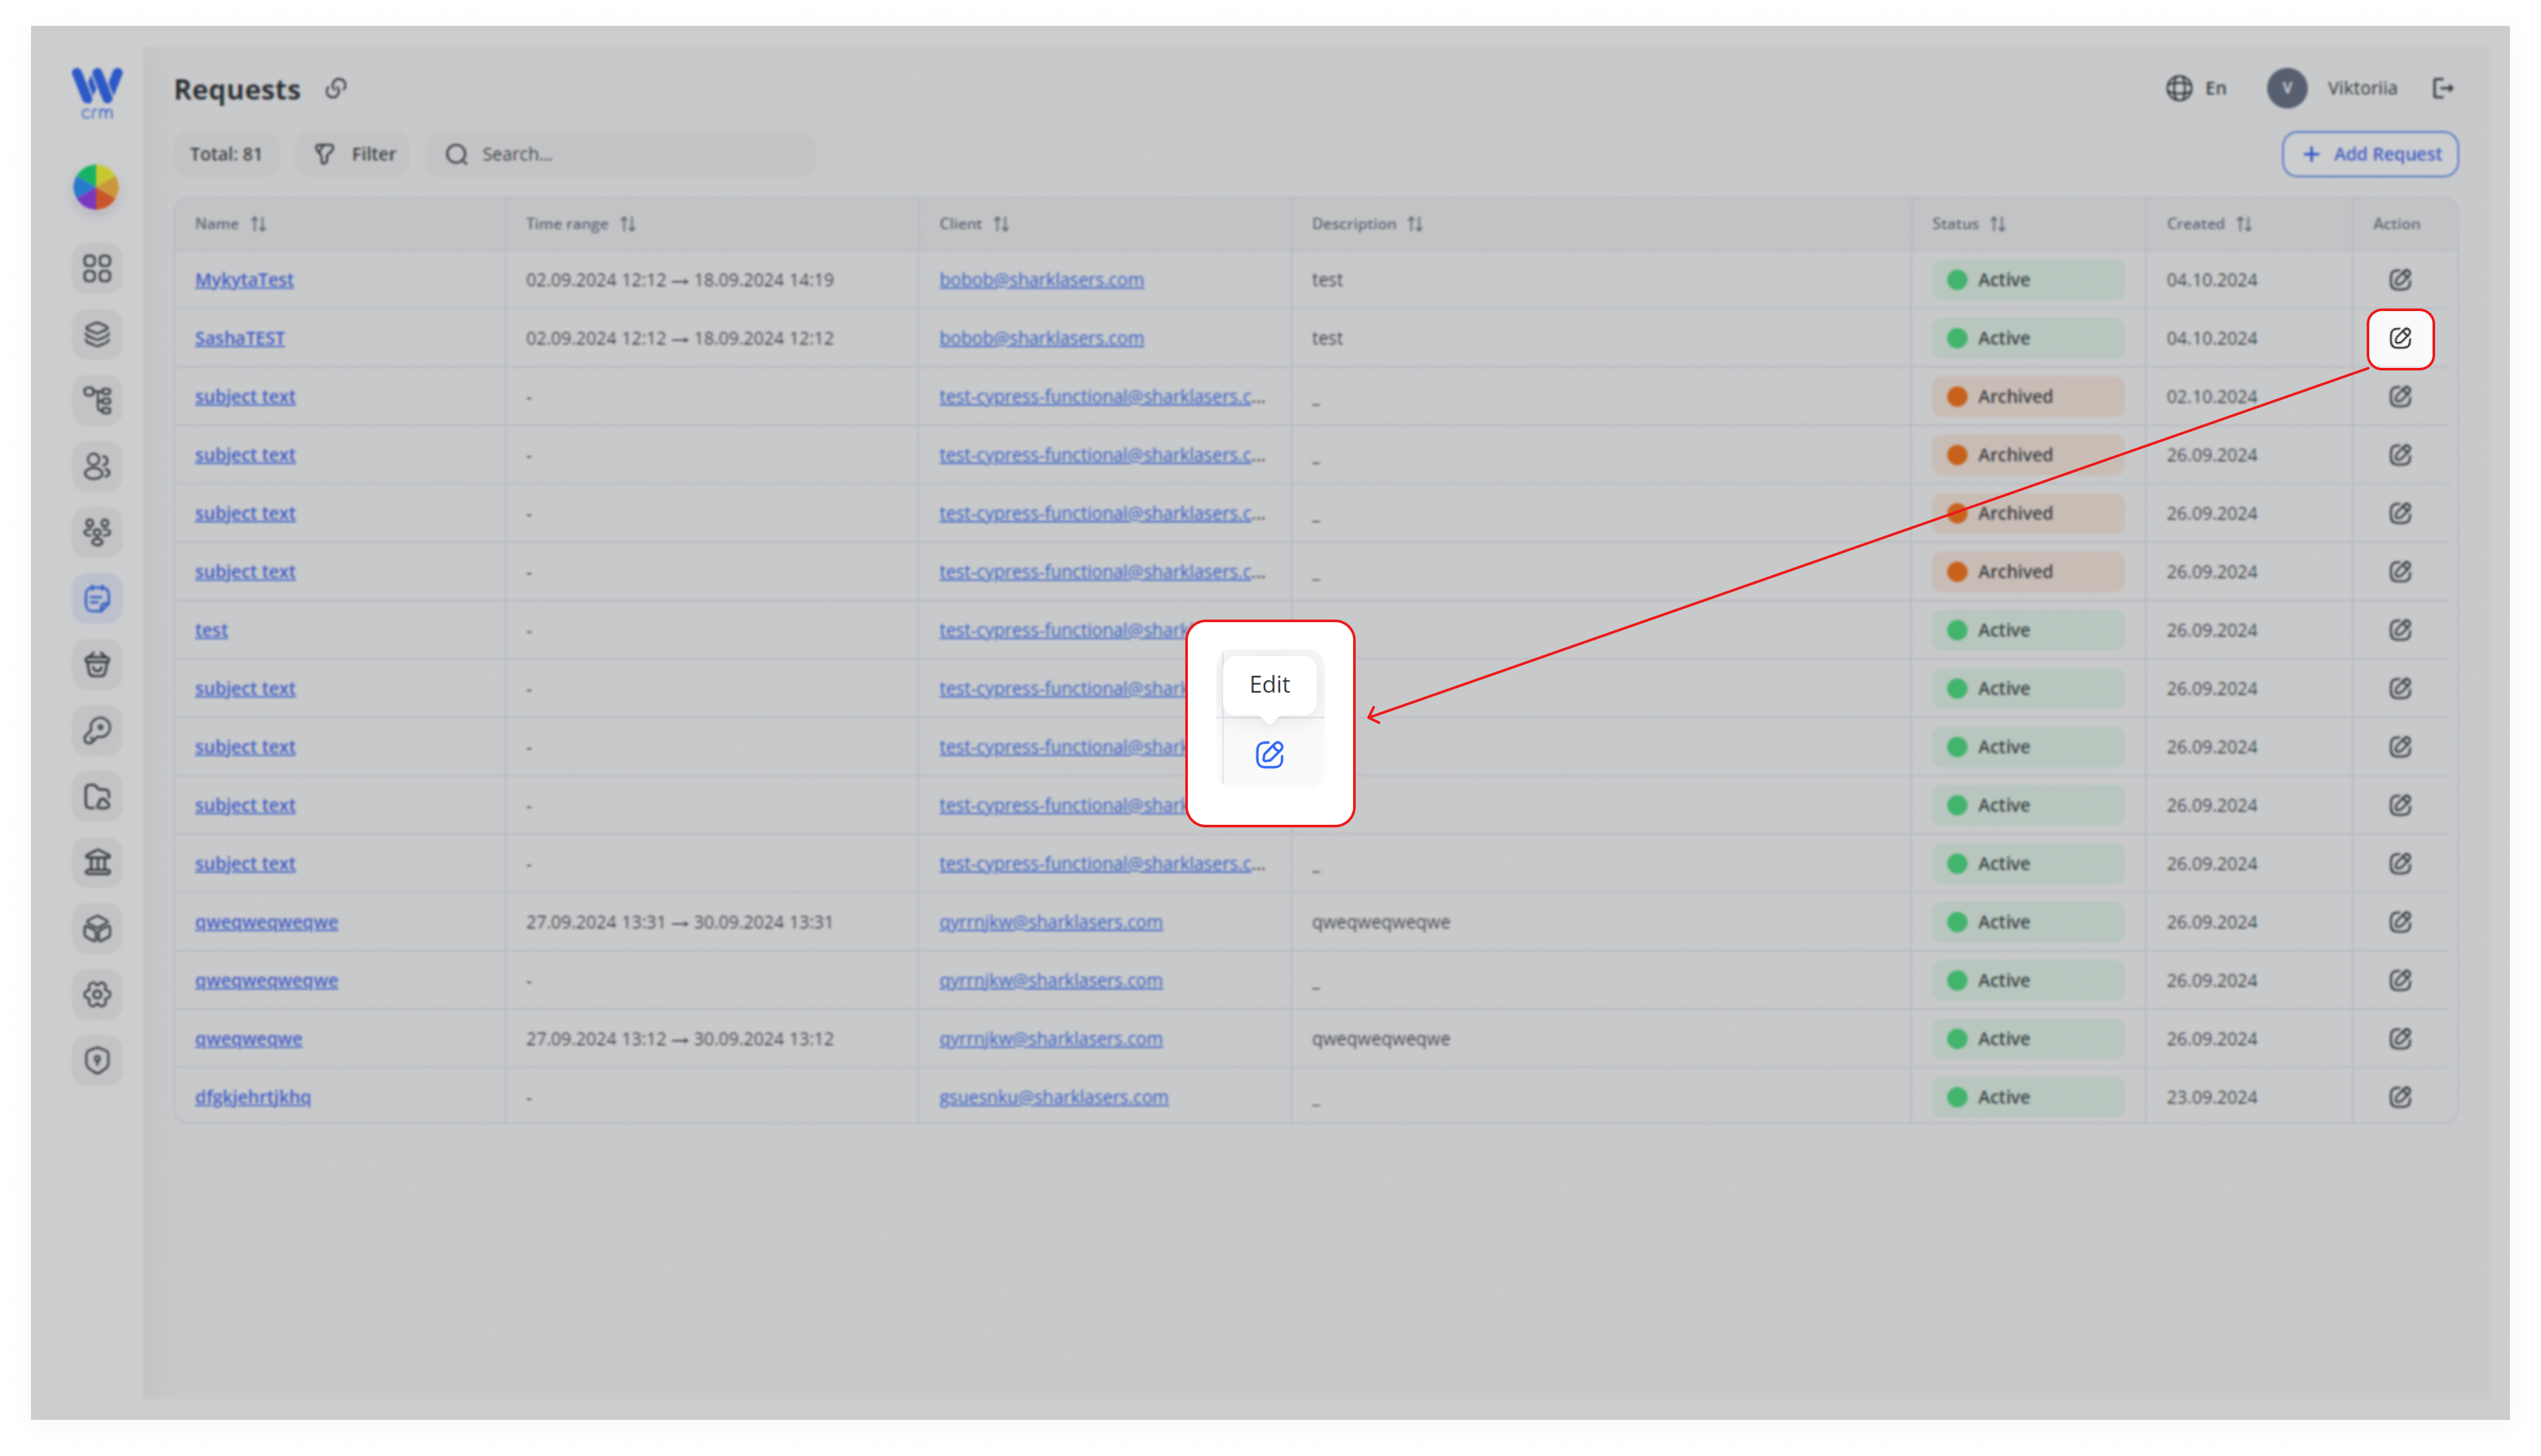
2. Update Core Request Fields
Inside the General tab of the drawer, you’ll see all editable properties:
-
Name (top): A single-line text field for the request title.
-
Time range: Two date‐picker inputs labeled Start Date → End Date, useful for support-availability windows or delivery slots.
-
Client: Shows the assigned client’s email (read-only once created).
-
Project: Dropdown selector for reassigning the request to a different project.
-
Description: Multi-line textarea for adding or revising details.
Note: The Client field is locked after creation to preserve accountability.
3. Attachations & Custom Data
Still in the General tab, you can further enrich the request:
-
Additional information (top-right section): Pick or define custom fields (JSON nodes) to capture structured data.
-
Attached file(s) (bottom-right): Drag & drop area or Browse button to upload screenshots, logs, or PDFs.
4. Change the Request Status
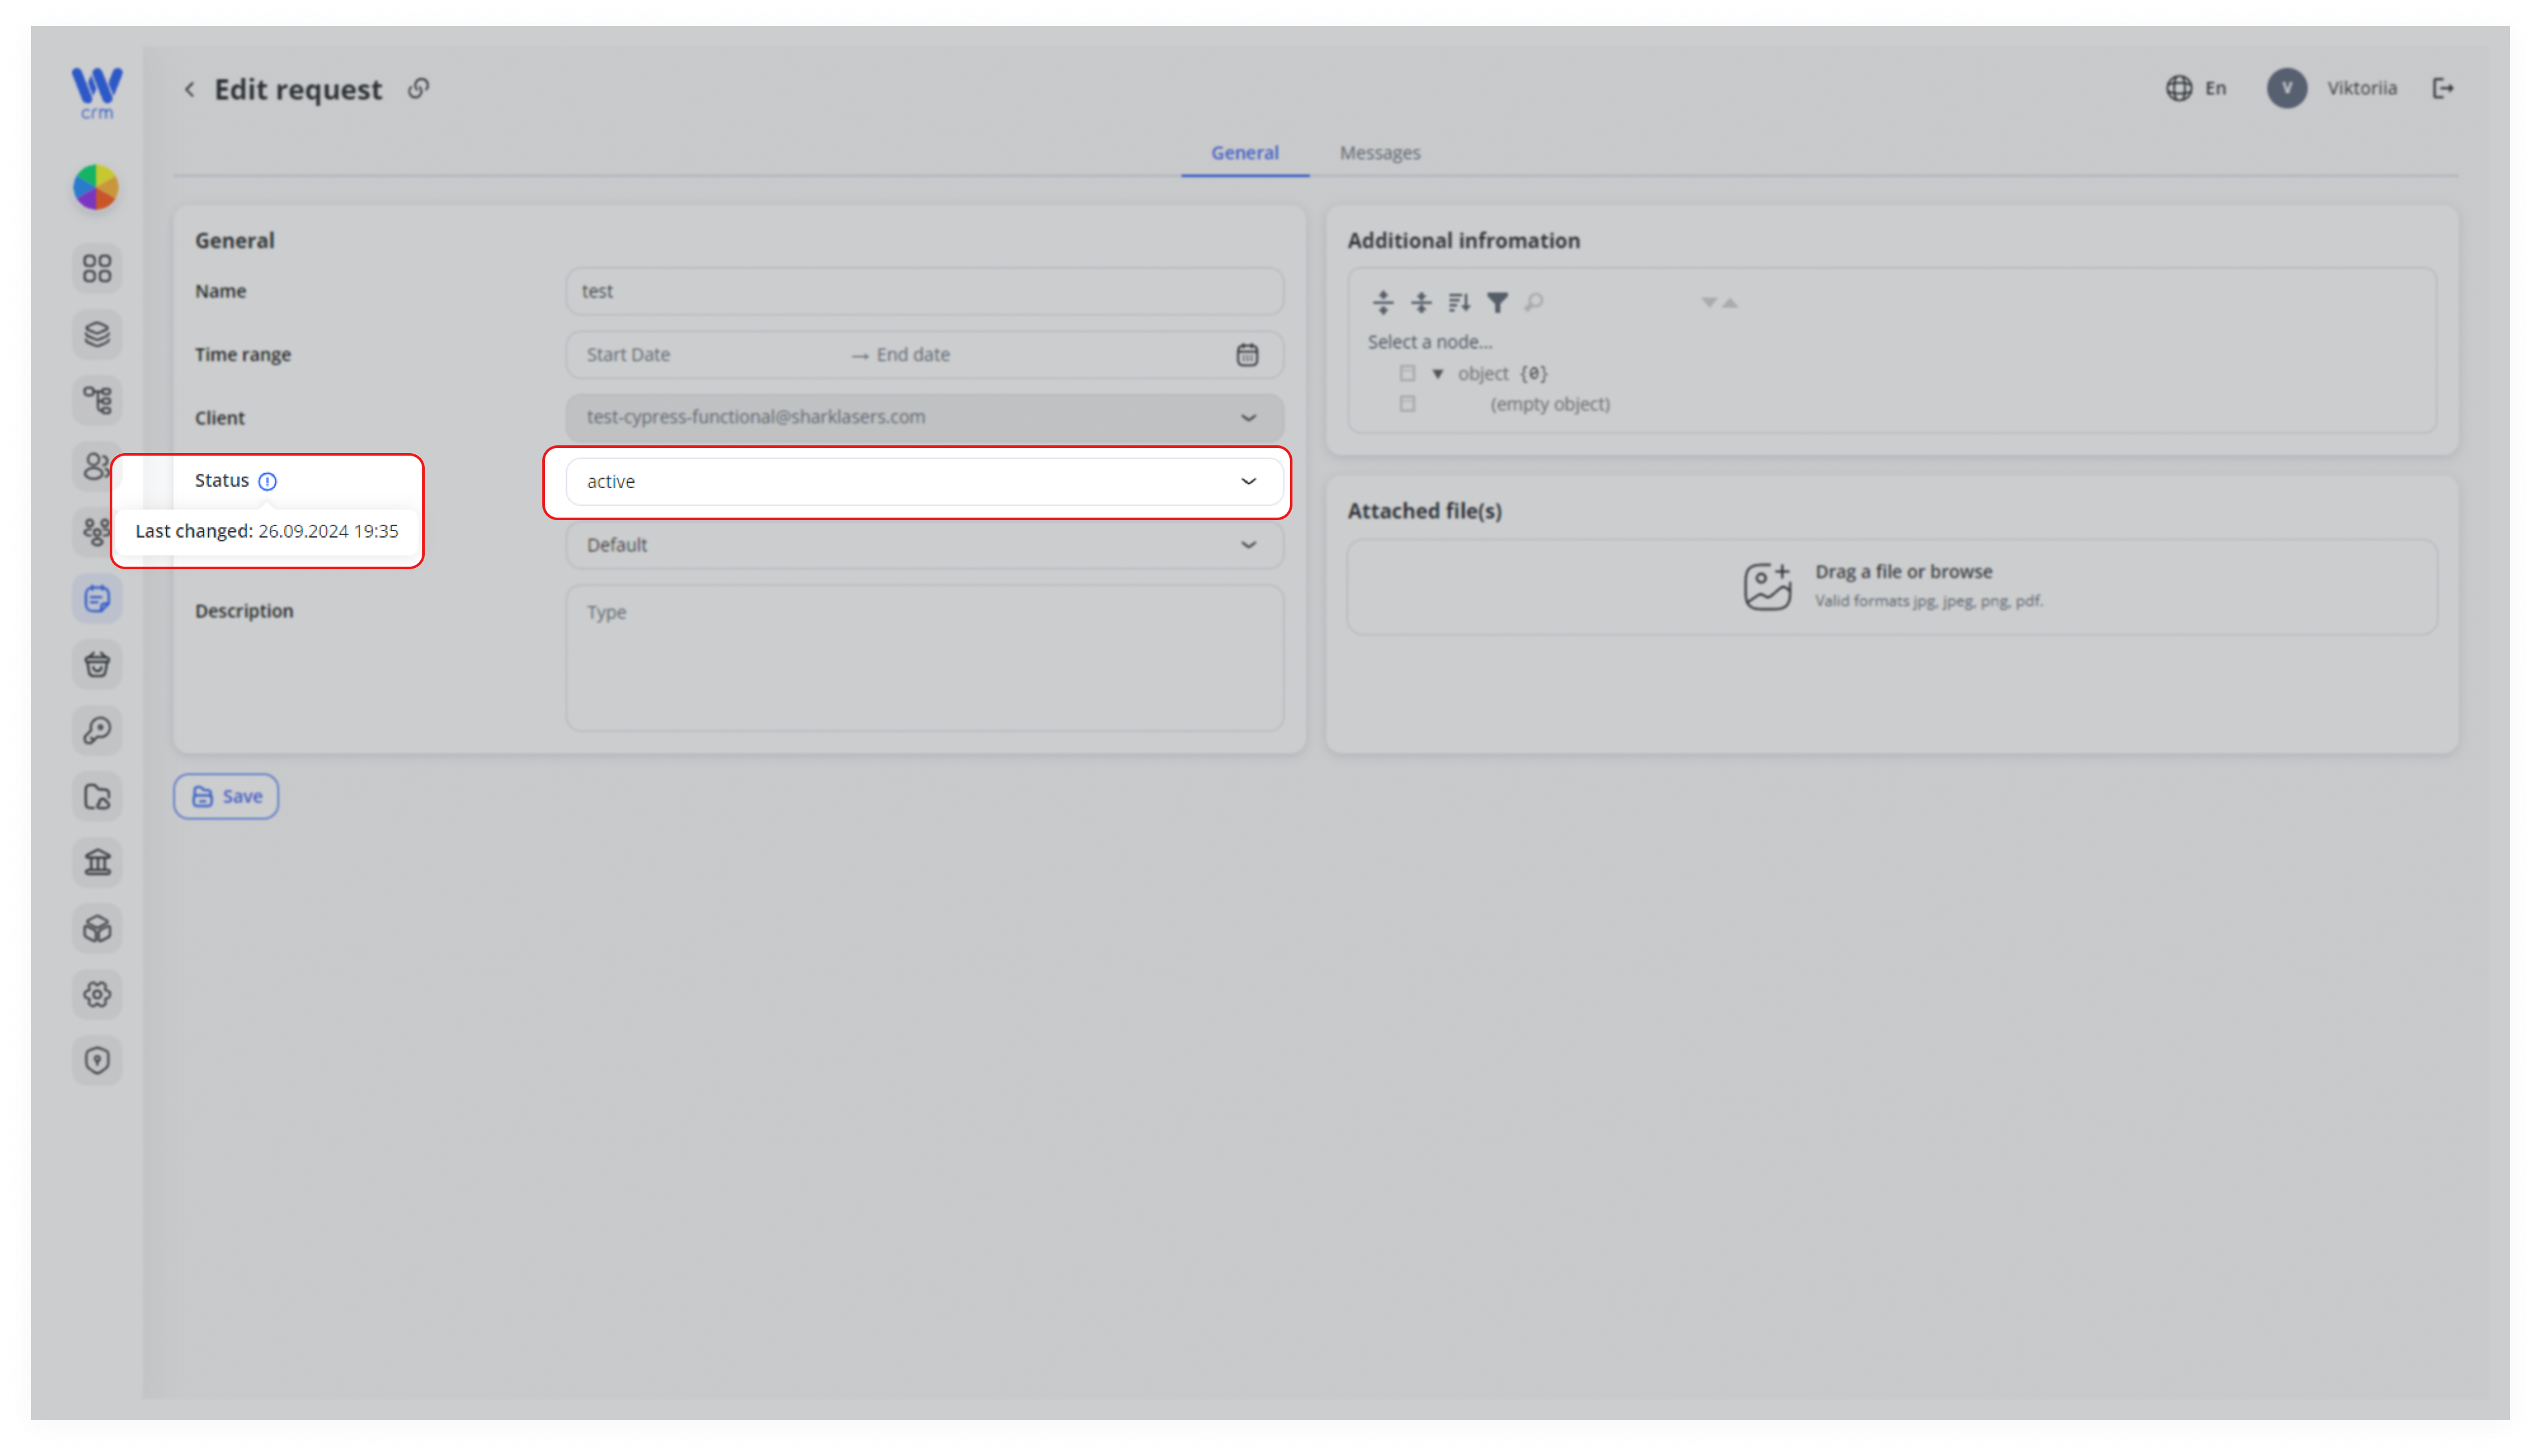
At the top of the drawer, next to the request name, a colored Status badge (e.g., Active, Archived) indicates its current state:
-
Click the badge to open a dropdown of available statuses.
-
Select the new status—its color and label update instantly in both the drawer and the main table.
5. Communicate with the Client
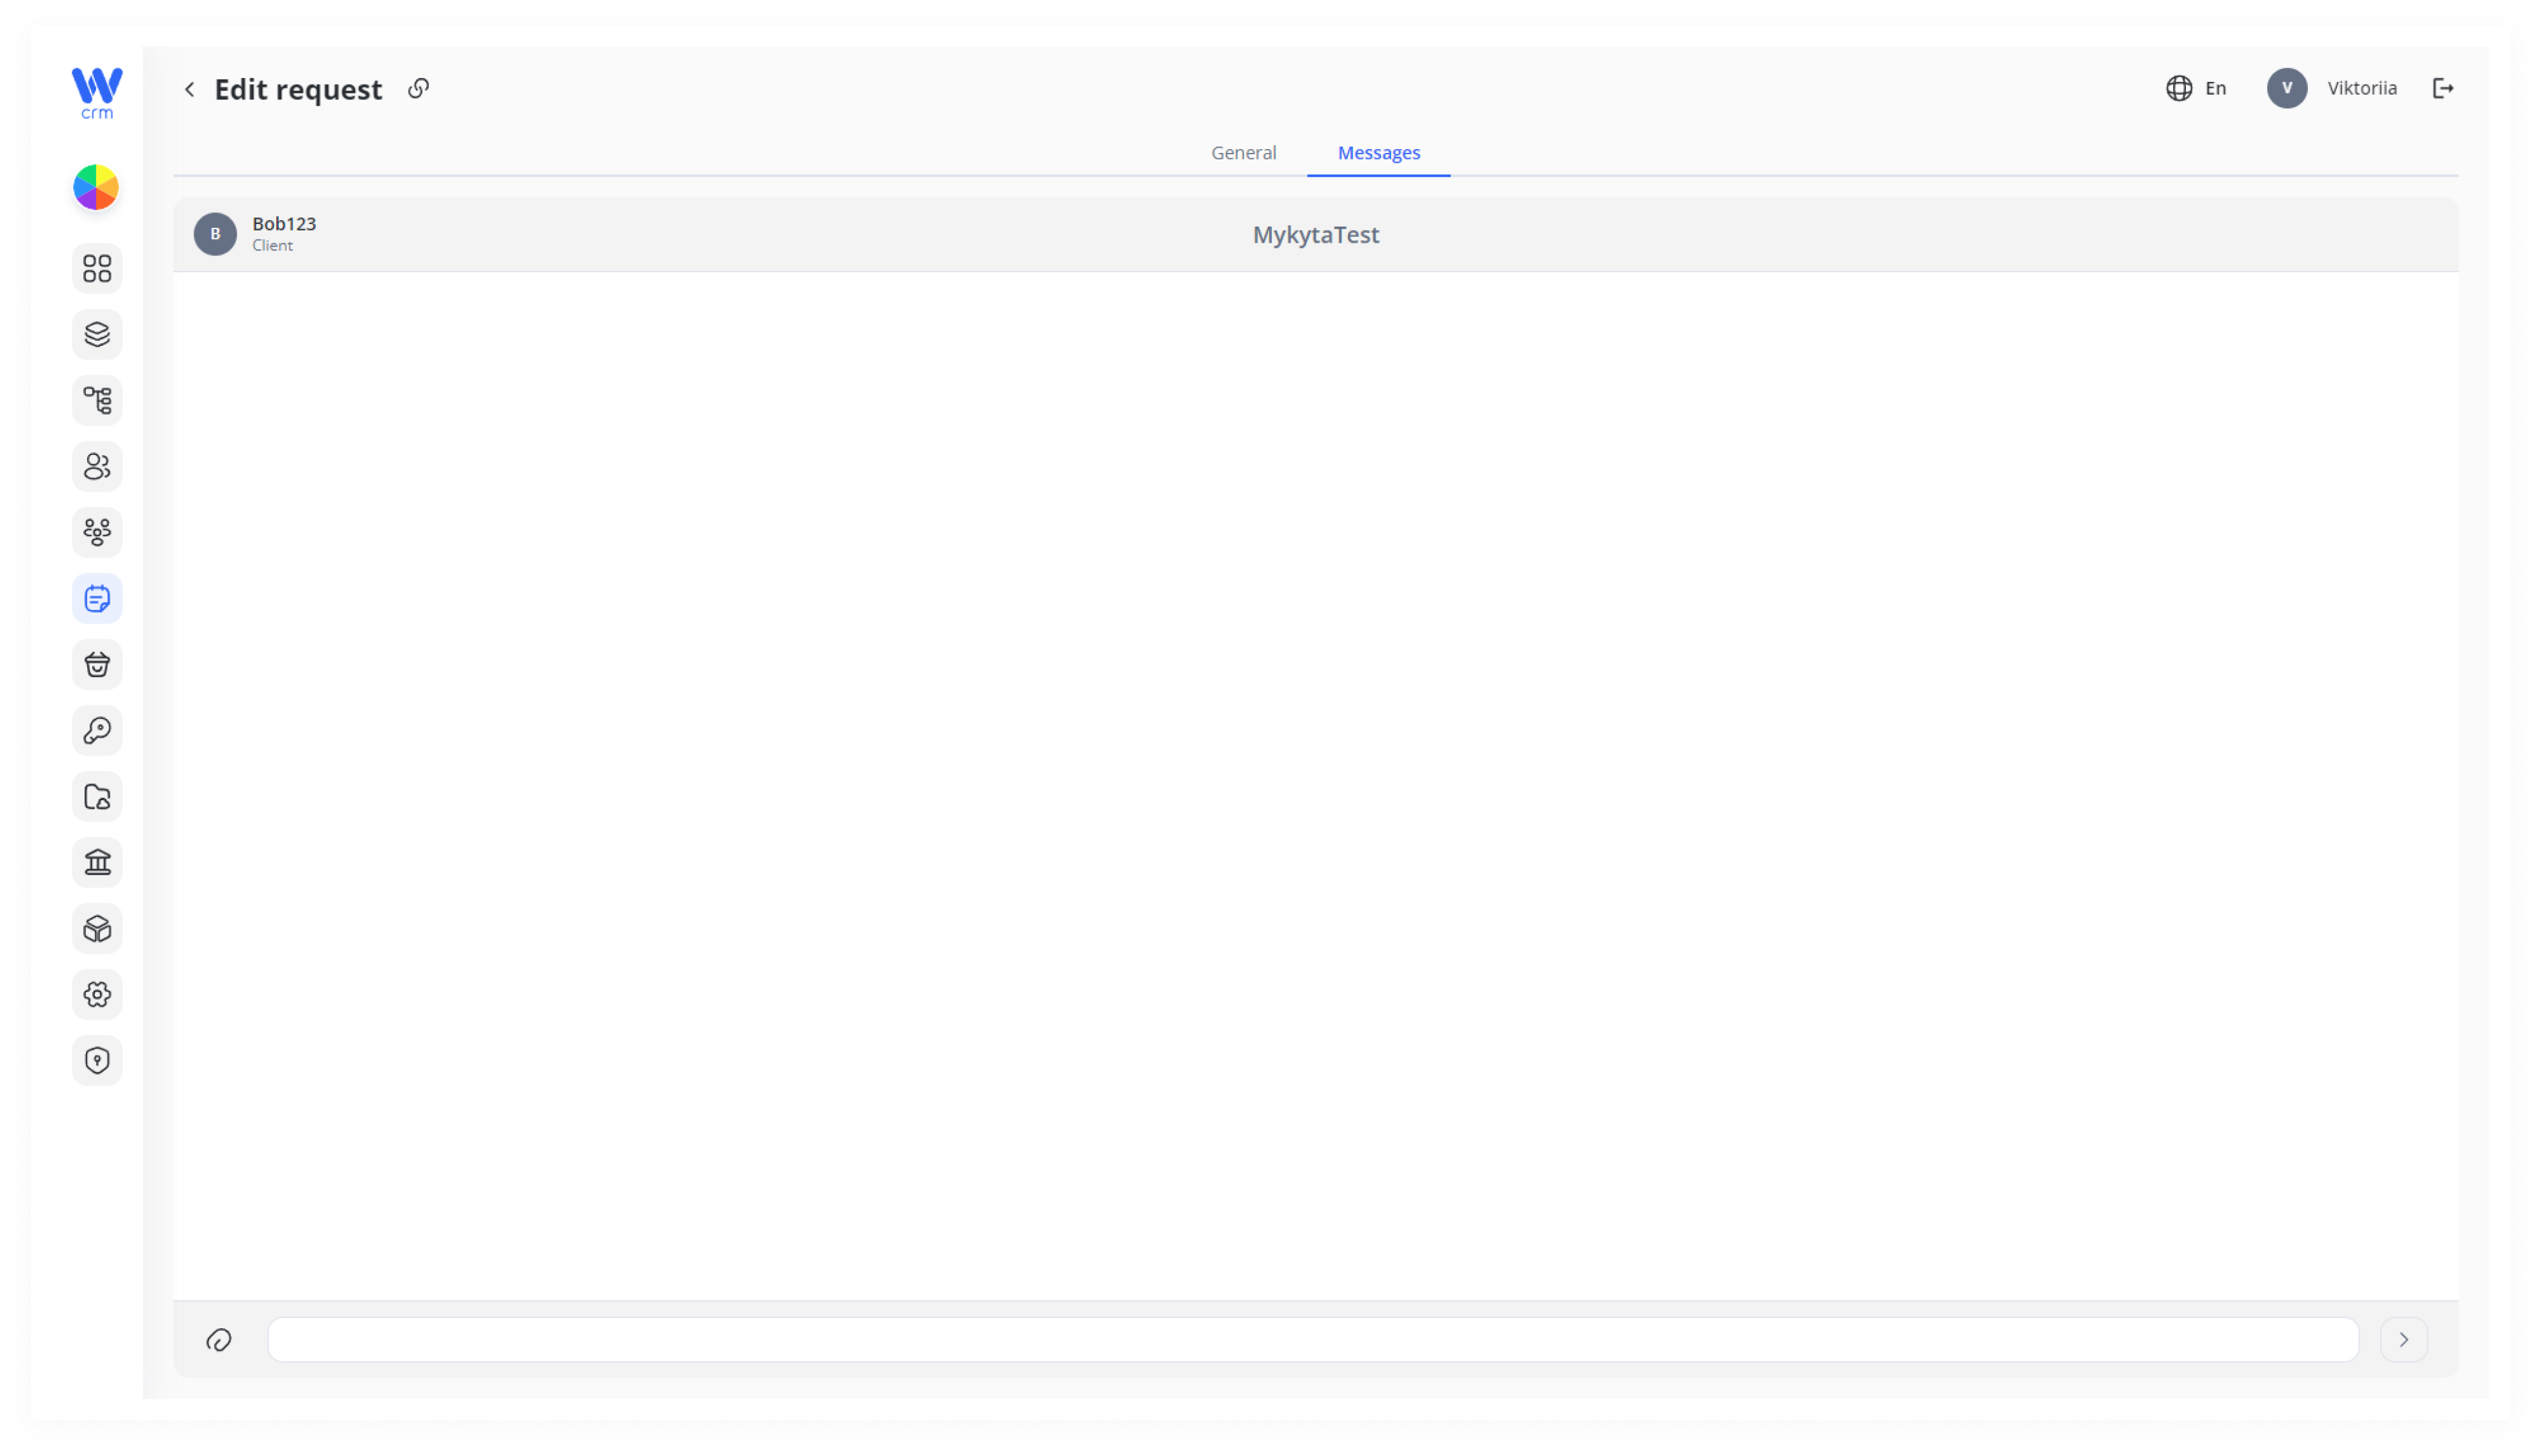
Switch to the Messages tab at the top of the drawer to chat directly:
-
Click Messages.
-
In the message thread area, review past notes.
-
At the bottom, type your reply into the input field.
-
(Optional) Click the 📎 paperclip icon to attach a file.
-
Press Enter (or click the Send arrow) to dispatch the message.
All messages are time-stamped, attributed to you, and—if API-integrated—pushed to the client’s portal.
6. Close the Panel
-
Click the X in the upper-left of the drawer to return to the Requests list.
-
Any changes you made (field edits, status changes, messages) are saved automatically as you go.
Note: You can add or edit statuses that are assigned to requests in the Settings module (Statuses tab of the Configurations section).
The Edit Request feature centralizes all aspects of request management—metadata, status tracking, file attachments, and real-time messaging—into a single, intuitive panel. By keeping request details up to date and maintaining a live chat history, your team can ensure timely resolutions and a seamless client experience.