
4. How to Edit a Desk
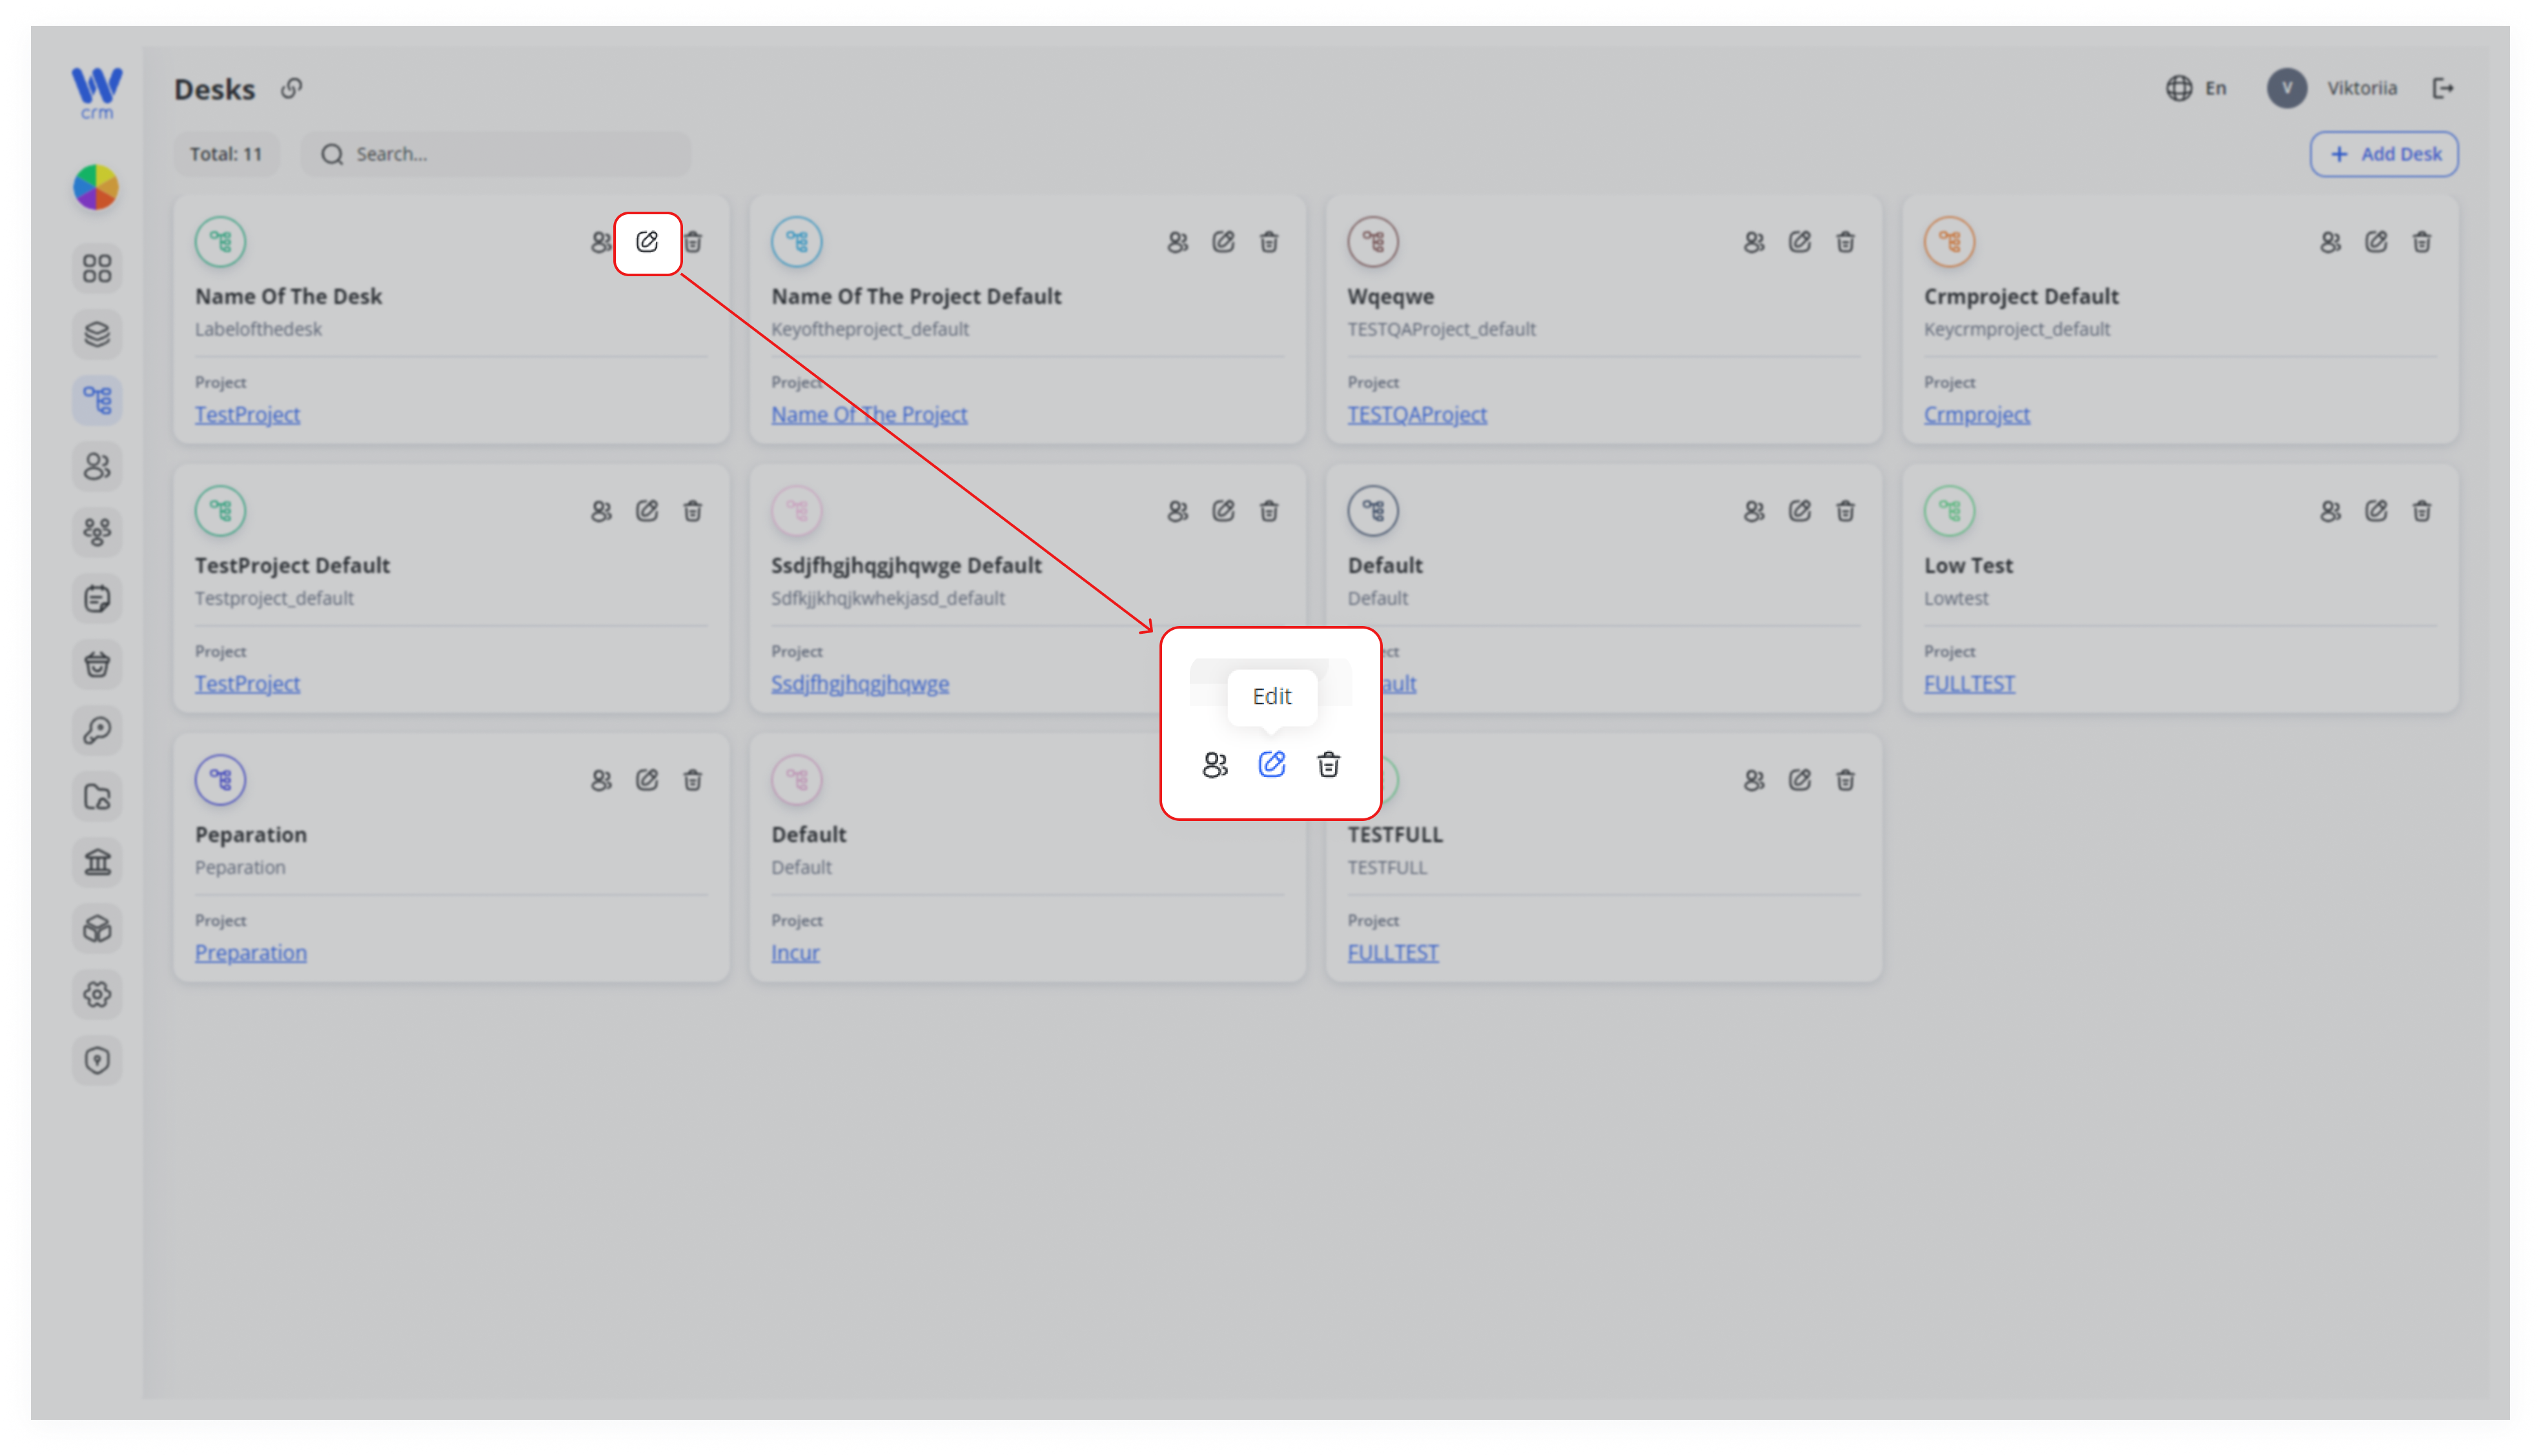
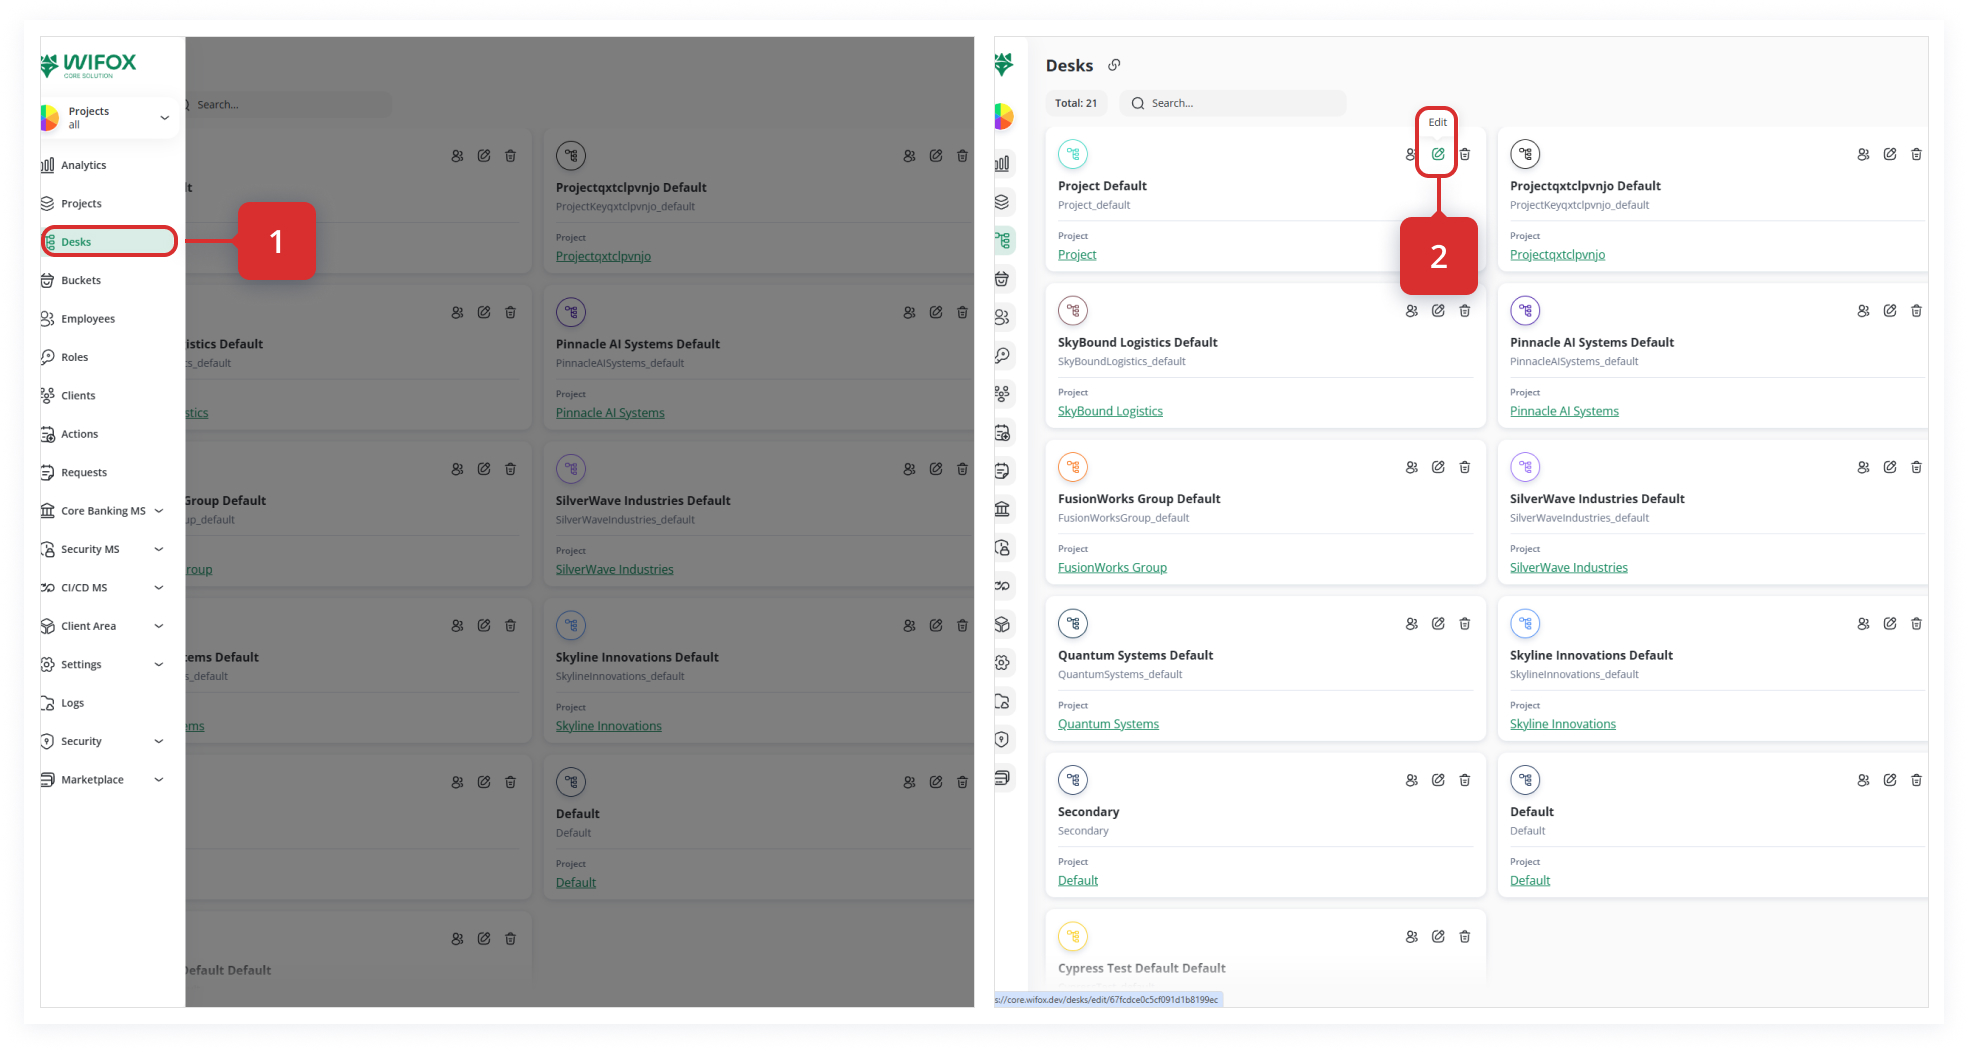
After creating a desk, the editing window will open automatically. To open the edit window from the Desks tab, click on the edit icon in the upper right corner of the specific desk window:
In the Edit window, you can:
-
-
Change the name of the desk.
-
Add or delete members of the desk.
-
To add a new member to the desk:
-
-
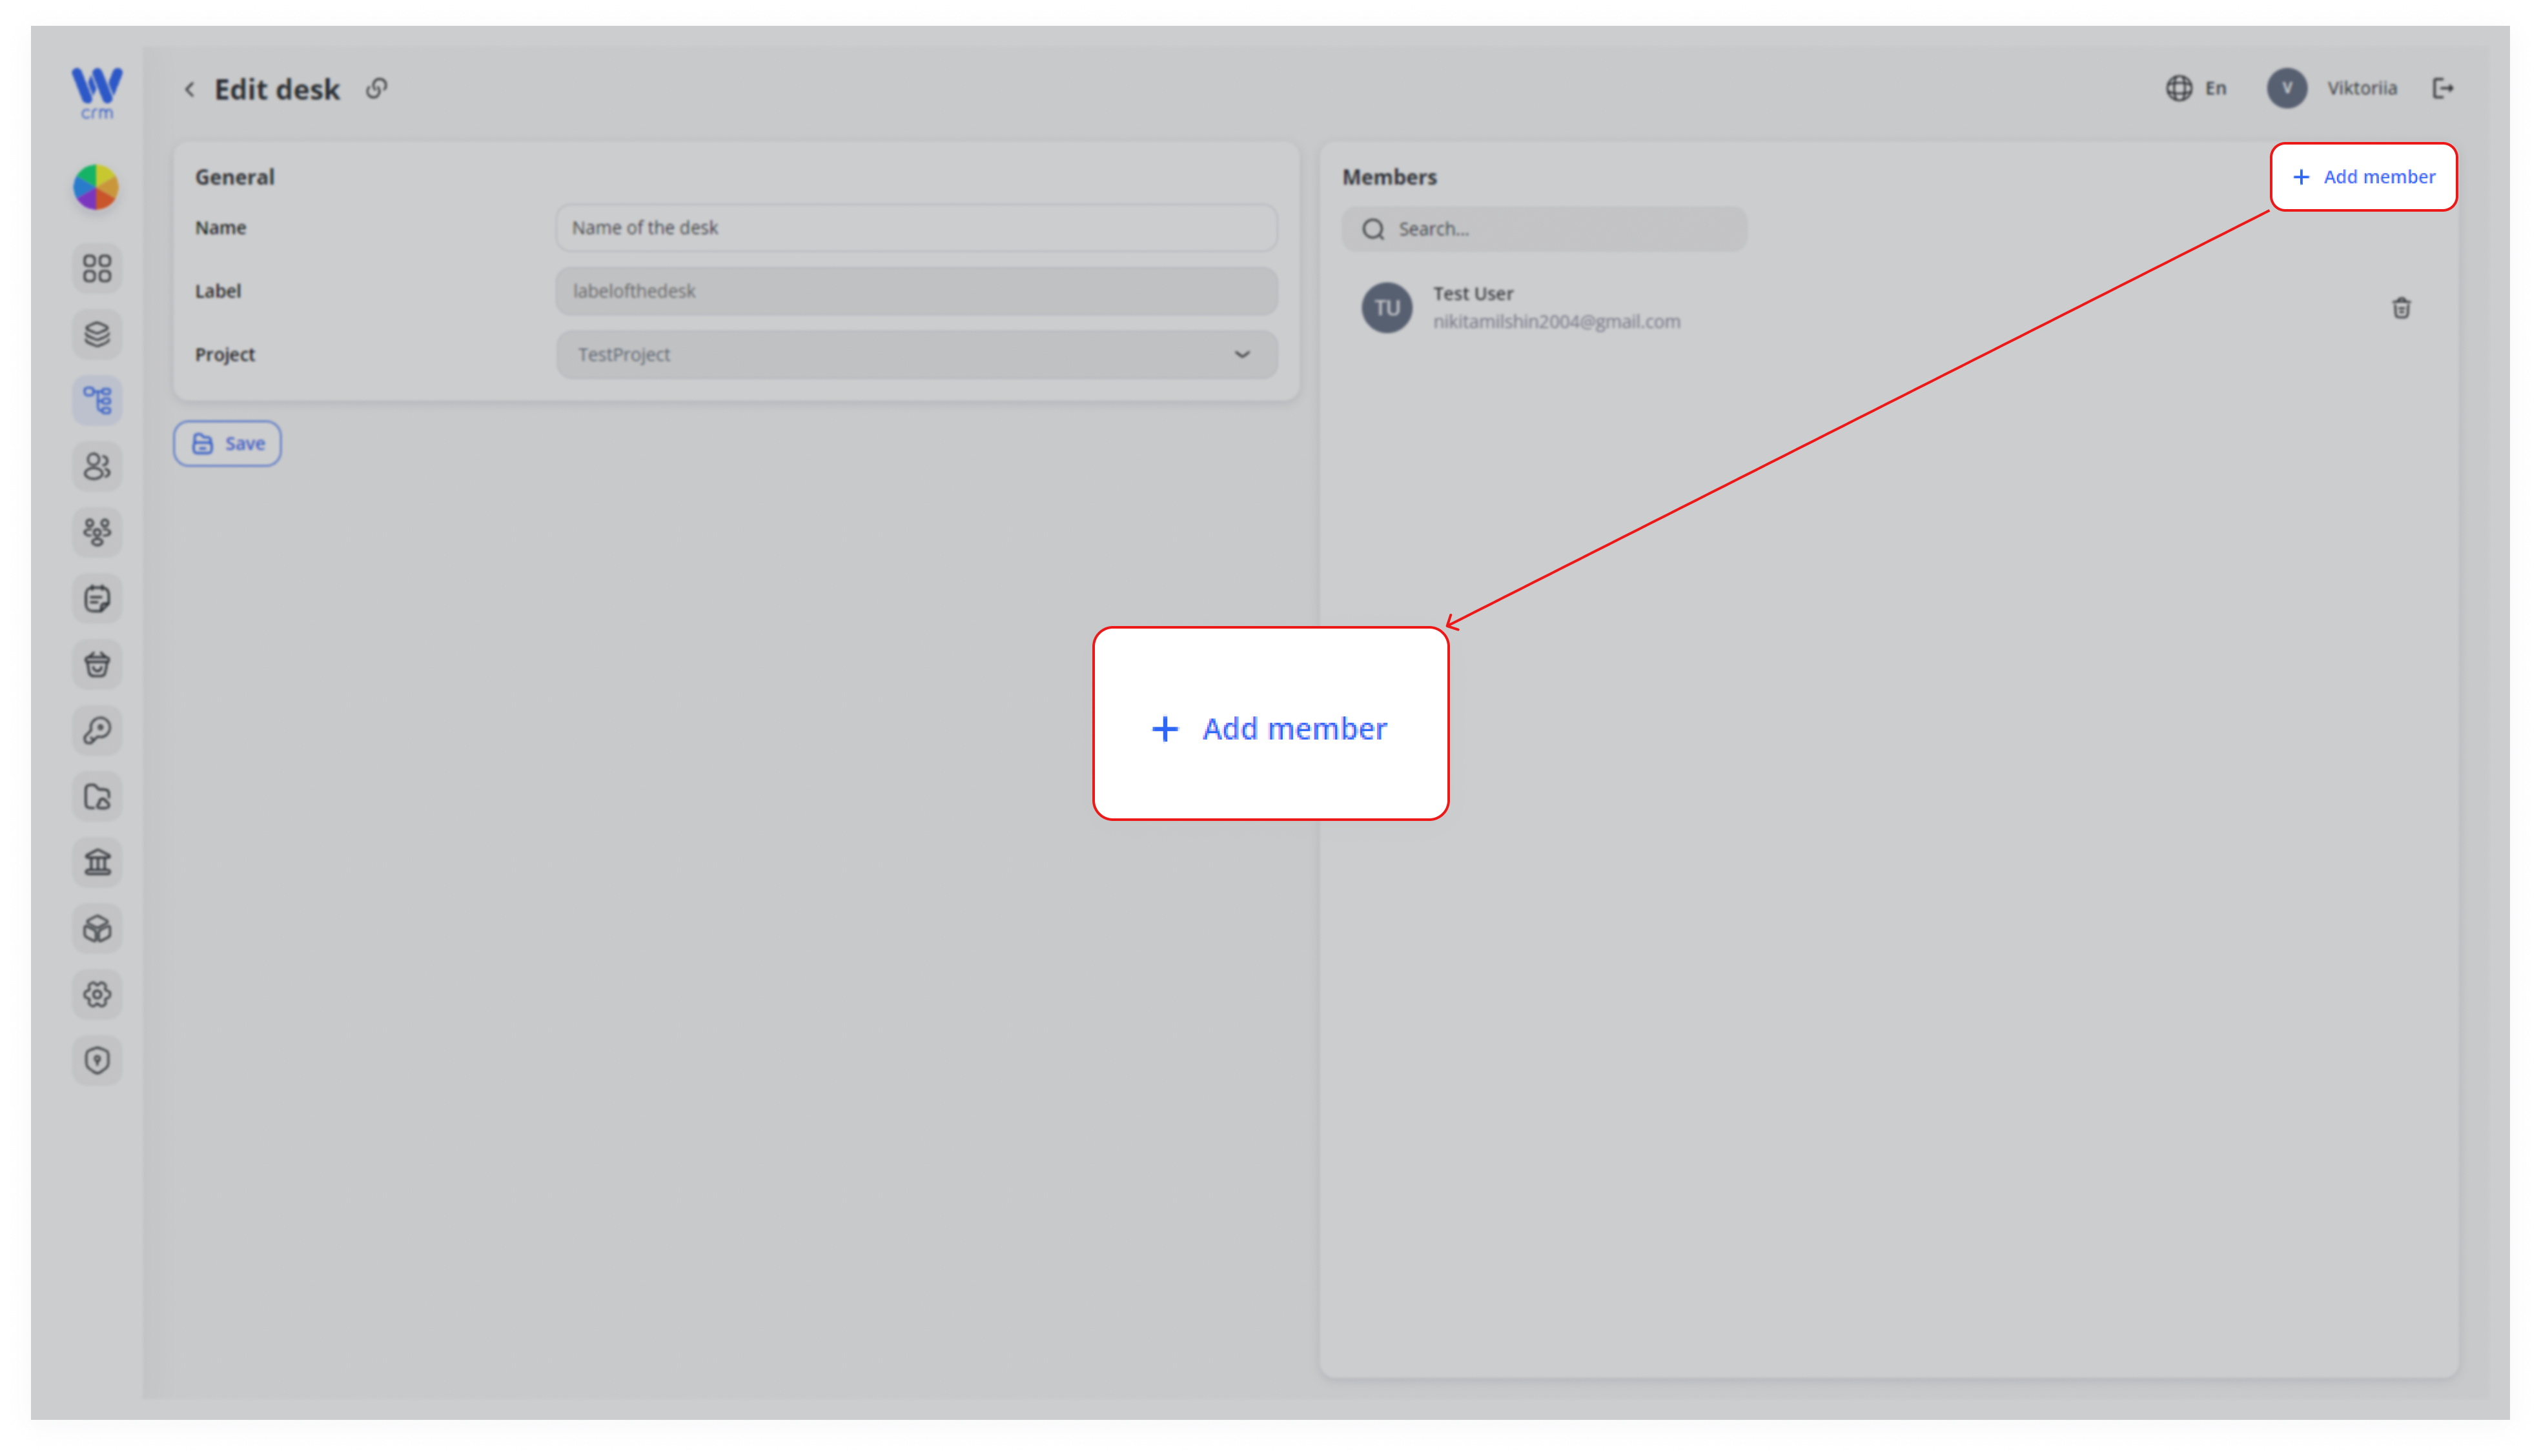
Click the Add Member button in the upper right corner of the tab:
-
2. Choose a member from the list. You can use the Search function to find a user by email.
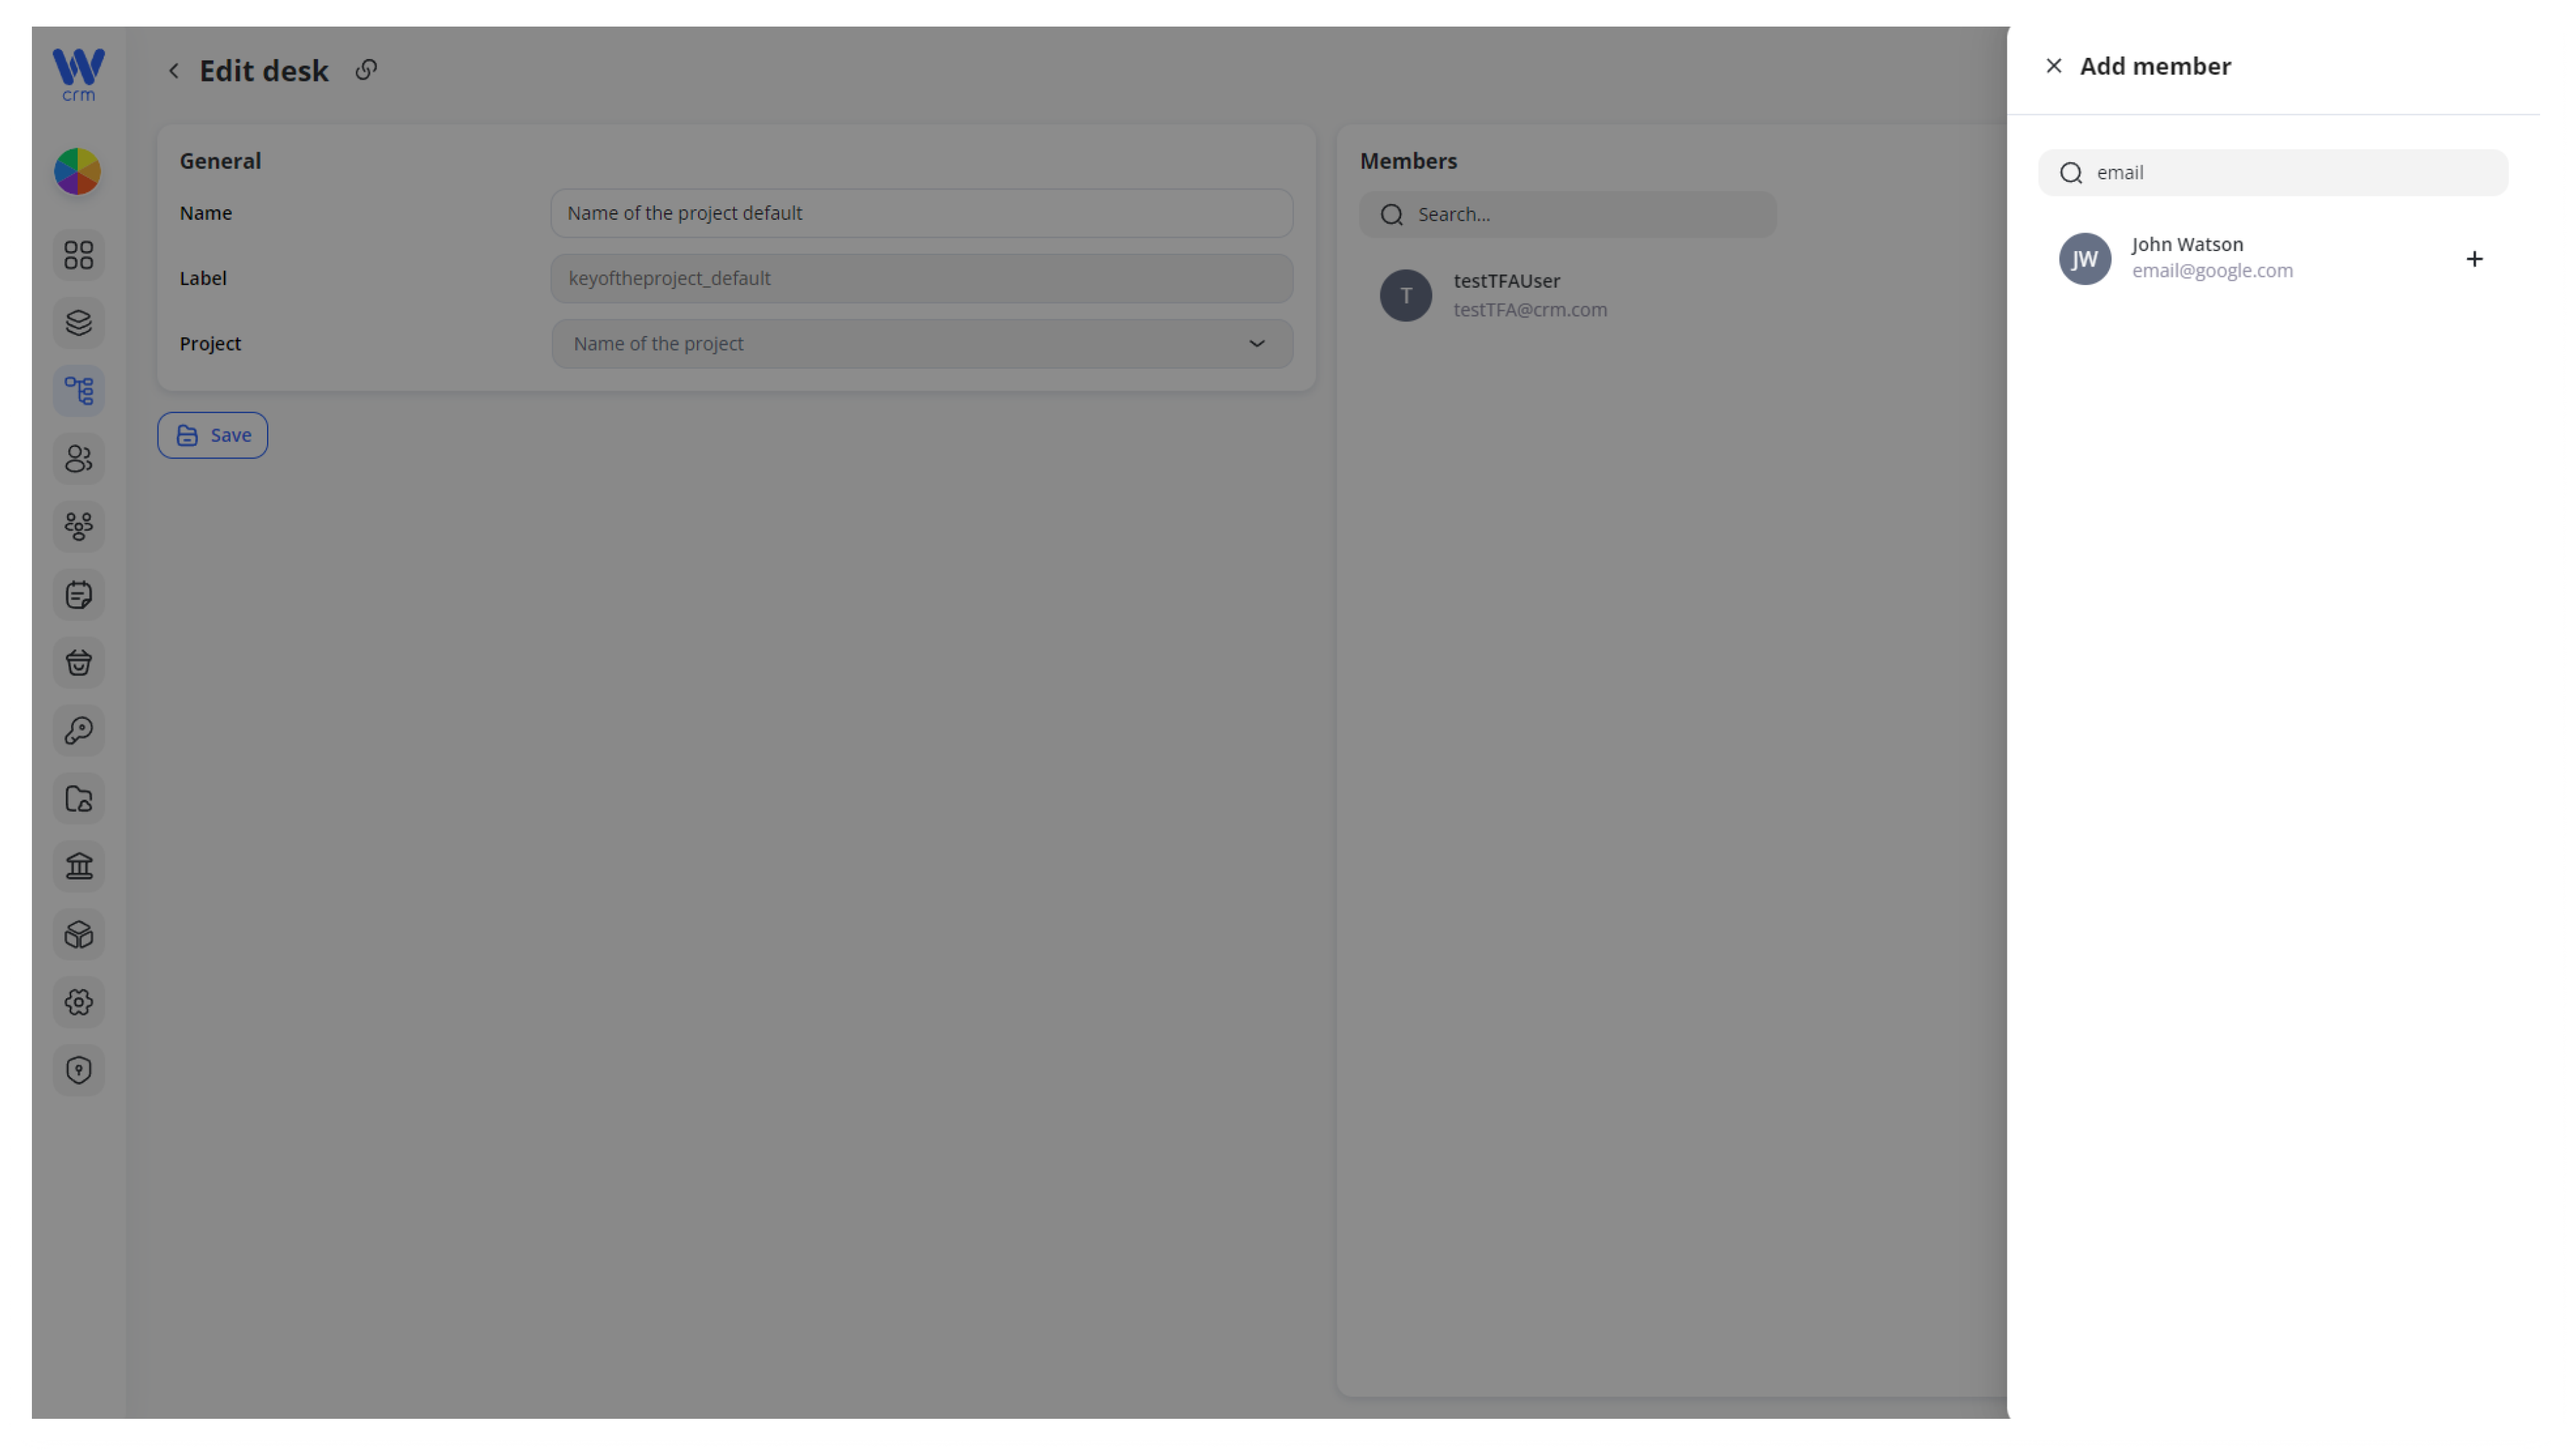
Note: The list consists of members who are included in the connected project. To add a new user to this list, go to the Projects tab and add the member to the relevant project.
3. Click the plus sign next to the user’s name. You will be able to see the list of the desk members in the Members tab:
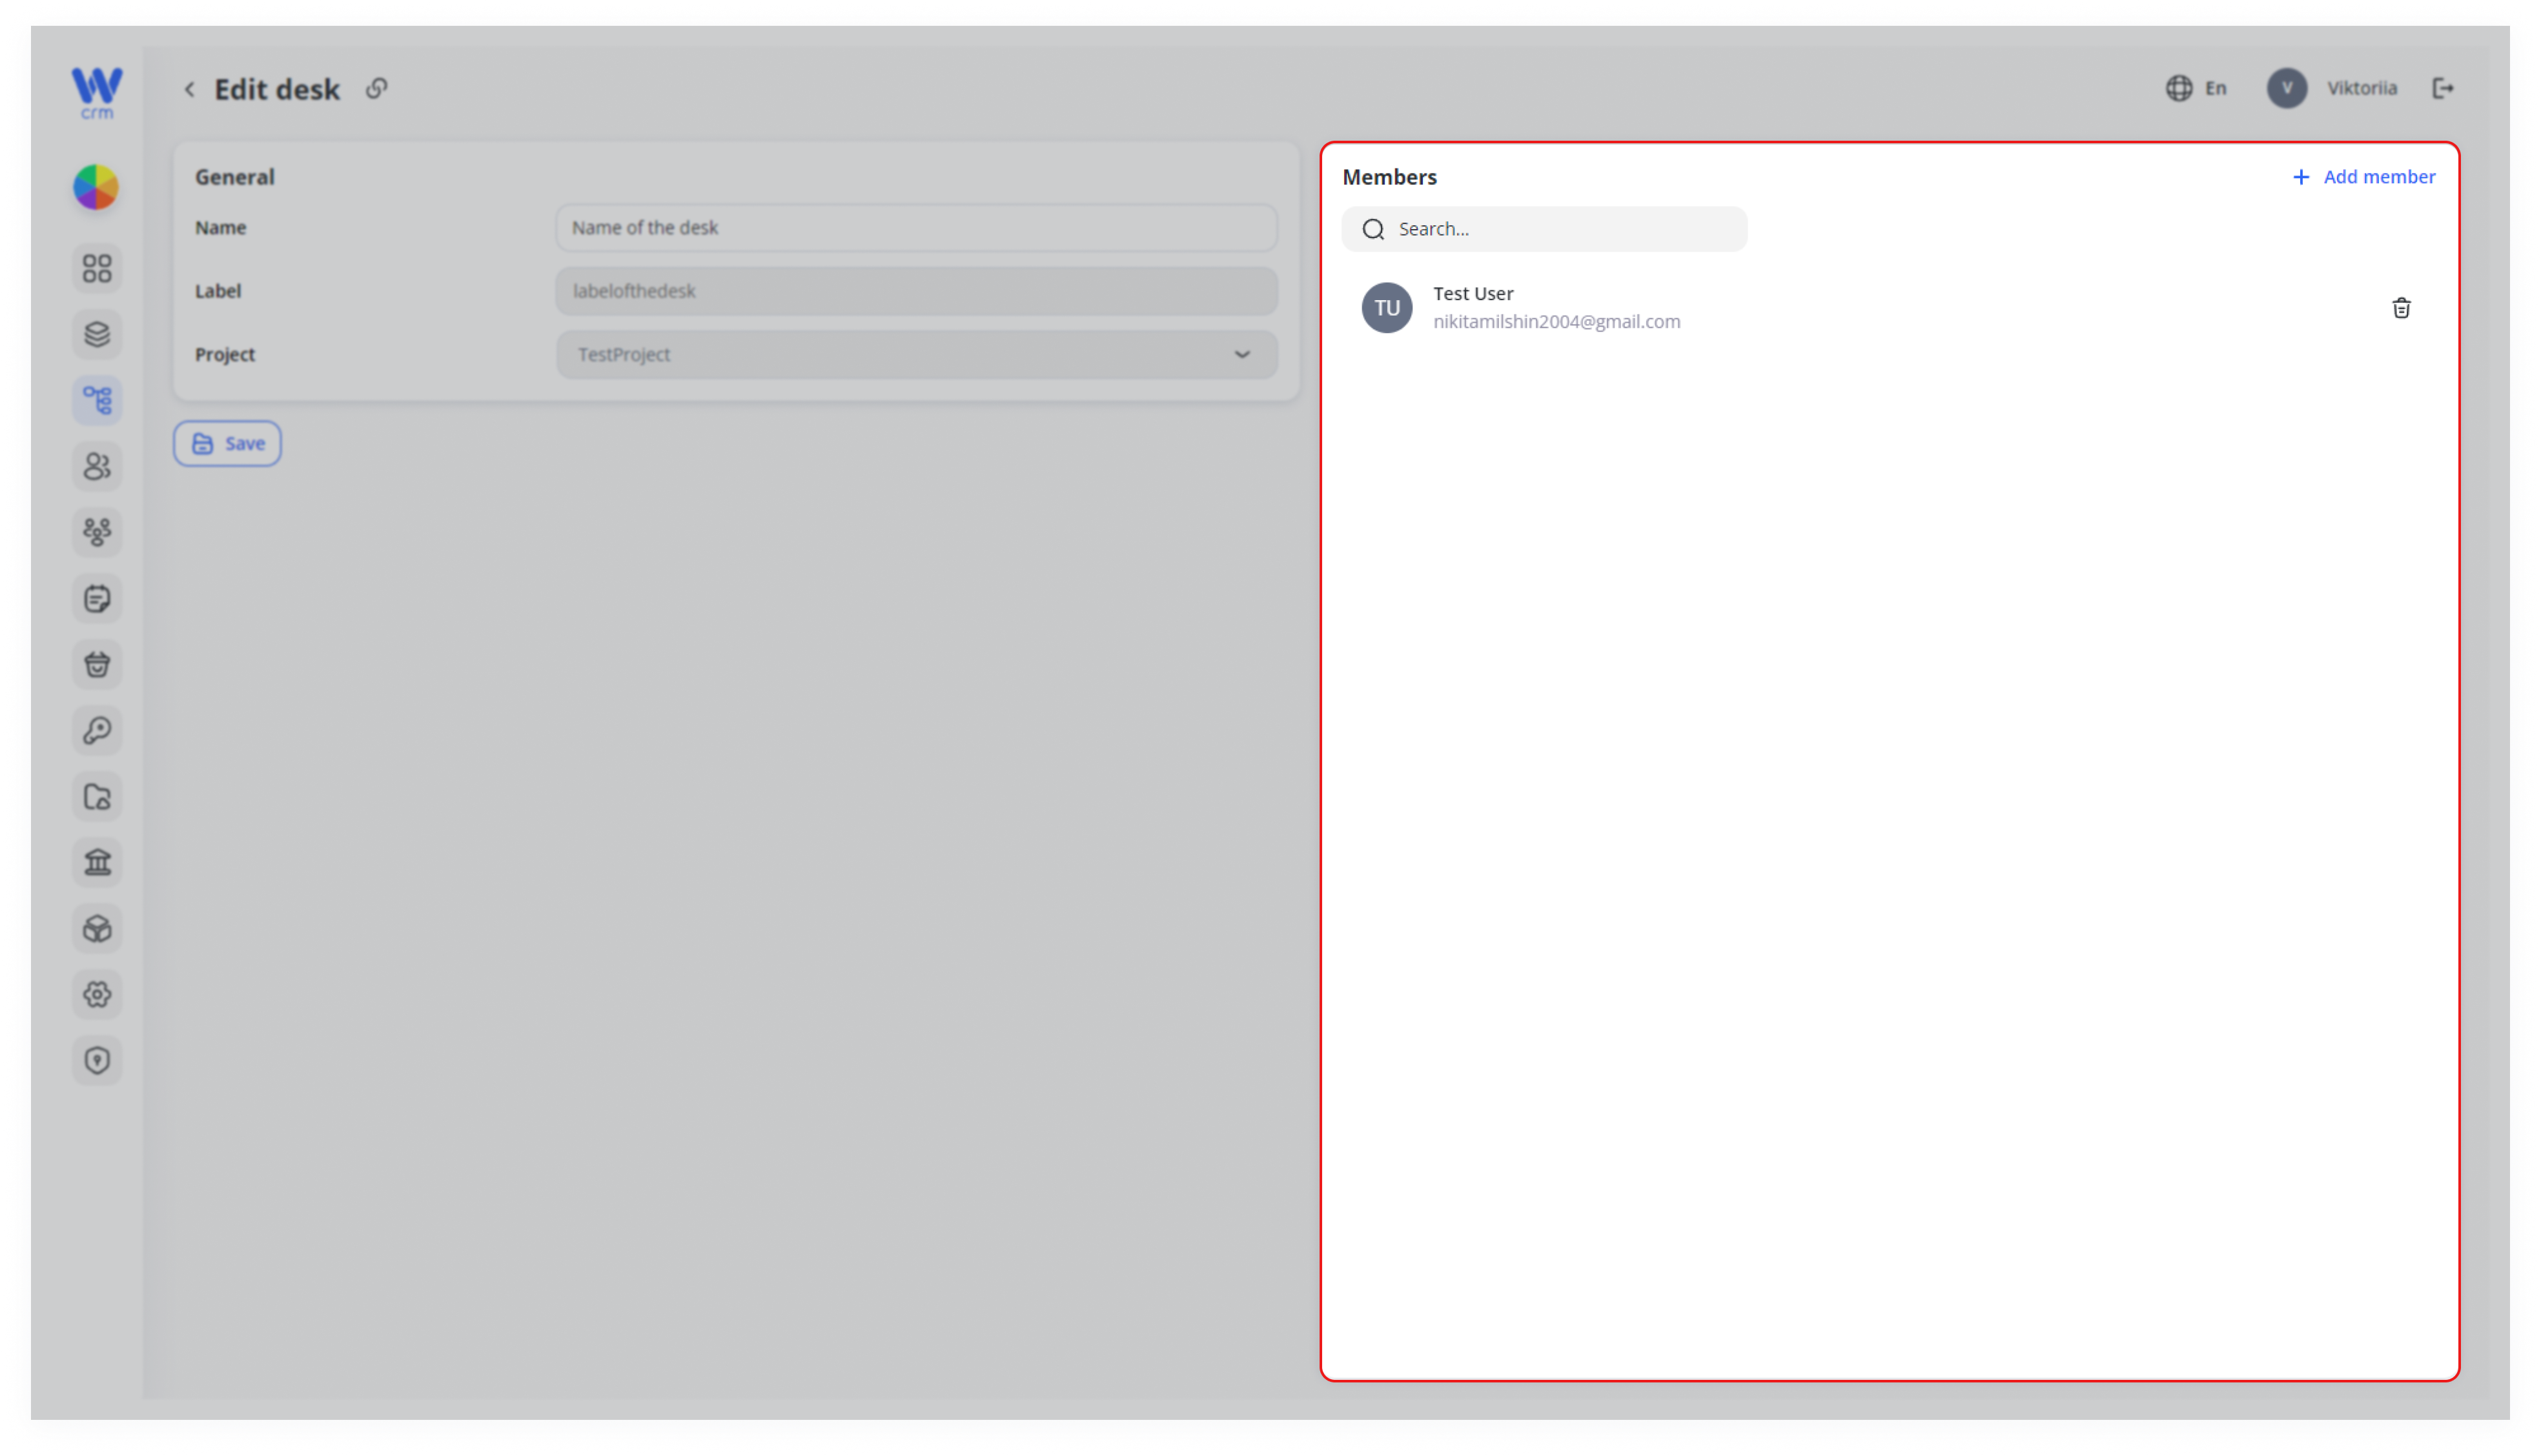
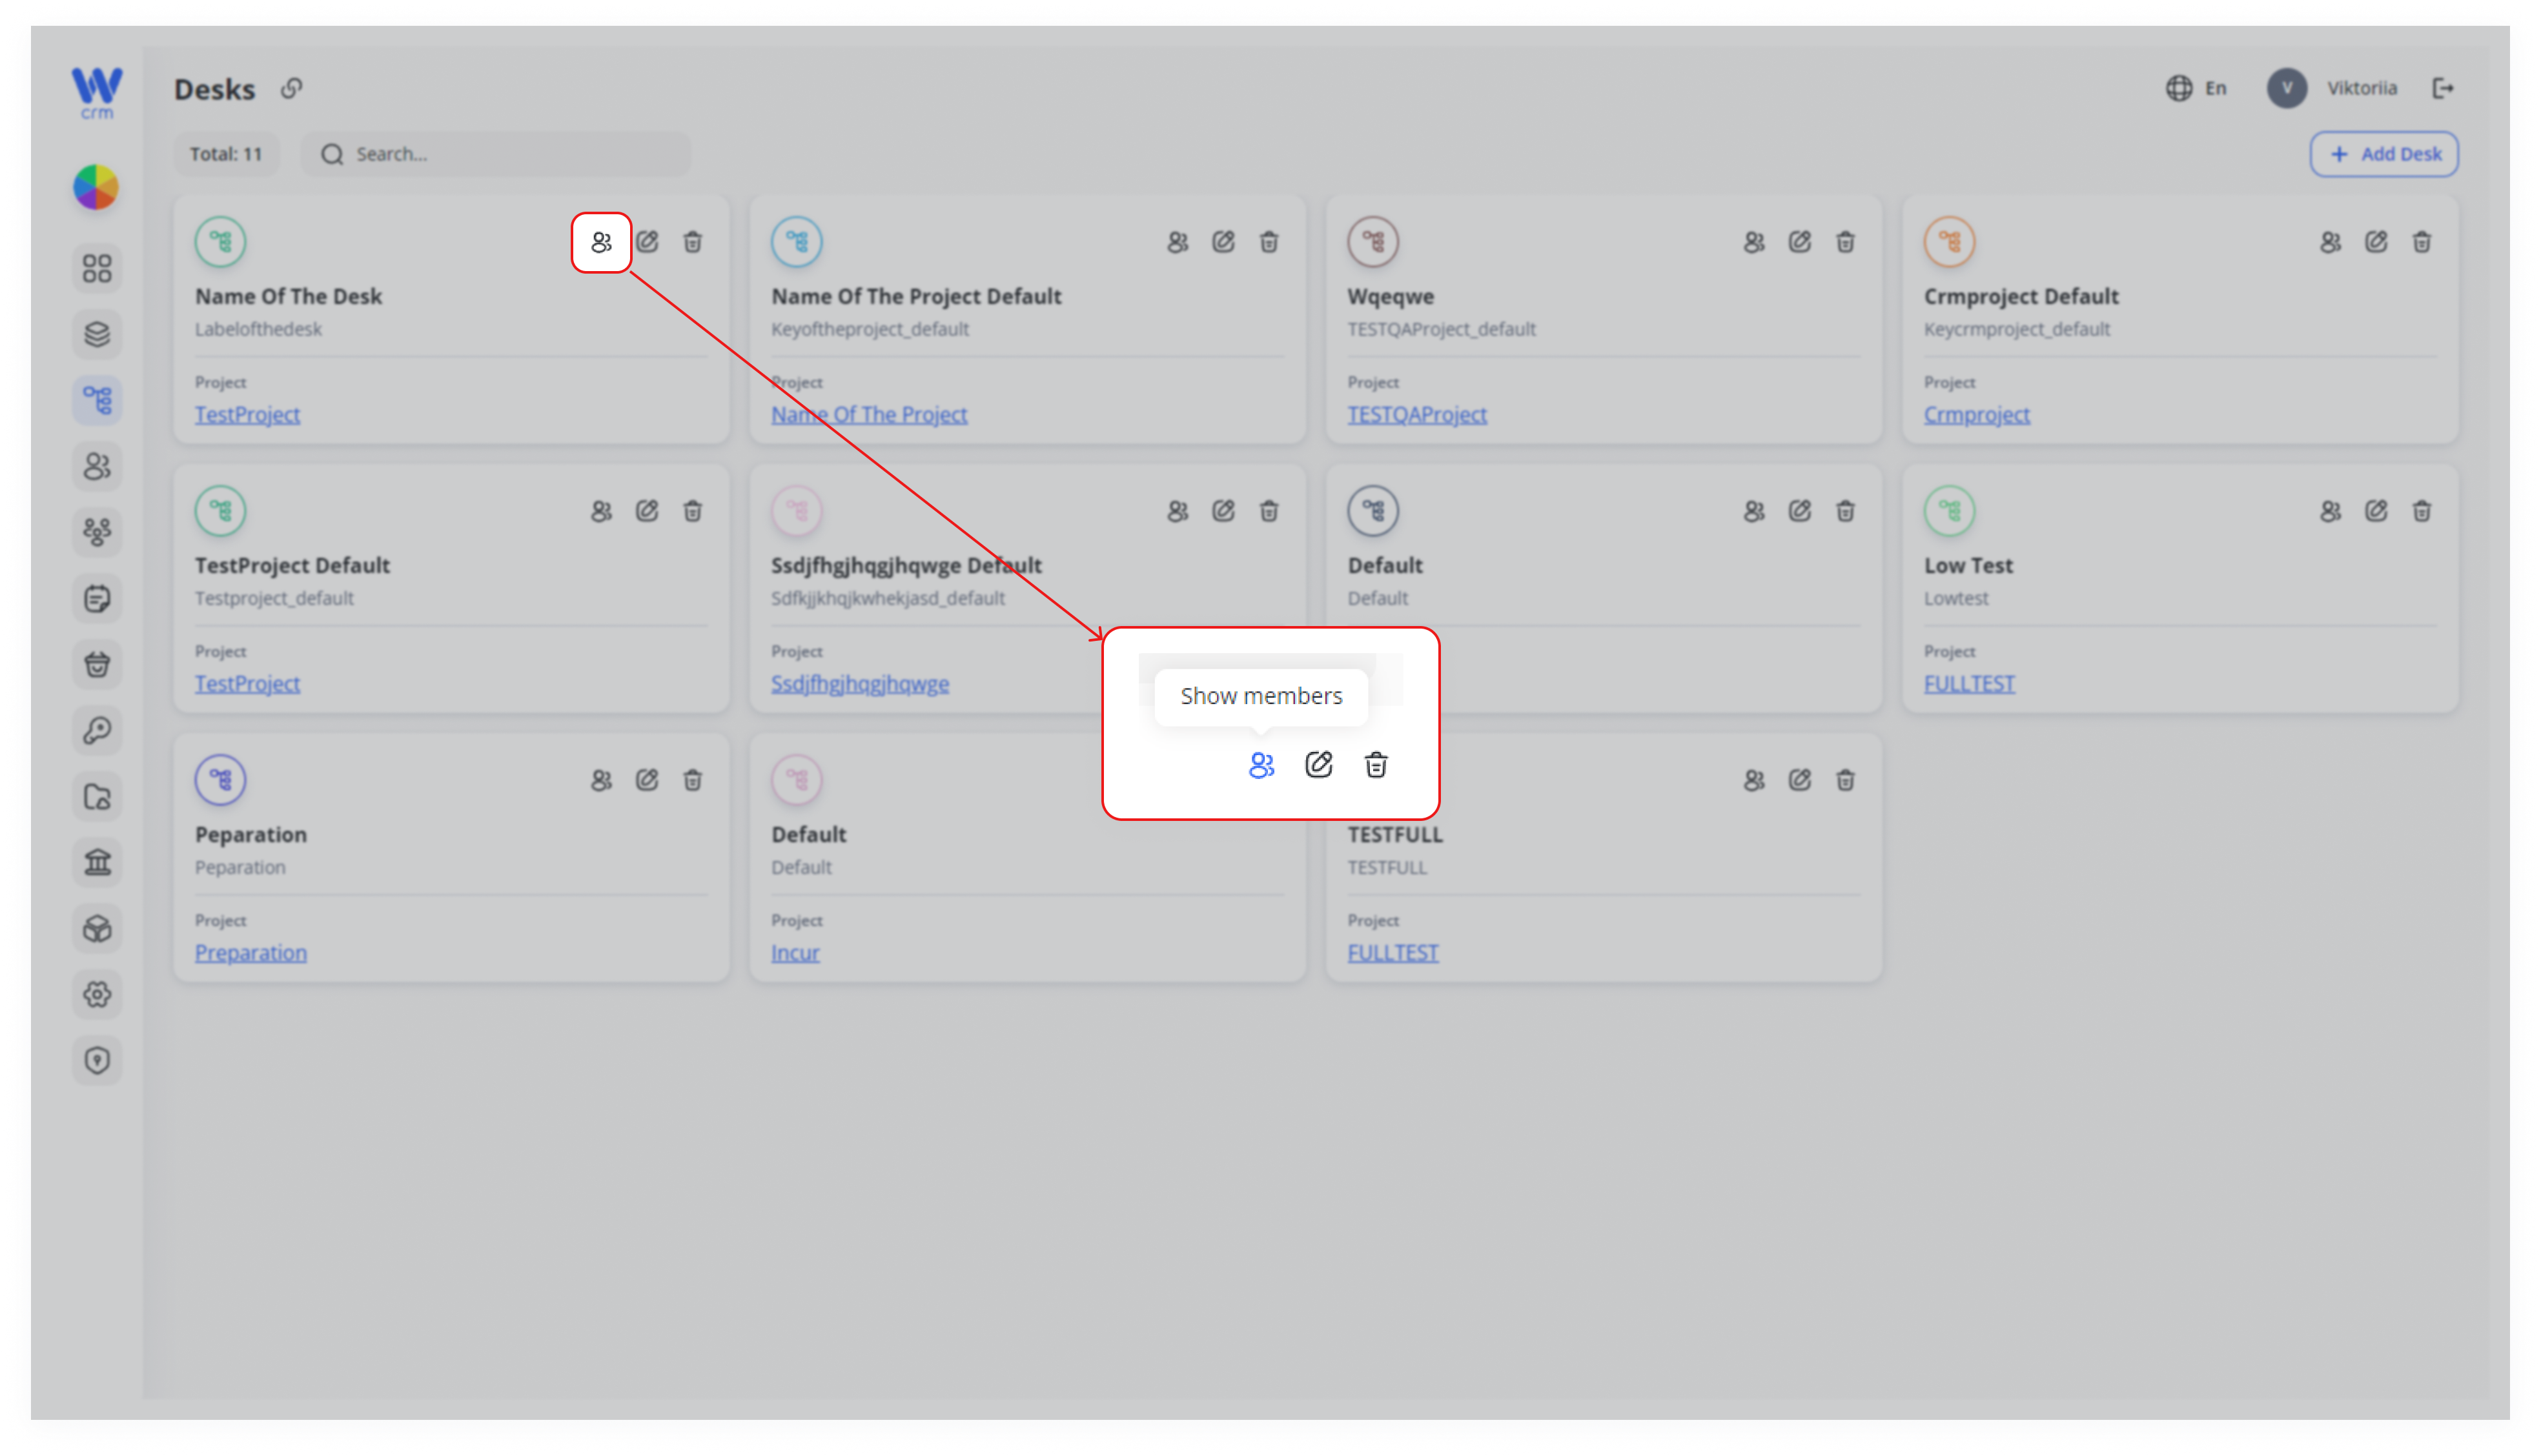
You can also see the full list via the Desks tab. For that, click on the Show members icon in the window of the specific desk:
To delete a member:
-
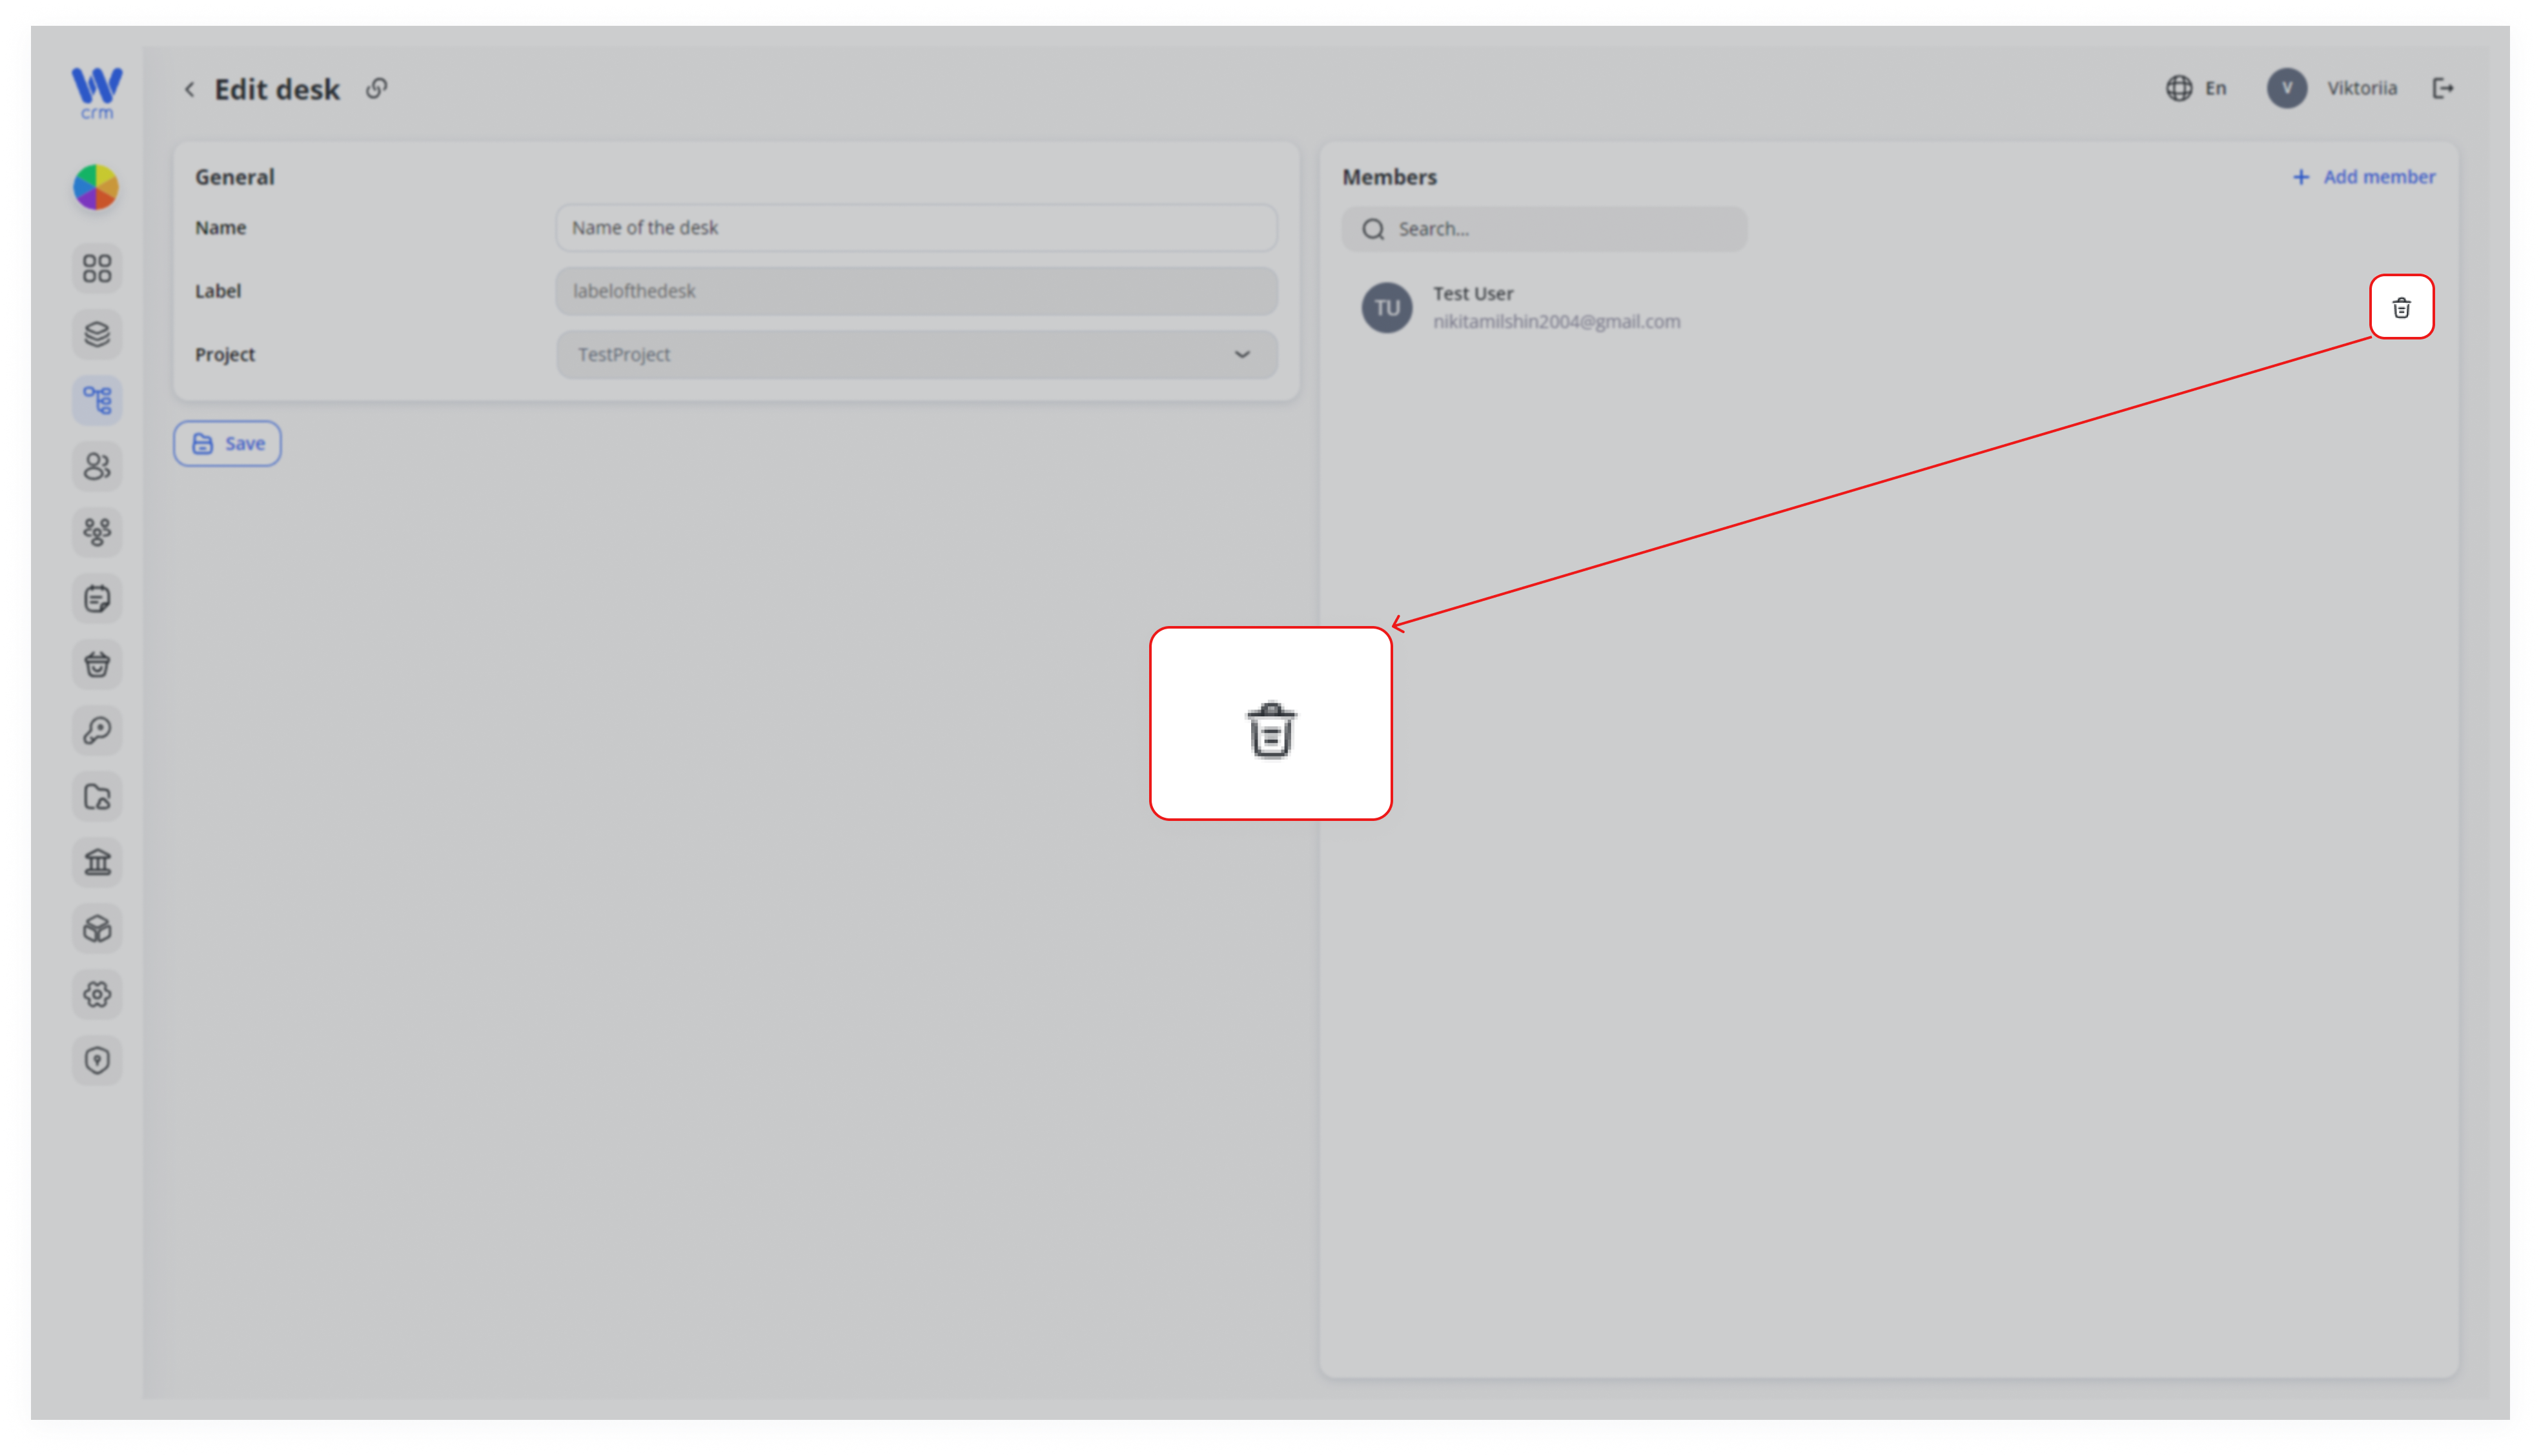
- Click the delete icon next to the member’s name:
- Click the delete icon next to the member’s name:
1. Open the Edit Window from the Desks List
From the left-hand nav, click Desks (1).
2. Hover over your target desk card and click the ✏️ Edit icon (2).
3. Change the Desk Name
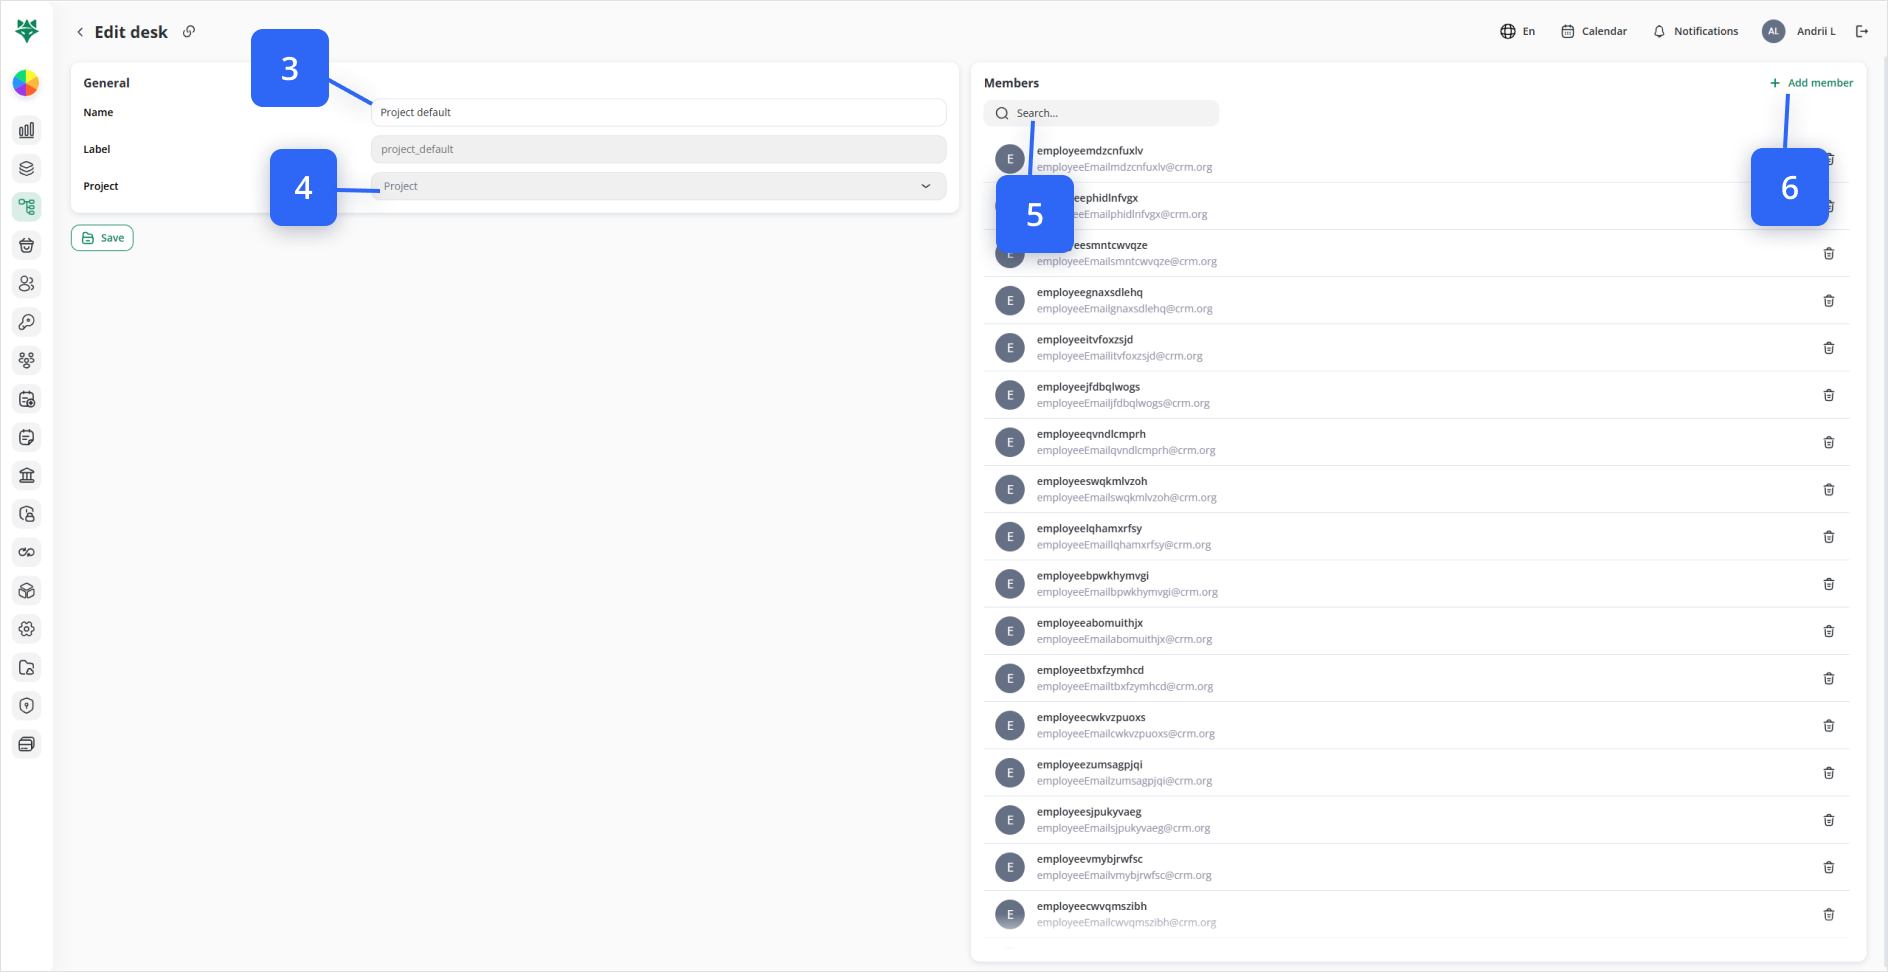
In the General section, update the Name field (3) as desired.
The Project dropdown (4) shows which project this desk belongs to and cannot be changed here.
4. Add a New Member
In the slide-out drawer, use Search… (5) to filter by email.
In the right-hand Members panel, click + Add member (6).
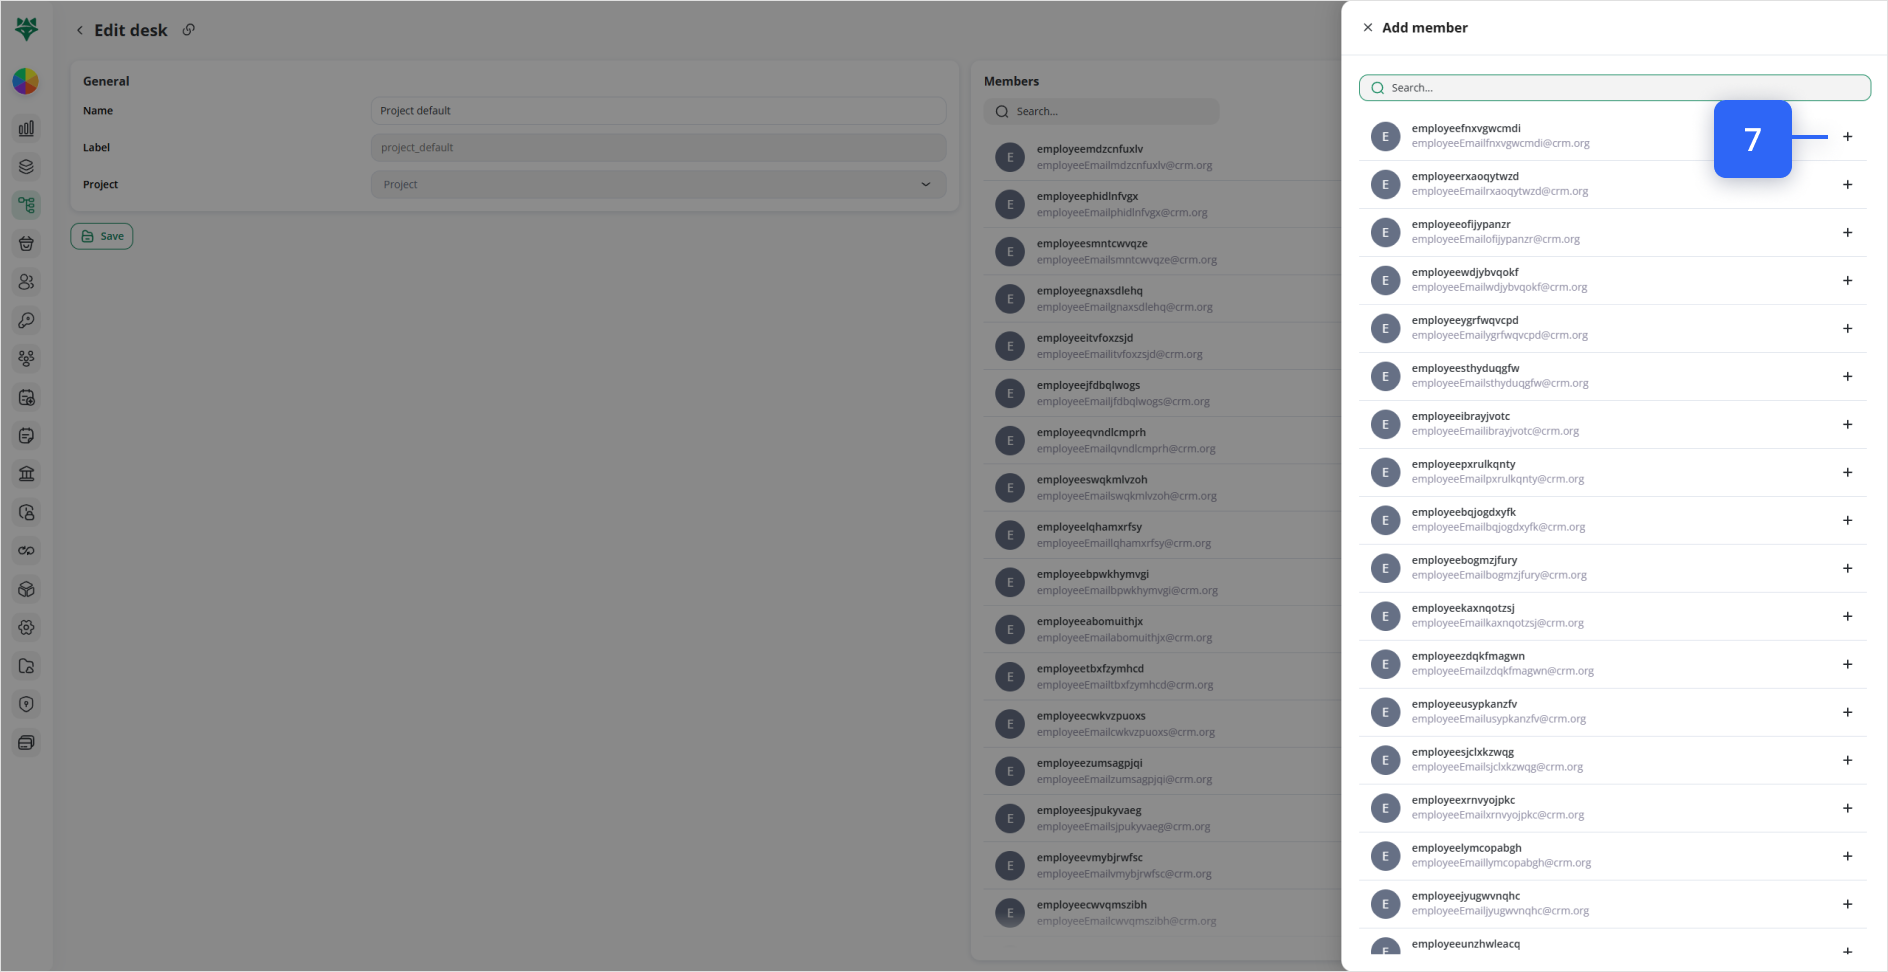
Click the + next to the user’s name— they’ll immediately join the desk (7).
Note: Only users already assigned to this desk’s project appear here. To expose more users, add them in Projects → [Your Project] → Members first.
5. Save All Changes
Click Save at the bottom-left of the form (8) to apply your edits.
6. View Members Without Editing
Back on the Desks tab, hover any desk card and click the 👥 Show members icon to peek its current member list (9).
7. Remove an Existing Member
In the Members panel, click the 🗑️ Delete icon (10) next to a user to remove them from this desk.