
5.3. How to Edit a Client
After creating a client, the Edit window will open automatically.
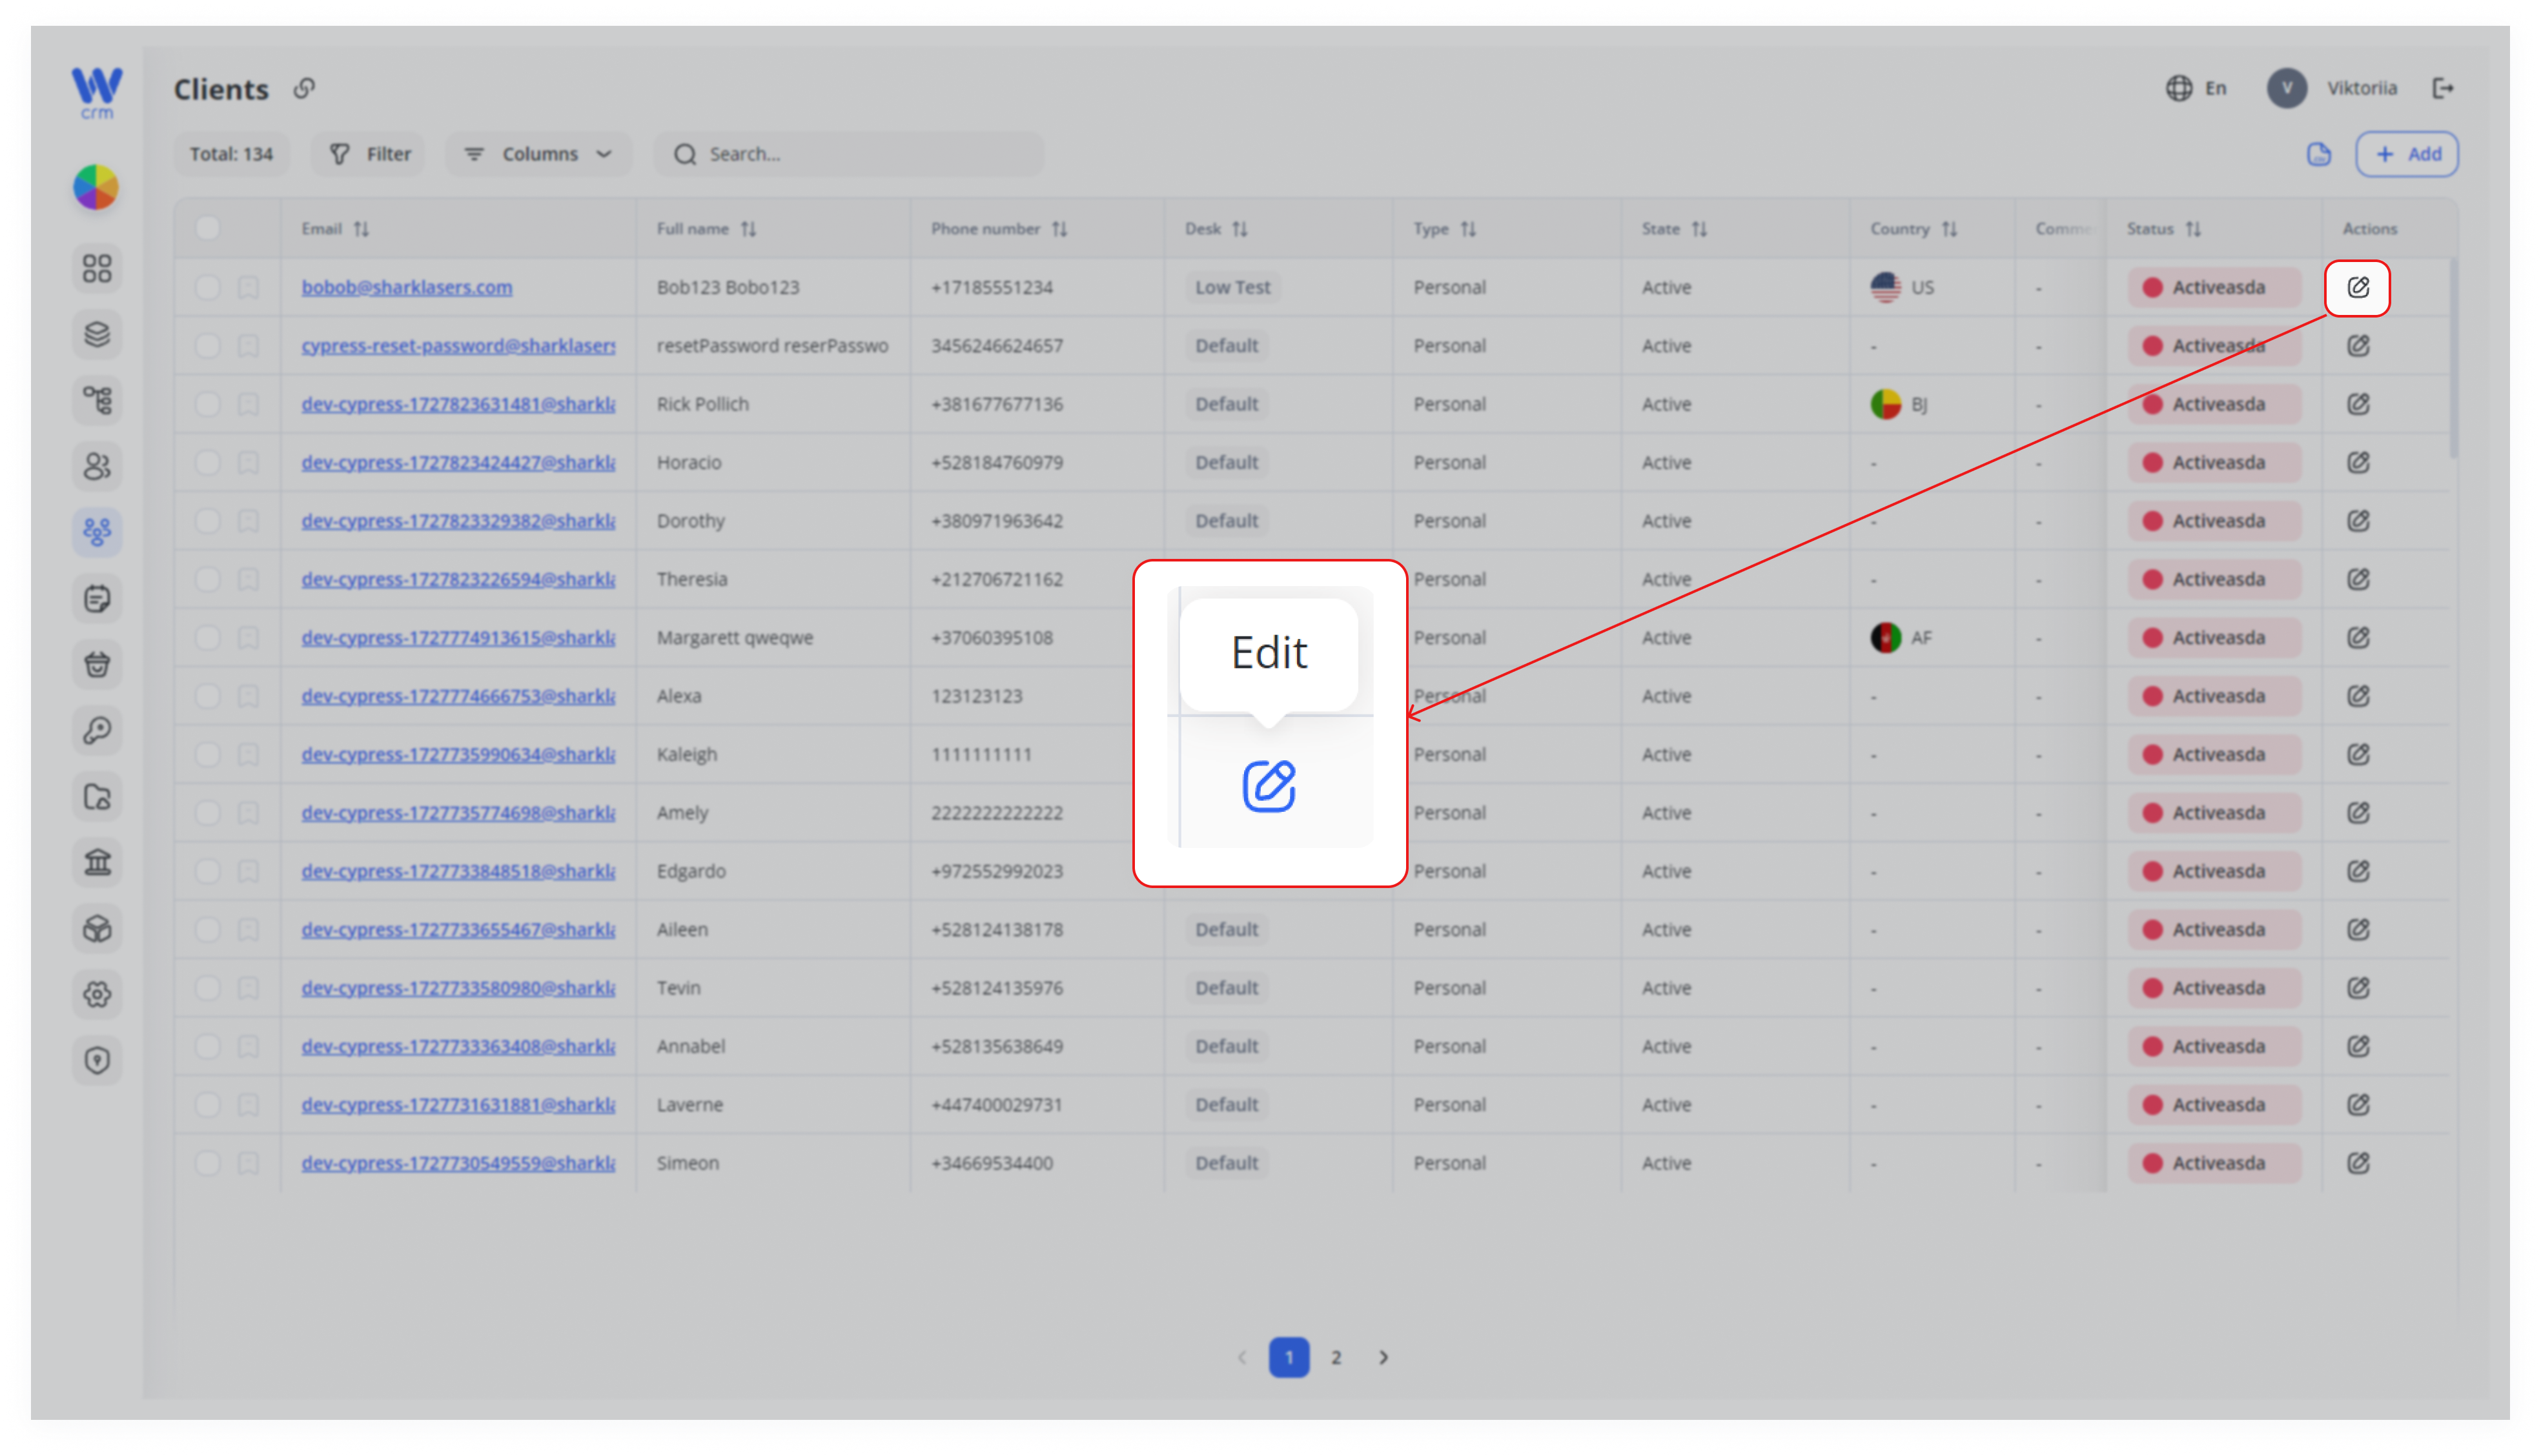
To open the Edit window from the Clients tab, click the edit icon in the Actions column of the specific client's row:
In the Edit window, you can:
-
-
Edit the client’s information that you entered during the creation stage (except for type and project). This also includes reassigning clients to another desk or status.
-
Add or edit Actions: comments, notes, and other relevant information within the CRM.
-
Add or edit Requests: for instance, support tickets, call requests, etc.
-
Upload Documents: passport or ID, and bank card (front and back).
-
Check the client’s Transactions.
-
Add or edit client’s Accounts with Assets (currency and balance on this account).
-
Note: Information about current client’s Requests, Transactions and Accounts pull up automatically from relevant modules.
To add an Action:
1. Open the Actions tab.
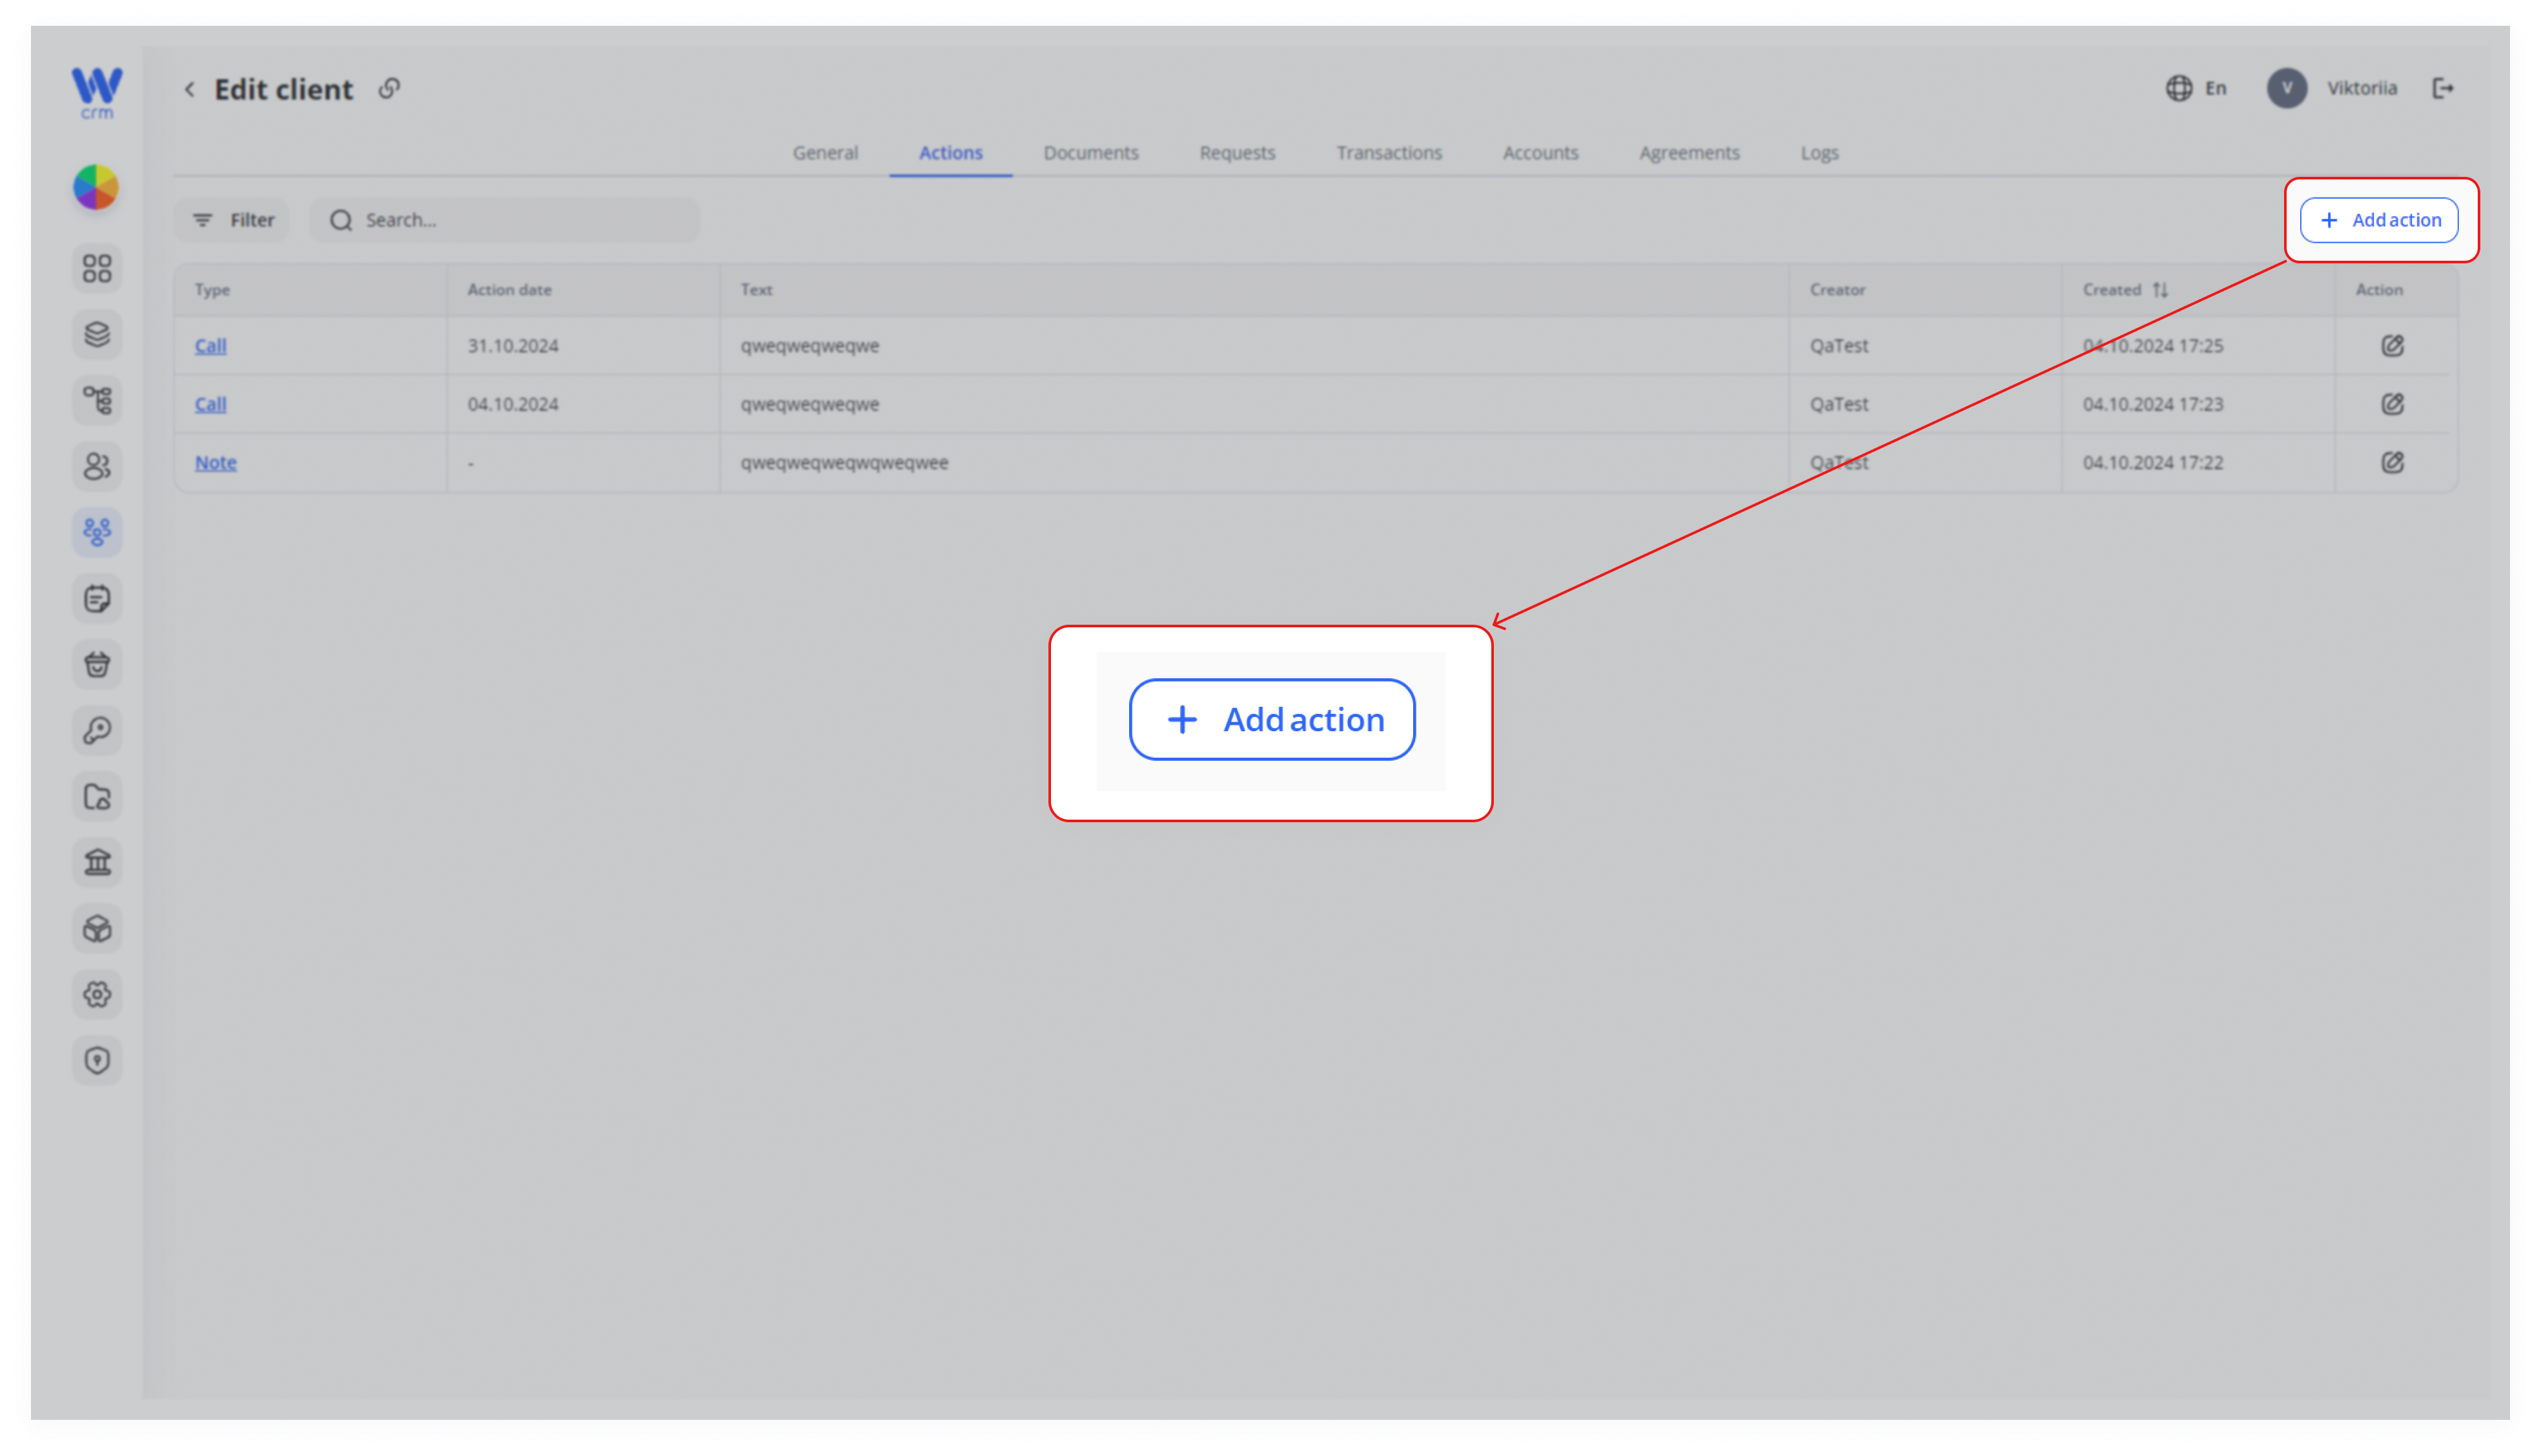
2. Click on the Add action button in the top right.
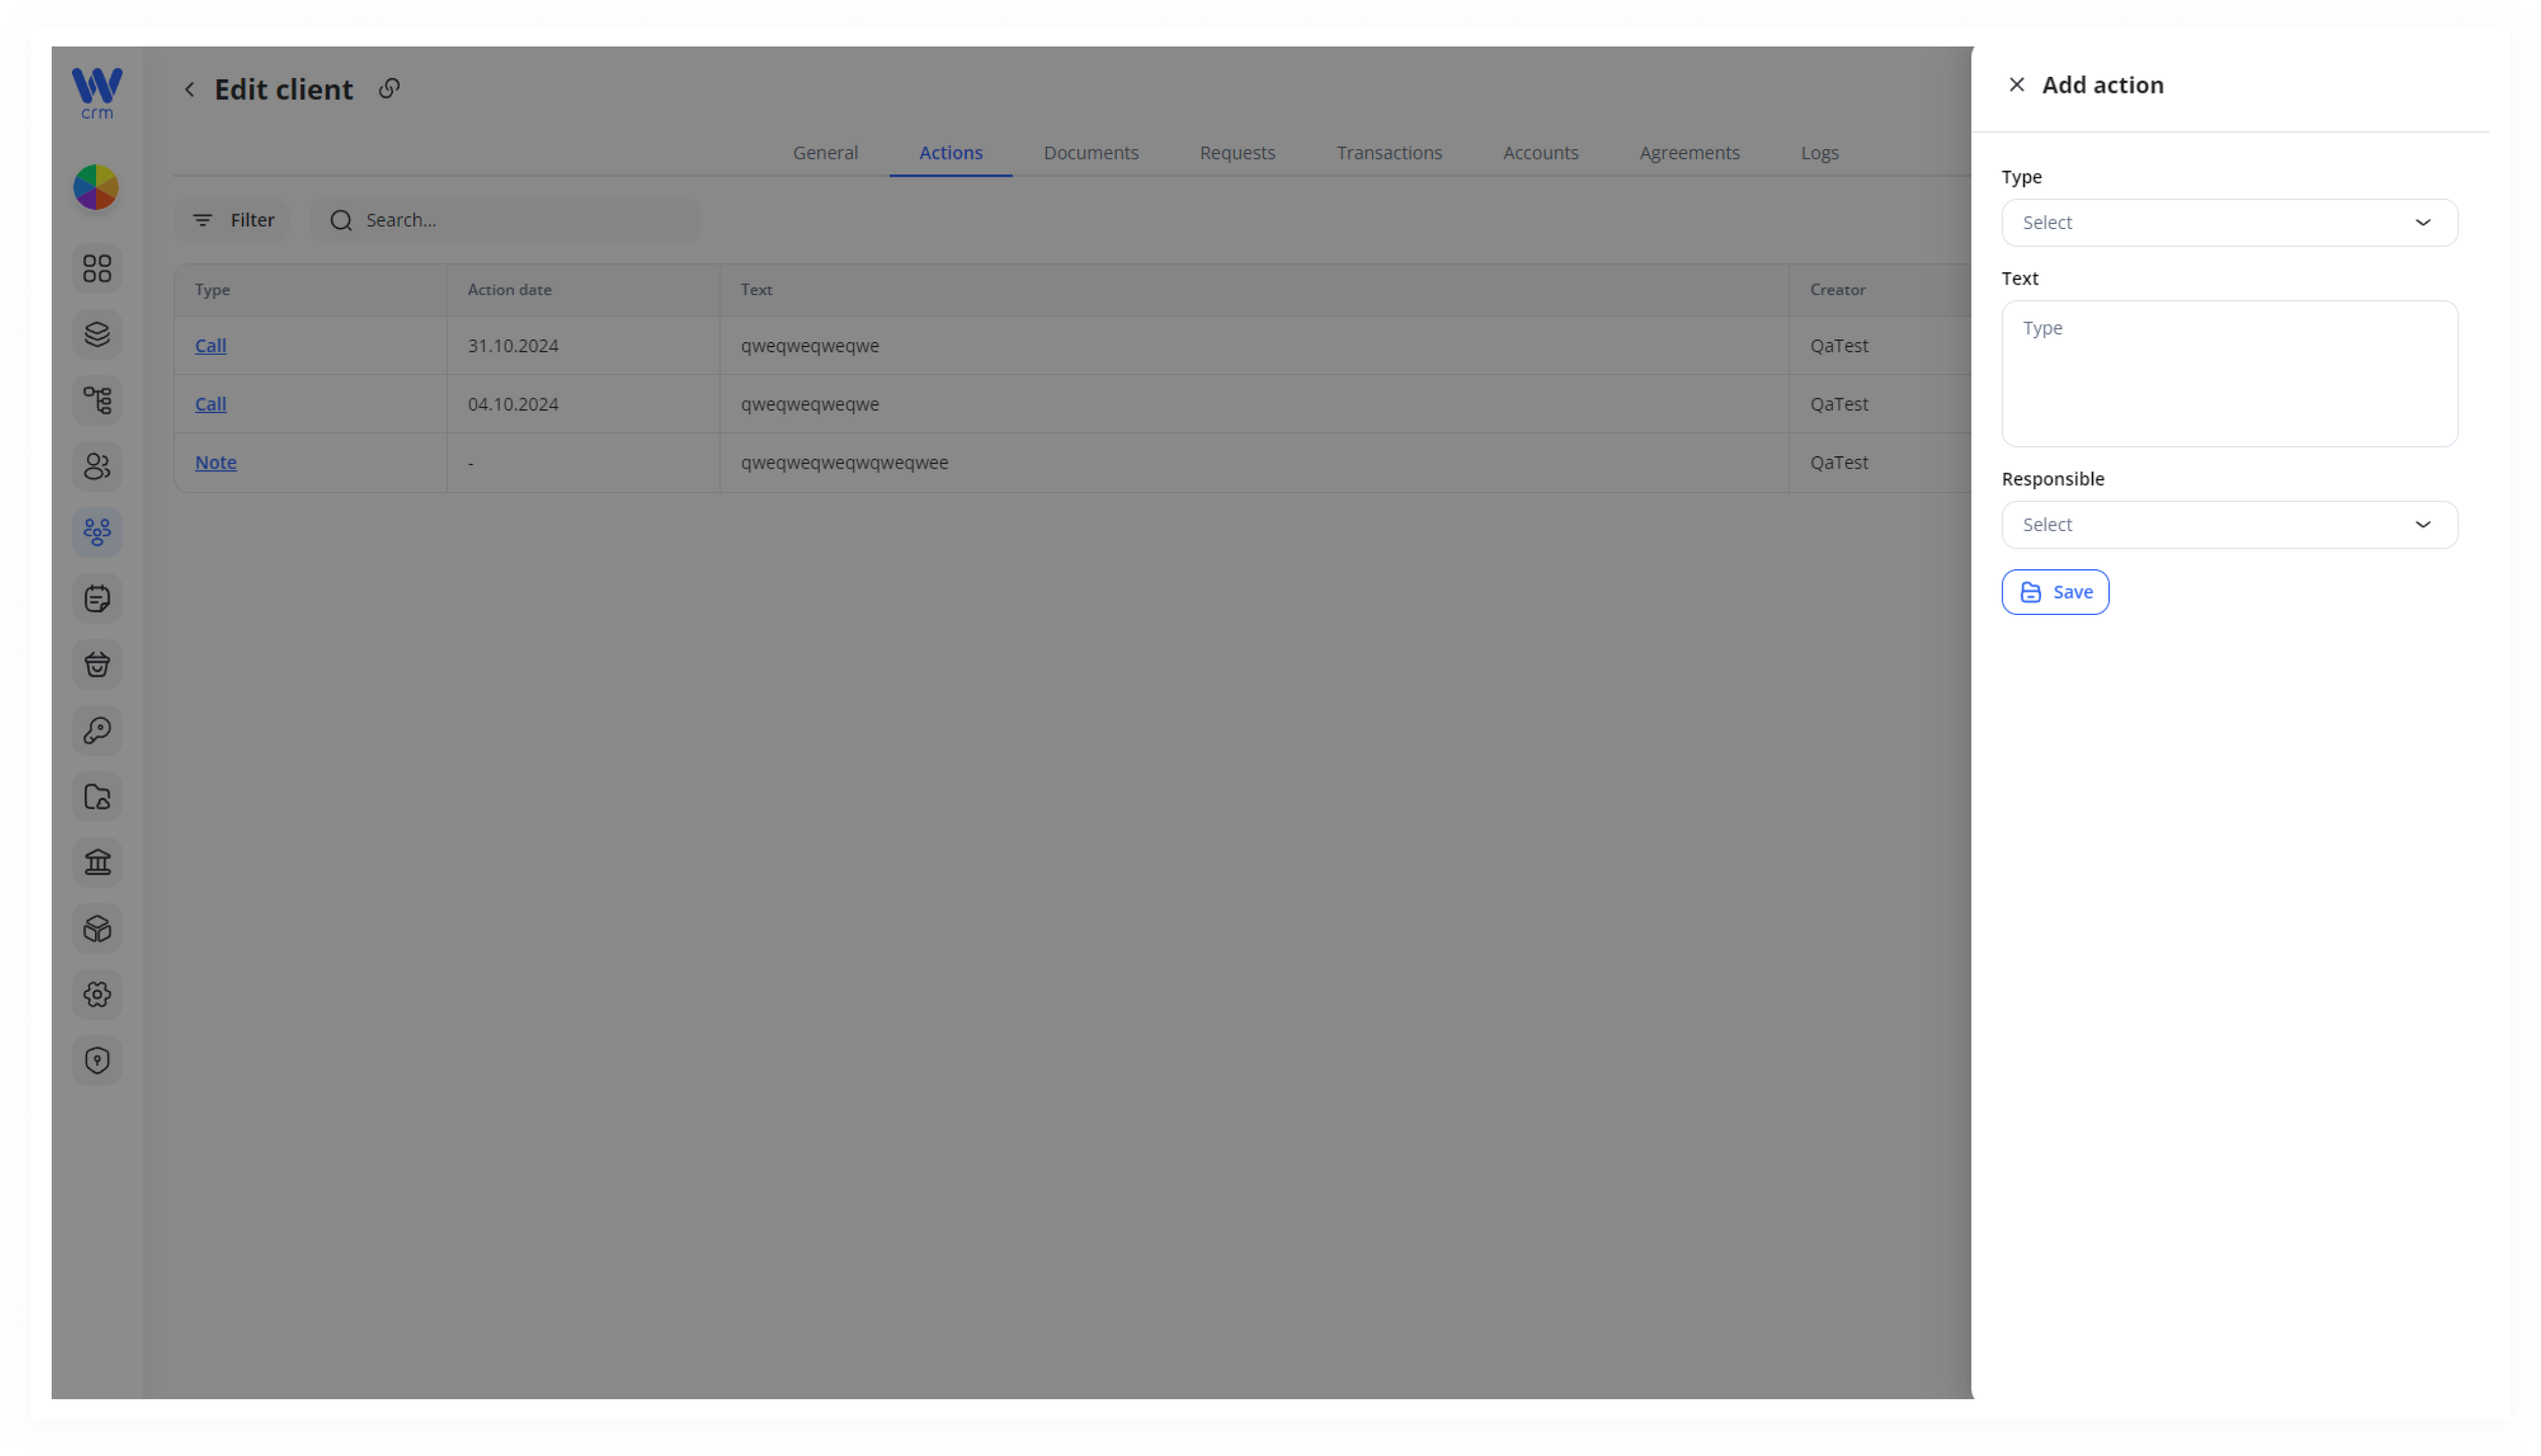
3. A window will open where you can fill in the action's details. Enter or select from the drop-down list:
-
-
-
Type: Select Note, Call, or Comment.
-
Text: The details of the action.
-
Action Date: Only available for the Call type.
-
Responsible: The employee responsible for the action. Available only for Call and Comment types.
-
-
4. Click Save to apply the changes.
Note: You can edit Actions but cannot delete them. You also cannot change the type of the action after its creation.
To add a Request:
-
- Open the Requests tab.
- Click on the Add Request button in the top right.

3. A window will open where you can fill in the request's details. Enter or select from the drop-down list:

-
-
-
Name
-
Time Range
-
Project
-
Description
-
Additional Information
-
Attached Files
-
-
4. Click Save to apply the changes.
To add an Account:
-
-
Open the Accounts tab.
-
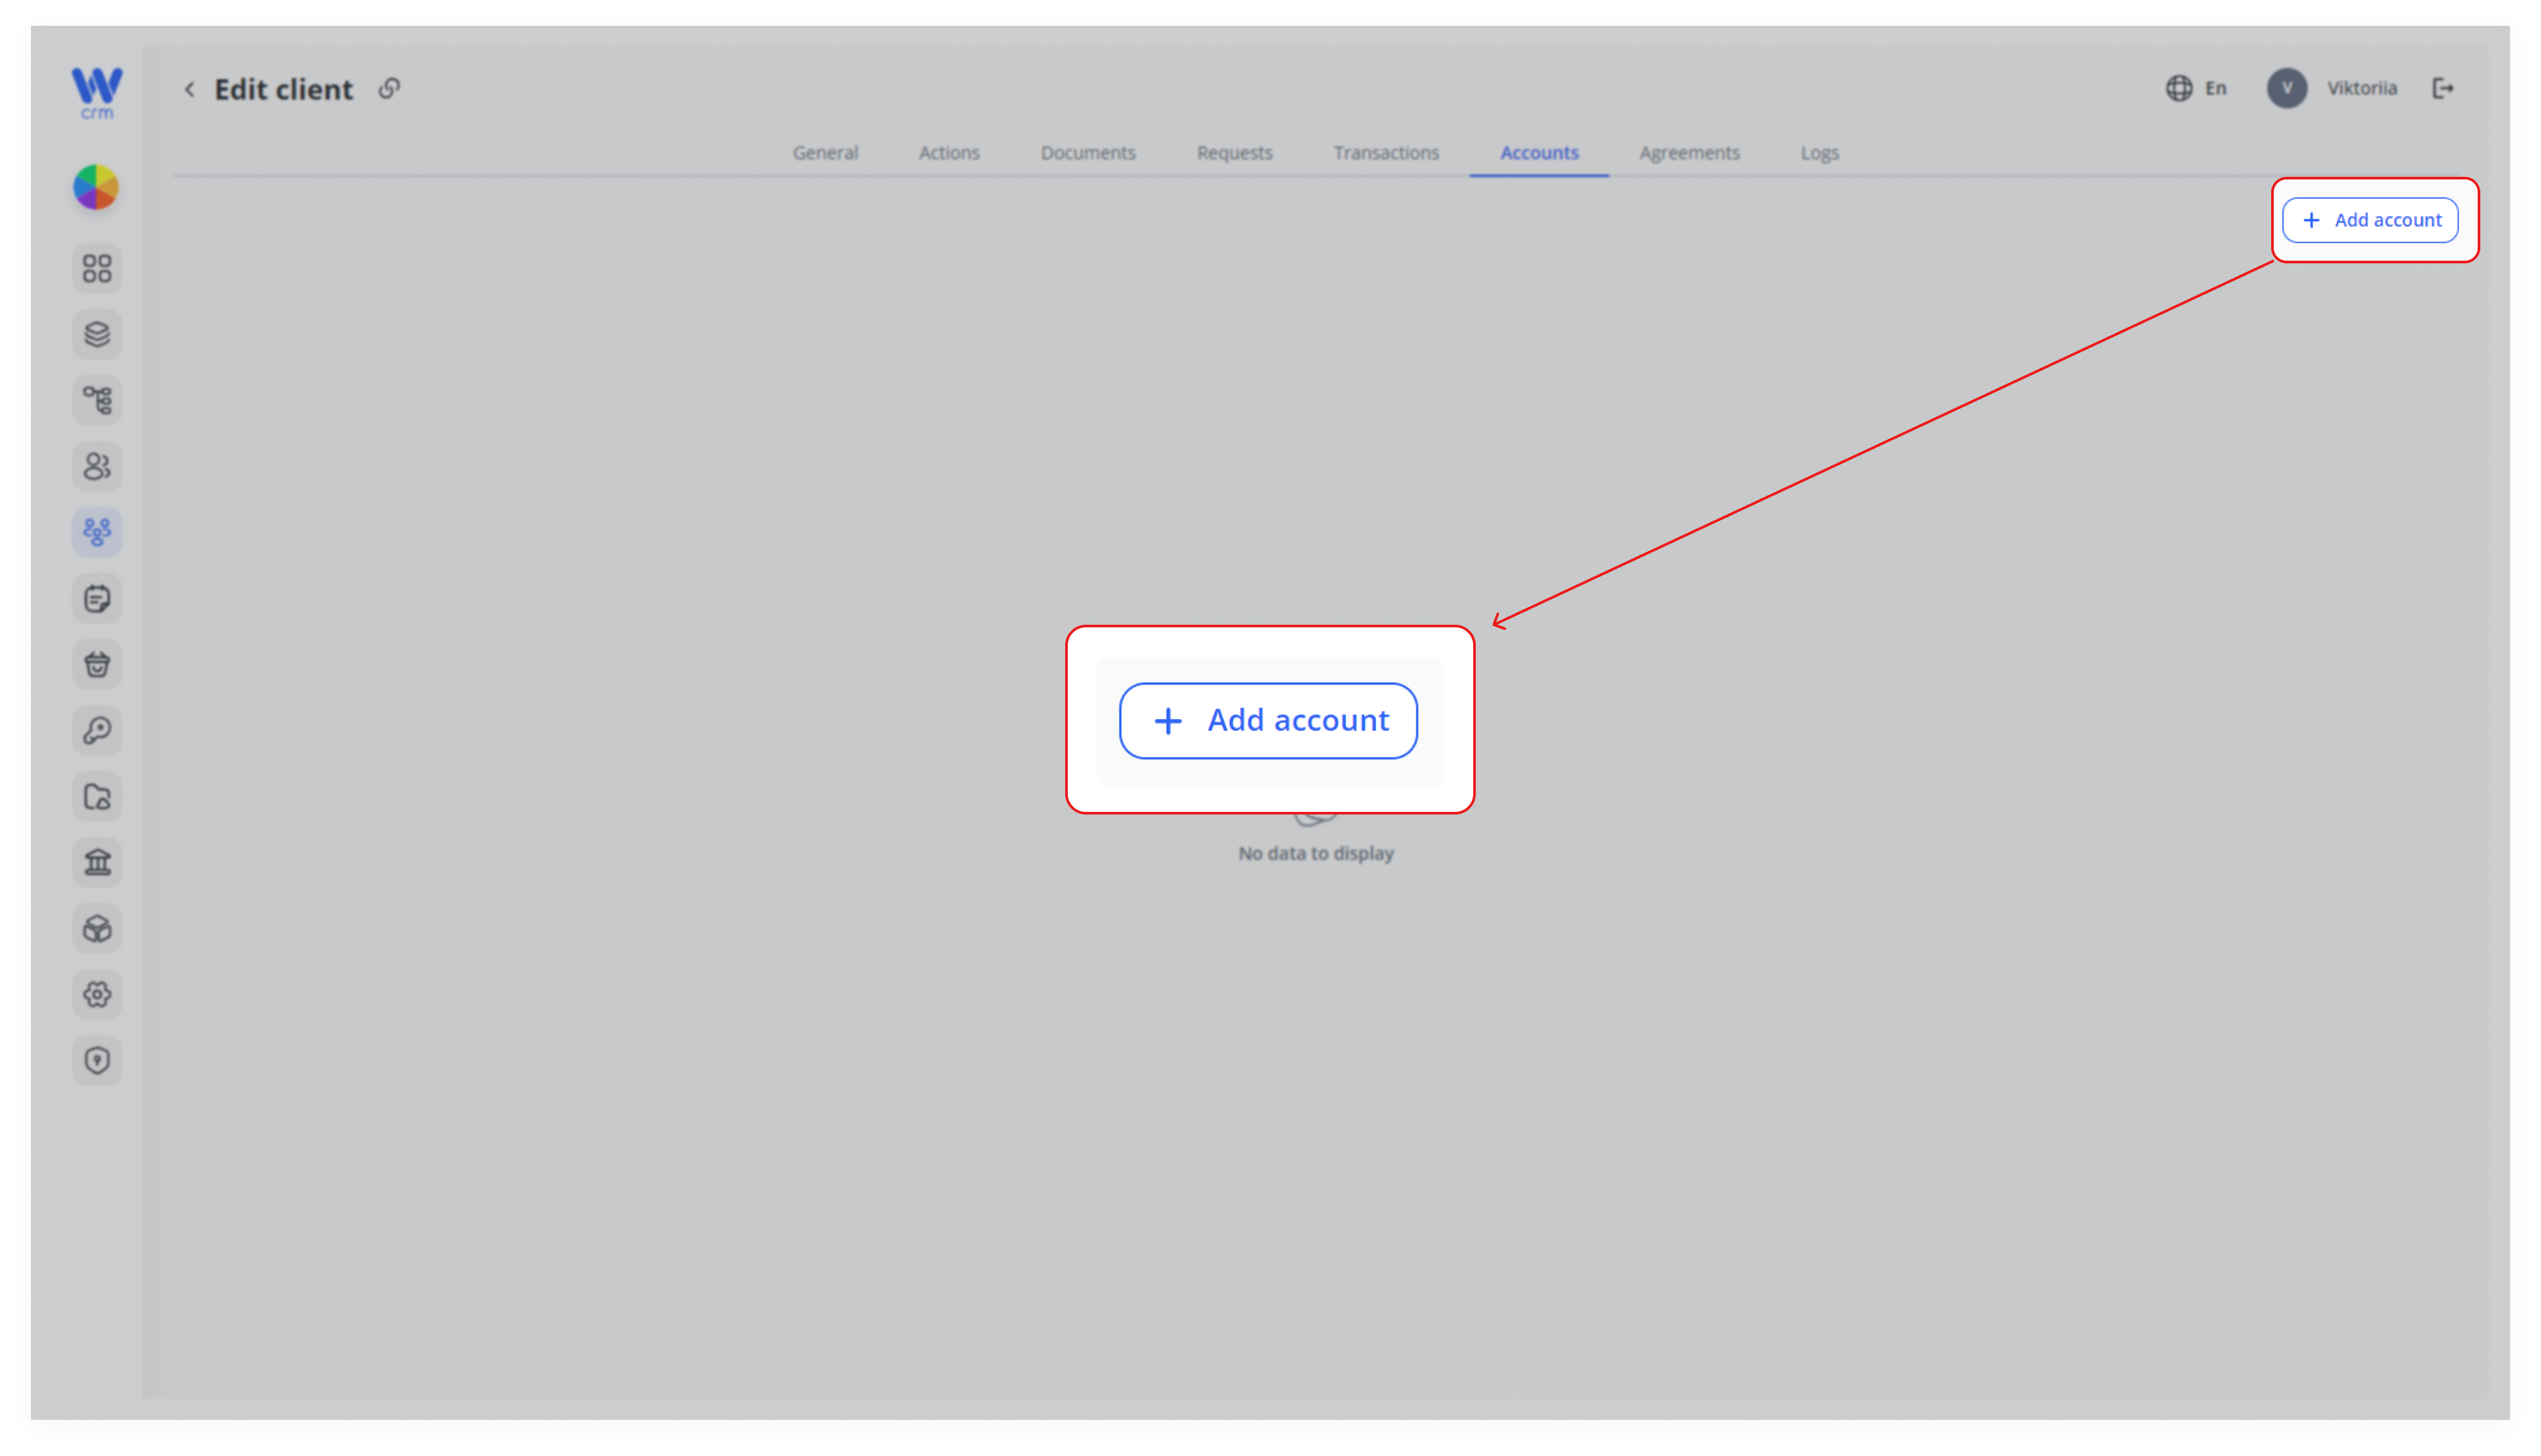
Click on the Add account button.
-
3. Select from the drop-down list Type of the account.
4. If known, fill in External ID to connect the account with bank etc.
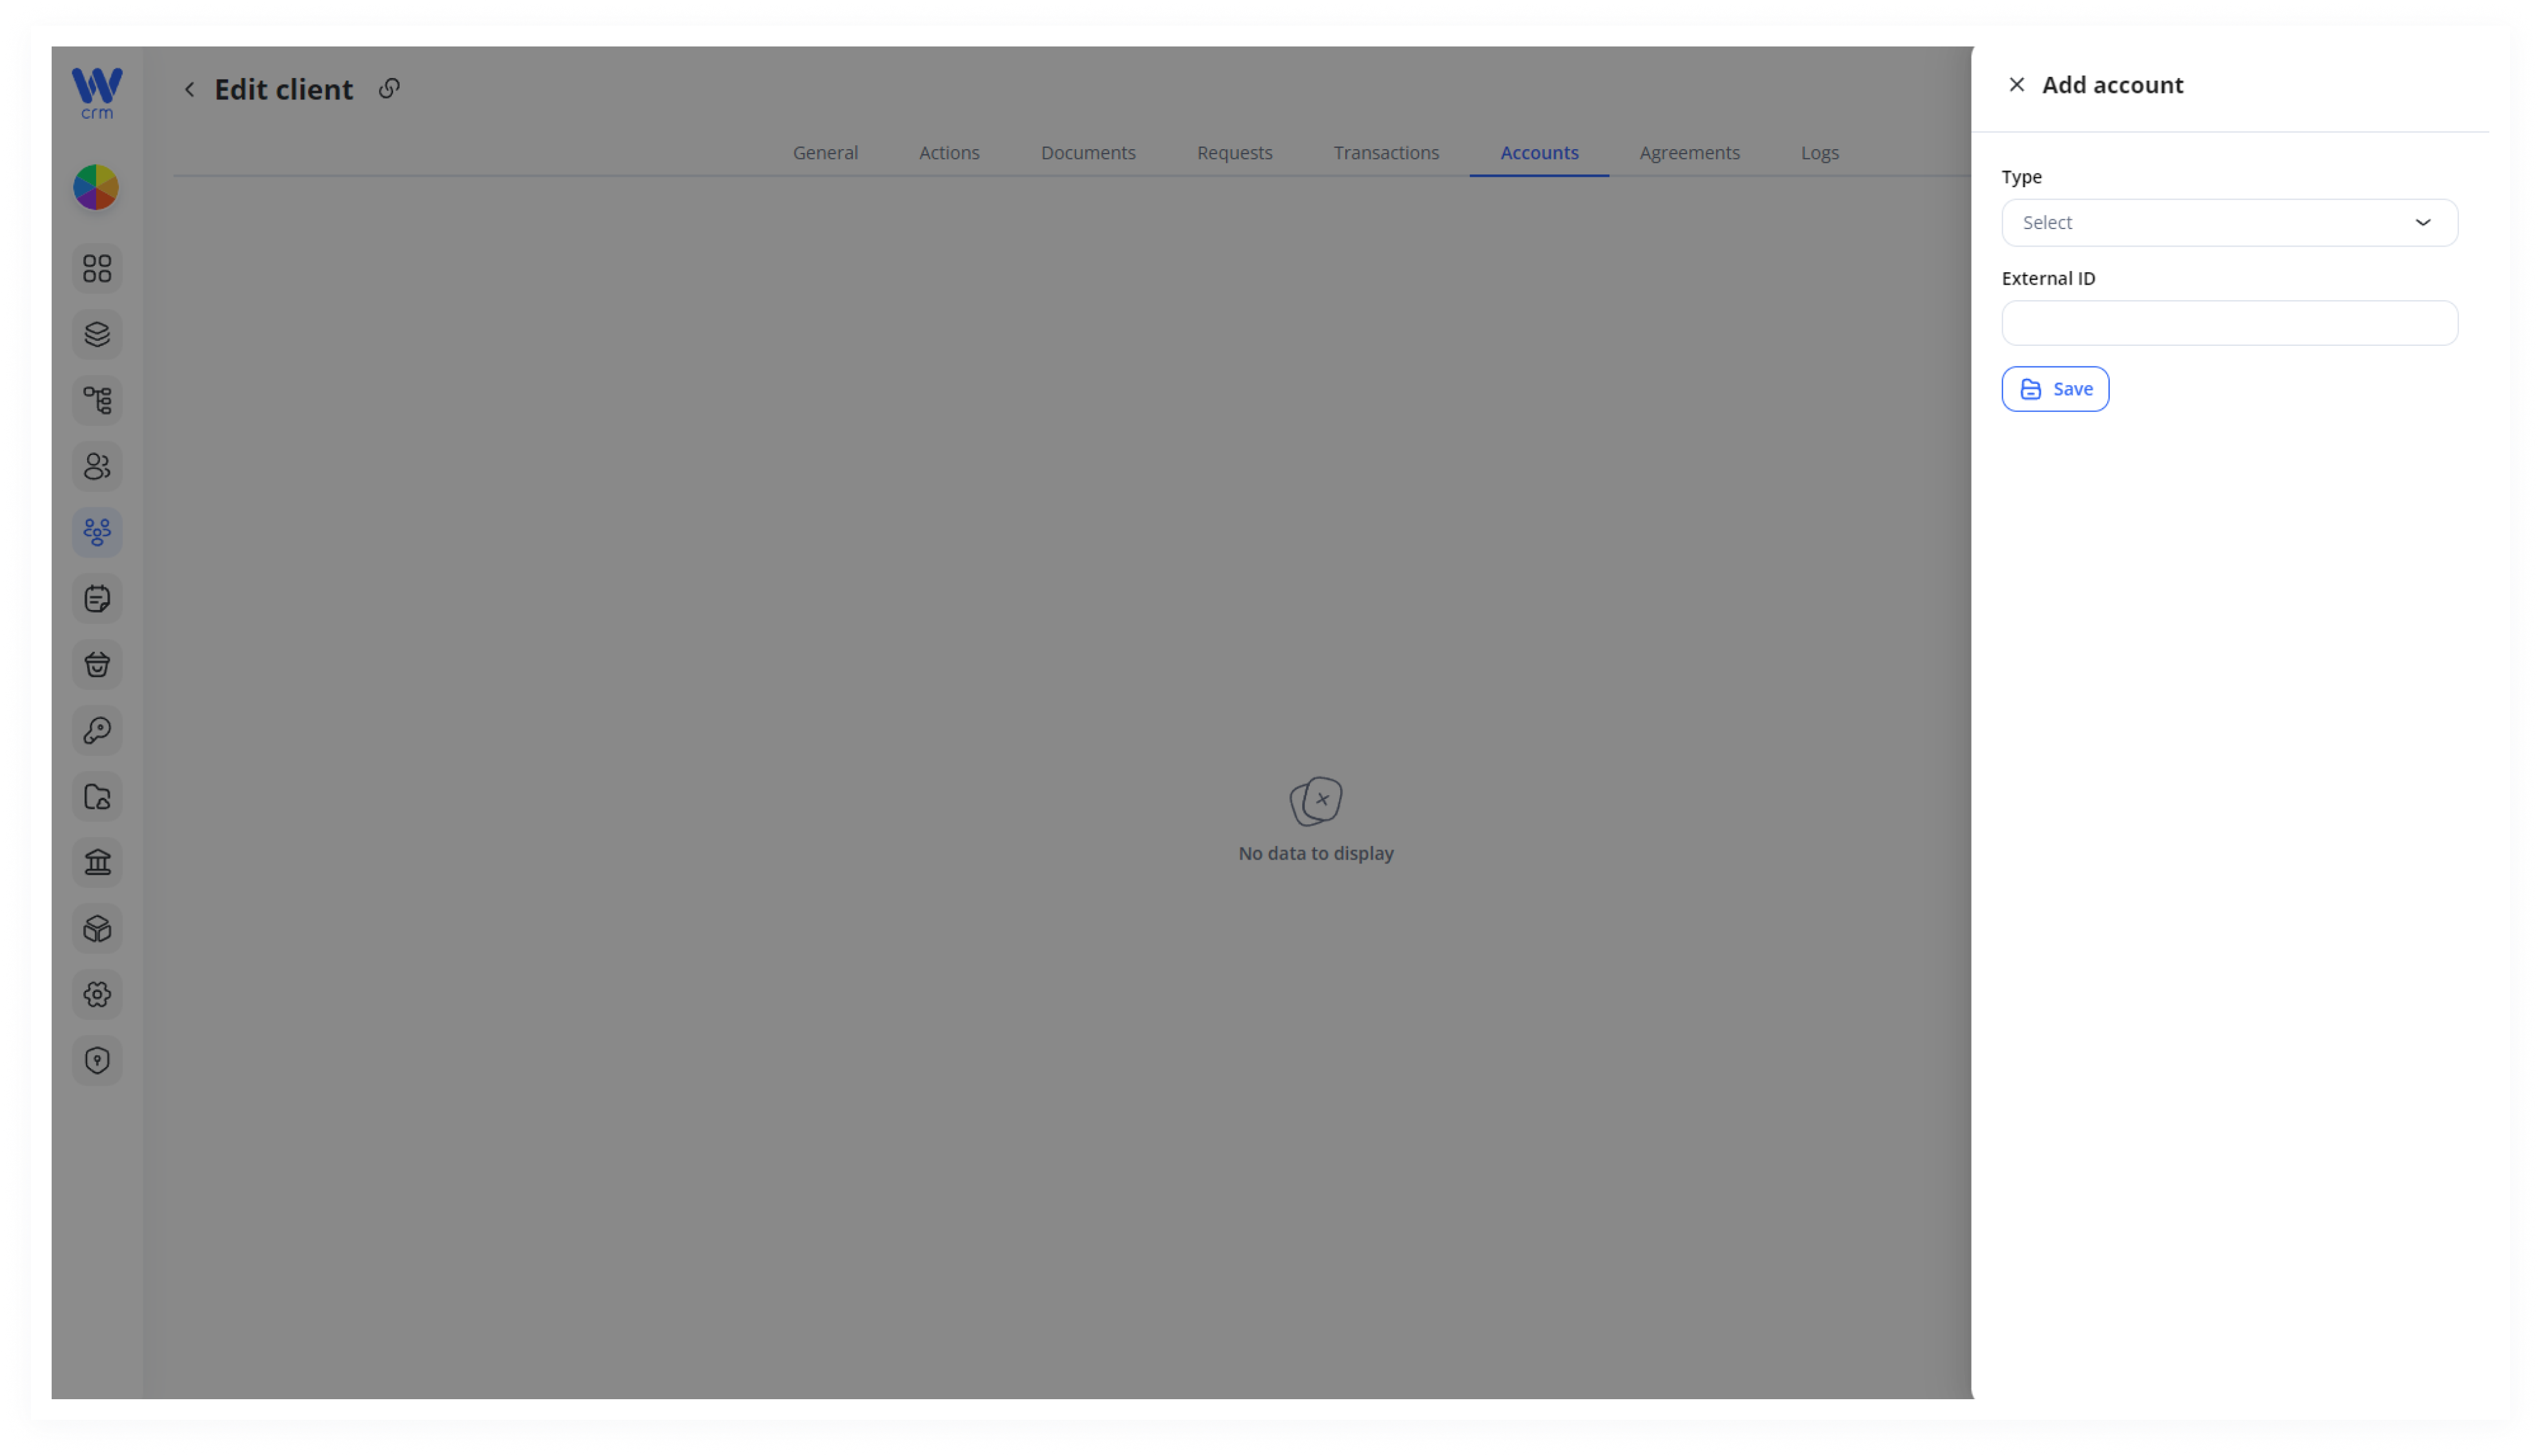
5. Click Save to apply the changes.
To add an Asset to the account:
-
- Click on the Add asset icon at the account’s row.
- Click on the Add asset icon at the account’s row.
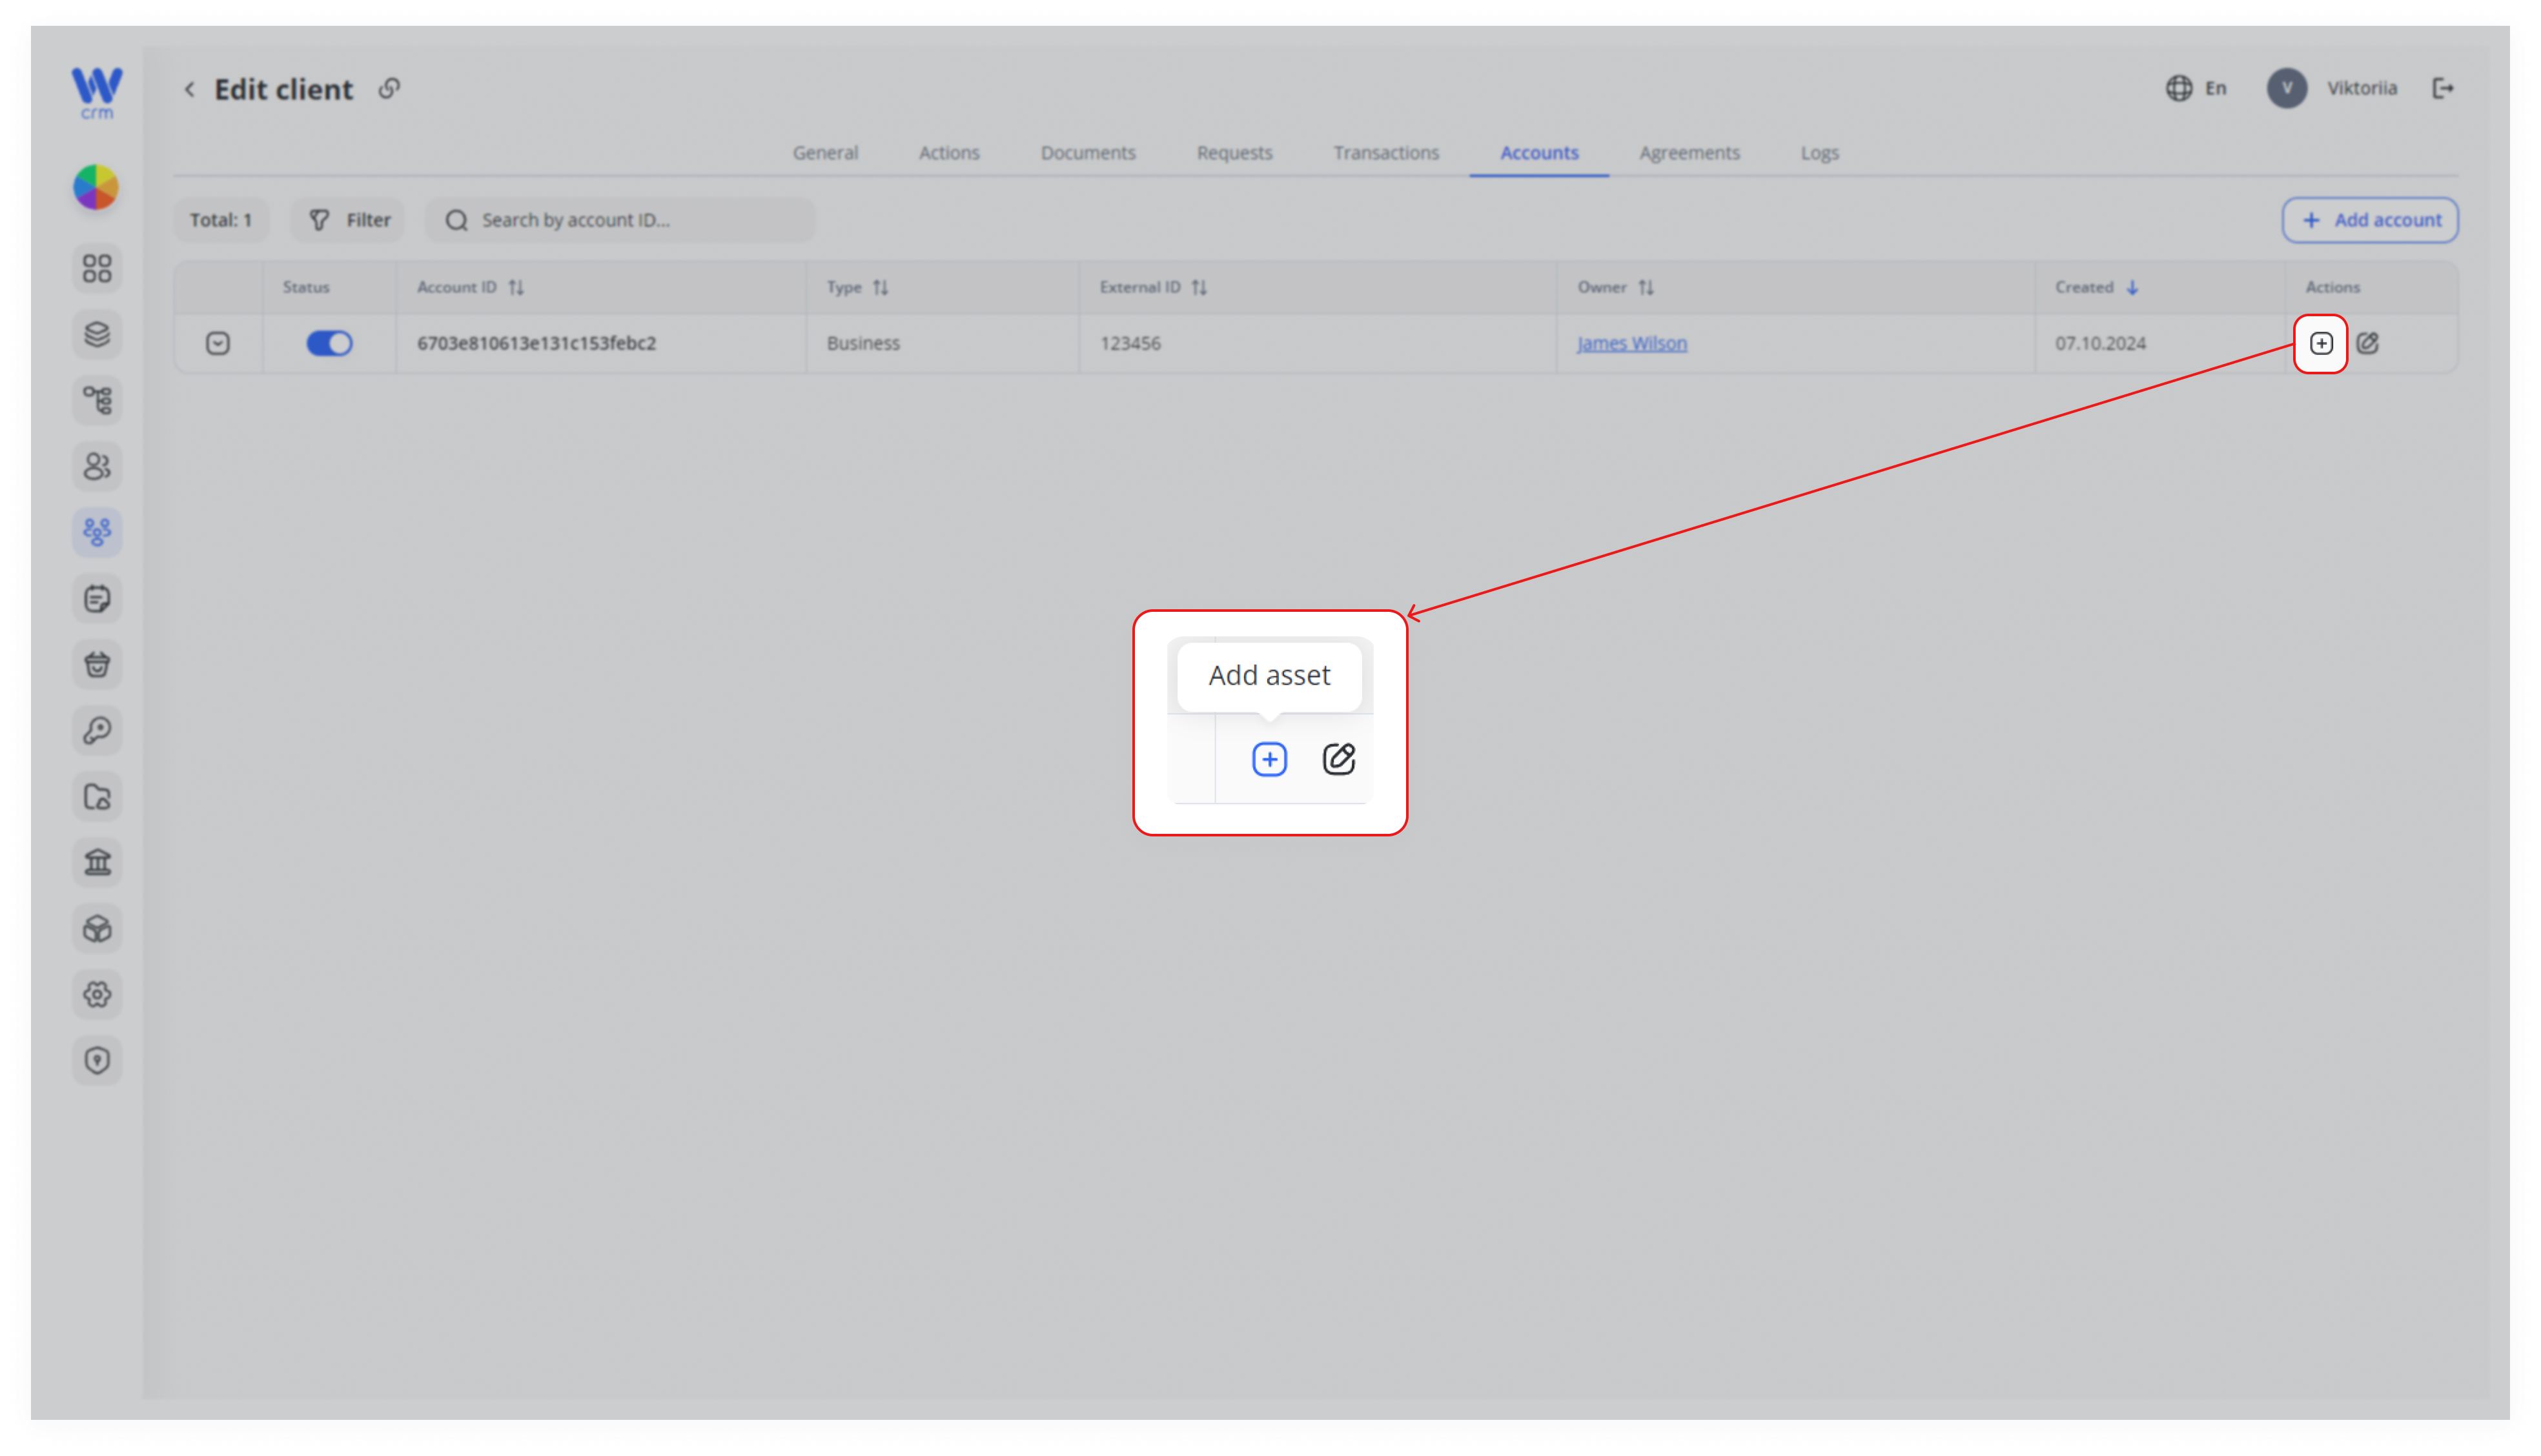
2. Select Currency. The system will automatically identify its type.
3. Fill in Balance. For fiat currencies also optionally fill in or select from the drop-down list Address, External ID and Bank.
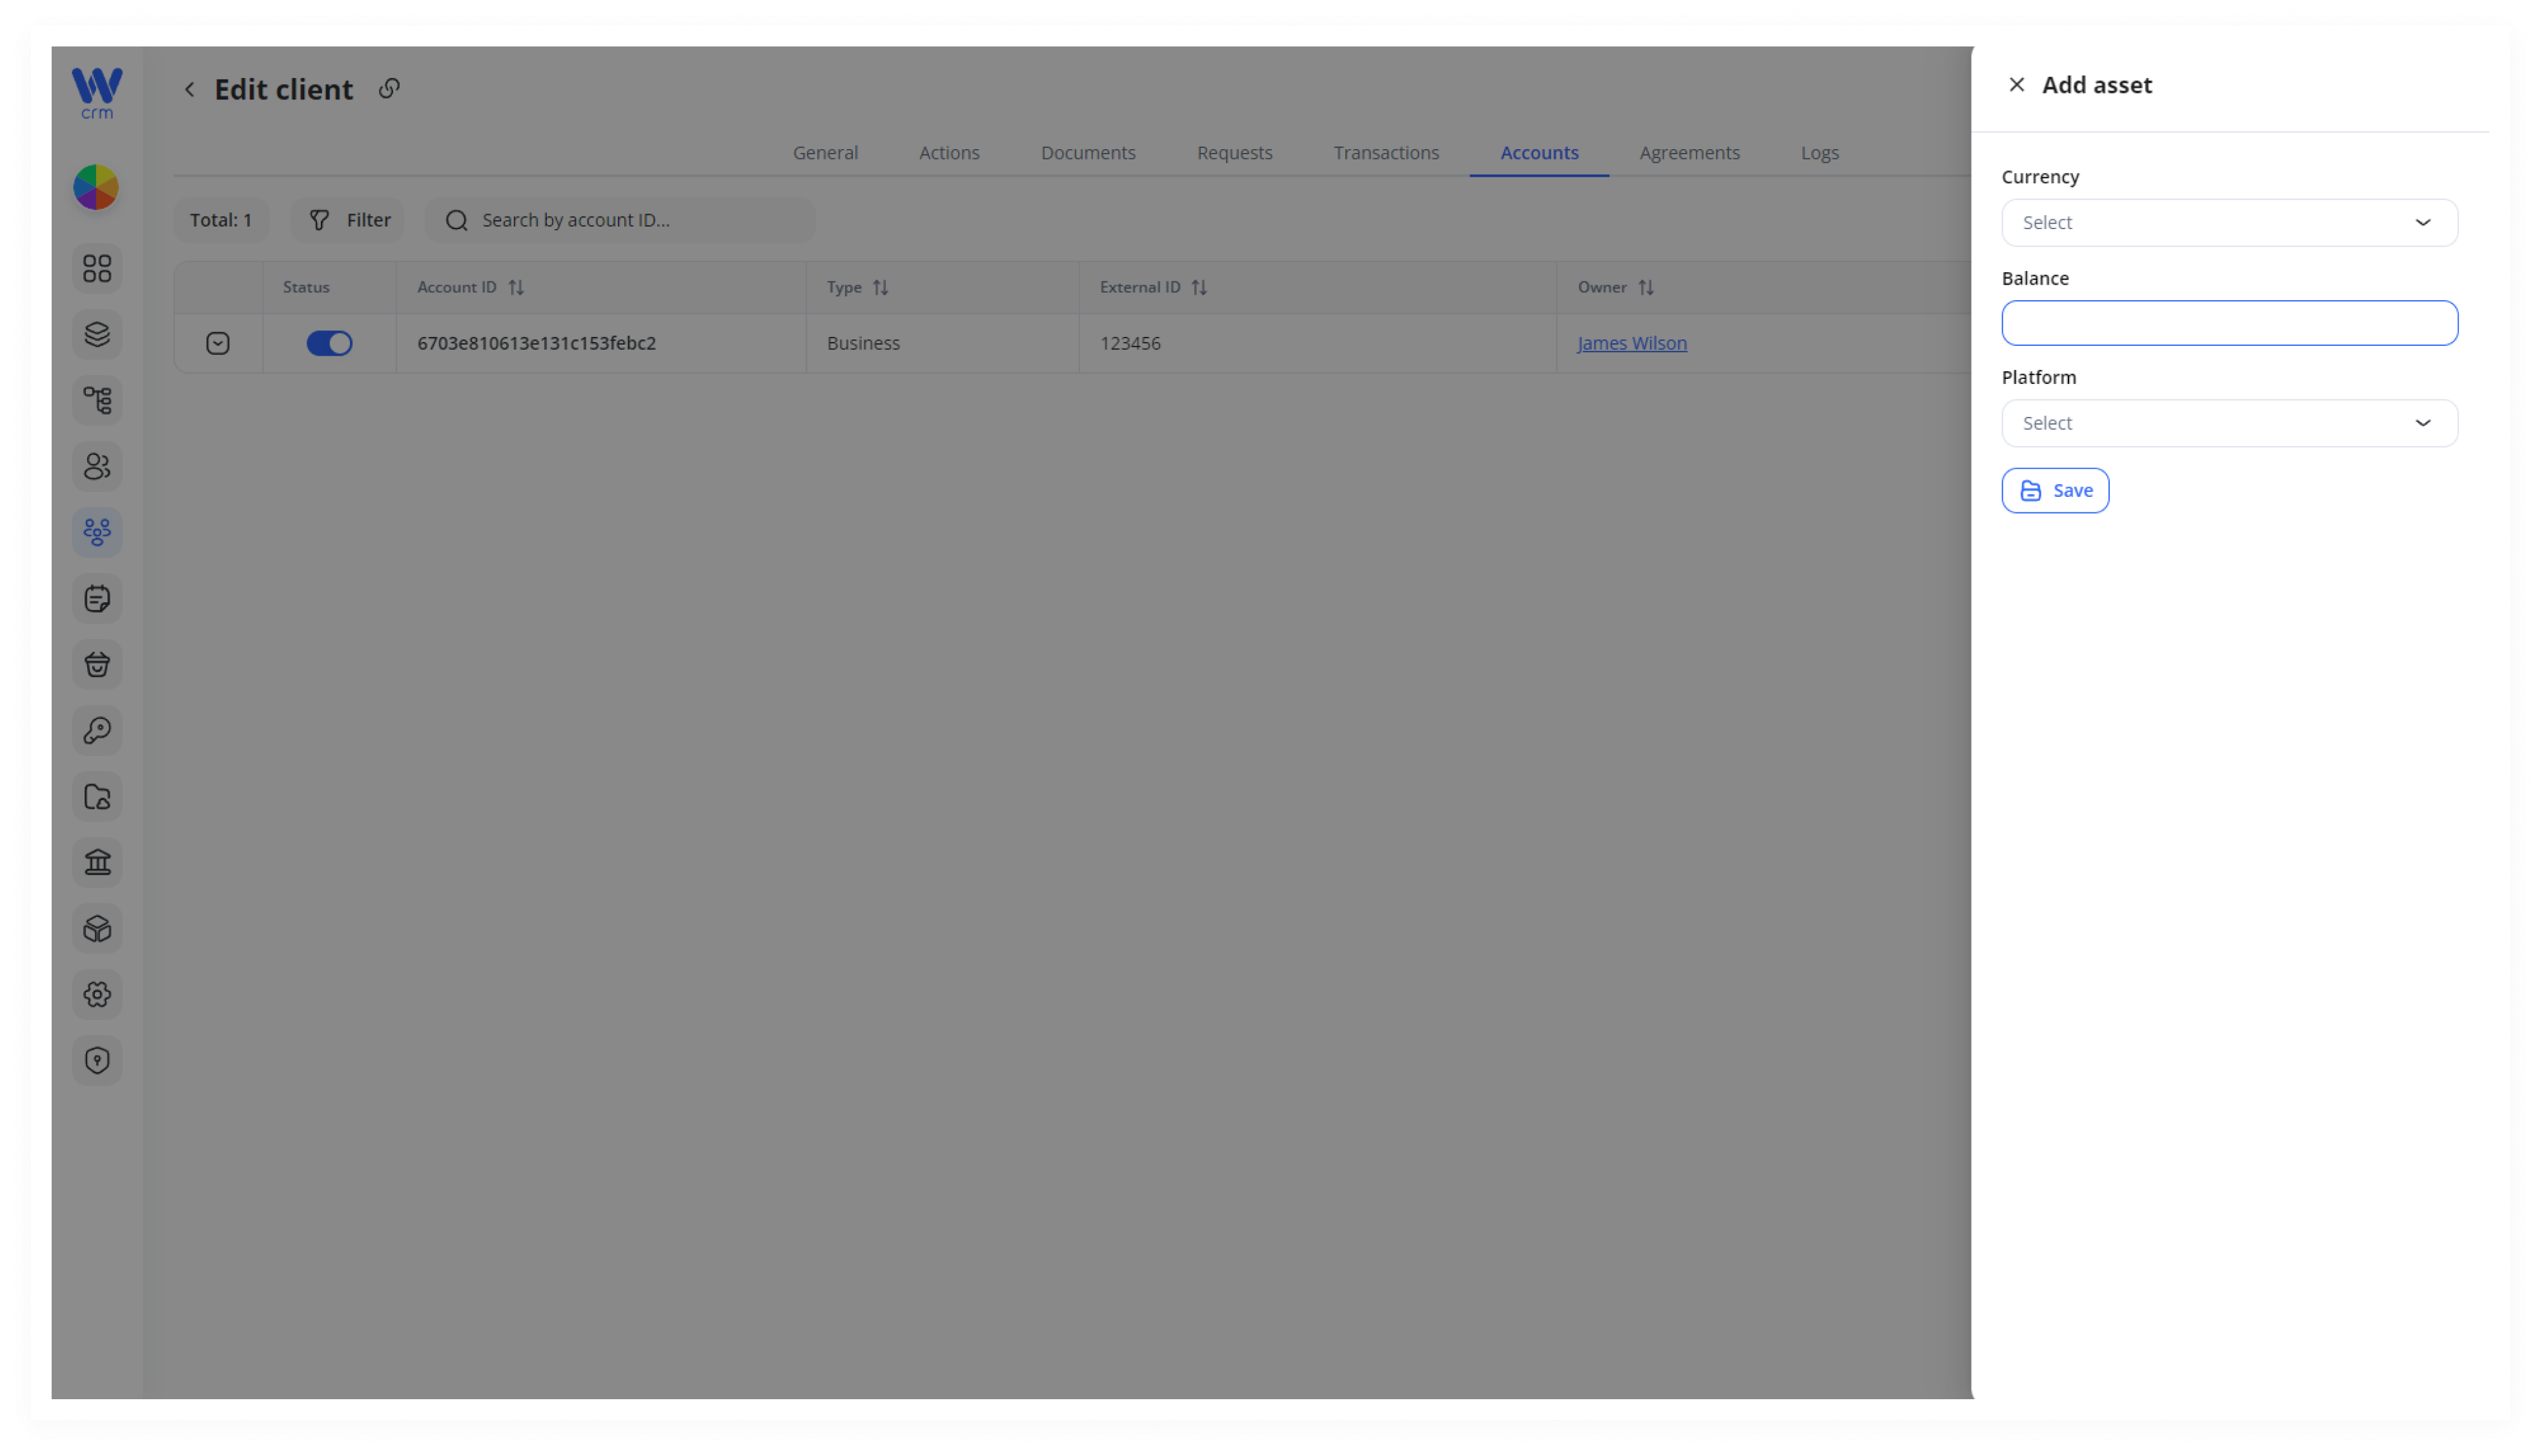
4. Click Save to apply the changes.