
2. How to Create an Employee
1. Open the Employees List
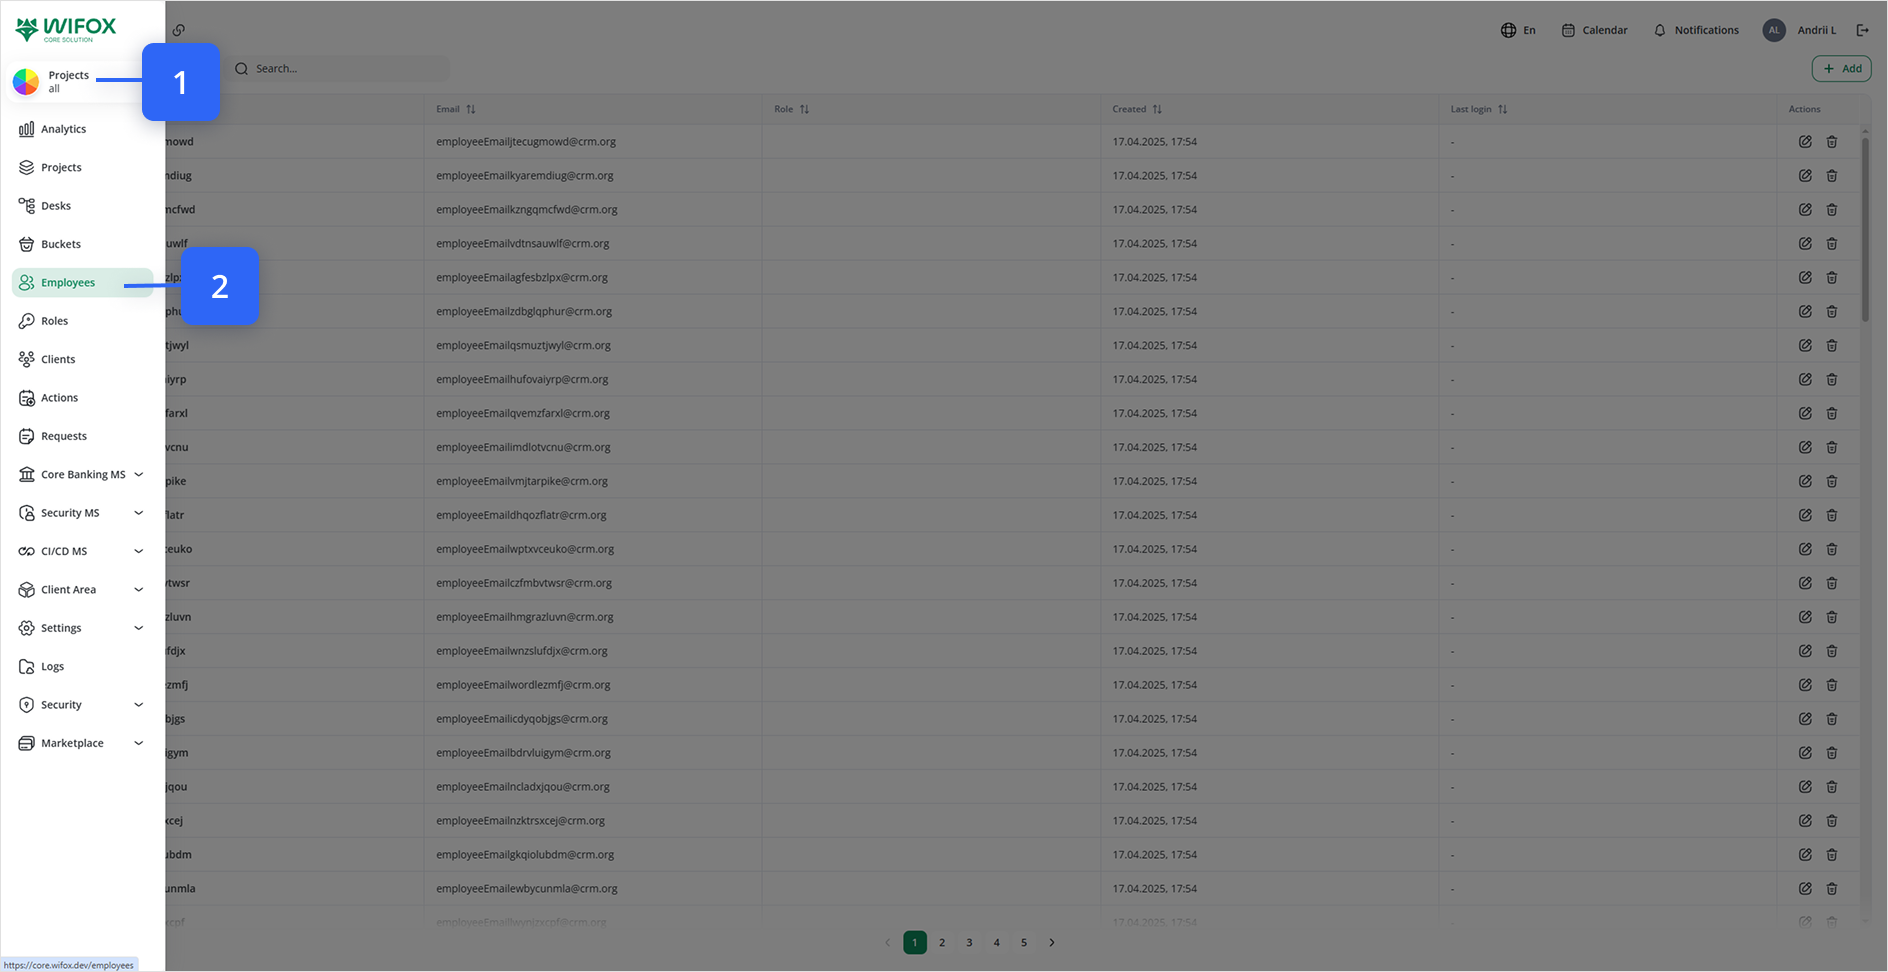
Where: In the left-hand navigation, click Employees.
This is where you can see, edit, or remove every user in the system.
2. Launch the “Add Employee” Form
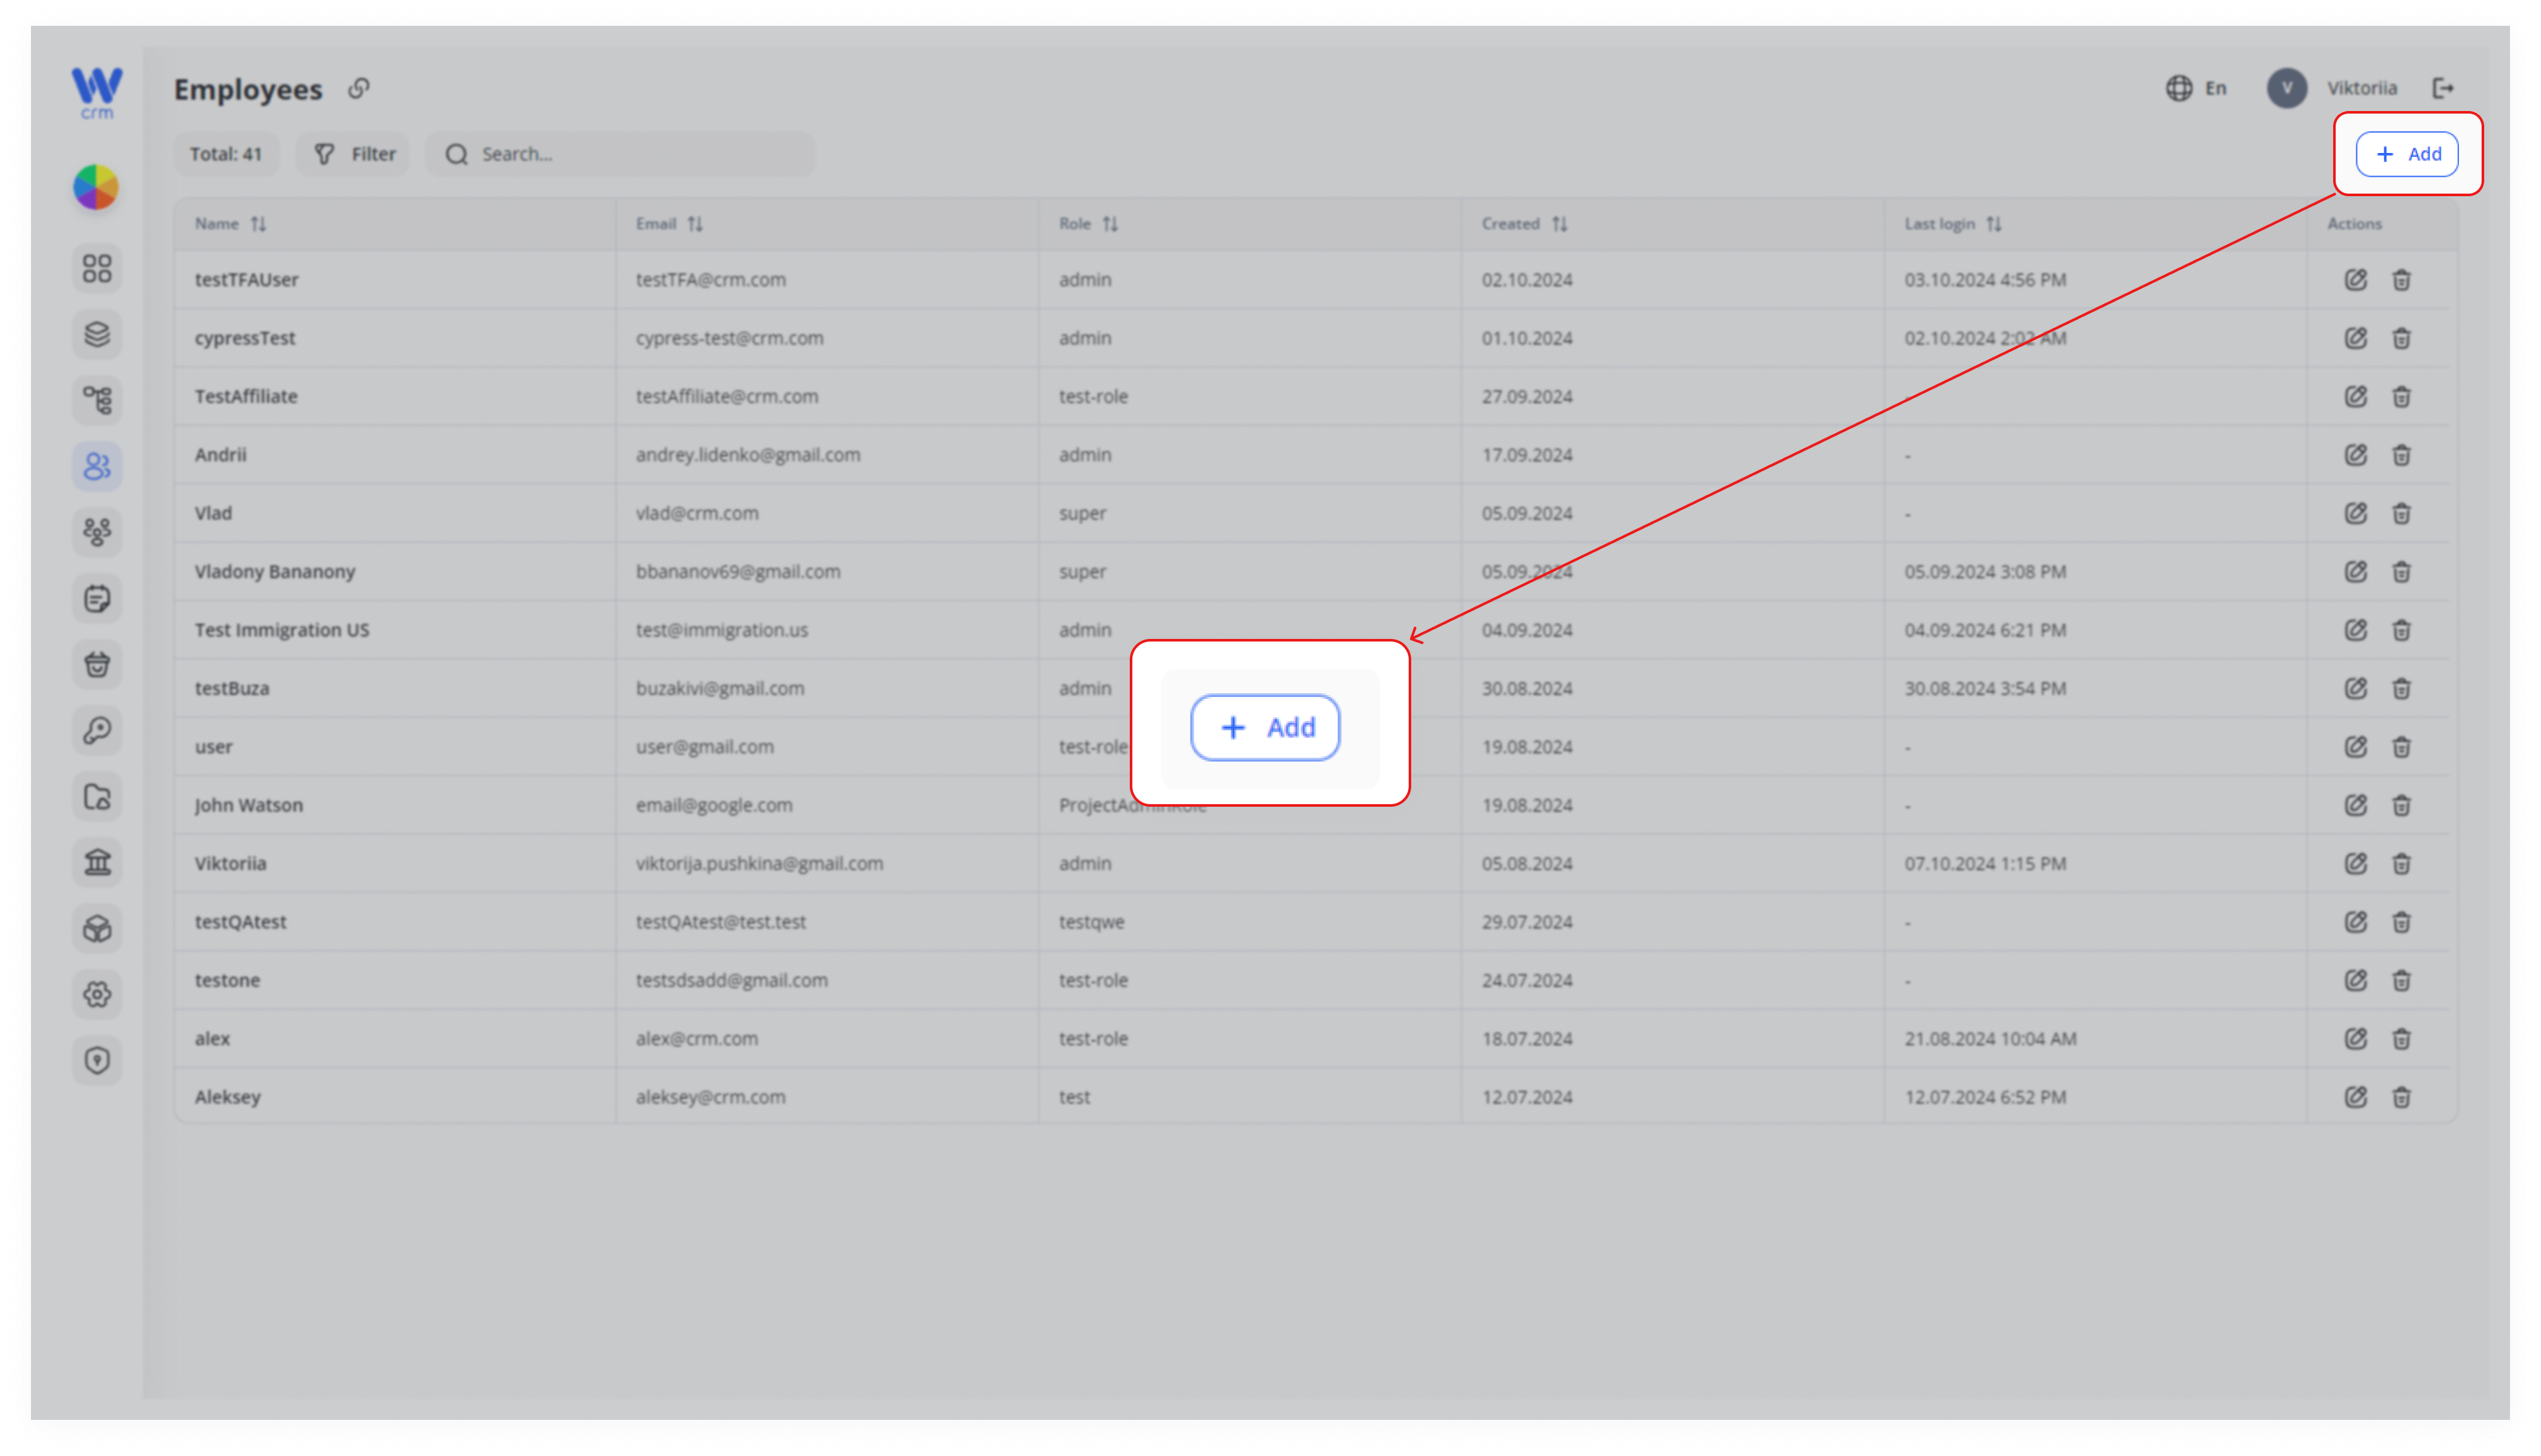
Where: In the top-right corner of the Employees tab, click + Add.
Opens a blank form for you to enter all the details of your new team member.
3. Fill Out the General Information
On the left side of the Add employee form, you’ll see these fields:
- Name (1)
Where: Topmost text box.
Enter the person’s full name (e.g. “Jane Doe”)—this is how they’ll appear in lists and attributions.
- Role (2)
Where: Directly under Name, as a dropdown.
Choose their system role (Admin, Viewer, etc.), which controls what they can see and do. If you need to create or edit roles, see the Roles module.
- Email (3)
Where: Under Role, as a text box.
This becomes their login username and where notifications get sent.
- Password (4)
Where: Under Email, as a text box with two icons on the right.
Must be at least eight characters, include a digit, special character, uppercase & lowercase.
✨ Generate icon: Click the little sparkle icon to auto-generate a secure password.
👁️ Show/Hide icon: Toggle visibility if you need to confirm what you’ve typed.
- Type (5)
Where: Under Password, as a dropdown.
Categorizes the user (Manager, Sales, Support, etc.) for reporting or default assignments.
4. (Optional) Tag with Custom Metadata
Where: Below the General panel, the Meta tree picker (Look #6 on the image).
If your organization uses custom tags—regions, departments, or business units—select any that apply here. This metadata can drive advanced filtering and permissions elsewhere.
5. Assign Projects & Desks
On the right side of the form you’ll see two panels:
- Projects
Where: Top-right panel, initially empty (Look #7 on the image).
Lists which projects this user can access.
How to add: Click + Add project, then select one or more projects from the dropdown. This grants them the ability to view or manage those projects. (Look #8 on the image)
- Two-Factor Authentication (2FA)
Where: Below Projects (Look #9 on the image).
Shows if the user has set up 2FA. No action needed here during creation—you’ll configure 2FA on first login.
6. Save Your New Employee
Where: Bottom-left of the form, the Save button (Look #10 on the image).
Commits all the info you’ve entered. You’ll return to the main Employees list, where your new employee will now appear.