
2. How to Create an Employee
3. Click Save to apply the changes.
1. Employees List – Sidebar & “+ Add” Button
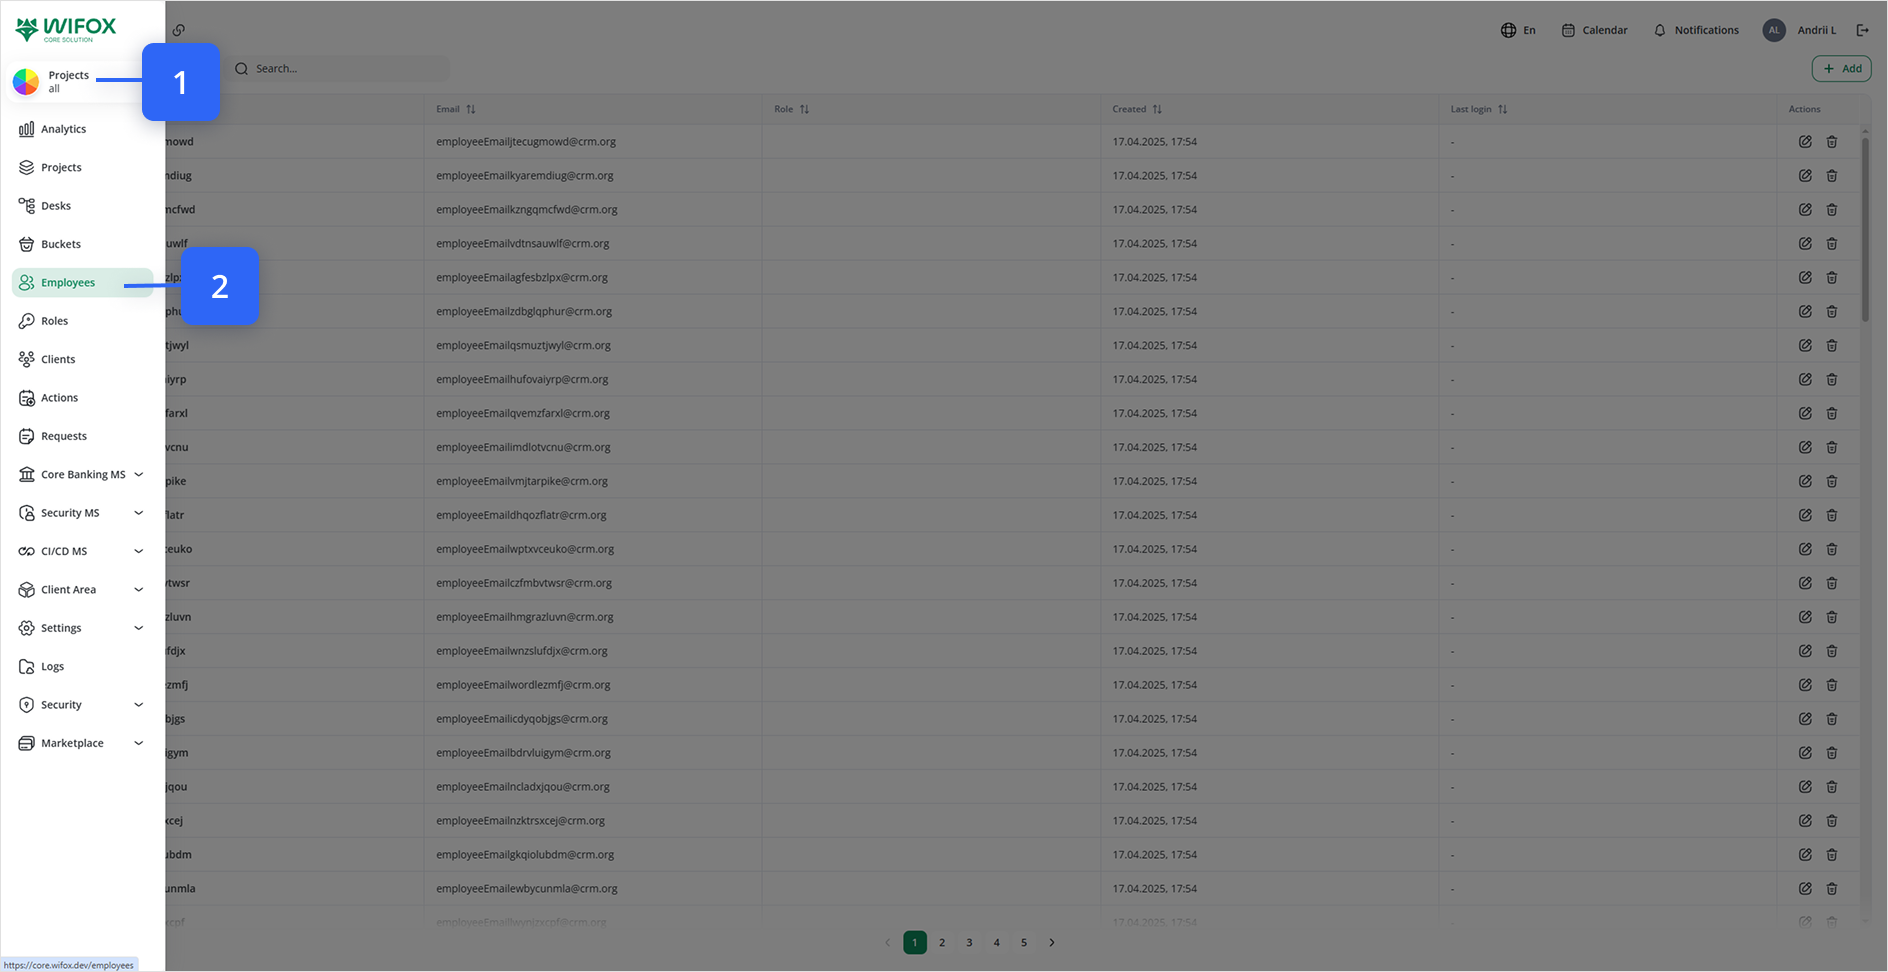
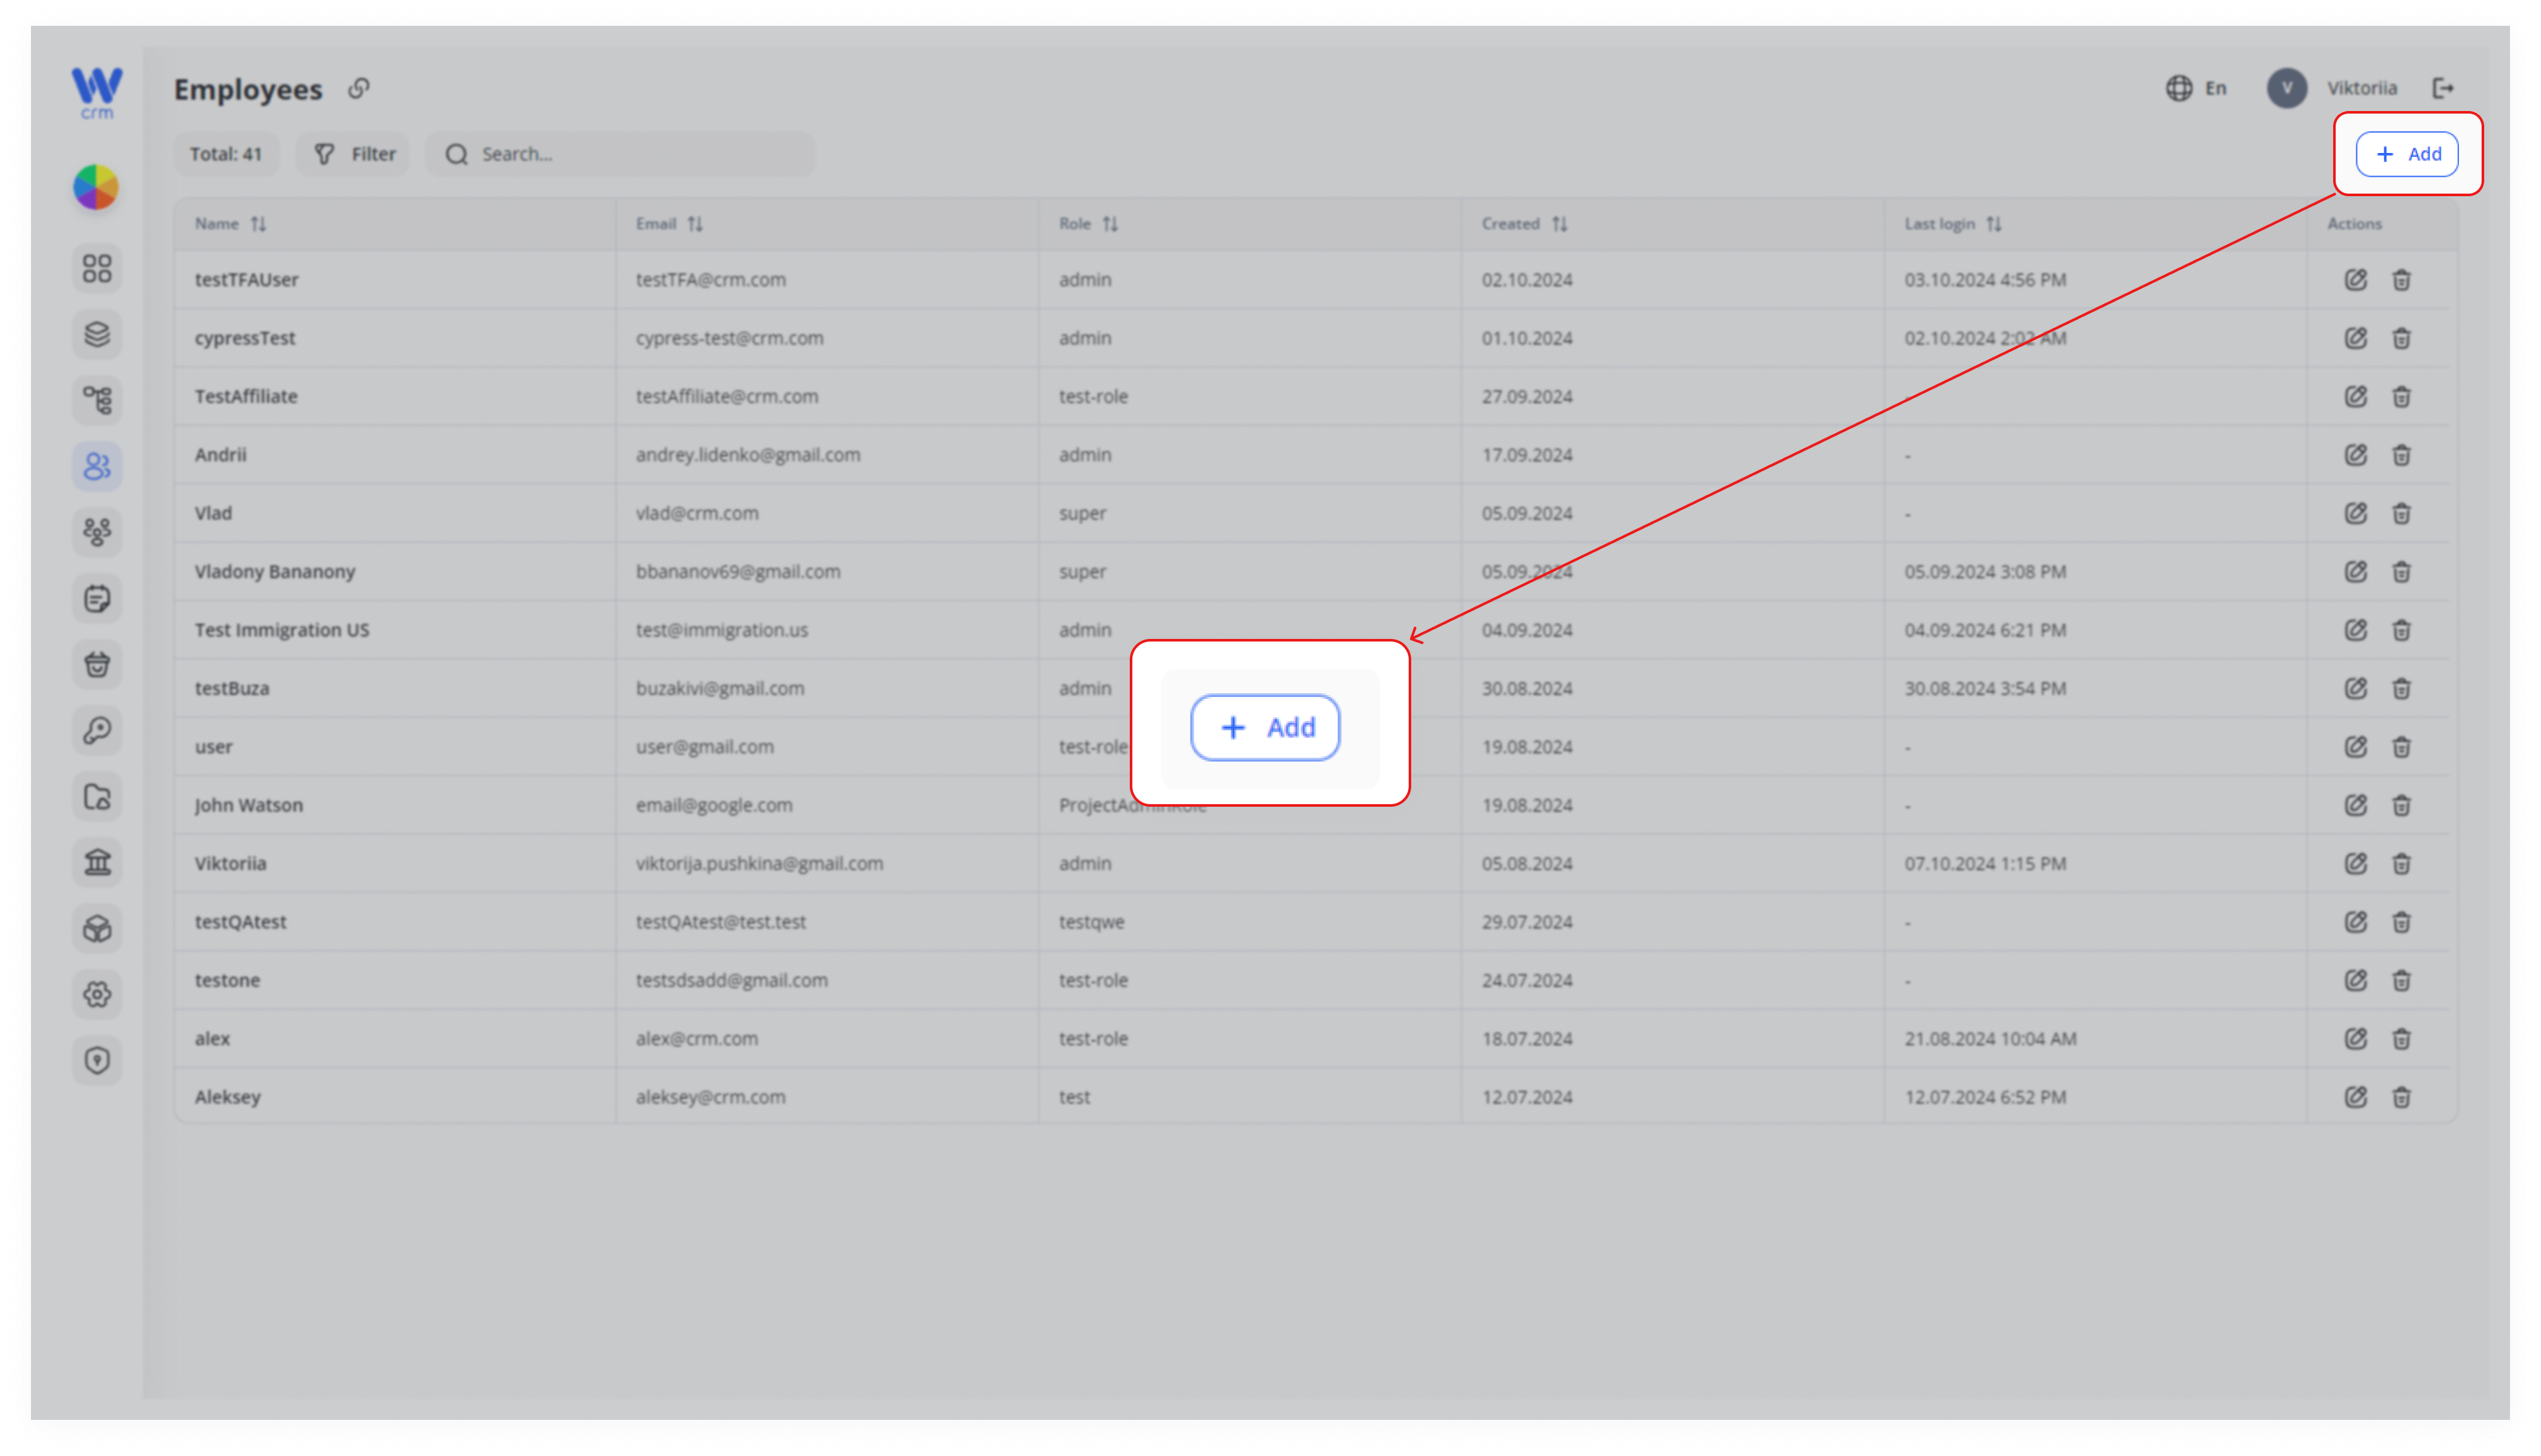
To create an employee, click the Add button at the top right of the Employees tab.
2. Add Employee Form – Full Layout
A window (top-left) will open where you can fill in the employee's details. Enter or select from the drop-down list:
Name (: The full name of the employee.
Role: The role of the employee, which defines their access and limitations in the system. This includes determining which Projects and Desks an employee can view: all or only their own. You can set roles in the Roles module. Instructions on how to do that are [here]
Email: The employee's email in the [name]@[domain] format.
Password: The password of the employee, which must be at least eight characters long and include at least one digit, special character, uppercase, and lowercase letter.
Type (dropdown)
Meta panel (below General) with a tree picker for custom metadata.
Projects panel (top-right) and a + Add project button.
Two-Factor Authentication (2FA) panel (below Projects) showing “No any authentication.”
4. Password Field with Generate Icon
Password input highlighted.
To its right: Generate password ✨ icon (sparkle) and the show/hide eye icon.
5. Type Dropdown Options
Type dropdown expanded, showing choices like:
- Manager
- Sales
- Analytics
- Support
- Presale
6. Role Dropdown Options
Role dropdown expanded, listing available roles.
7. “Add Project” Drawer (Assigning Projects)
Slides out after clicking + Add project in the Projects panel.
Header: Add project with a close × button.
Project dropdown to pick one or more projects.
Desks dropdown to limit desk-level permissions (if role = “View Own”).