
2. How to Create an Employee
1.
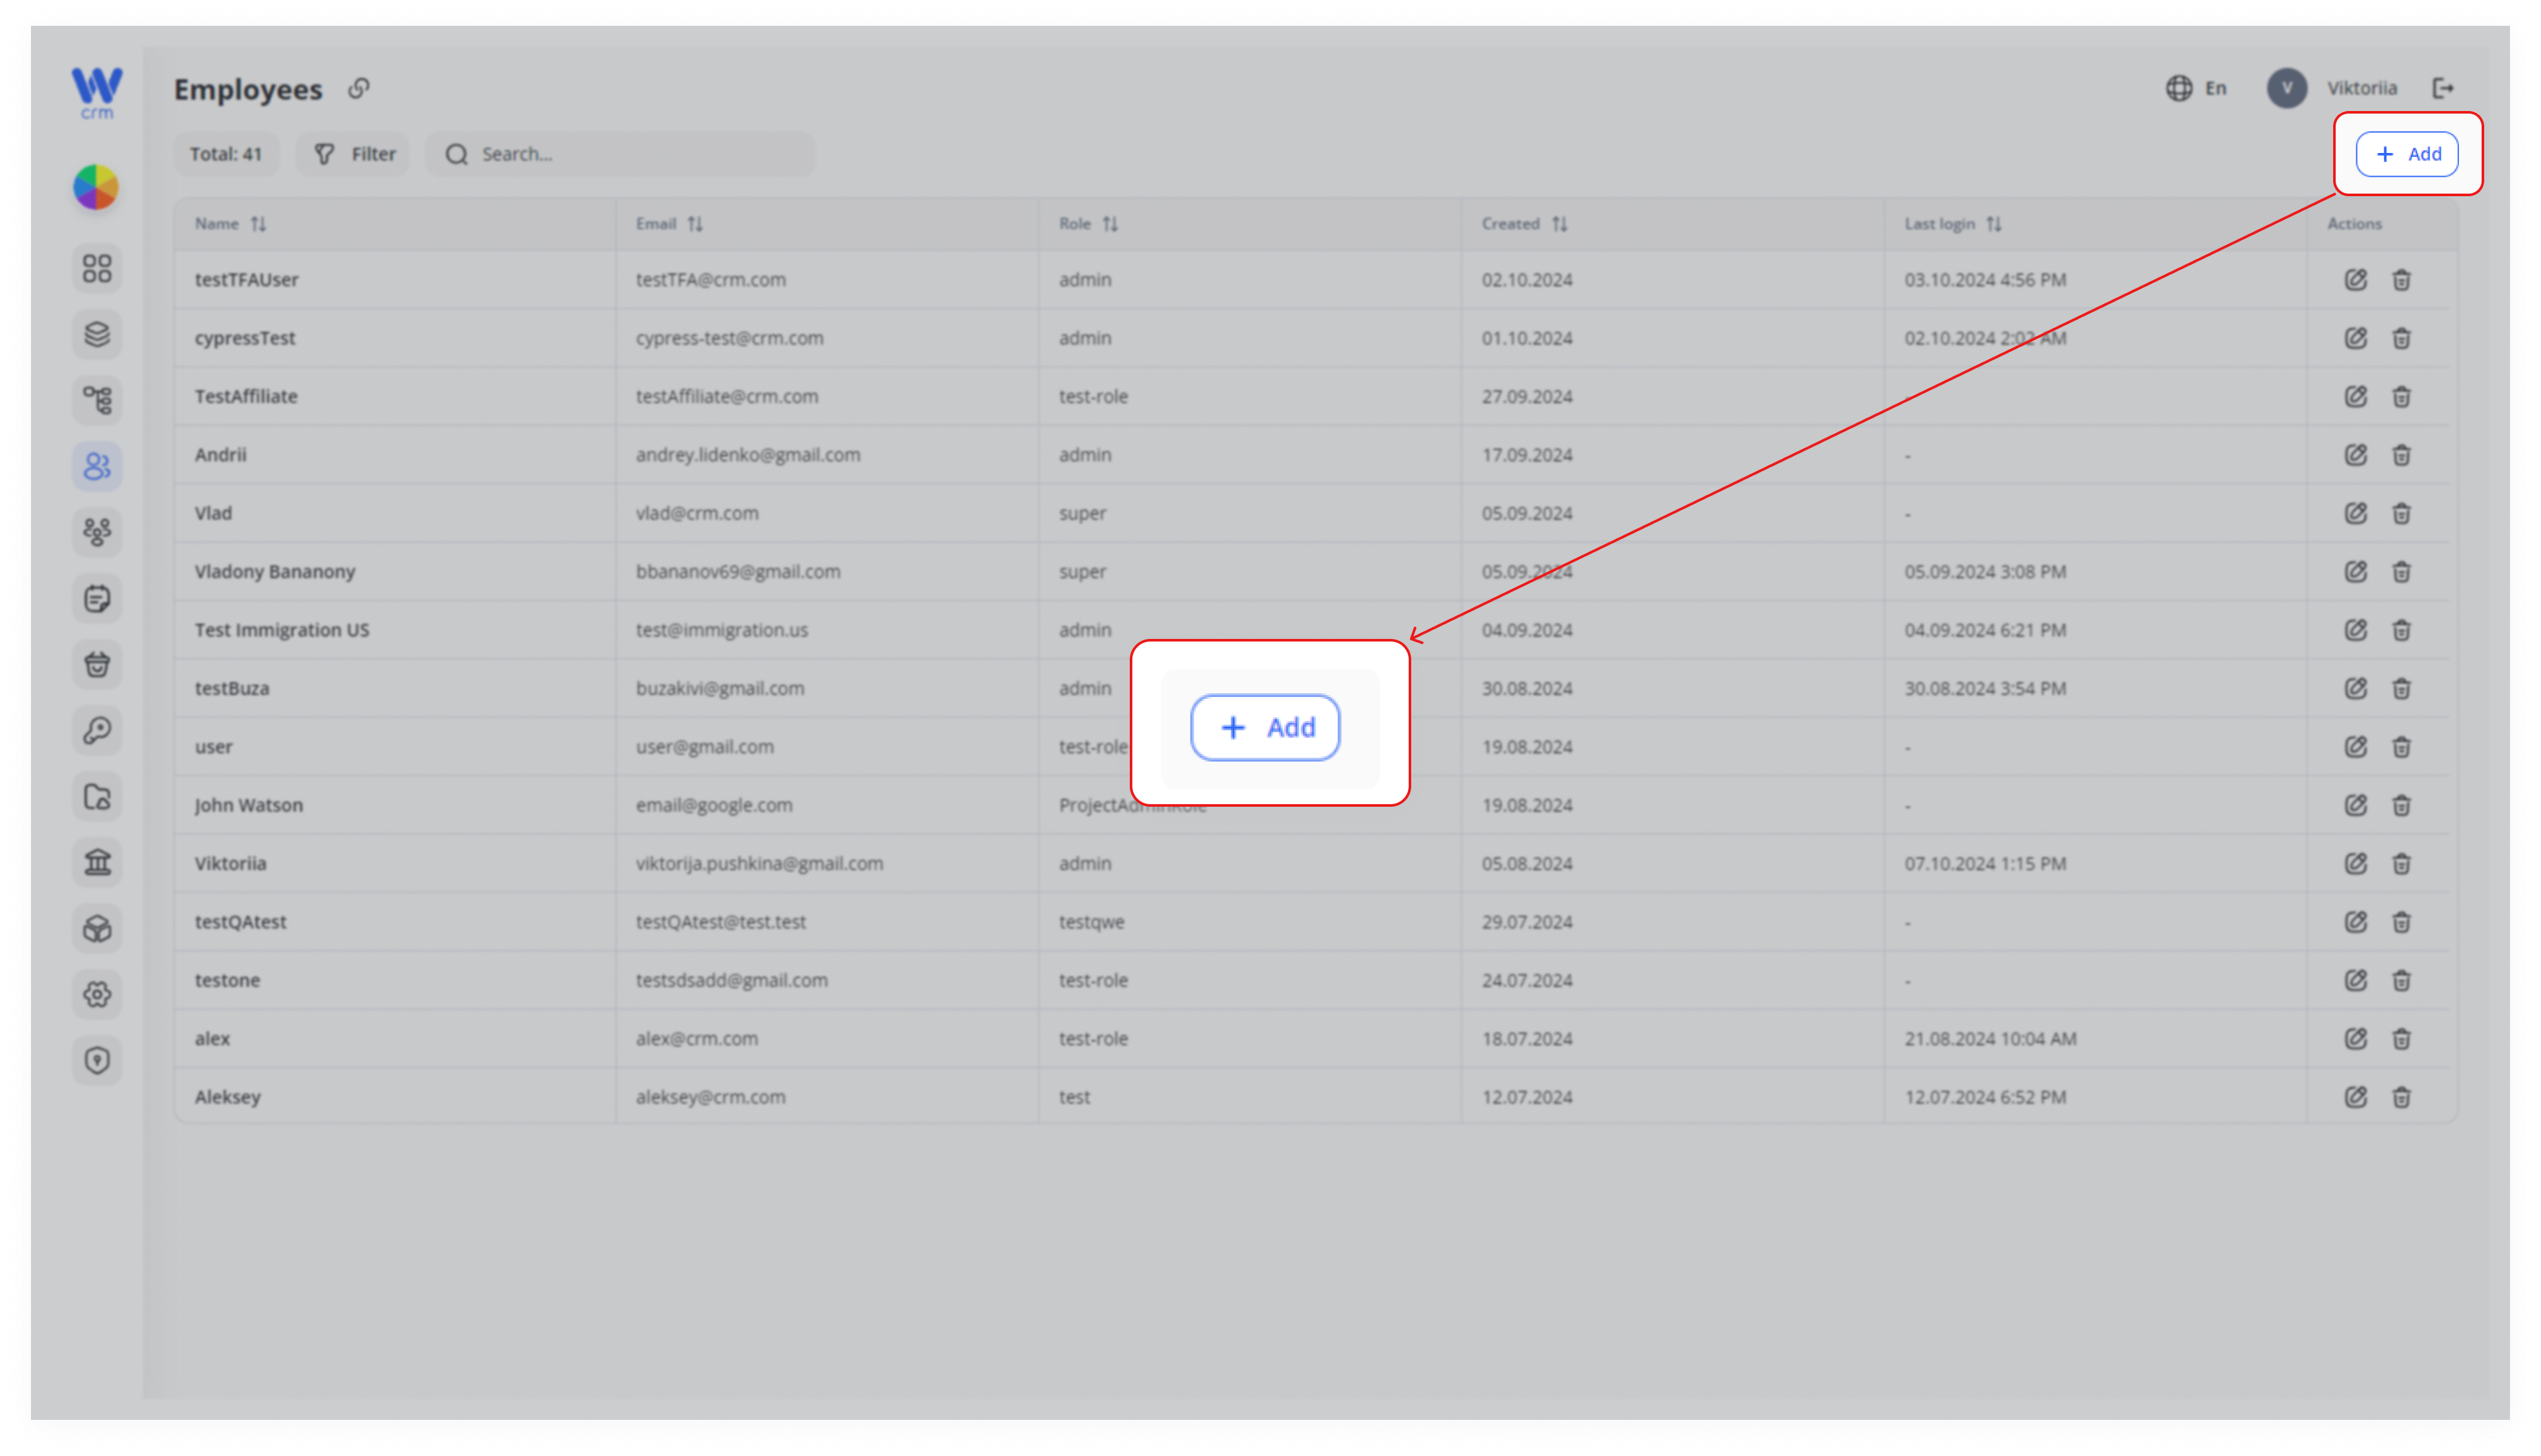
- To create an employee, click
thethe Add button at the top right of the Employees tab:
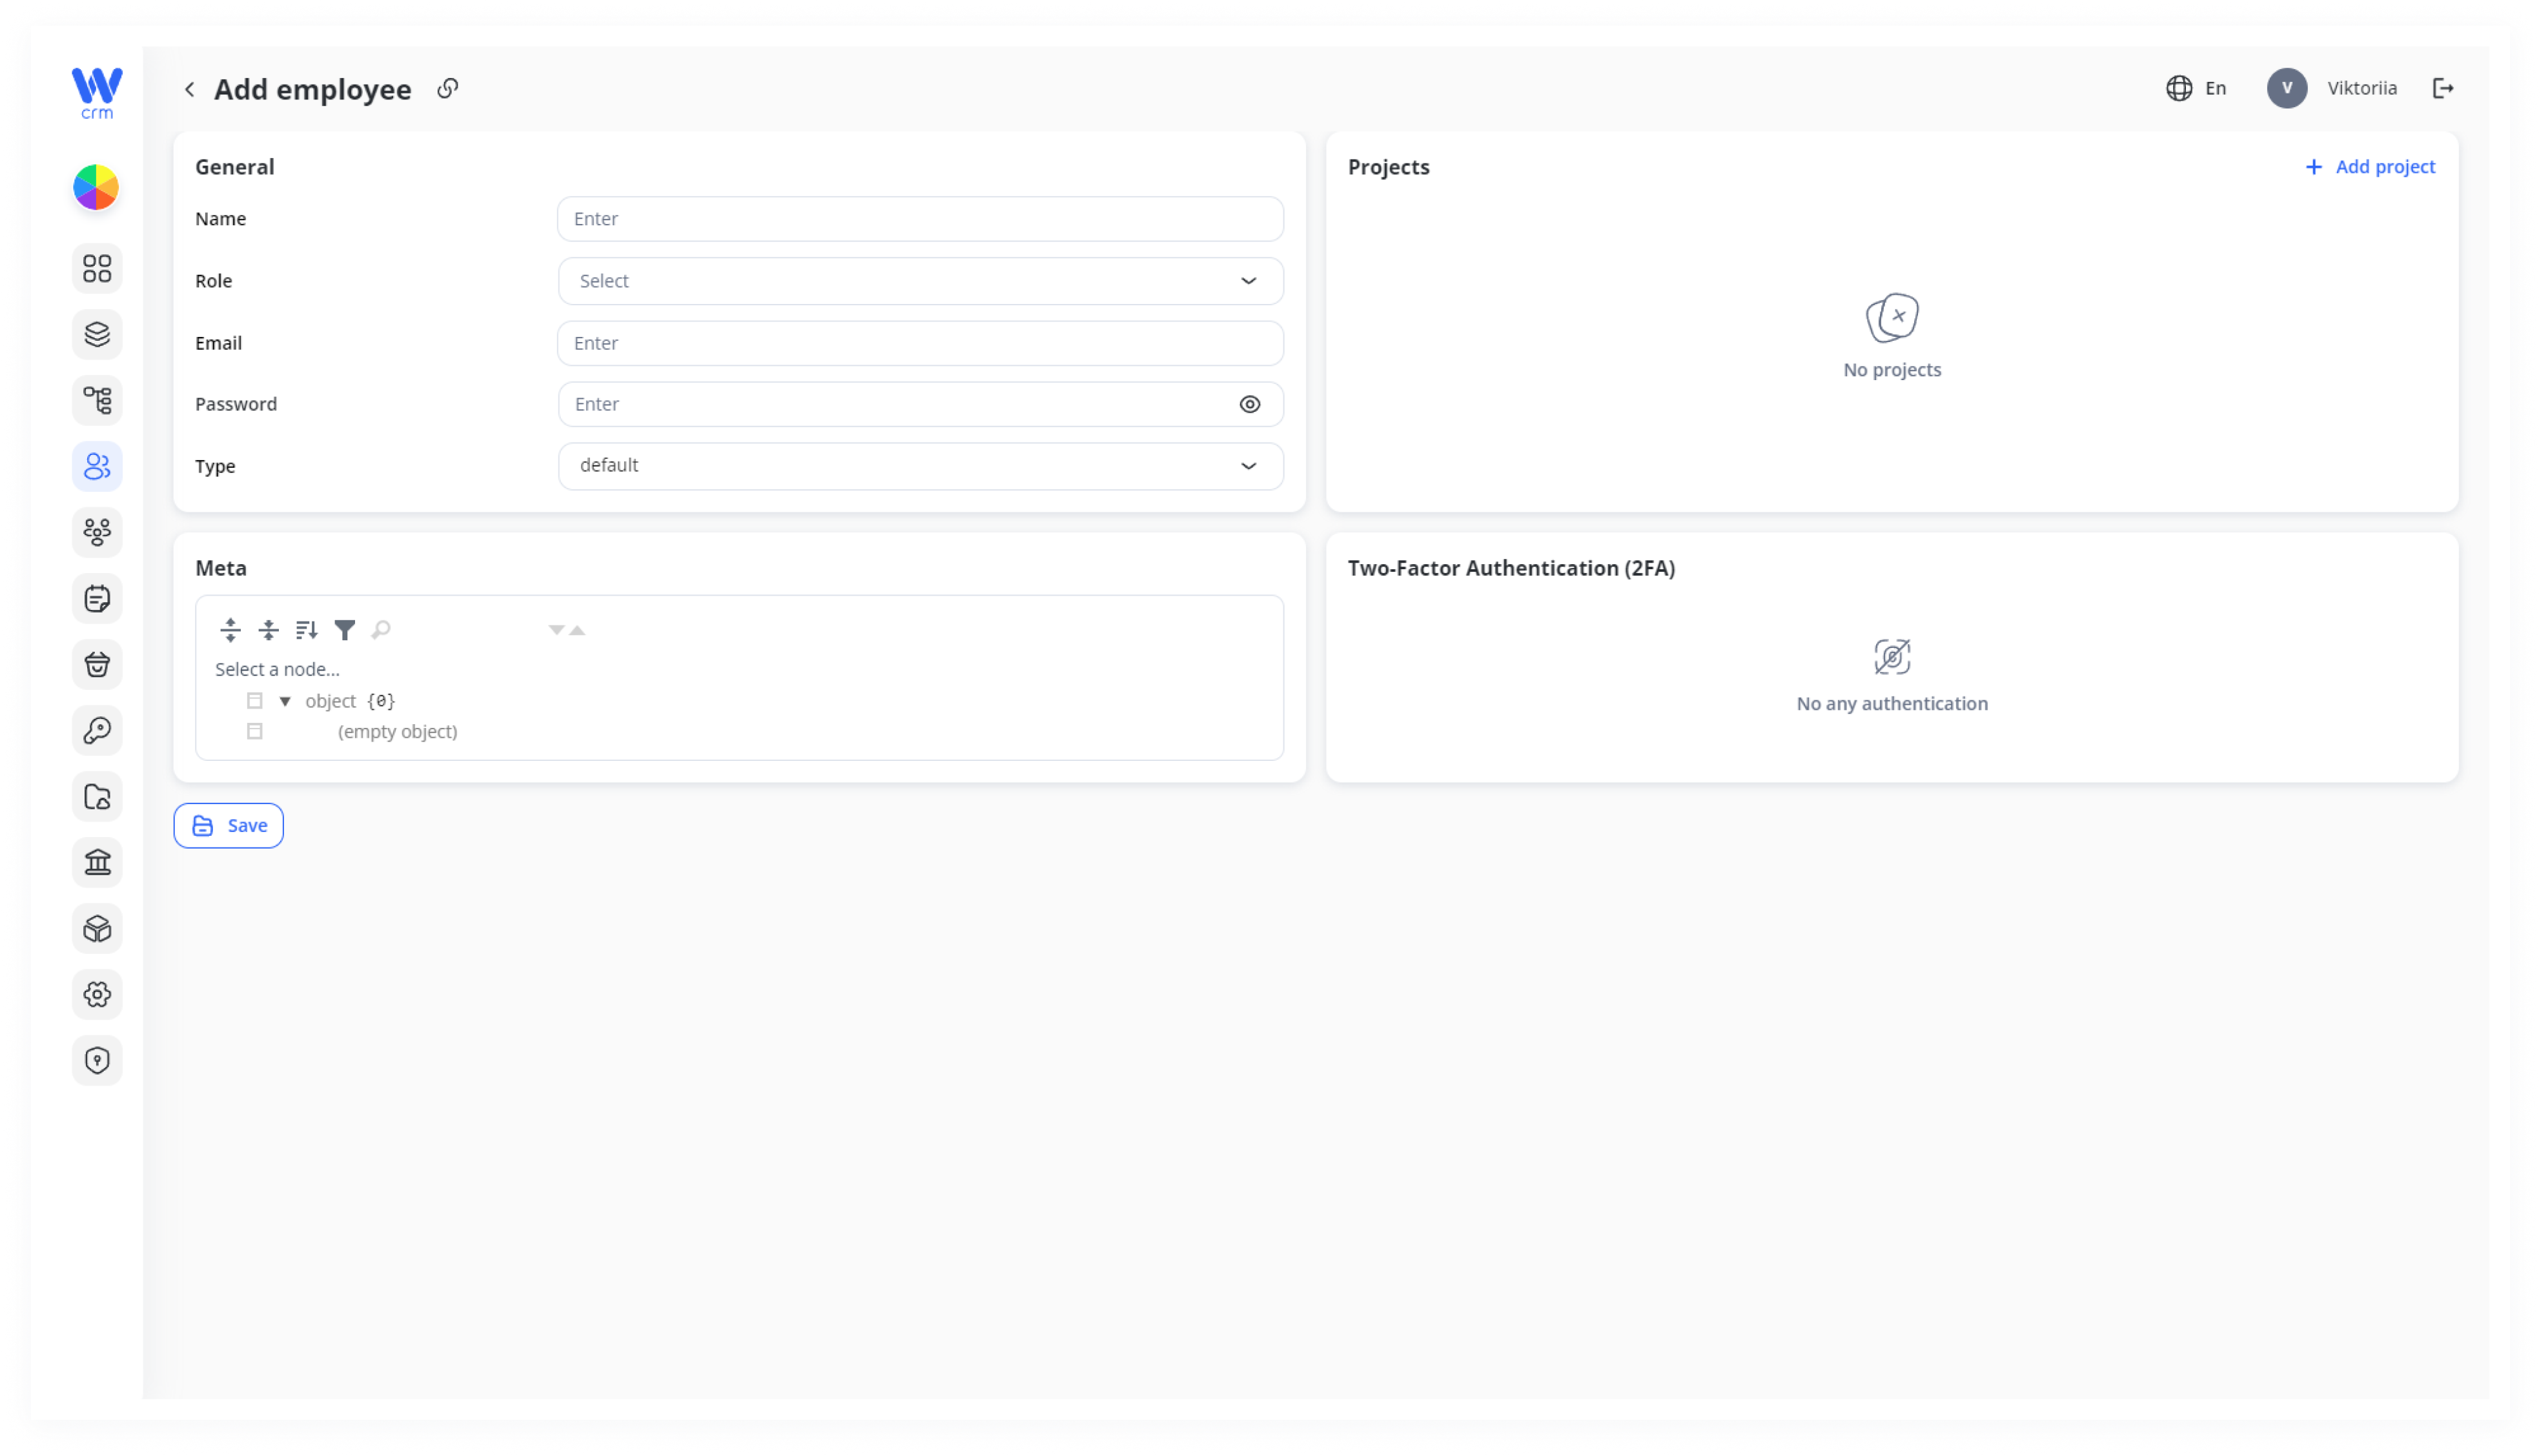
2. A window will open where you can fill in the employee's details. Enter or select from the drop-down list:
-
-
- Name: The full name of the employee.
- Role: The role of the employee, which defines their access and limitations in the system. This includes determining which Projects and Desks an employee can view: all or only their own. You can set roles in the Roles module. Instructions on how to do that
areare [here] - Email: The employee's email in the
[name]@[domain]format. - Password: The password of the employee, which must be at least eight characters long and include at least one digit, special character, uppercase, and lowercase letter.
-
3. Click Click Save to apply the changes.
1. Employees List – Sidebar & “+ Add” Button
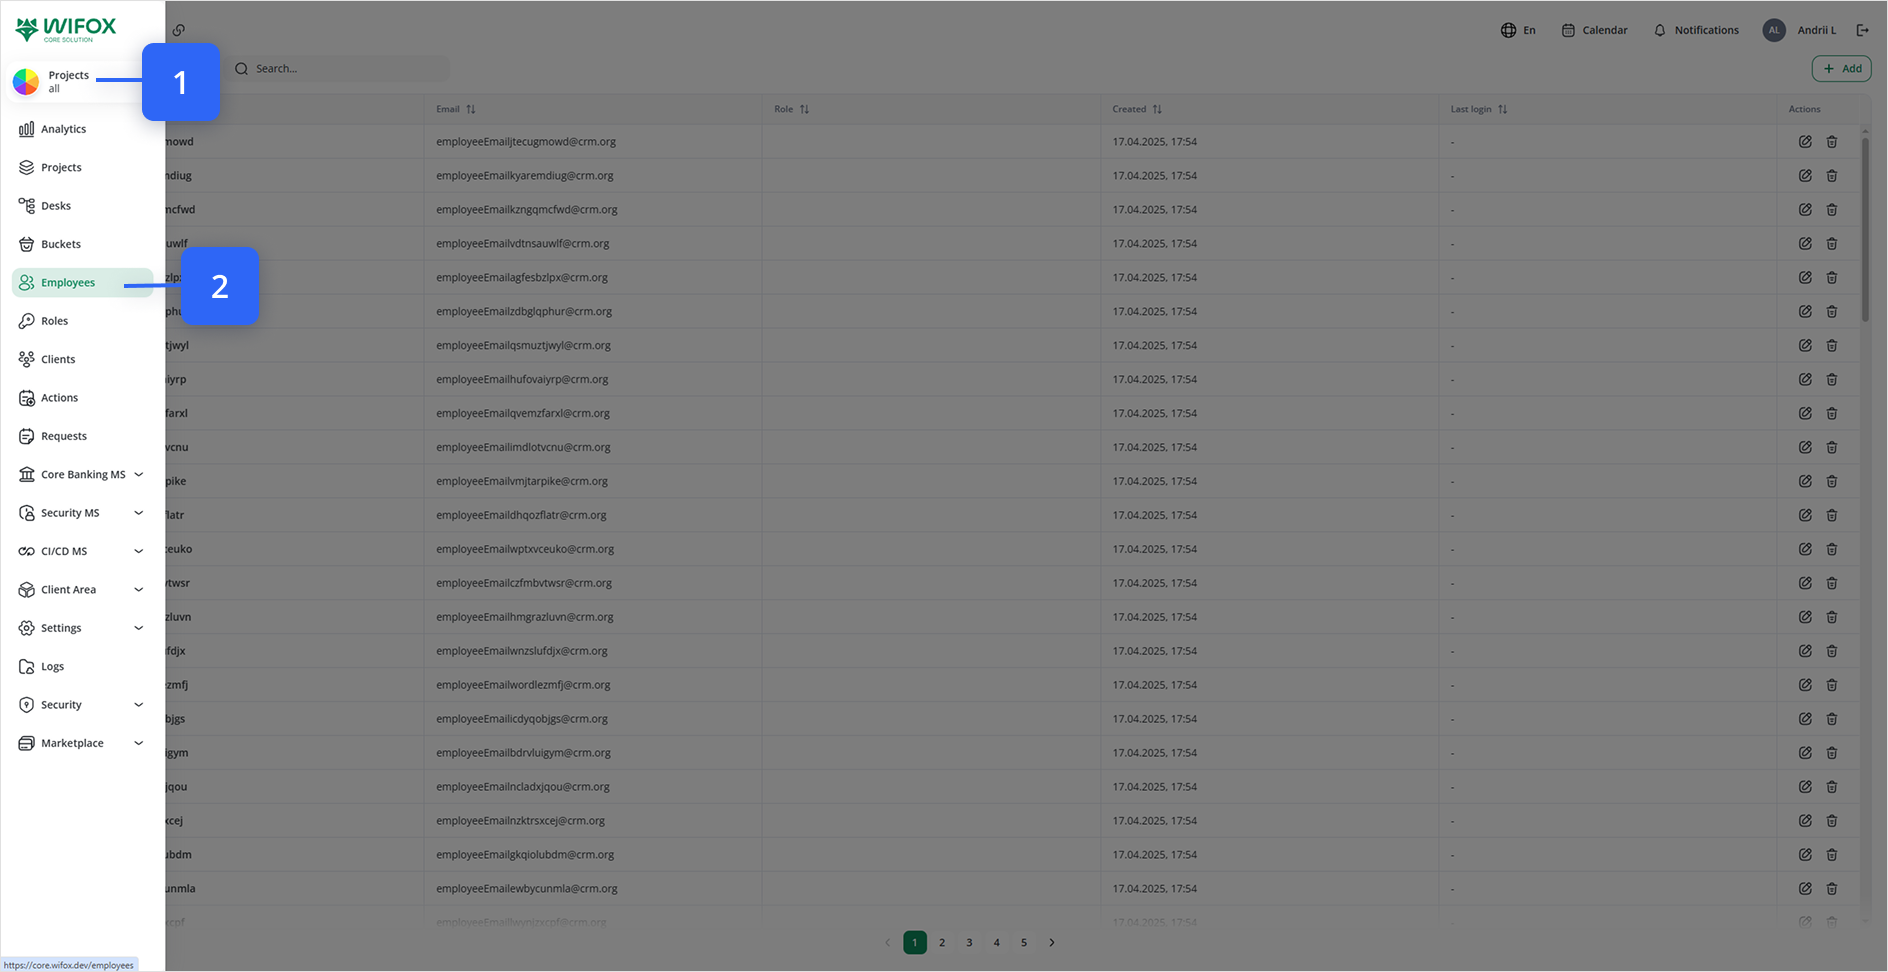
In the top-right corner of the main pane, the + Add button appears.
2. Employees Table View
Header row with columns: Name, Email, Role, Created, Last login, Actions.
Actions column includes ✏️ Edit and 🗑️ Delete icons on each row.
3. Add Employee Form – Full Layout
General panel (top-left) with fields:
Name (text input)
Role (dropdown)
Email (text input)
Password (text input + show/hide & generate icons)
Type (dropdown)
Meta panel (below General) with a tree picker for custom metadata.
Projects panel (top-right) showing “No projects” placeholder and a + Add project button.
Two-Factor Authentication (2FA) panel (below Projects) showing “No any authentication.”
4. Password Field with Generate Icon
Password input highlighted.
To its right: Generate password ✨ icon (sparkle) and the show/hide eye icon.
5. Type Dropdown Options
Type dropdown expanded, showing choices like:
- Manager
- Sales
- Analytics
- Support
- Presale
6. Role Dropdown Options
Role dropdown expanded, listing available roles.
7. “Add Project” Drawer (Assigning Projects)
Slides out after clicking + Add project in the Projects panel.
Header: Add project with a close × button.
Project dropdown to pick one or more projects.
Desks dropdown to limit desk-level permissions (if role = “View Own”).