
2. How to Create a Role
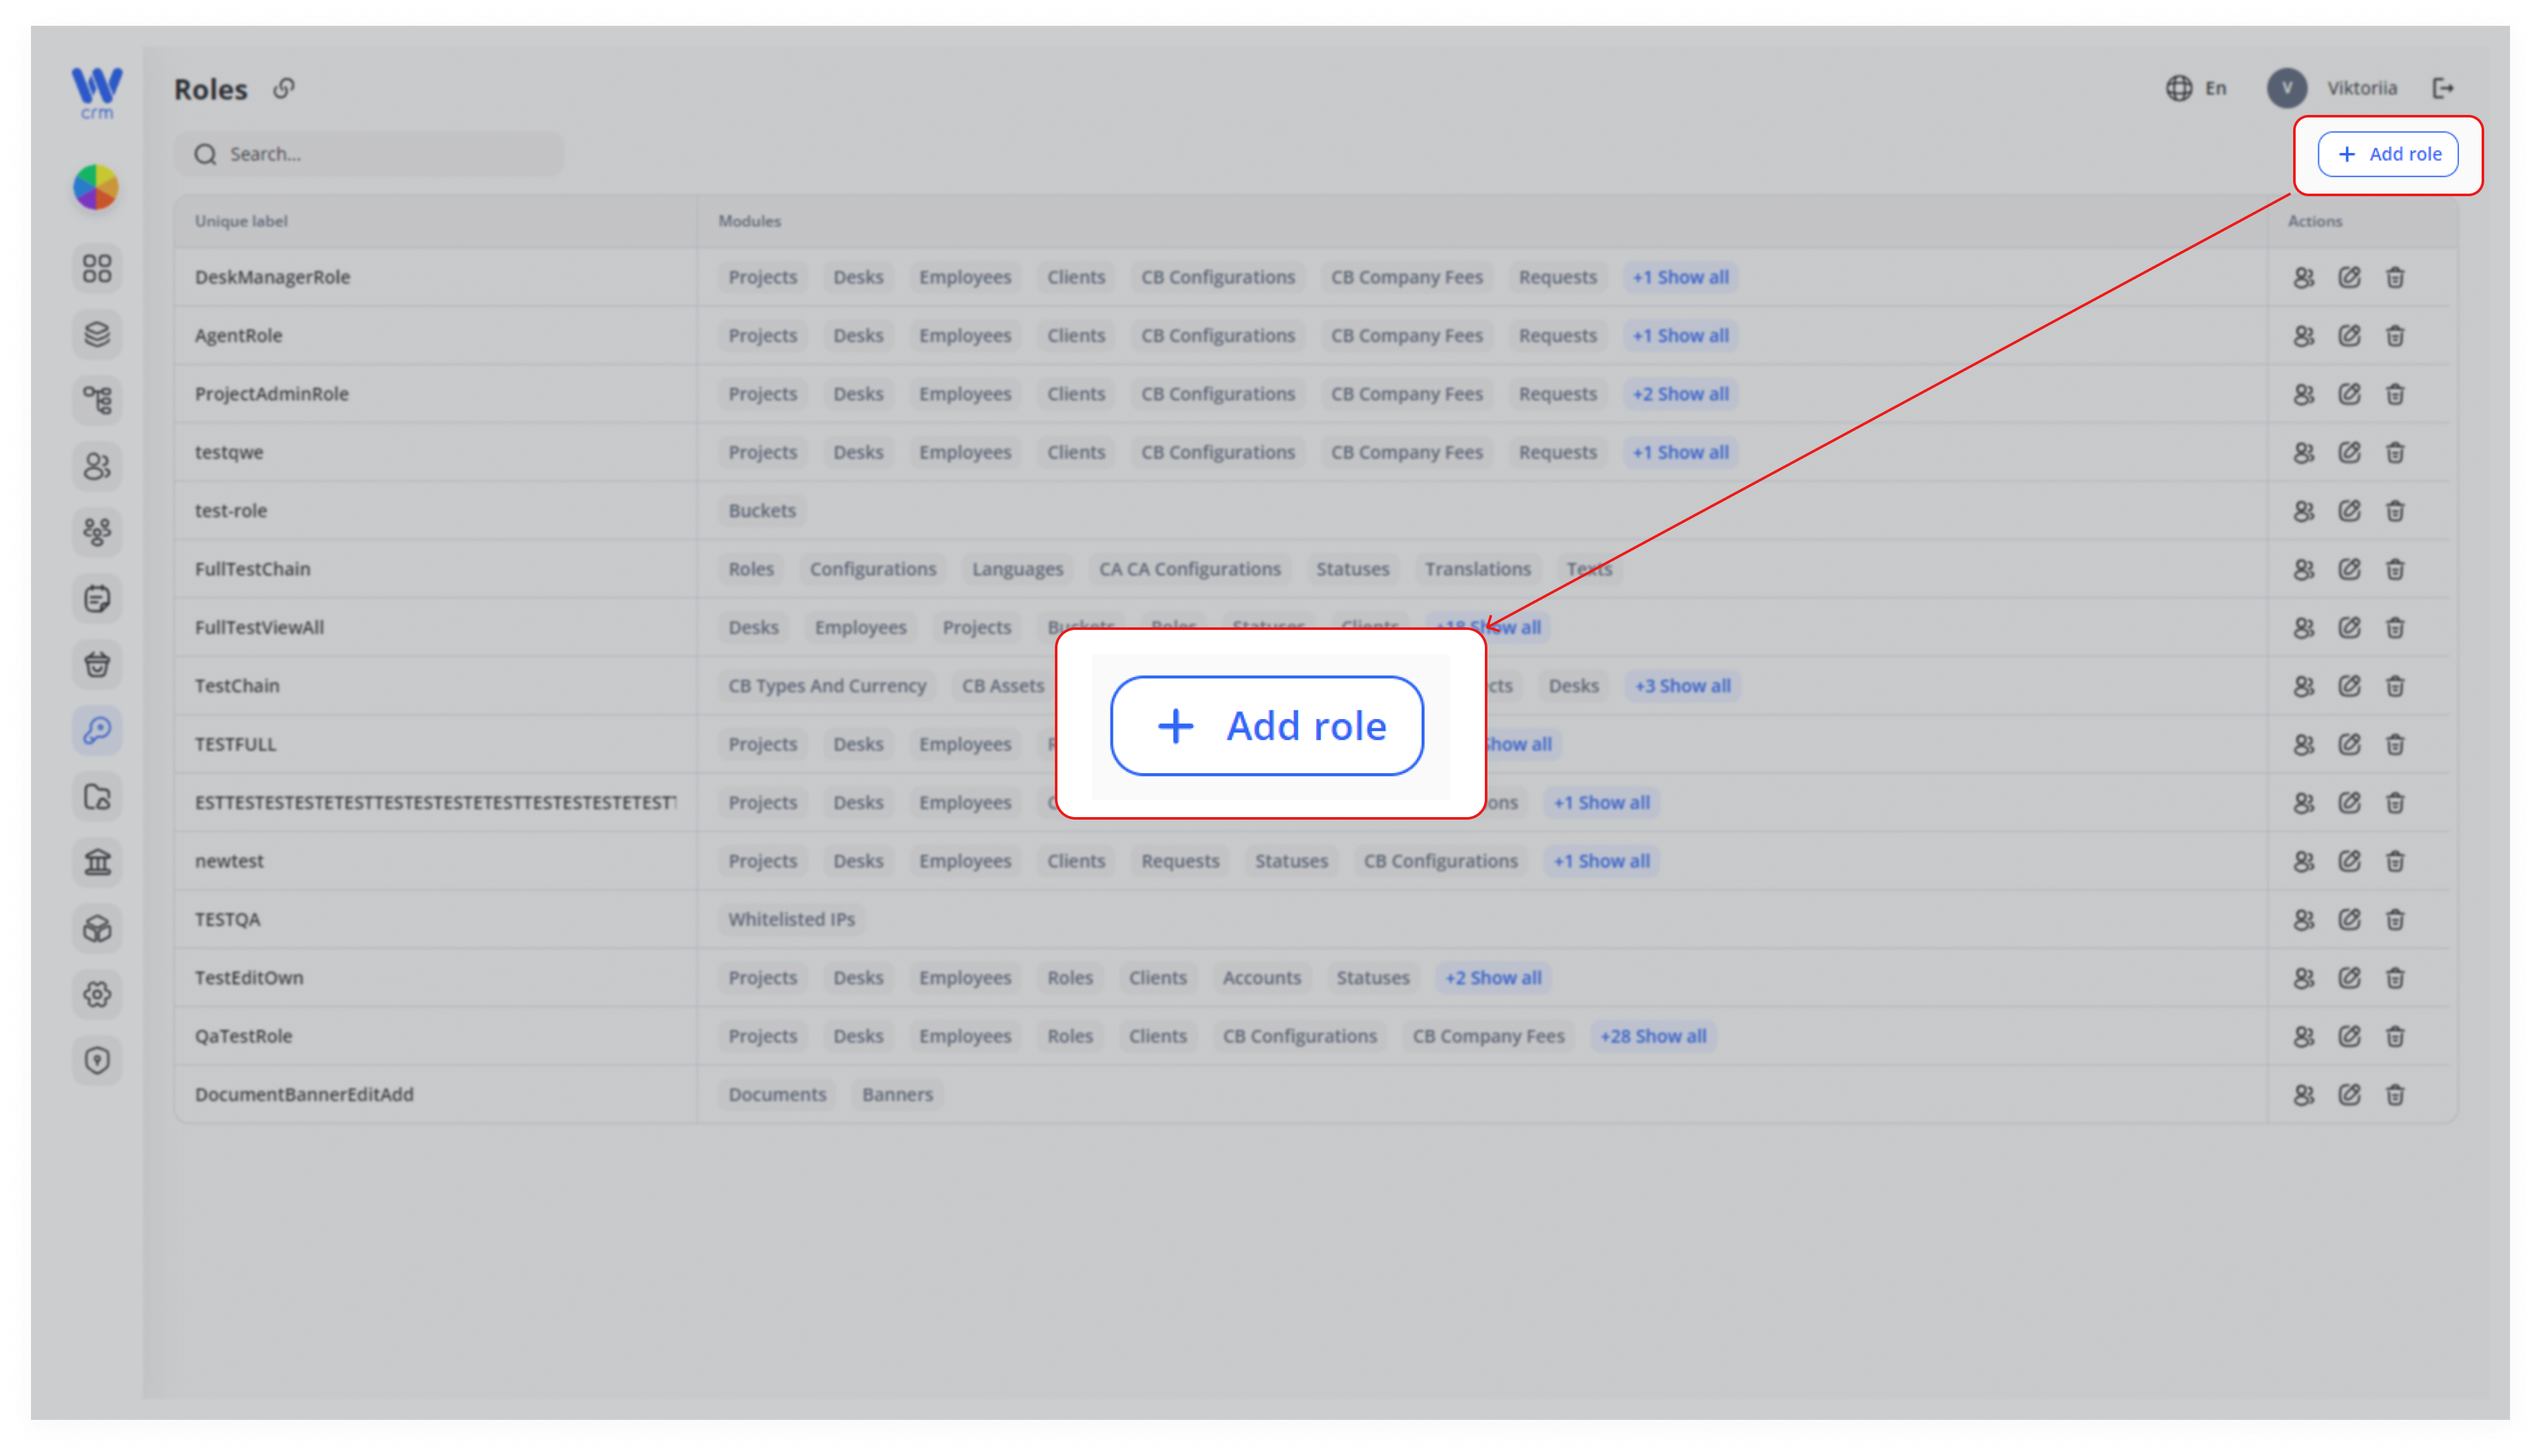
To create a role, click the Add Role button at the top right of the Roles tab:
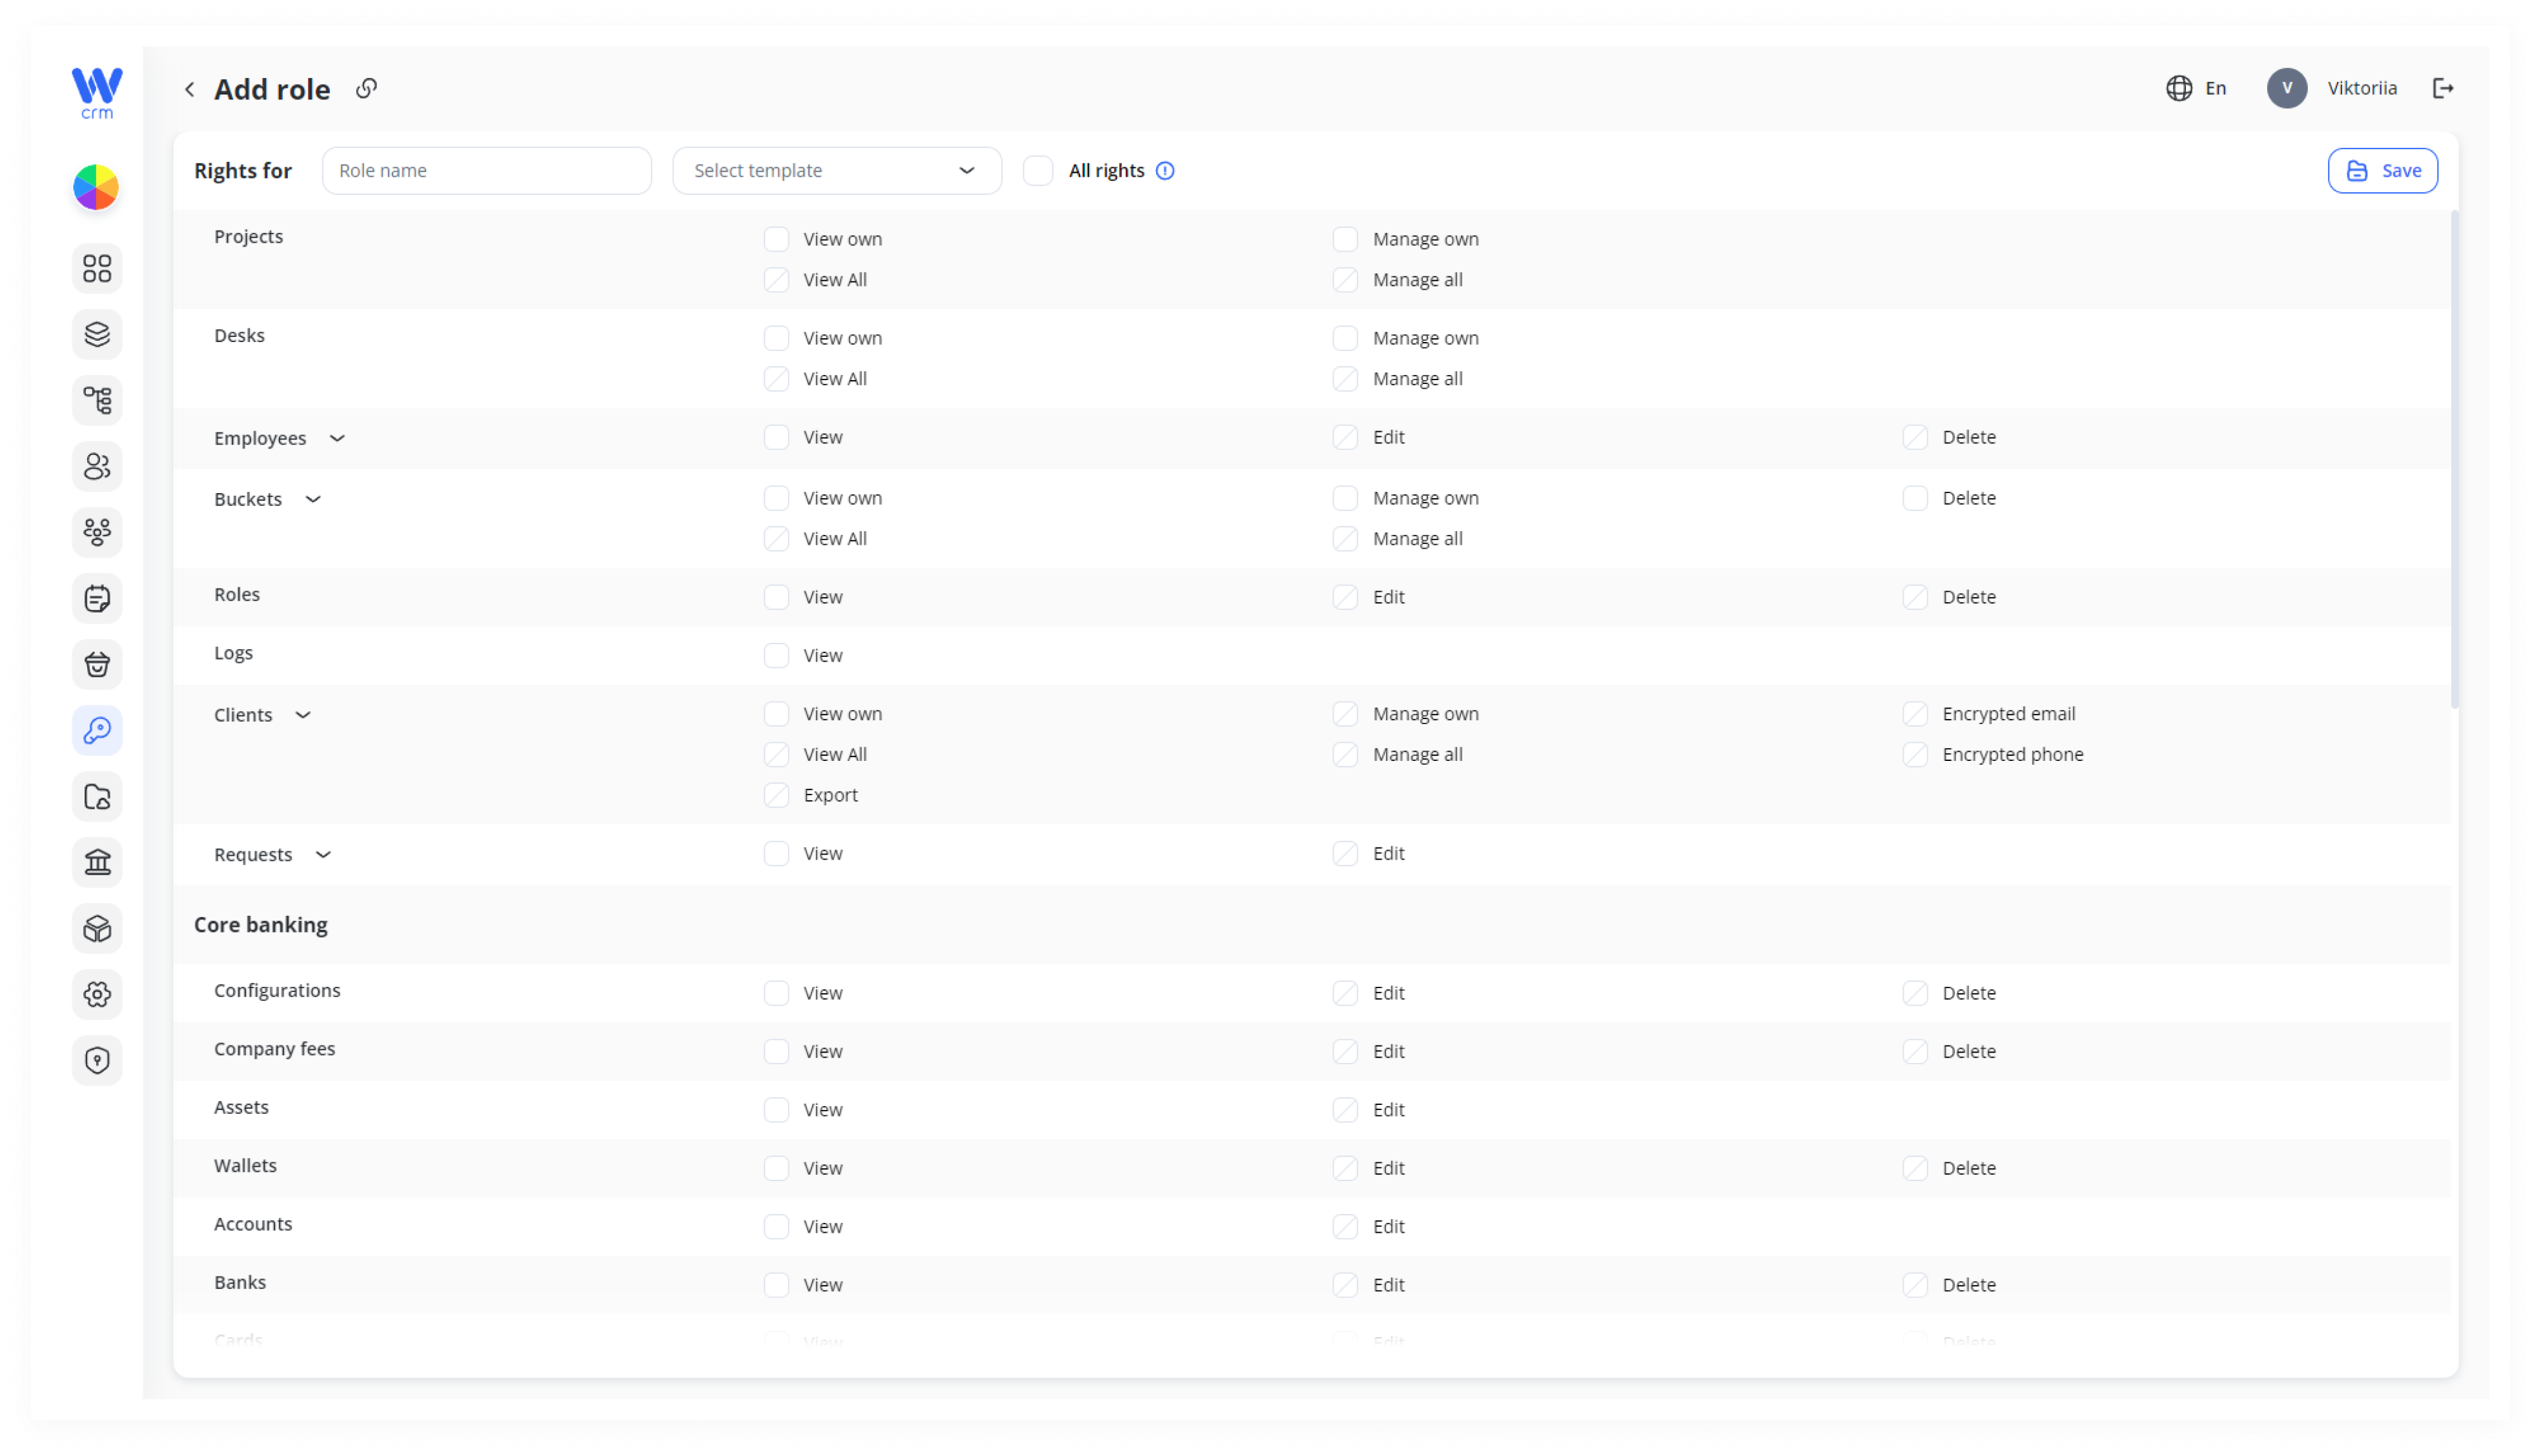
A window will open where you can fill in the role parameters:
-
In the first column, there are modules for which you grant rights (such as Projects, Desks, Employees and all other modules of the Wi CRM).
-
In the second column, there are checkboxes to set viewing rights for the modules.
-
In the third column, there are checkboxes to set managing rights for the modules.
In the Role name field, fill in the unique label of the role.
Note: The role's name can not be edited once it is created.
You then have three options:
-
Select a template for the role. (RECOMMENDED)
-
Set all rights (including Security rights) available to the role. (NOT RECOMMENDED)
-
Manually configure a role. (NOT RECOMMENDED)
To select a template for the role:
1. Choose an option from the Select template drop-down list:
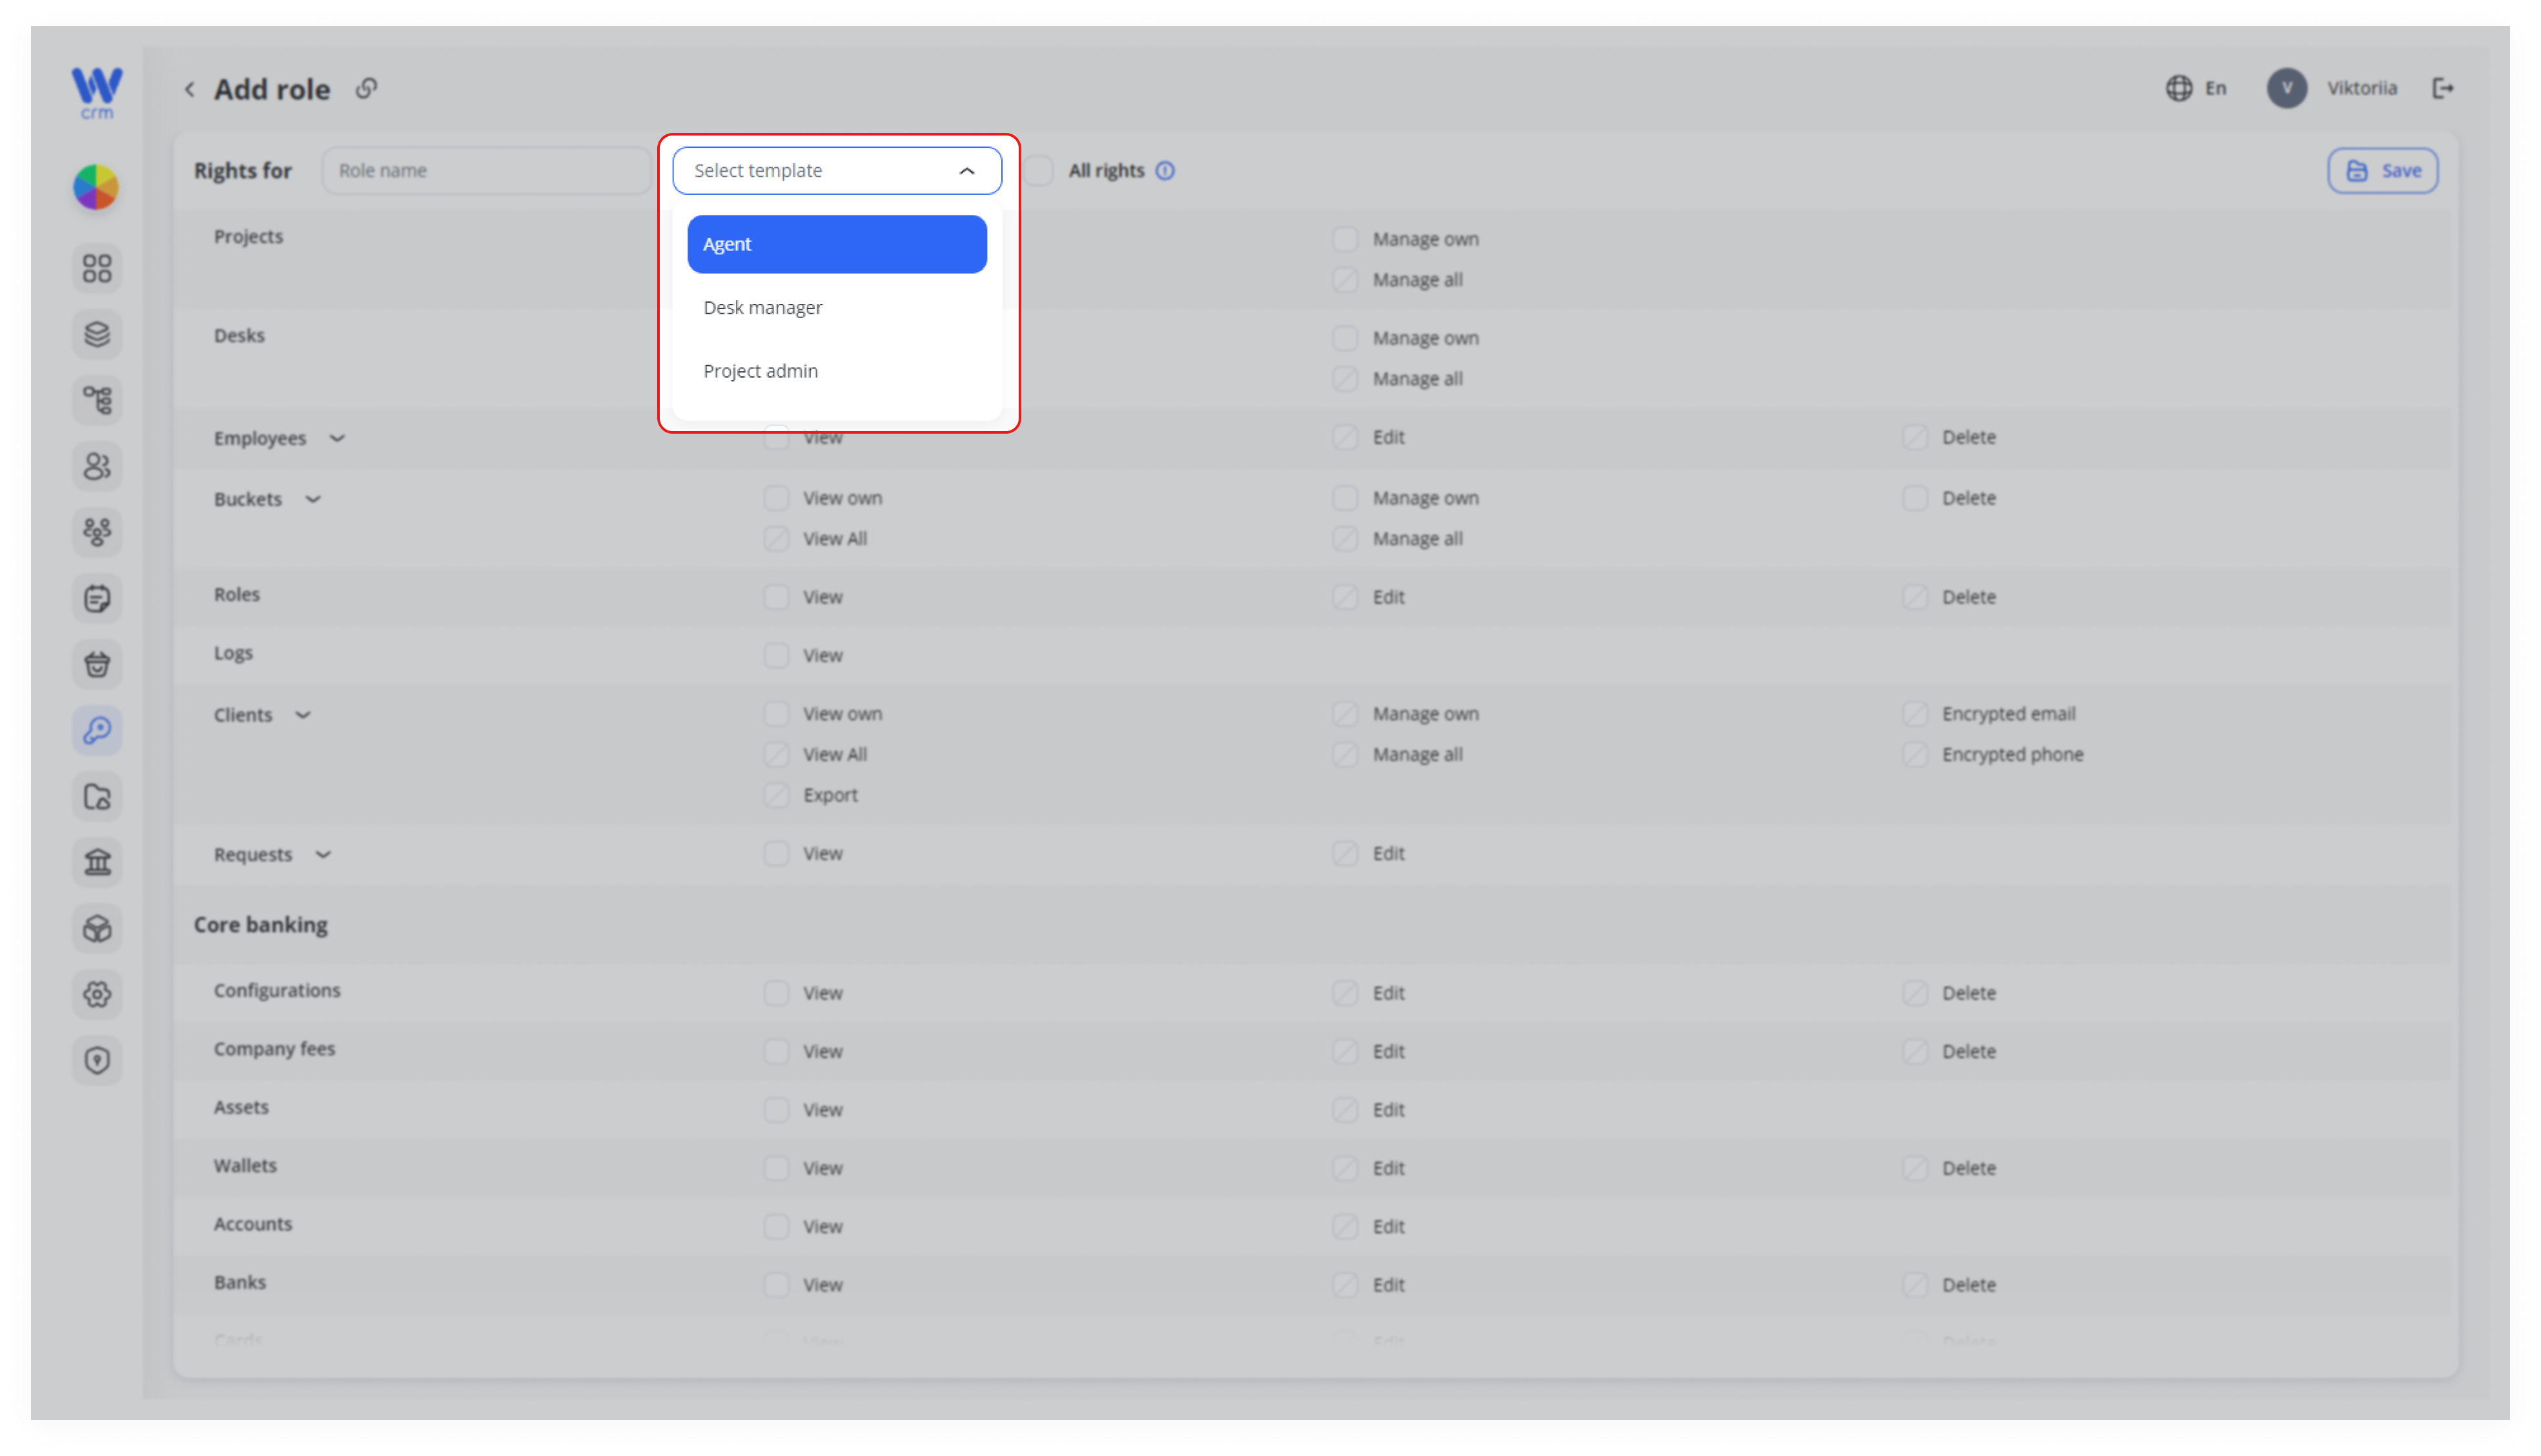
You will see following templates:
|
Template |
View | Manage |
| Agent |
Own Projects (only those to which the employee assigned) Own Desks Employees (only those that relate to Own Projects) Own Clients Requests (only those that relate to Own Clients) Configurations Company fees Statuses |
Own Clients |
| Desk manager |
All from Agent list + All Clients |
Own Projects Own Desks All Clients Requests |
| Project admin |
All from Desk manager list +
All Desks |
All from Desk manager list + Employees |
Note: You cannot change the configuration of a role template.
2. Click Save to apply the changes.
The following rules apply for manually configuring roles:
-
Some modules are linked to others and cannot exist without them. For example, you cannot select viewing rights for Projects without Desks and Employees. In such cases, the viewing rights for the linked modules are selected automatically. More about Wi CRM modules and their relationships [here]
-
Managing rights are not automatically selected.