
3. How to Create a Project
1. To create a project, click the Add Project button at the top right ofOpen the Projects tab:
Module
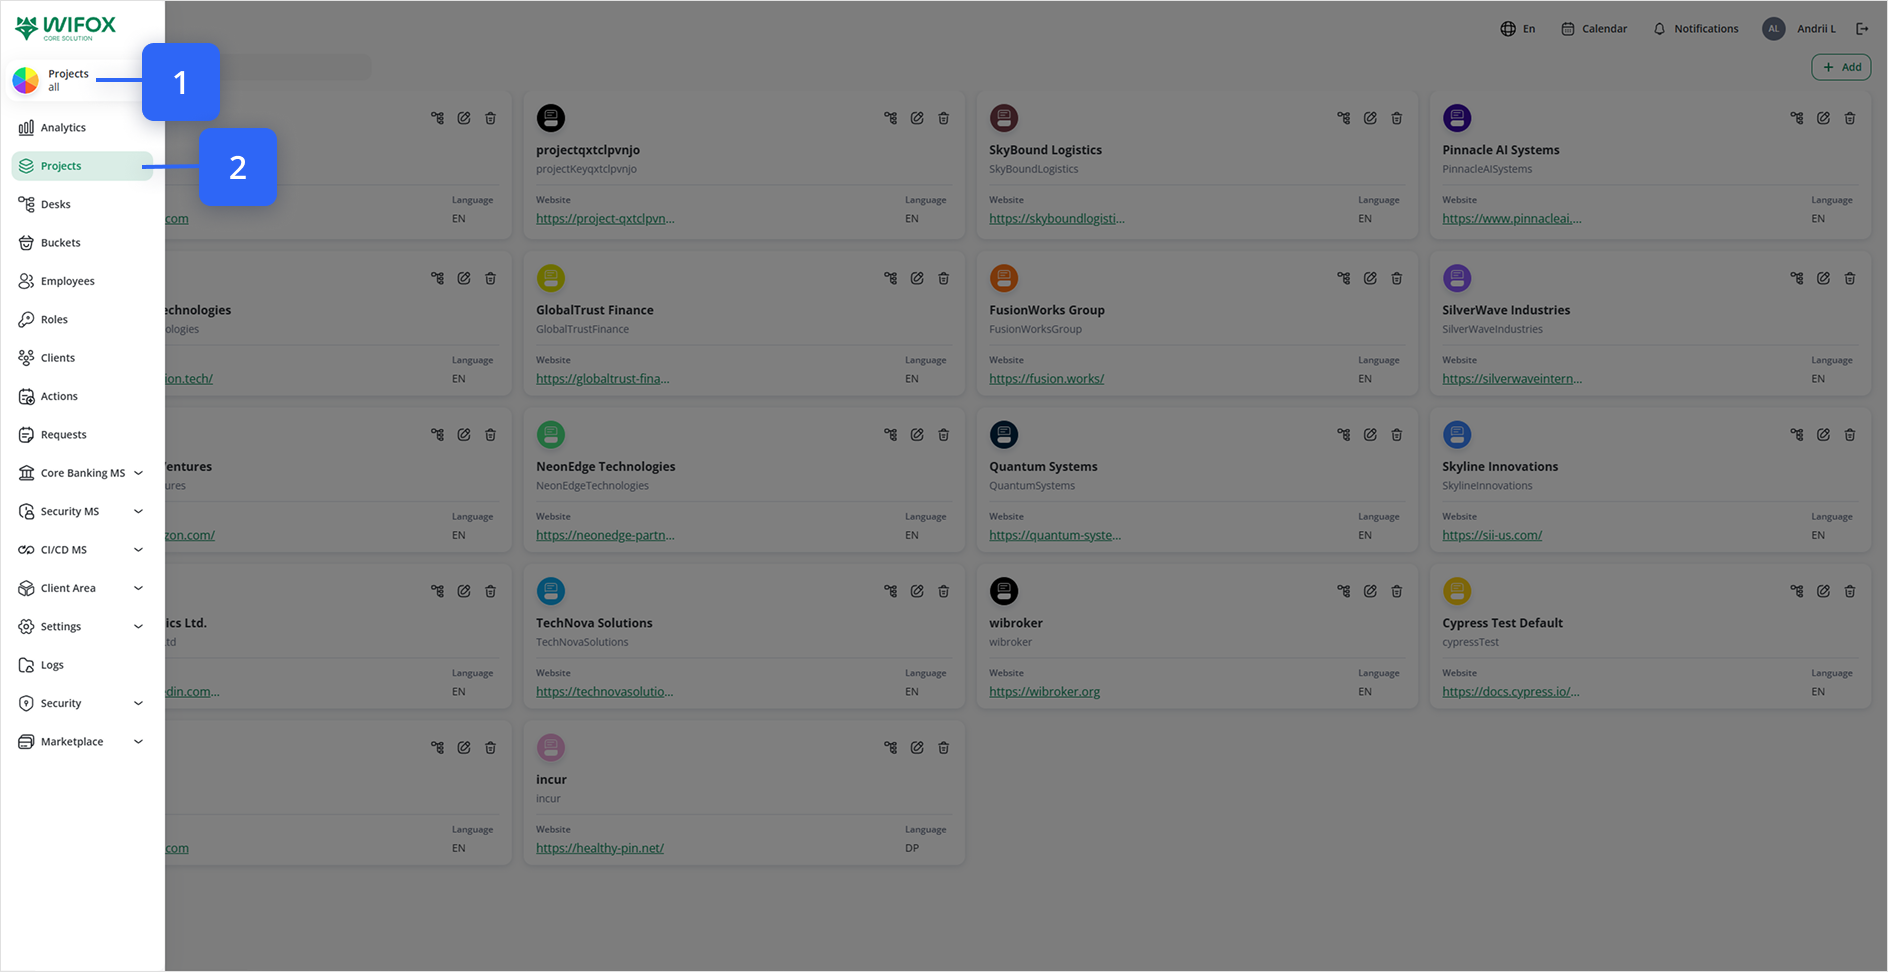
From the left-hand nav, click Projects.
2. Click Add to Create a New Project
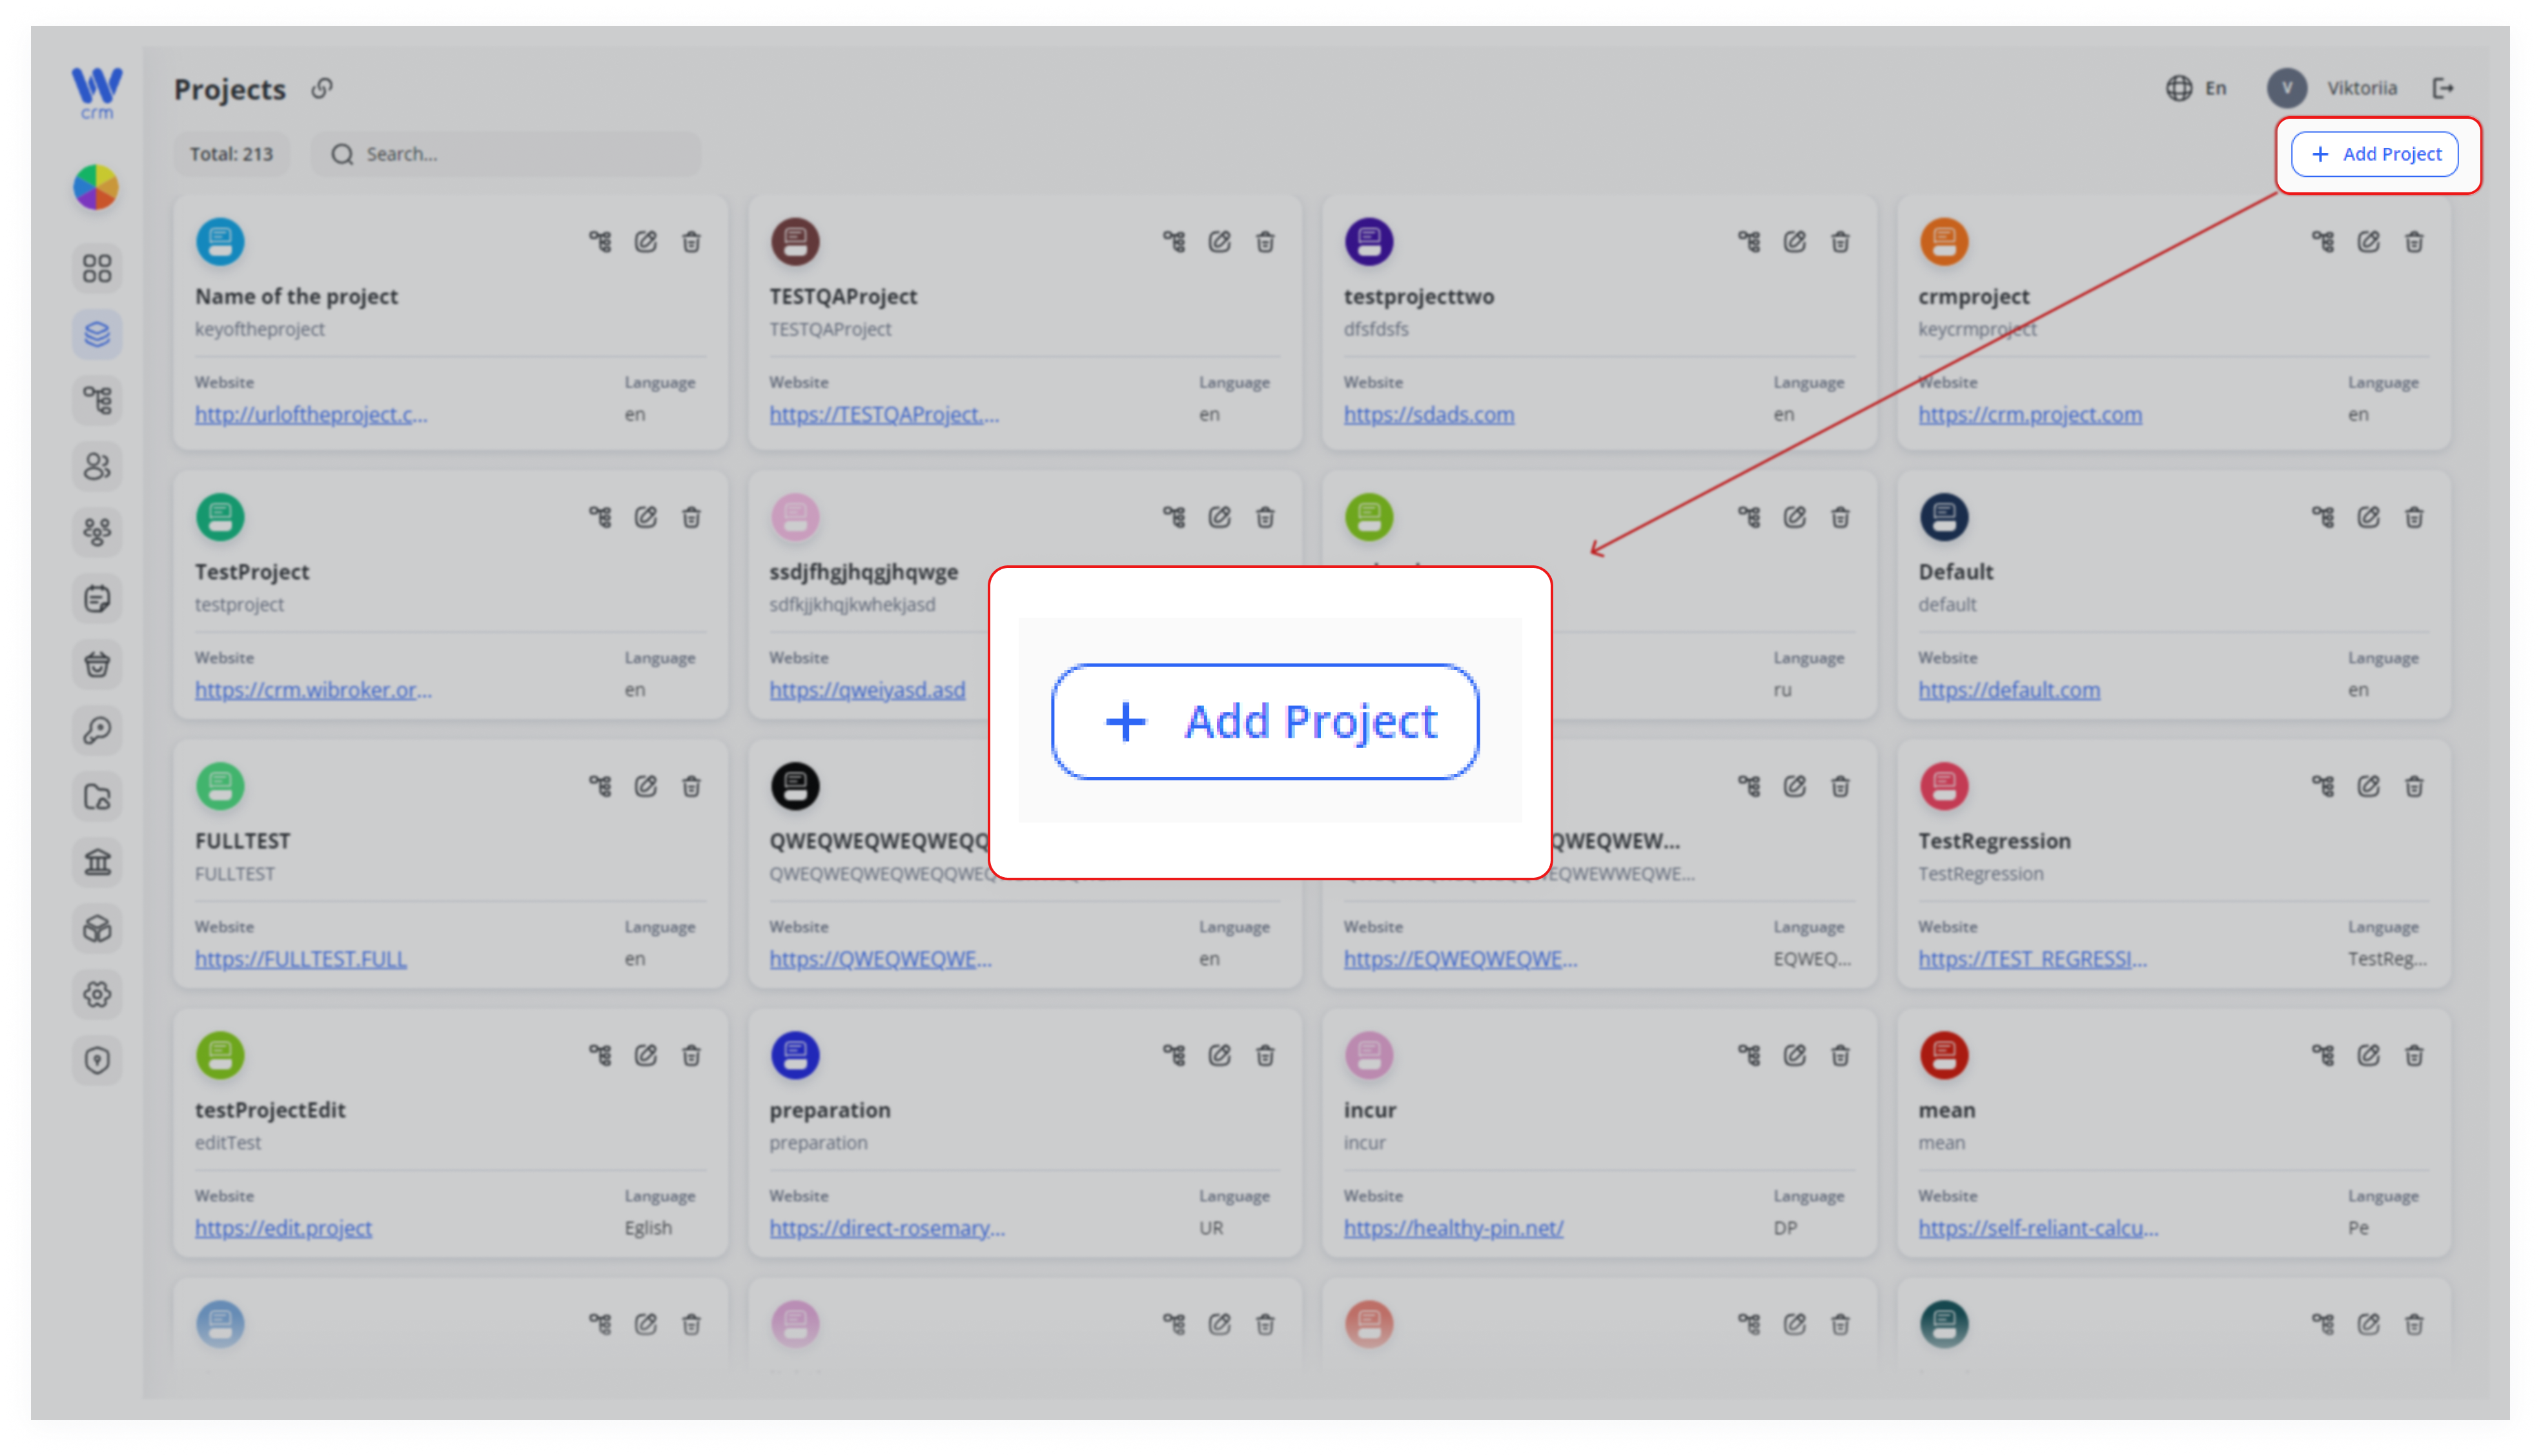
2.In Athe windowtop-right willcorner openof wherethe youProjects canlist, fillclick the + Add button.
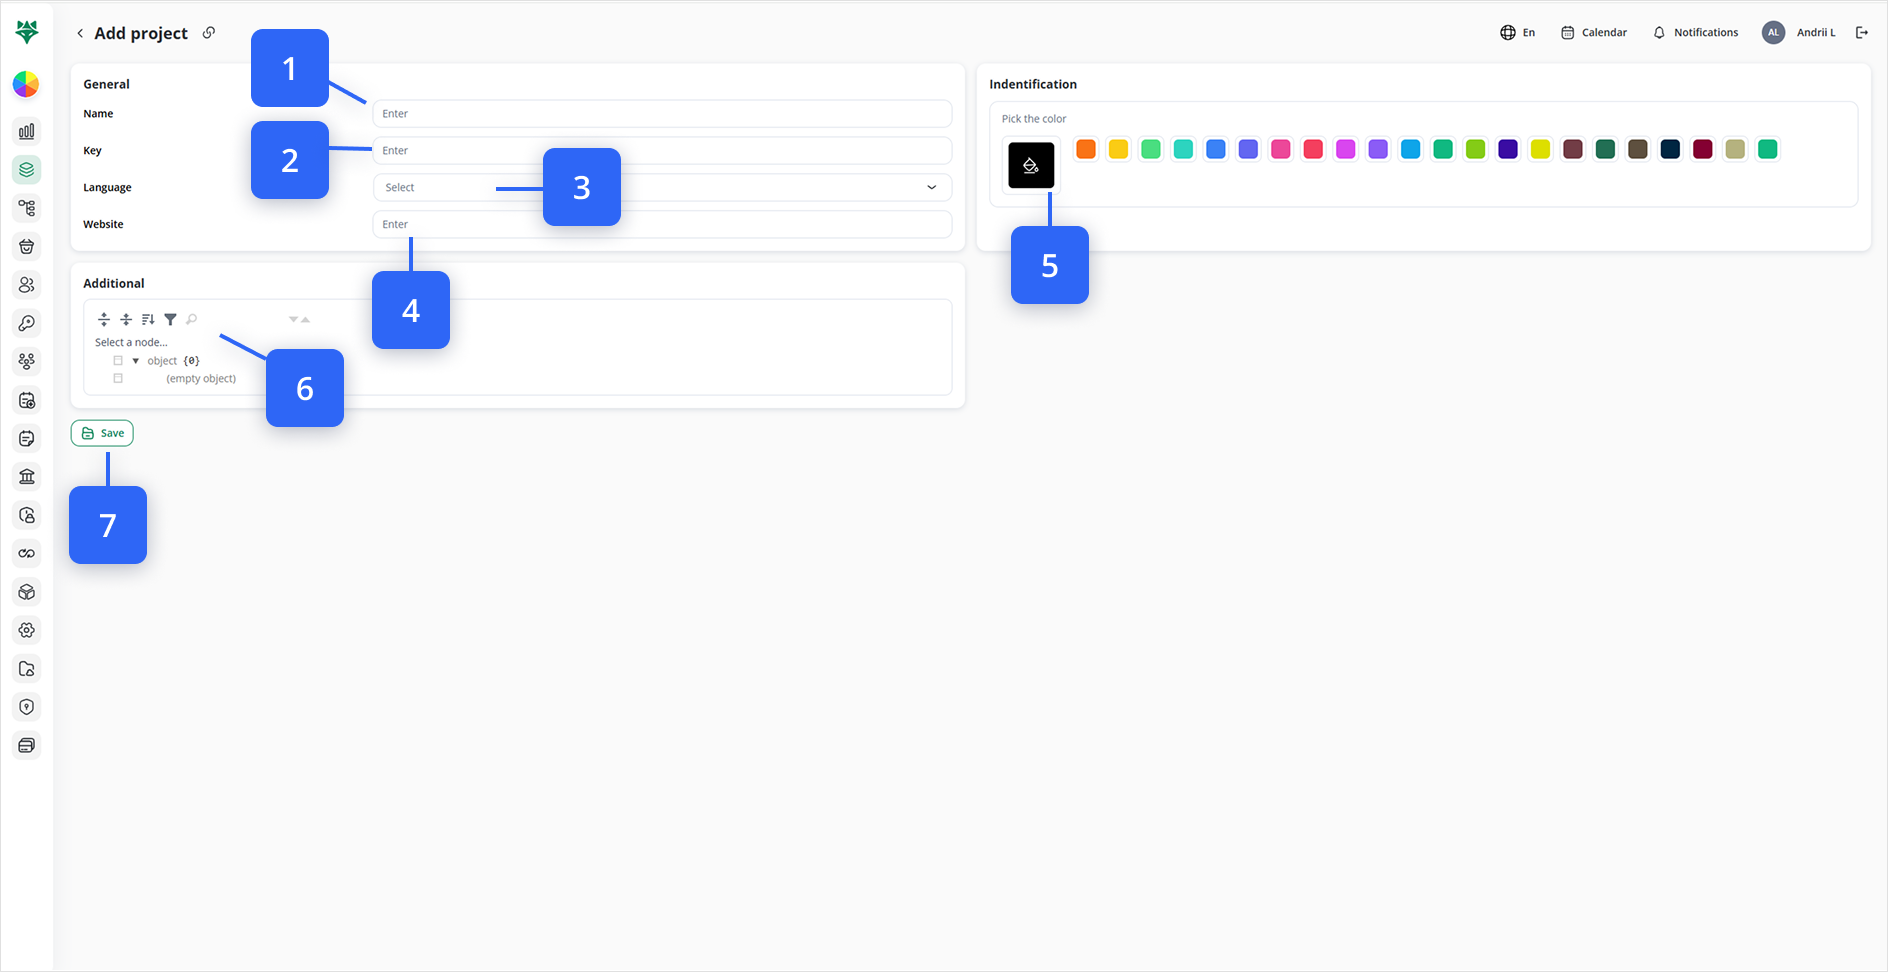
3. Fill in the projectGeneral parameters.Section
- (Step
- #1)
- Human-readable
Name:Theproject nameof(e.g.the“Acmeproject.Website”)- (Step #2): Unique internal code (e.g. ACME_WEB)
Language
Key:(Step #3)A:unique alphabetic identifier for the project, used in the API. Language:The project’s language, independent of the CRM language, used solely for identification purposes.Website:The link toSelect the project’swebsite.default locale
Key
Website
#4):
Name
3.the Also,project’s selectlive site
4. Choose a colorColor/Icon onfor Easy Identification
Click the palettecolor toswatch identifyin the project:
Identification panel (Step #5)
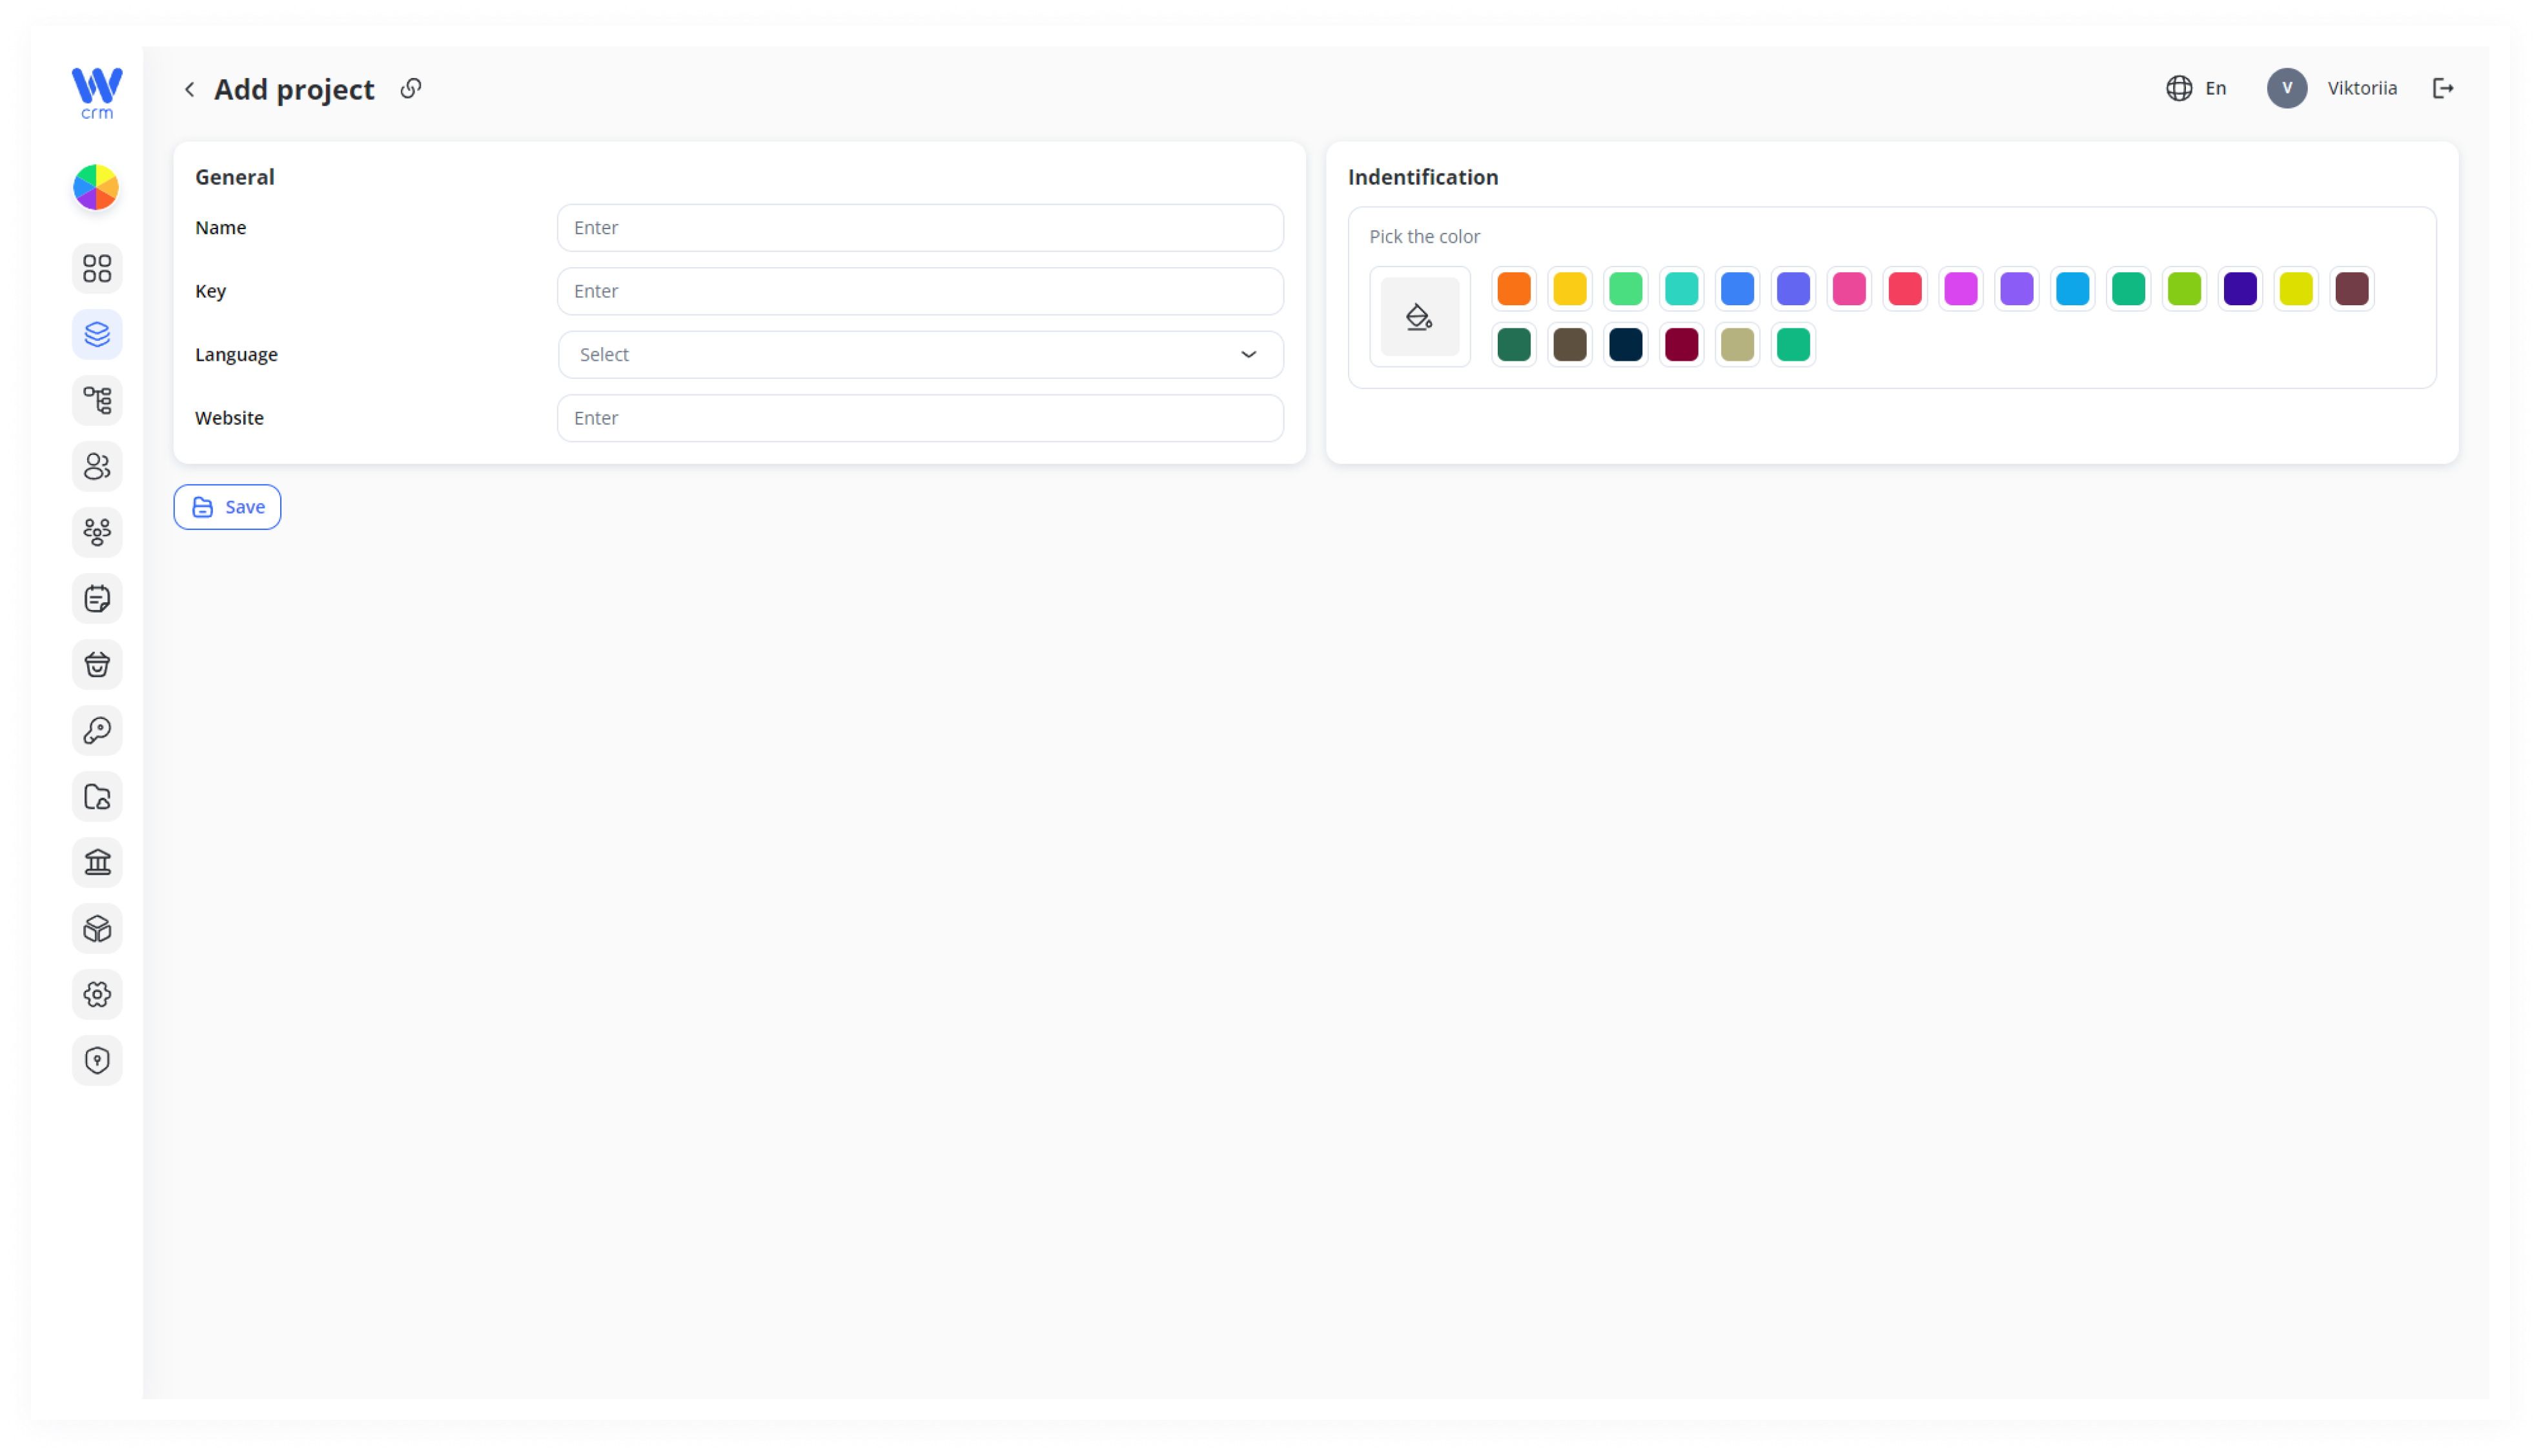
4. Click Save to apply the changes. Note that after the saving you will be able to change the name, language, website, and colorone of the project,preset butcolors not(or custom icon) to visually tag this project throughout the app
5. (Optional) Configure Additional Settings
Use the Additional tree picker to assign this project to any high-level nodes (e.g. regions, business units, custom tags) (Step #6)
6. Save Your New Project (Step #7)
Once all required fields are set, click Save at the bottom left. You’ll be returned to the Projects list, where your new entry will appear with its chosen color and key.
Note: When the project is added, the default desk that can't be deleted is also added with it.