
2.3. How to Create a Project
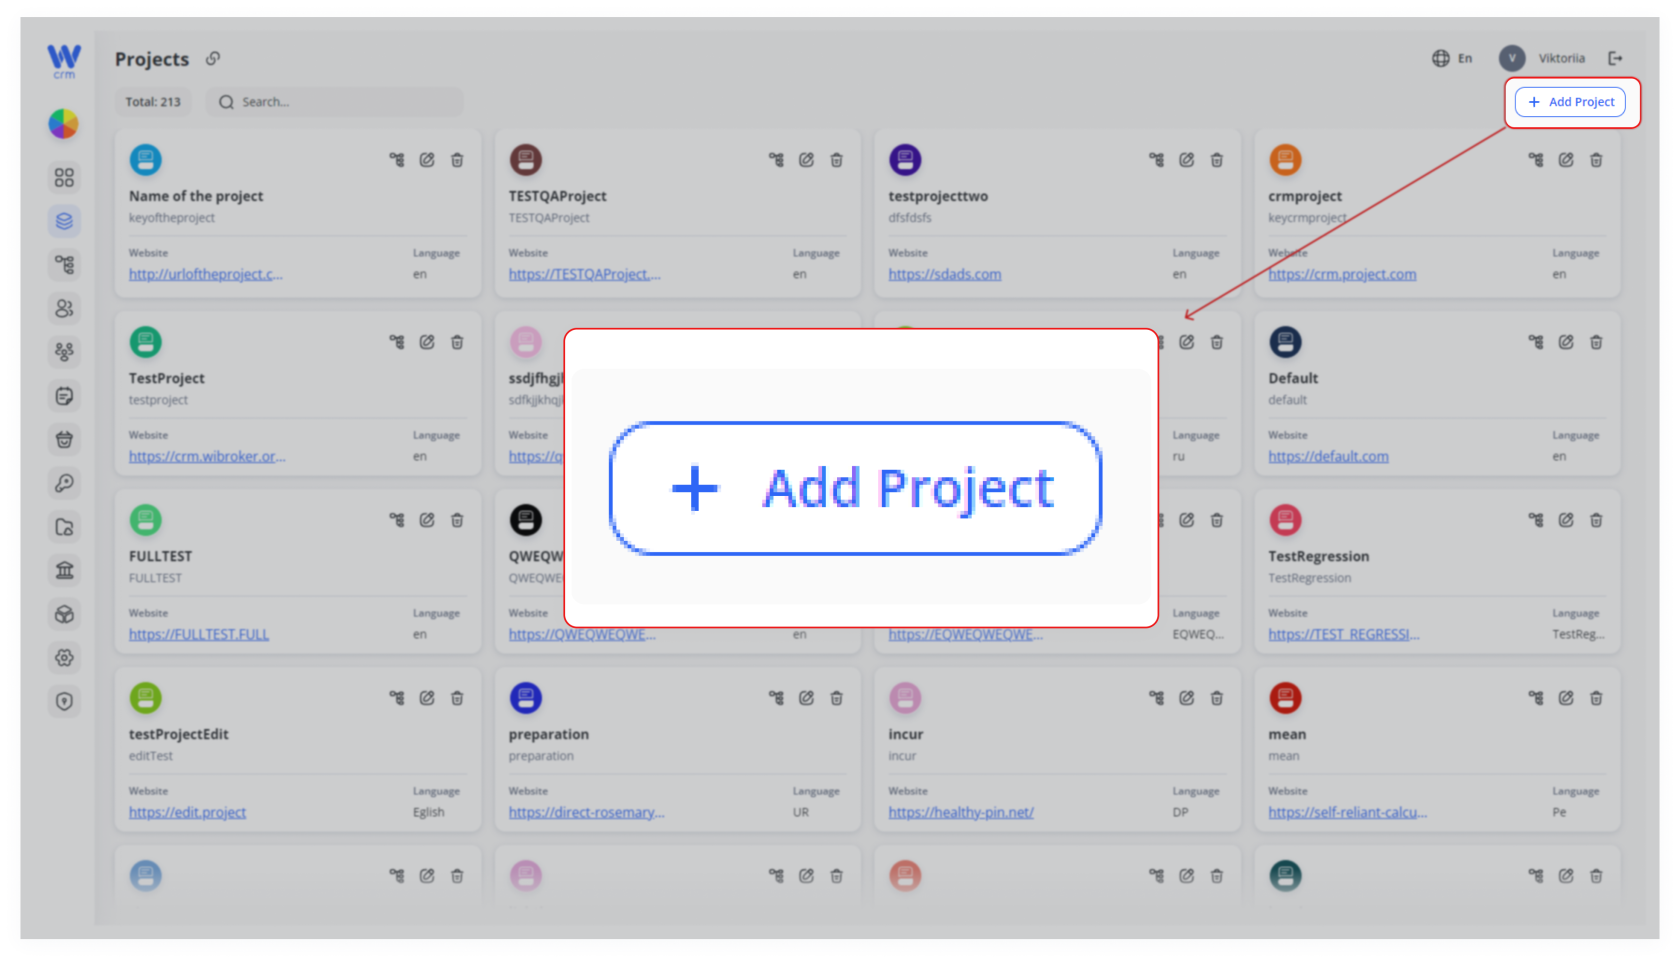
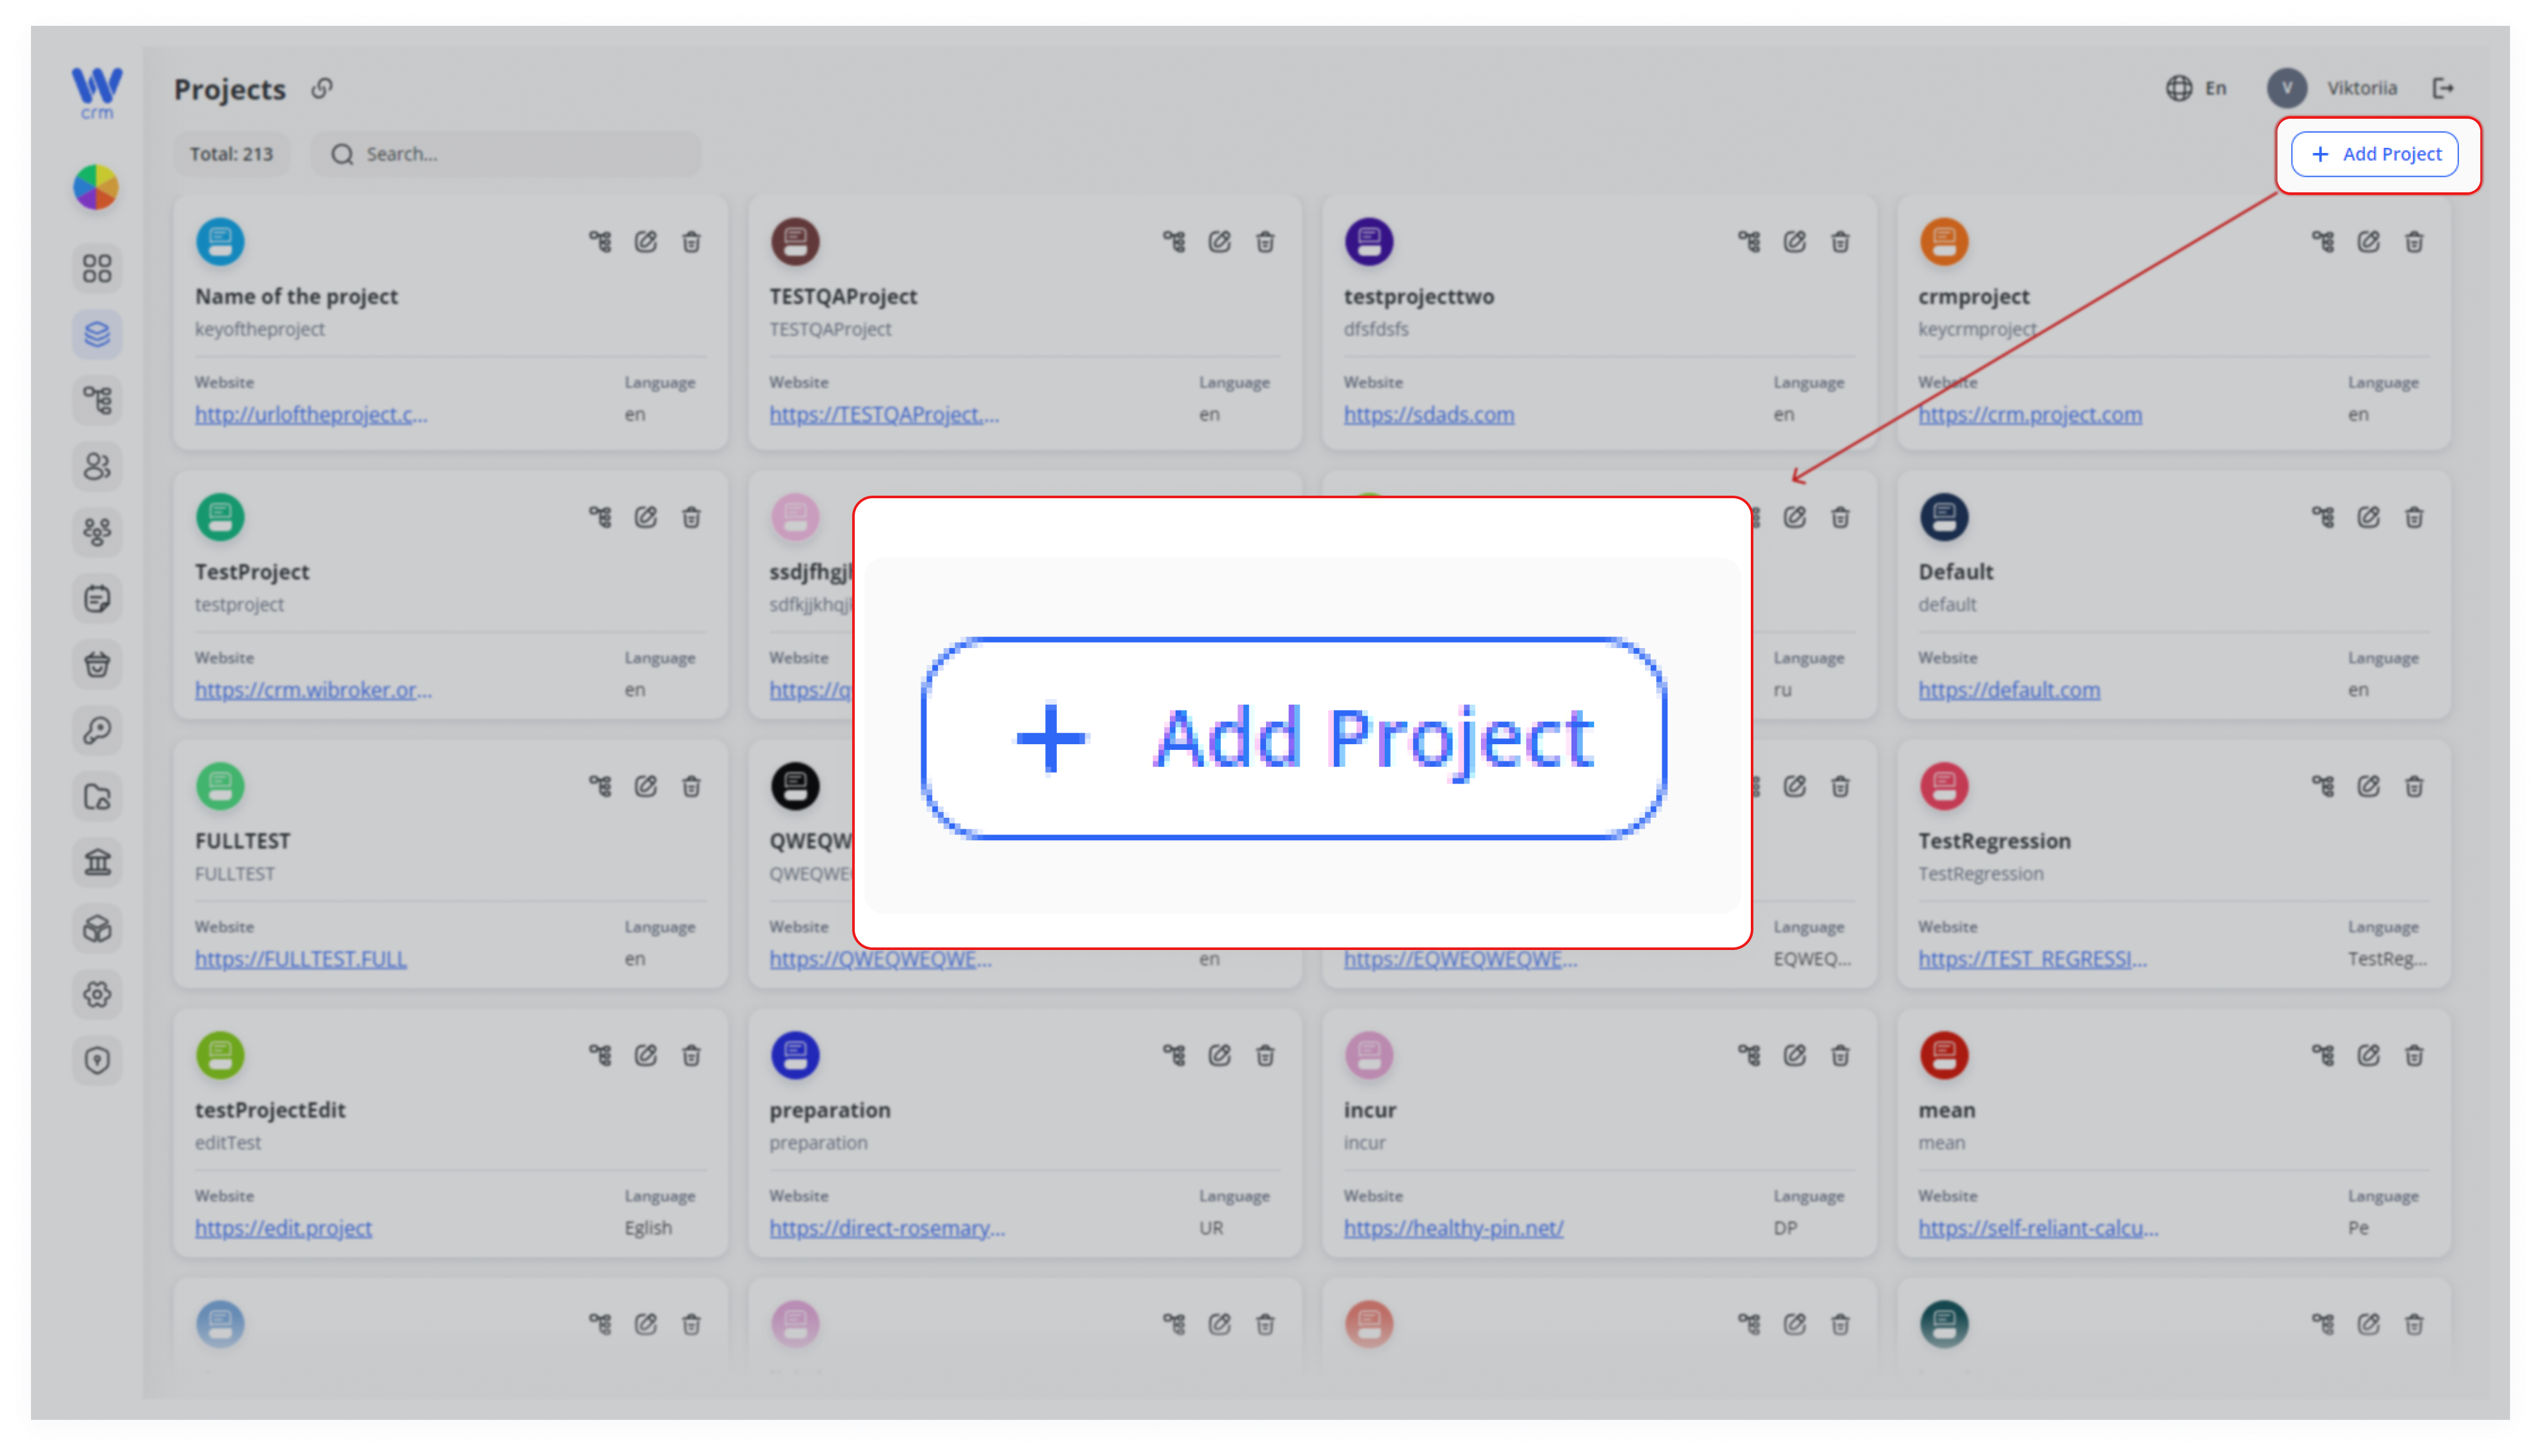
To create a project, click the Add Project button at the top right of the Projects tab:
2. A window will open where you can fill in the project parameters. Enter or select from the drop-down list:
-
-
-
Name: The name of the project.
-
Key: A unique alphabetic identifier for the project, used in the API.
-
Language: The project’s language, independent of the CRM language, used solely for identification purposes.
-
Website: The link to the project’s website.
-
-
3. Also, select a color on the palette to identify the project:
-
Click Save to apply the changes. Note that after the saving you will be able to change the name, language, website, and color of the project, but not its key.
1.


4.
Note: When the project is added, the default desk that can't be deleted is also added with it.