
2. How to Create a Client
Client profiles are automatically created when they register on your site.
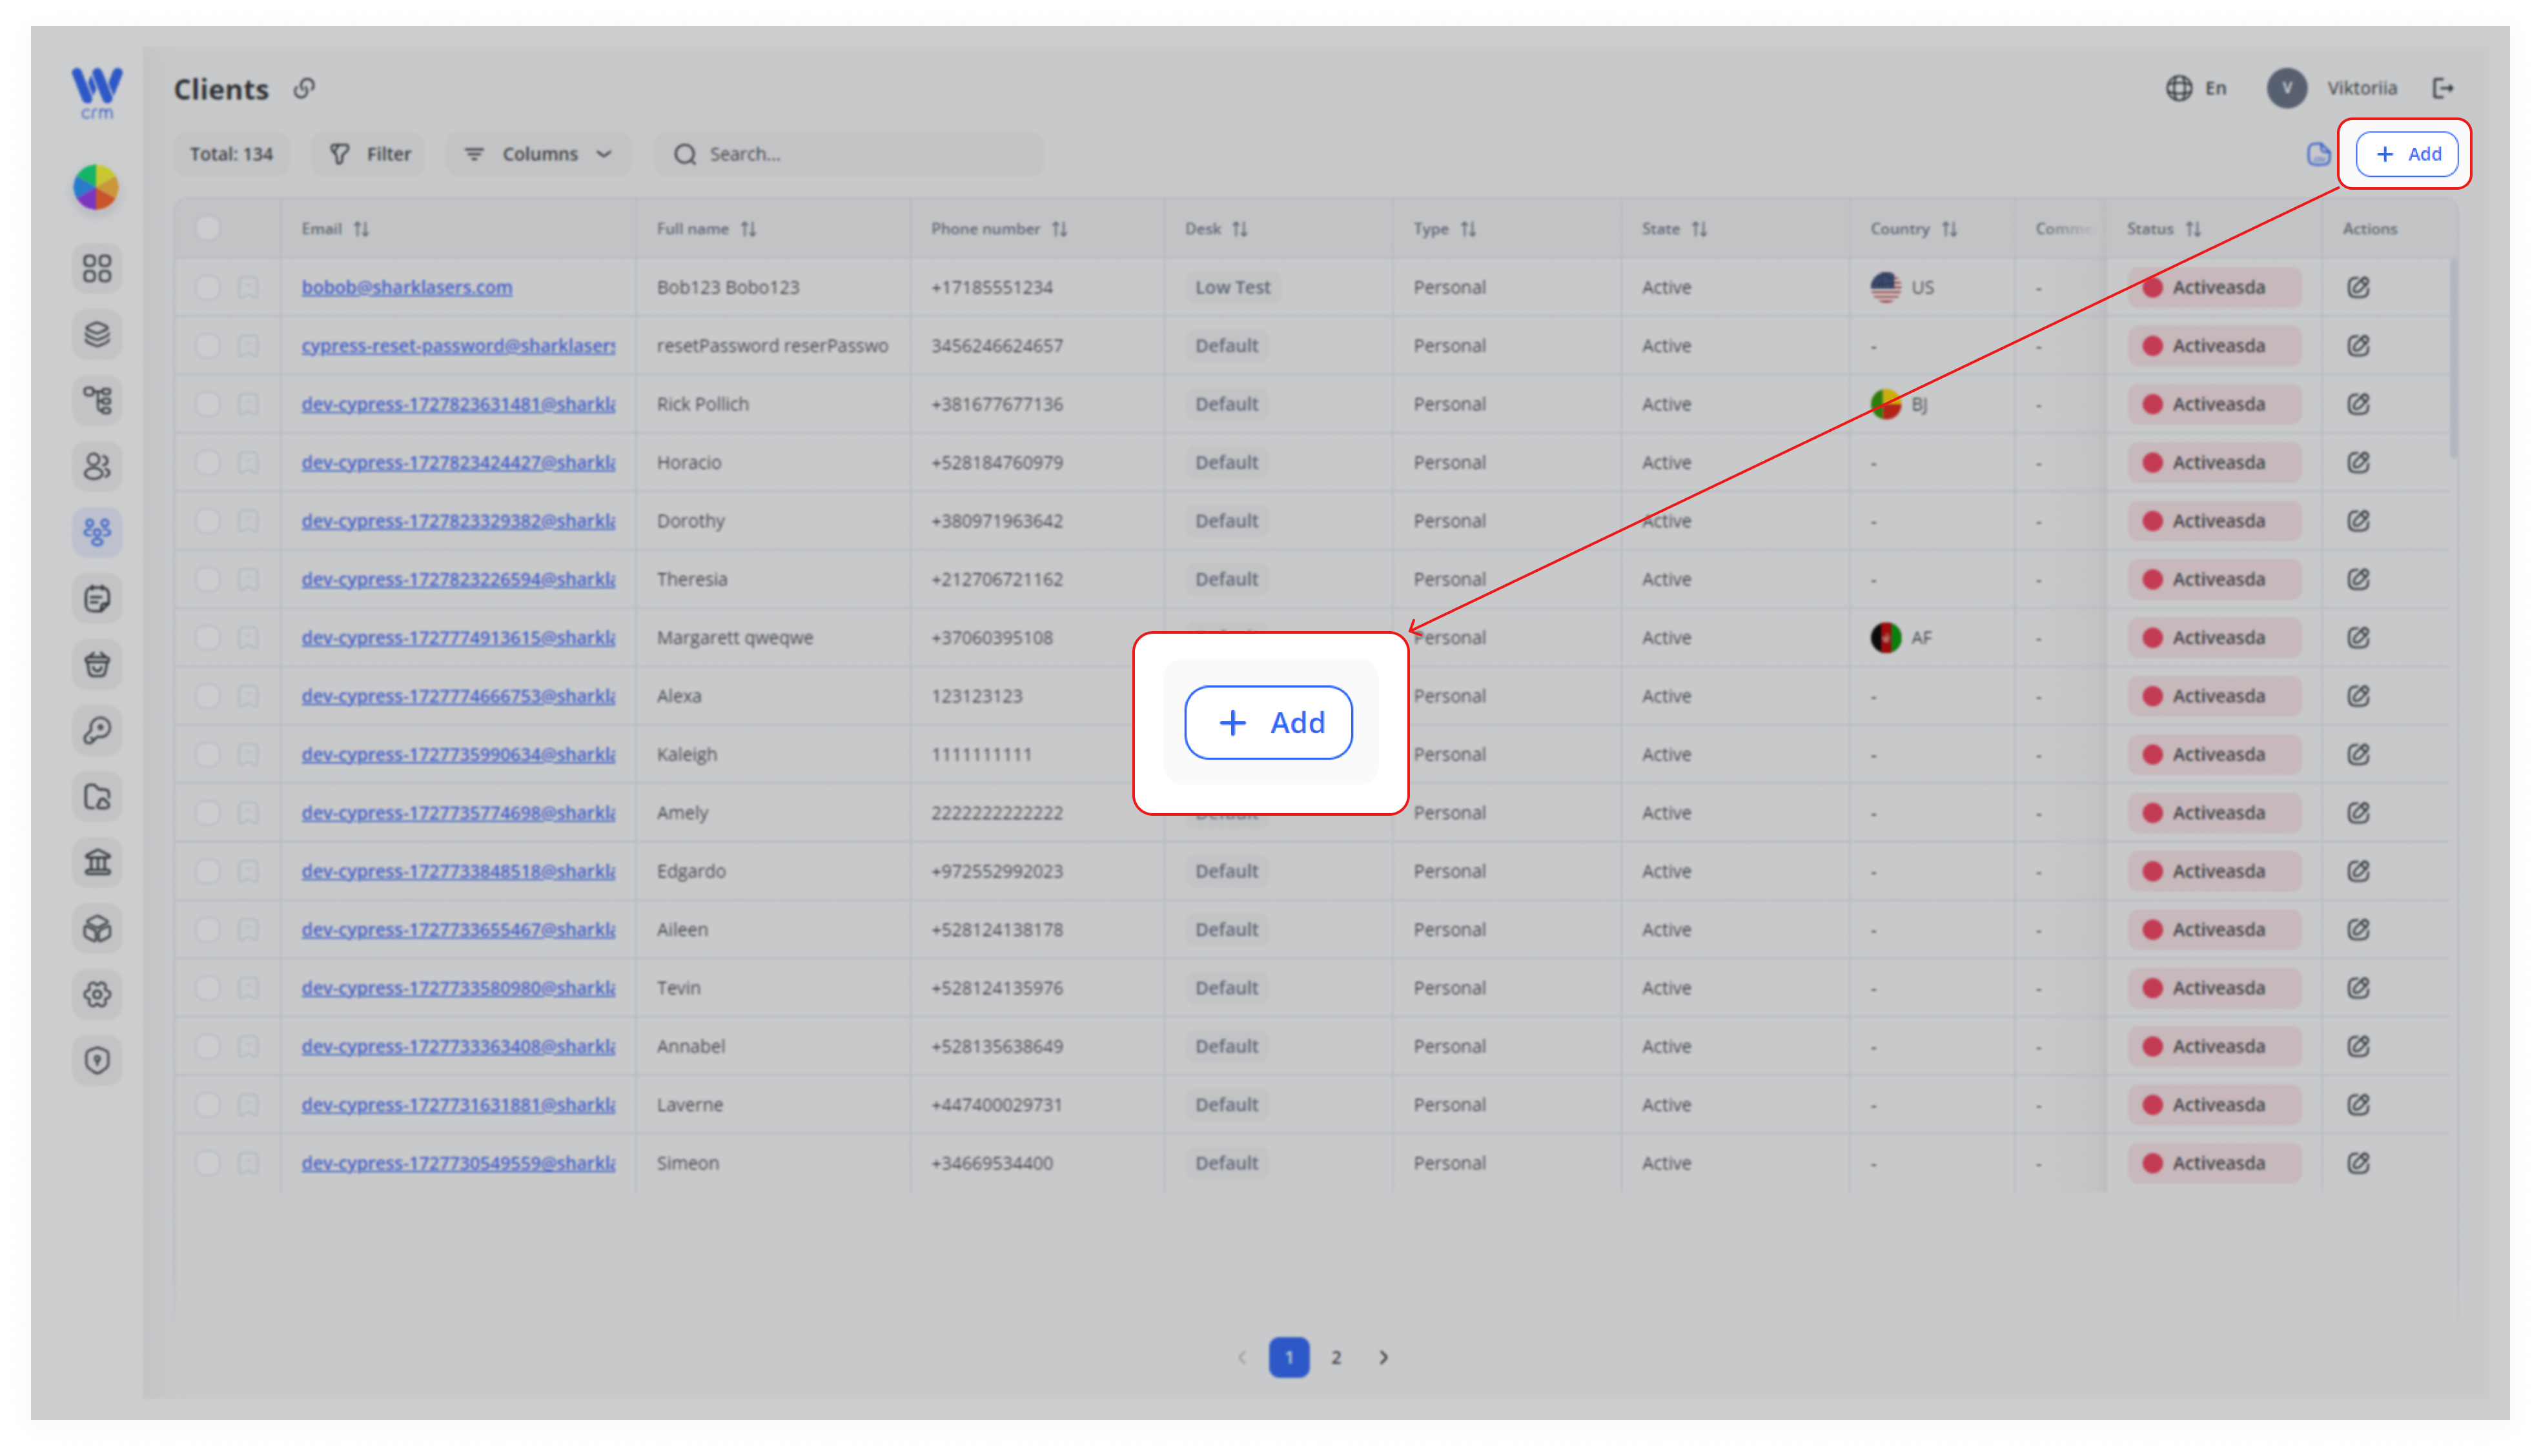
To create a client manually, click the Add button at the top right of the Clients tab:
A window will open where you can fill in the client's details.
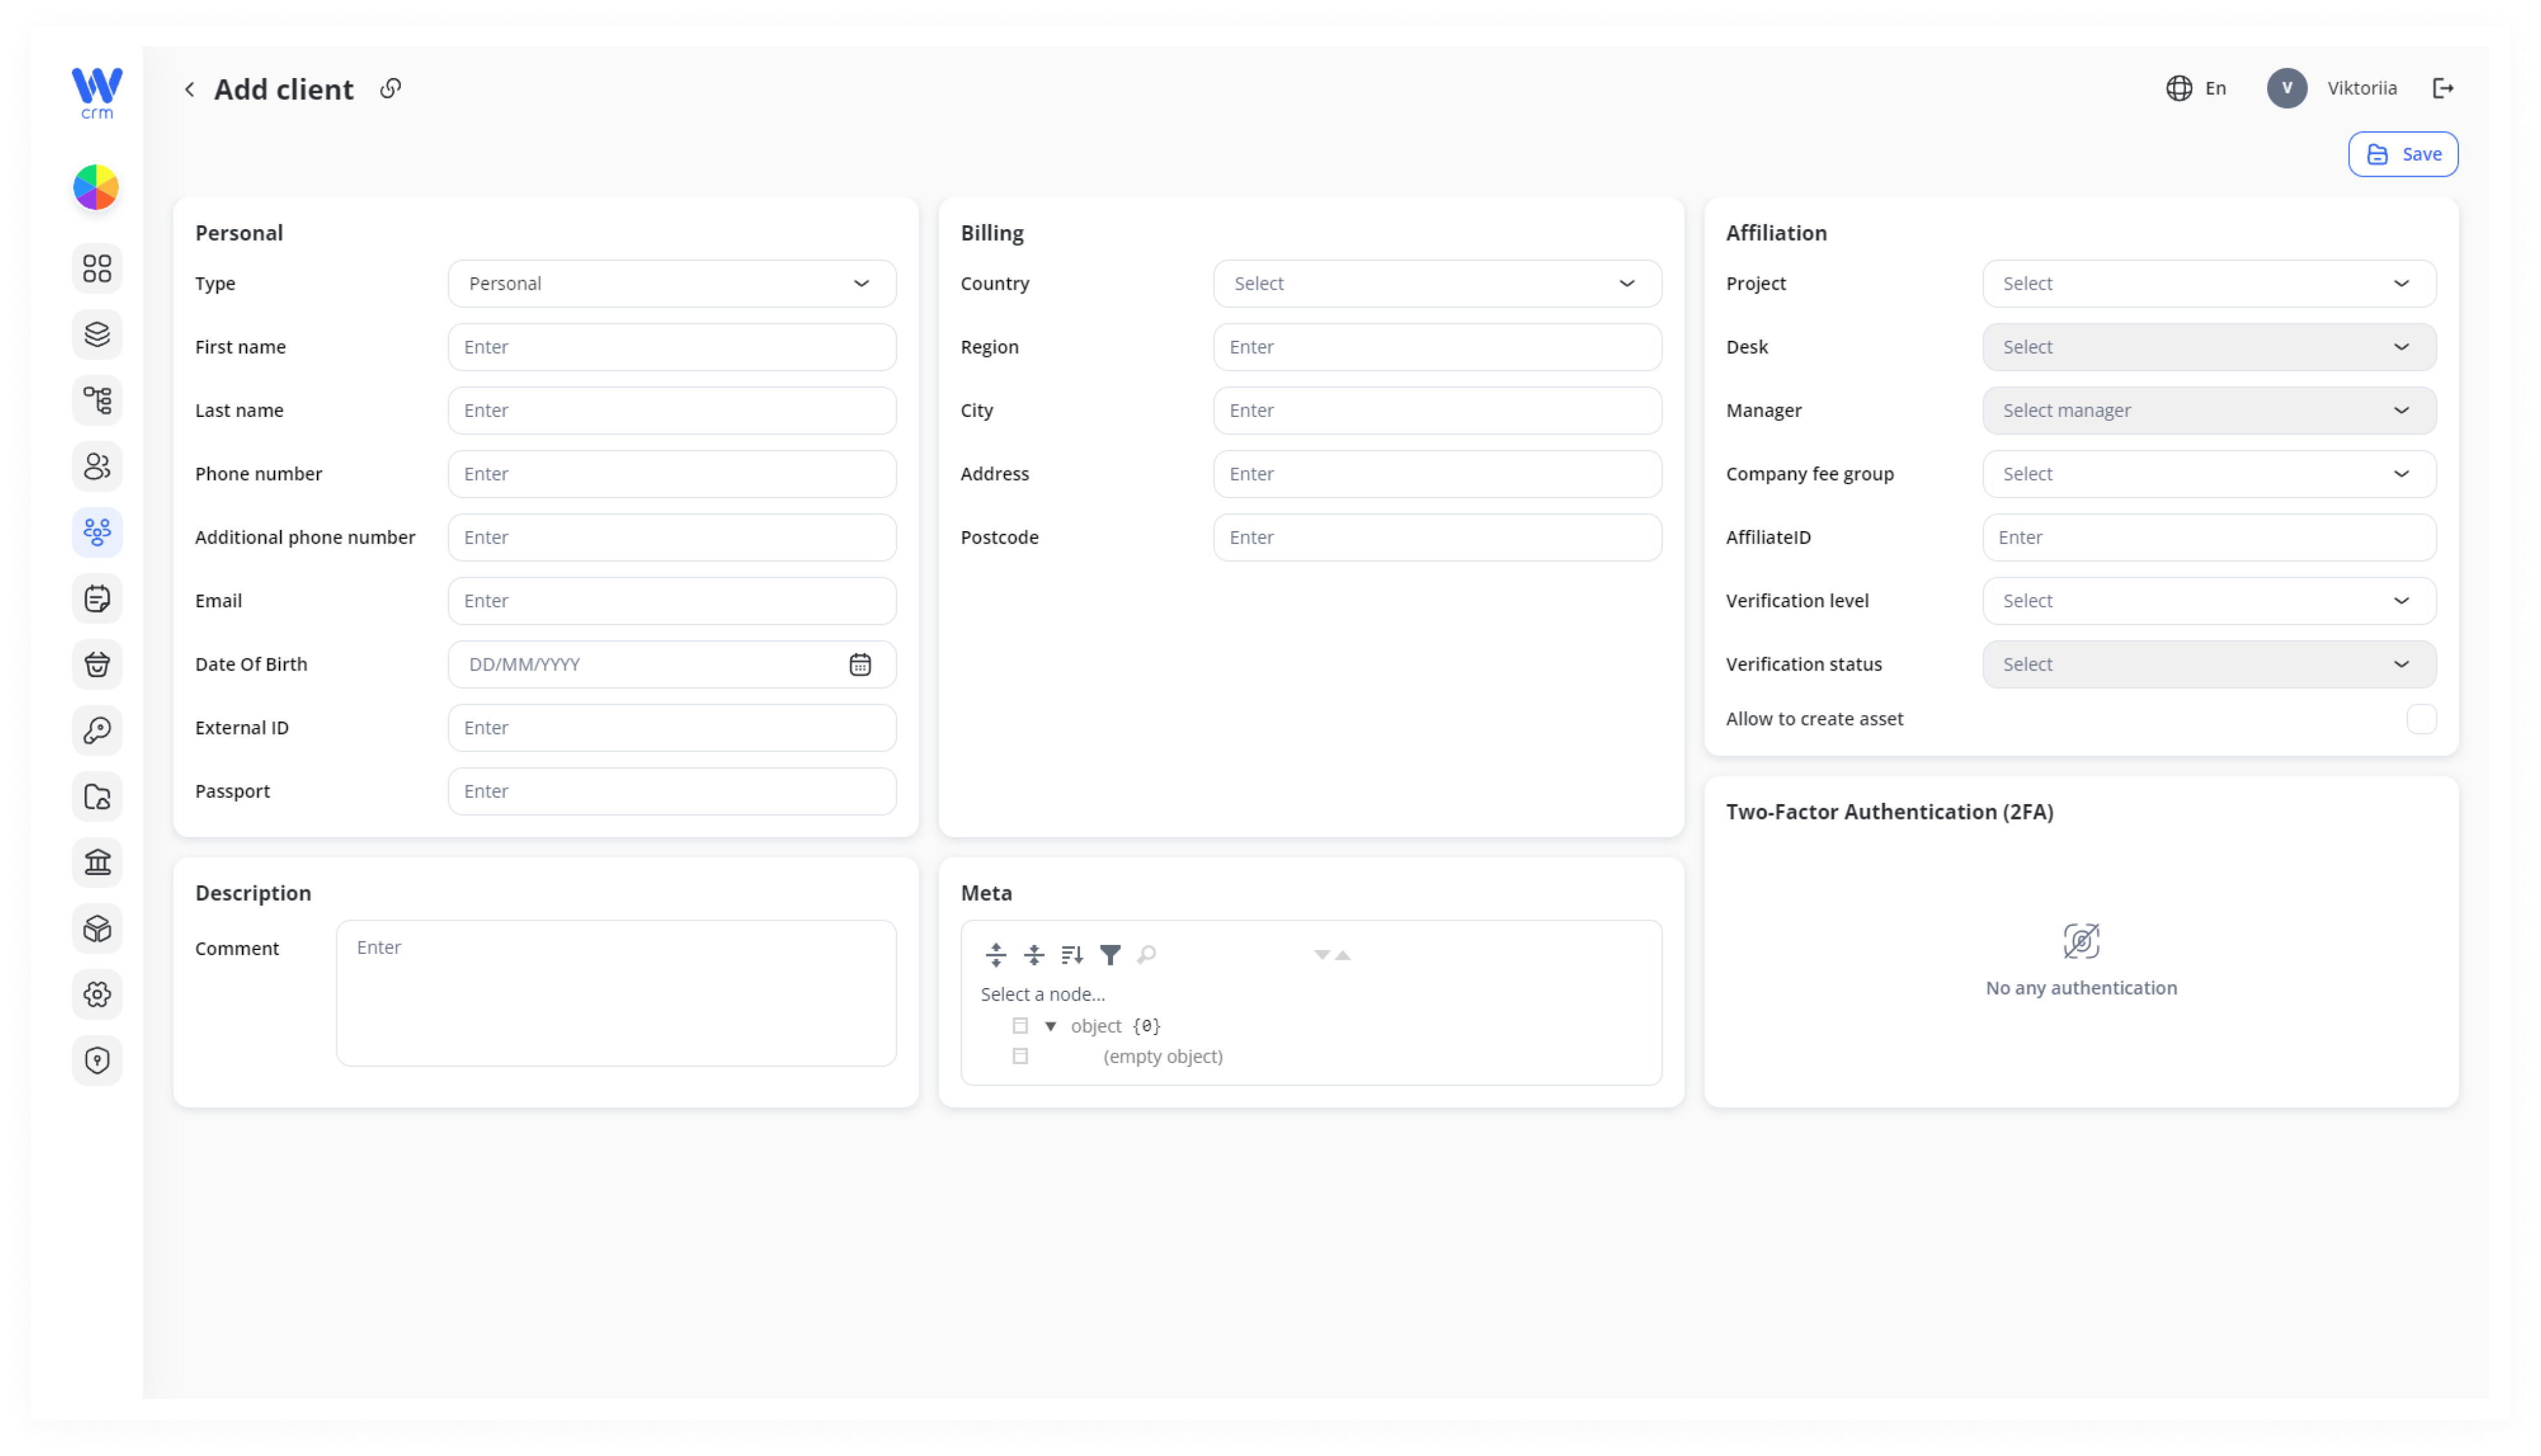
The client profile consists of five main sections:
-
Personal: General information such as name or contact details.
-
Billing: Information about client’s location.
-
Affiliation: Information to control the flow of customers on the platform (e.g., where they came from, which manager is assigned to them, etc.)
-
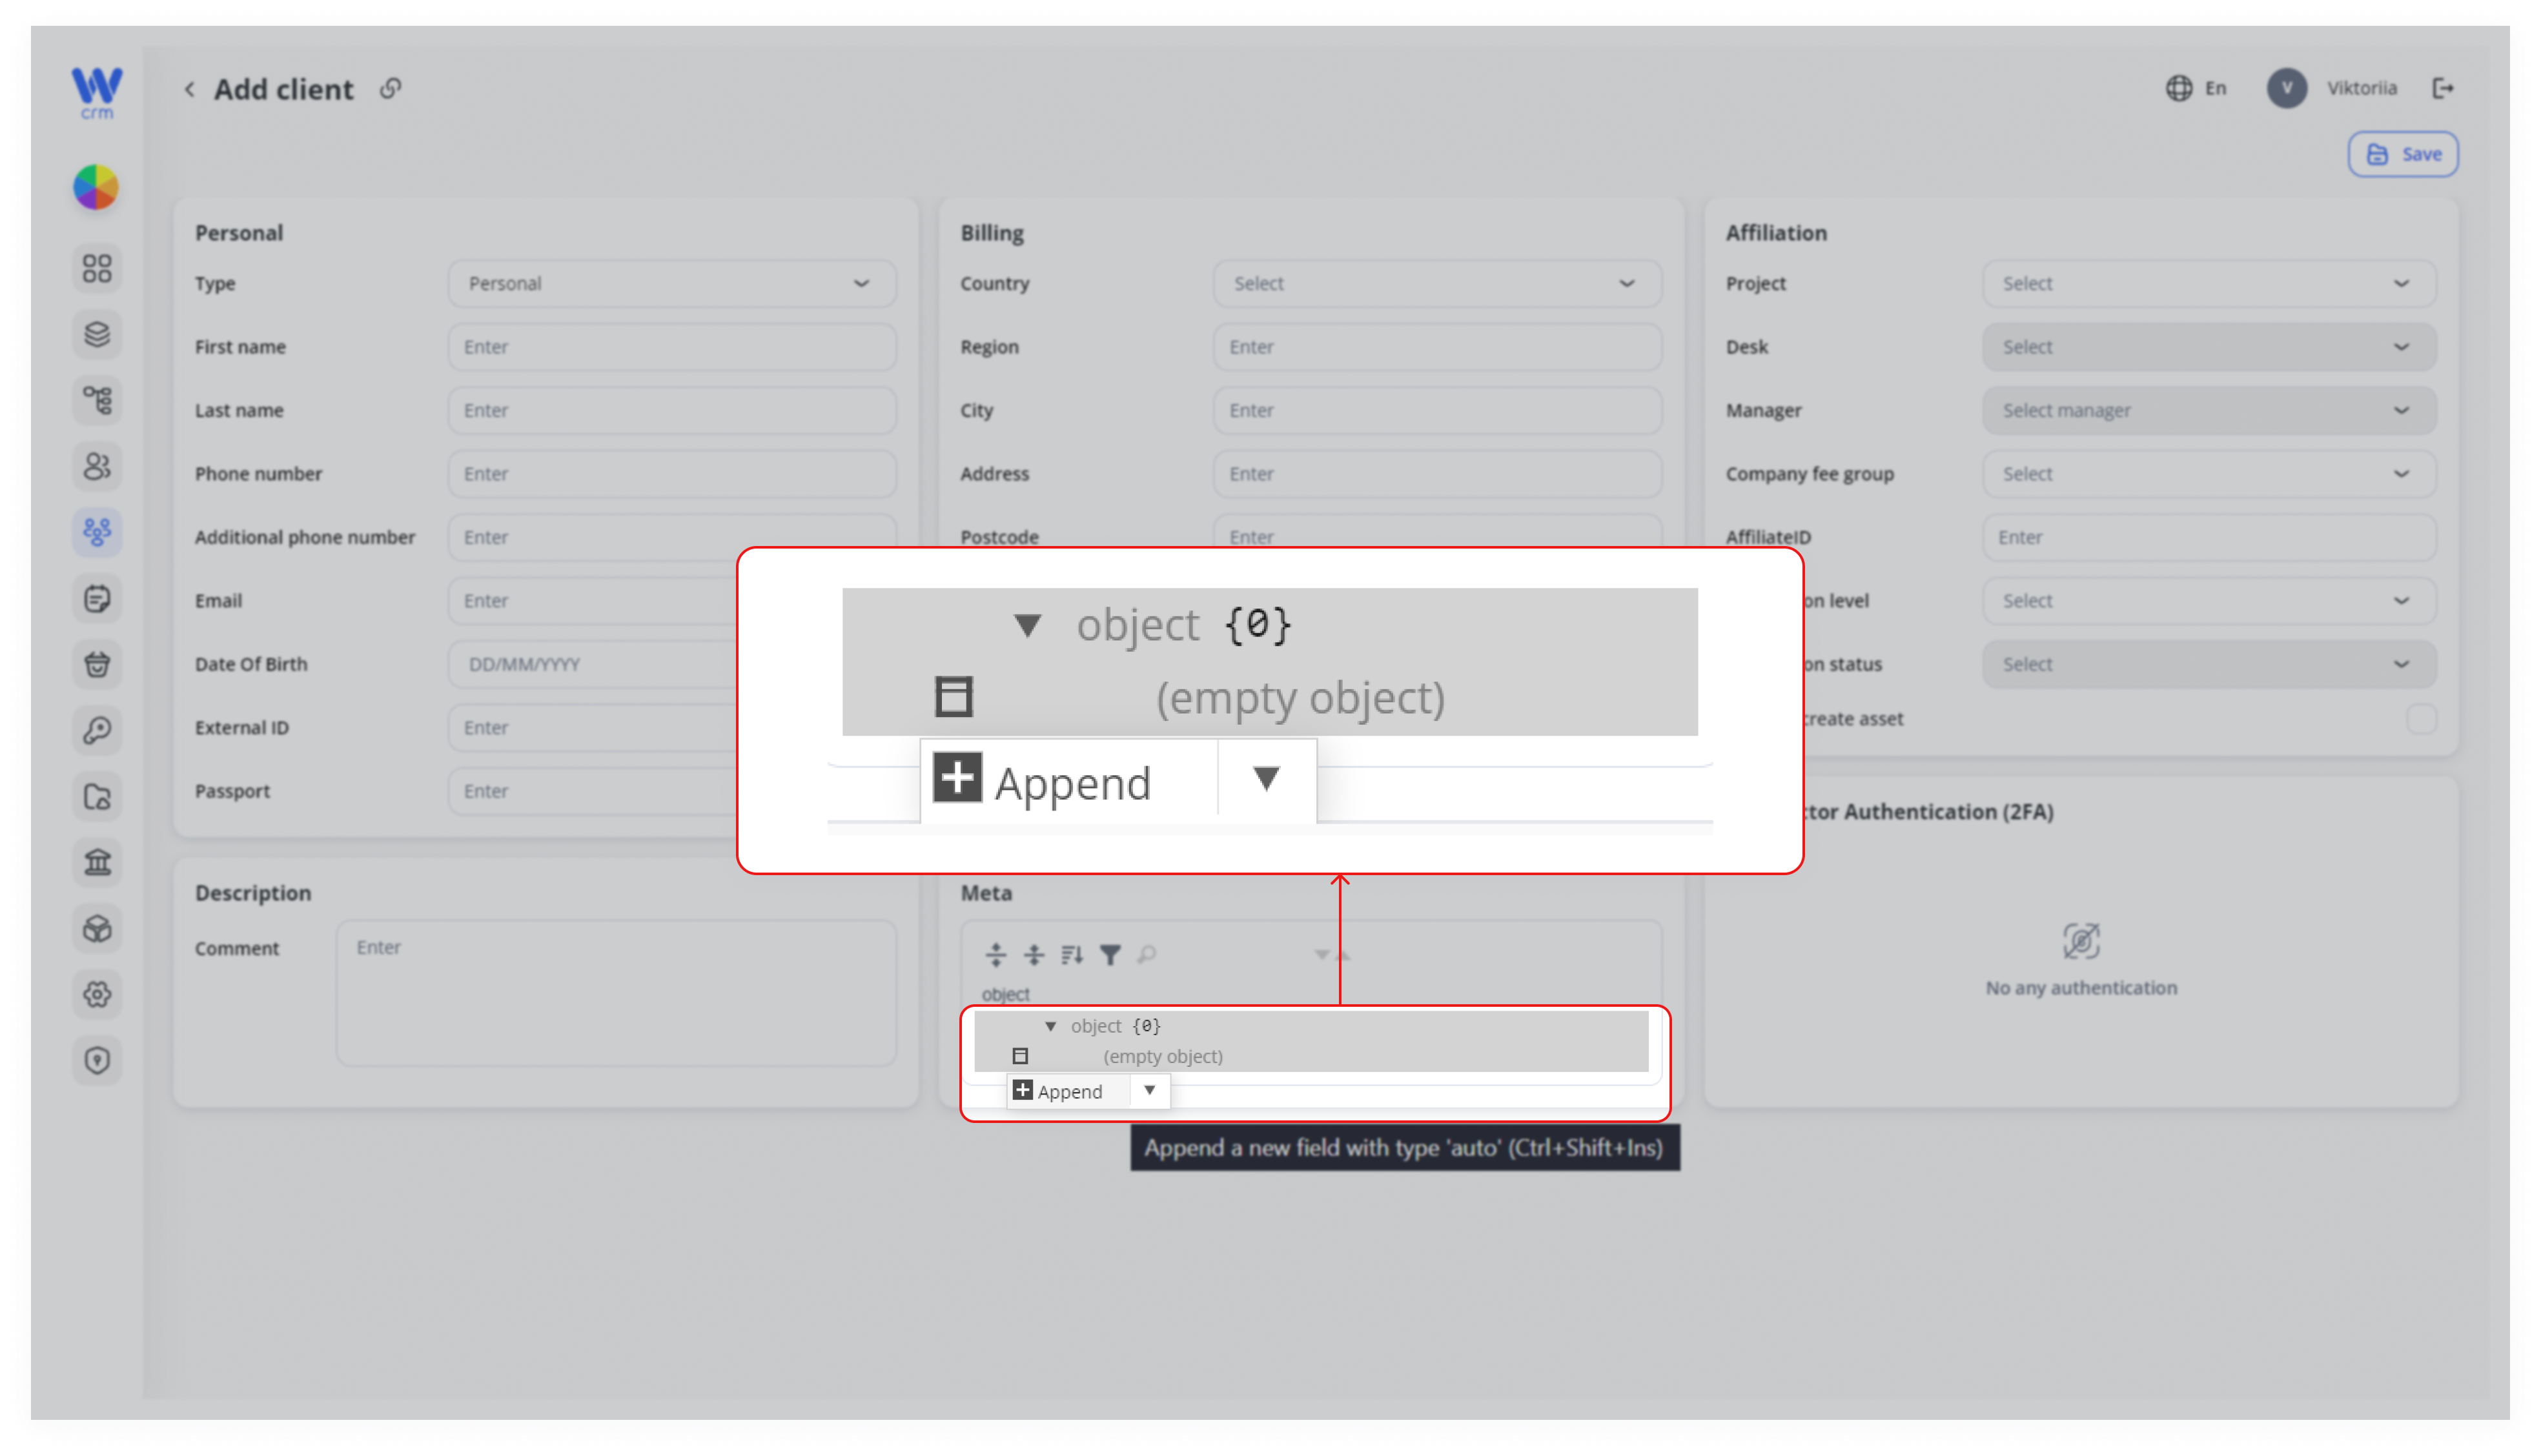
Meta: Function to add custom fields with advanced information about clients. For example, additional phone number. To add a new field:
-
Click the icon next to
(empty object)
-
-
- Click on the Append button.
- Click on the Append button.
-
- Fill in the
fieldandvalue. For example, WhatsApp: 934578981723
- Fill in the
-
-
You do not need to save the fields separately, the information will be saved automatically when you save the entire client account.
-
-
Two-Factor Authentication (2FA): A security mechanism that requires two forms of verification when logging into an account or system. While you cannot add a new verification method at this stage, you can view the already added methods, which can include Email, Google, and Phone. One of these methods should be set as the default. To change the default method, hover over the desired method and click Make as default. You can also delete non-default 2FA methods using the Delete icon, or change a phone number using the Edit icon.
Get more information about authentication types in Wi CRM [here]
- You can also leave comments in the Description section.
The following fields are required:
-
Type: Personal (by default) or Business.
-
Email: The client’s email in the
[name]@[domain]format. -
Project: The project to which the client is assigned.
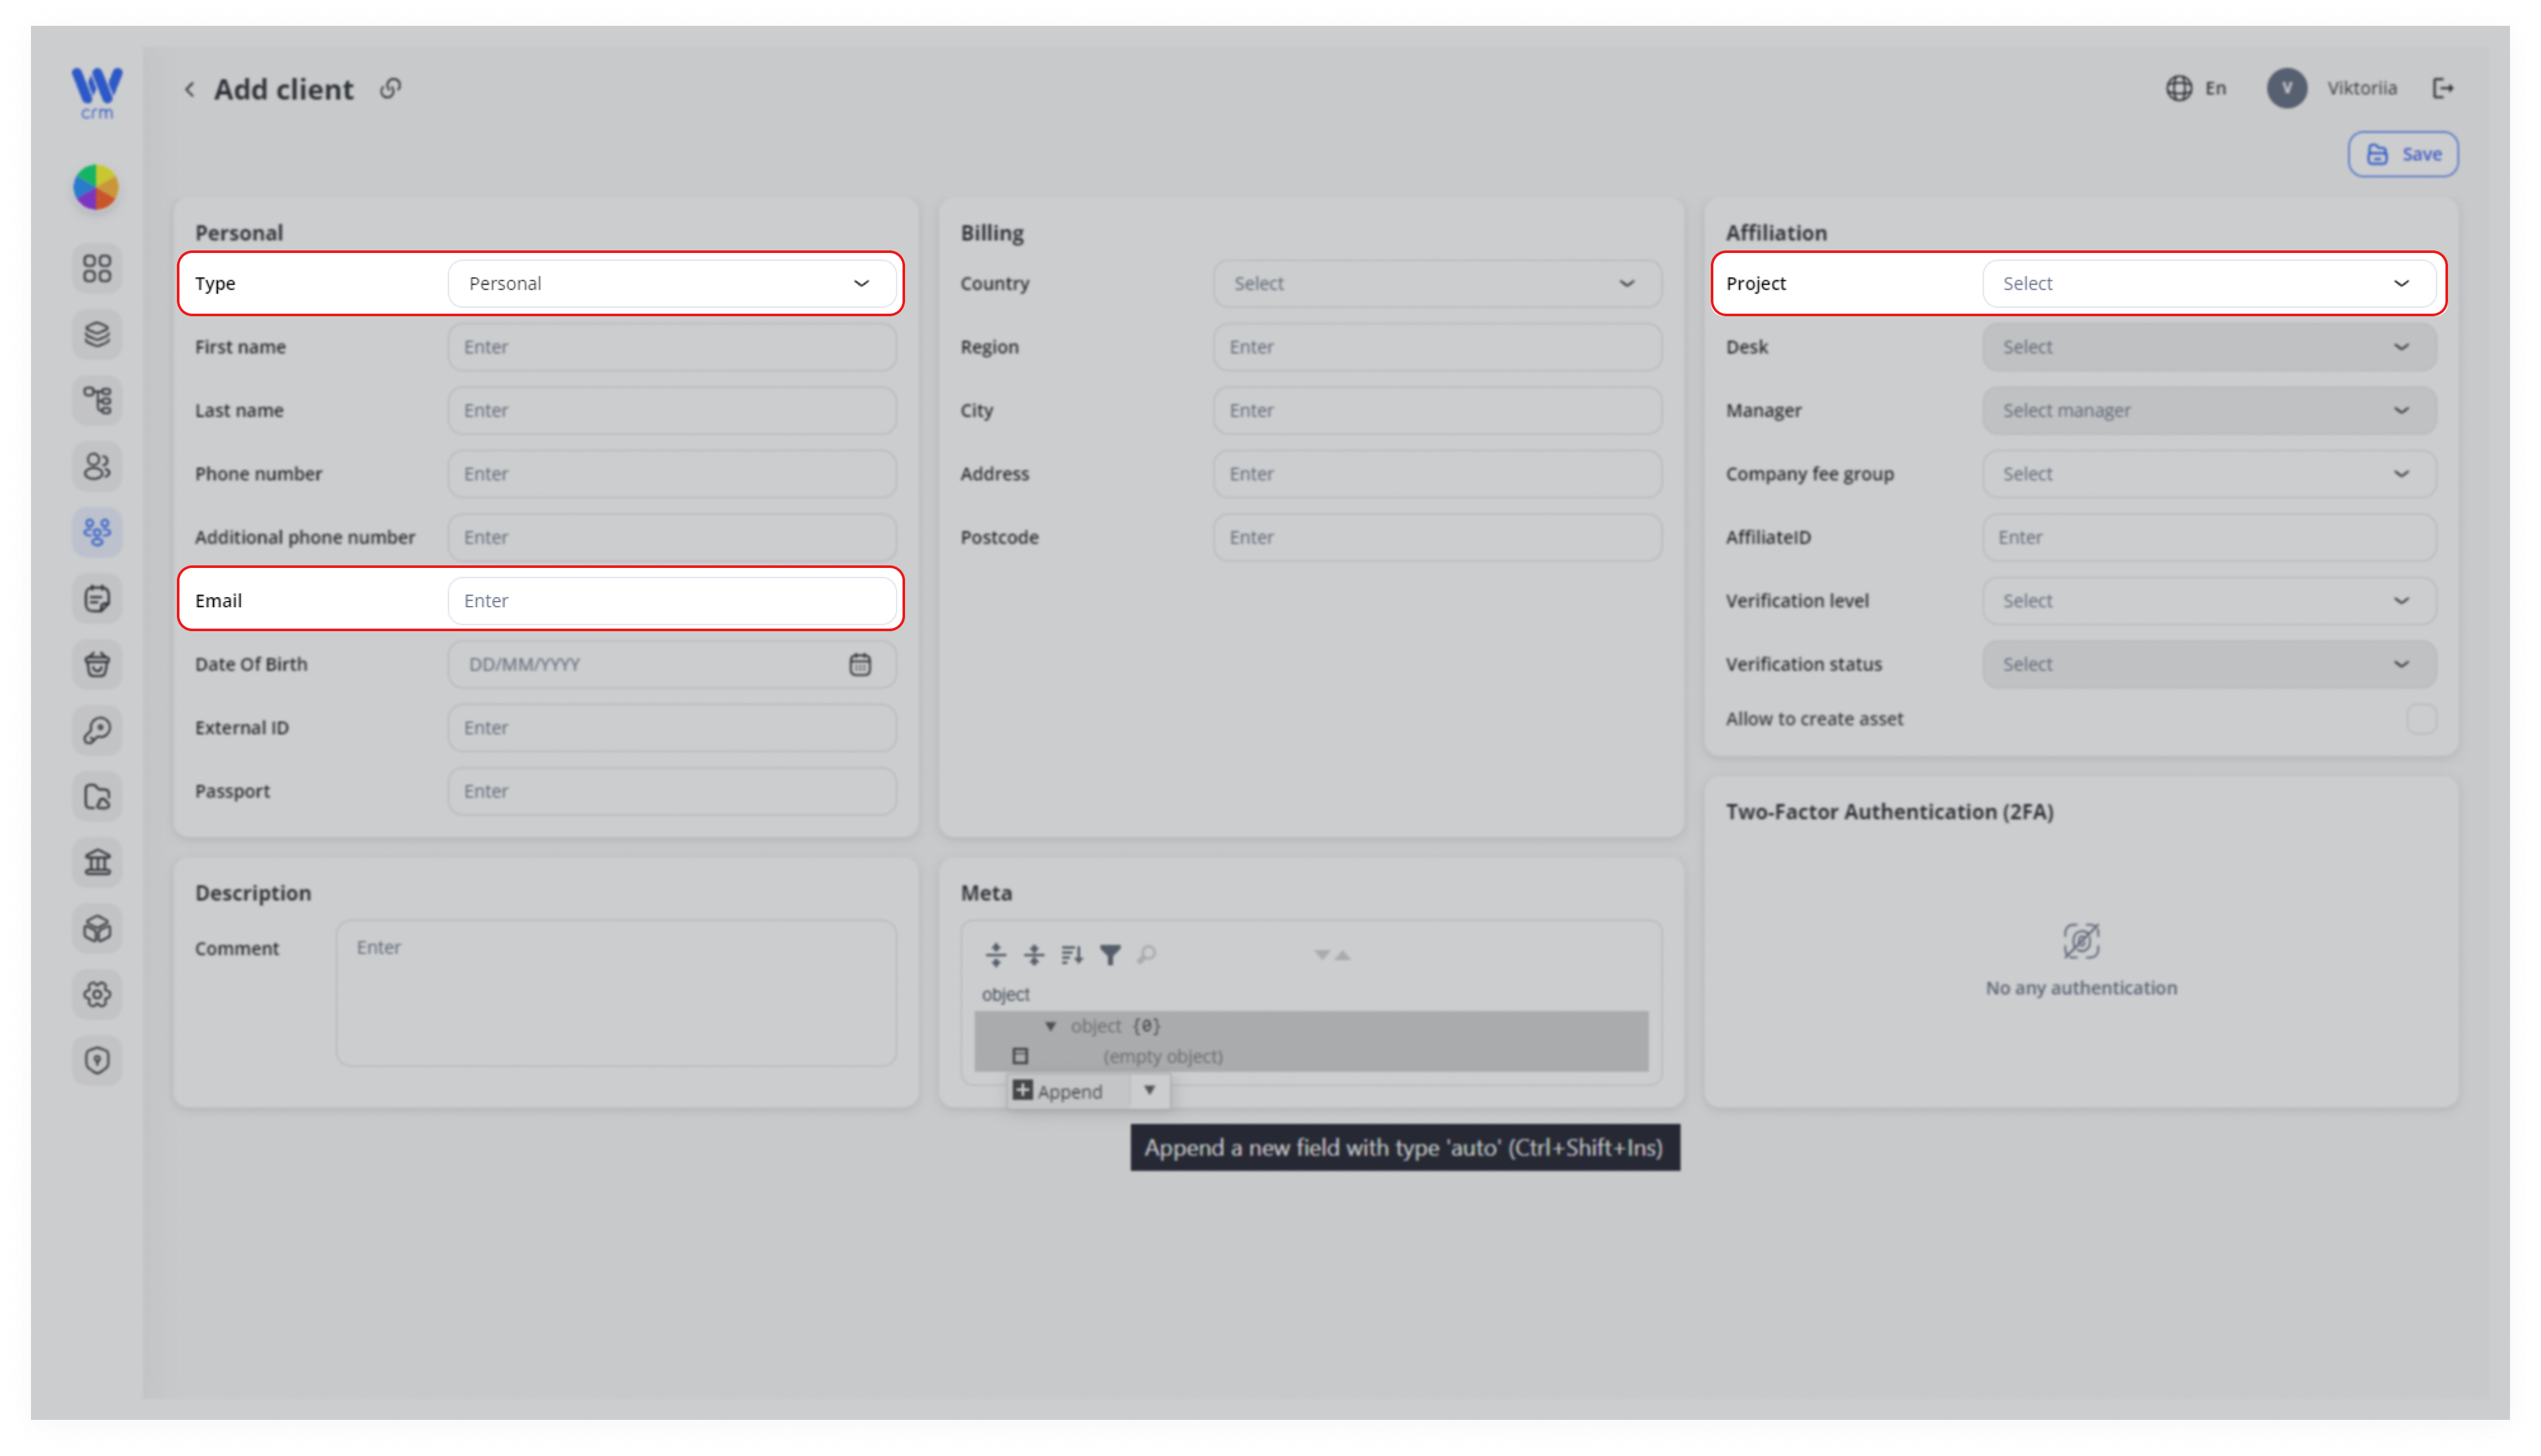
Note: You cannot change the type of the client and/or the client’s email after saving their information.
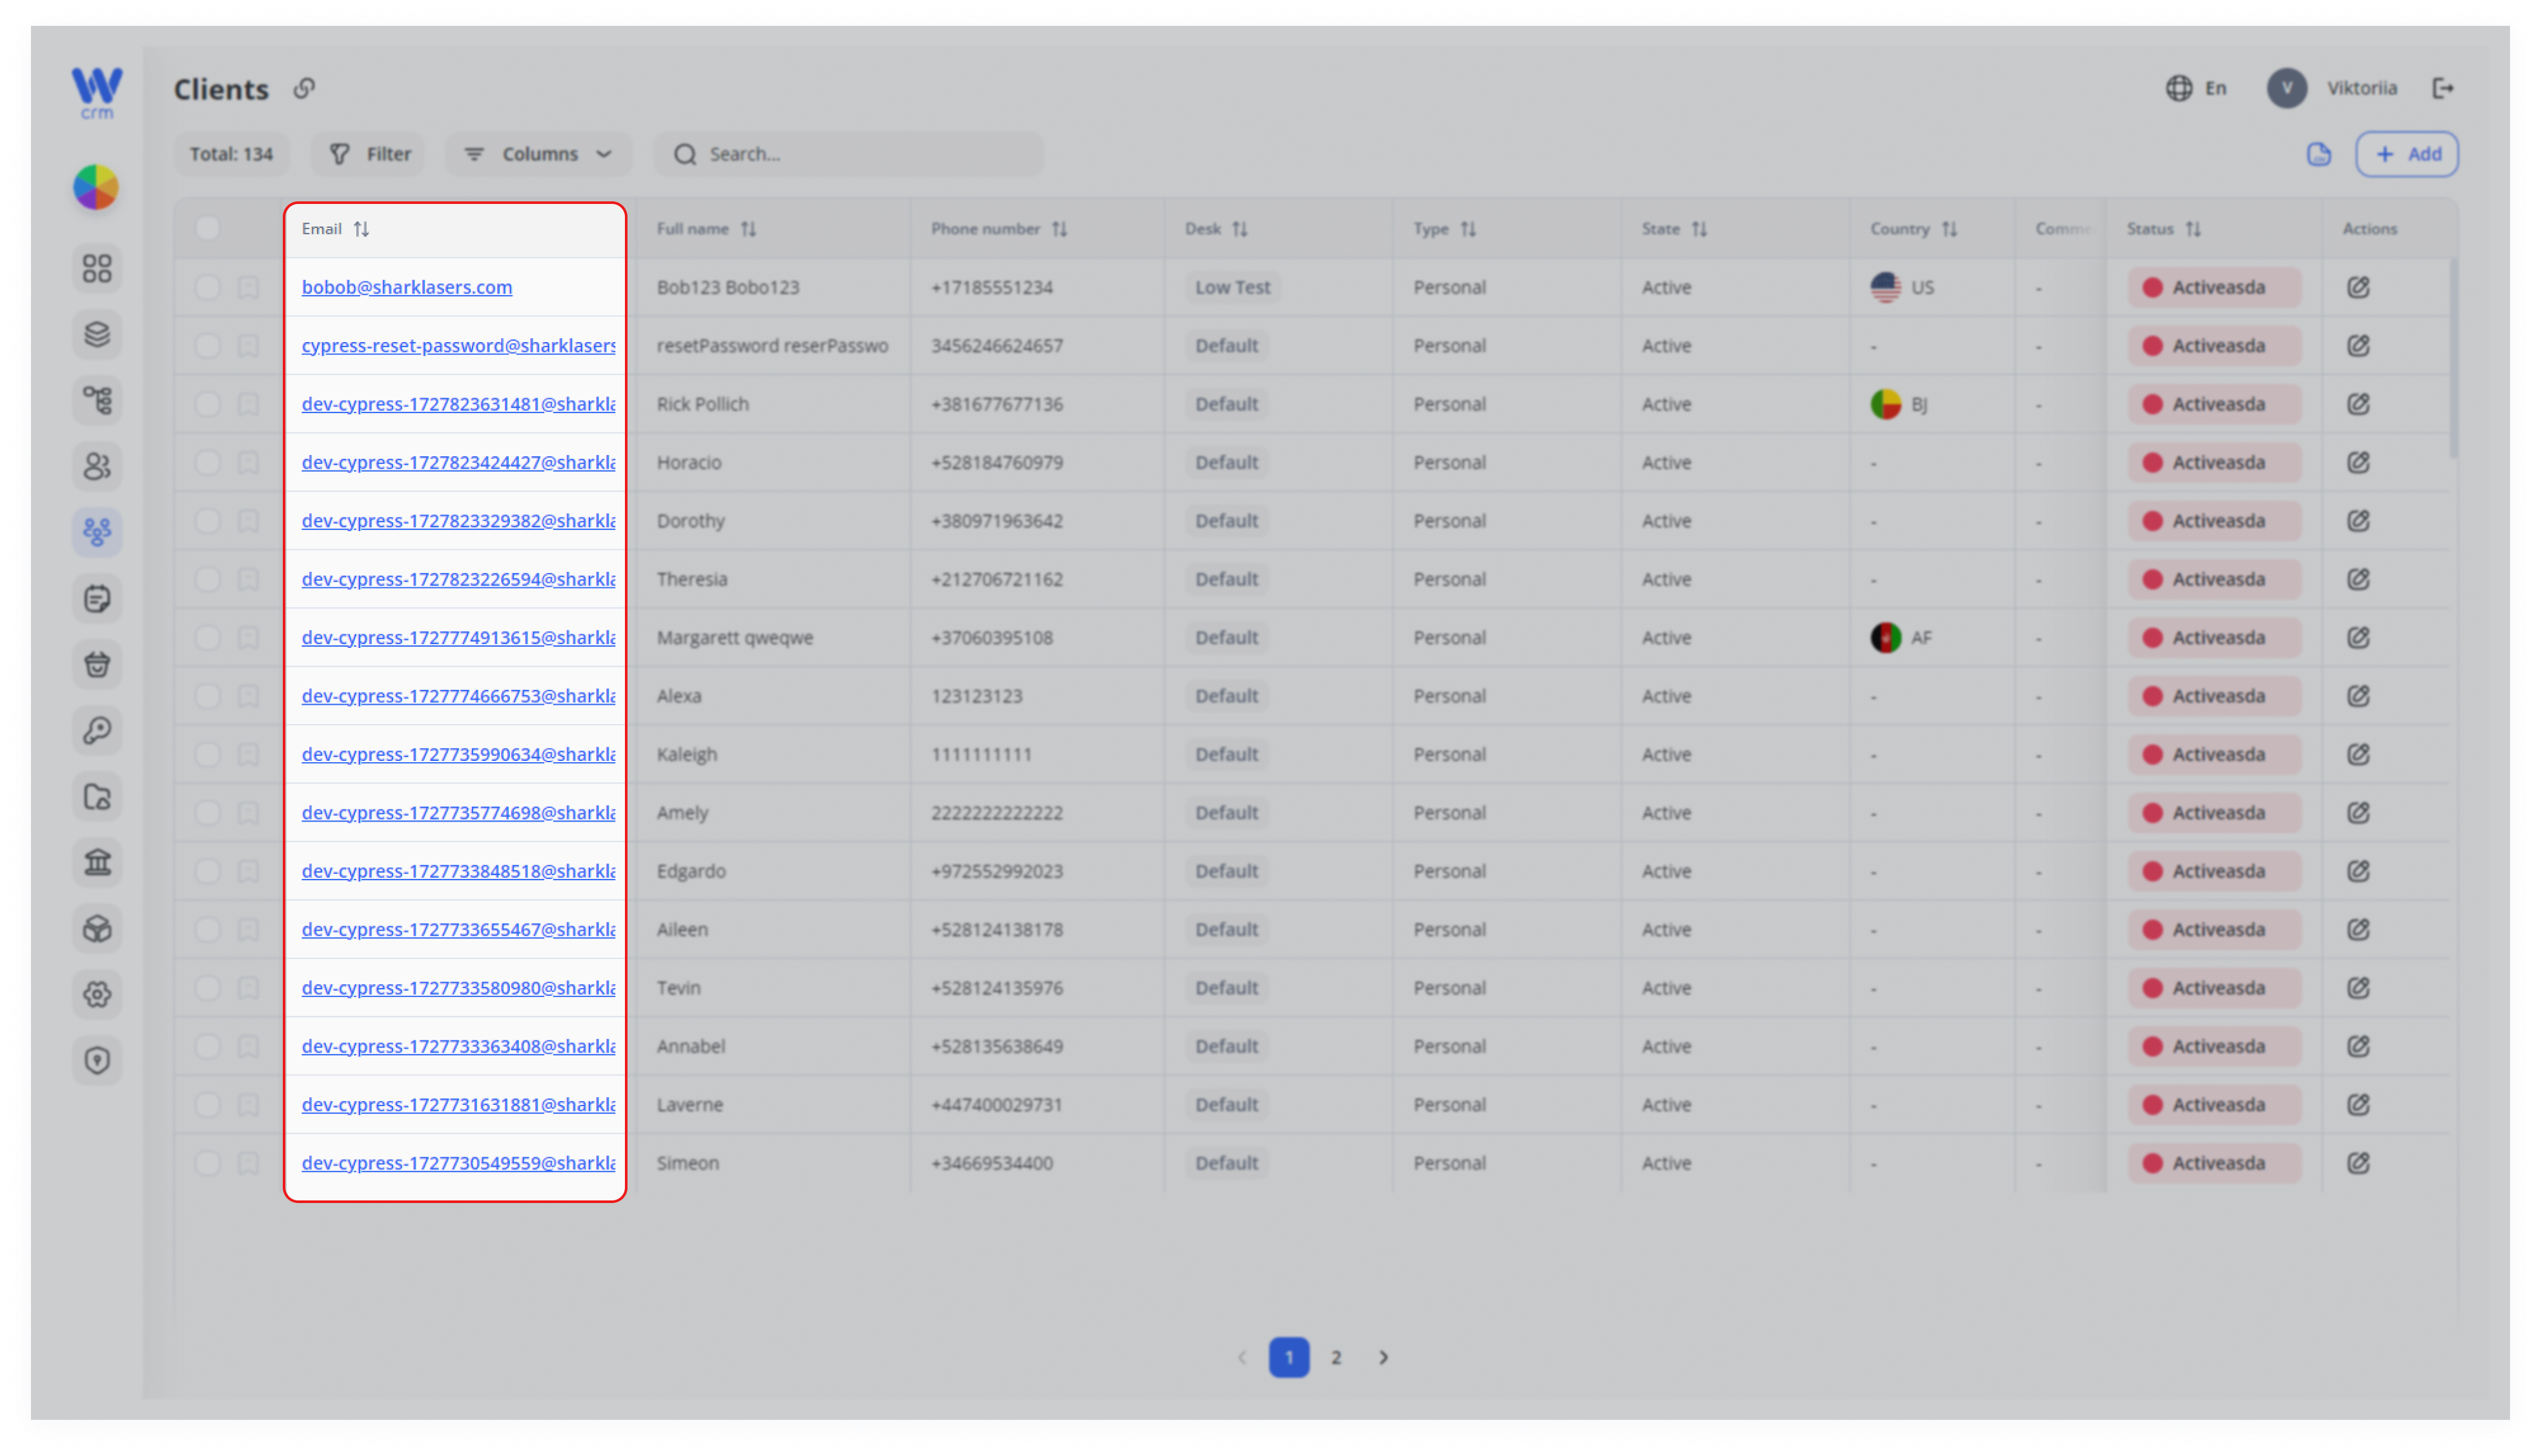
You can view all clients in the Clients tab. To get full information about the client, click on the client’s email in the Email column:
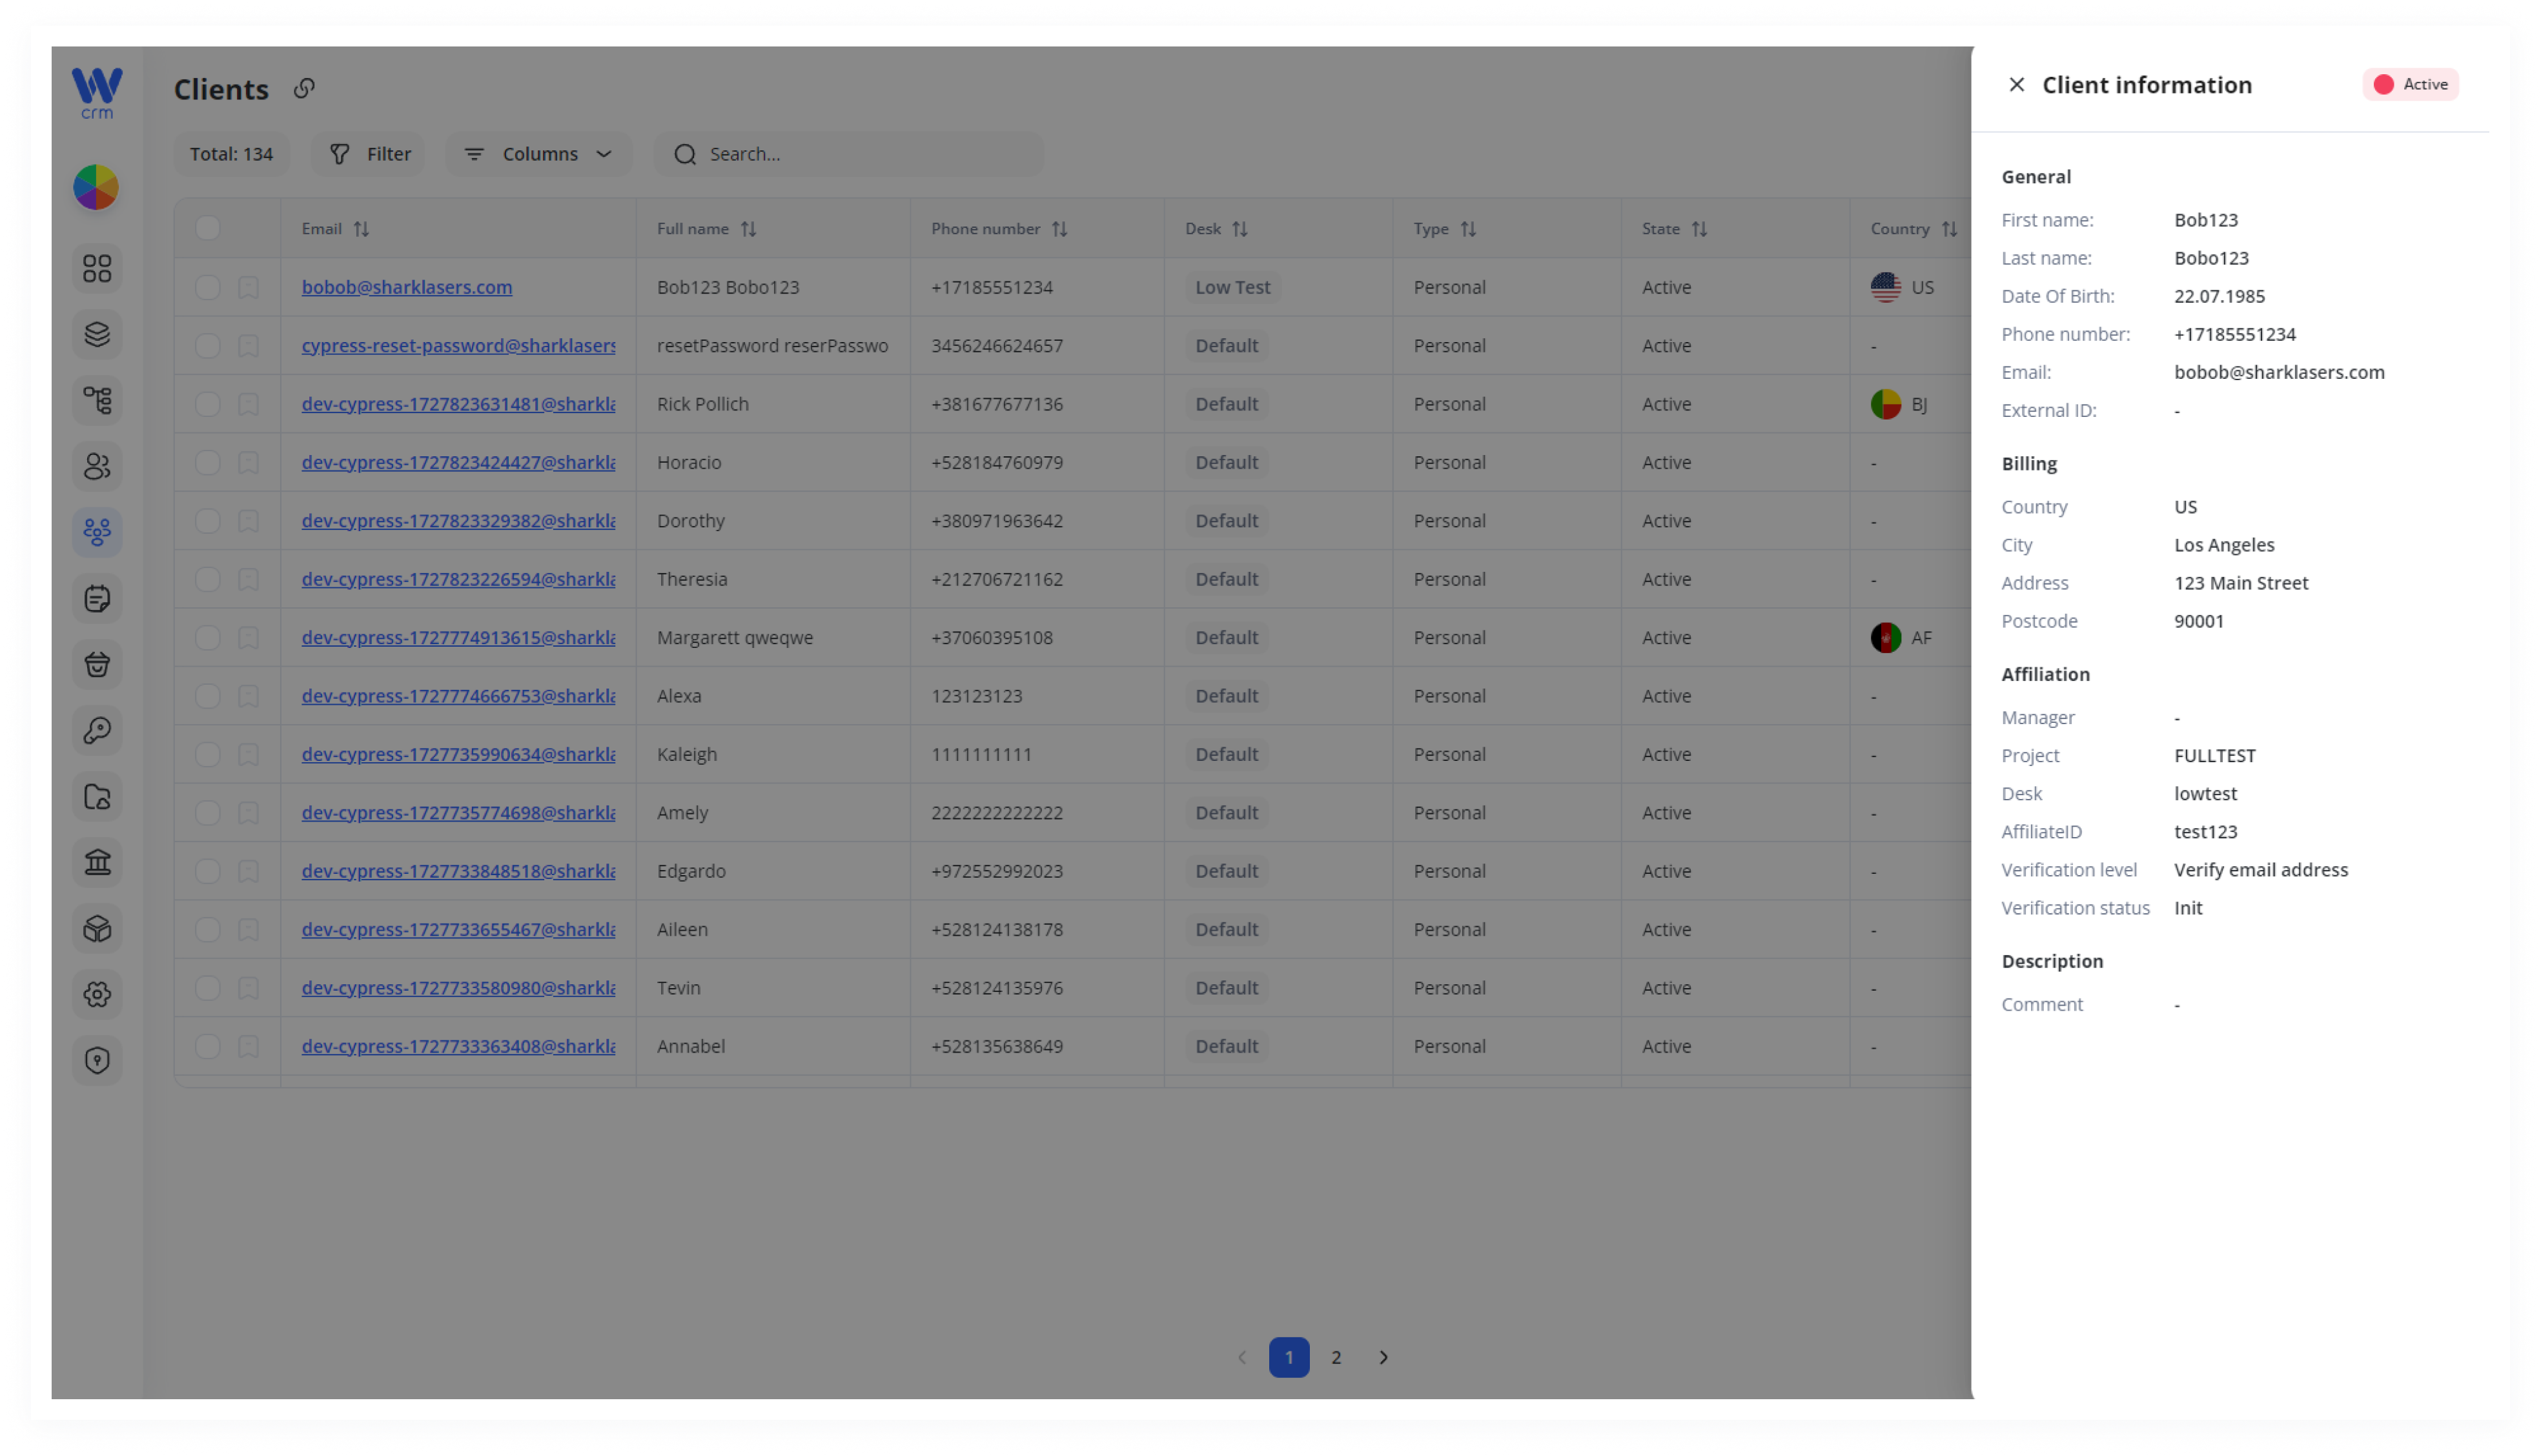
A drawer will open on the right with information about the client:
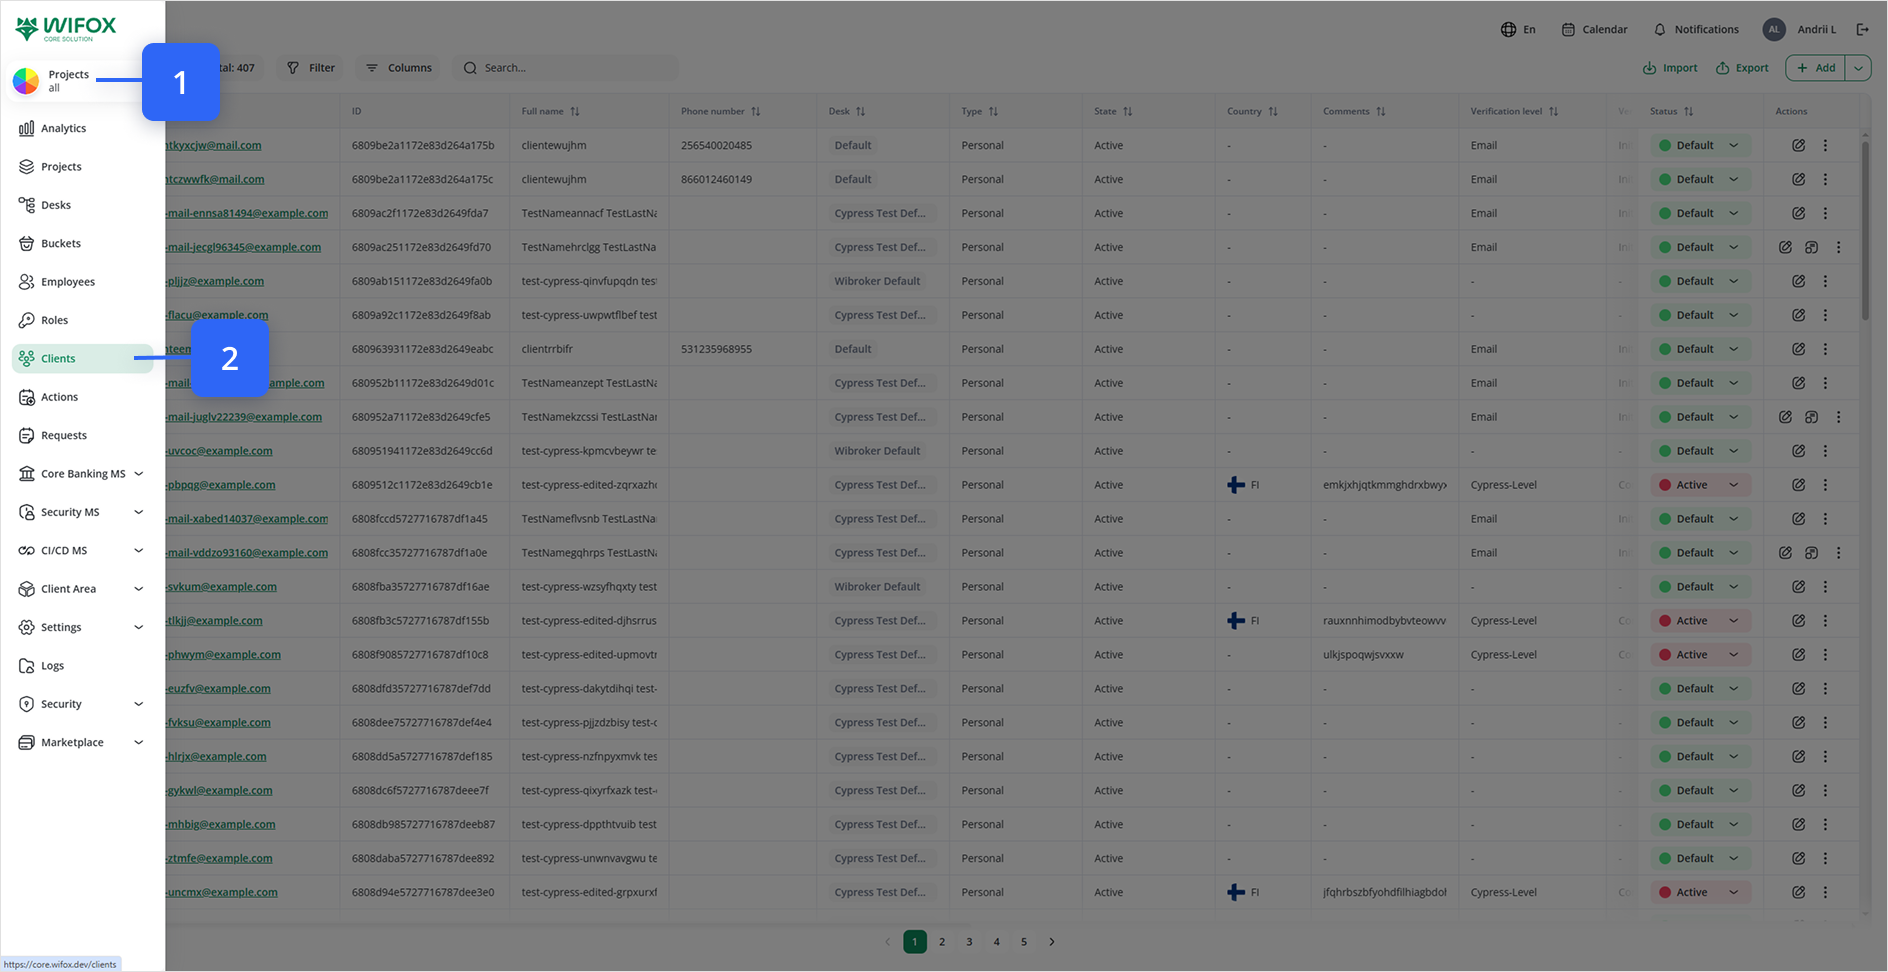
1. Open the Clients Module
2. Launch the “Add Client” Menu
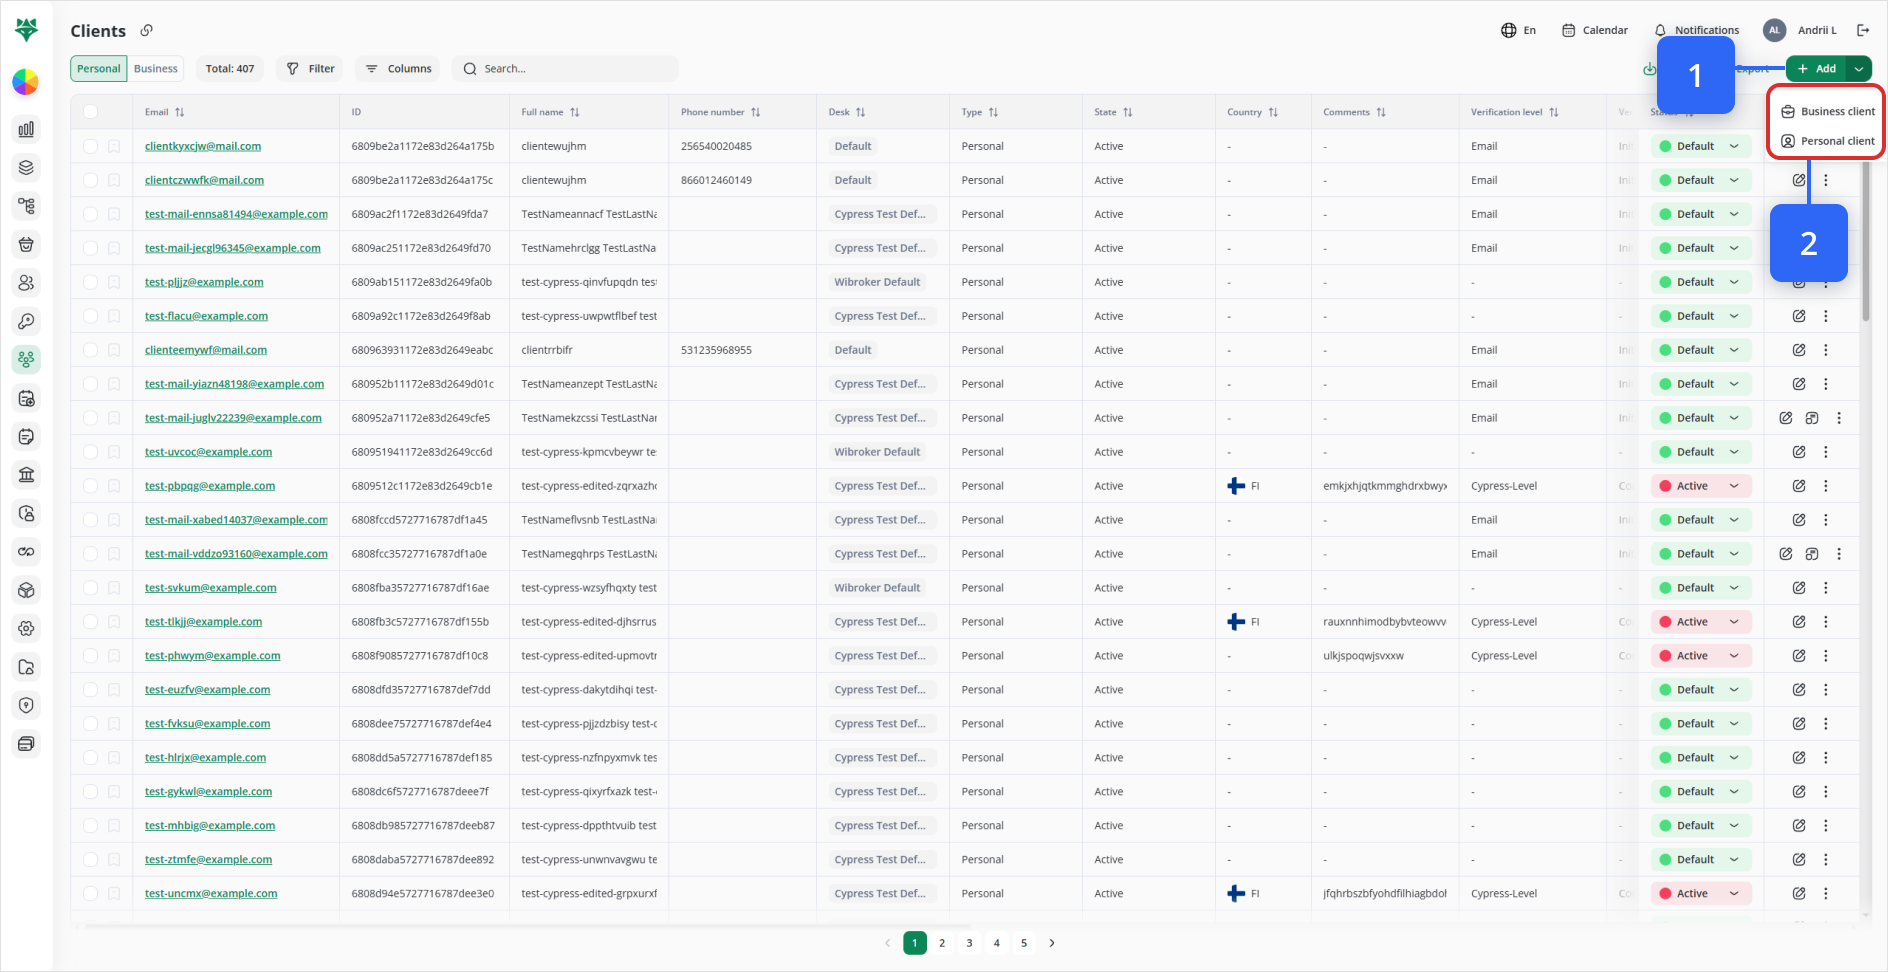
In the top-right corner of the Clients list, click + Add (Look at #1 on the image above).
3. Choose Client Type
From the dropdown, select either Business client or Personal client (Look at #2 on the image above).
4.1. Create a Business Client (3-Step Wizard)
- Step 1 — Add Company Information
Company name: Enter the legal name.
Company ID: Your internal identifier.
Company VAT: VAT or tax number.
Established: Pick a date.
Country: Select from the list.
City, Address, Postal code: Fill in billing address.
(Optional) Company logo: Drag-and-drop or browse to upload.
Click Next →.
- Step 2 — Add Director (UBO)
To assign an existing director, click Assign Director…, then choose a client from the Client dropdown.
To create a new director, click Create a new client for director and fill out the mini-form that appears.
Click Next →.
- Step 3 — Add Members
In the Clients panel, search or scroll to find additional client contacts.
Click each name to move them into the Members panel.
For each member, toggle between RO (read-only) and RW (read-write), or click the trash icon to remove.
Click Next → to finalize.
4.2. Create a Personal Client
Once you’ve chosen Personal client, the full “Add client” form appears on a single page. It’s organized into six panels:
- Personal
Type: Pre-set to Personal and cannot be changed.
First name: Enter the client’s given name.
Last name: Enter the client’s family name.
Phone number: Primary contact number.
Additional phone number: Secondary contact number (optional).
Date Of Birth: Use the date-picker to select.
External ID: Any external reference or CRM ID.
Passport: Passport or government ID number.
Nationality: Country of citizenship.
Risk level: Internal risk categorization (e.g. Low, Medium, High).
AML Screening: Notes or results from anti–money-laundering checks.
- Billing
Country: Dropdown to select the billing country.
Region: Free-form region/state field.
City: Billing city.
Address: Street address.
Postcode: ZIP or postal code.
- Affiliation
Project: Assign this client to a Project.
Desk (Optional): Restrict to one of the project’s Desks.
Manager: Select the internal user who “owns” this client.
Company fee group: Drop-down of predefined fee tiers.
AffiliateID: ID for tracking source or partner.
Verification level
KYC level (e.g. Email, Video, In-person).
Verification status
Current status (Pending, Approved, Rejected).
Create asset
Check to automatically generate an asset record.
Credentials
Client’s login address (required).
Password
Must be ≥8 characters with mixed case, digits & symbols.
✨ Sparkle icon – auto-generate a secure password.
👁️ Eye icon – toggle show/hide.
Additional
A JSON-style tree picker for any custom metadata (e.g. “WhatsApp: +123…”).
Click the tree icon next to “(empty object)”.
Click Append to add a new field/value pair.
Enter your key and value; it saves automatically on form submit.
Two-Factor Authentication (2FA)
Displays any preconfigured methods (Email, Google, Phone). You cannot add here, but you can review them.
Description
Comment
Free-form notes about this client.
5. Save Your New Personal Client
When all required fields are filled in, click Save (top-right). You’ll return to the Clients list, where your new personal client now appears.