
3. How to Configure Statuses
Effective status management lets you tailor client and request lifecycles to your business processes, ensuring clear visibility of progress and automating downstream actions. In Settings > Configurations > Statuses, you’ll find two panels—Client status and Request status—that govern how records appear and transition within the Clients and Requests modules, respectively.
Use Cases
-
Customized Pipelines: Define stages like “Lead,” “Prospect,” and “Customer” for clients, or “New,” “In Review,” and “Completed” for requests, matching your organization’s terminology.
-
Default Routing: Set a default status (e.g., “Active” for clients) so that all new records start in a predictable state, reducing manual setup.
-
Visual Prioritization: Assign distinct colors to statuses (red for high-priority, gray for archived) to surface critical items at a glance.
Accessing the Statuses Configuration
To configure statuses, go to Configurations > Statuses .tab at the top. A tab with two sections will open:
To addAdding a newNew status:Status
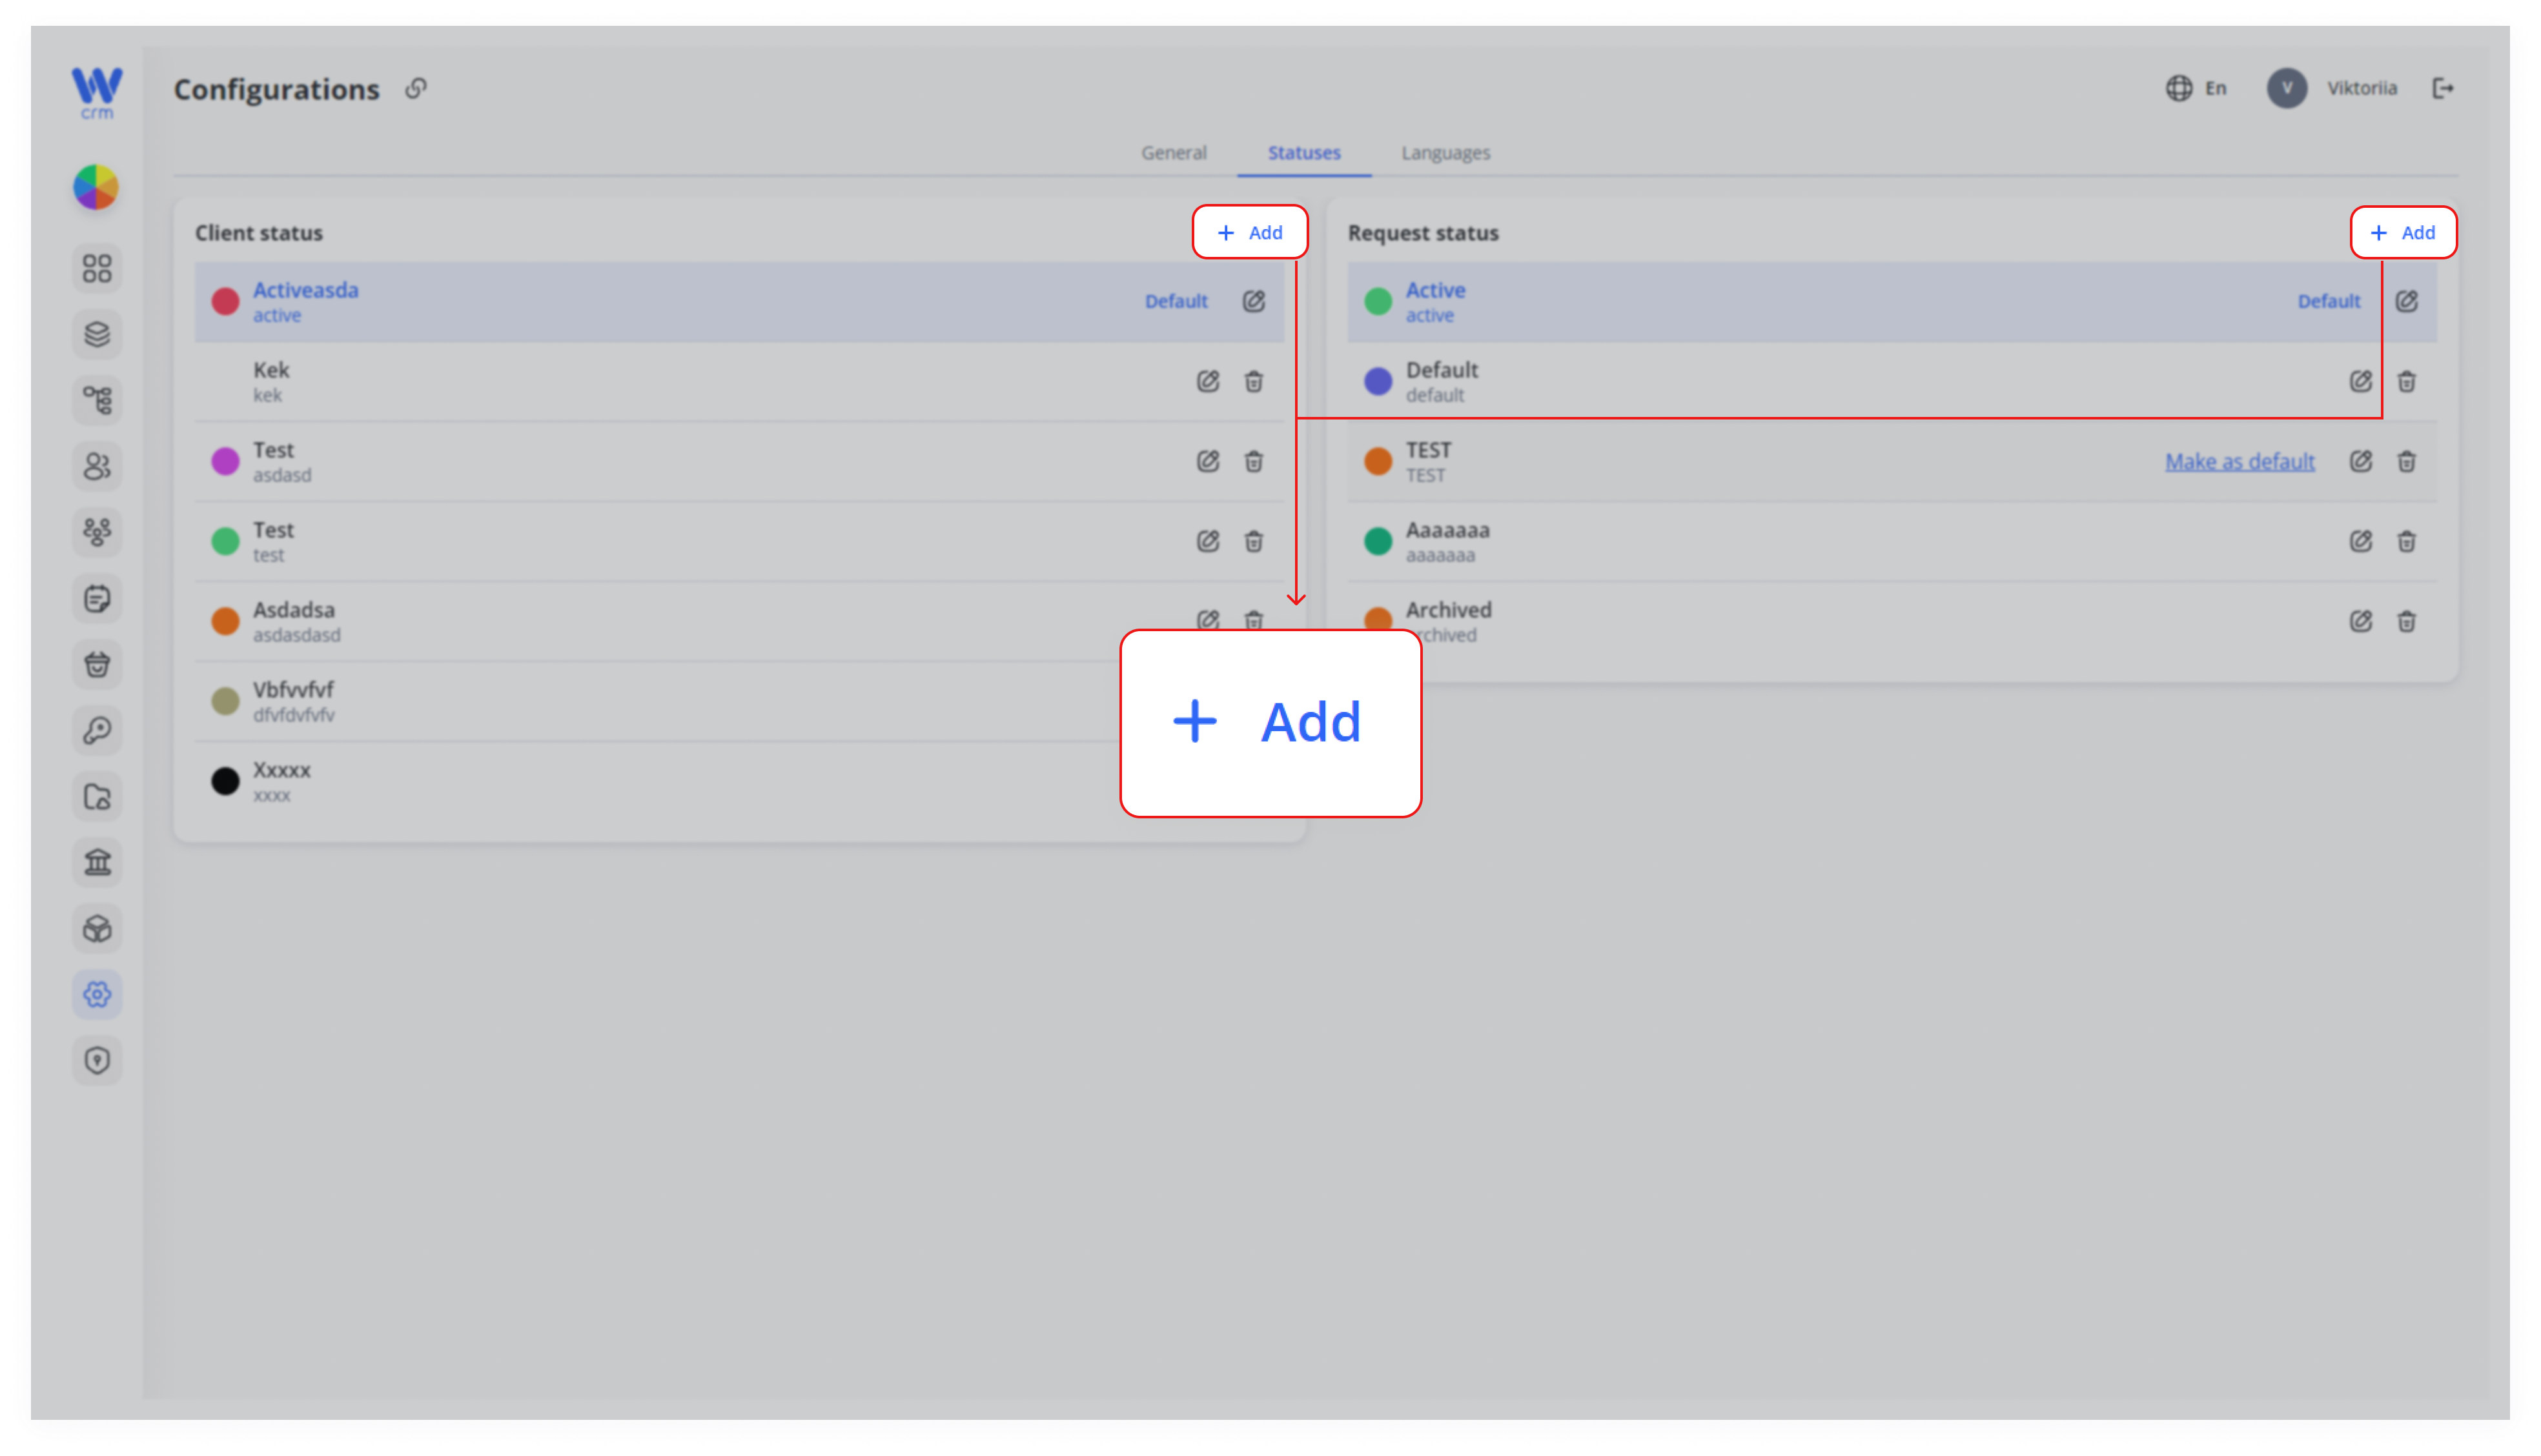
1. Click the Add button in the upper right corner of the corresponding section.
2. Enter:In the Add status form, enter:
- Name:
- The
- display
- text
- (e.g.,
“Pending Approval”).Name - Label:
LabelA unique identifier used internally (uniquee.g.,identifier)
- (e.g.,
pending_approval). - display
3. Optionally(Optional) selectChoose thea colorColor by clicking one of the status.swatches—this color will appear as the status badge.
4. To make this statusyour thesystem-wide default, check the Make as default checkbox..
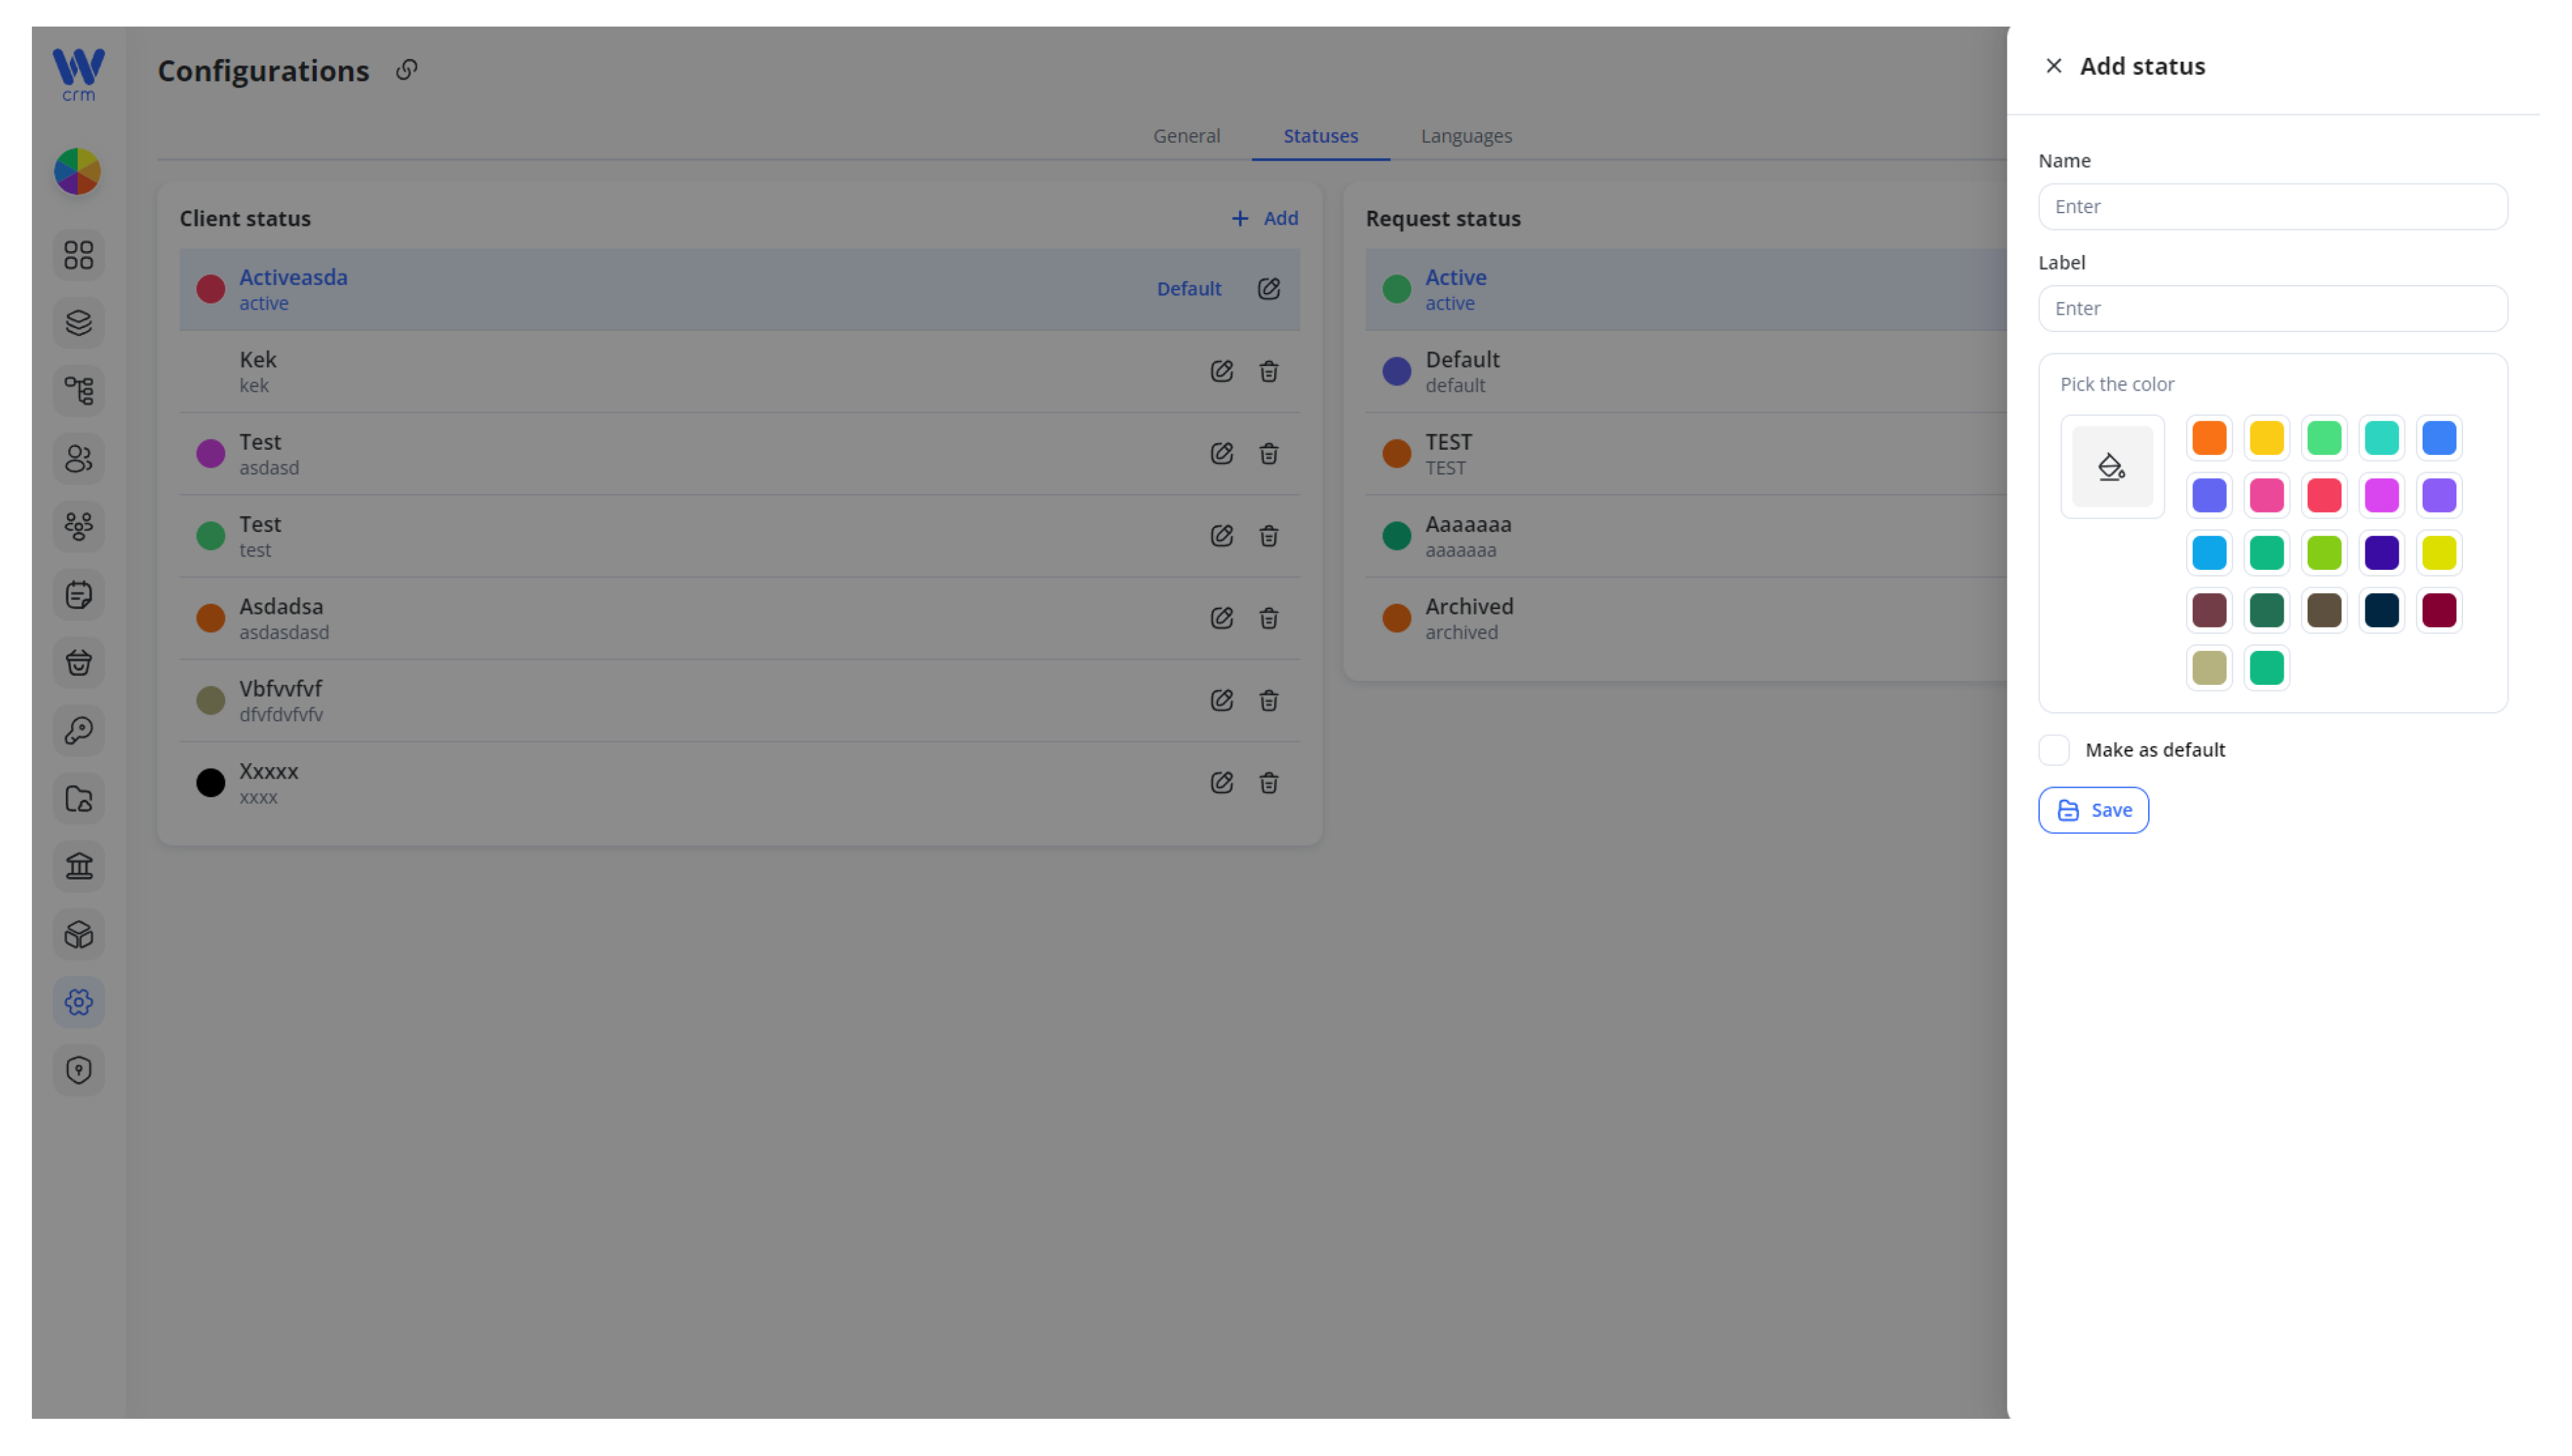
5. Click Save to add the status.
ToEditing editan aExisting status:Status
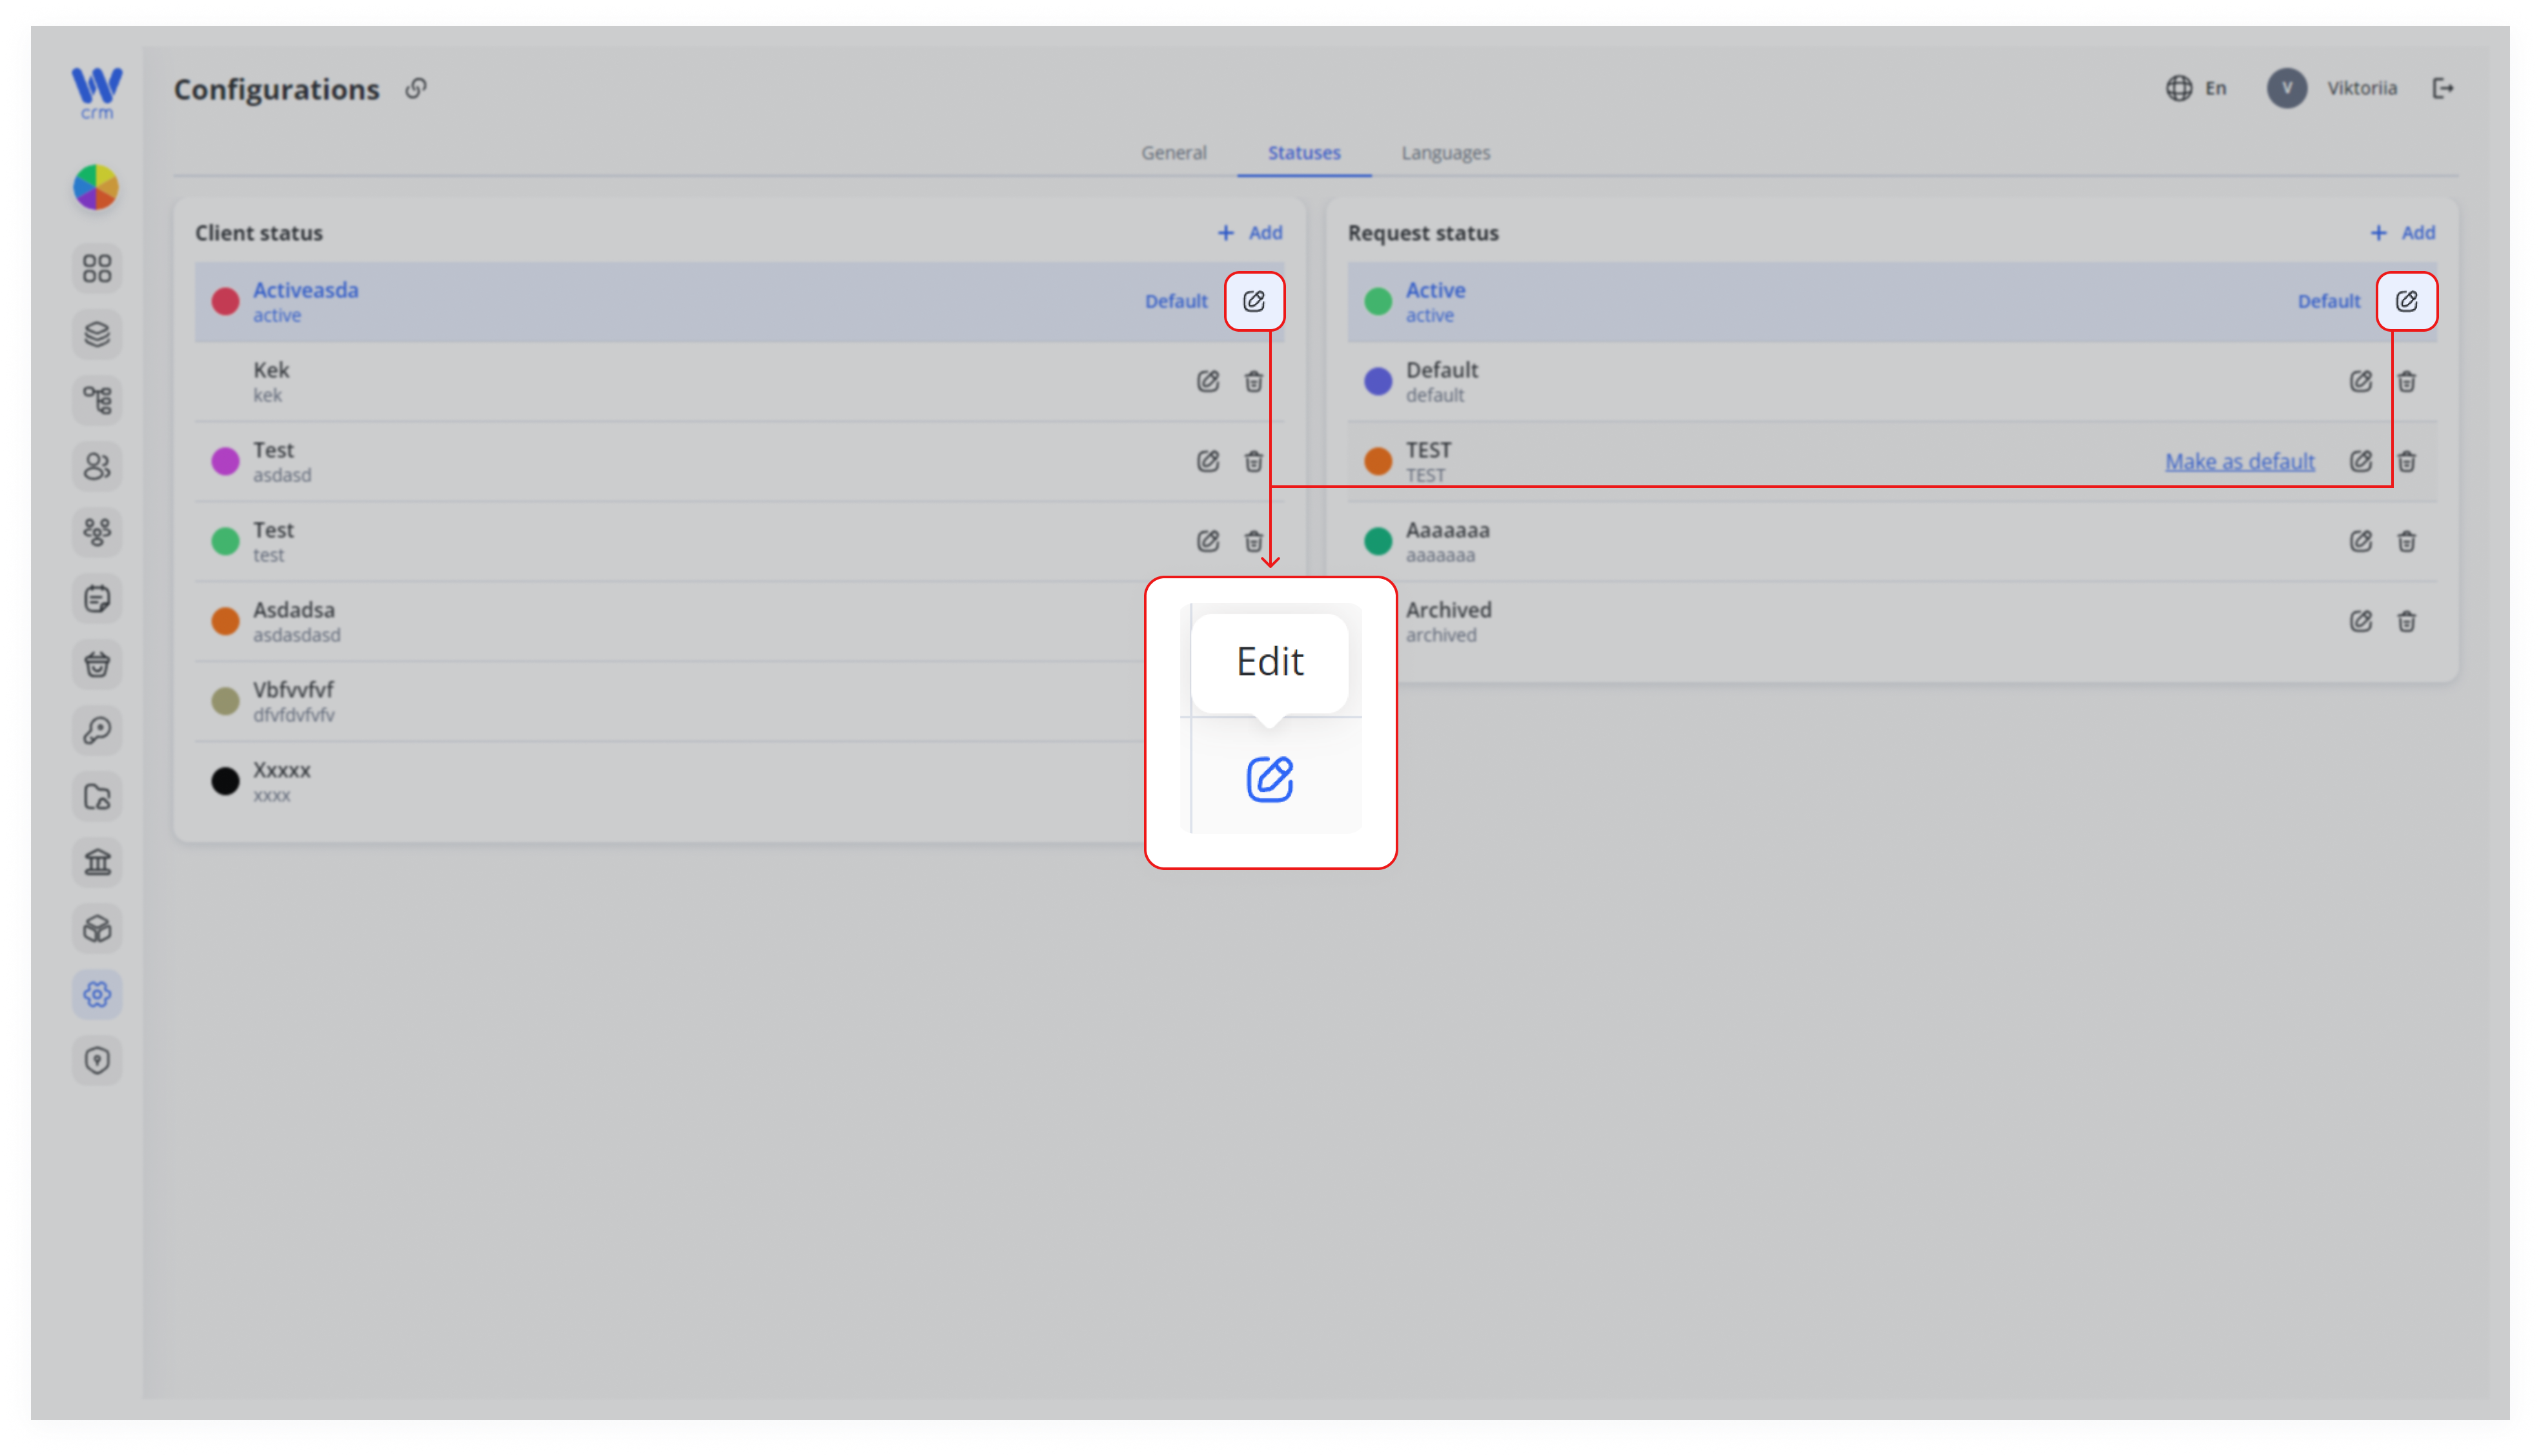
1. Click the the ✏️Edit icon next to the appropriate status.
2. YouIn the Edit status sidebar, you can changeupdate:
- Name
and color, but the(labelcannotremainsberead-only) - Color
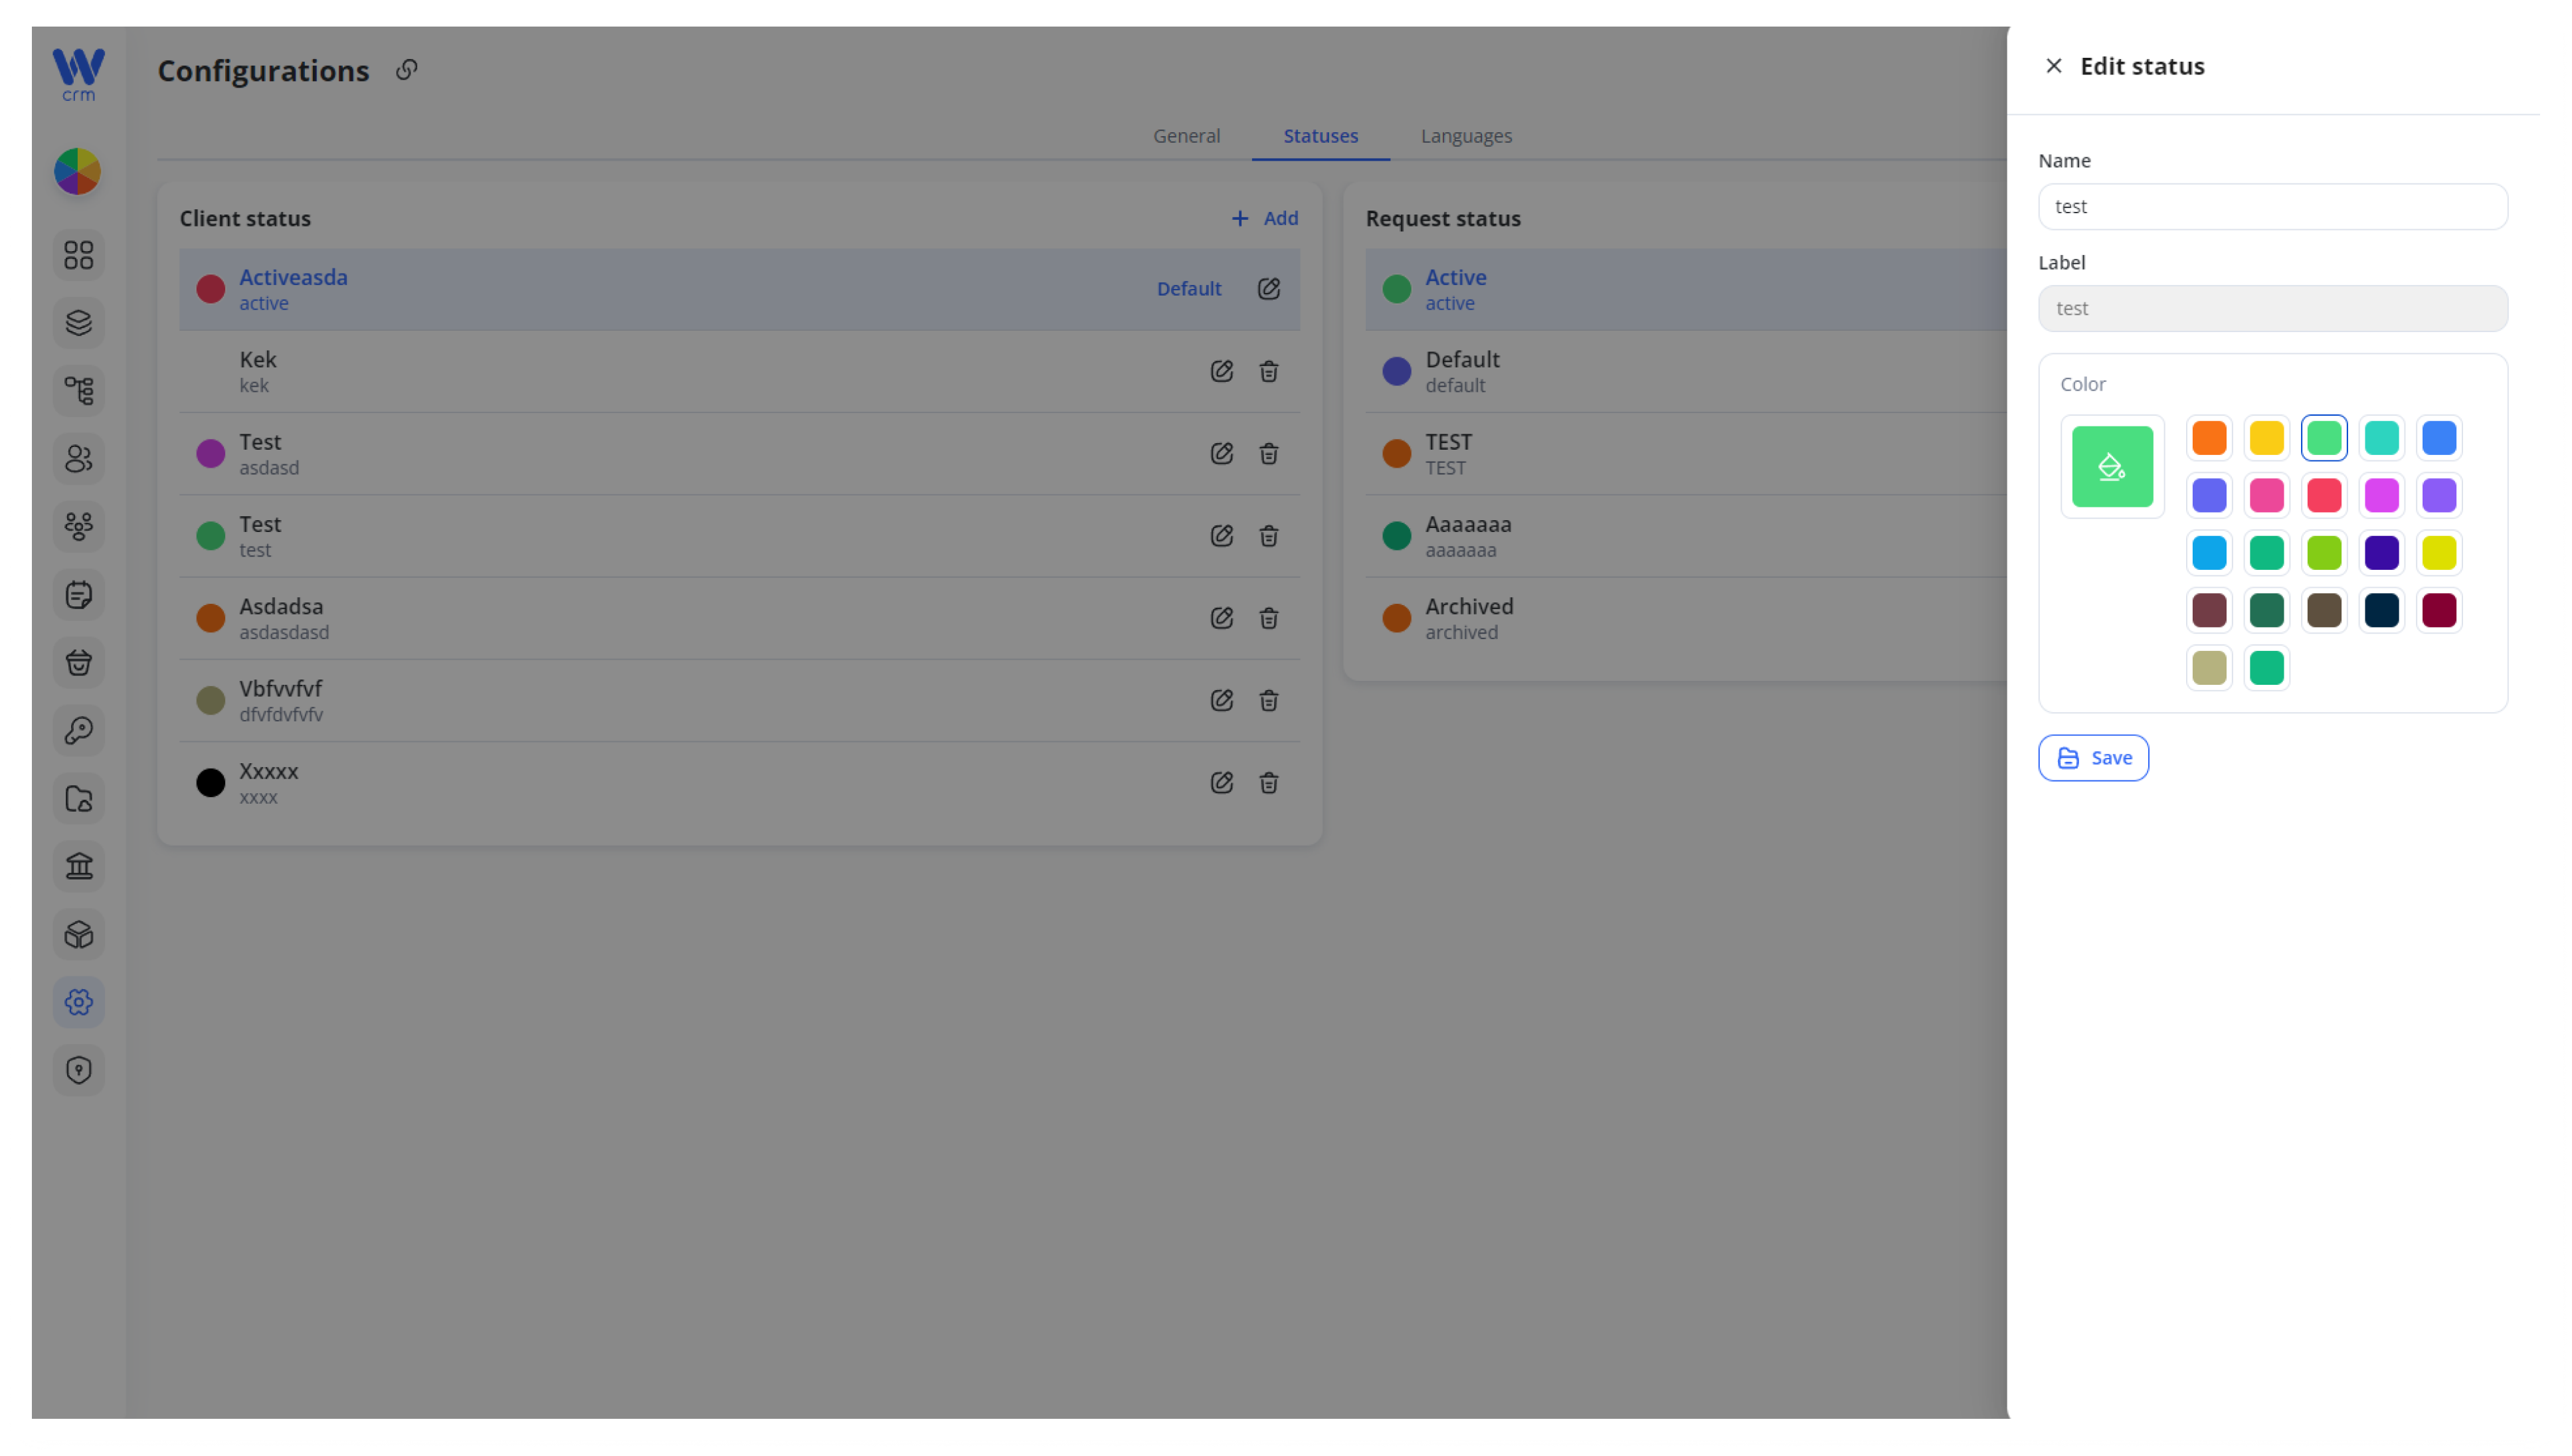
3. Click Save to apply the changes.
To makeSetting a Default Status
Only one status theper default:panel can be default. New records automatically receive this status.
Hover
your mouseover thestatus.status you want as default.Click
theMake as defaultbutton..
2.
1.
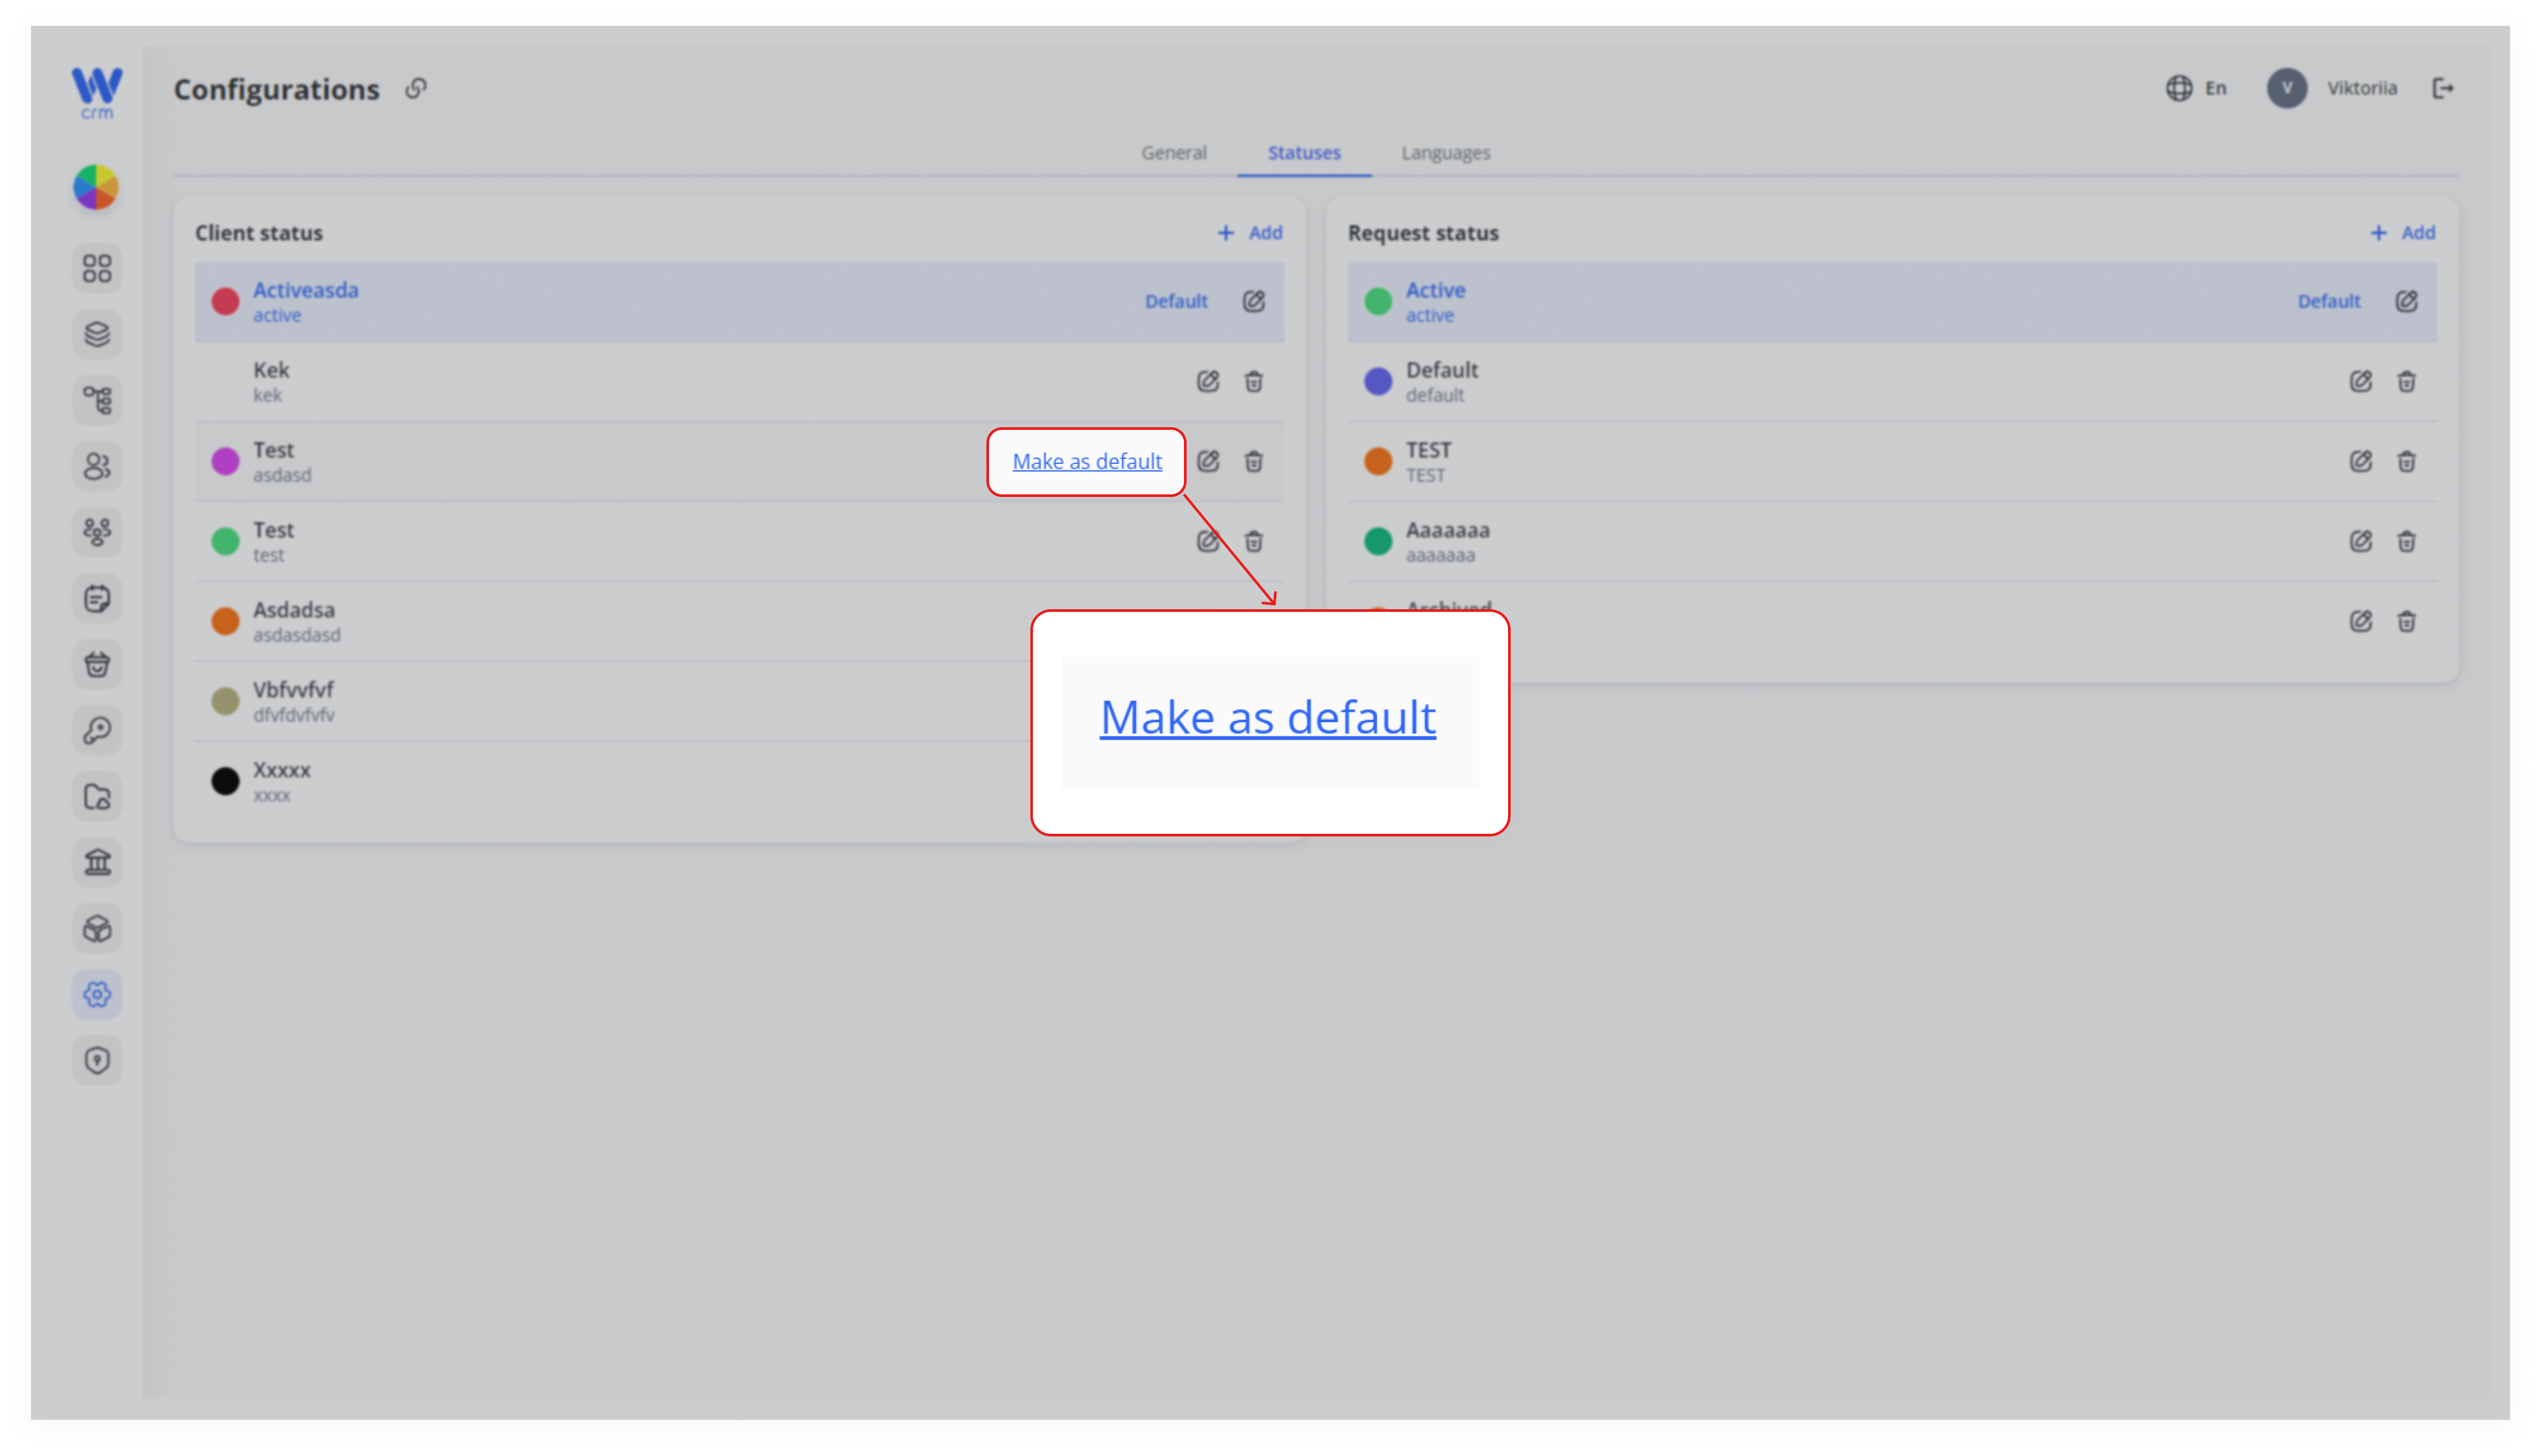
3. The “Default” badge will move to this status.
ToDeleting a Status
Important: You cannot delete a status:status marked as default or one currently in use by existing records.
Make sureEnsure the status is not the default (aseedefault“Makestatusascannotdefault”beabovedeleted)to change defaults).Click the 🗑️ Delete icon next to the
correspondingstatus.
2.
1.
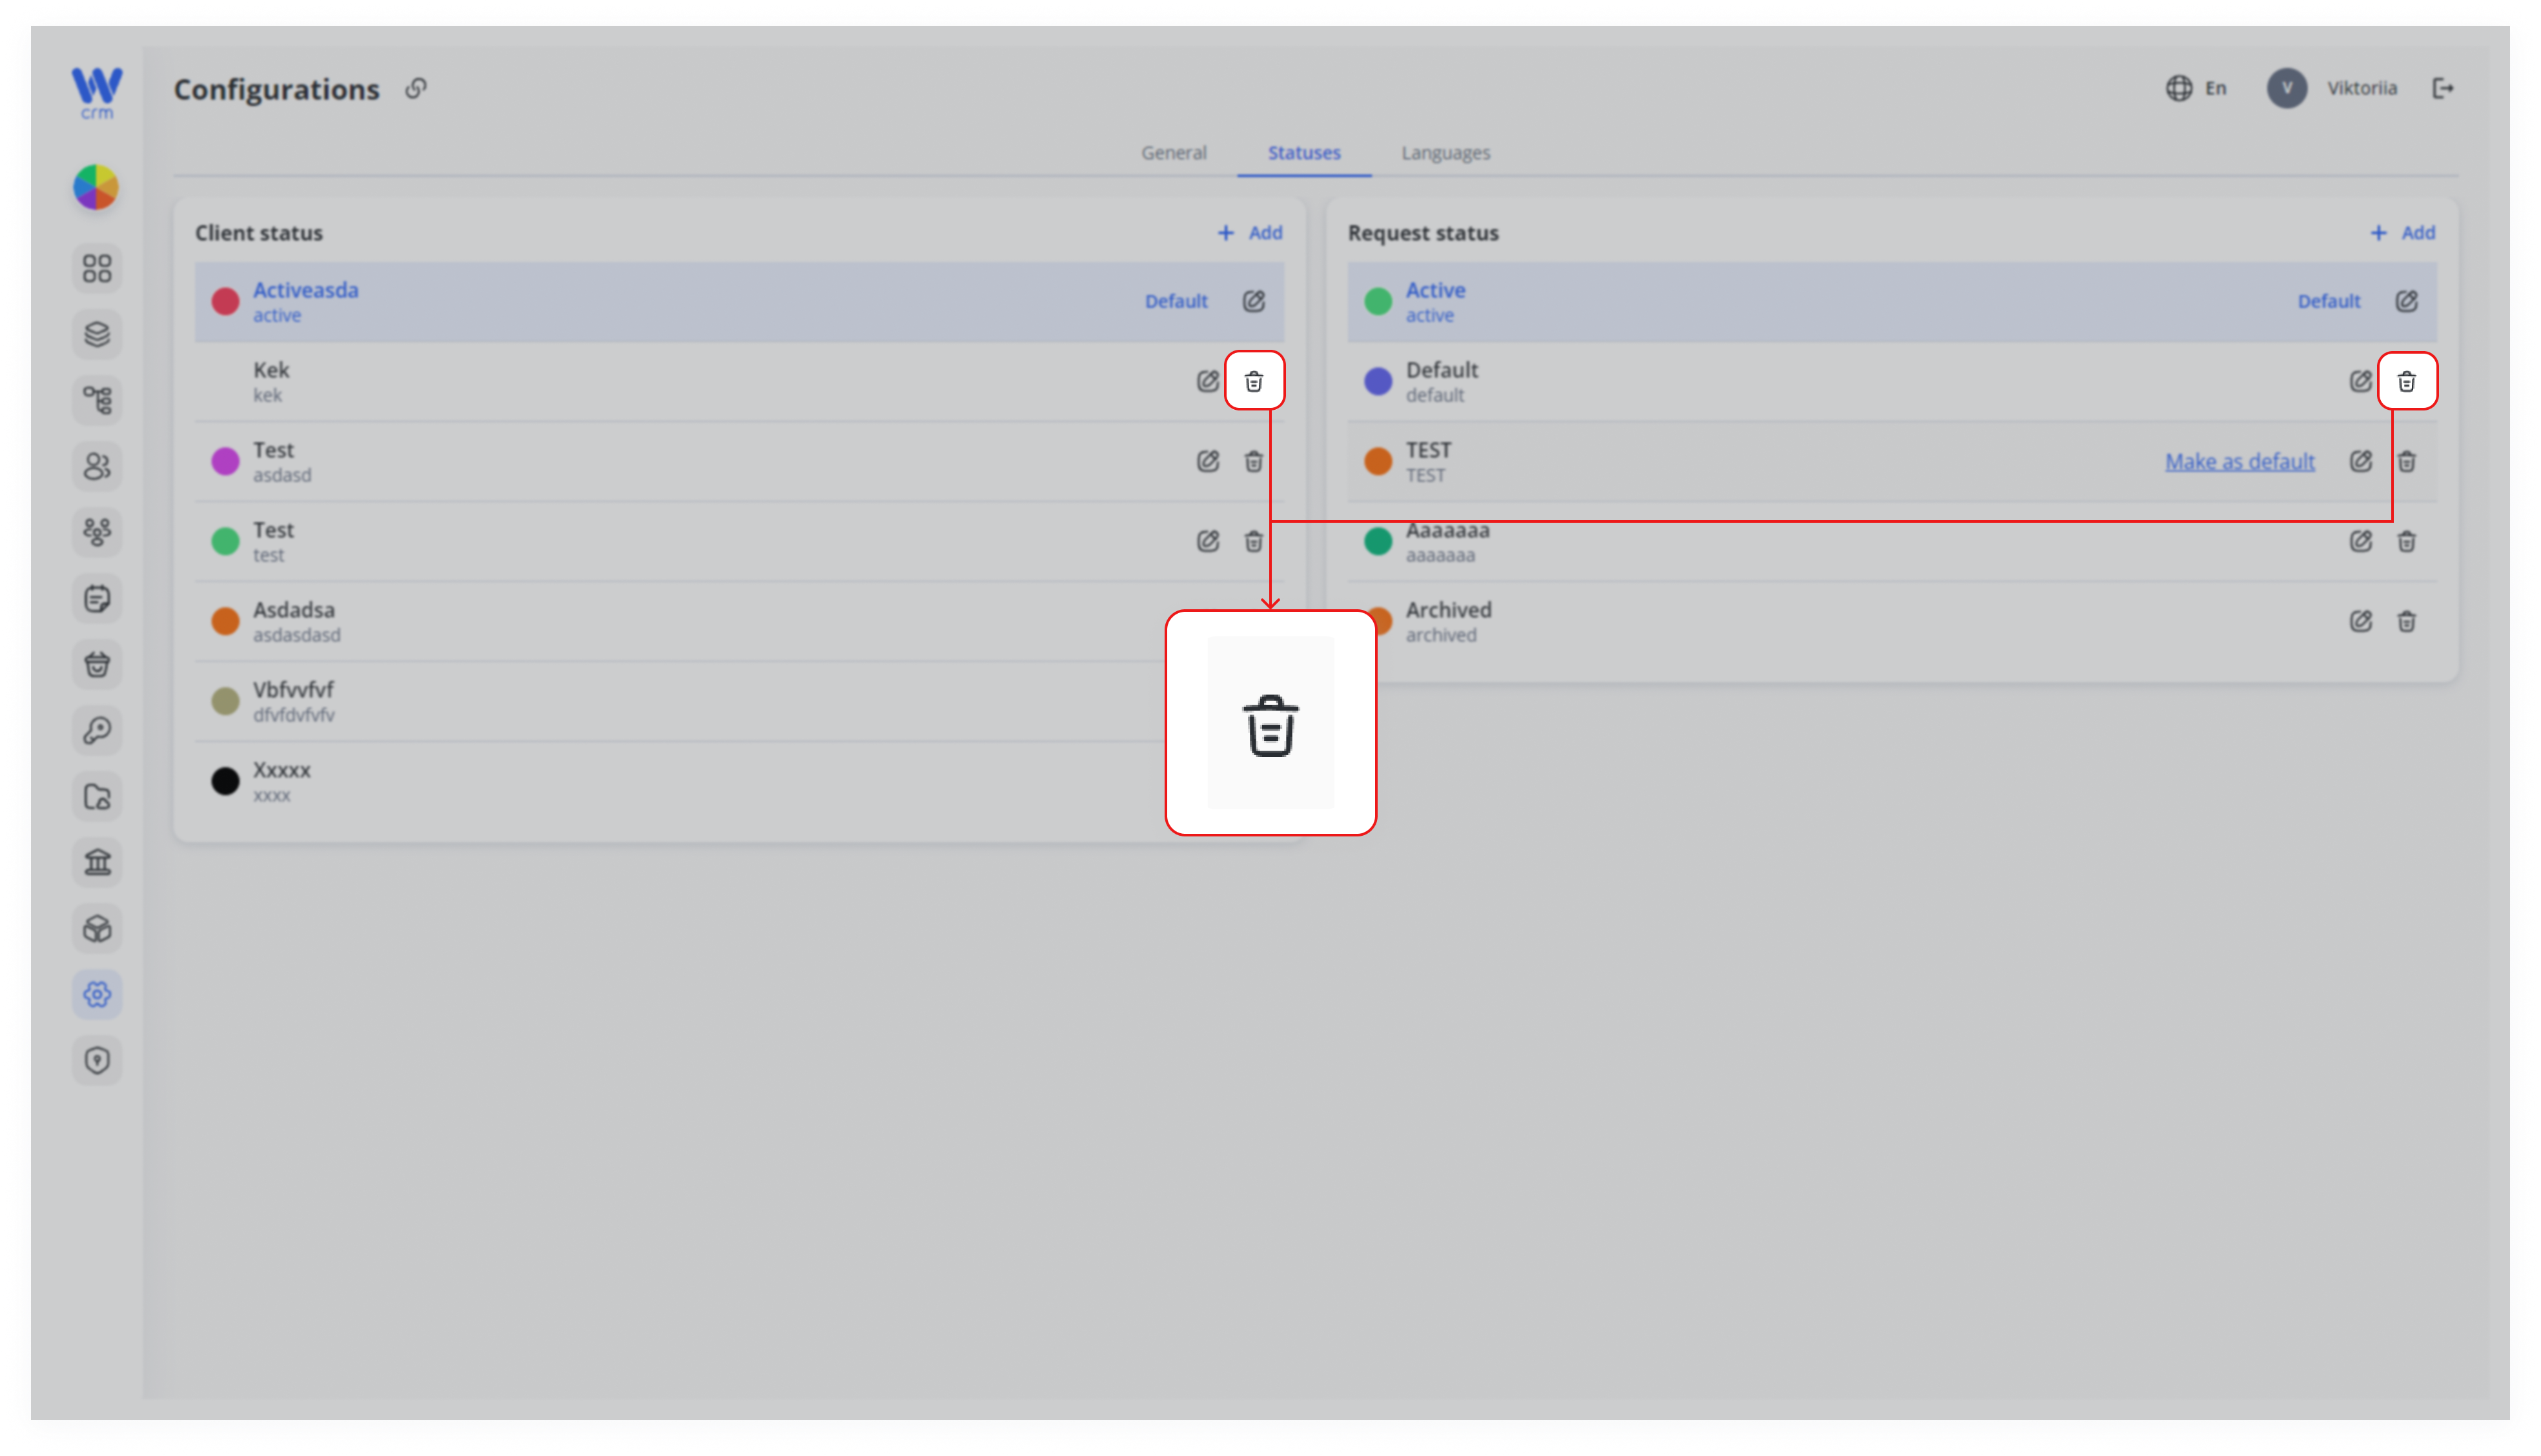
3. Confirm the deletion when prompted.
By thoughtfully defining client and request statuses—complete with unique labels, colors, and defaults—you create a transparent, enforceable workflow that scales with your business. Regularly review and prune unused statuses to keep your system lean, and leverage status-driven automation (notifications, reports, transition rules) to streamline daily operations.