10.3. How to Configure Statuses
To configure statuses, go to Configurations > Statuses. A tab with two sections will open:
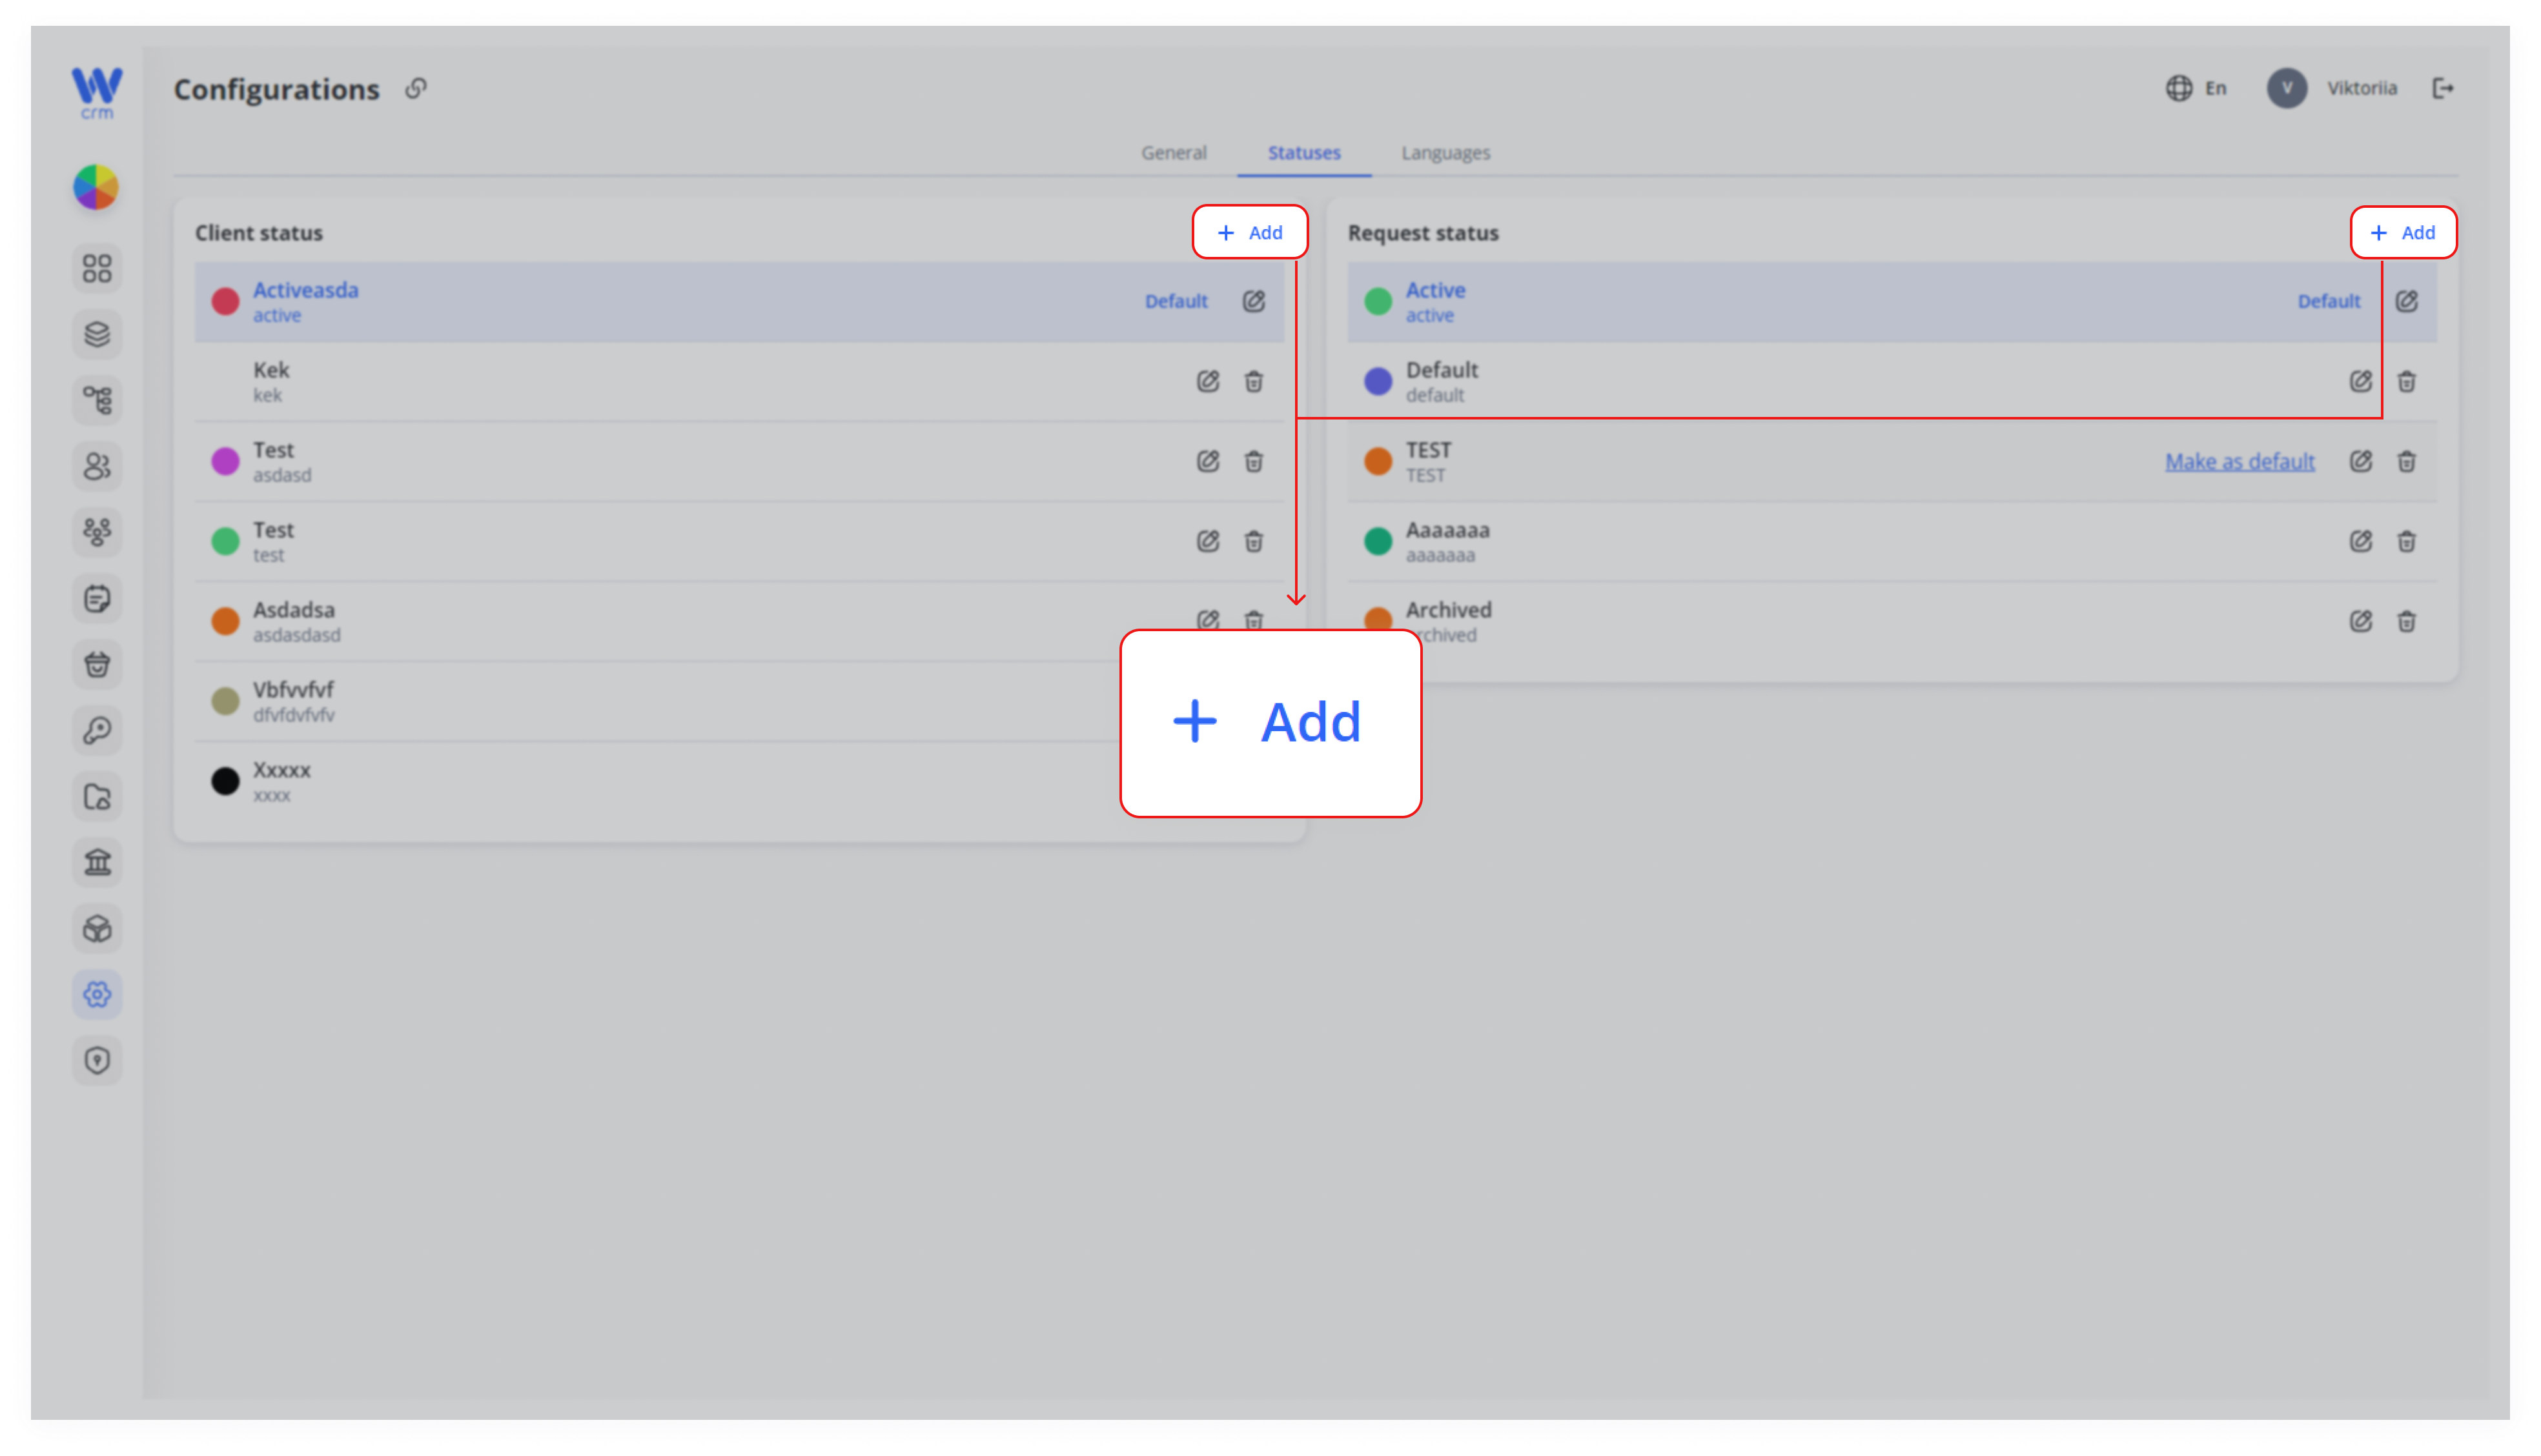
To add a new status:
2. Enter:
-
-
-
Name
-
Label (unique identifier)
-
-
3. Optionally select the color of the status.
4. To make this status the default, check the Make as default checkbox.
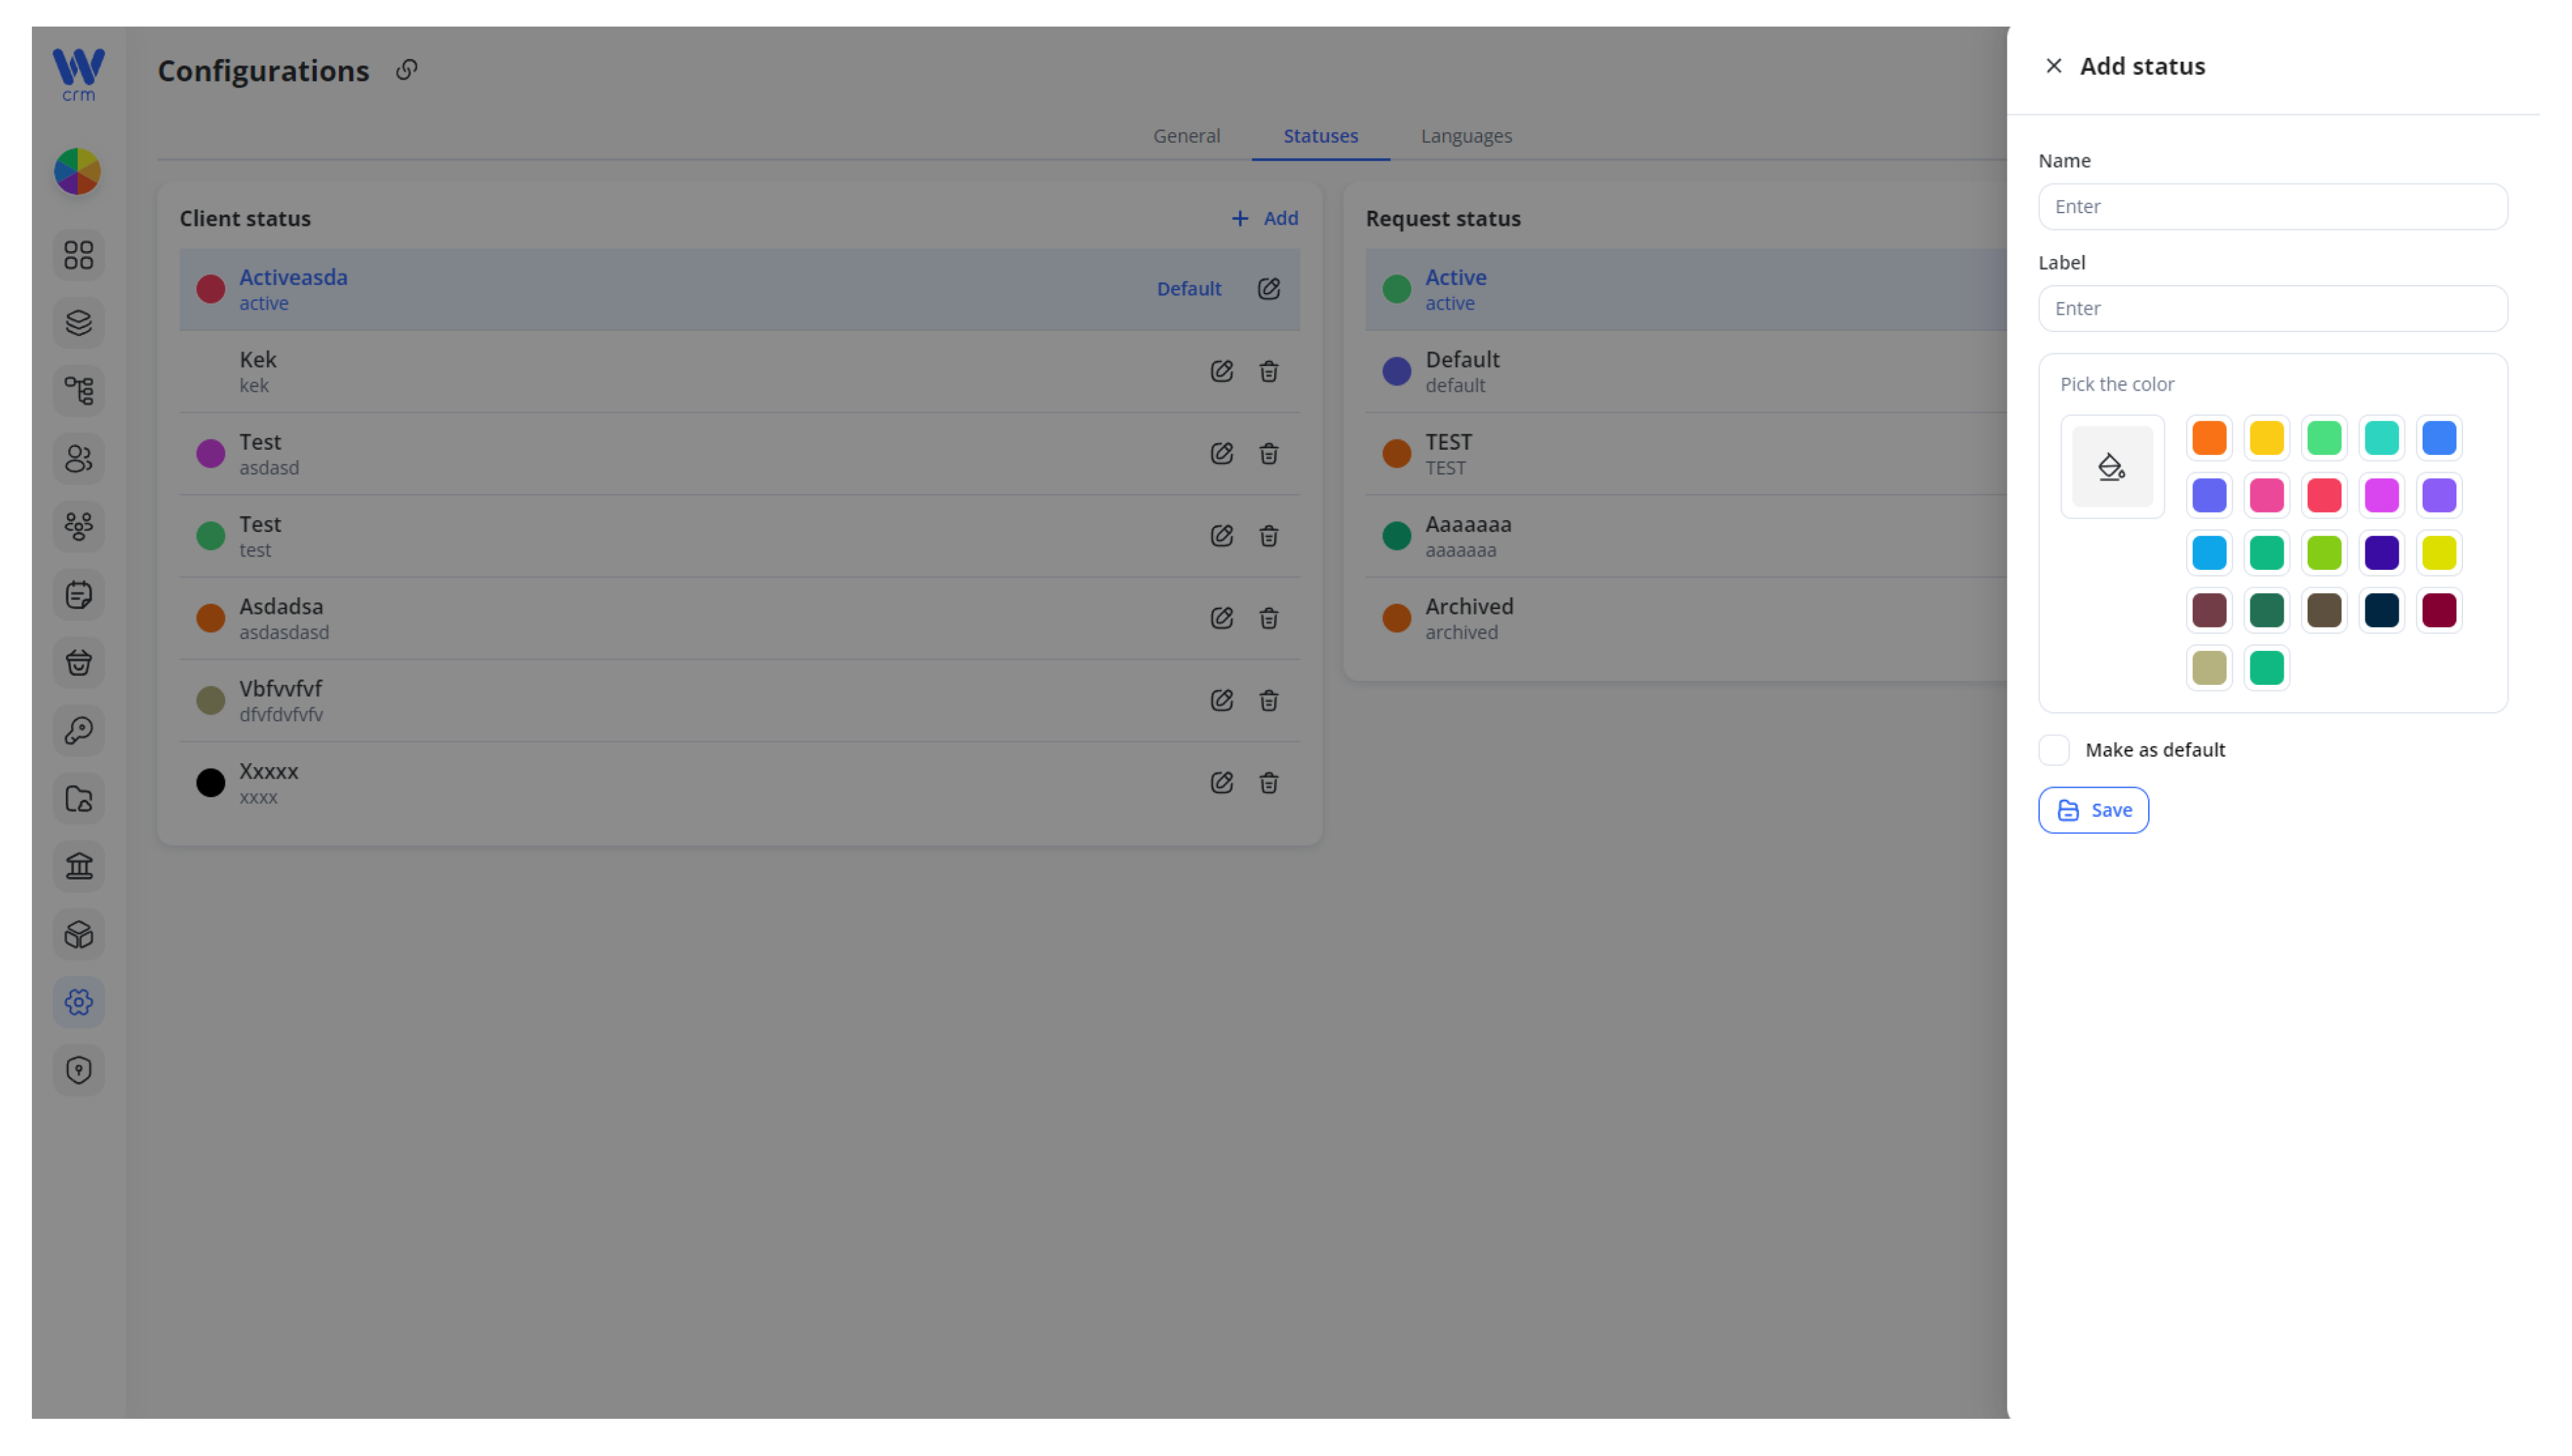
5. Click Save to add the status.
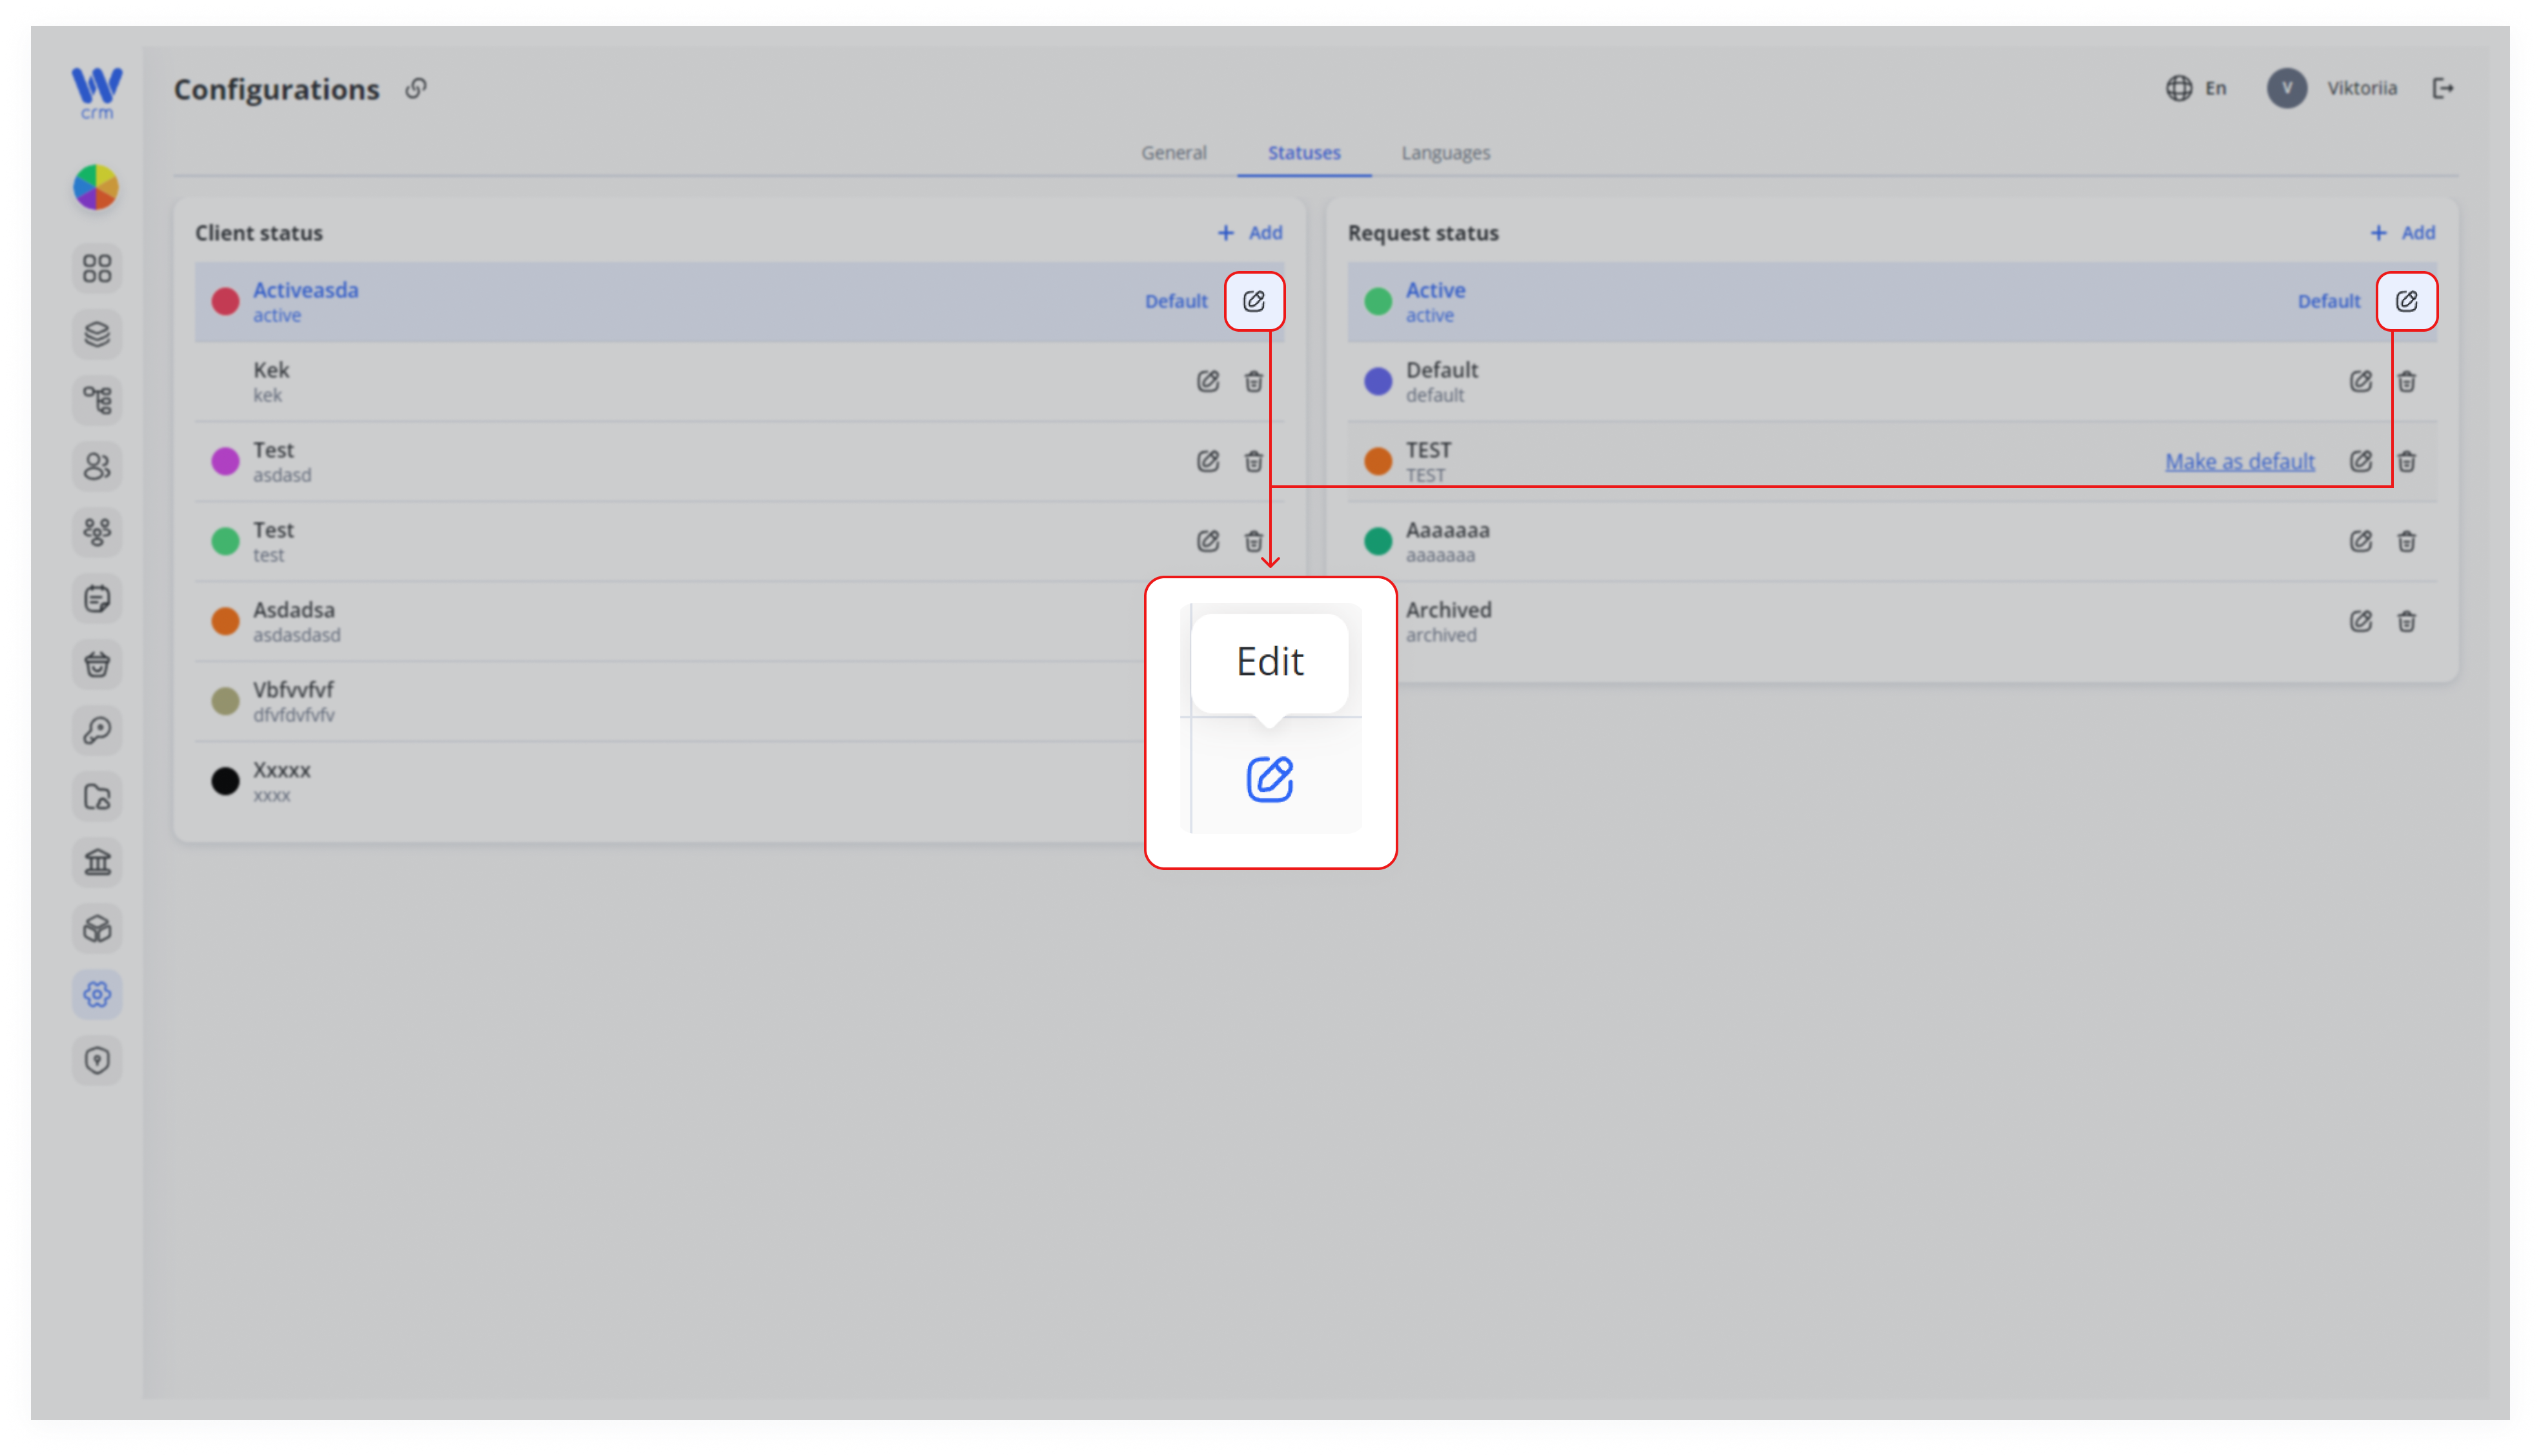
To edit a status:
1. Click the Edit icon next to the appropriate status.
2. You can change the name and color, but the label cannot be changed.
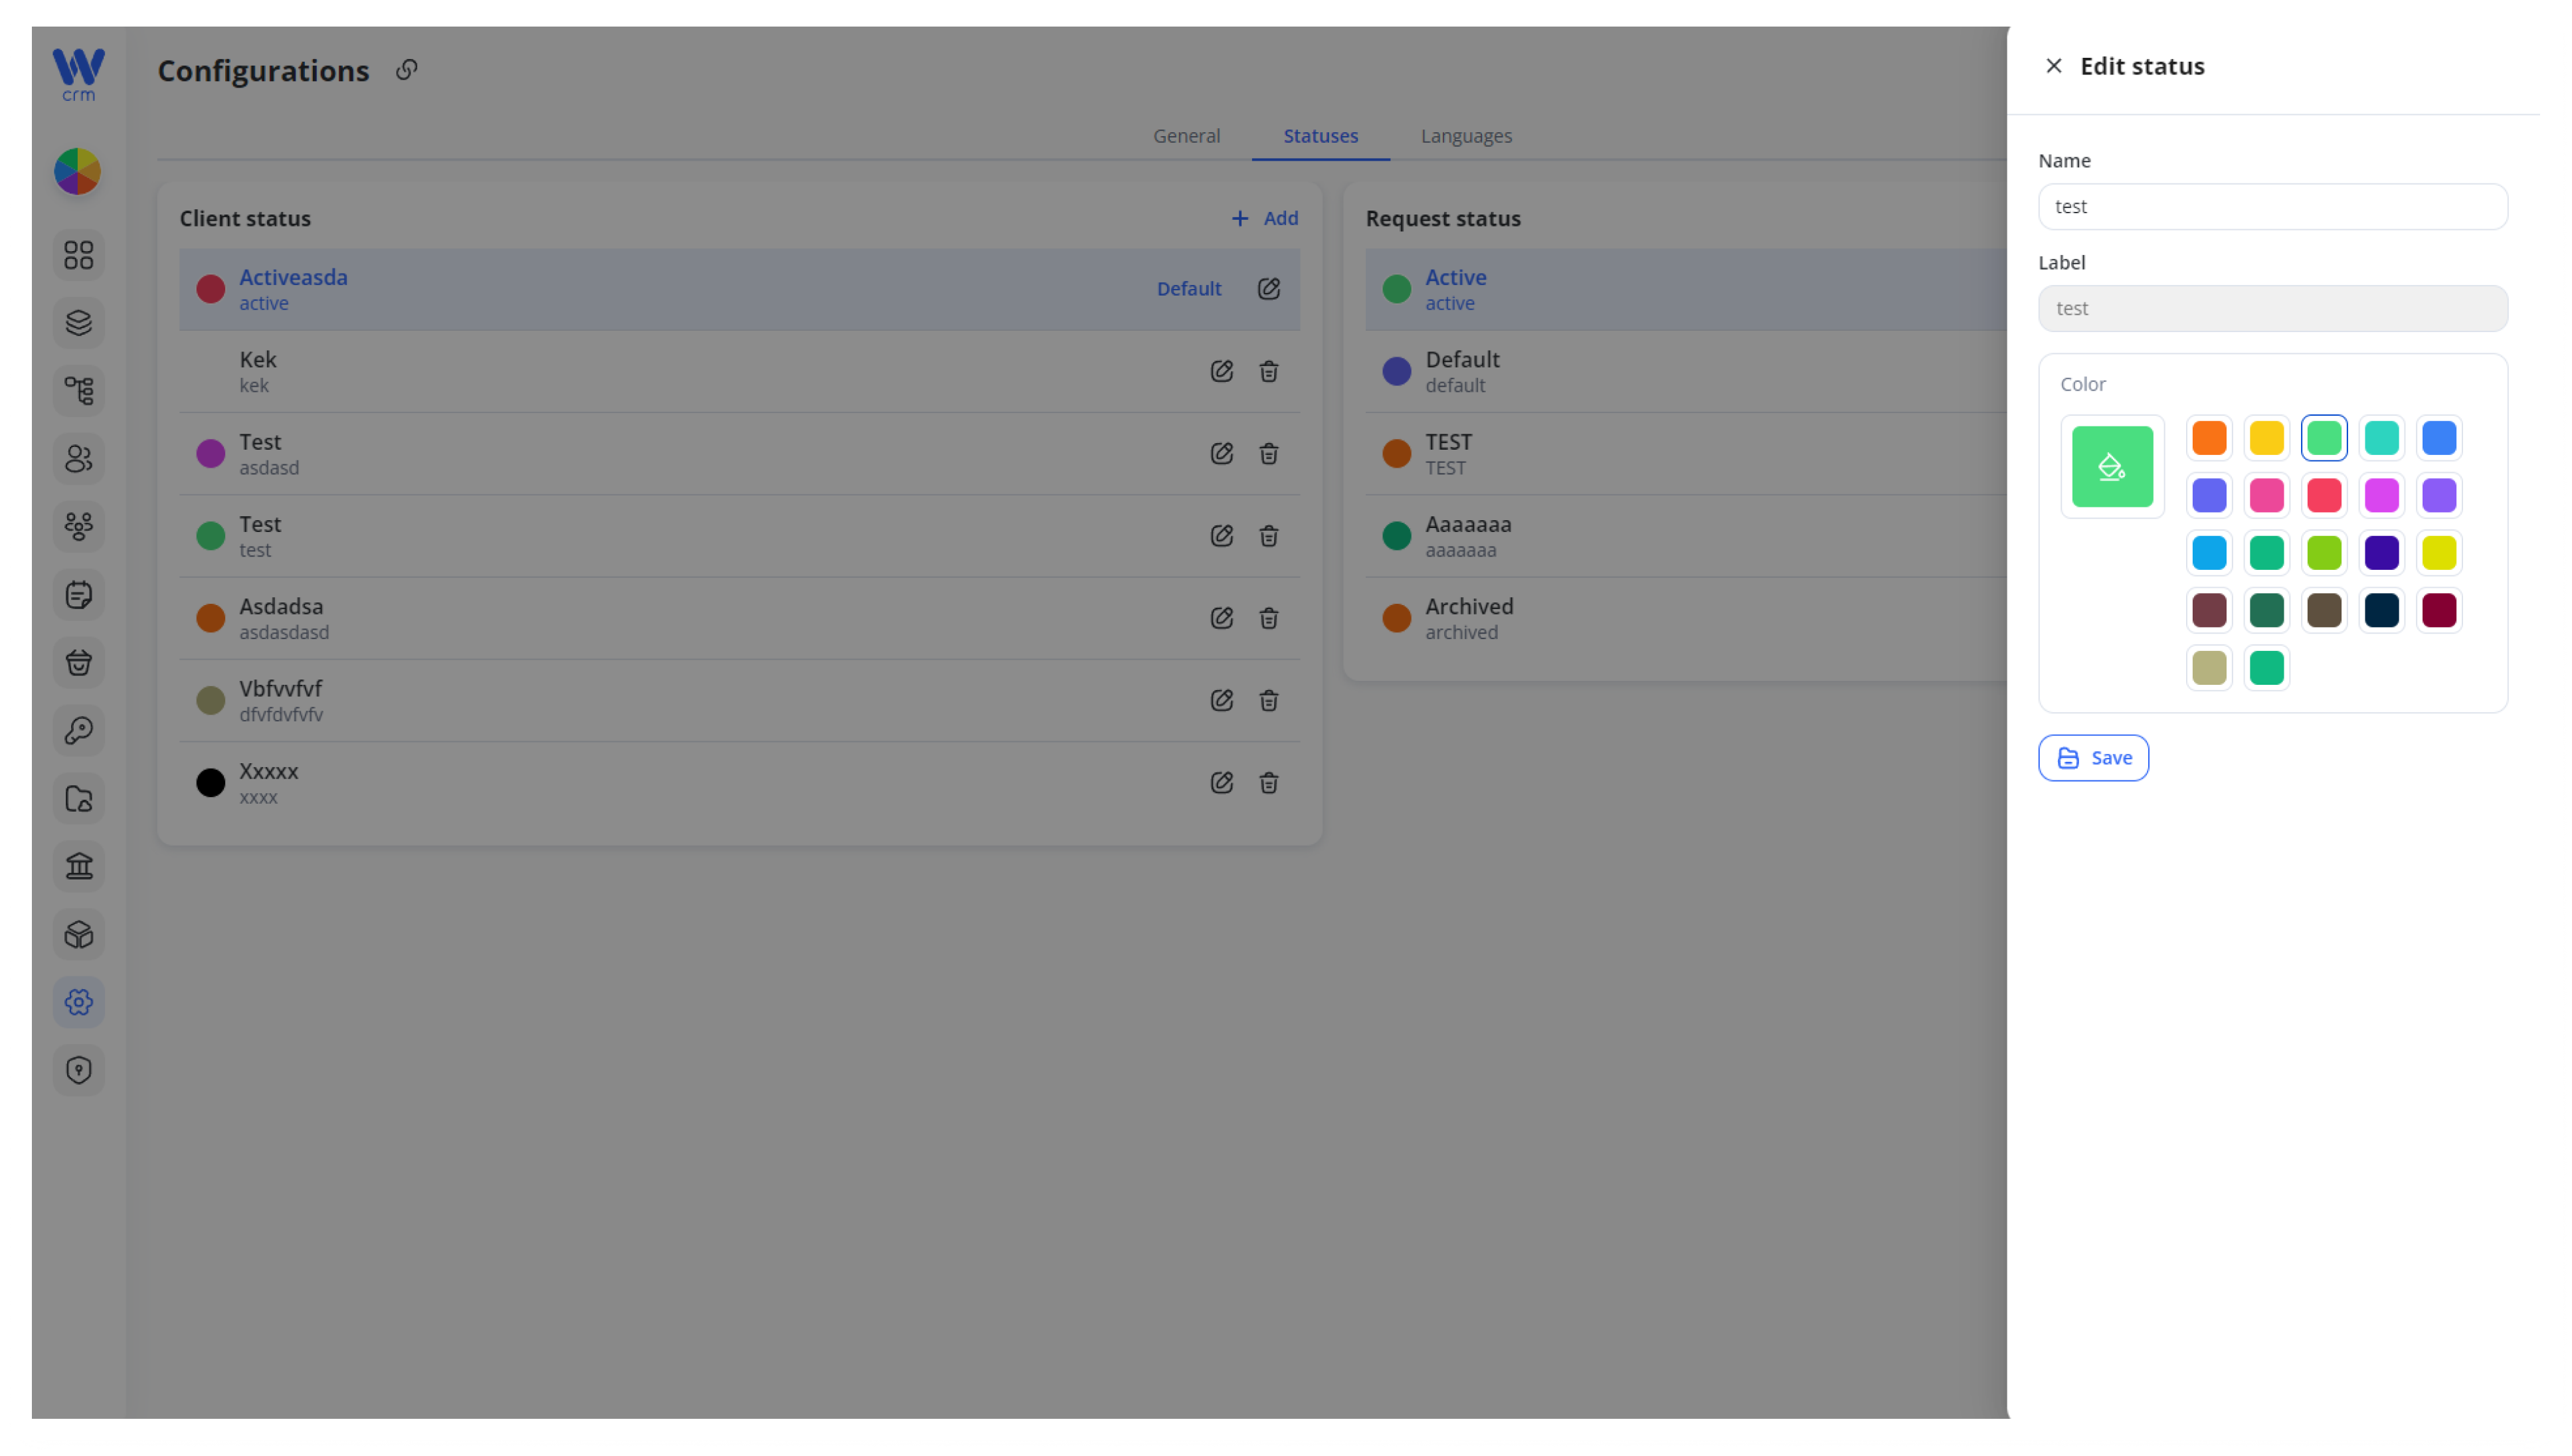
3. Click Save to apply the changes.
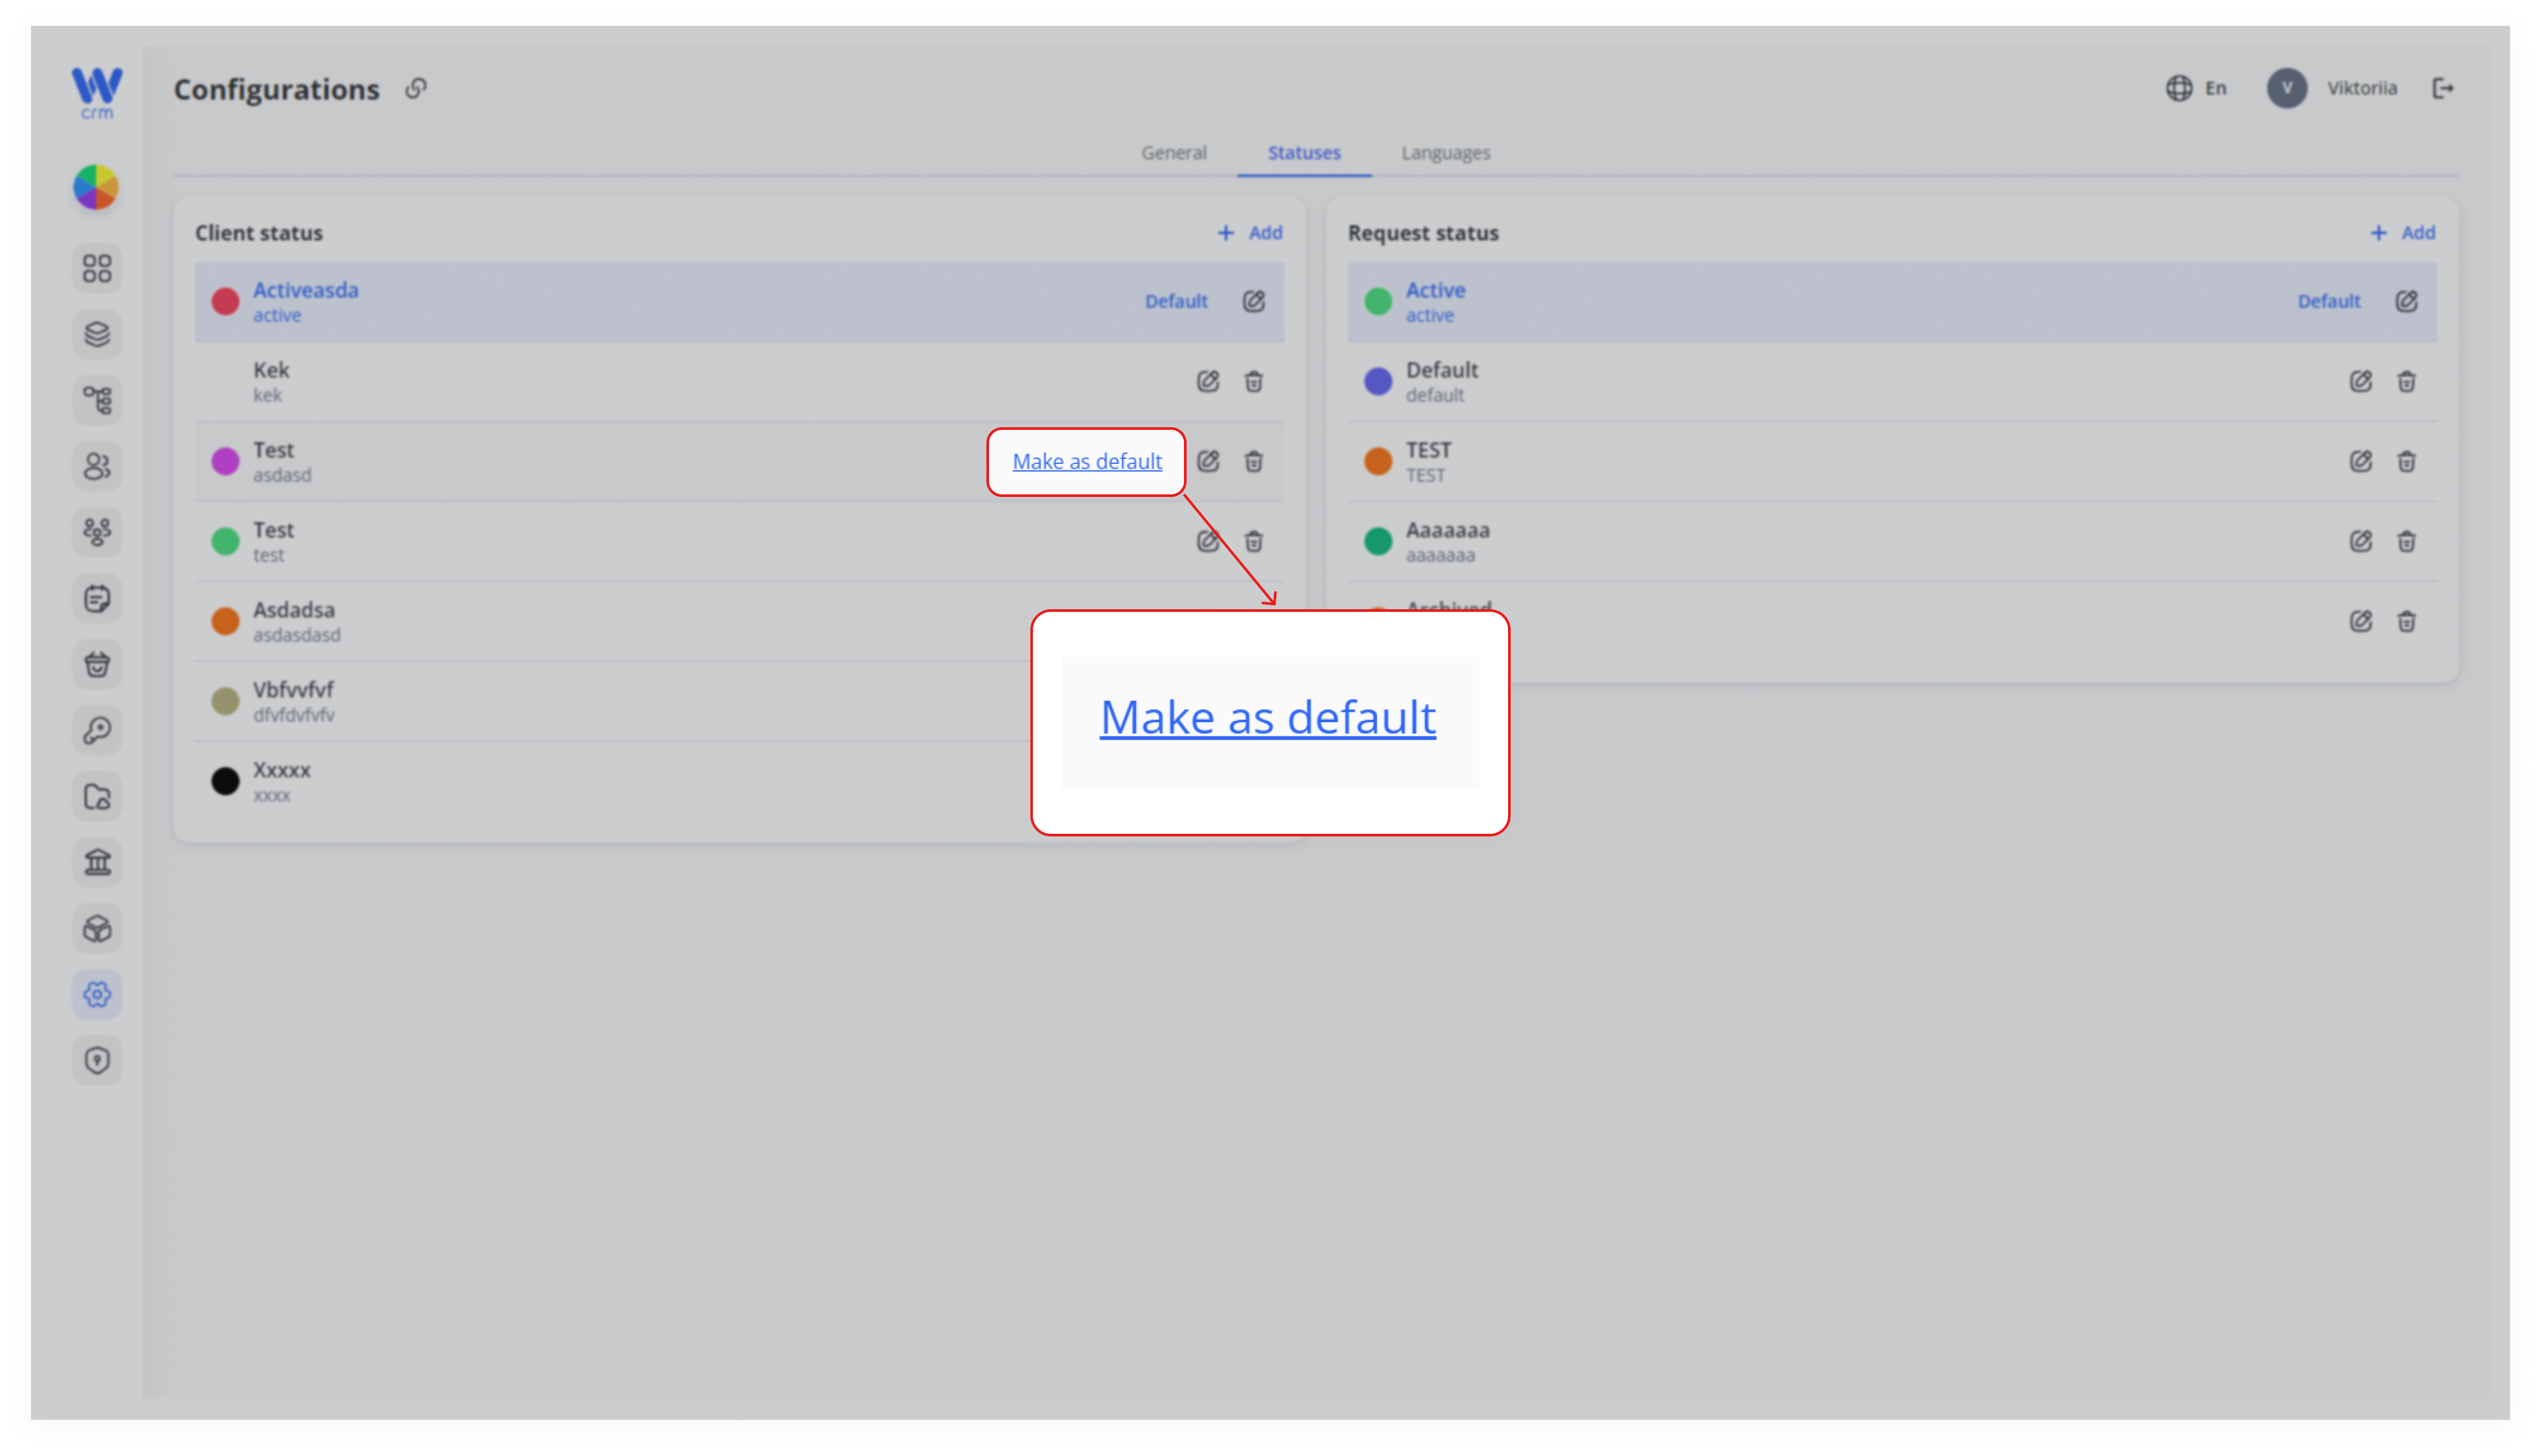
To make a status the default:
-
-
Hover your mouse over the status.
-
Click the Make as default button.
-
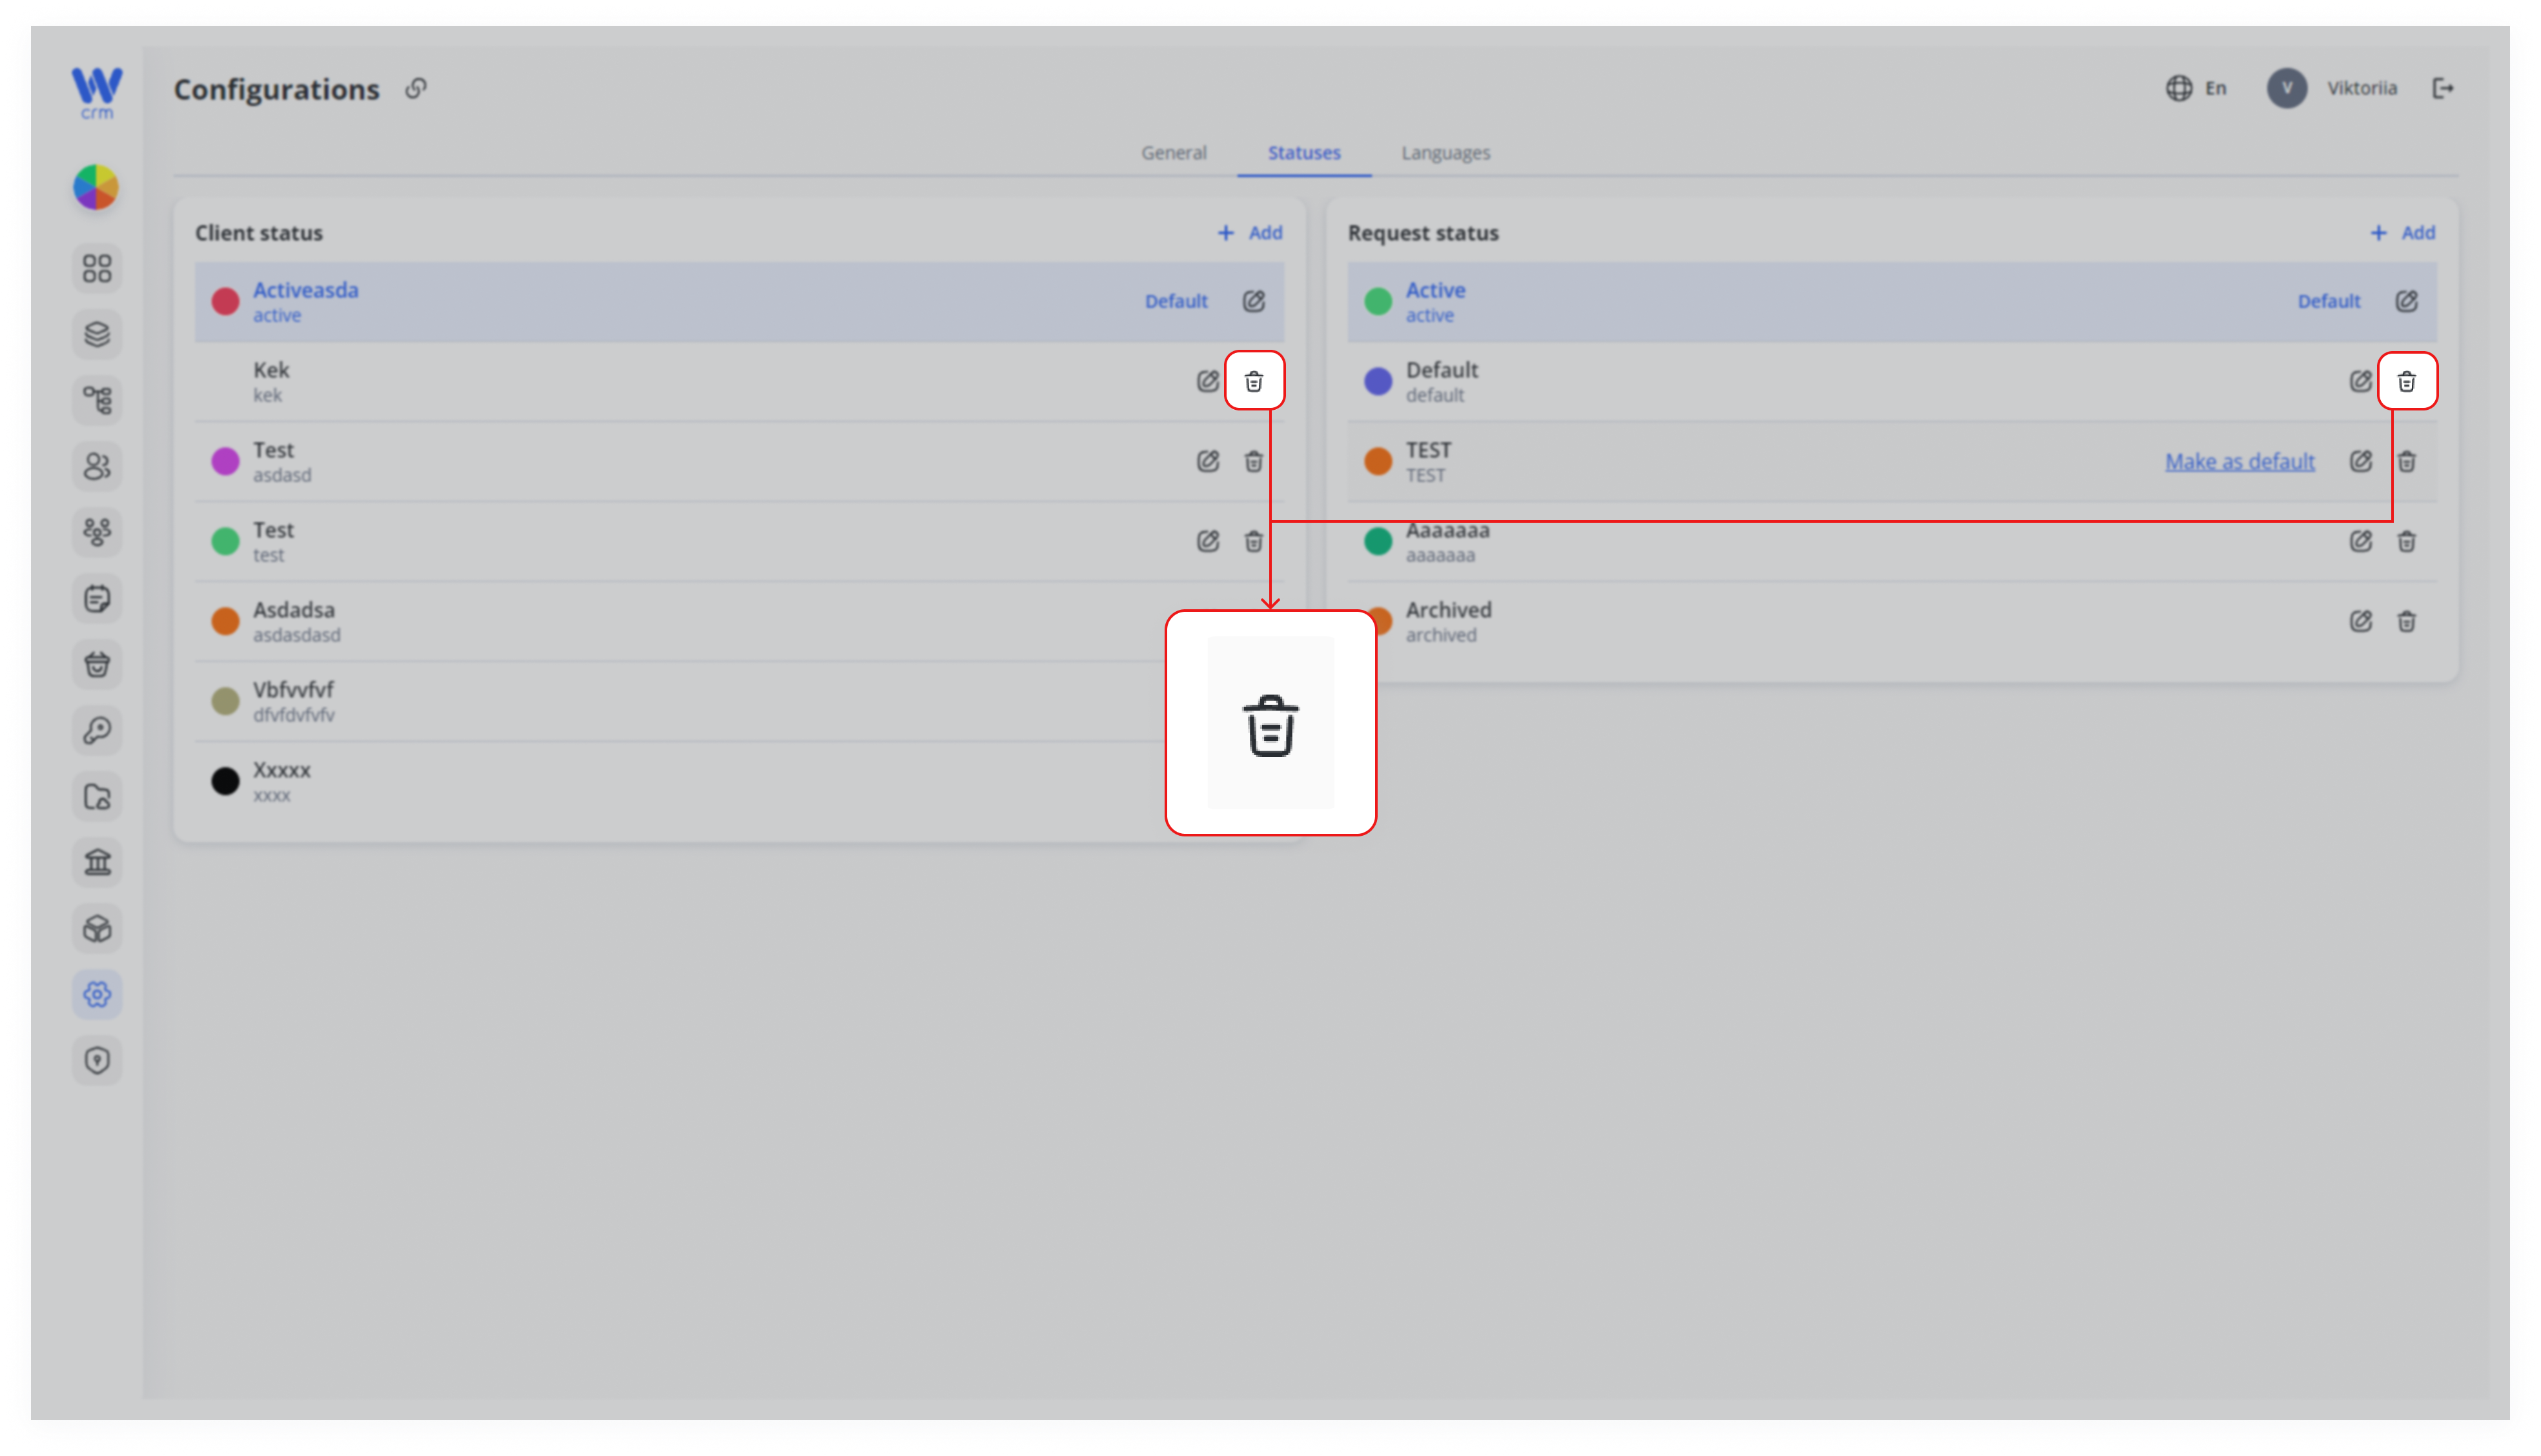
To delete a status:
-
-
Make sure the status is not the default (a default status cannot be deleted).
-
Click the Delete icon next to the corresponding status.
-