
2. How to Configure Client Area
The Client Area module lets you tailor how customers interact with your system—controlling everything from account settings and security policies to verification workflows and supported languages. This guide walks you step-by-step through every subsection of Configurations, with deep dives on each field, optional API hooks, and best-practice tips.
Basic configuration of the Client Area module is done through the Configurations section.
It includes the following subsections:
-
-
General
-
Documents
-
Verification Levels
-
Languages
-
General Section
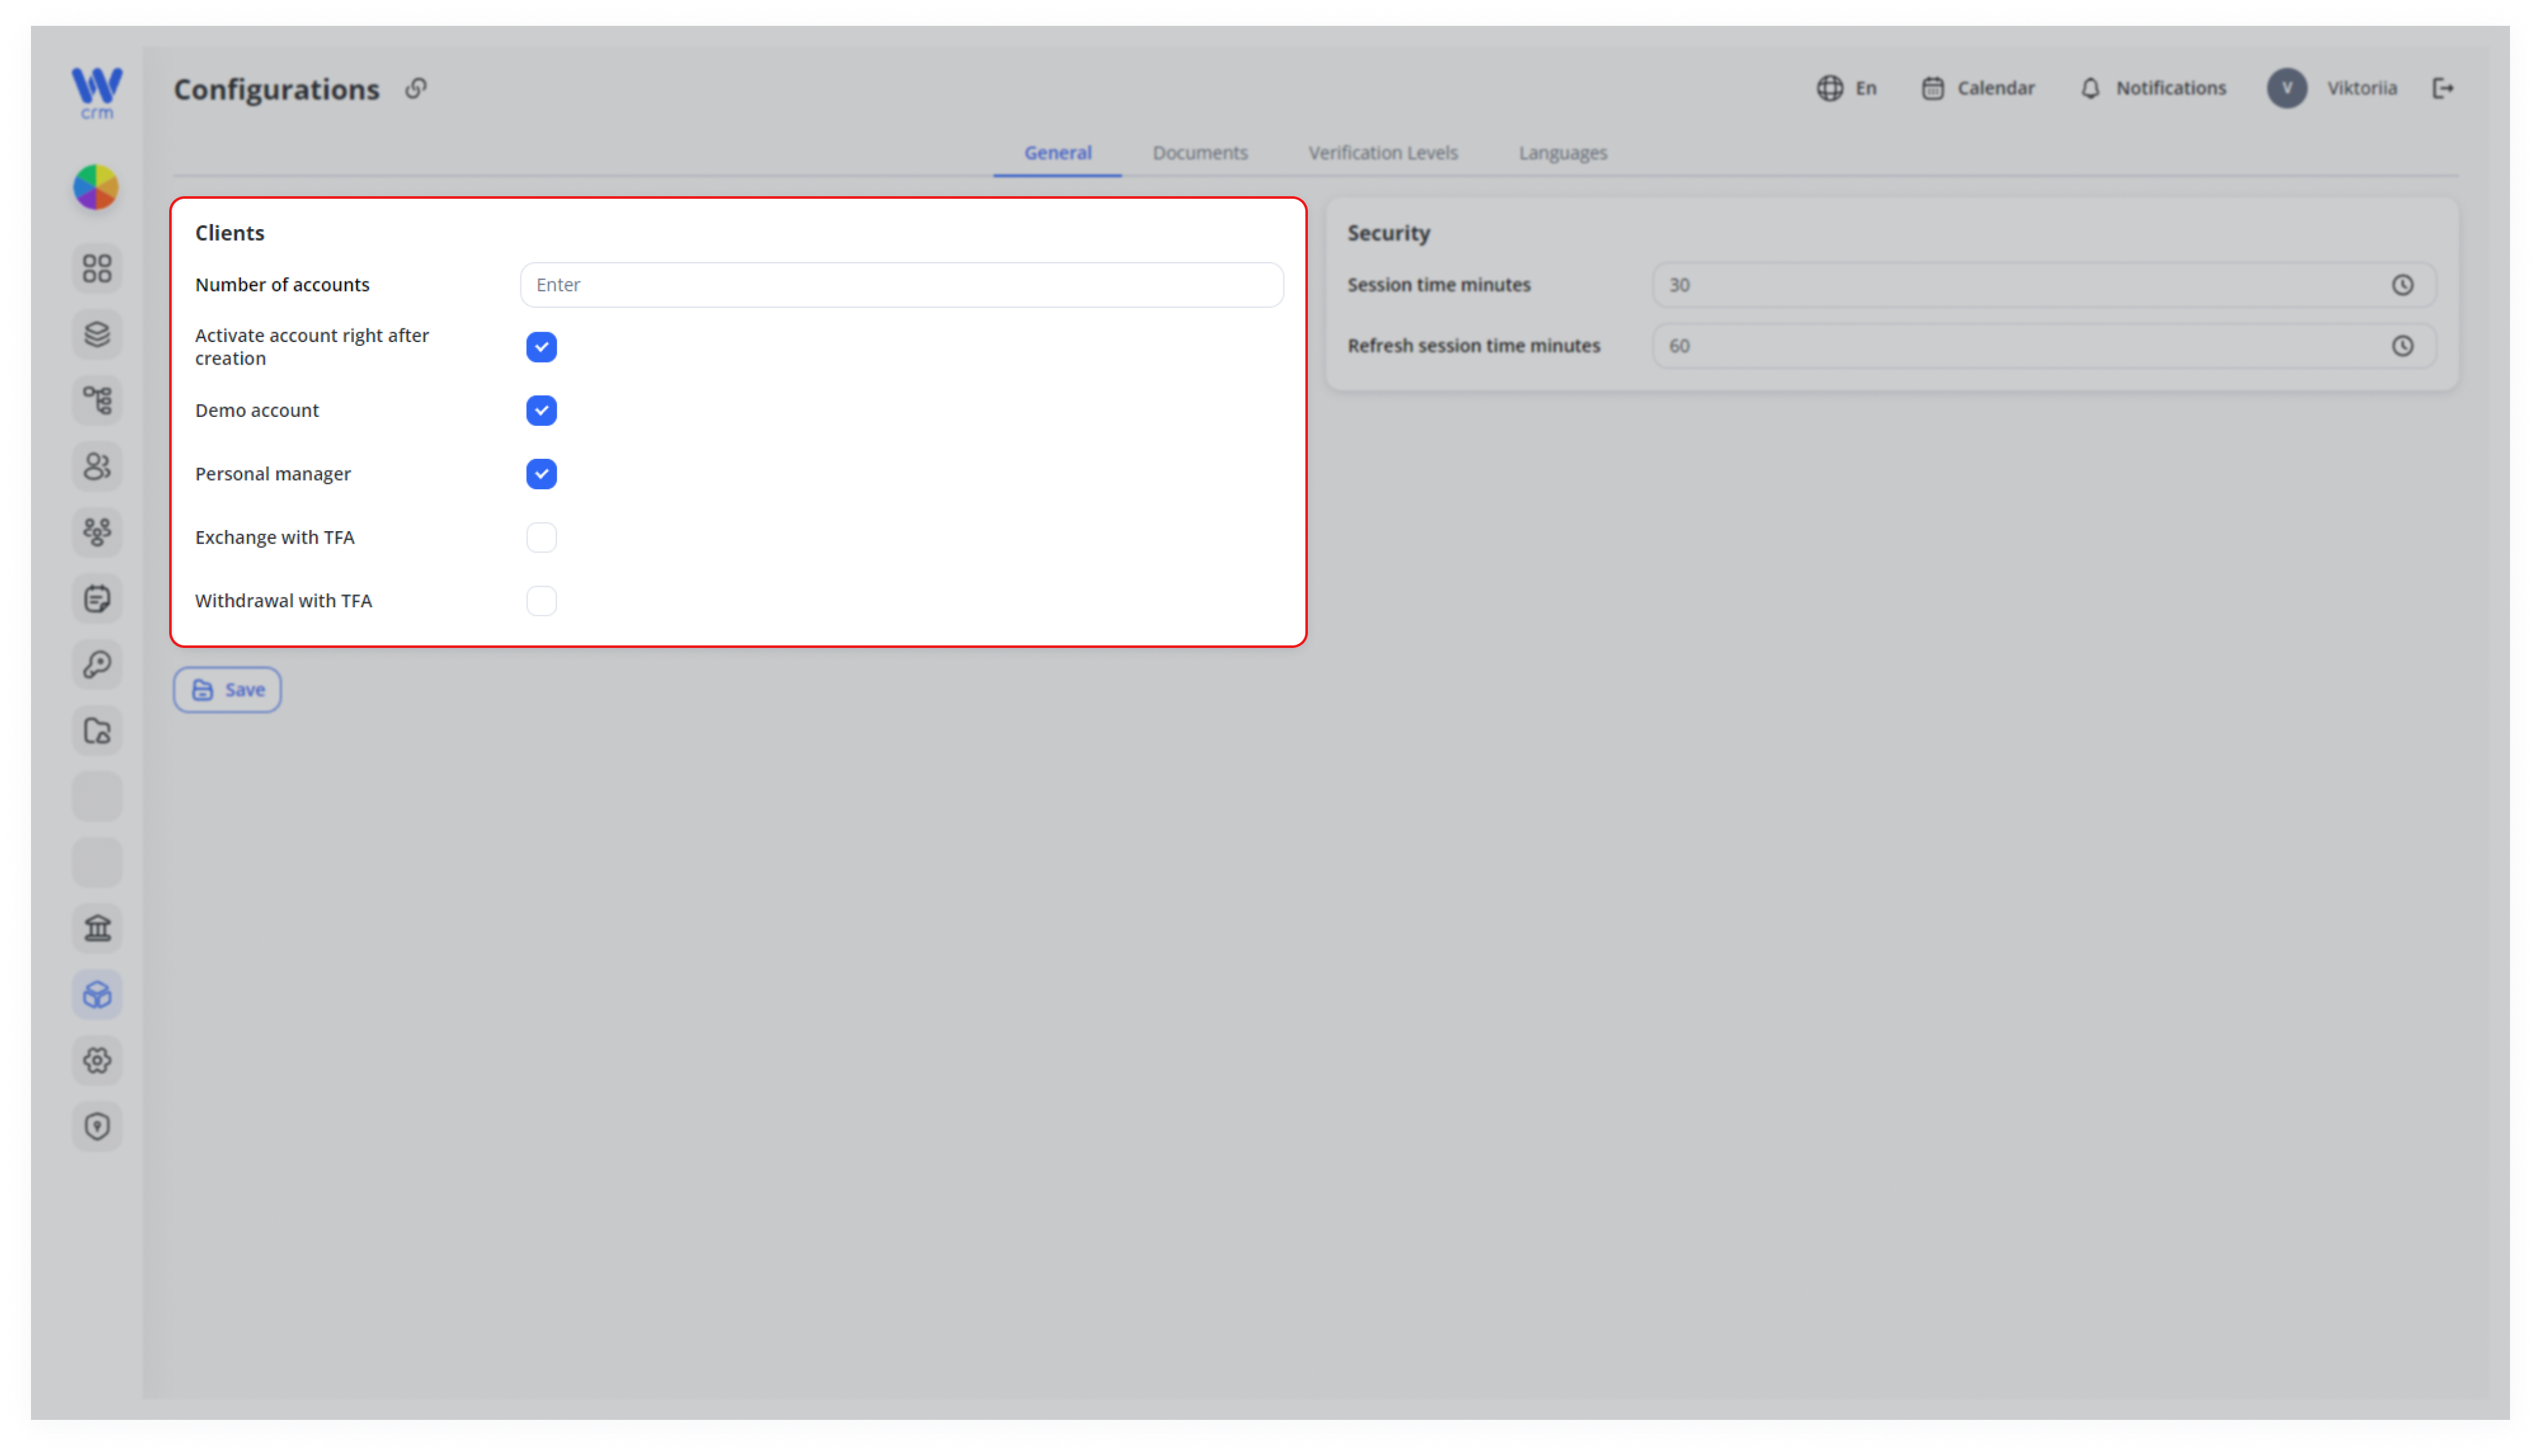
To start configuring, go to Configurations > General .tab across the top. You will see two blocks: Clients and Security.
In the Clients block, you can configure:
-
-
Number of accounts: Enter the maximum number of accounts a single customer can have.
-
Activate account right after creation: Enable this to allow clients to activate their accounts immediately after creation.
-
Demo account: Enable this to provide clients with a demo account (e.g., with virtual assets).
-
Personal manager: Enable this to assign a personal manager to the client.
-
Exchange with Two-Factor Authentication (TFA): Require additional identity verification before any exchange.
-
Withdrawal with TFA: Require additional identity verification before any withdrawal.
-
All these settings can also be managed via API, as many of them are specifically designed for integration and external use. You have full control over the configuration—use it as needed for your specific purposes.
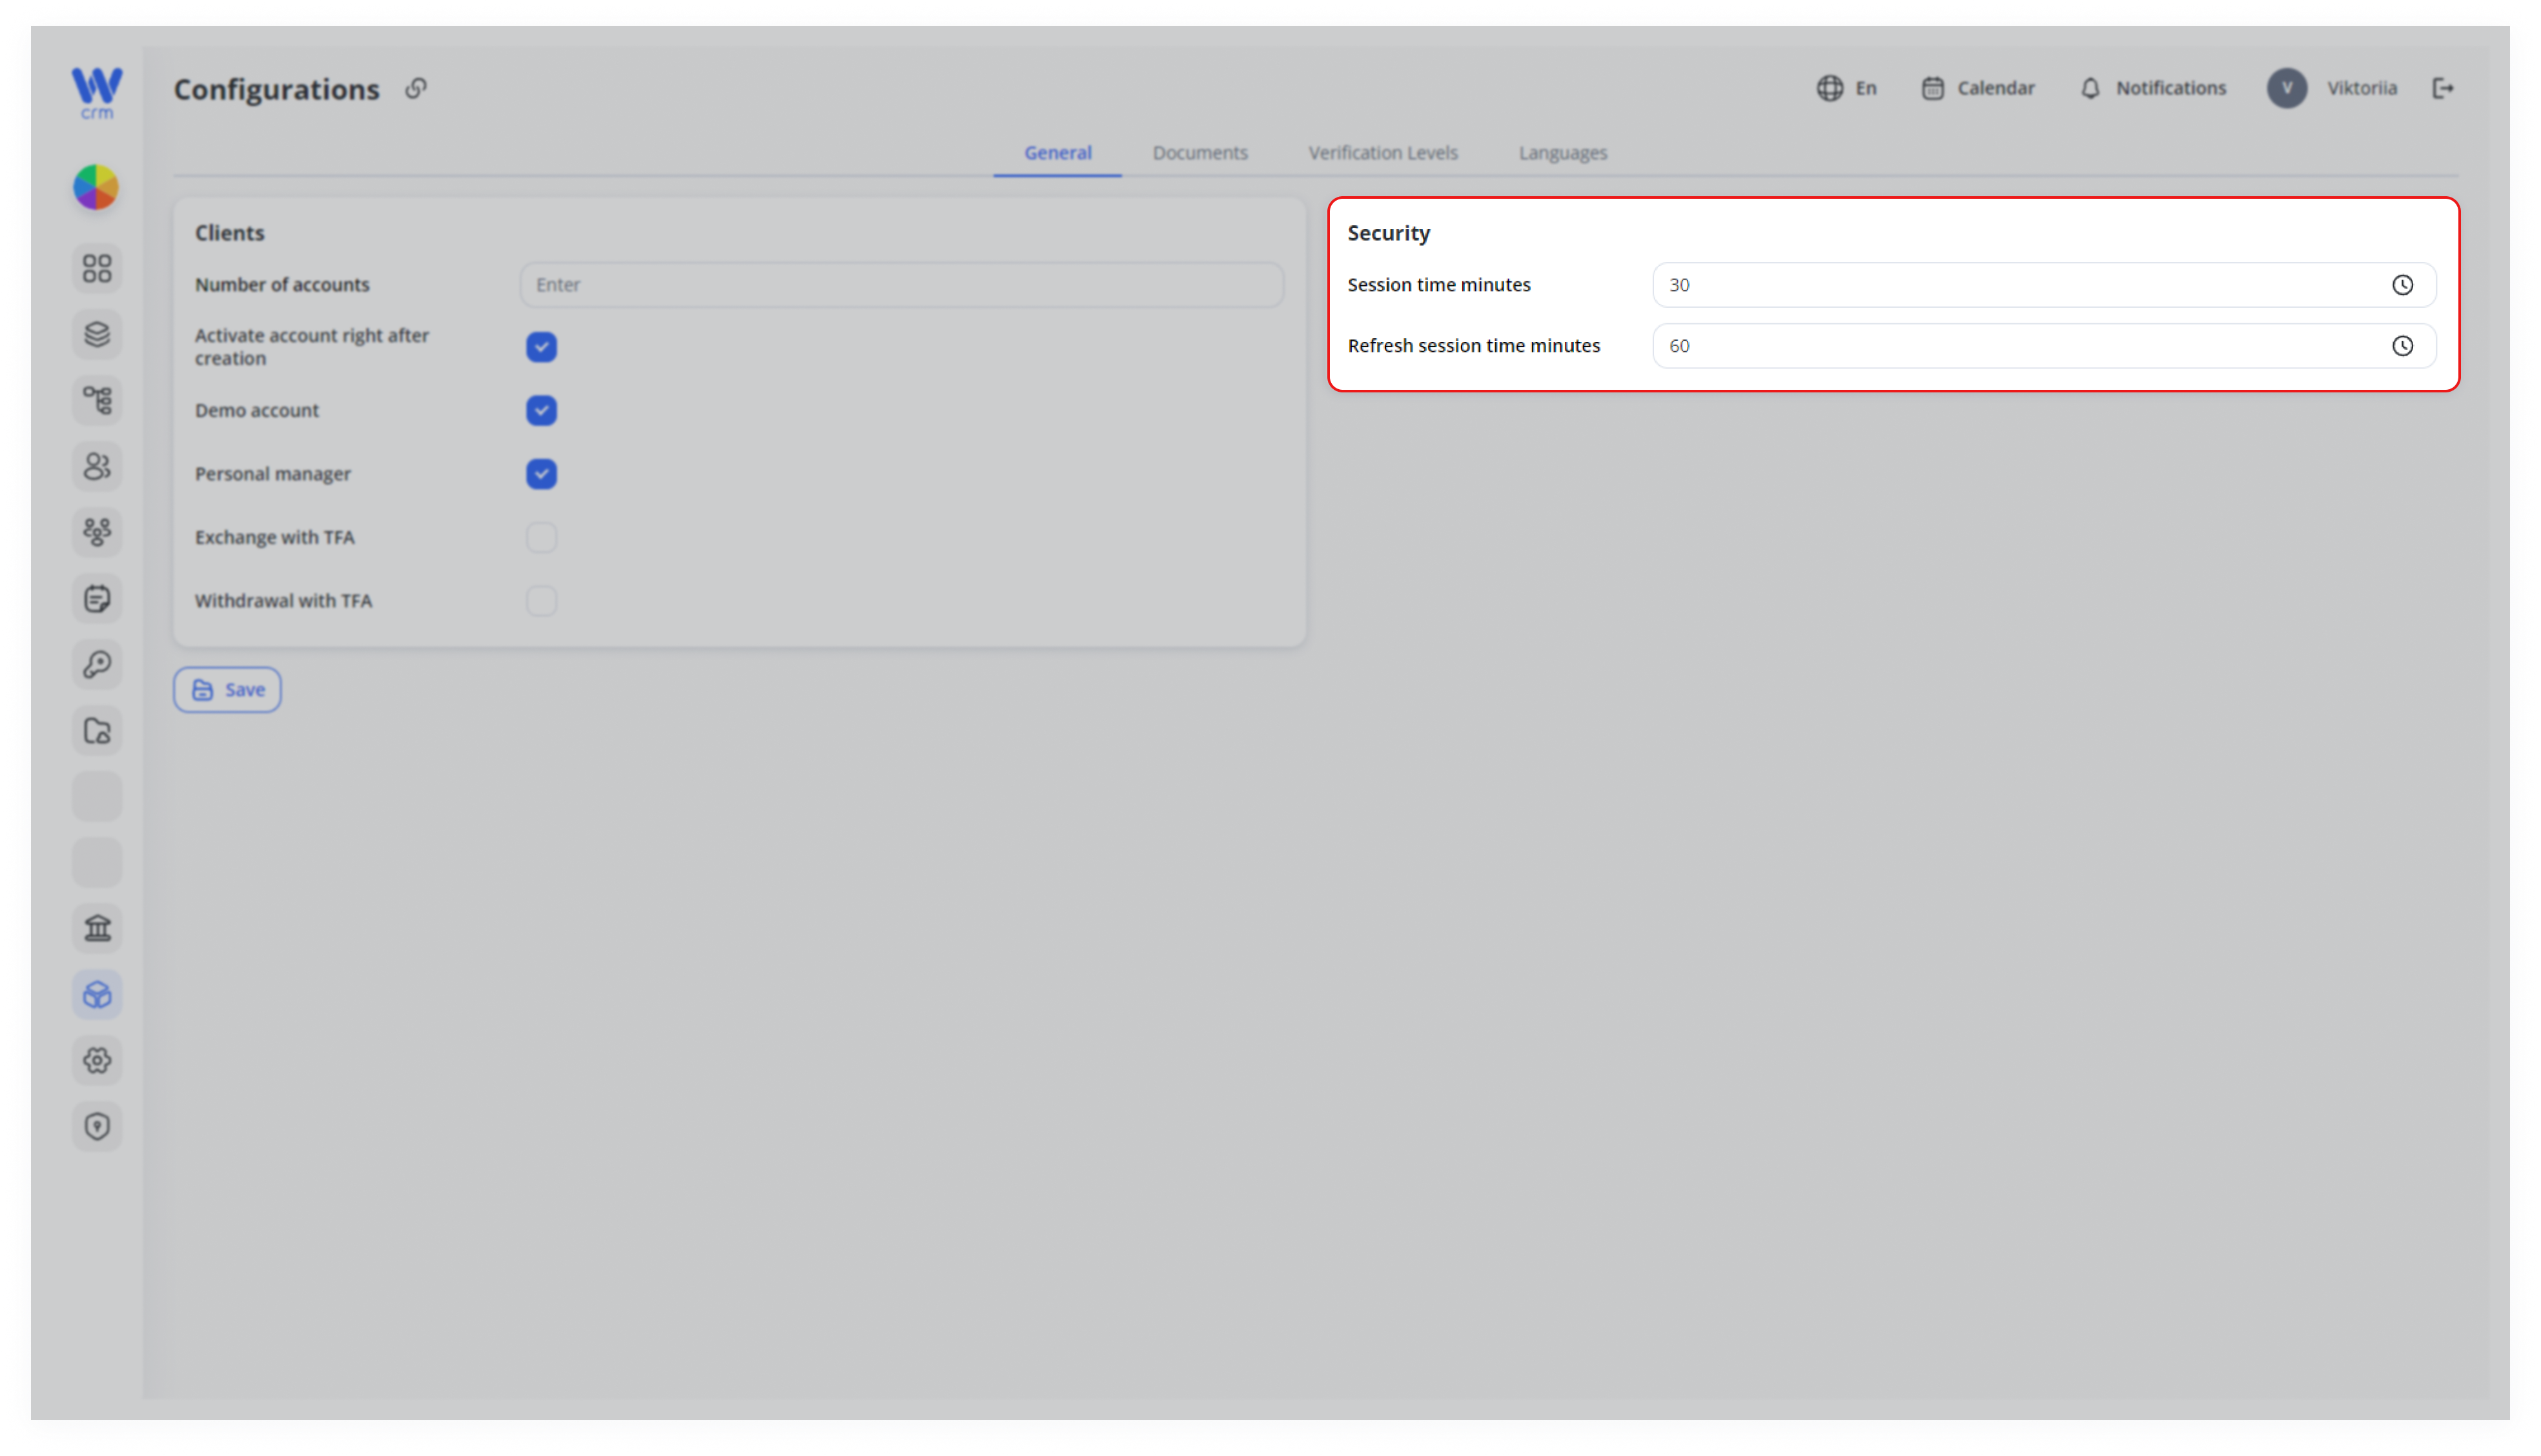
In the Security block, you can configure:
-
-
Session time minutes: Define how many minutes of inactivity will trigger automatic logout. If left blank, the default is 60 minutes.
-
Refresh session time minutes: Define how often the session should be refreshed when the user is active. Normally twice the Session time minutes value.
-
AfterAdjust makingtimeouts theto necessarybalance adjustments,usability click(longer sessions) against security (shorter sessions).
Click Save towhen apply the changes.finished.
Documents Section
Configure verification documents required from your customers during login, verification, or other business purposes (e.g., some documents may be needed for identity verification, while others for approvals or compliance).
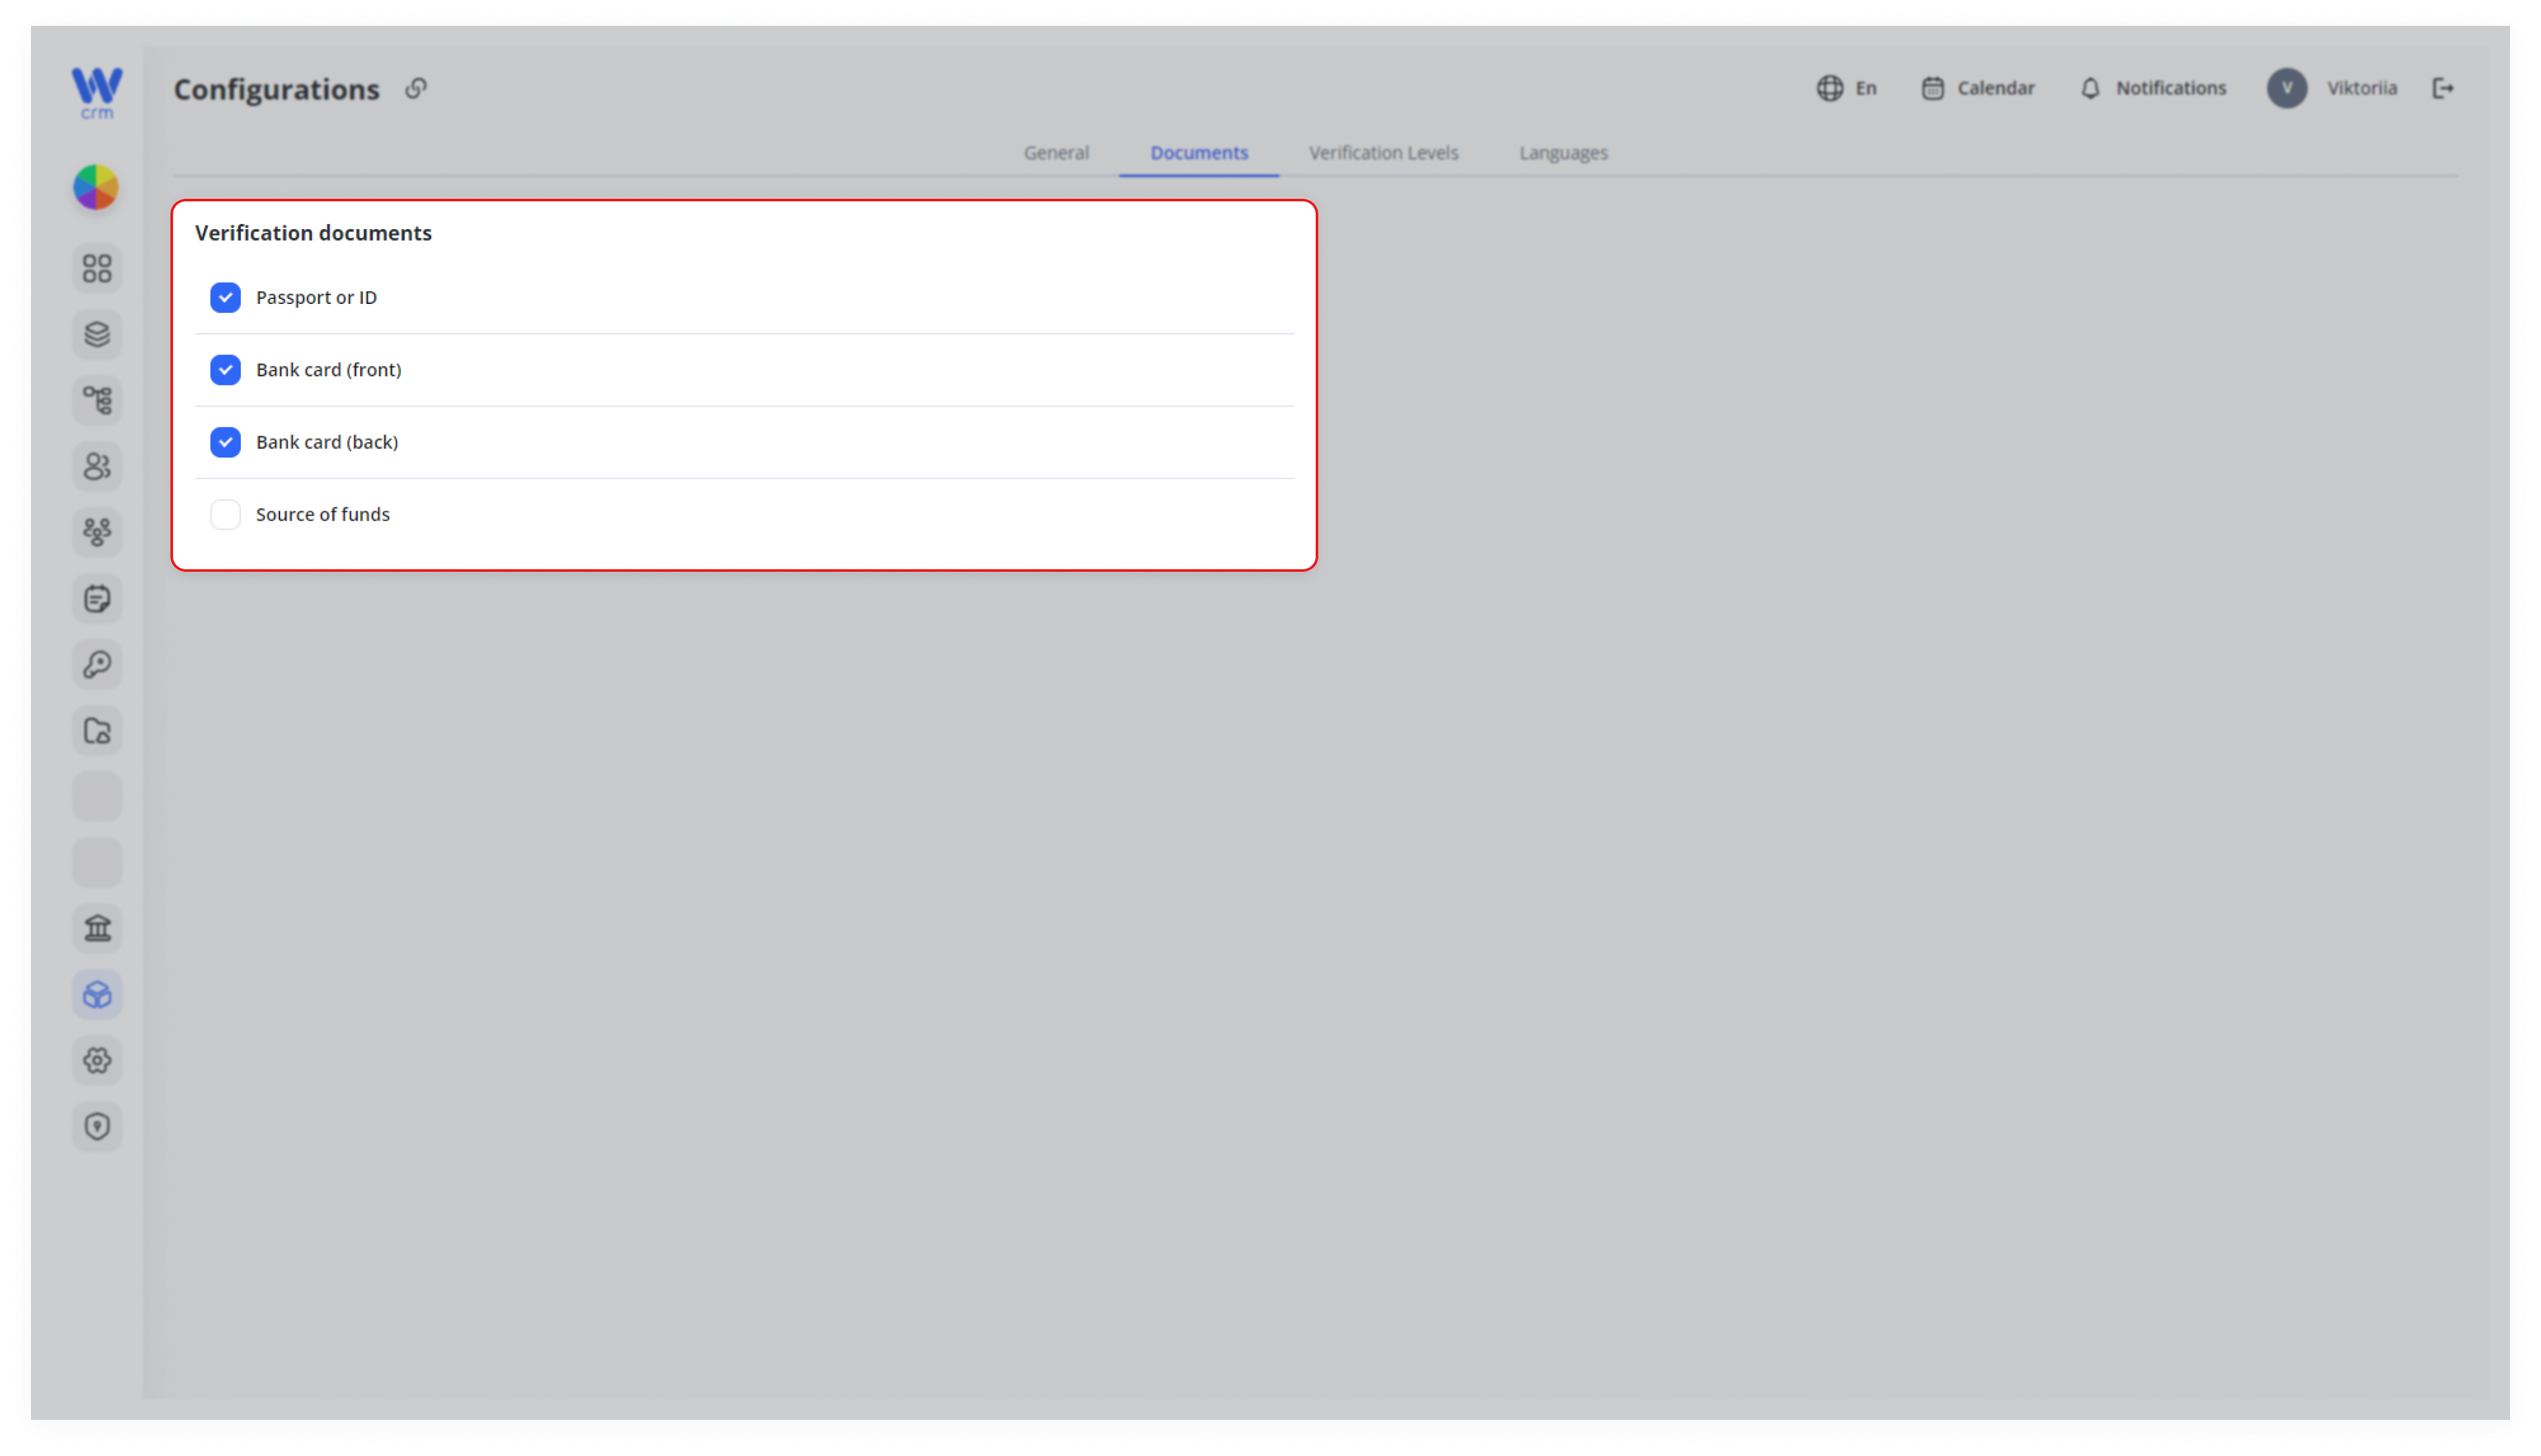
In the Verification Documents block, select the checkboxes next to the required documents:
-
-
Passport or ID
-
Bank card (front)
-
Bank card (back)
-
Source of funds
-
Use Case Examples:
KYC Level 1: just Passport or ID
KYC Level 2: add Bank card, Source of funds
Verification Levels Section
This section manages verification and includes the following blocks:
-
-
Account Configurations
-
Verification Levels (e.g., email, phone, biometrics)
-
Statuses
-
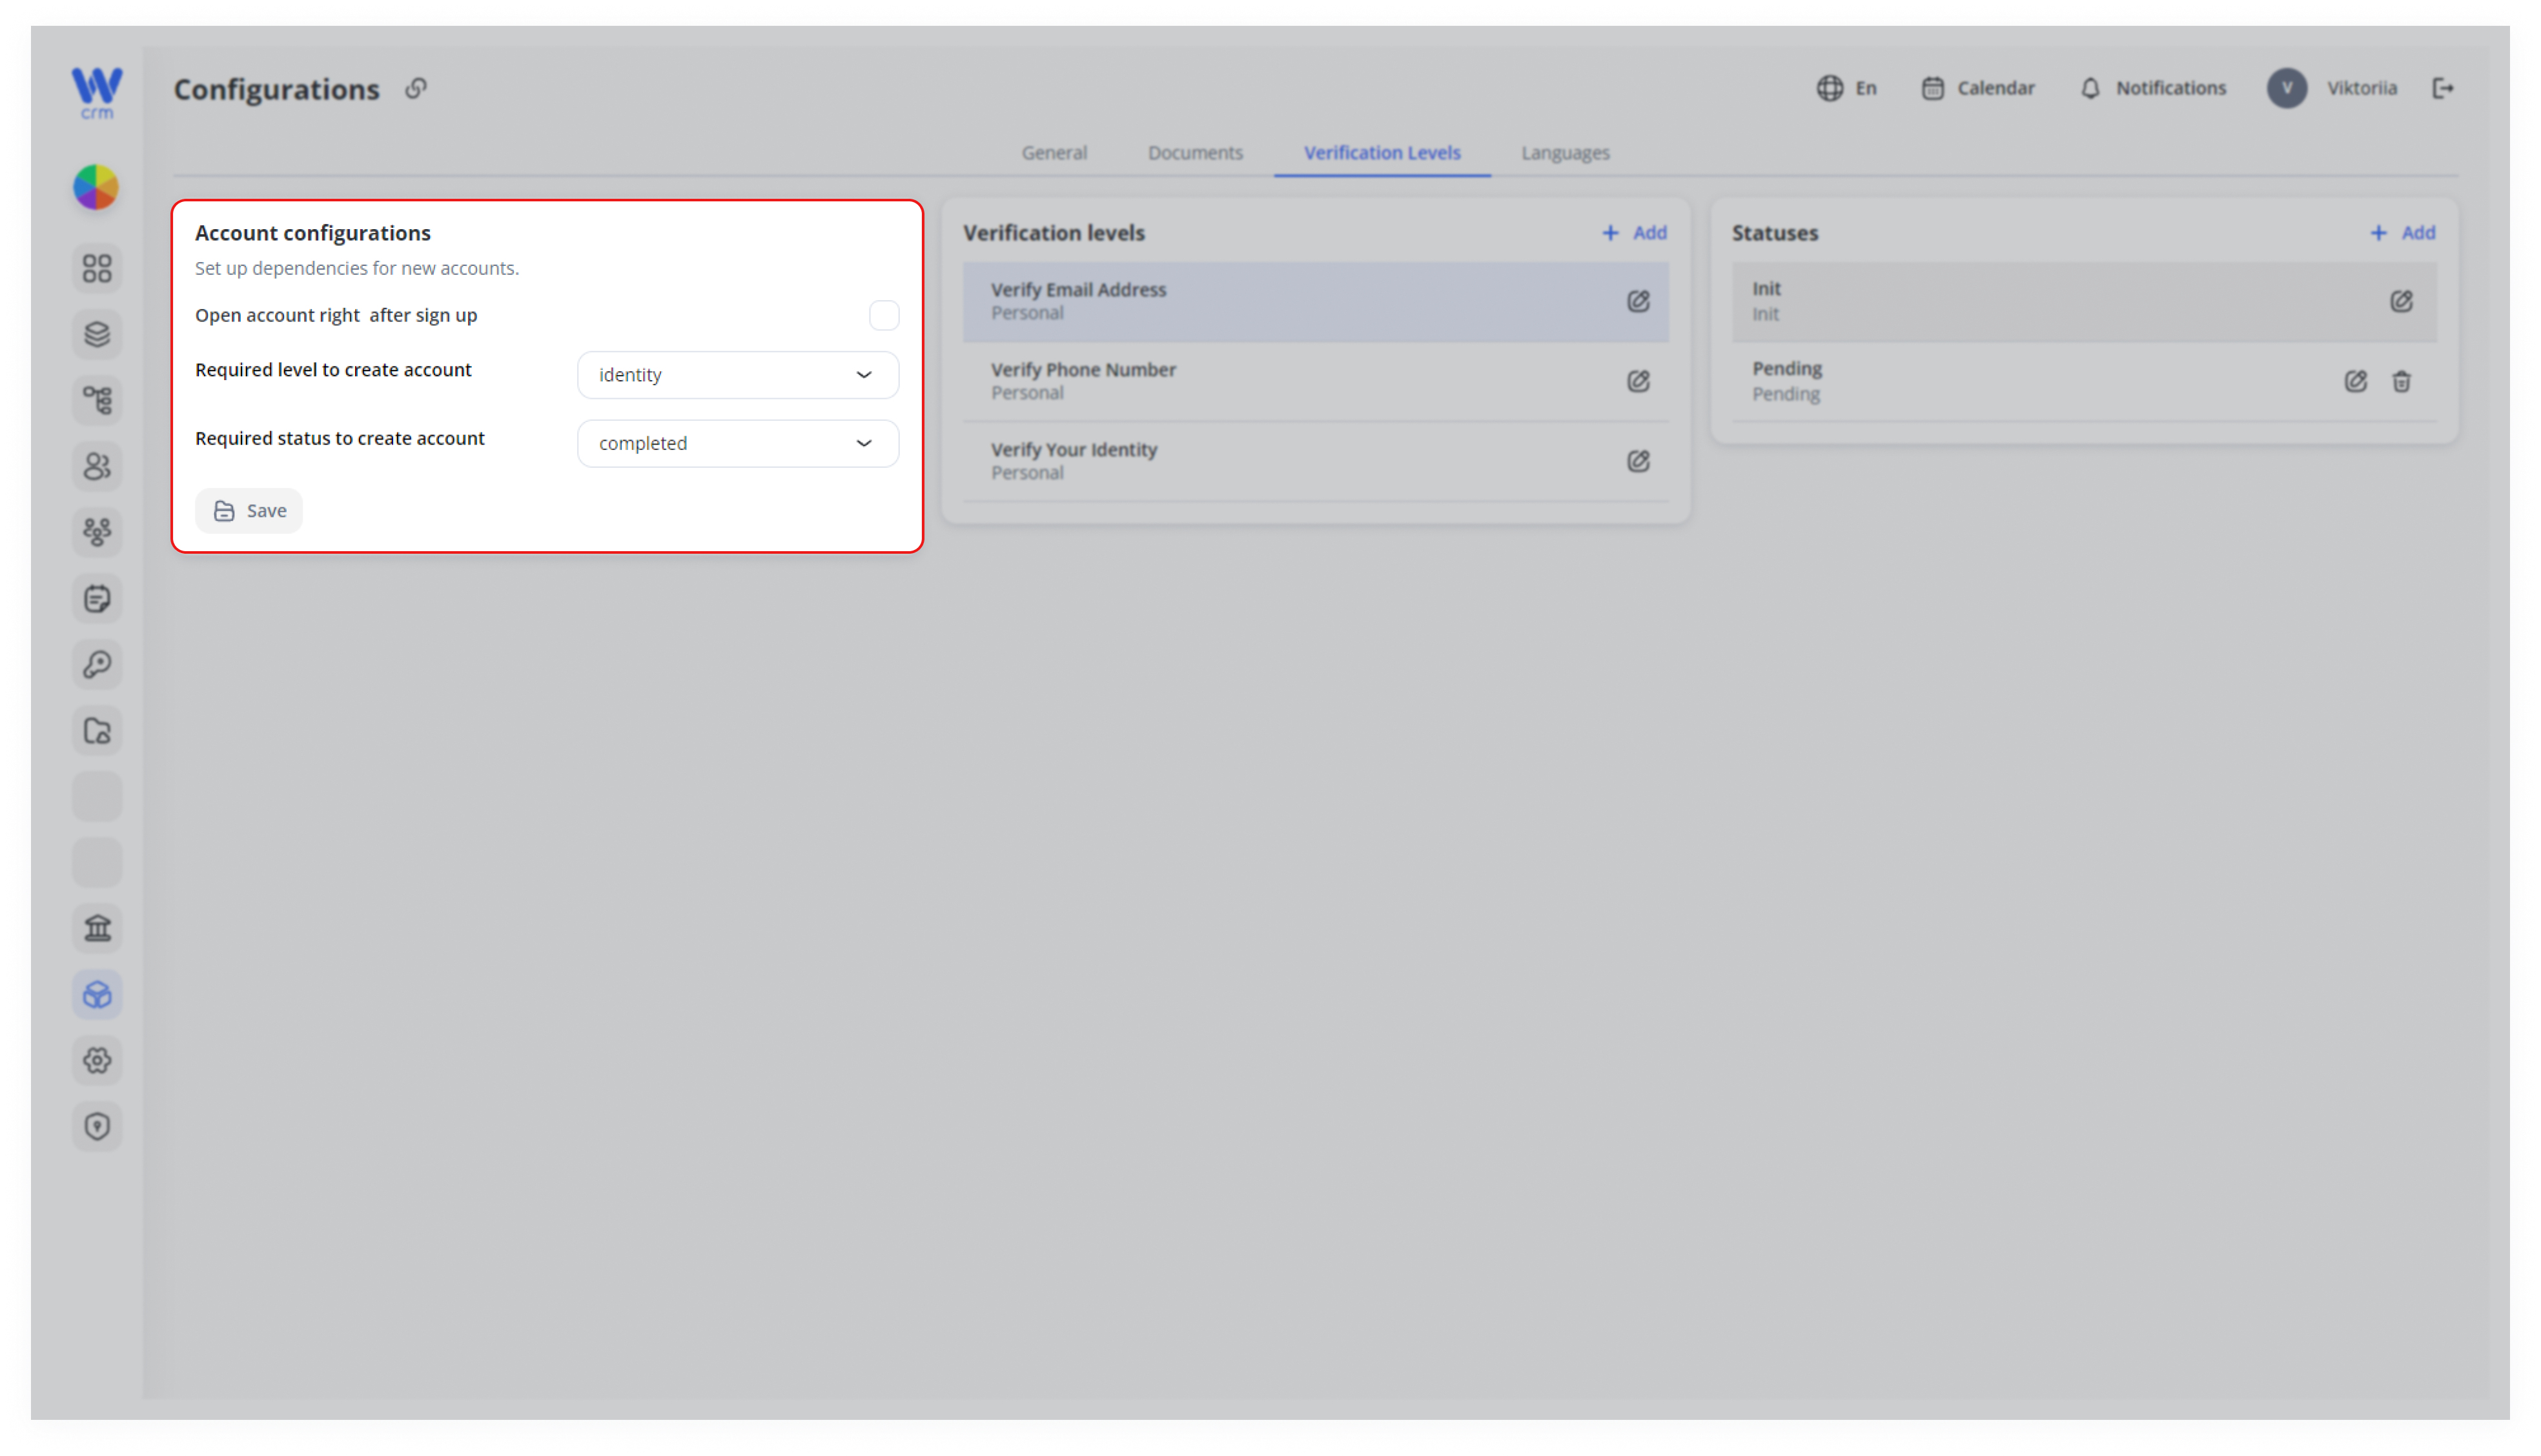
Account Configurations block:
-
-
Open account right after sign up: Check this if you want to open accounts automatically for new customers.
-
Required level to create account: Select a level from the drop-down list. Values are pulled from the Verification Levels section.
-
Required status to create account: Select a status from the drop-down list. Values are pulled from the Statuses section.
-
Click Save to apply changes.
To add a new verification level:
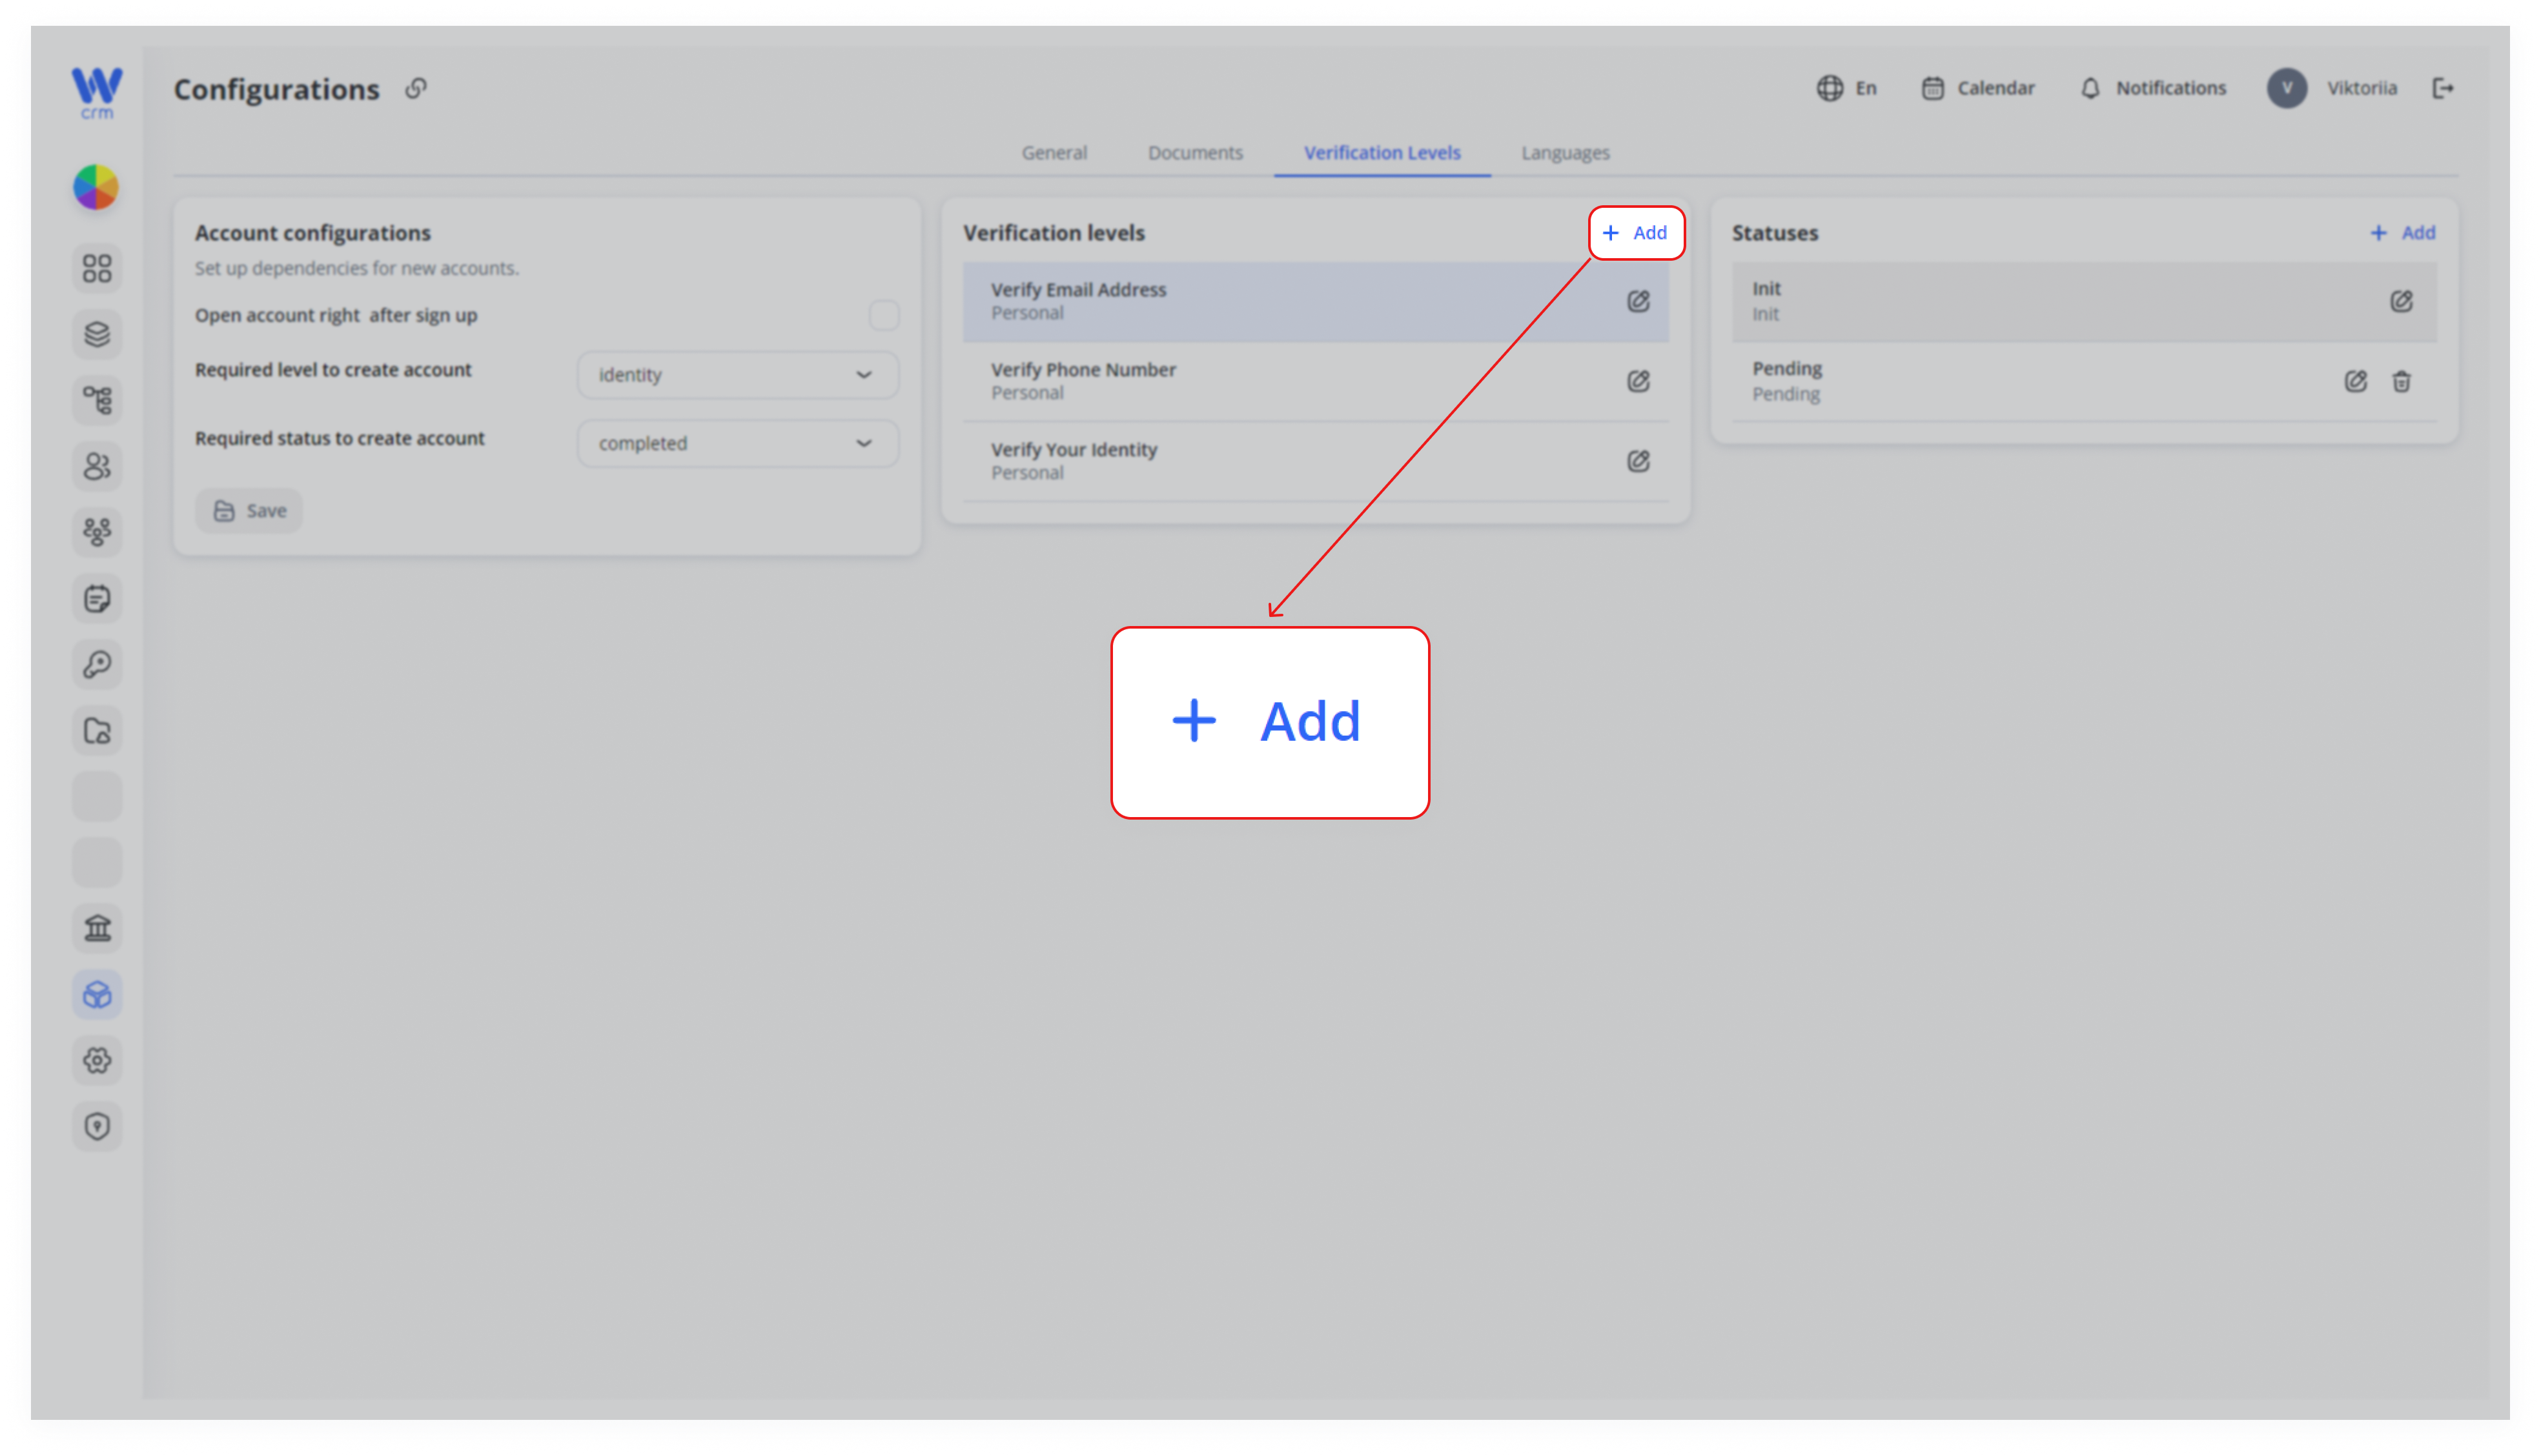
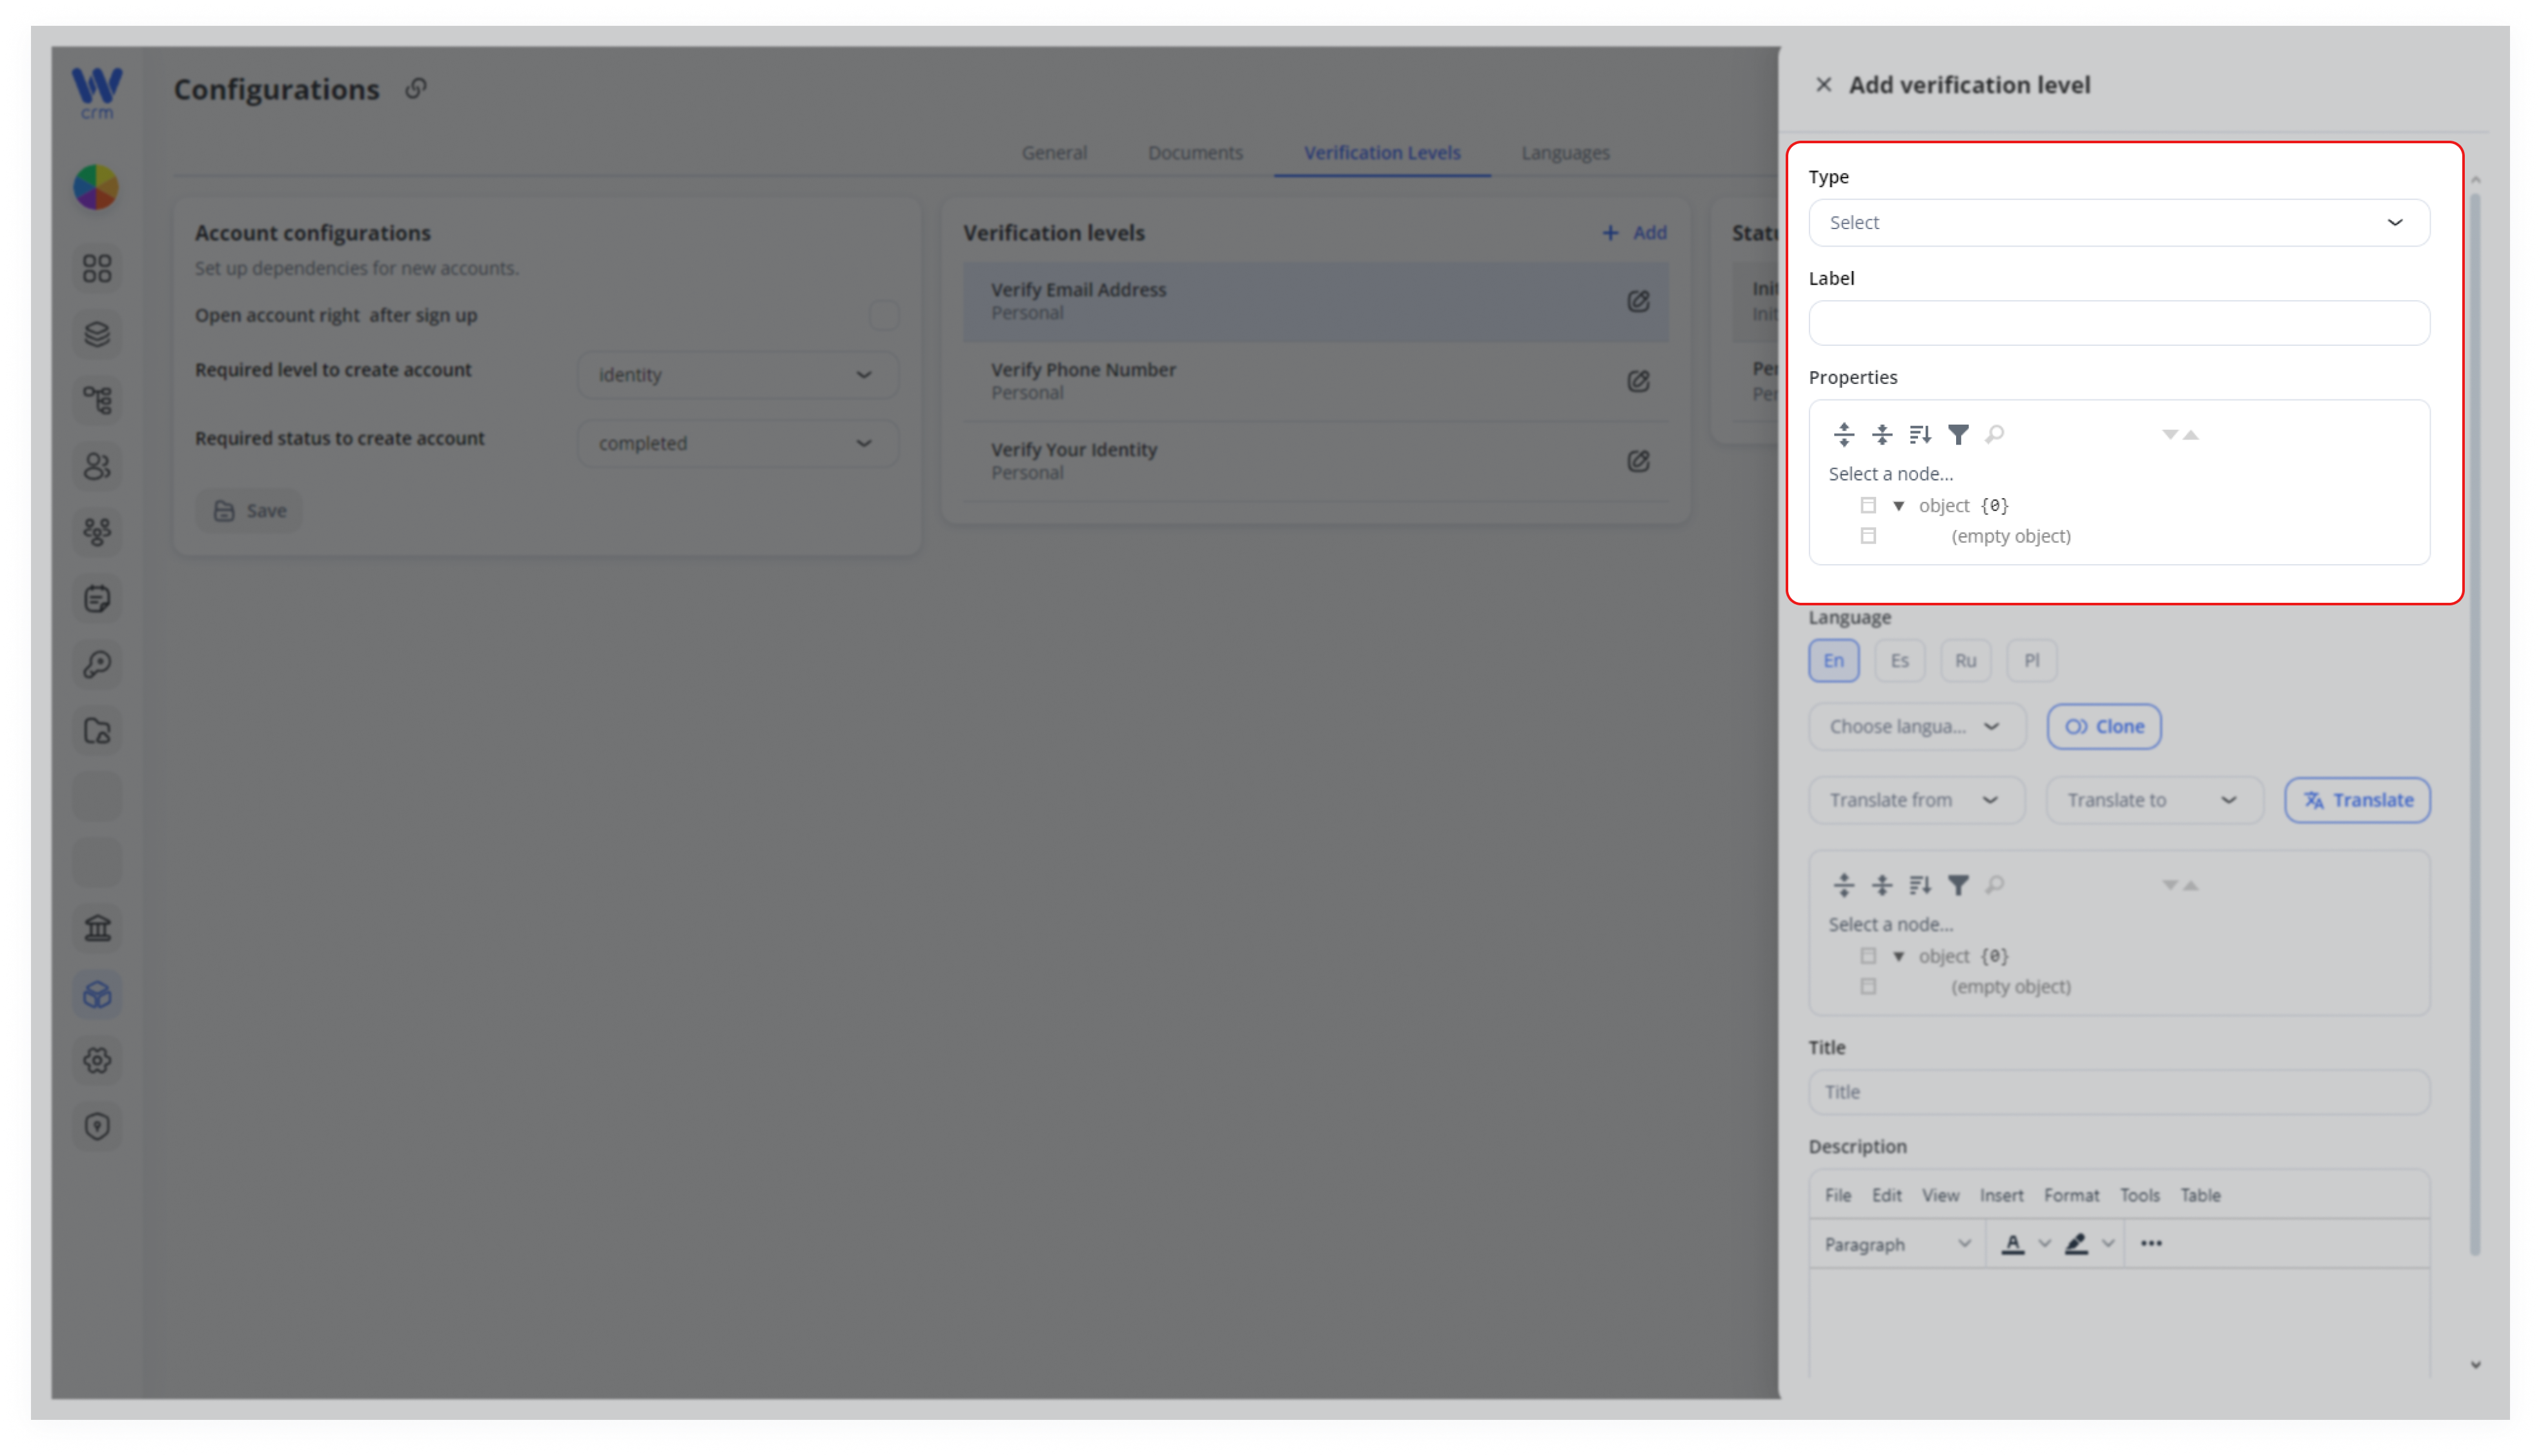
2. Select the Type: Personal or Business.
3. (Optional) Add custom fields in Properties.
4. Enter a unique Label for the level.
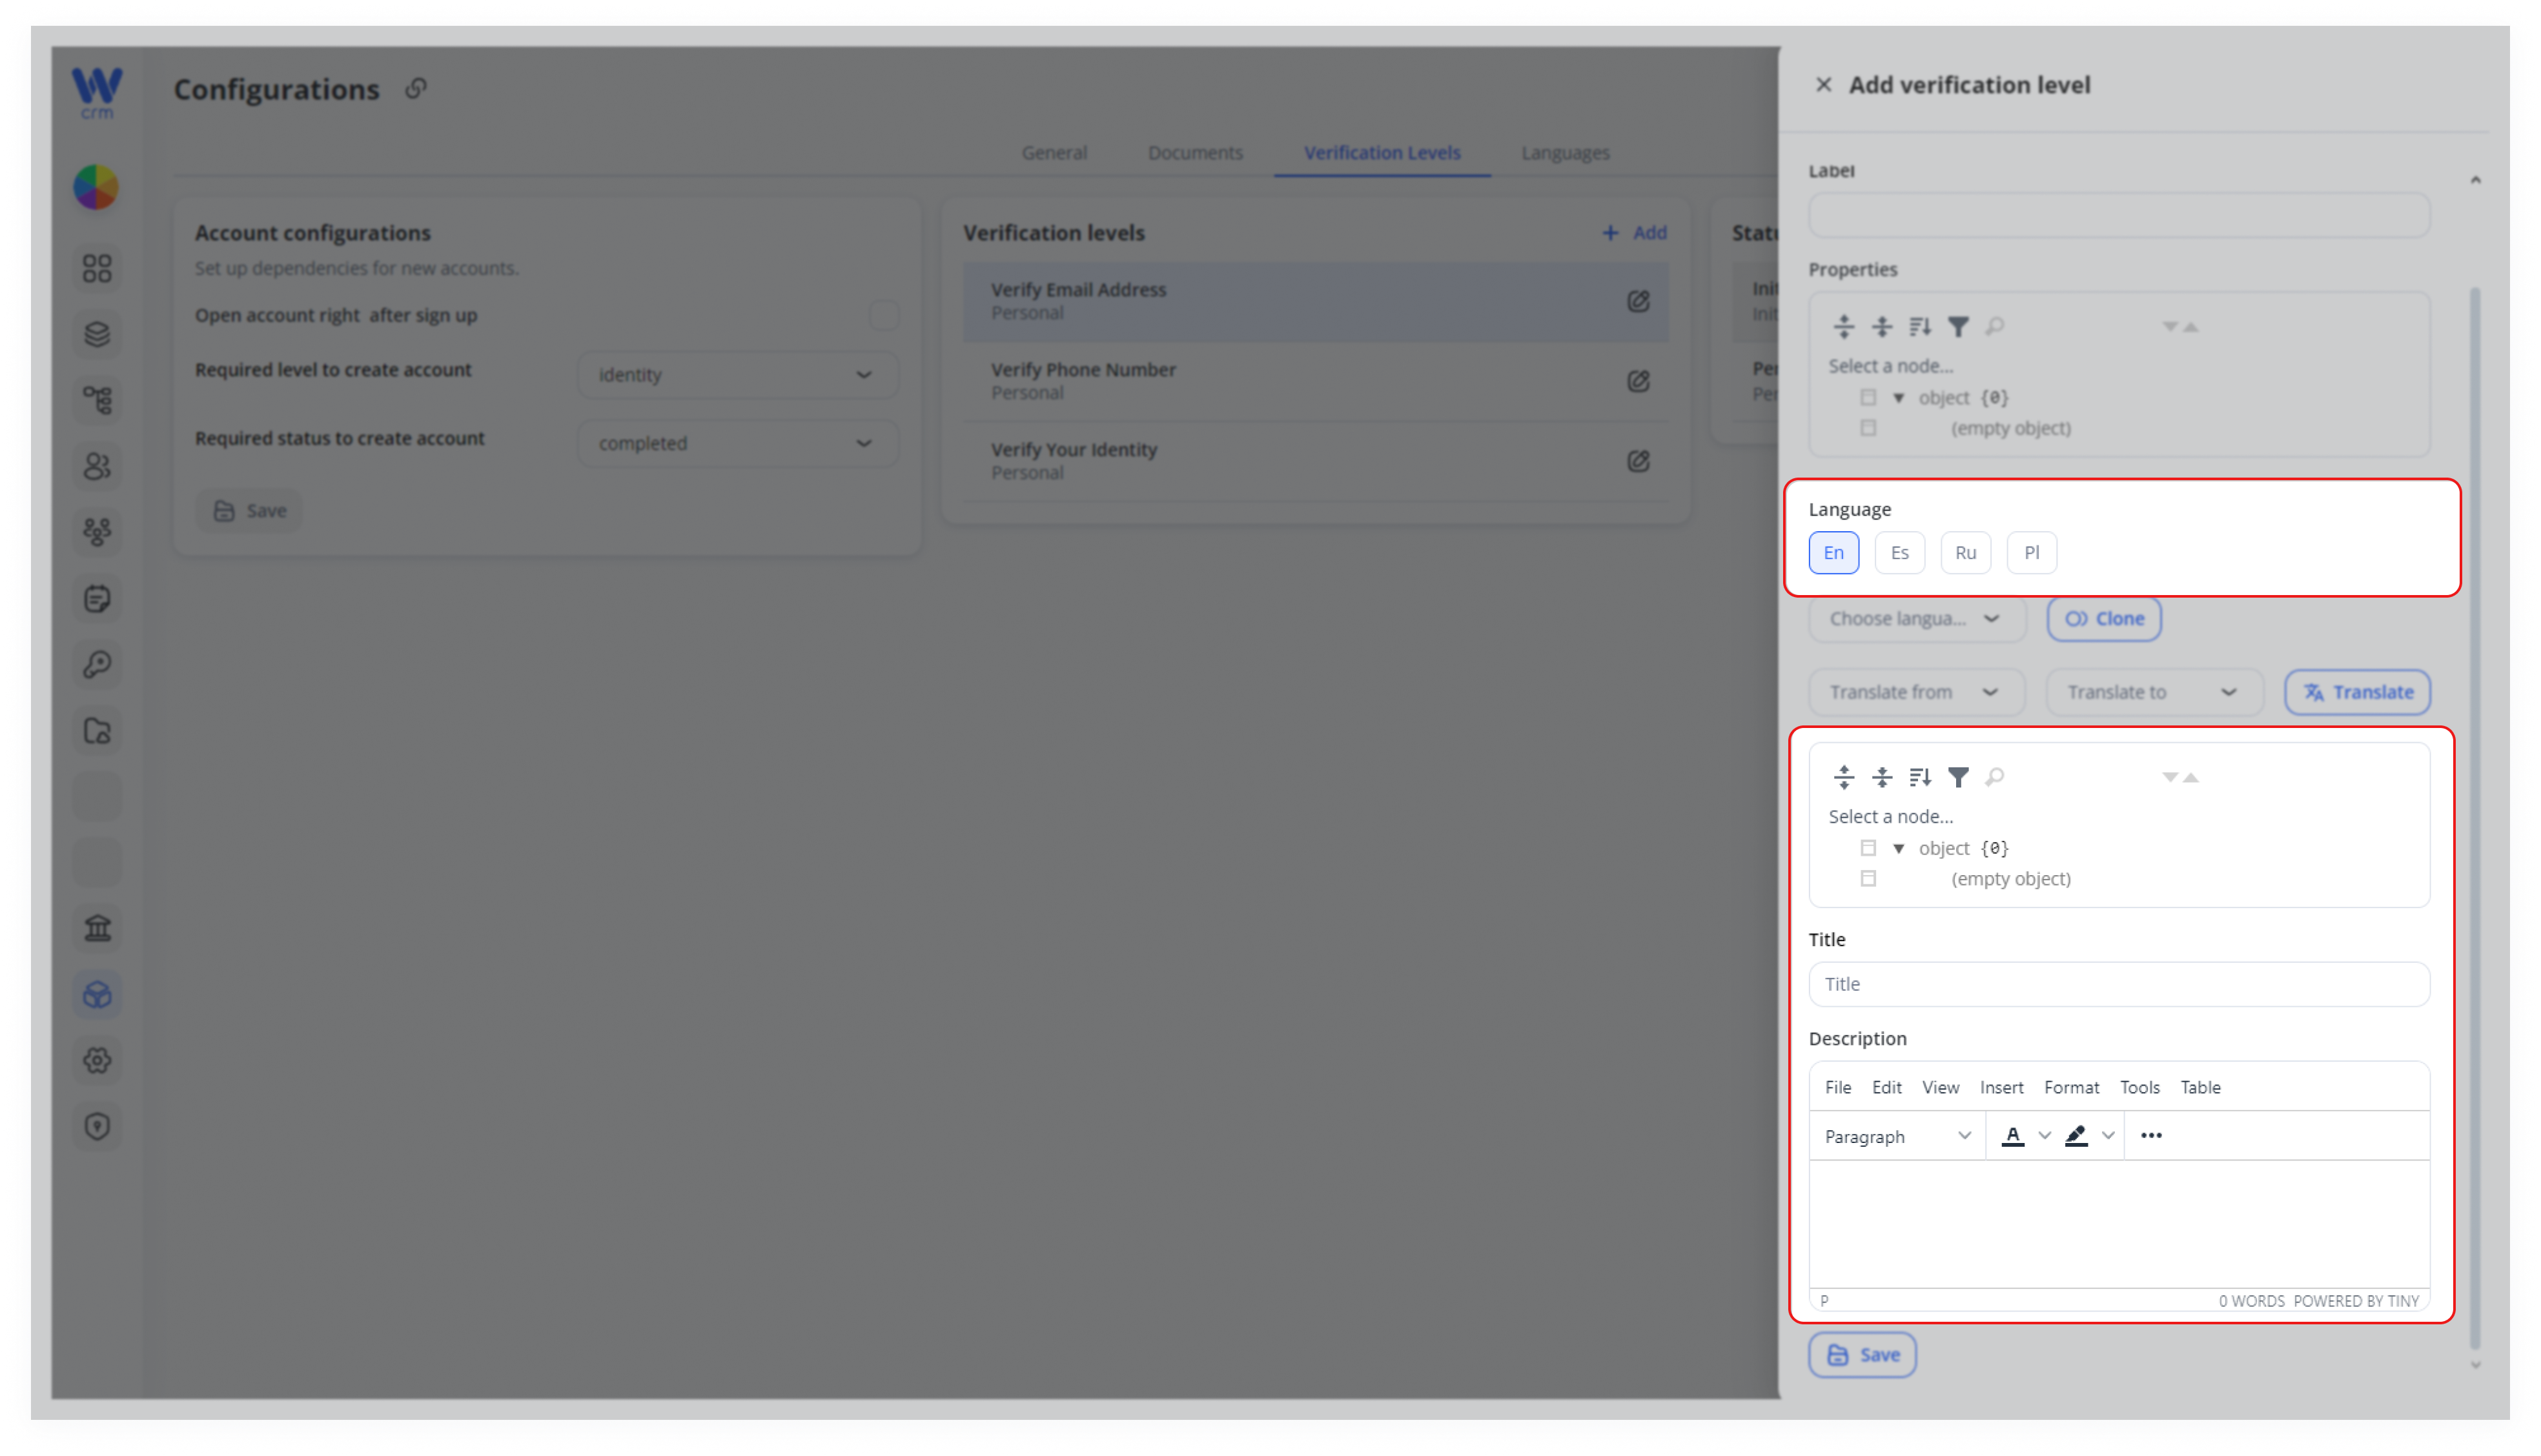
5. Then you can fill in custom fields, as well as Title and Description in different languages:
5.1. In the Language field, select the target language.
5.2. Provide custom fields in that language. Enter Title and Description.
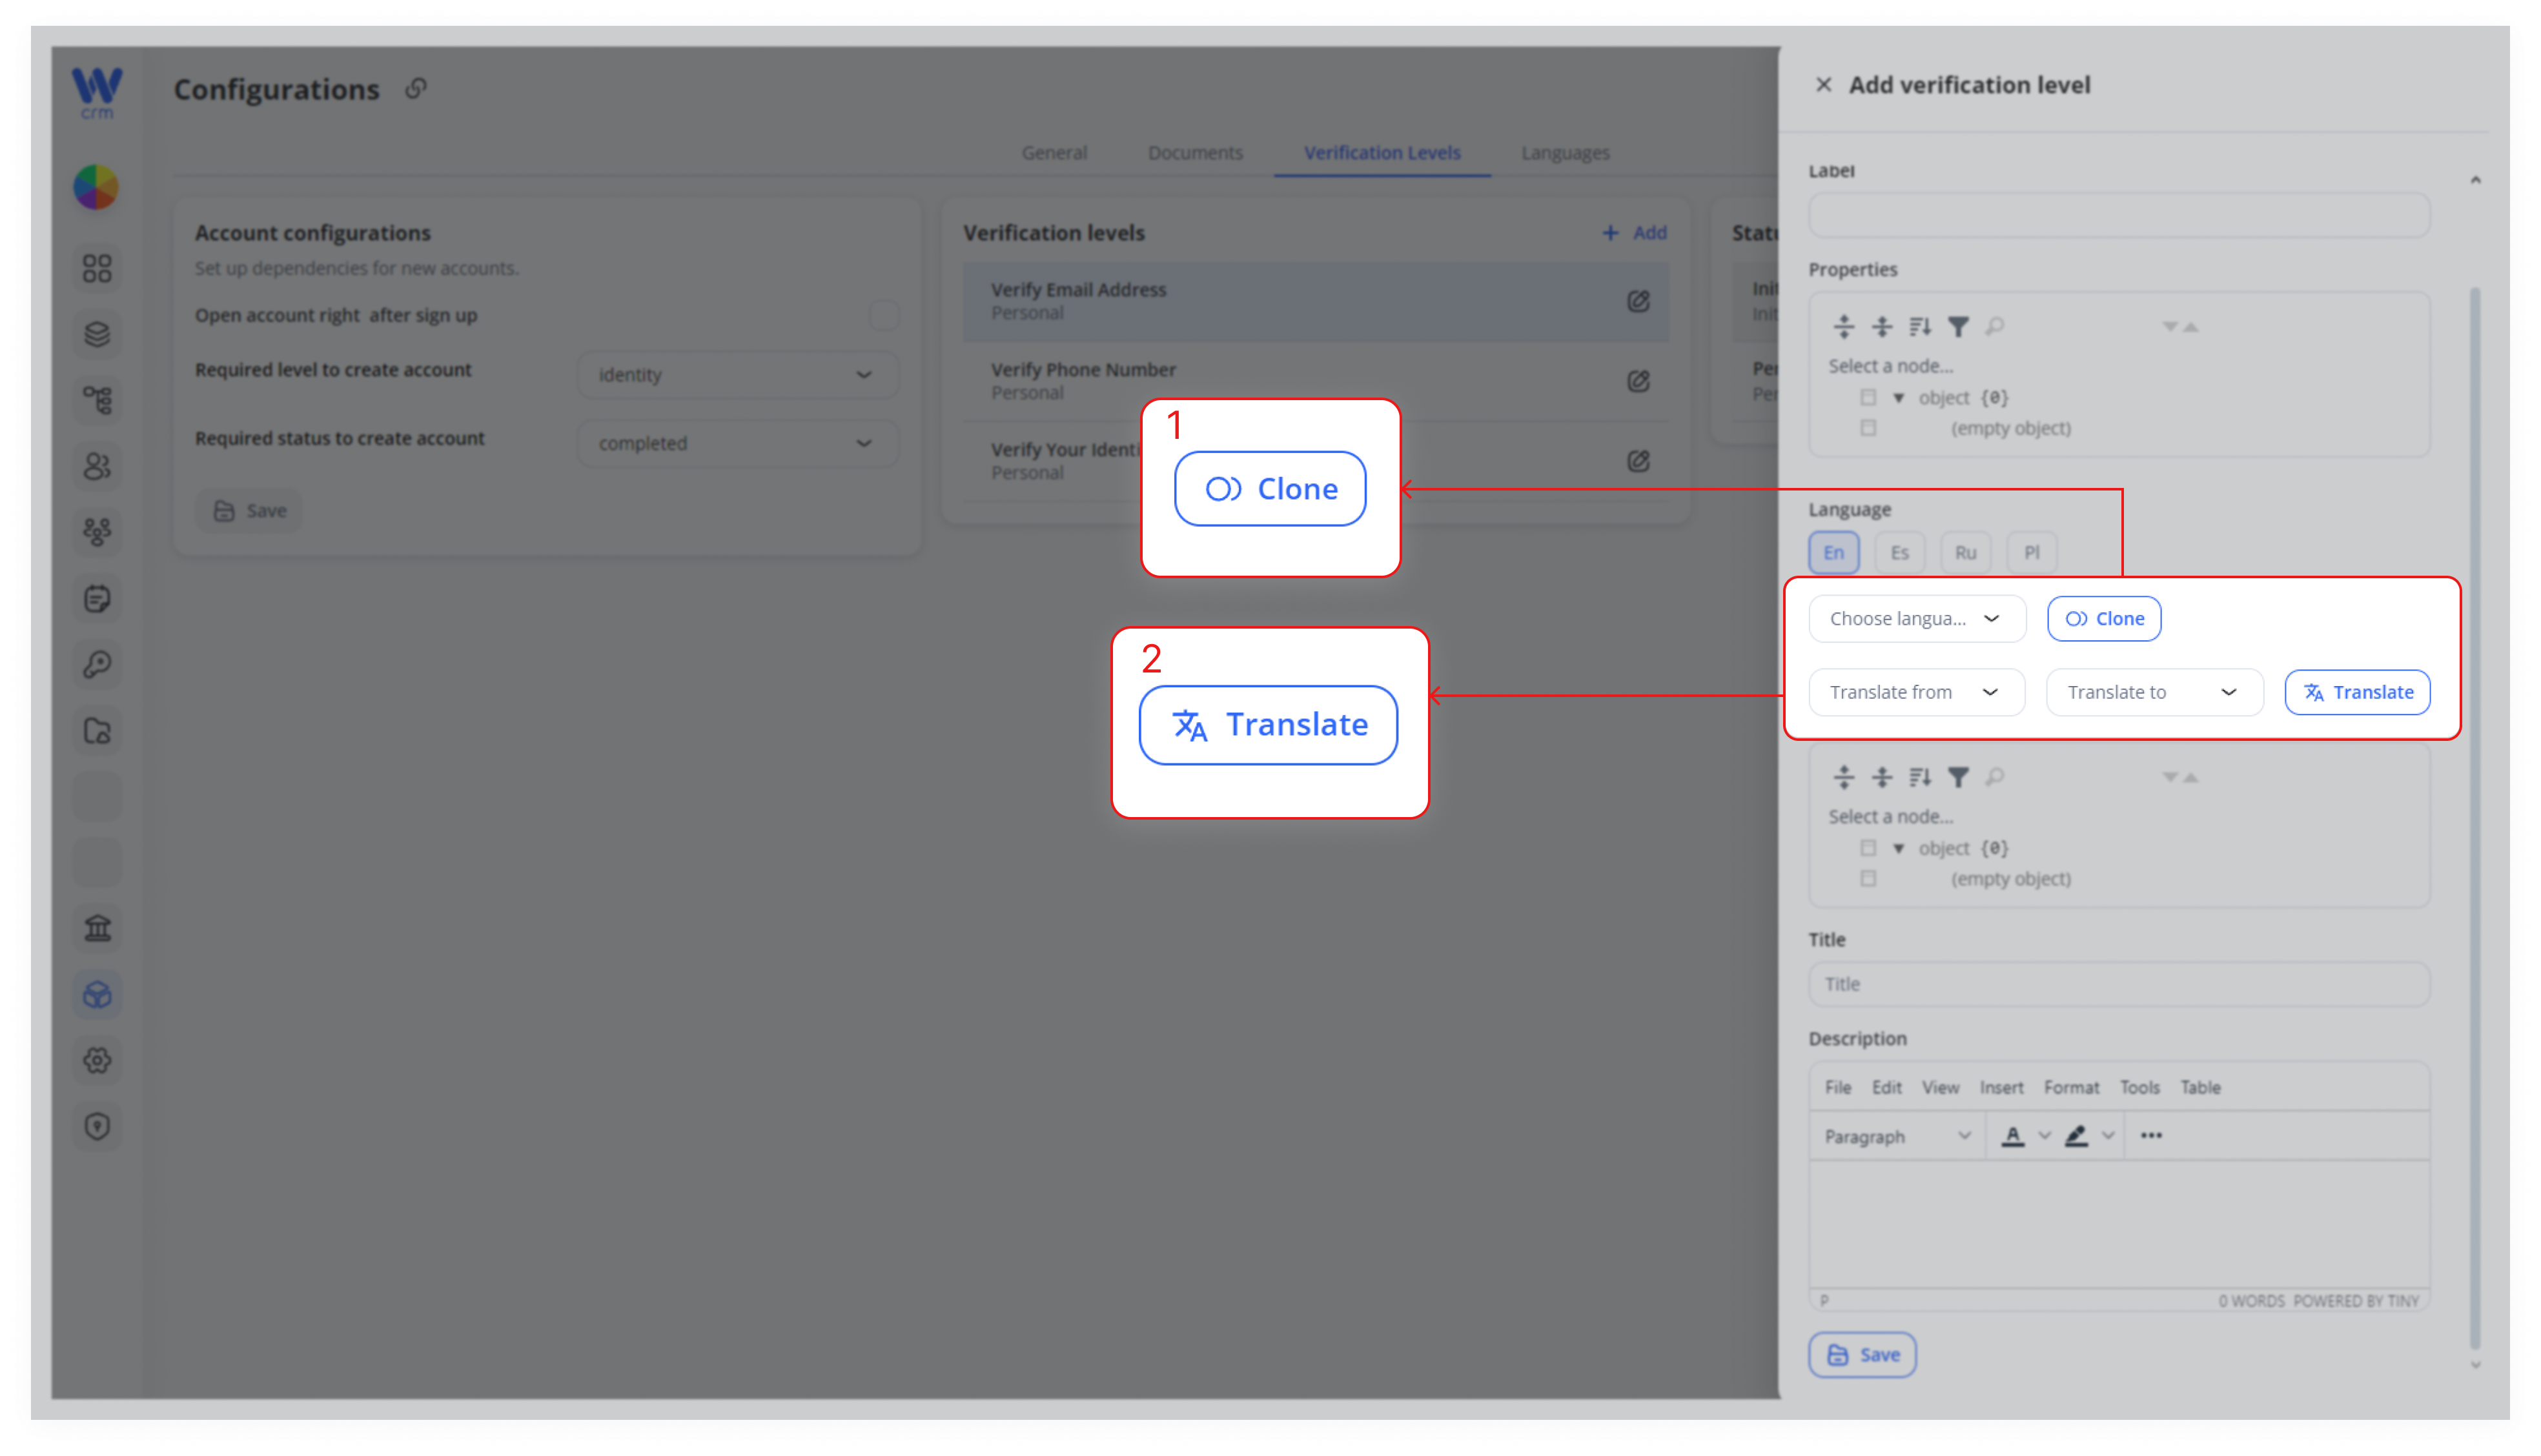
6. To add the same level in a different language:
6.1. In the Language field, select the target language.
6.2. To copy fields from the original language, choose the language from the drop-down list and click Clone.
6.3. Enter new values or use automatic translation with AI by choosing the languages From and To and clicking Translate.
7. Click Save to add the new verification level.
To edit verification levels, click the Edit icon, but note that Type and Label cannot be changed.
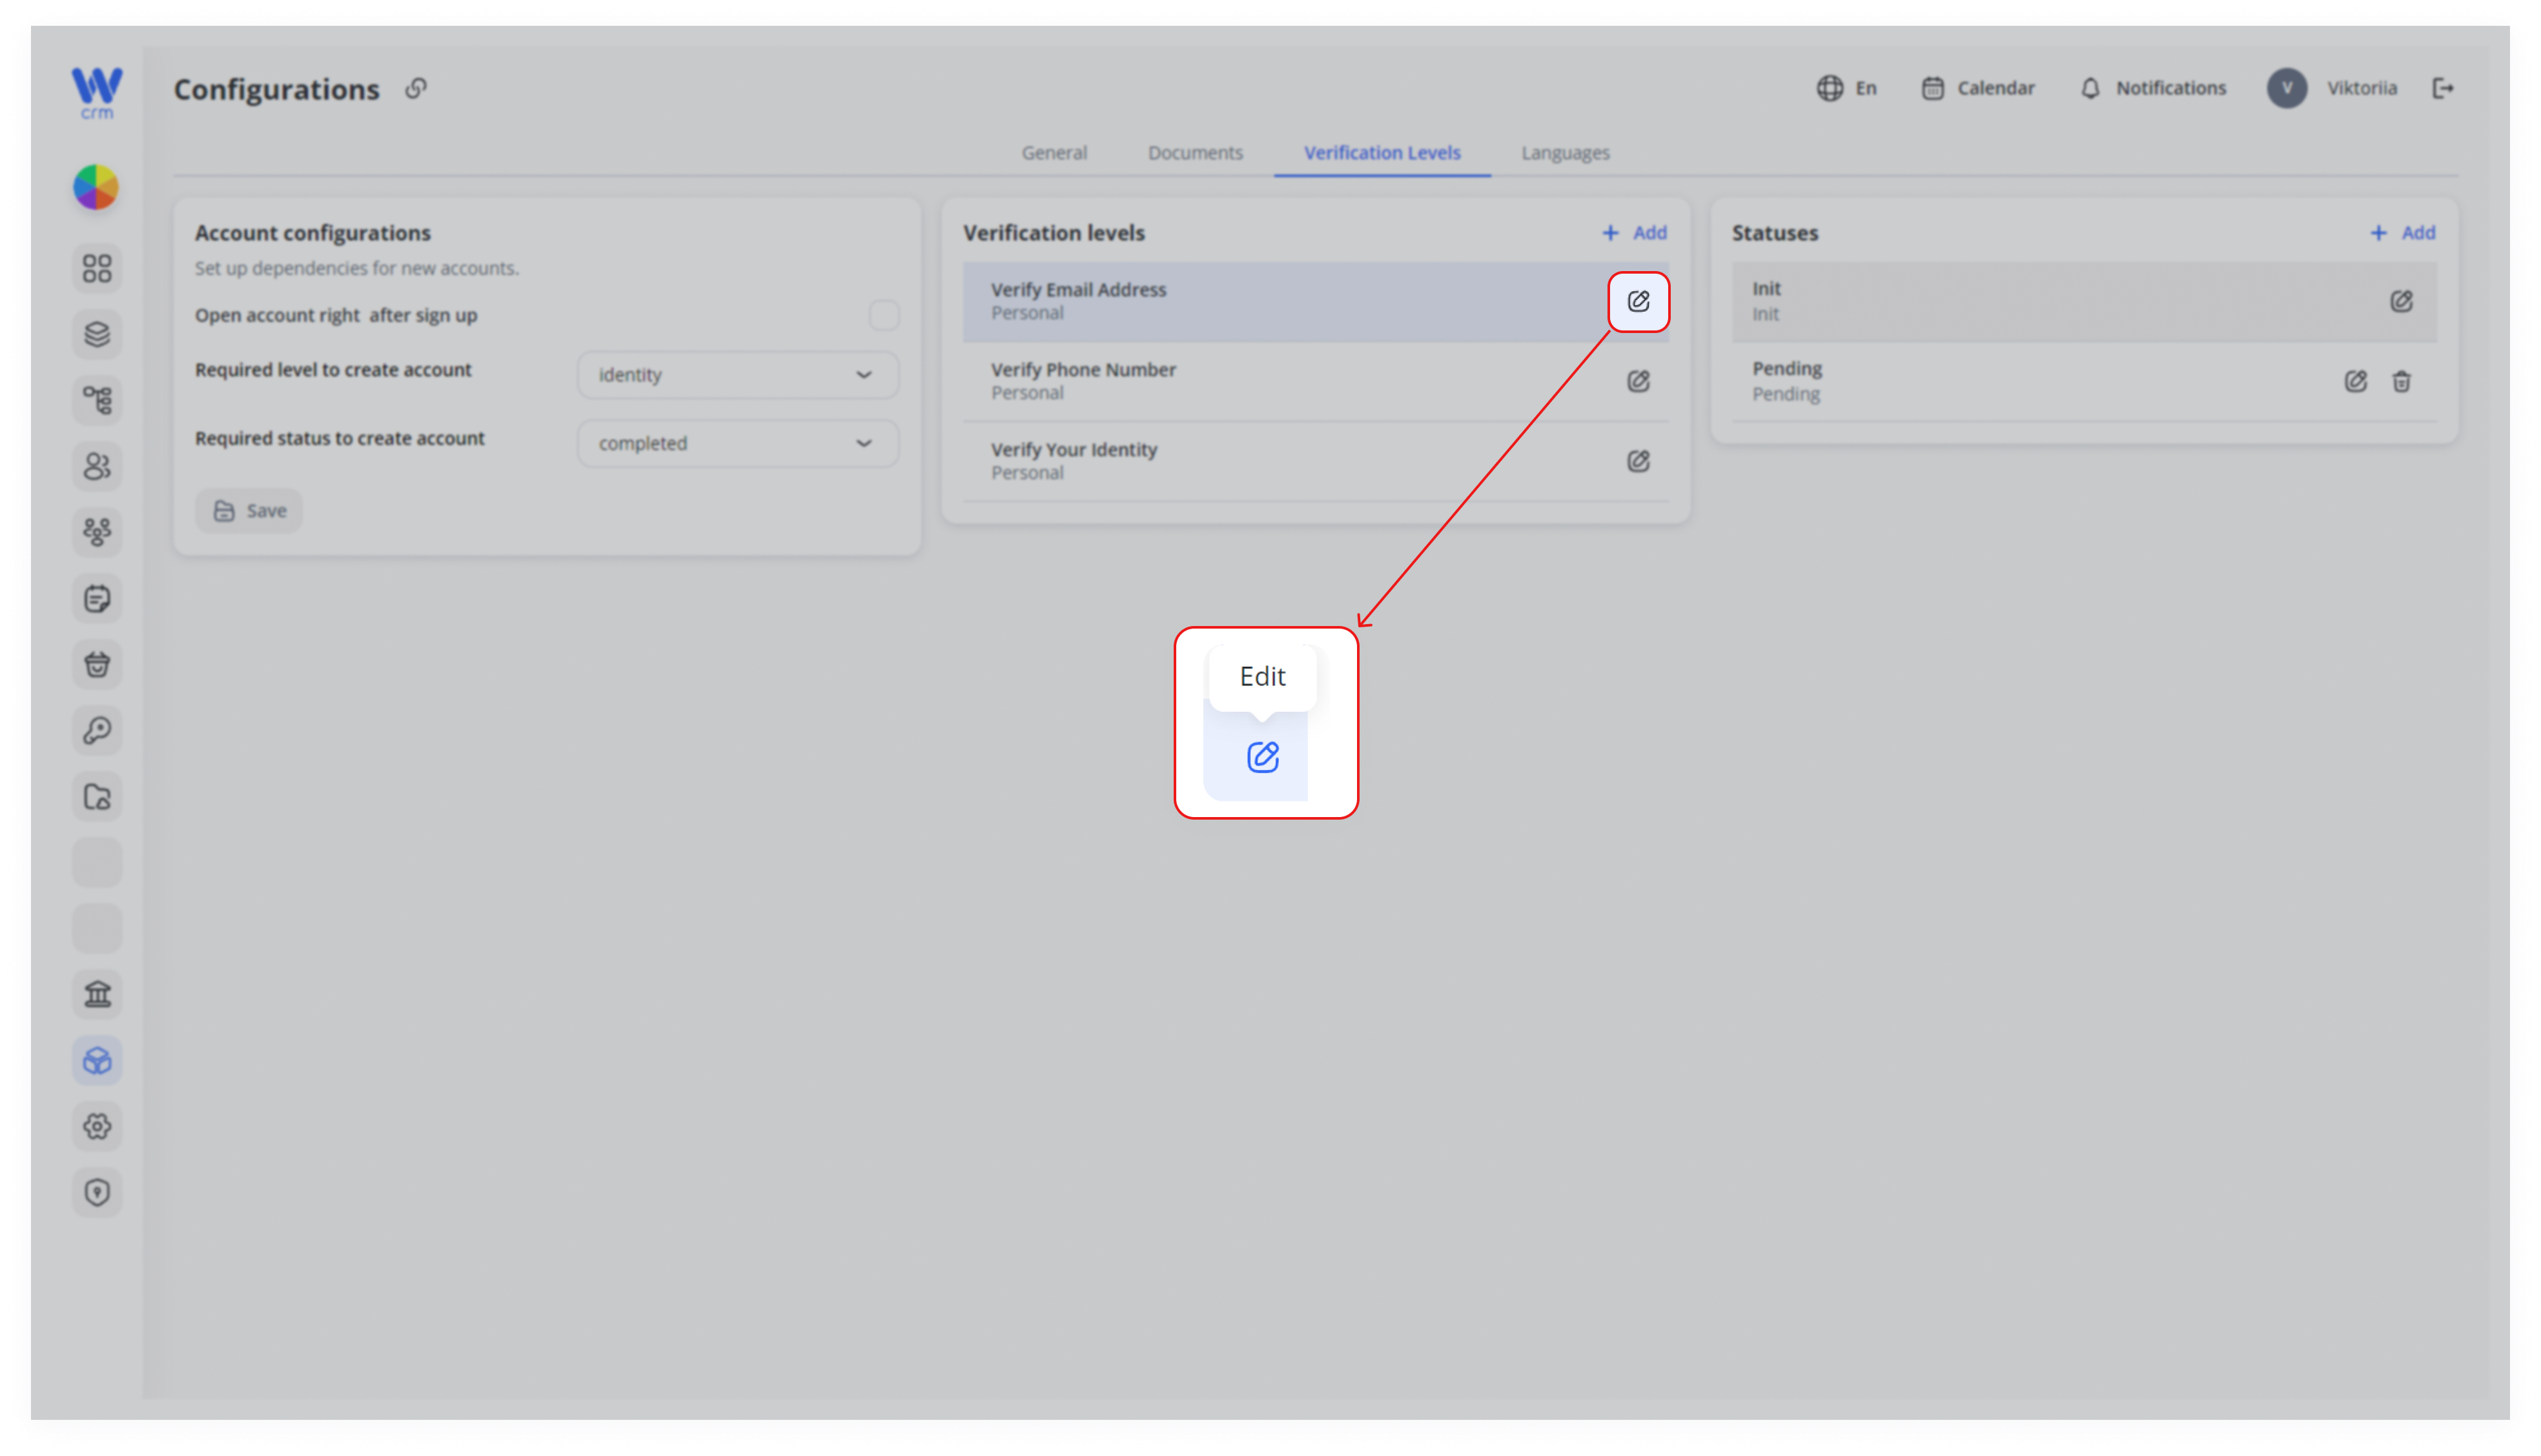
In the Status block, there is one default status, Init.
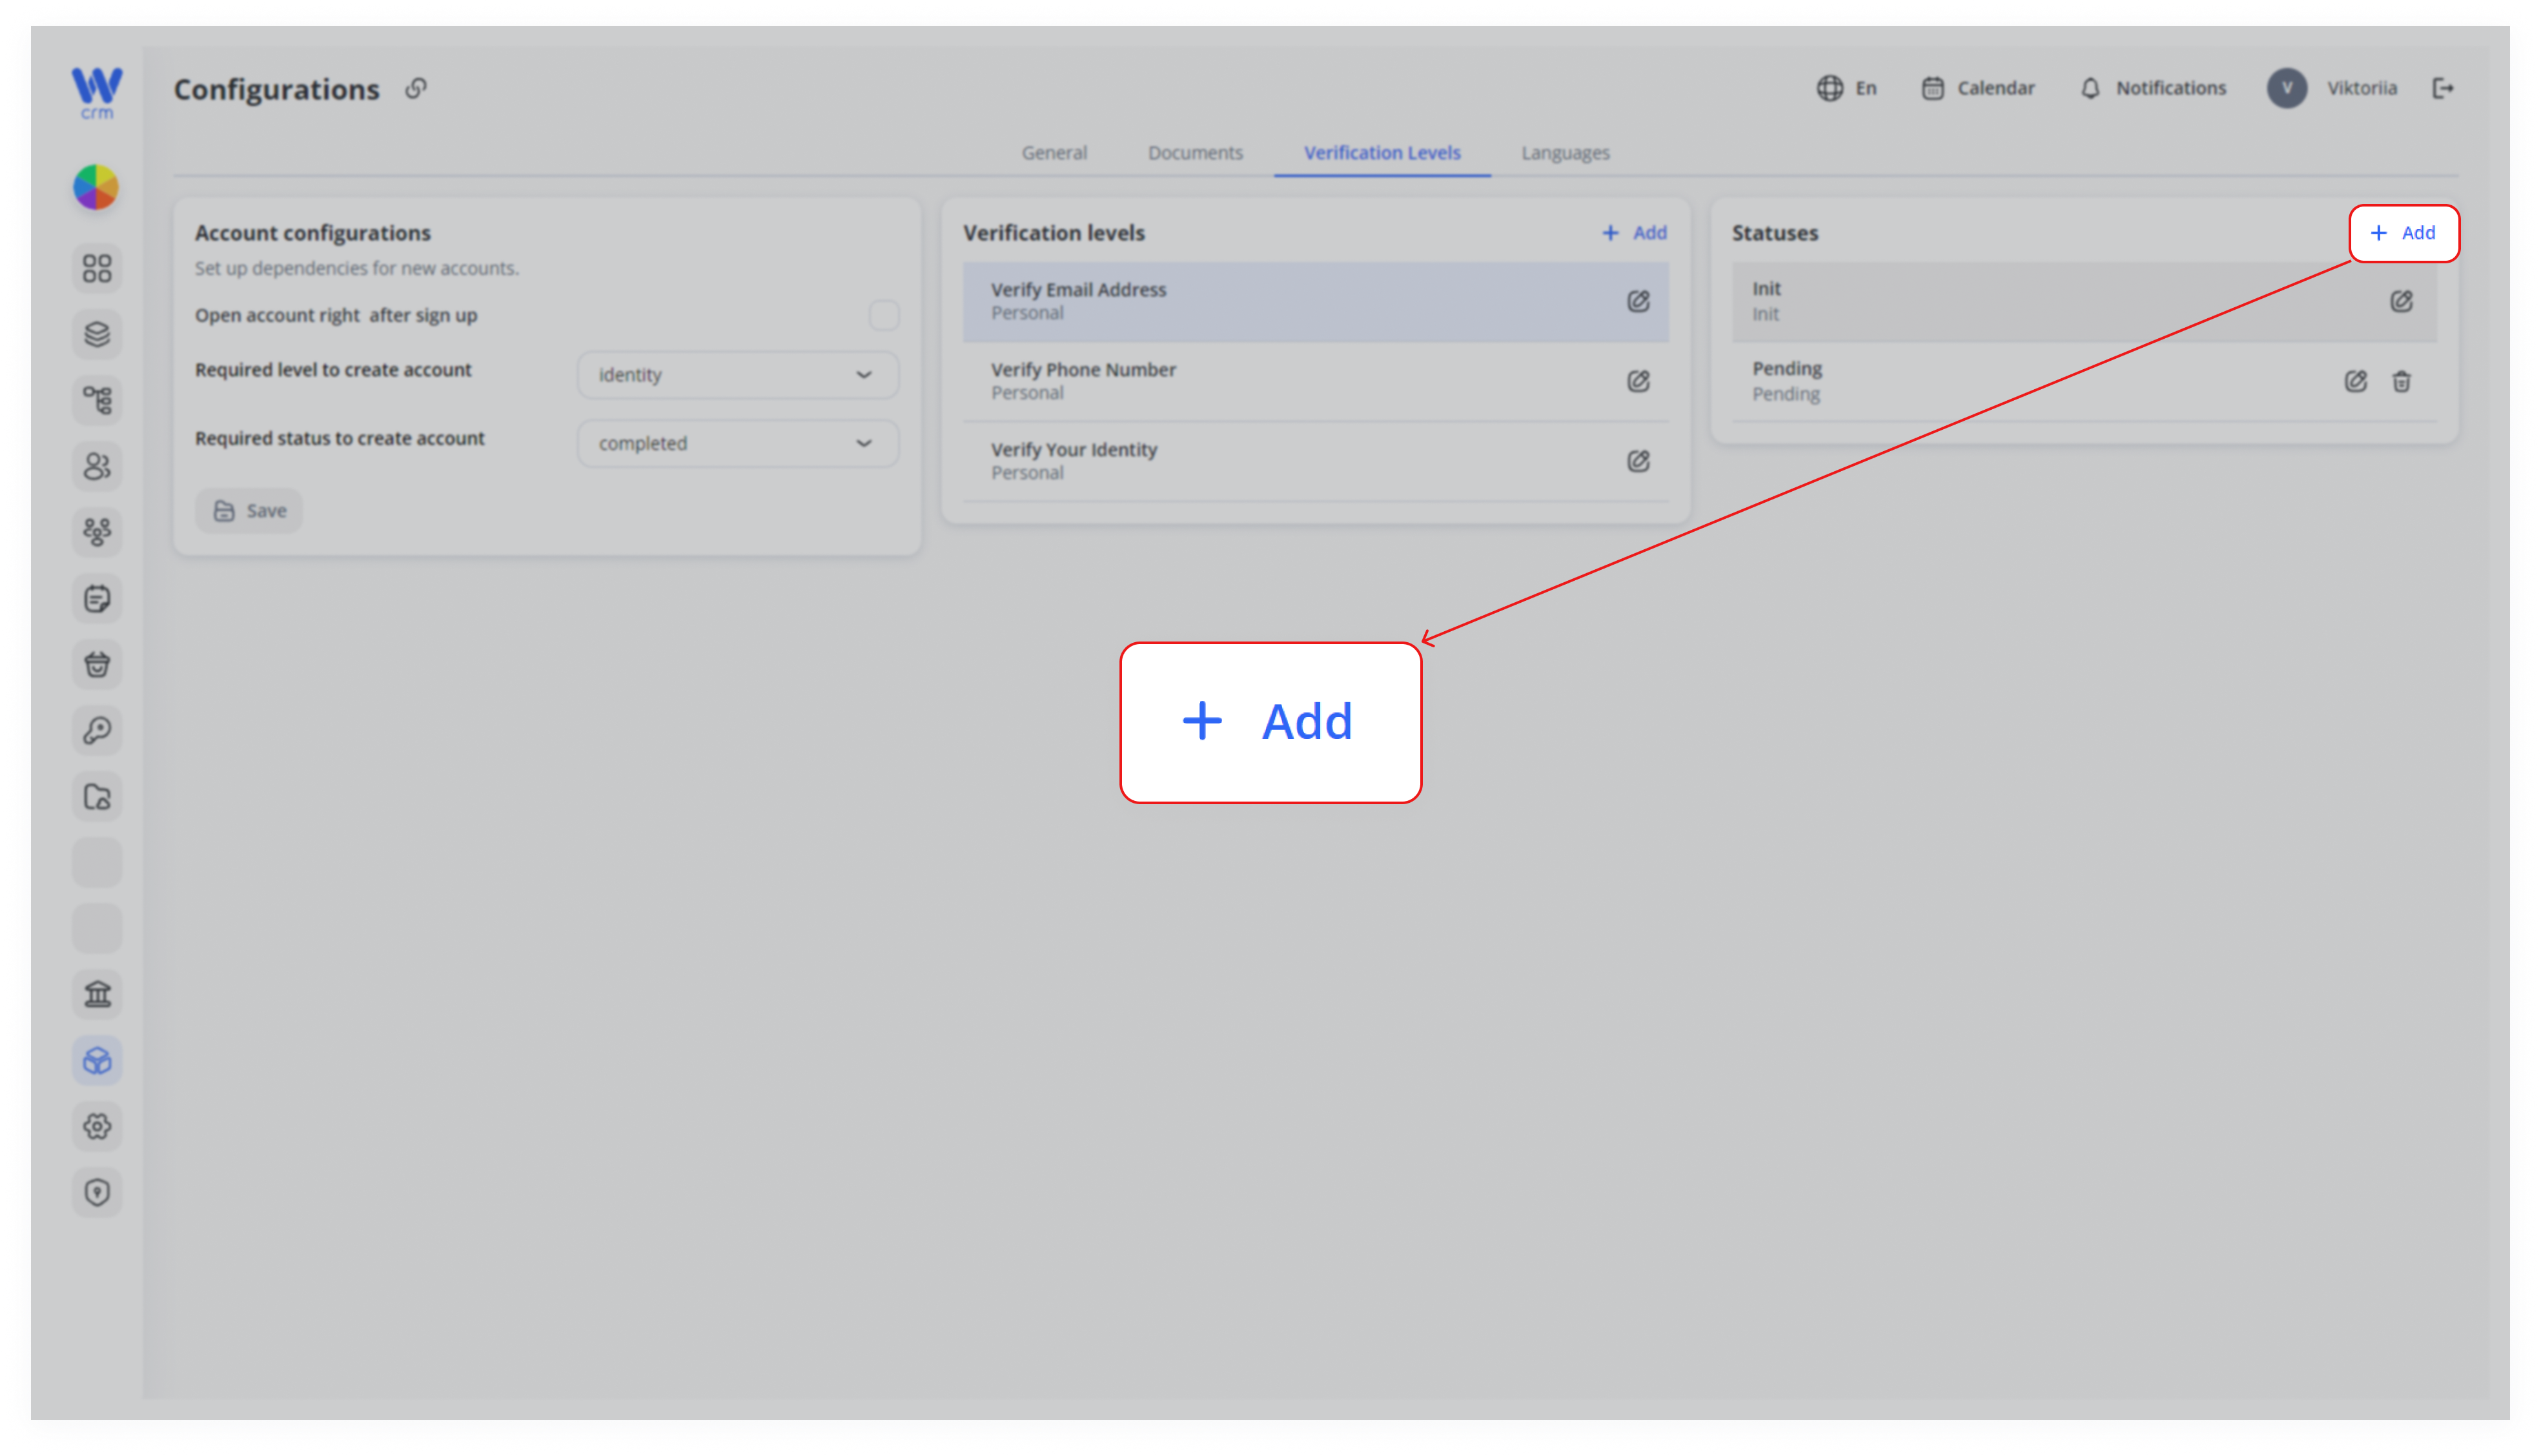
To add a new status:
2. Enter Label, Text, and any necessary Properties.
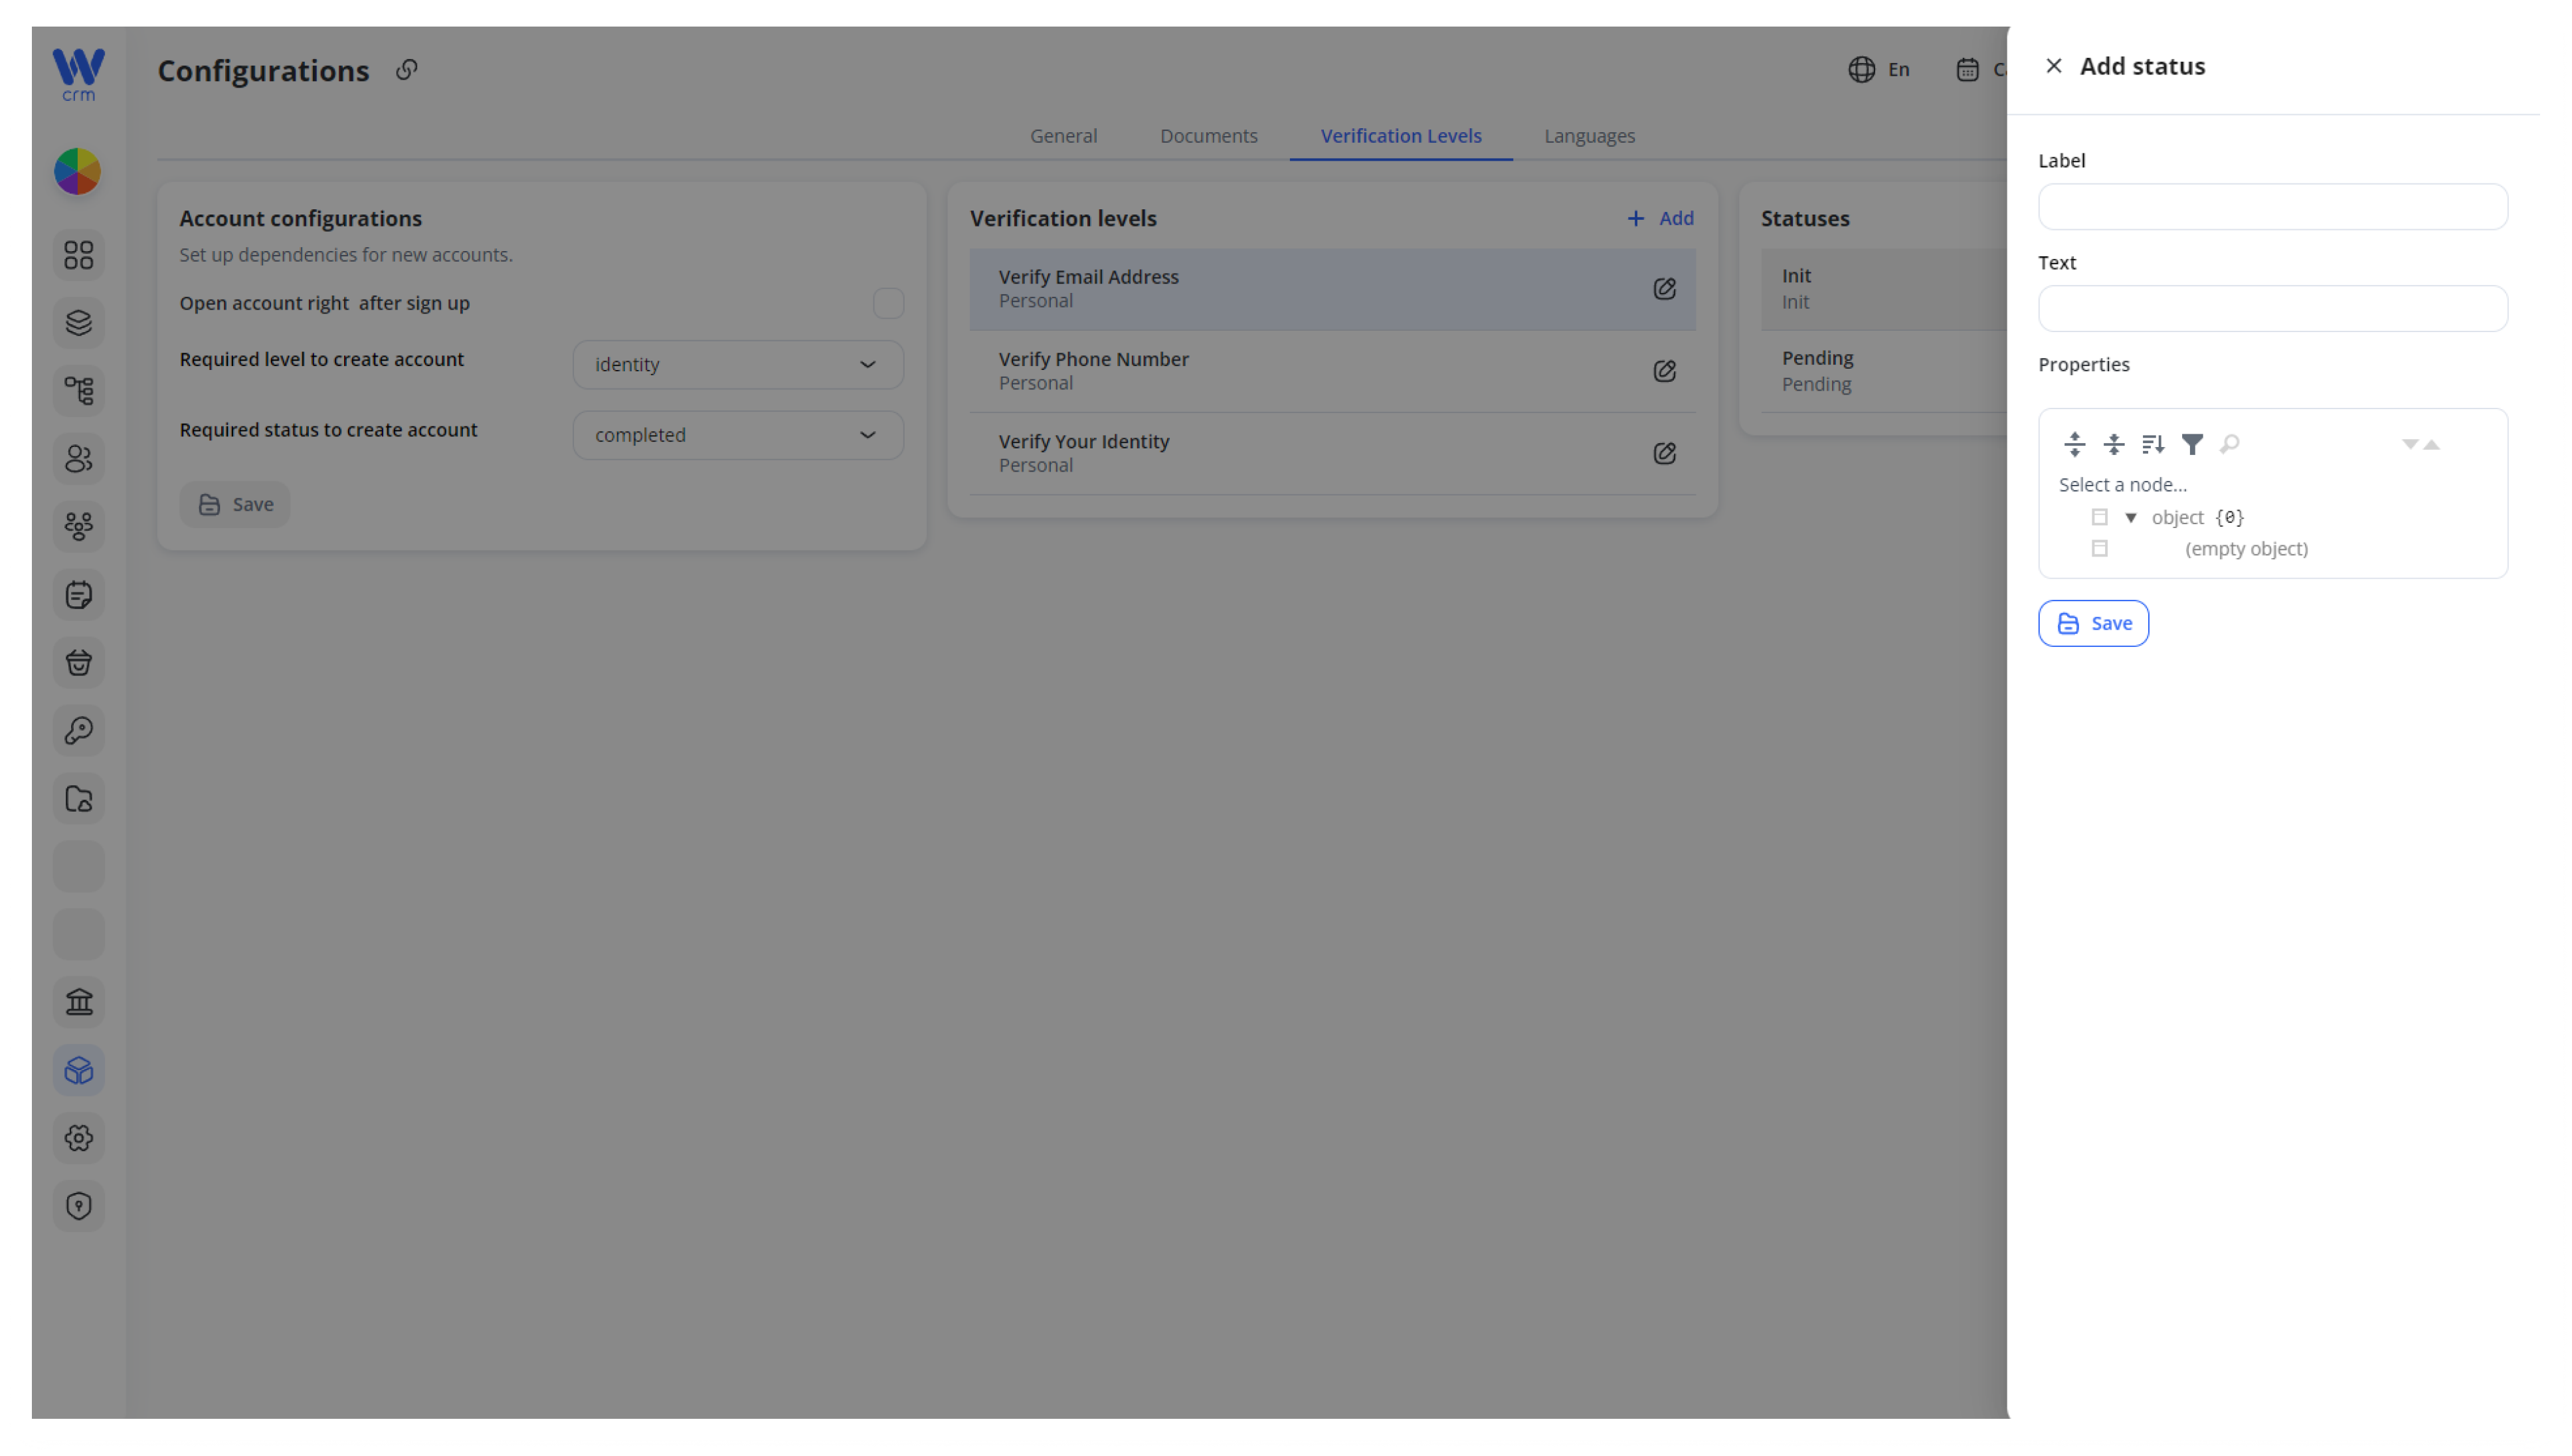
3. Click Save to add the new status.
To edit a status:
-
-
Click the Edit icon in the corresponding row.
-
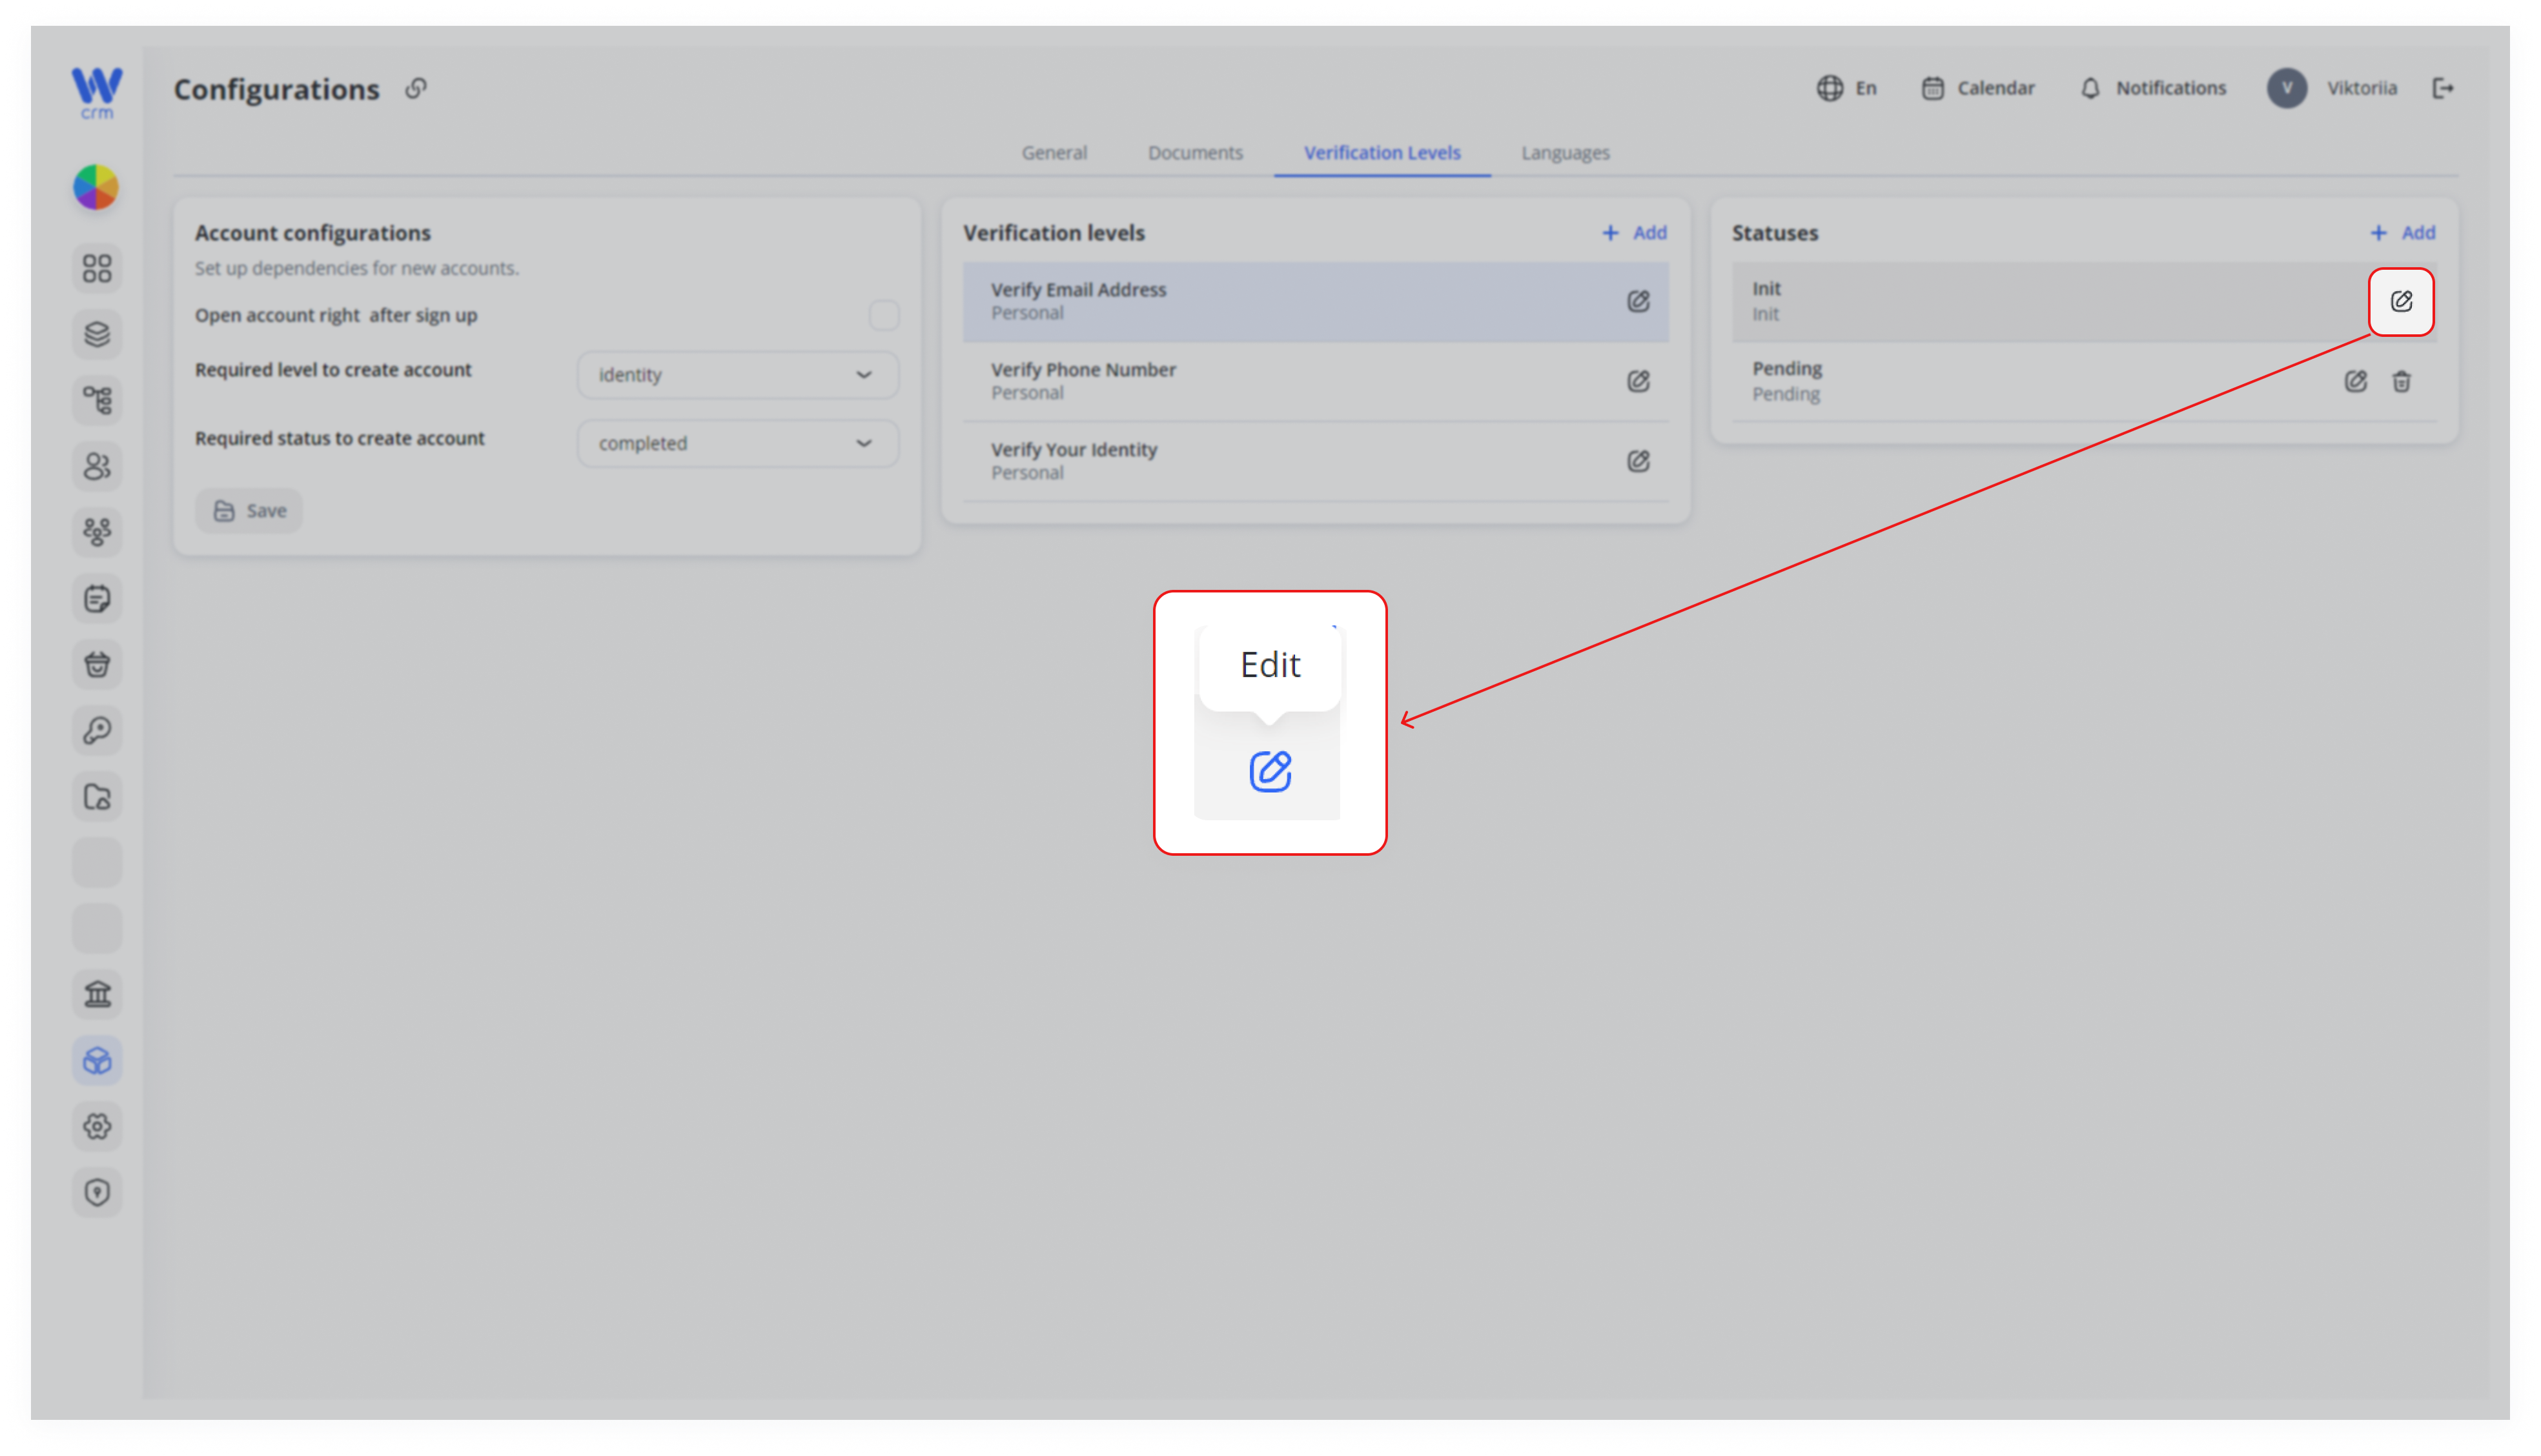
2. You can change Text, but not Label of the status.
To delete a status:
-
Click the Delete icon in the corresponding row.
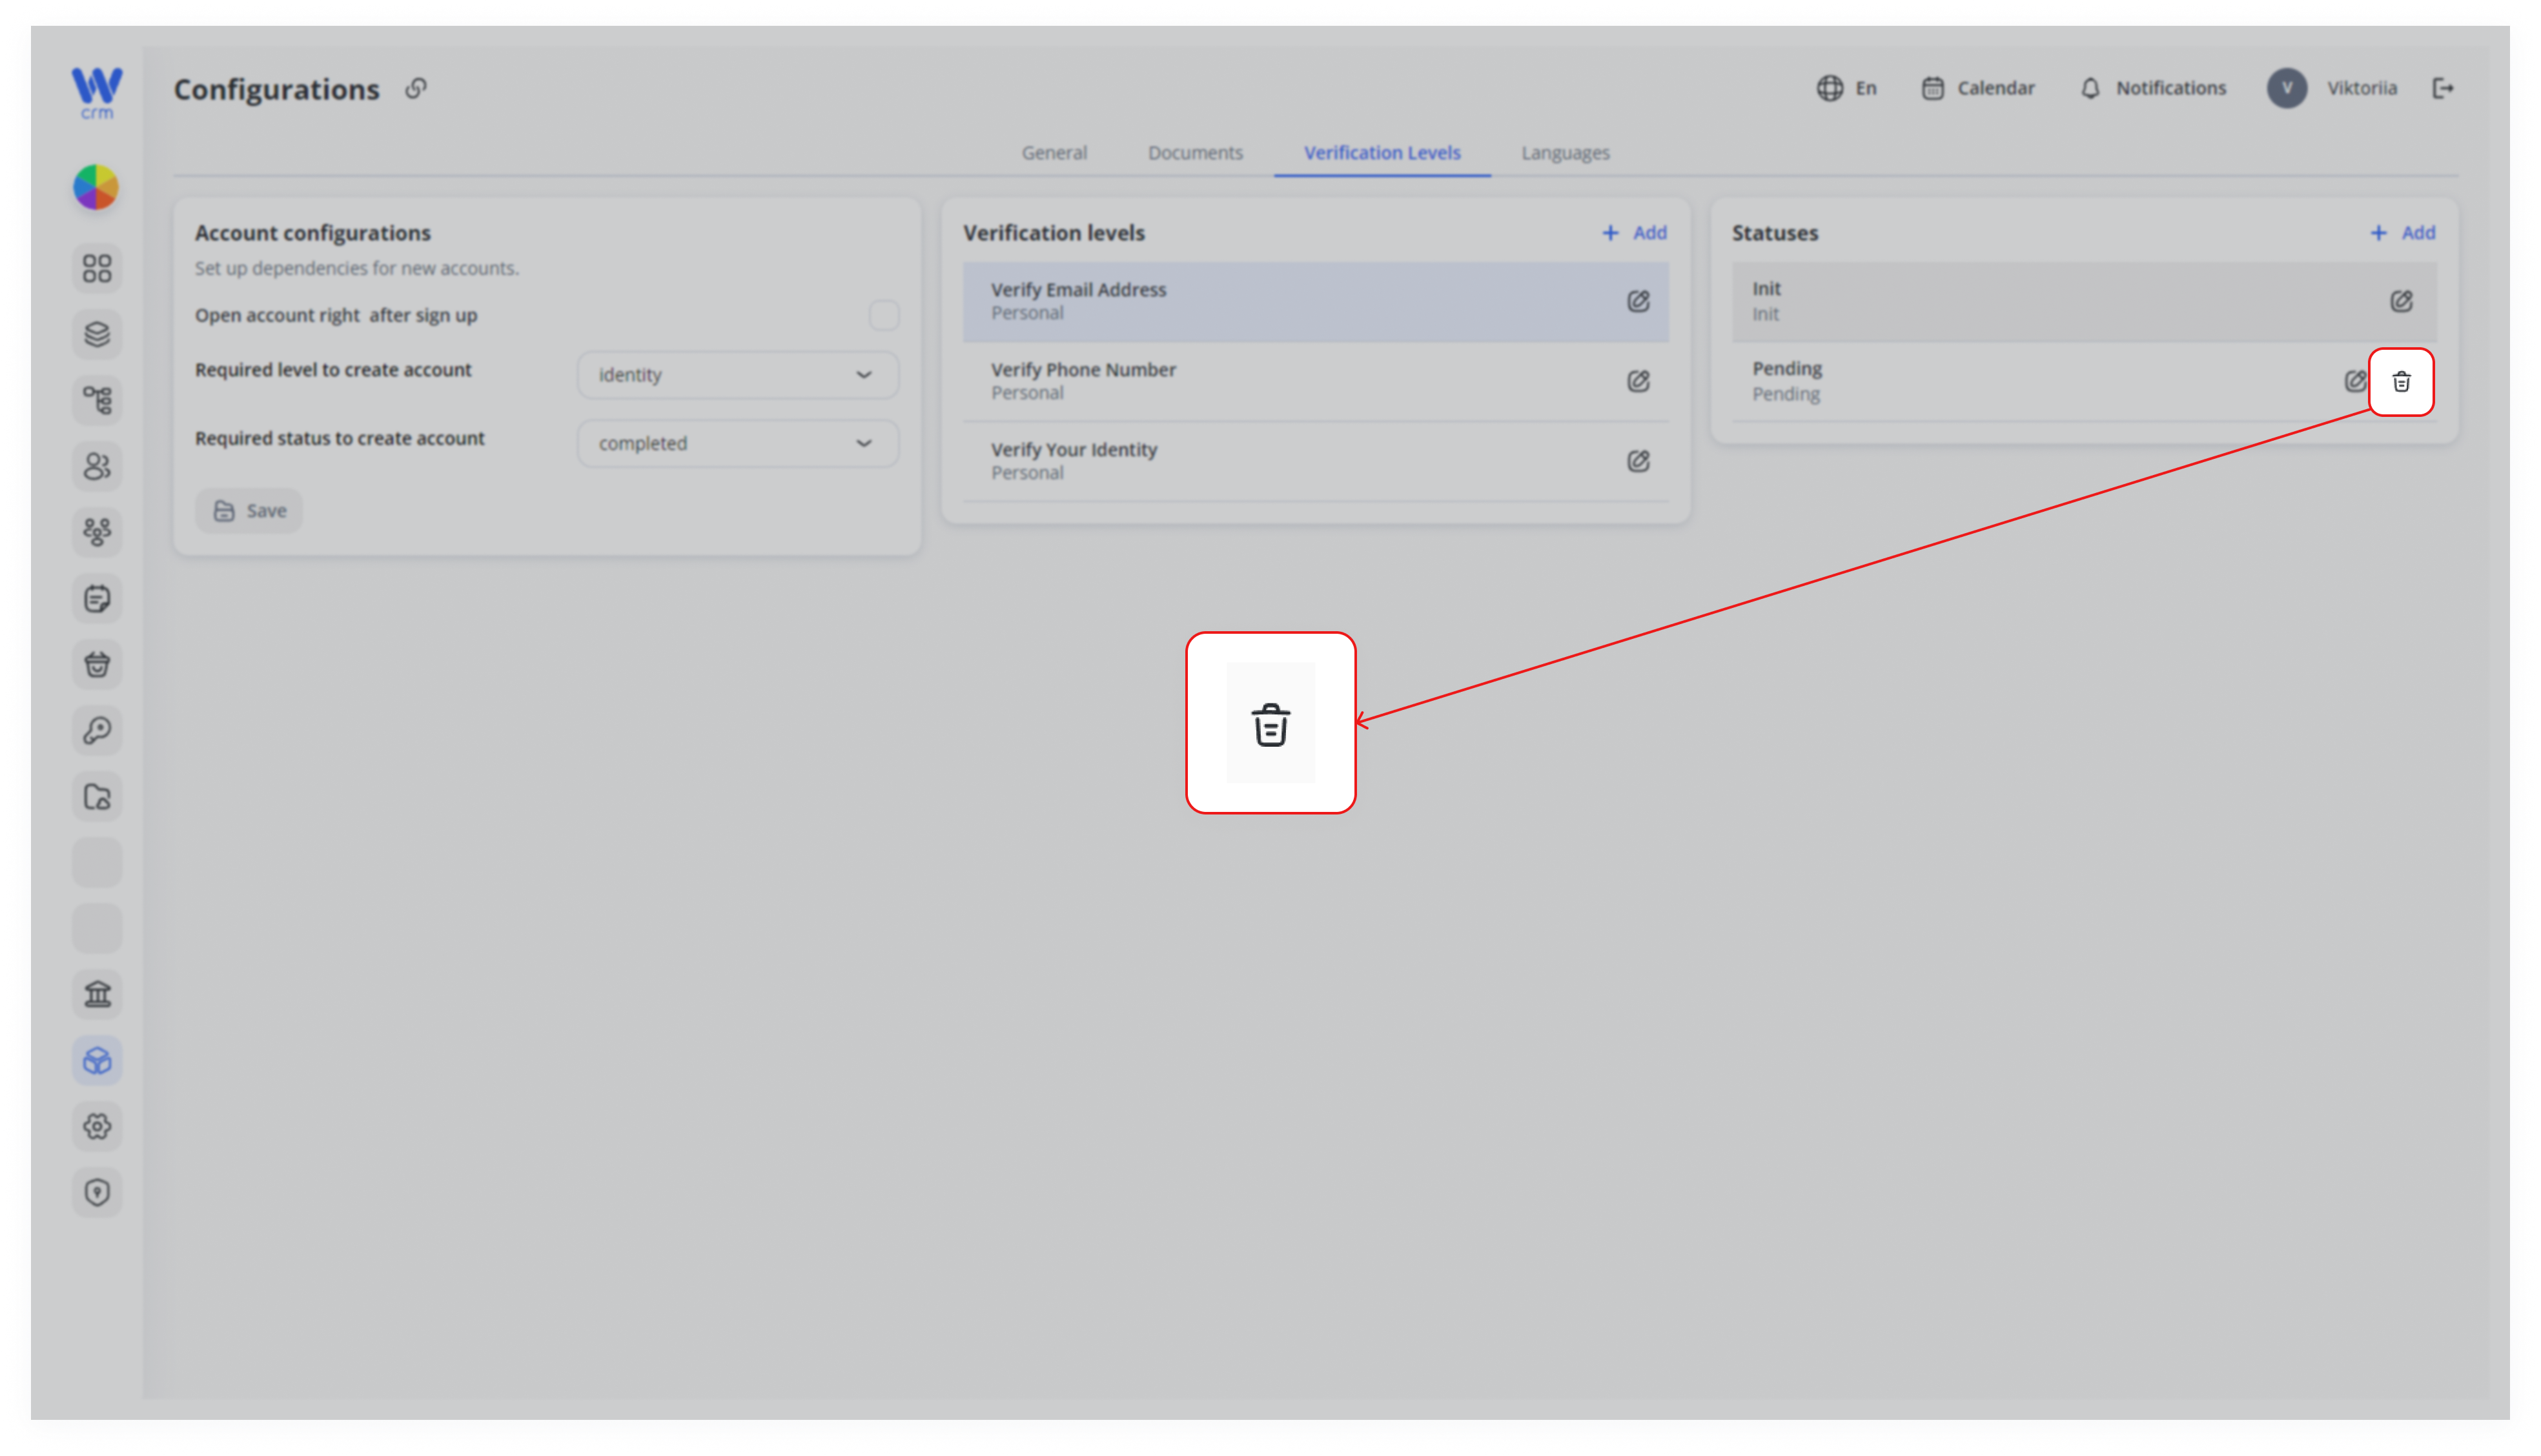
Note:Note: You cannot delete the default status.
Languages Section
The Languages section is designed to manage the languages that are used in your product.
It includes two blocks:
-
-
Available Languages: All languages available.
-
Active Languages: Languages that are used.
-
To add a language from the list of available languages to the list of active languages:
-
-
In the Available Languages block, select the checkbox next to the language you want to add.
-
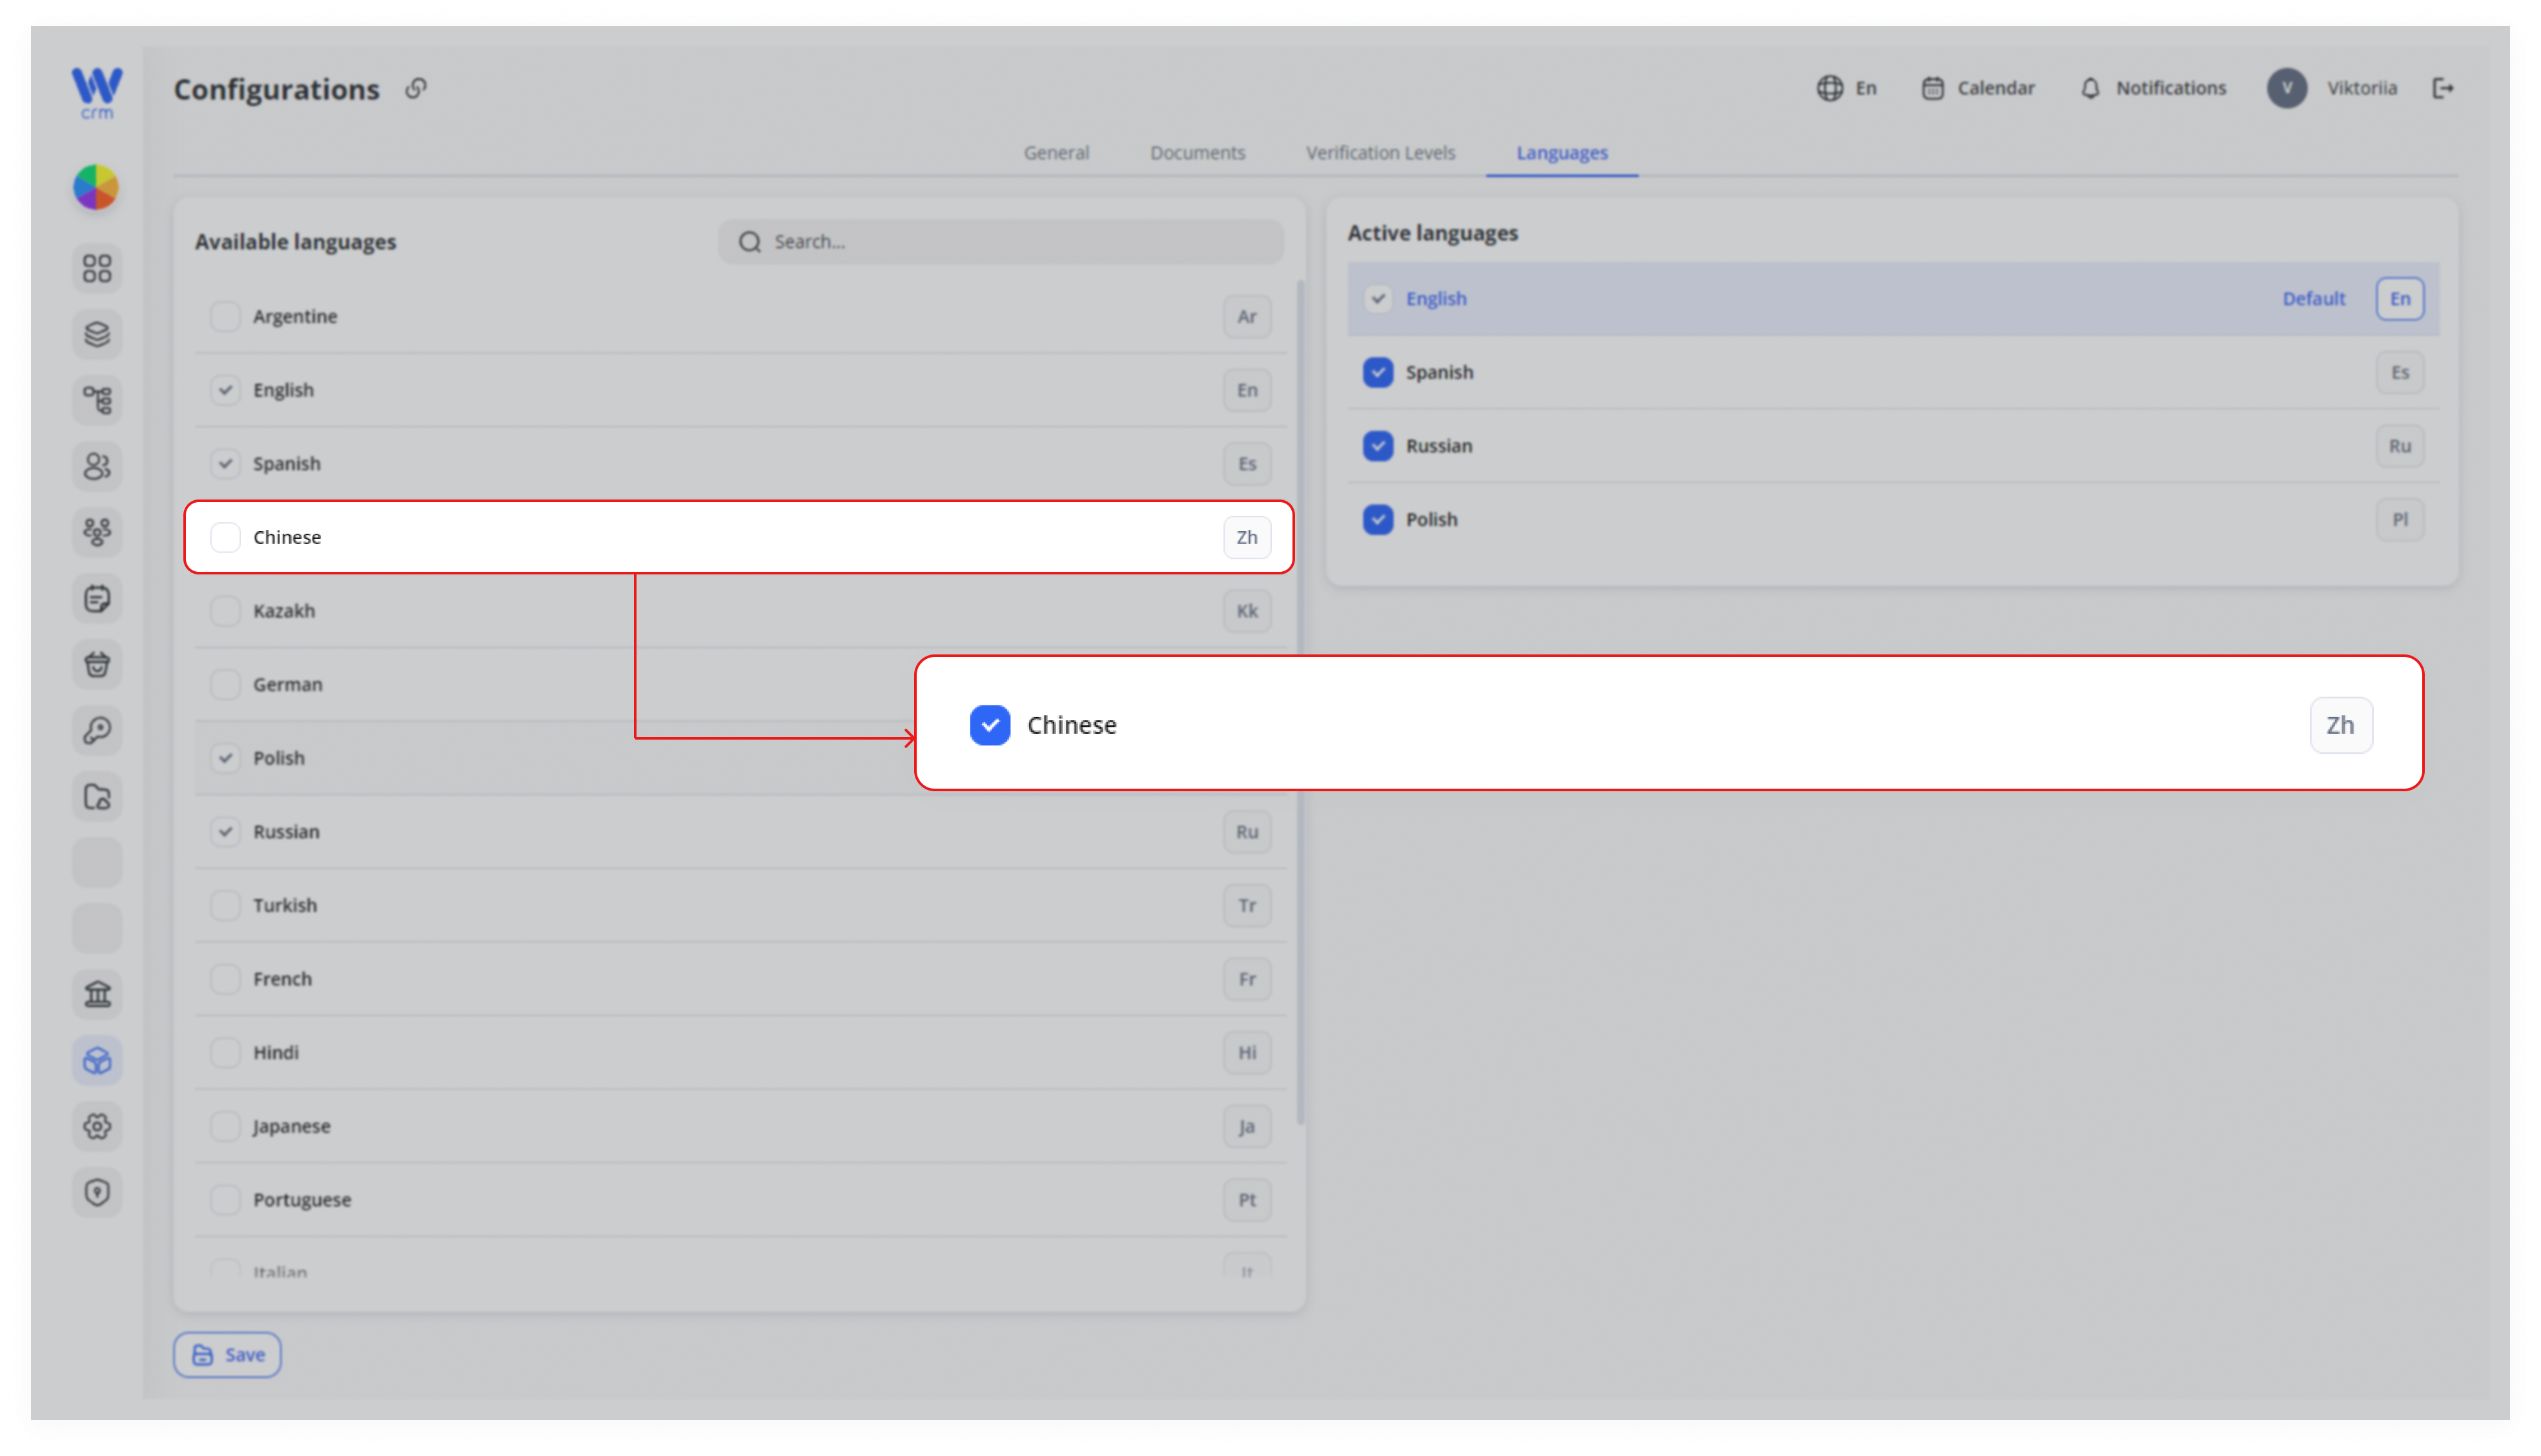
2. To make it easier to find the language you need, use the Search field. Start typing the name of the language, for example, German or Japanese.
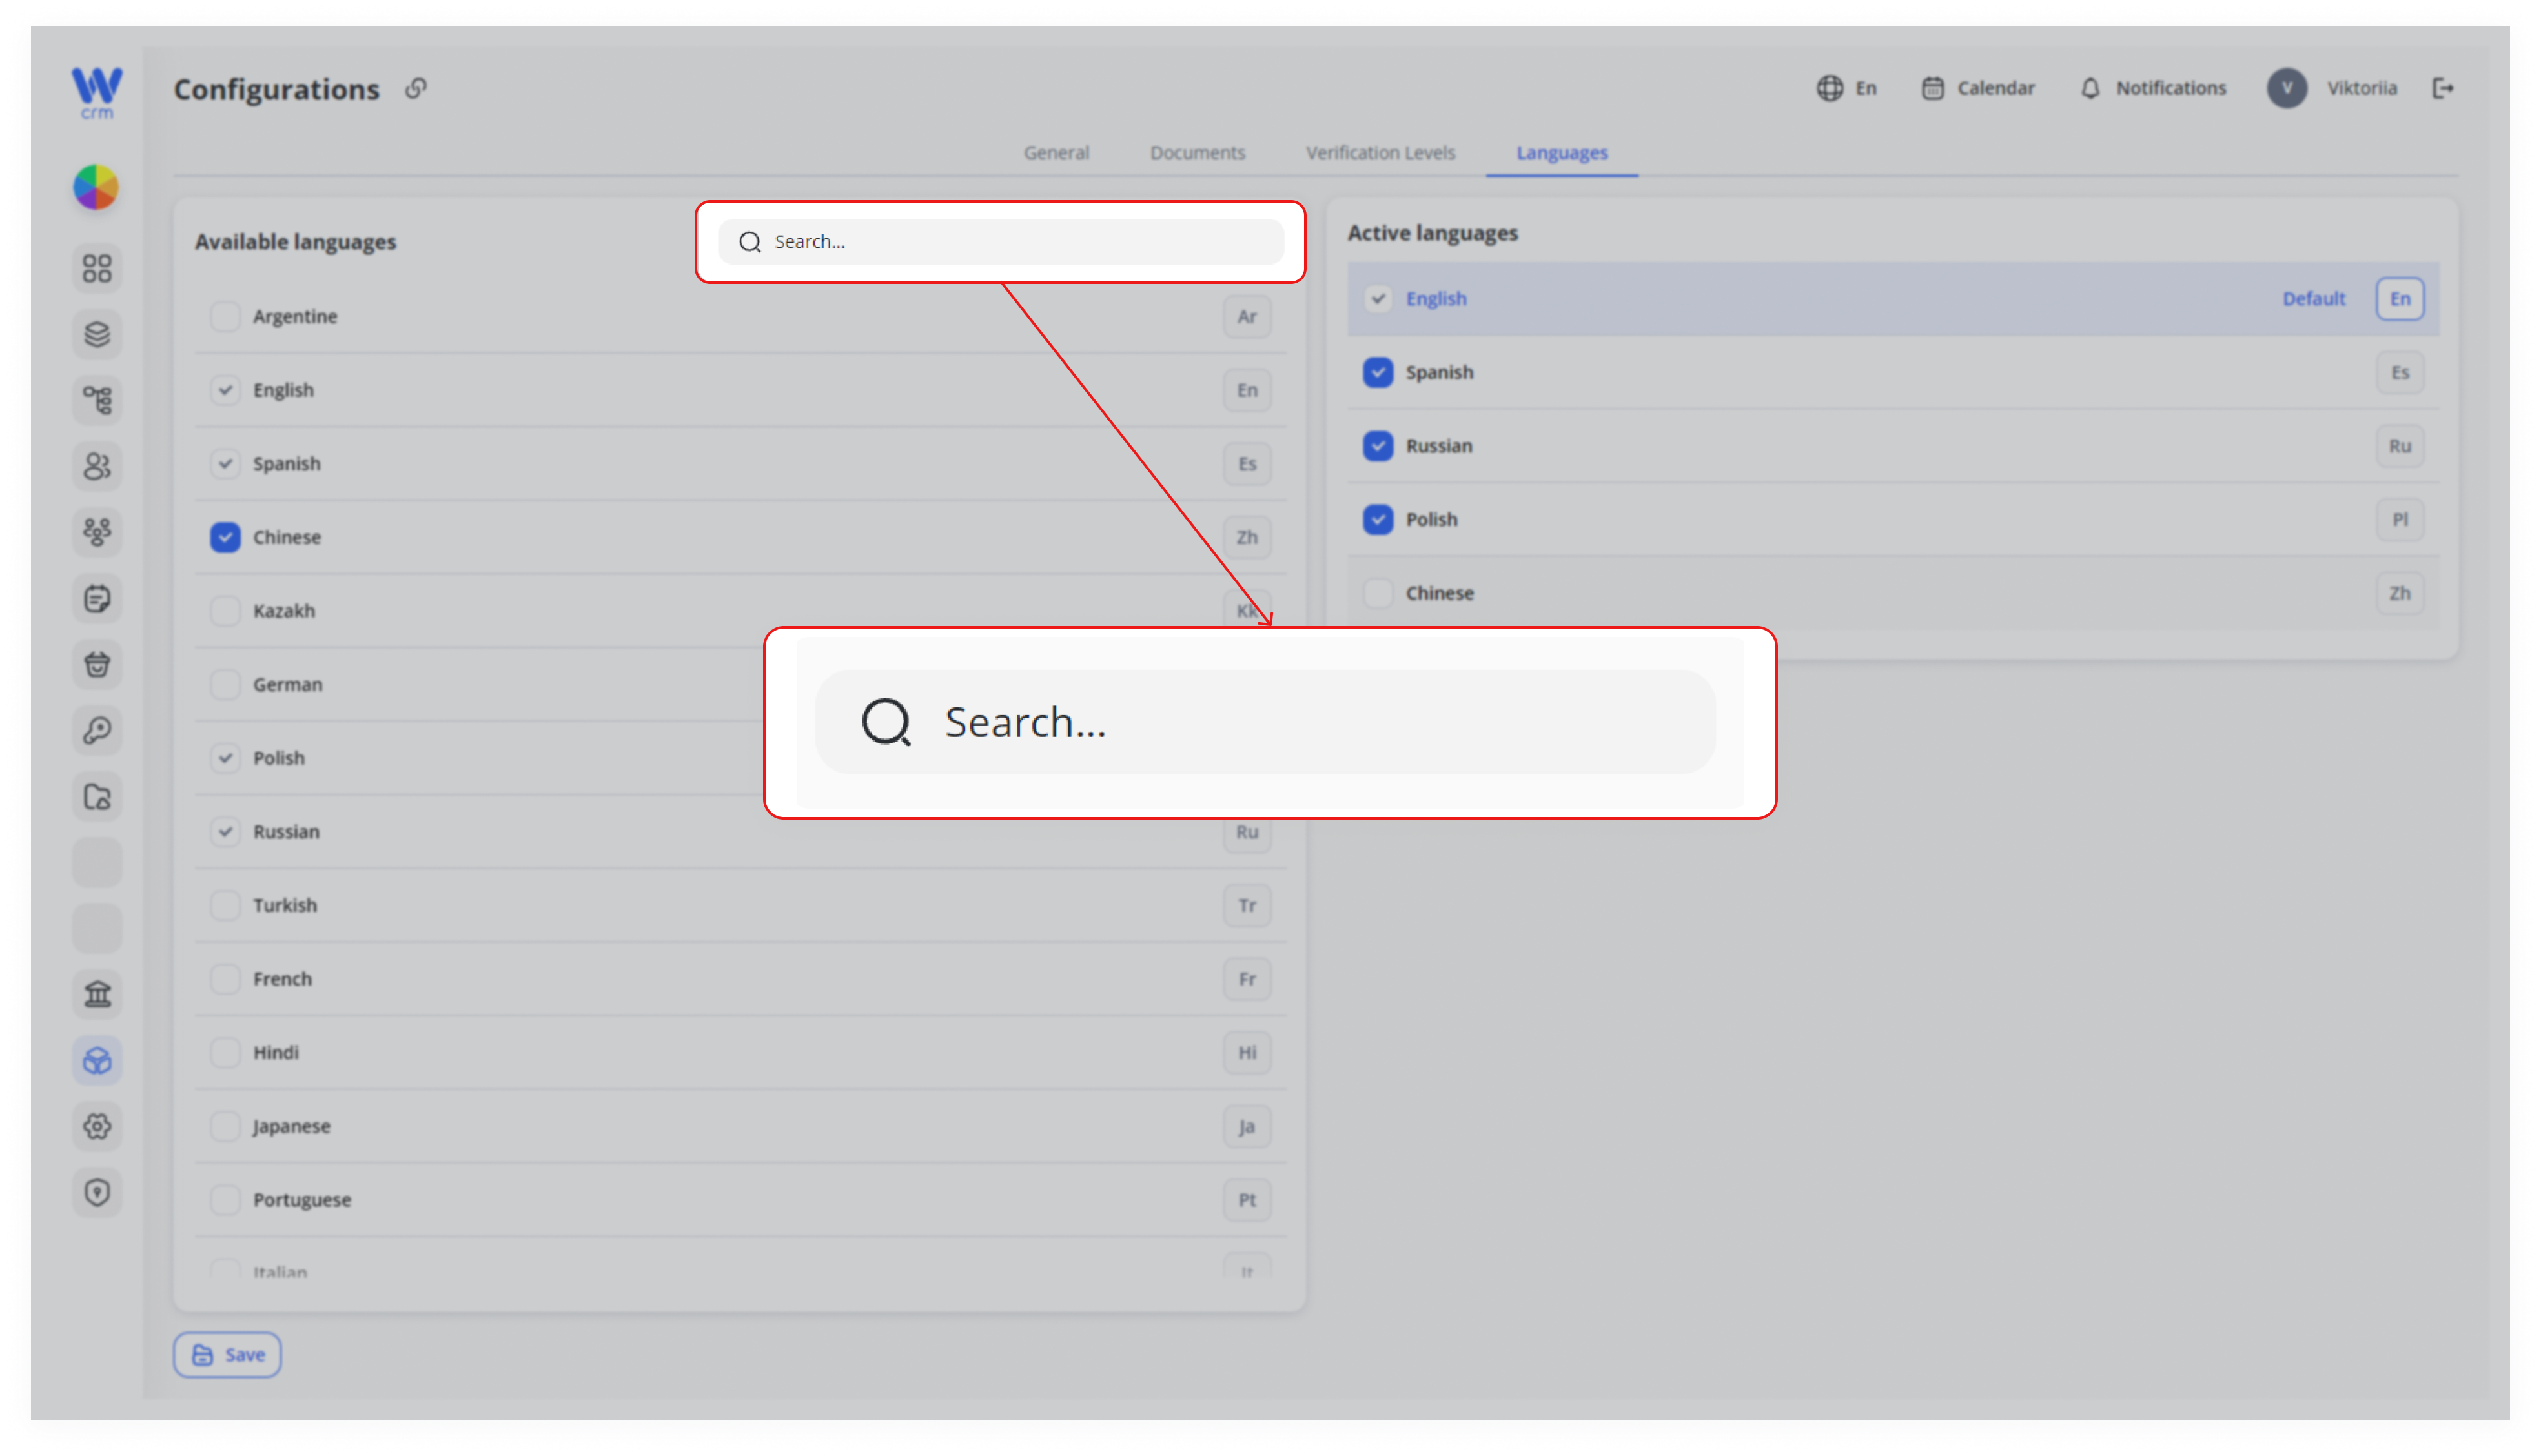
3. Click Save to apply the changes.
Note:Note: The language will appear in the list of active languages, but will not yet be available for selection in your product. Before adding, it is recommended to translate items into that language. Refer to the [How to Manage Translations] and [How to Manage Texts] for more information.
When you have all the necessary texts and elements translated:
-
-
Go back to Languages.
-
In the Active Languages list, check the box next to the language for which you have added translations.
-
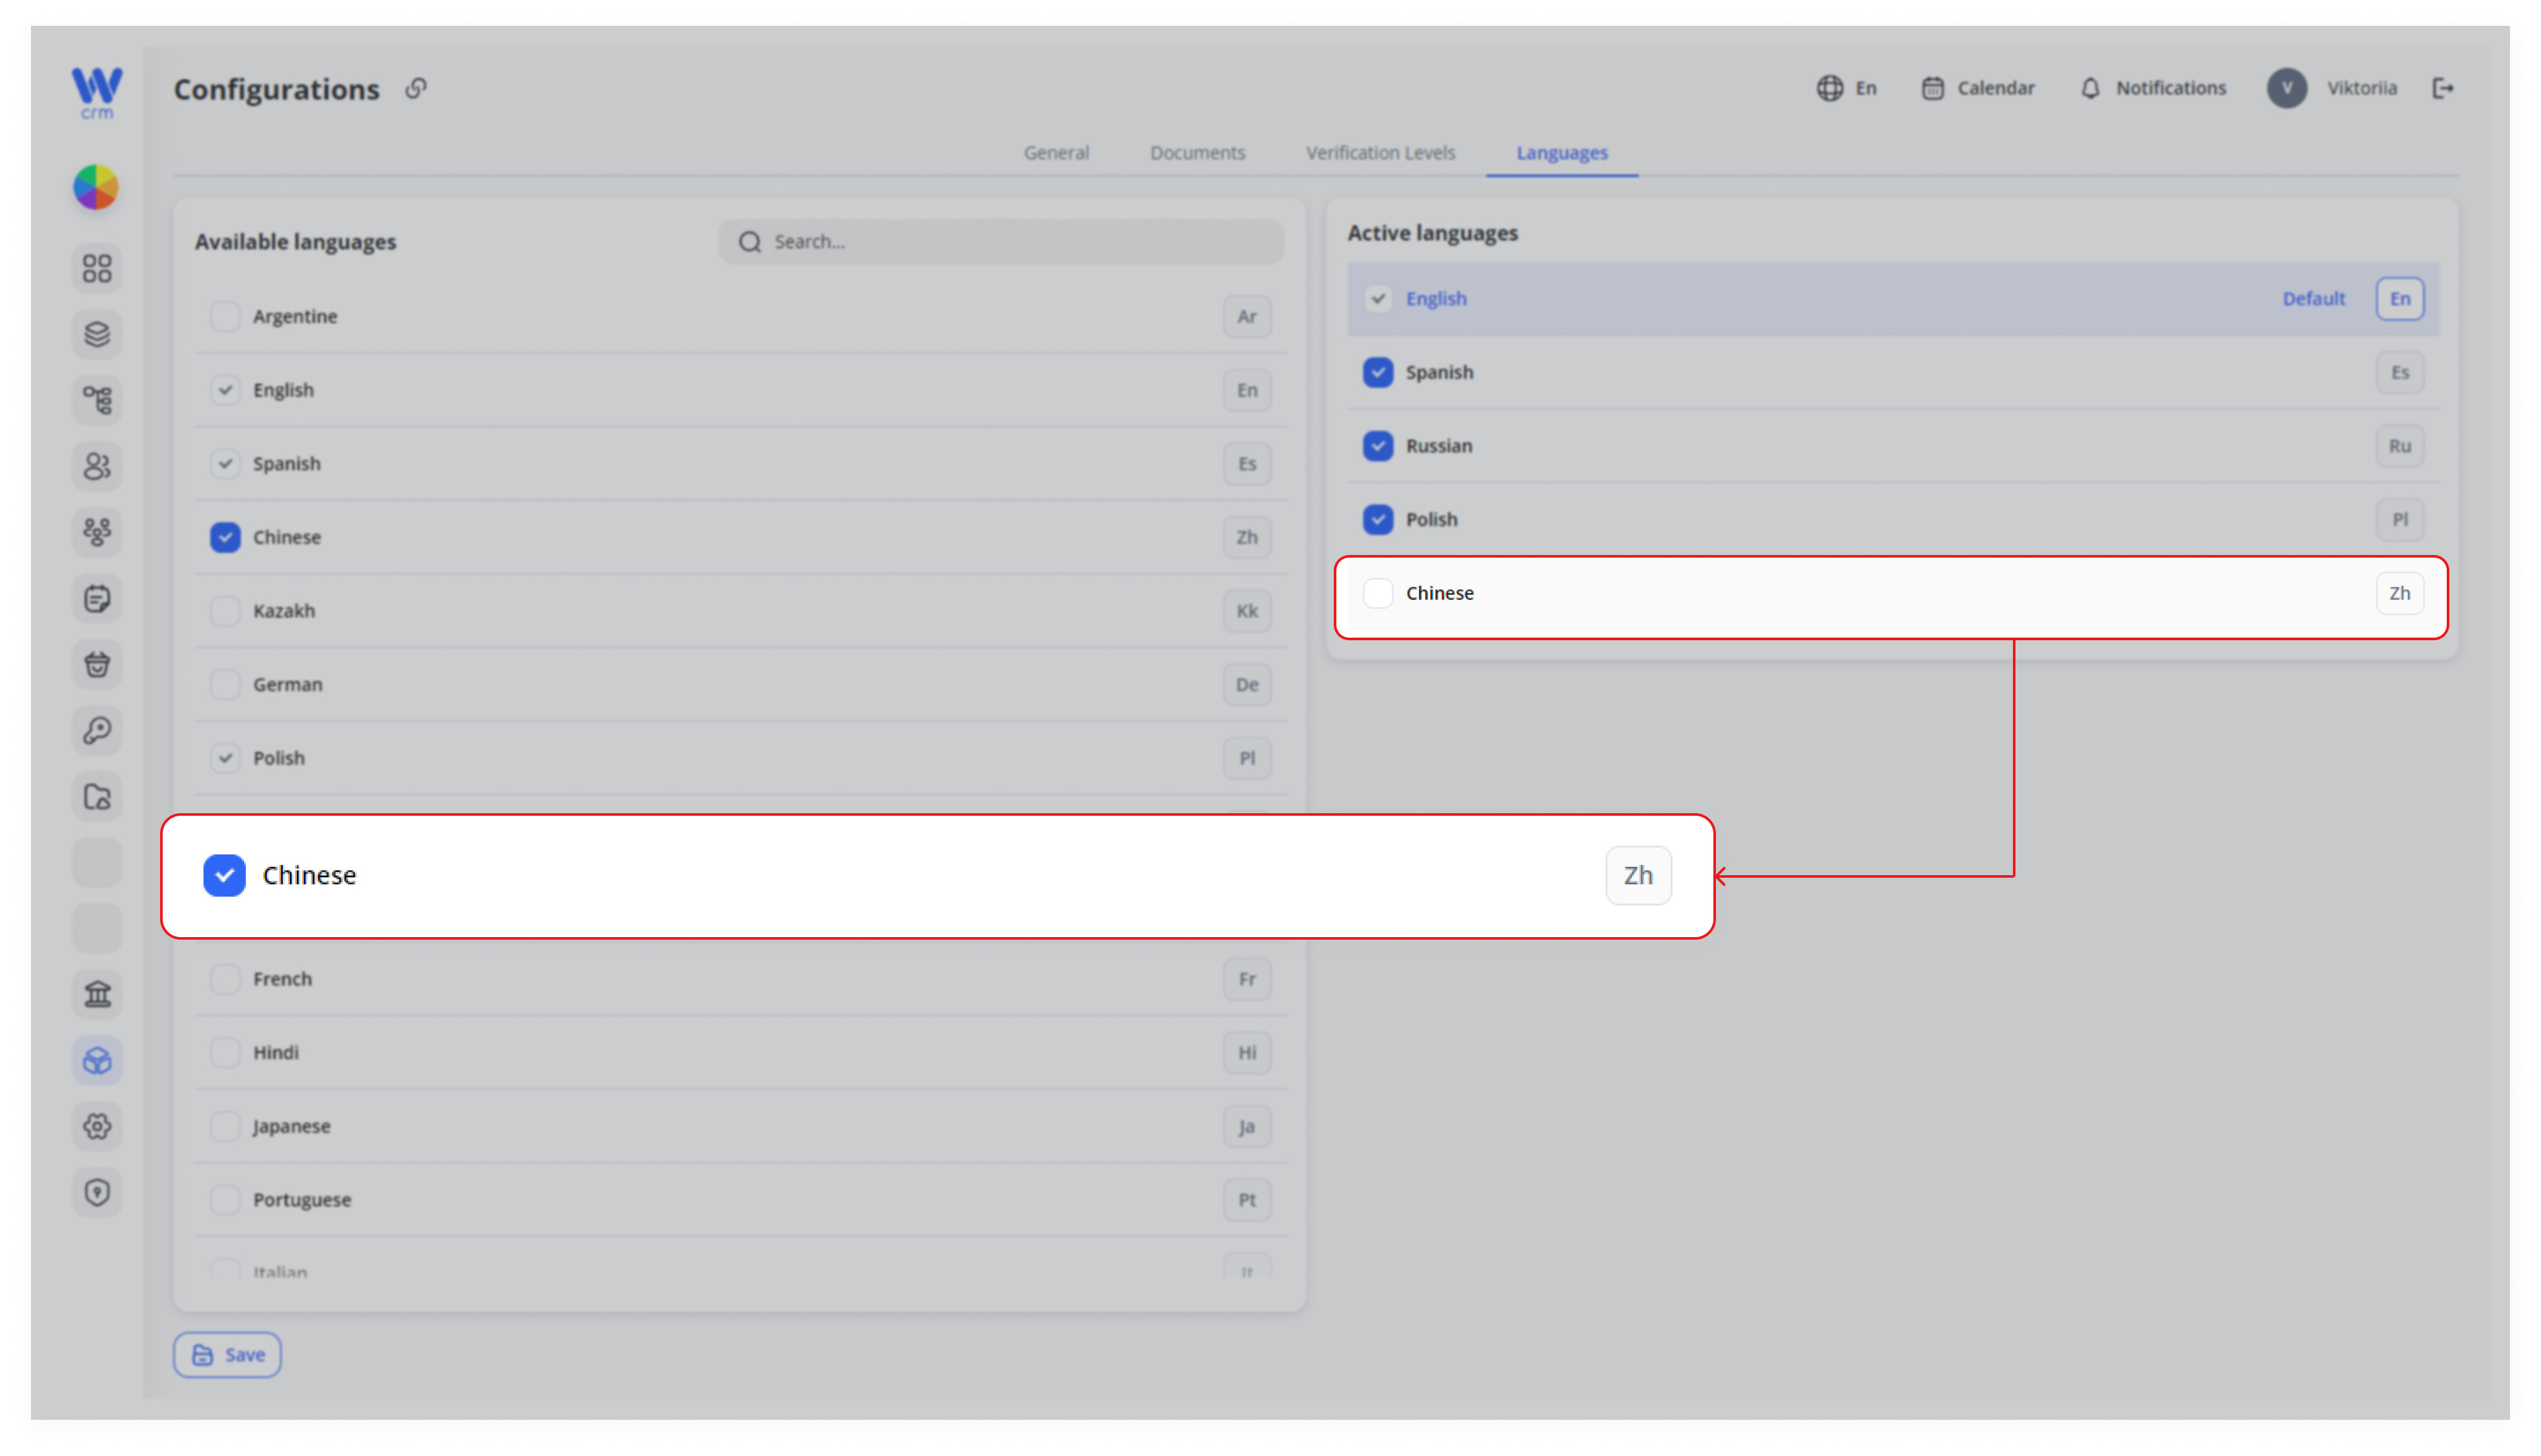
3. Click Save.
The Configurations section in Client Area empowers you to enforce policies, customize verification flows, and provide a truly localized experience—all on a per-project basis or globally via API. Regularly review these settings to adapt to evolving compliance requirements, new markets, or product enhancements. Once you’ve dialed in your ideal configuration, your customers will enjoy a seamless, secure, and fully branded journey through your CRM.