
2. General Settings: How to Configure Core Banking
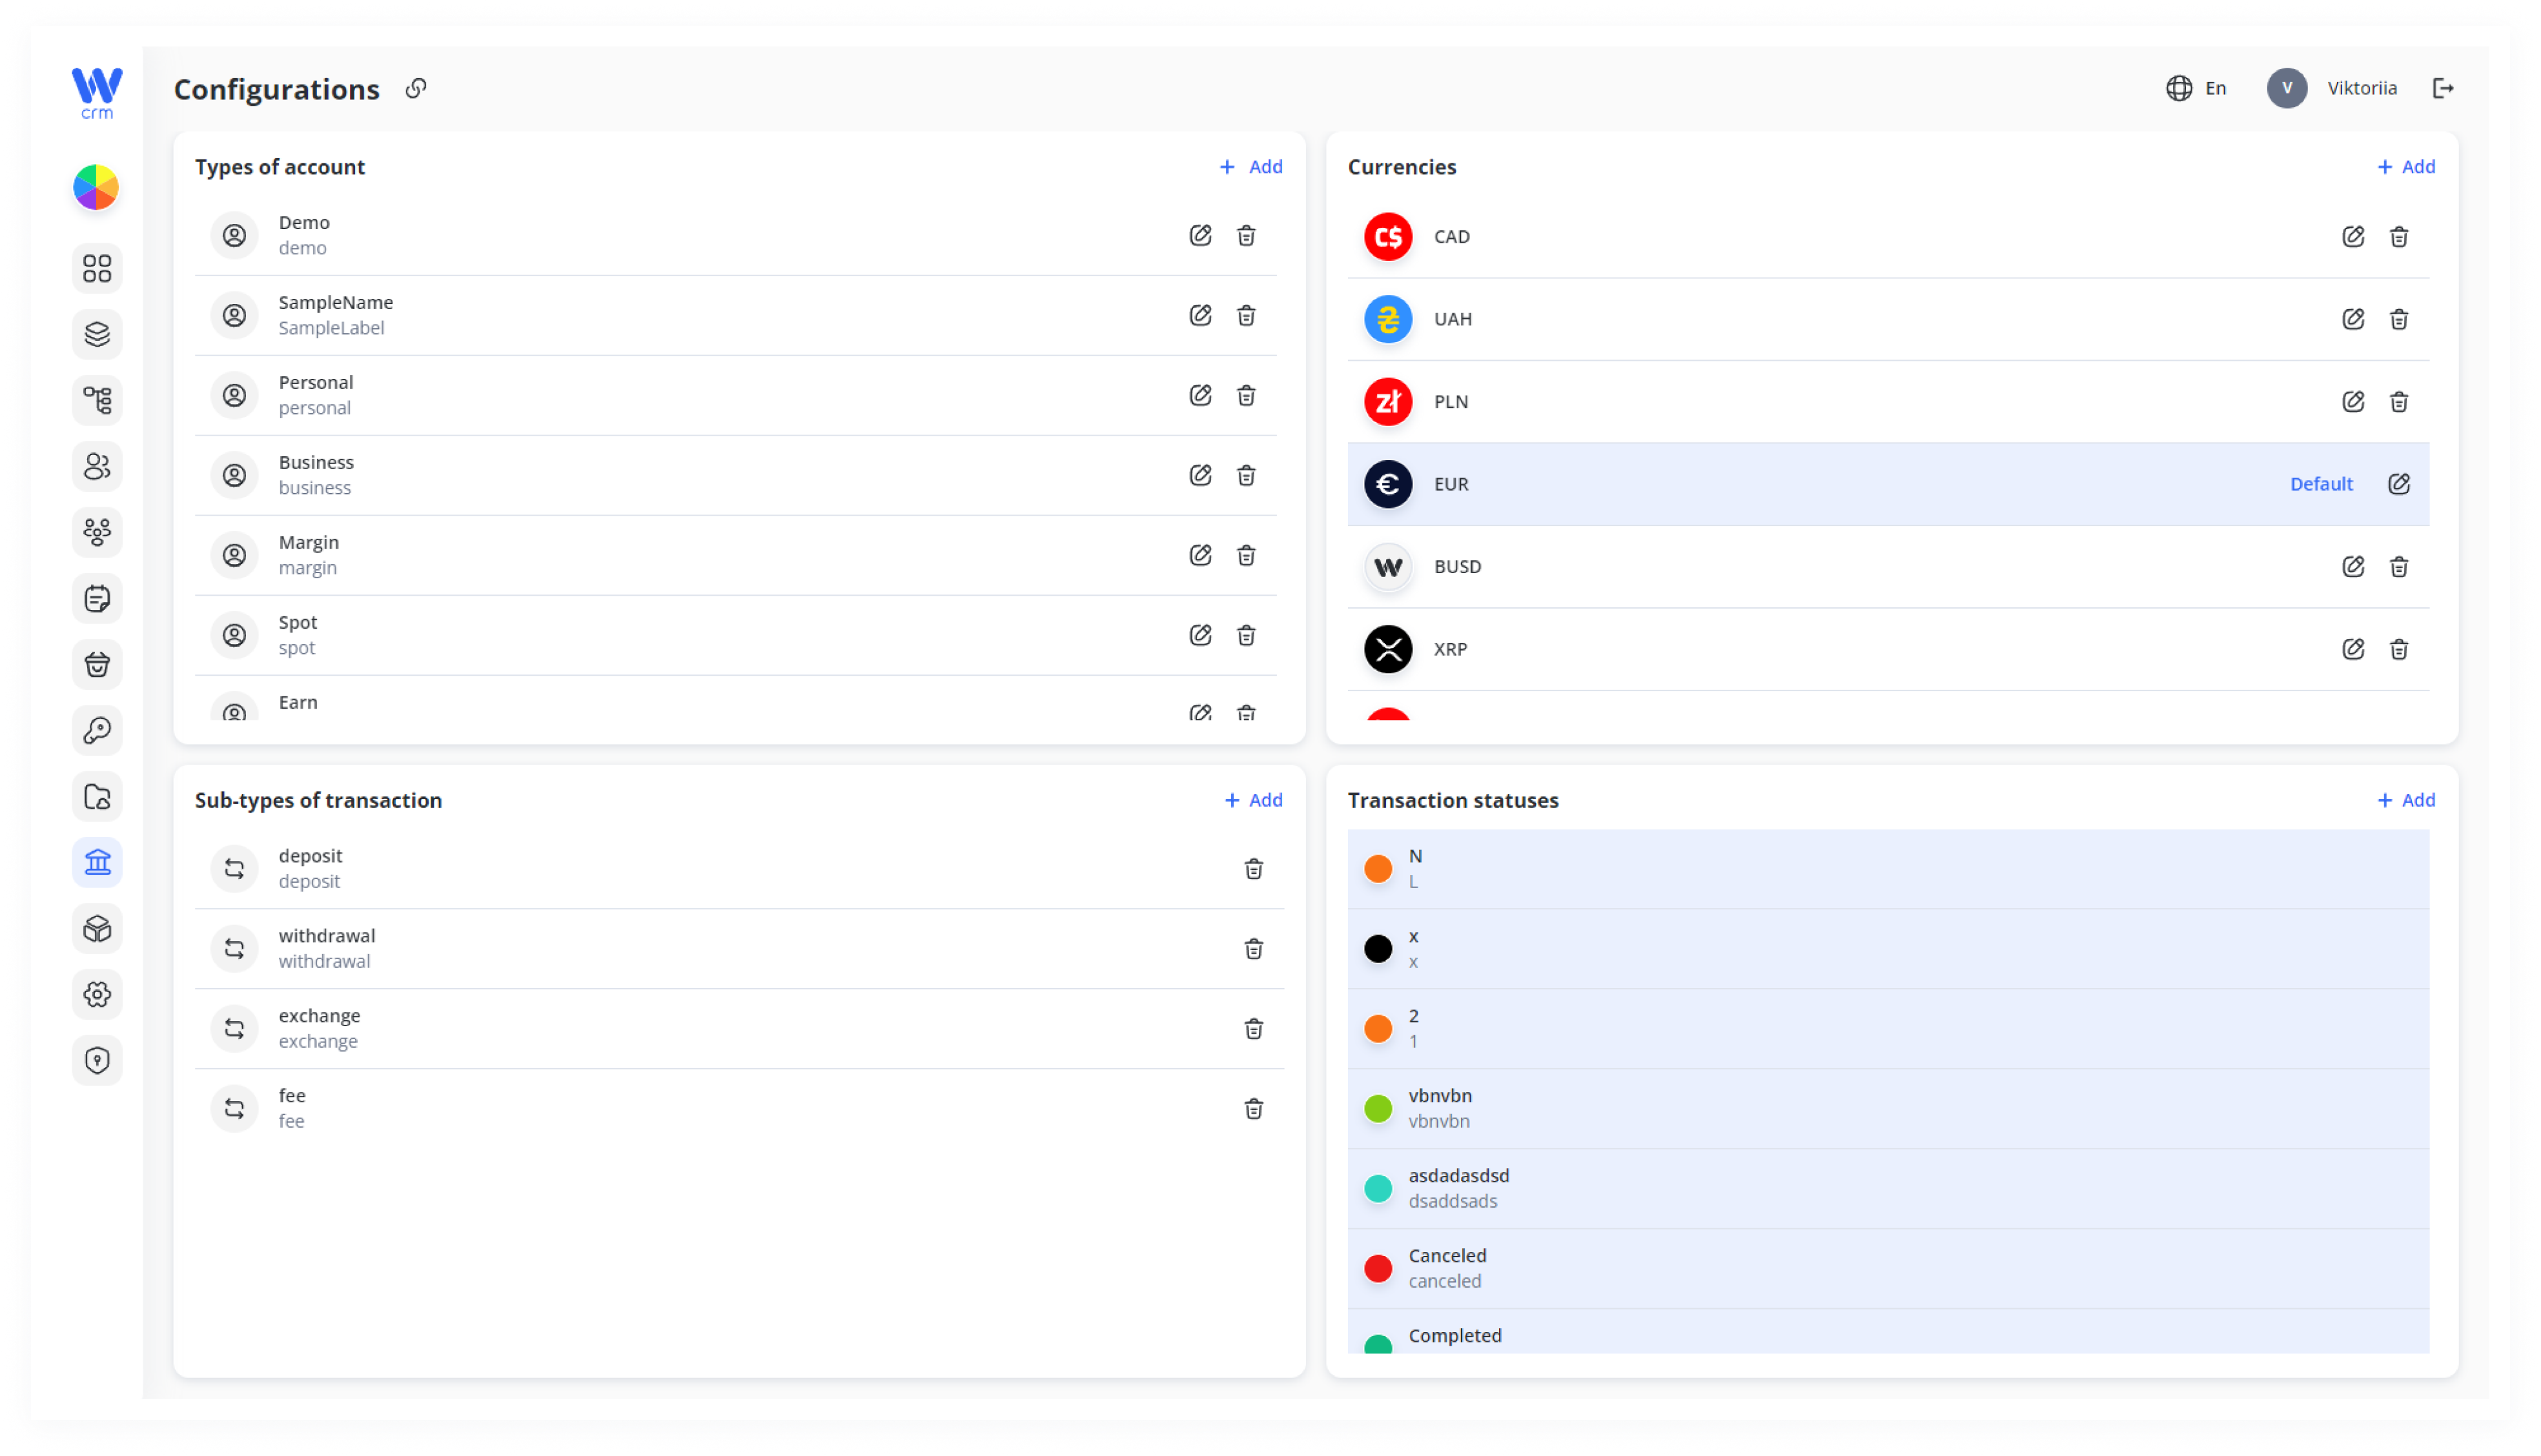
The Configurations tab in Wifox Business Core Solution (WBCS) is your central hub for defining the building blocks of the Core Banking module. Every change here immediately becomes available system-wide—whether you’re opening new accounts, posting transactions, or generating reports.
To configure the general settings for Core Banking, open the Configurations tab.
This tab includes four sections, where you can add, edit, or delete items:
-
-
Types of Account: Customize account types (e.g., Business, Personal, Crypto, Fiat). These account types can later be selected when creating accounts through the Accounts module.
-
Currencies: Define the currencies and networks (for cryptocurrencies) that will be processed by the system, such as USD, USDT, BNB, etc. Without defining currencies here, you will be unable to perform many activities in the CRM: e.g. to set company commissions for different transaction types or to add assets to customer accounts.
-
Sub-types of Transactions: While the system has two main transaction types — In and Out — you can add sub-types for further classification. By default, sub-types like Exchange, Withdrawal, and Deposit are included. You can also create additional sub-types here based on your custom logic.
-
Transaction Statuses: Track the current state of transactions, with default statuses like Pending, Processing, Completed, and Canceled. These statuses are predefined in our system, and we have the own logic to handle transactions with it. You can also add or modify custom transaction statuses here.
-
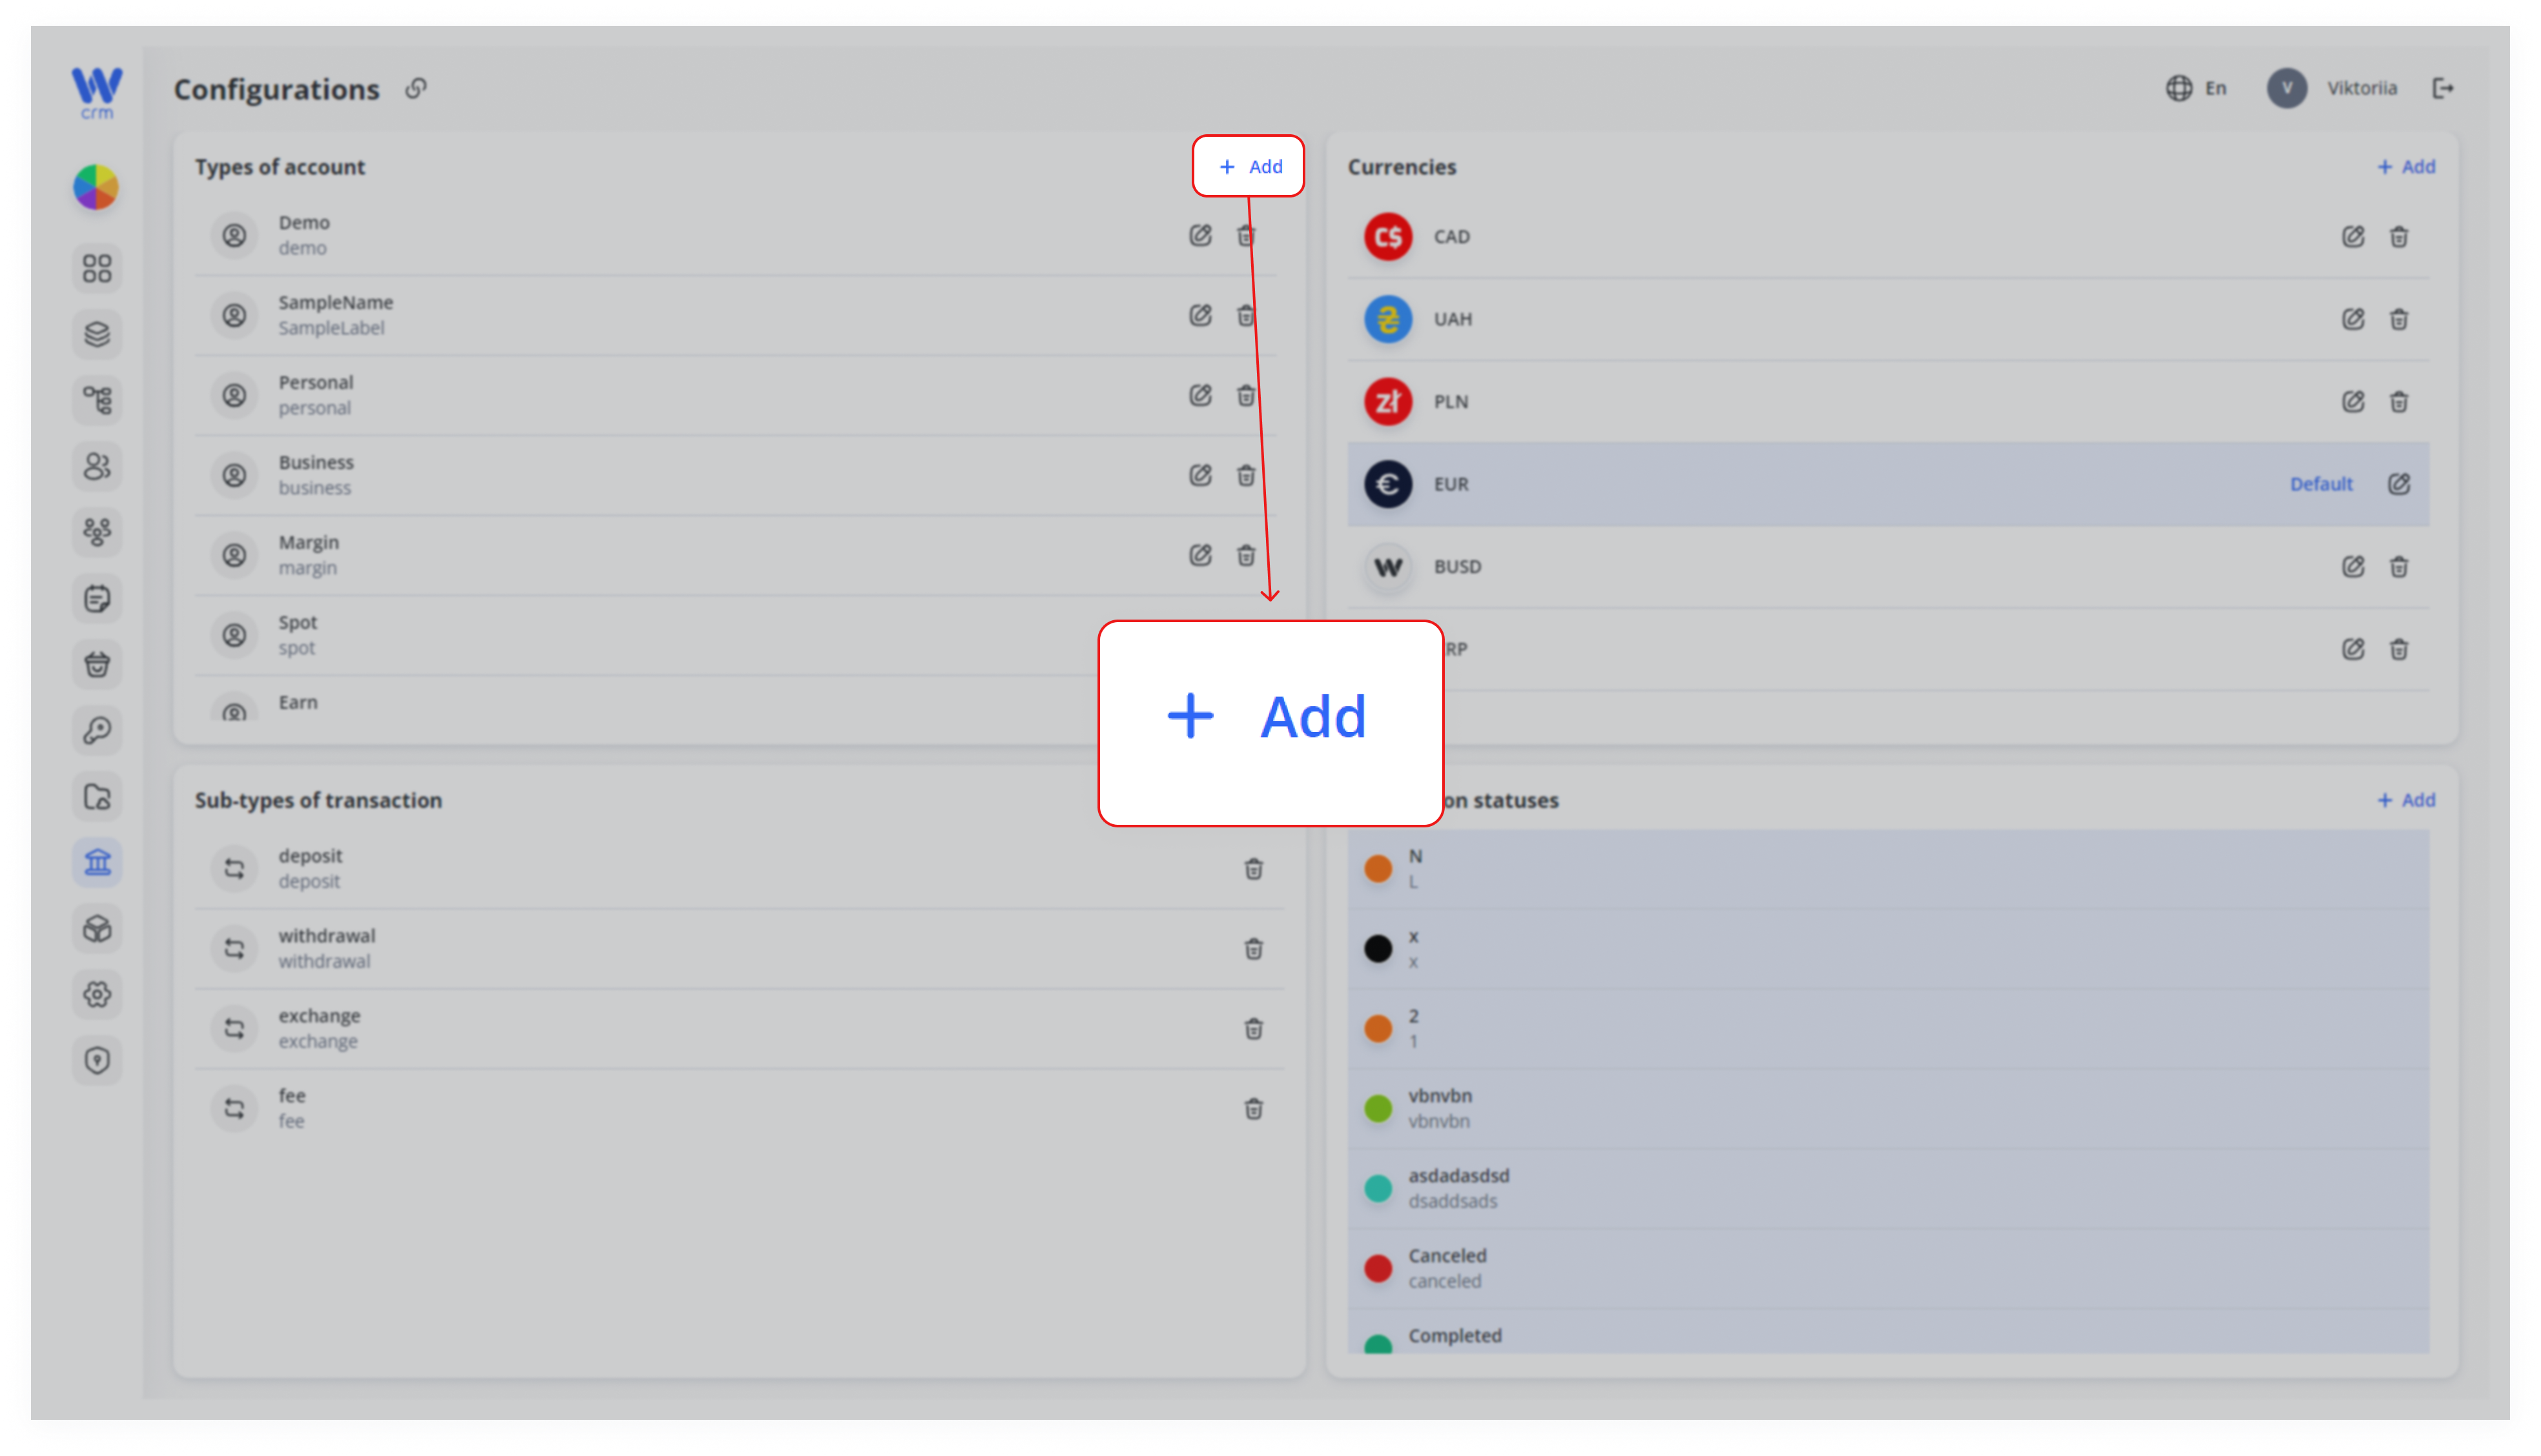
To add a typeTypes of account:Account
Used when creating digital accounts (e.g. Personal, Business, Margin).
Click Add (top-right of that panel).
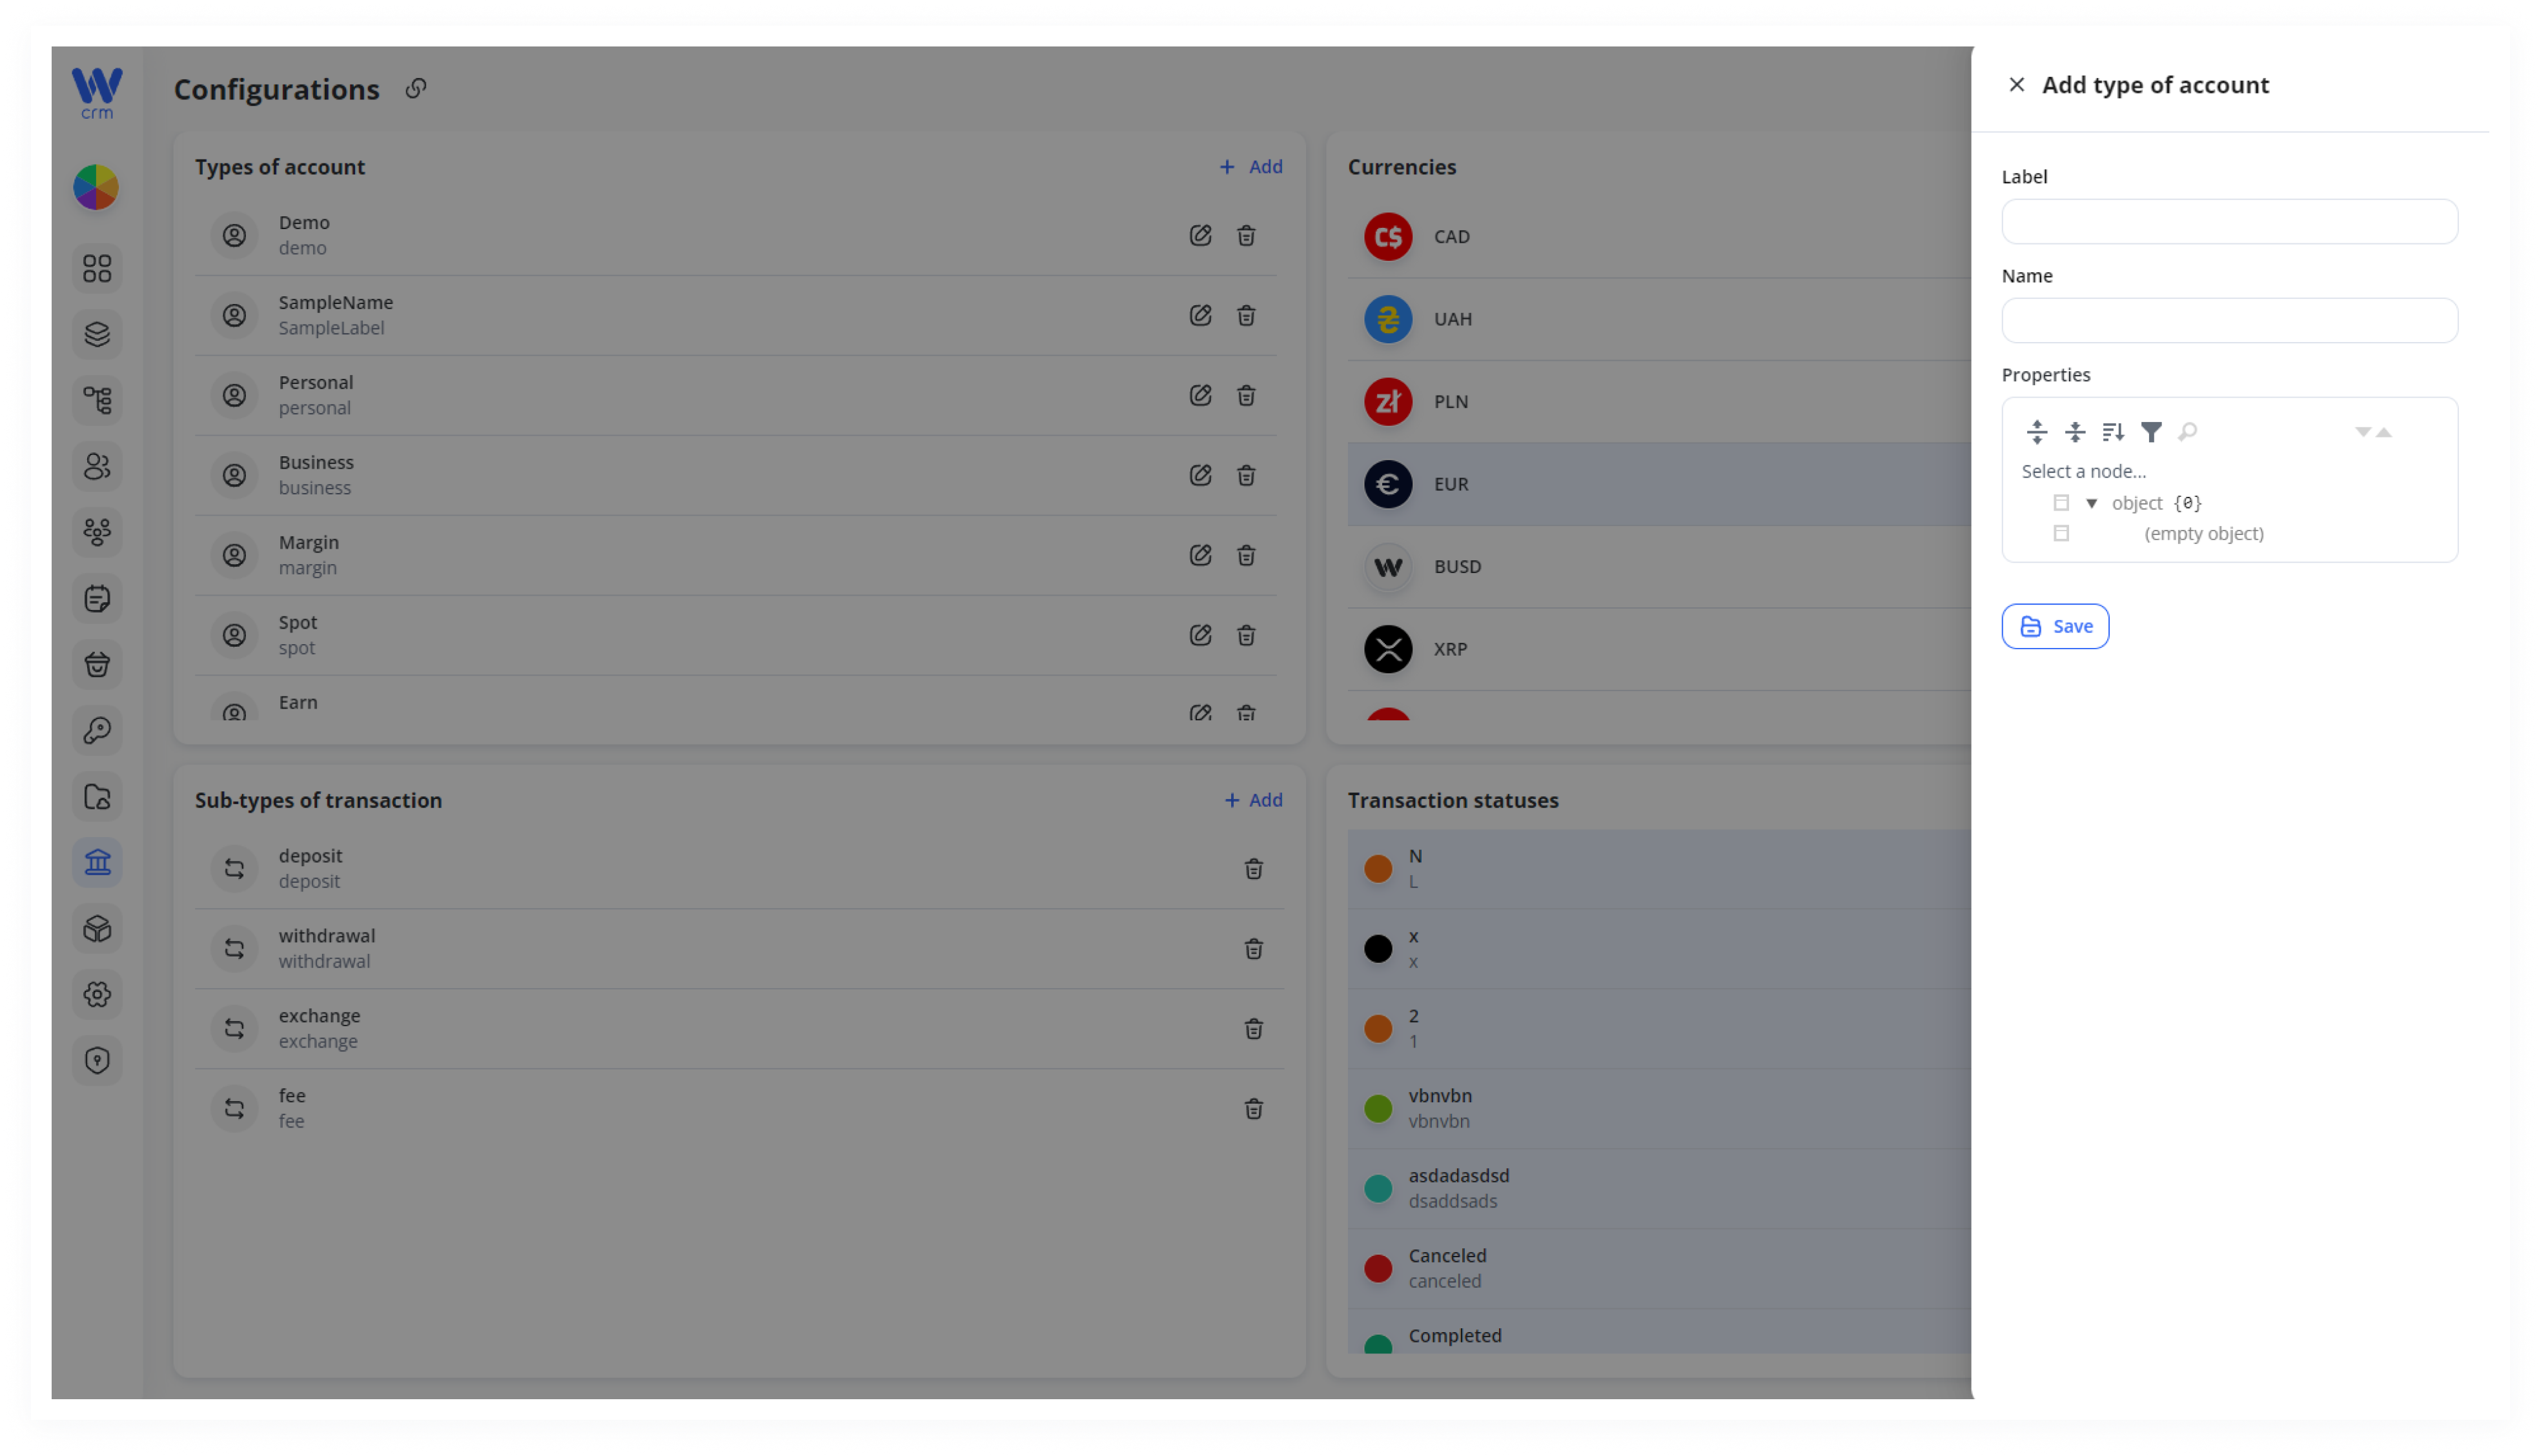
2.In Enterthe a drawer that opens:
-
Label:
(enter a unique identifierfor(e.g.corporate) -
Name: the
type)human-readableandtitlea(e.g. “Corporate Account”) -
Properties (optional): use the node picker to attach custom metadata fields for API-driven logic.
3. Click NameSave.
3. Optionally, add custom fields through the Properties block. The data entered here will be retrievable byClick the APIpencil for(✎) configuringicon customon logic.the row of the type you wish to modify.
4.Update Click Label, Name or Properties, then Save.
5. applyDelete a type
Click the changes.trash-can icon on its row.
Confirm
deletion in the prompt.
To add a currency:Currencies
Defines which fiat or crypto assets can be held and transacted.
1. Find the Currencies panel on the right side of the Configurations page.
2. Add a currency
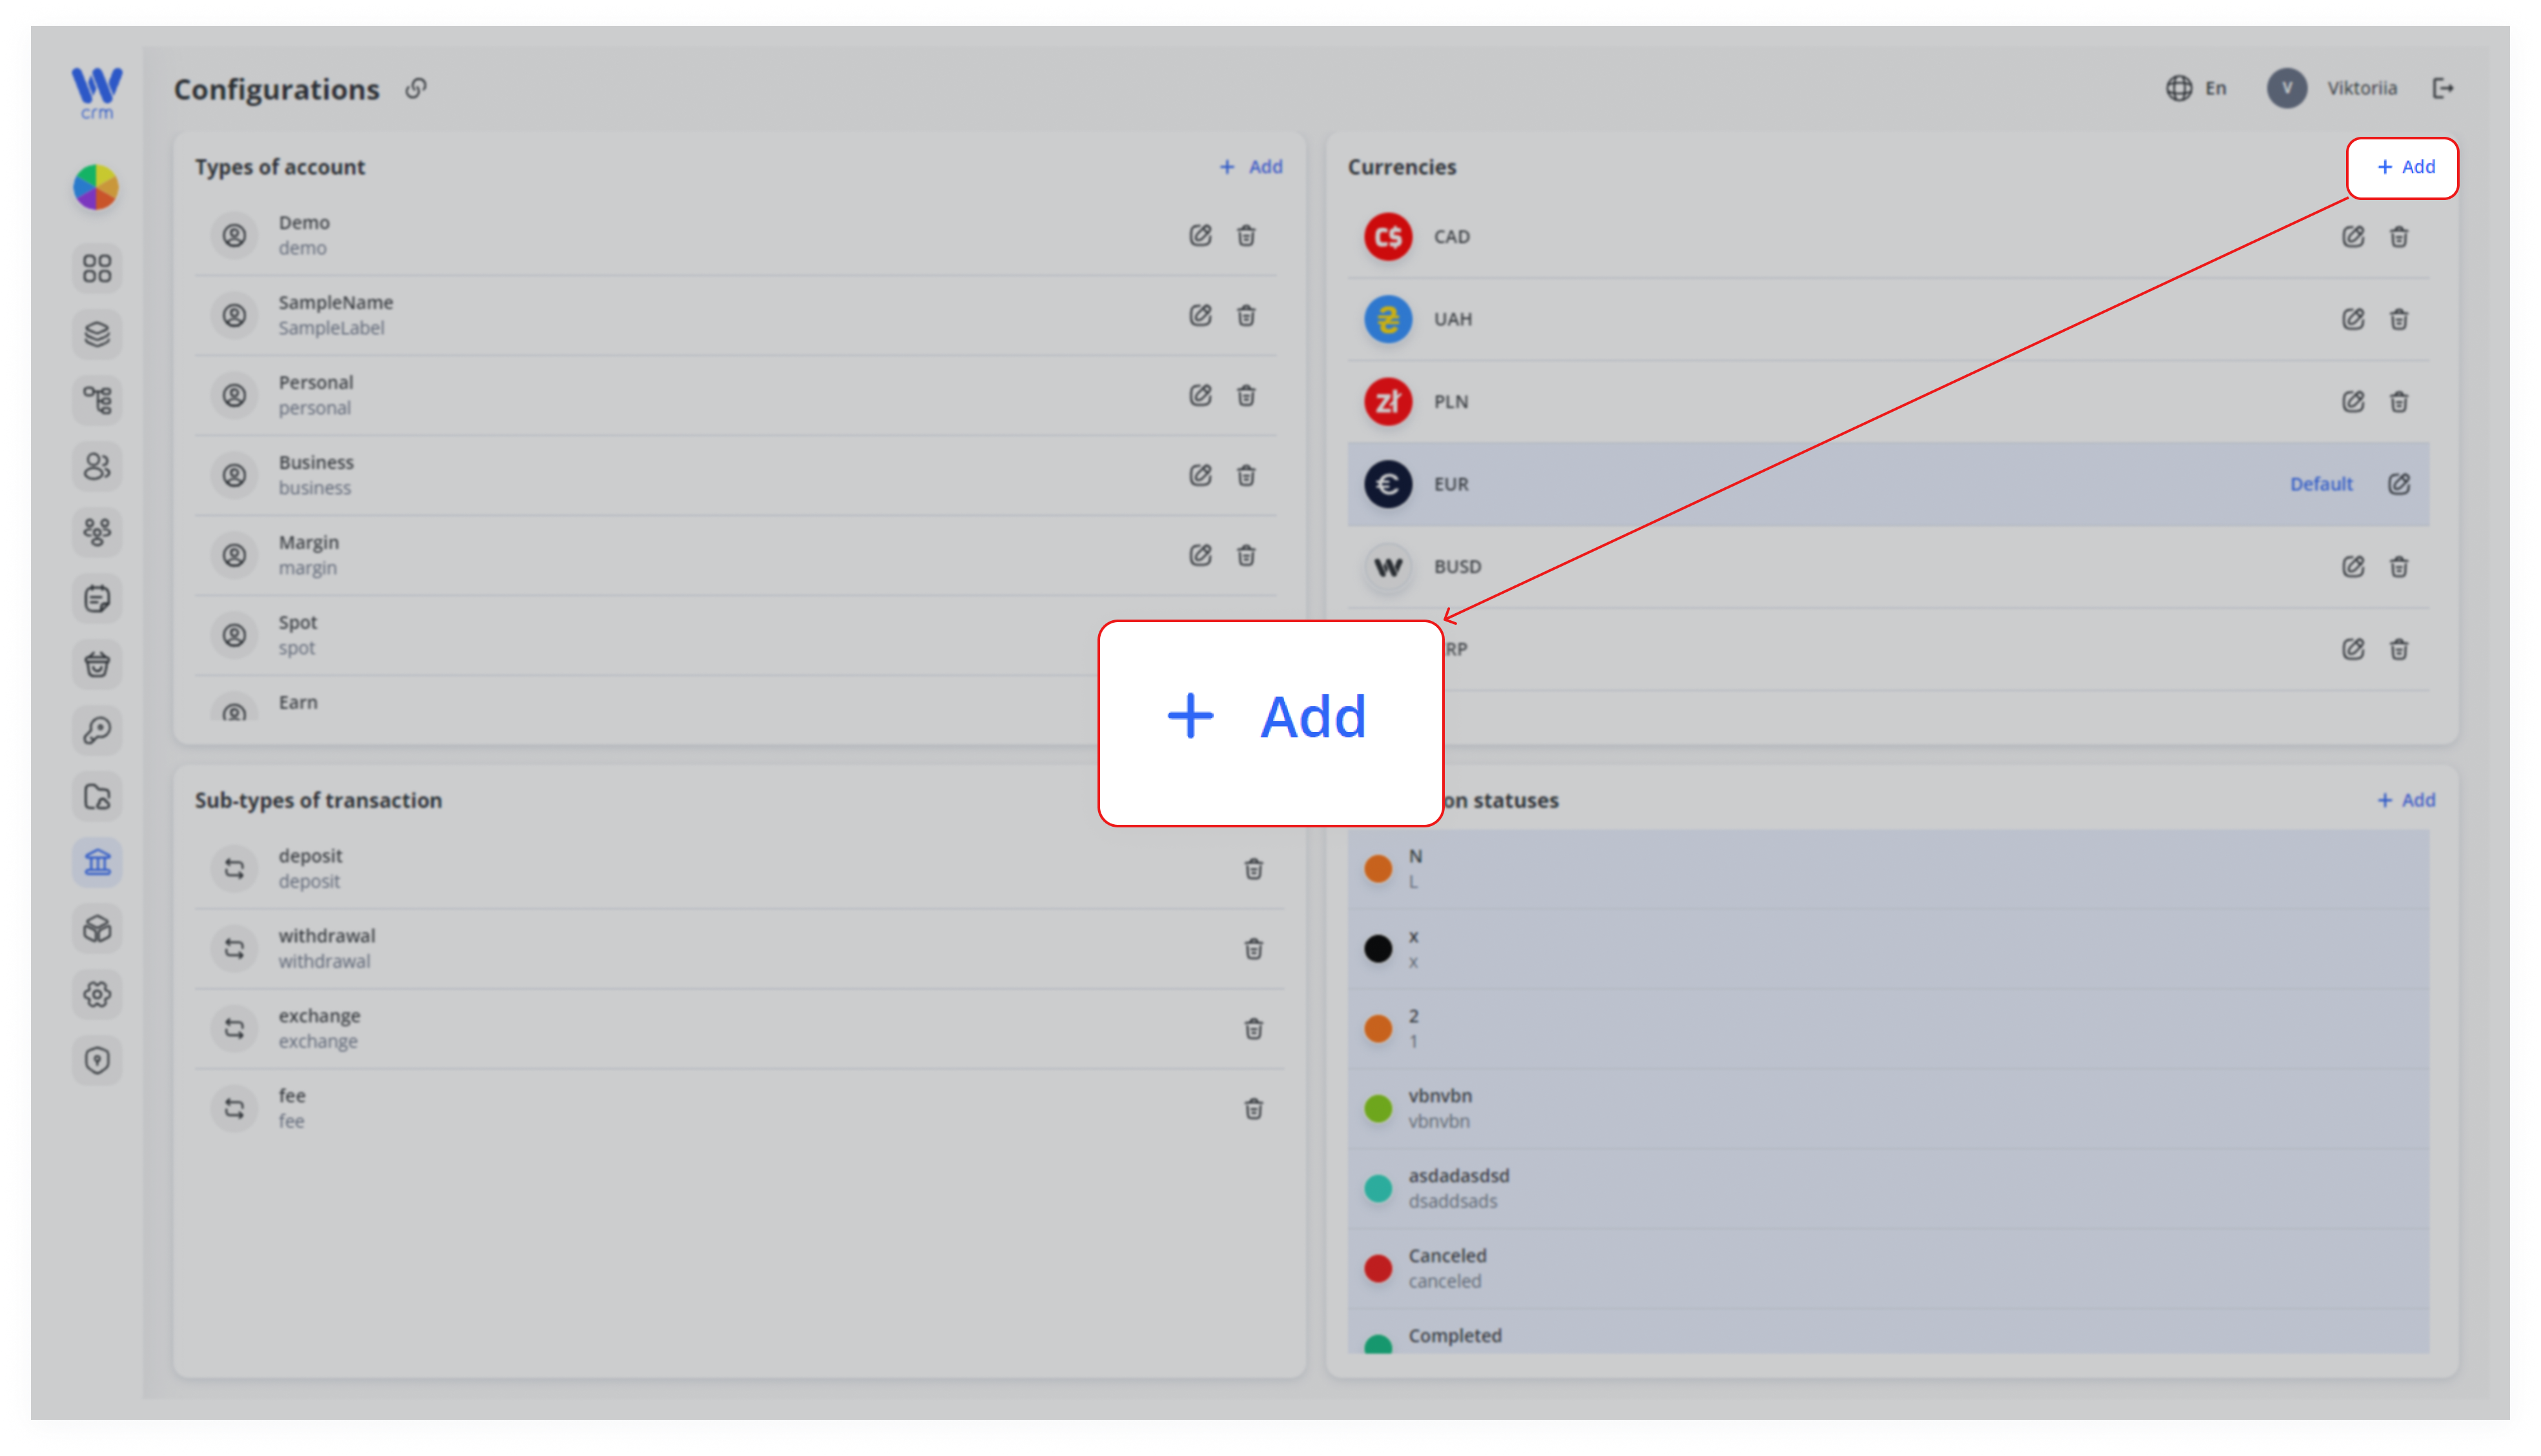
1. Click the Add button in the toppanel right corner of the Currencies section.header.
2. SelectIn the type of currency (Fiat, Crypto, or Custom) from the drop-down menu.drawer:
3.Type: Forchoose Fiat and, Crypto, chooseor Custom.
For Fiat/Crypto:
- Select the
specificcurrencycurrencycode from thelist.dropdown (e.g. USD, BTC). - Limit: set a minimum transactable amount (optional).
- Network fee: for cryptos, enter the on-chain fee (e.g.
0.0005BTC).
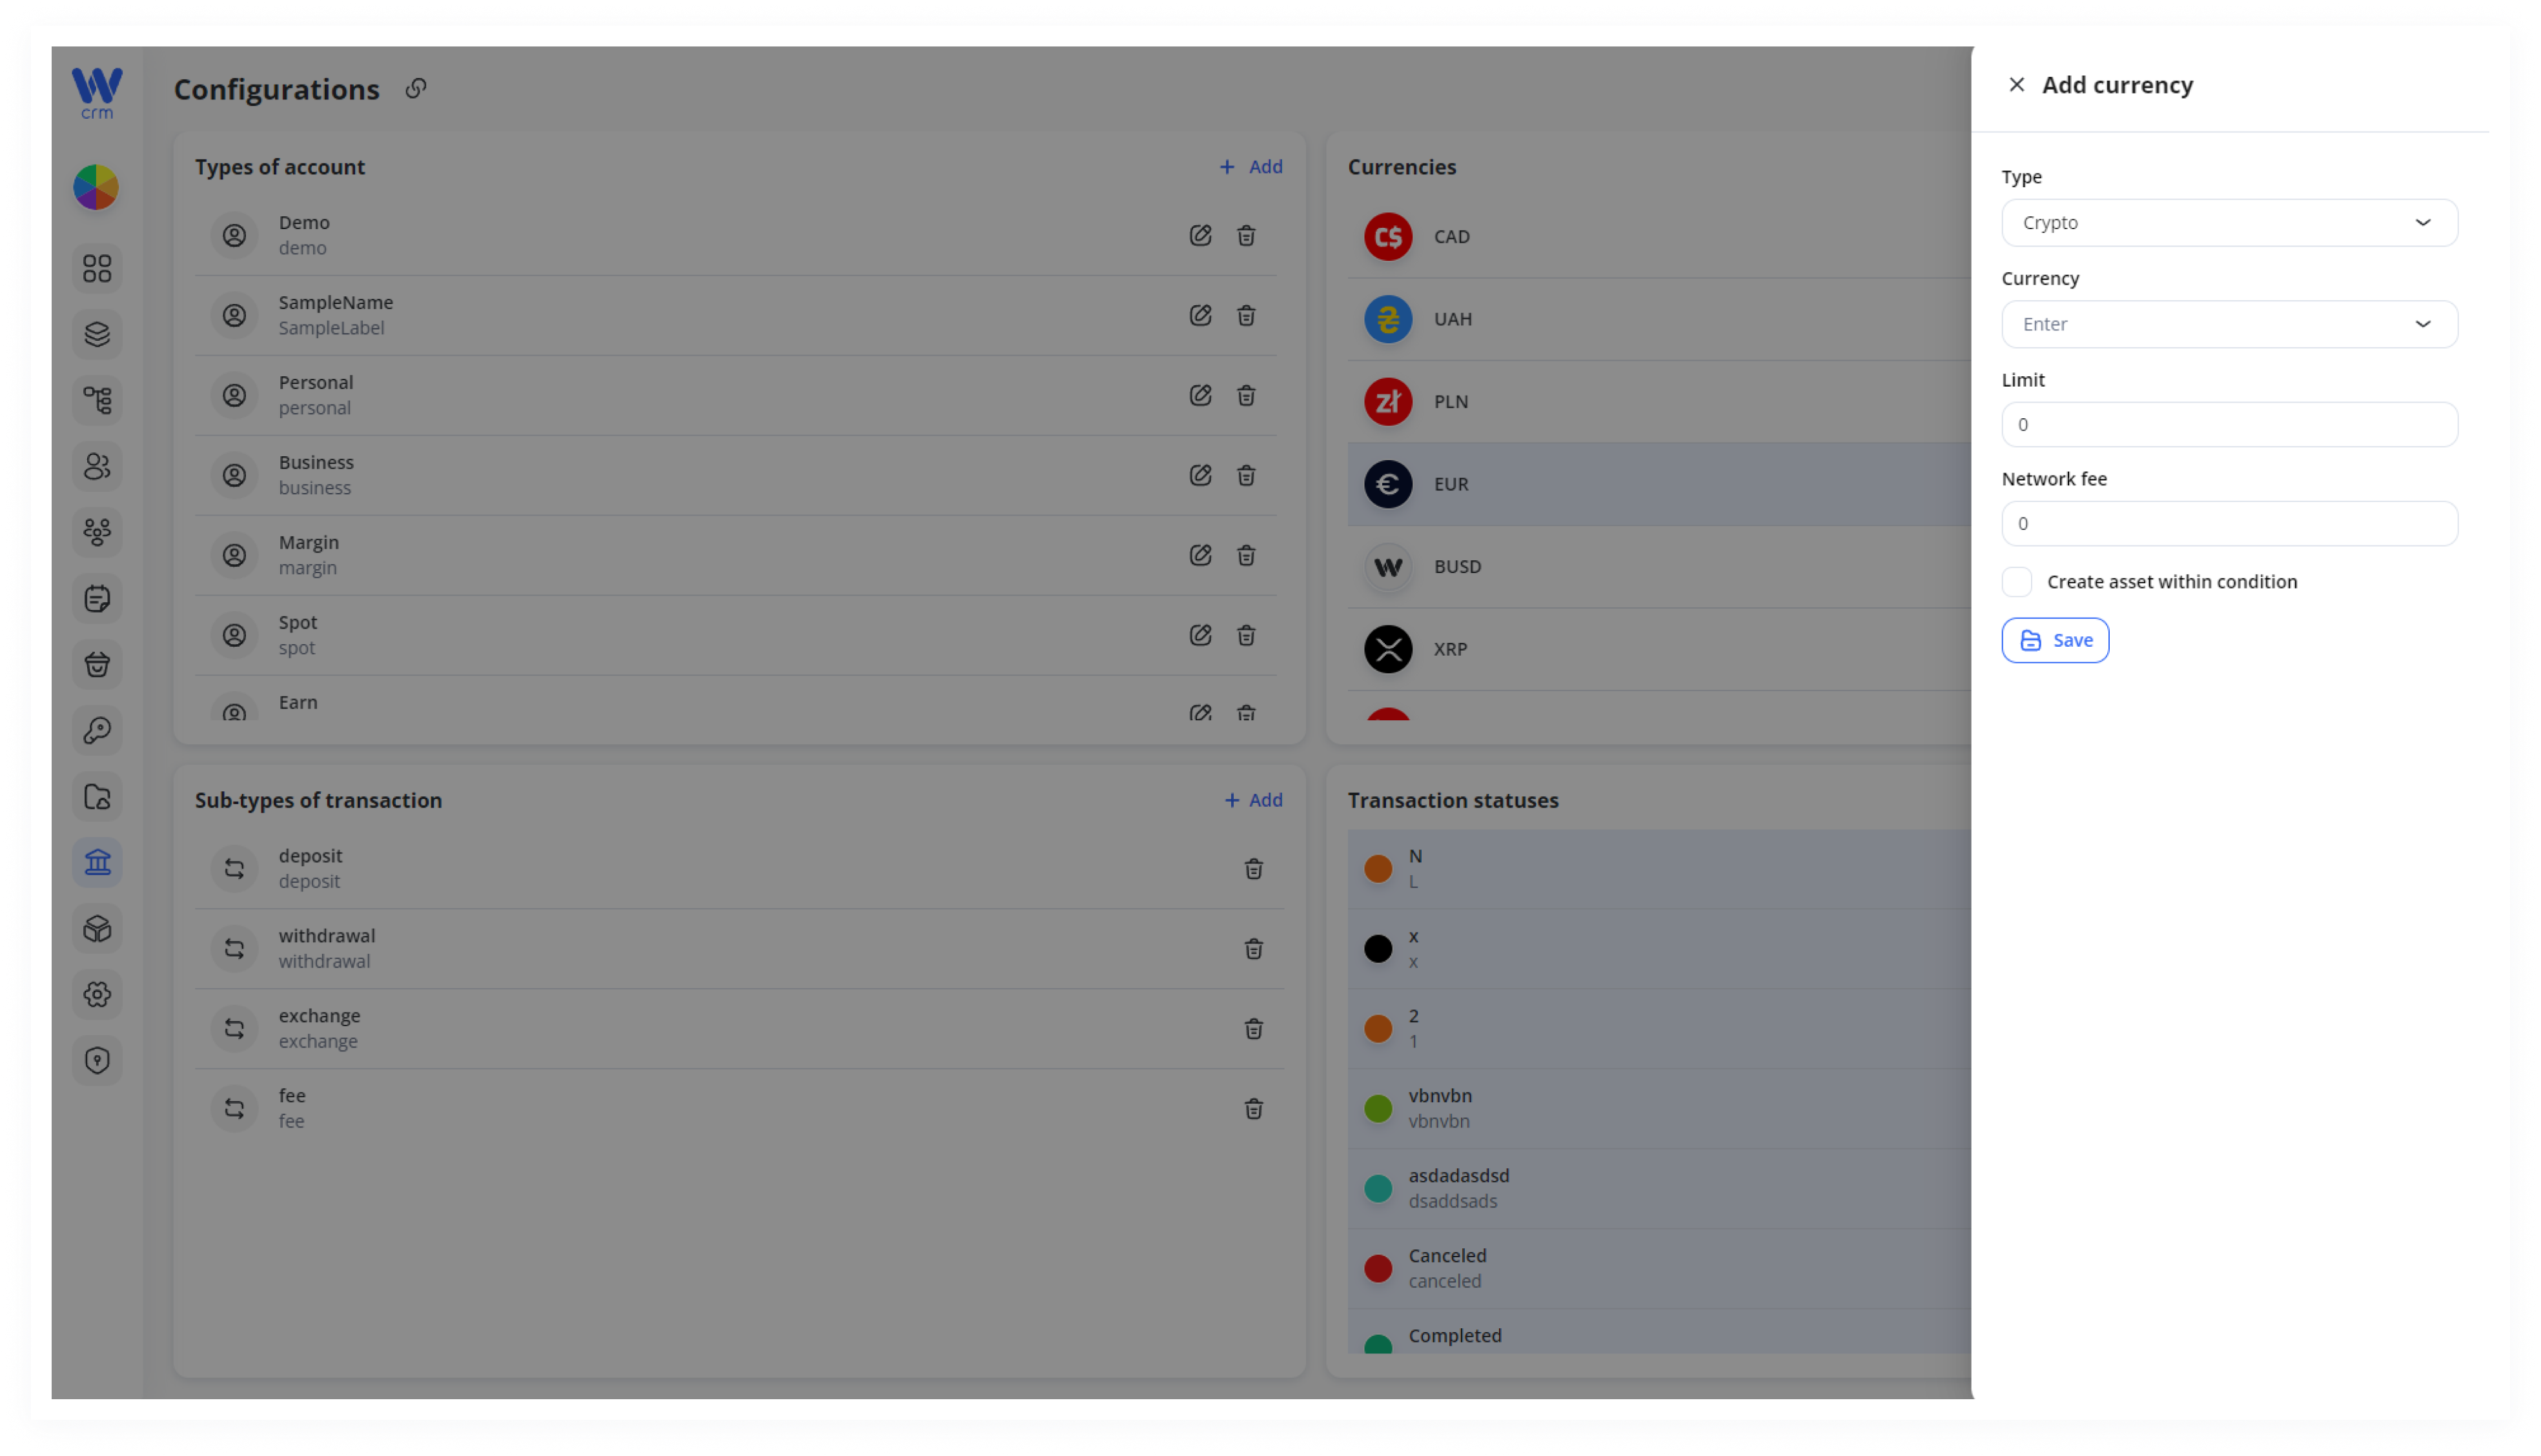
For cryptocurrencies, you can also specify a Limit (minimum amount to process) and a Network fee. Transactions below the set limit will not be conducted, and the specified network fee (e.g. ERC20 for USDT) will be charged additionally for the transaction.
4. For Custom currencies, enter a Name, Label (unique ID), and an optional Description.:
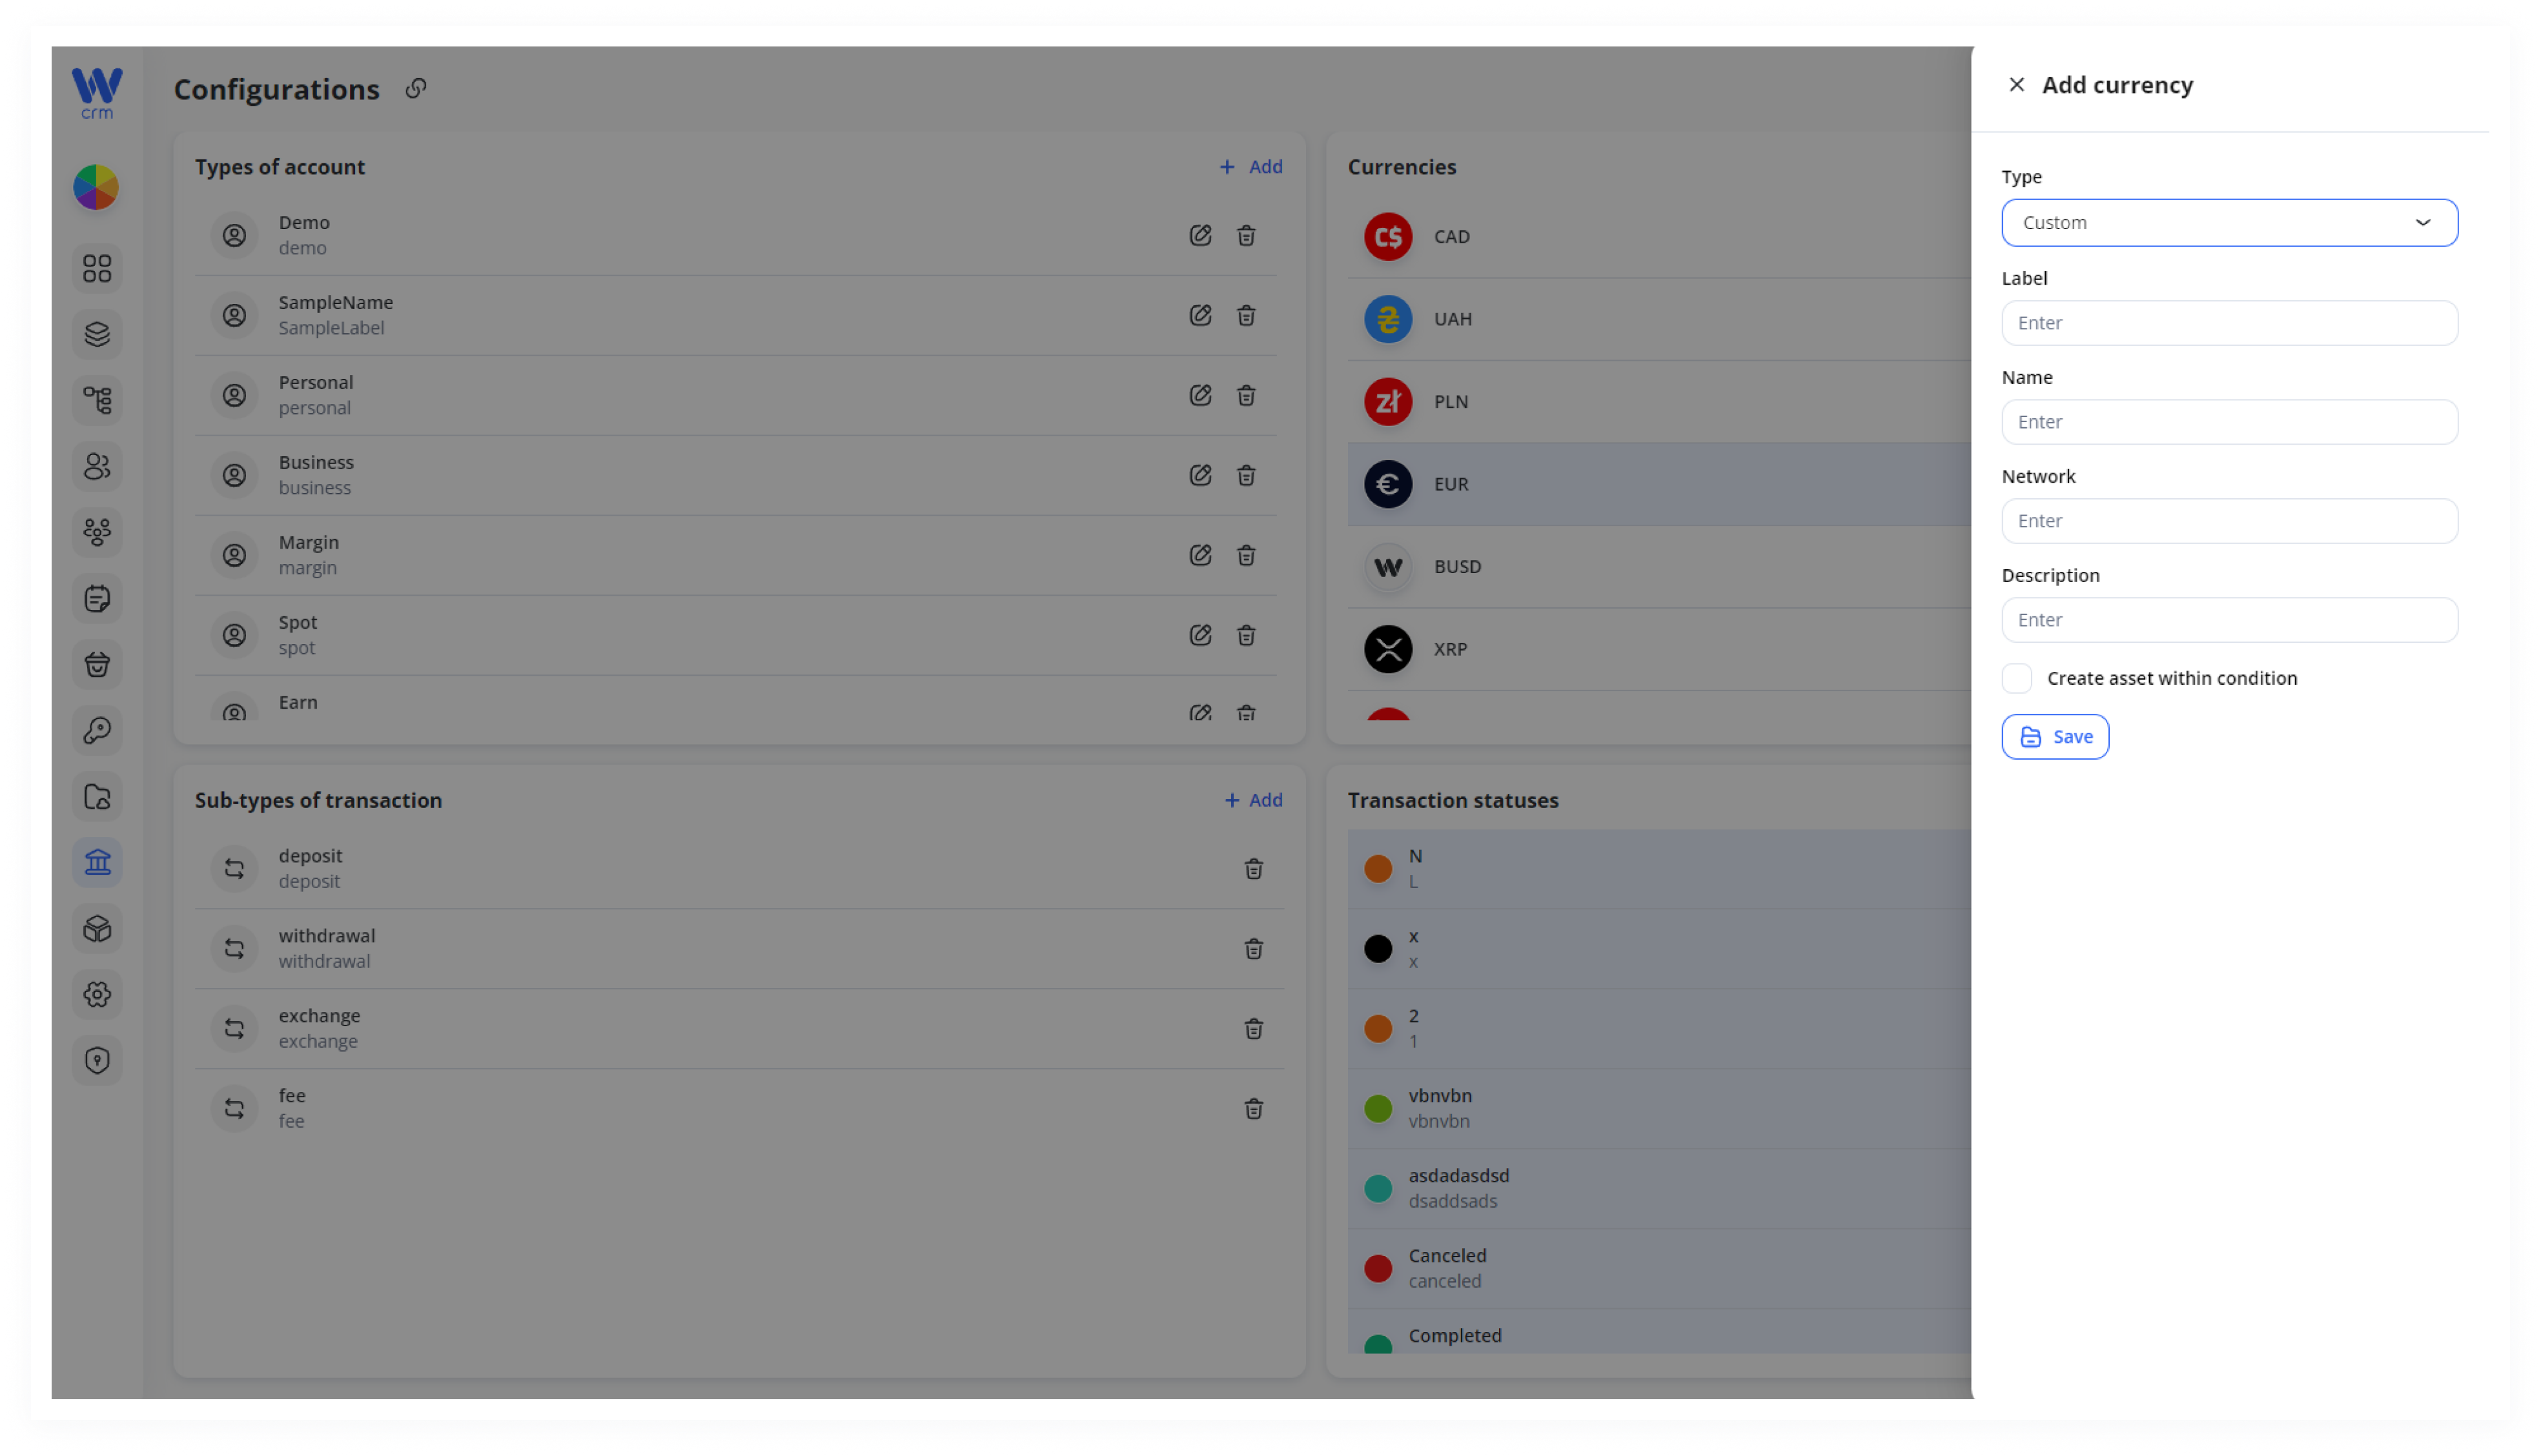
- Enter Label, Name, Network and Description as needed.
- Check Create asset within condition if you want the system to auto-generate token assets under your business rules.
5.3. Click Save.
4. applyEdit a currency
Click its pencil (✎) icon.
Adjust any parameters, then Save.
5. Delete a currency
Click its trash-can icon and confirm.
You cannot delete the changes.one marked Default unless you first choose a different default.
To add a sub-typetypes of transaction:transaction
(Helps you categorize “In” vs. “Out” further—e.g. Exchange, Fee.)
1. Locate the Sub-types of transaction panel at bottom-left.
2. Add a sub-type
1.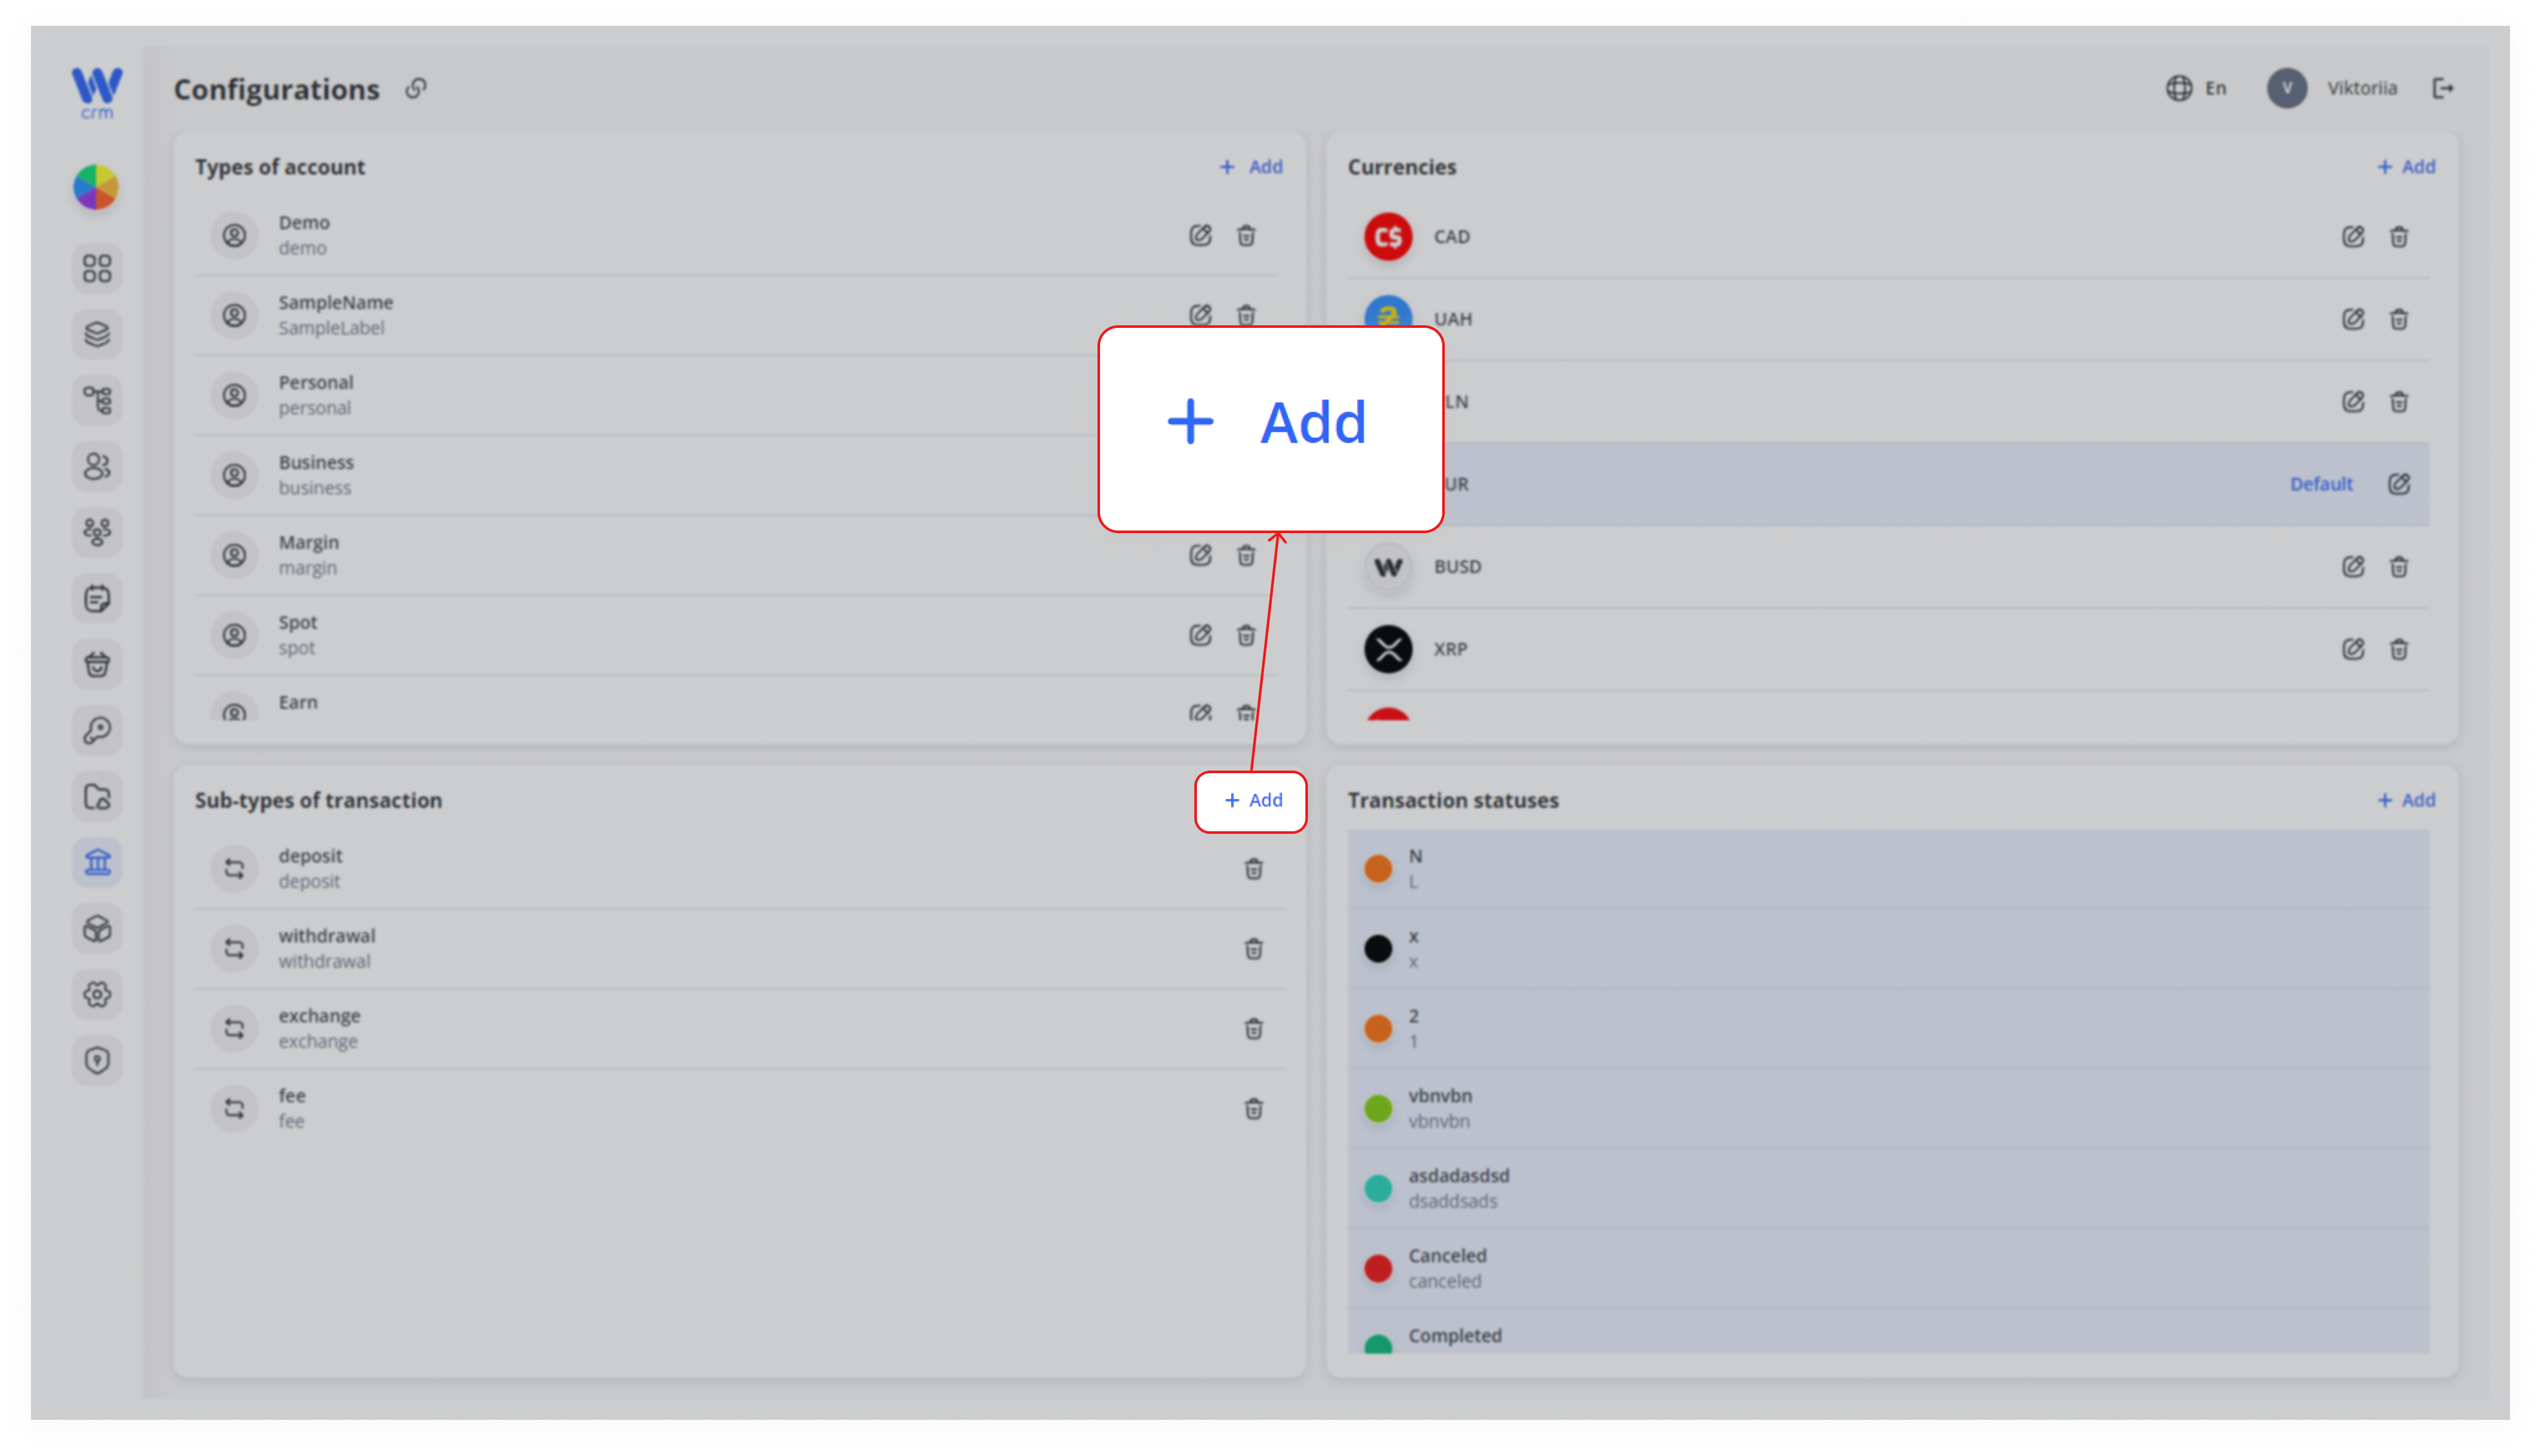
- Click
on thebuttonin theupper-rightpanelcornerheader. - Enter a Label (machine ID) and
aName (display text).
2.
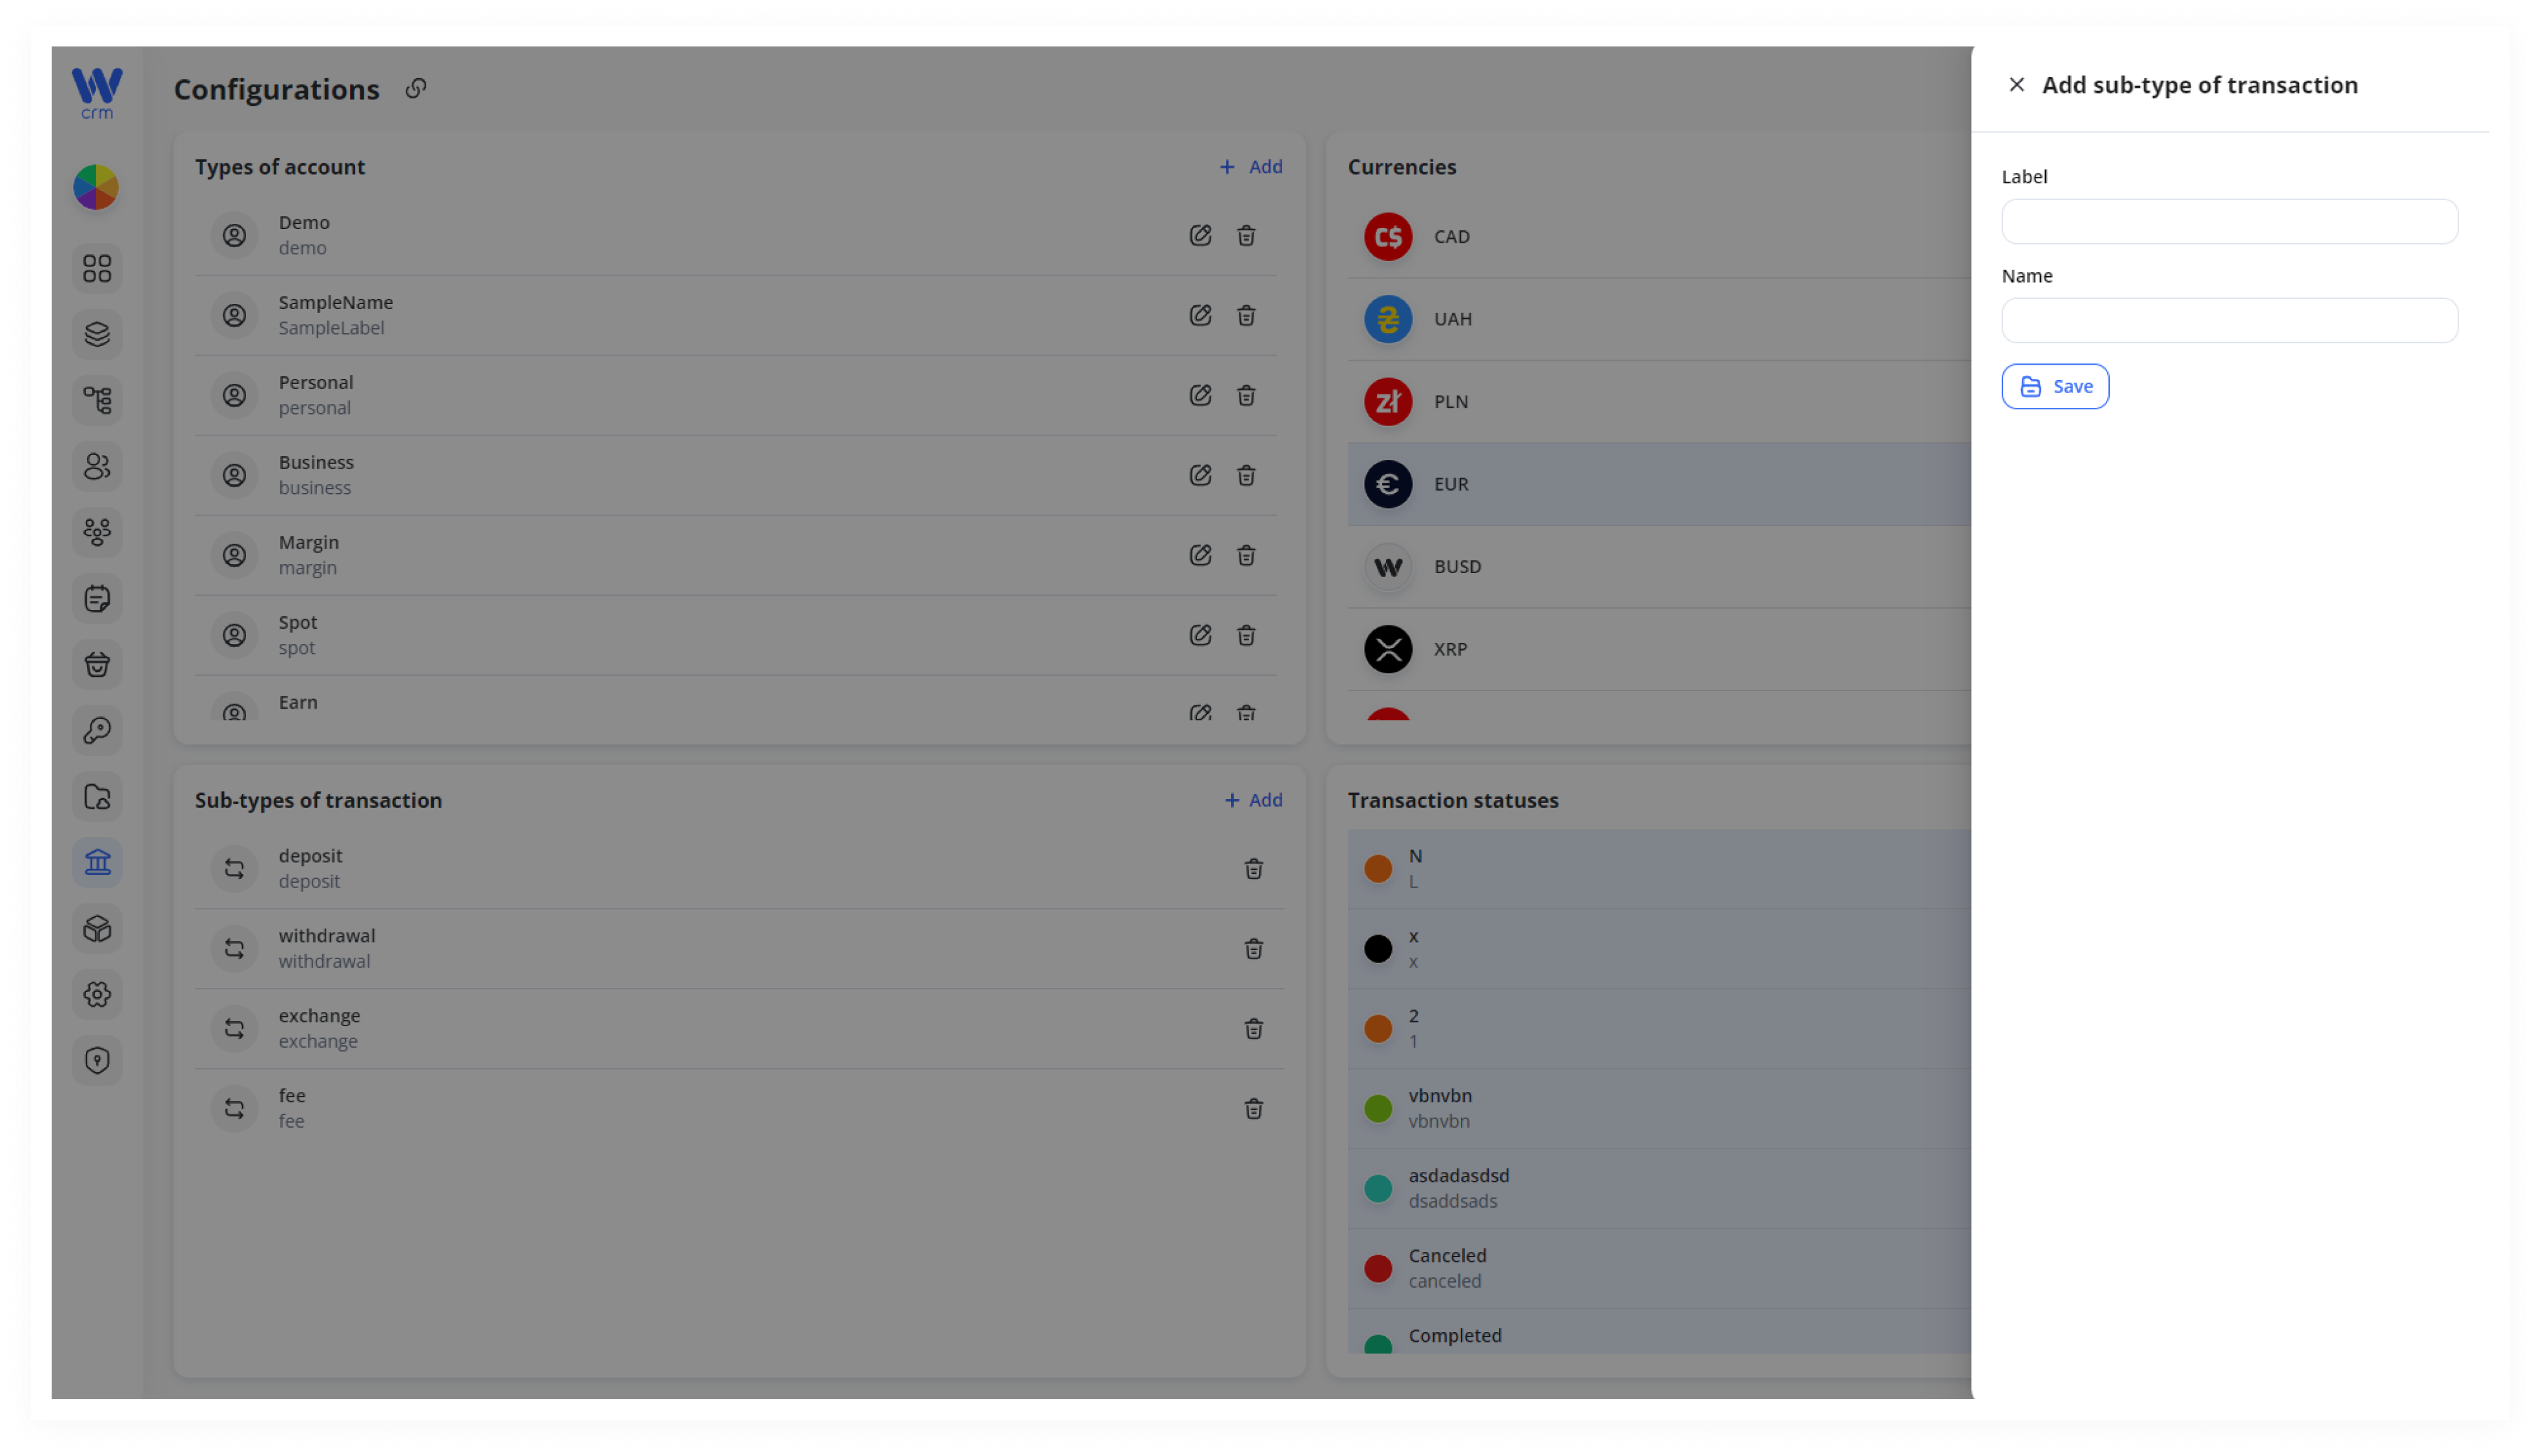
3. Click Save.
4. Delete a sub-type
Click the trash-can icon next to applyany thenon-default changes.entry.
Note:
you cannot edit existing sub-types.
To add a transaction status:status
(Tracks each transaction’s lifecycle: Pending, Completed, etc.)
1. Click on the Add button inFind the Transaction statuses panel at bottom-right top corner of the Transaction statuses section.
2. Add a status
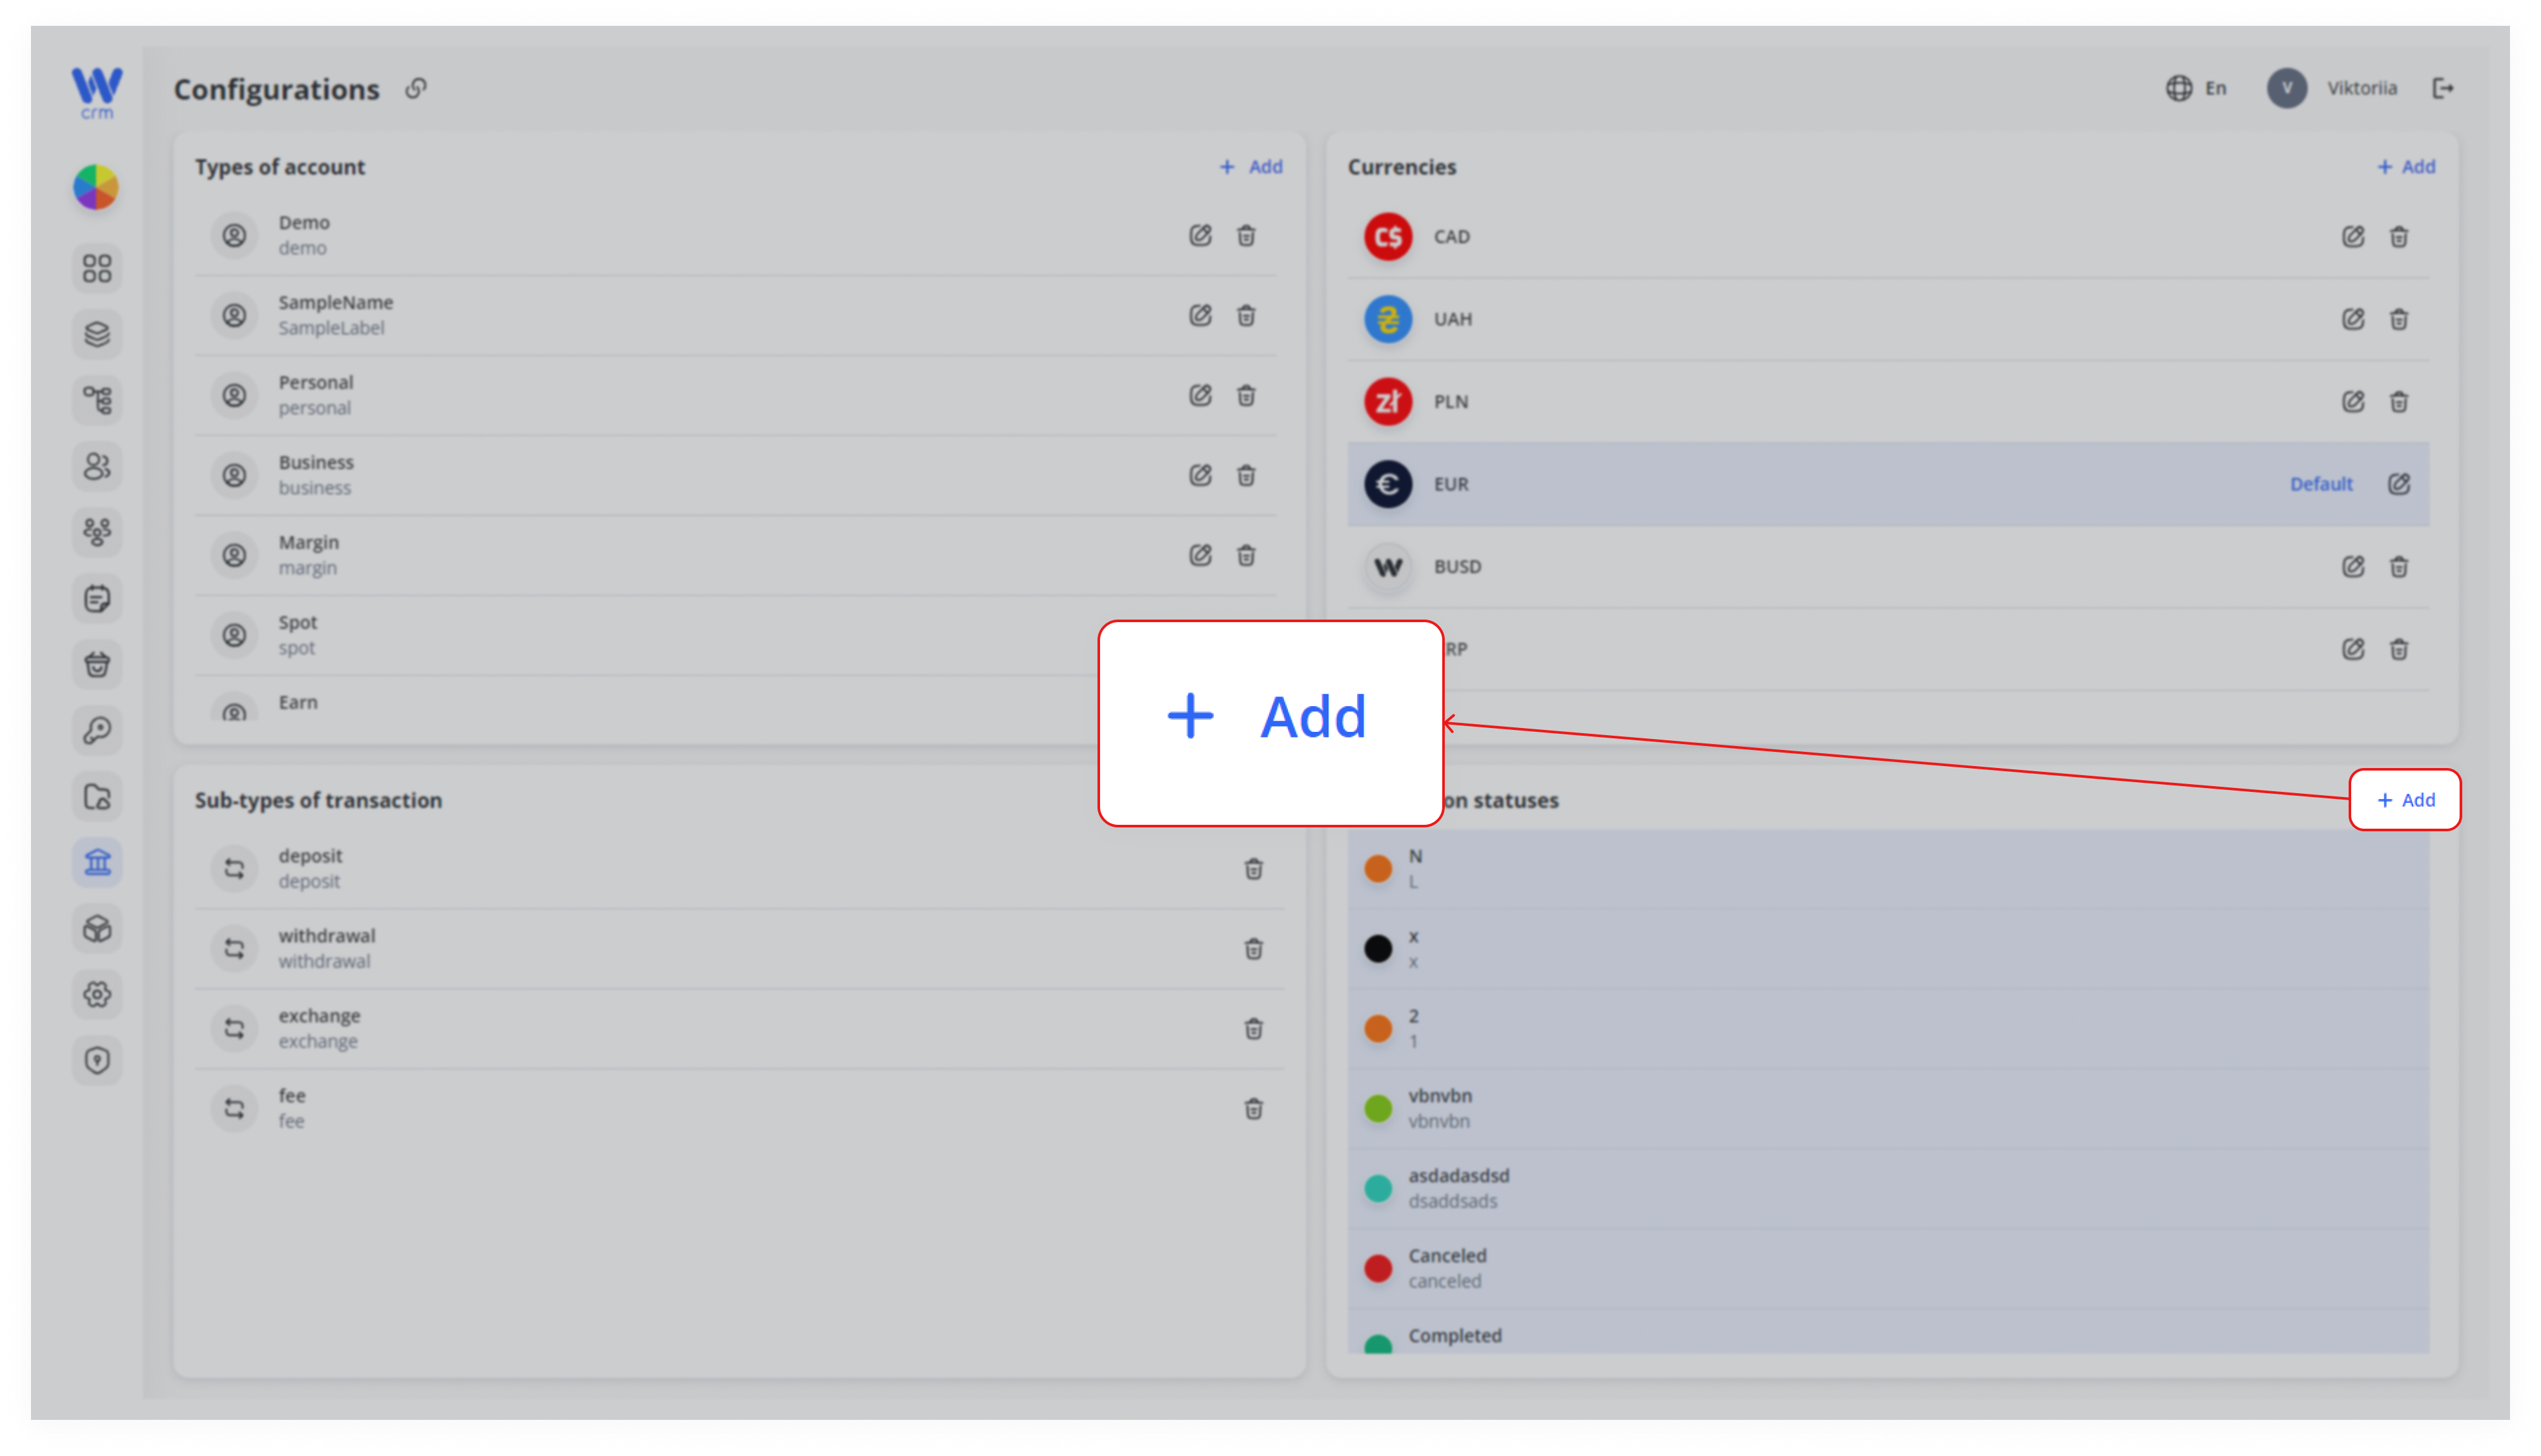
2.Click Enter a LabelAdd and a Name.
3. Optionally, select a color and choose whether to setin the statuspanel as default by checking the corresponding box.header.
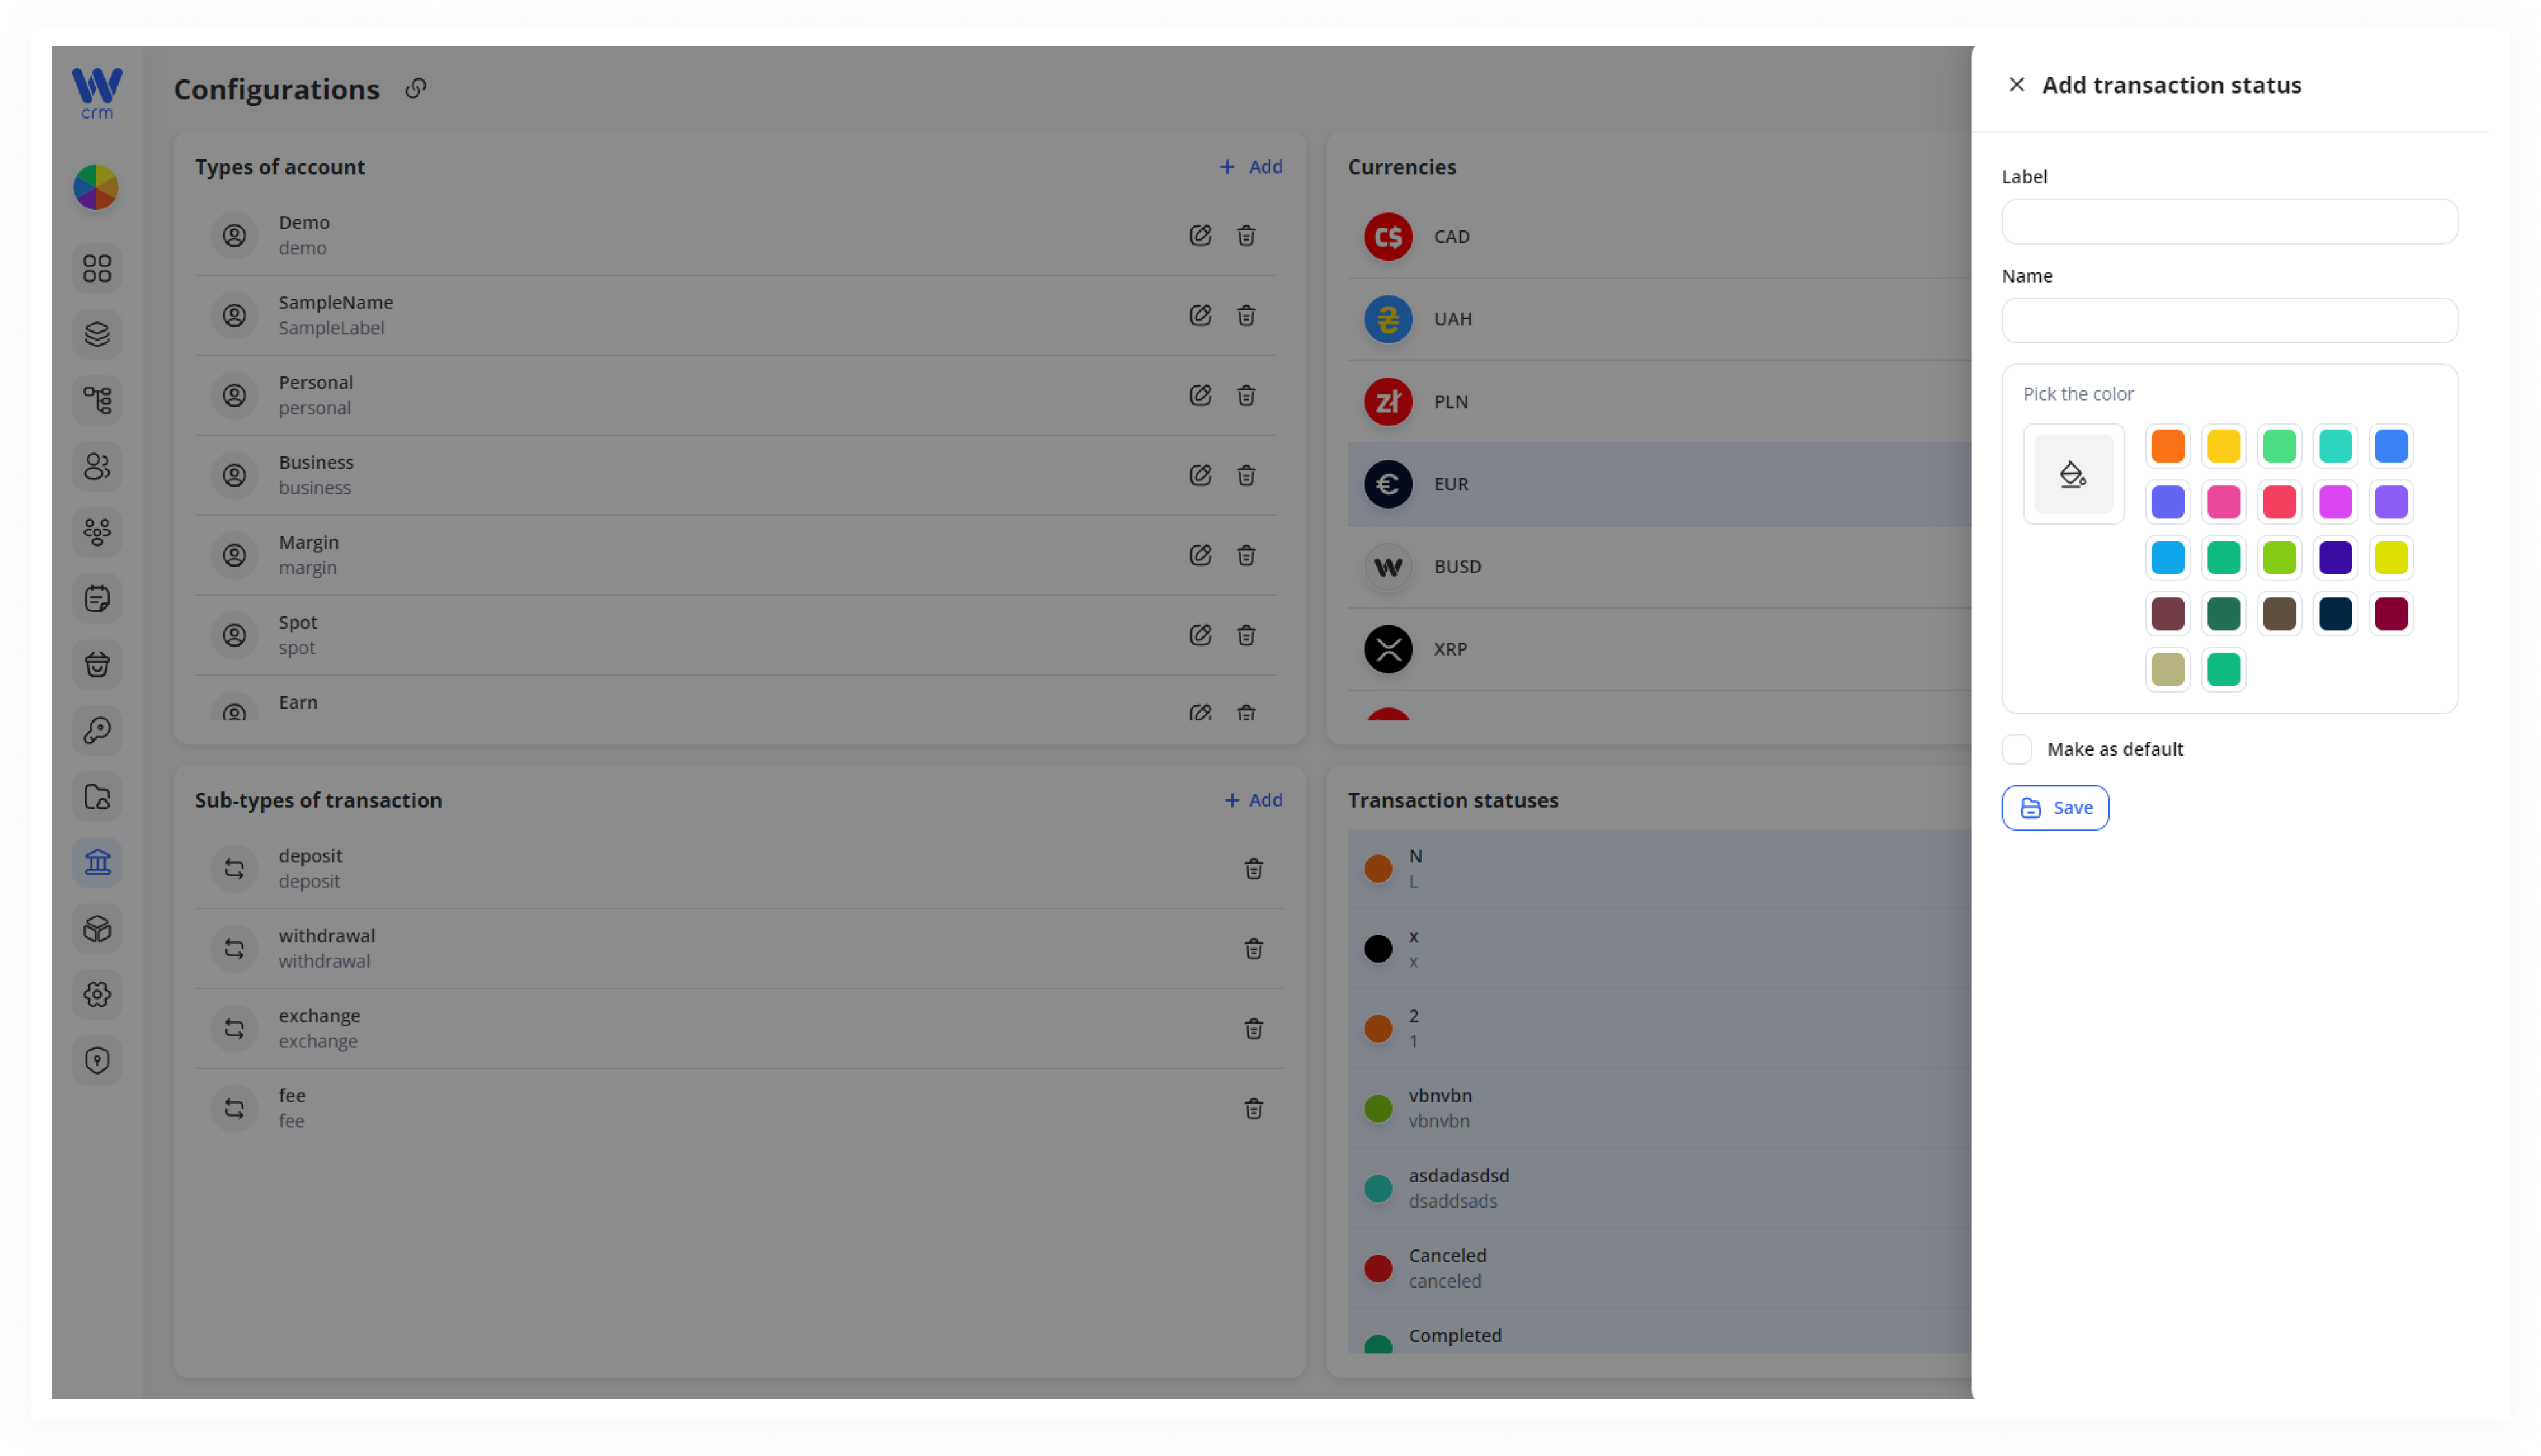
4. Click Save to applyIn the changes.
To edit an item:drawer:
- Label
Clickand Name for your new status (e.g.reversed/ “Reversed”) - Color: pick from the palette for easy visual scanning.
EditMake as default:iconcheck this to have new transactions start inthethiscorresponding row.
Note:3. Editing is not available forClick Sub-types of Transactions and Transaction StatusesSave.
To4. deleteDelete ana item:status
-
Click
theits trash-can icon.Note: default system statuses (e.g. Pending, Completed) cannot be deleted.
Each time you Add, Edit, or Delete
icononeinof these items, thecorresponding row.
Note: Deletionchange is noteffective availableimmediately foracross defaultall TransactionWBCS Statuses.Core Banking operations—no system restart required.
By tailoring account types, currencies, transaction sub-types and statuses to your organization’s needs, you ensure that every ledger entry, API call and report aligns precisely with your business logic and compliance requirements.