
2. General Settings: How to Configure Core Banking
To configure the general settings for Core Banking, open the Configurations tab.
This tab includes four sections, where you can add, edit, or delete items:
-
-
Types of Account: Customize account types (e.g., Business, Personal, Crypto, Fiat). These account types can later be selected when creating accounts through the Accounts module.
-
Currencies: Define the currencies and networks (for cryptocurrencies) that will be processed by the system, such as USD, USDT, BNB, etc. Without defining currencies here, you will be unable to perform many activities in the CRM: e.g. to set company commissions for different transaction types or to add assets to customer accounts.
-
Sub-types of Transactions: While the system has two main transaction types — In and Out — you can add sub-types for further classification. By default, sub-types like Exchange, Withdrawal, and Deposit are included. You can also create additional sub-types here based on your custom logic.
-
Transaction Statuses: Track the current state of transactions, with default statuses like Pending, Processing, Completed, and Canceled. These statuses are predefined in our system, and we have the own logic to handle transactions with it. You can also add or modify custom transaction statuses here.
-
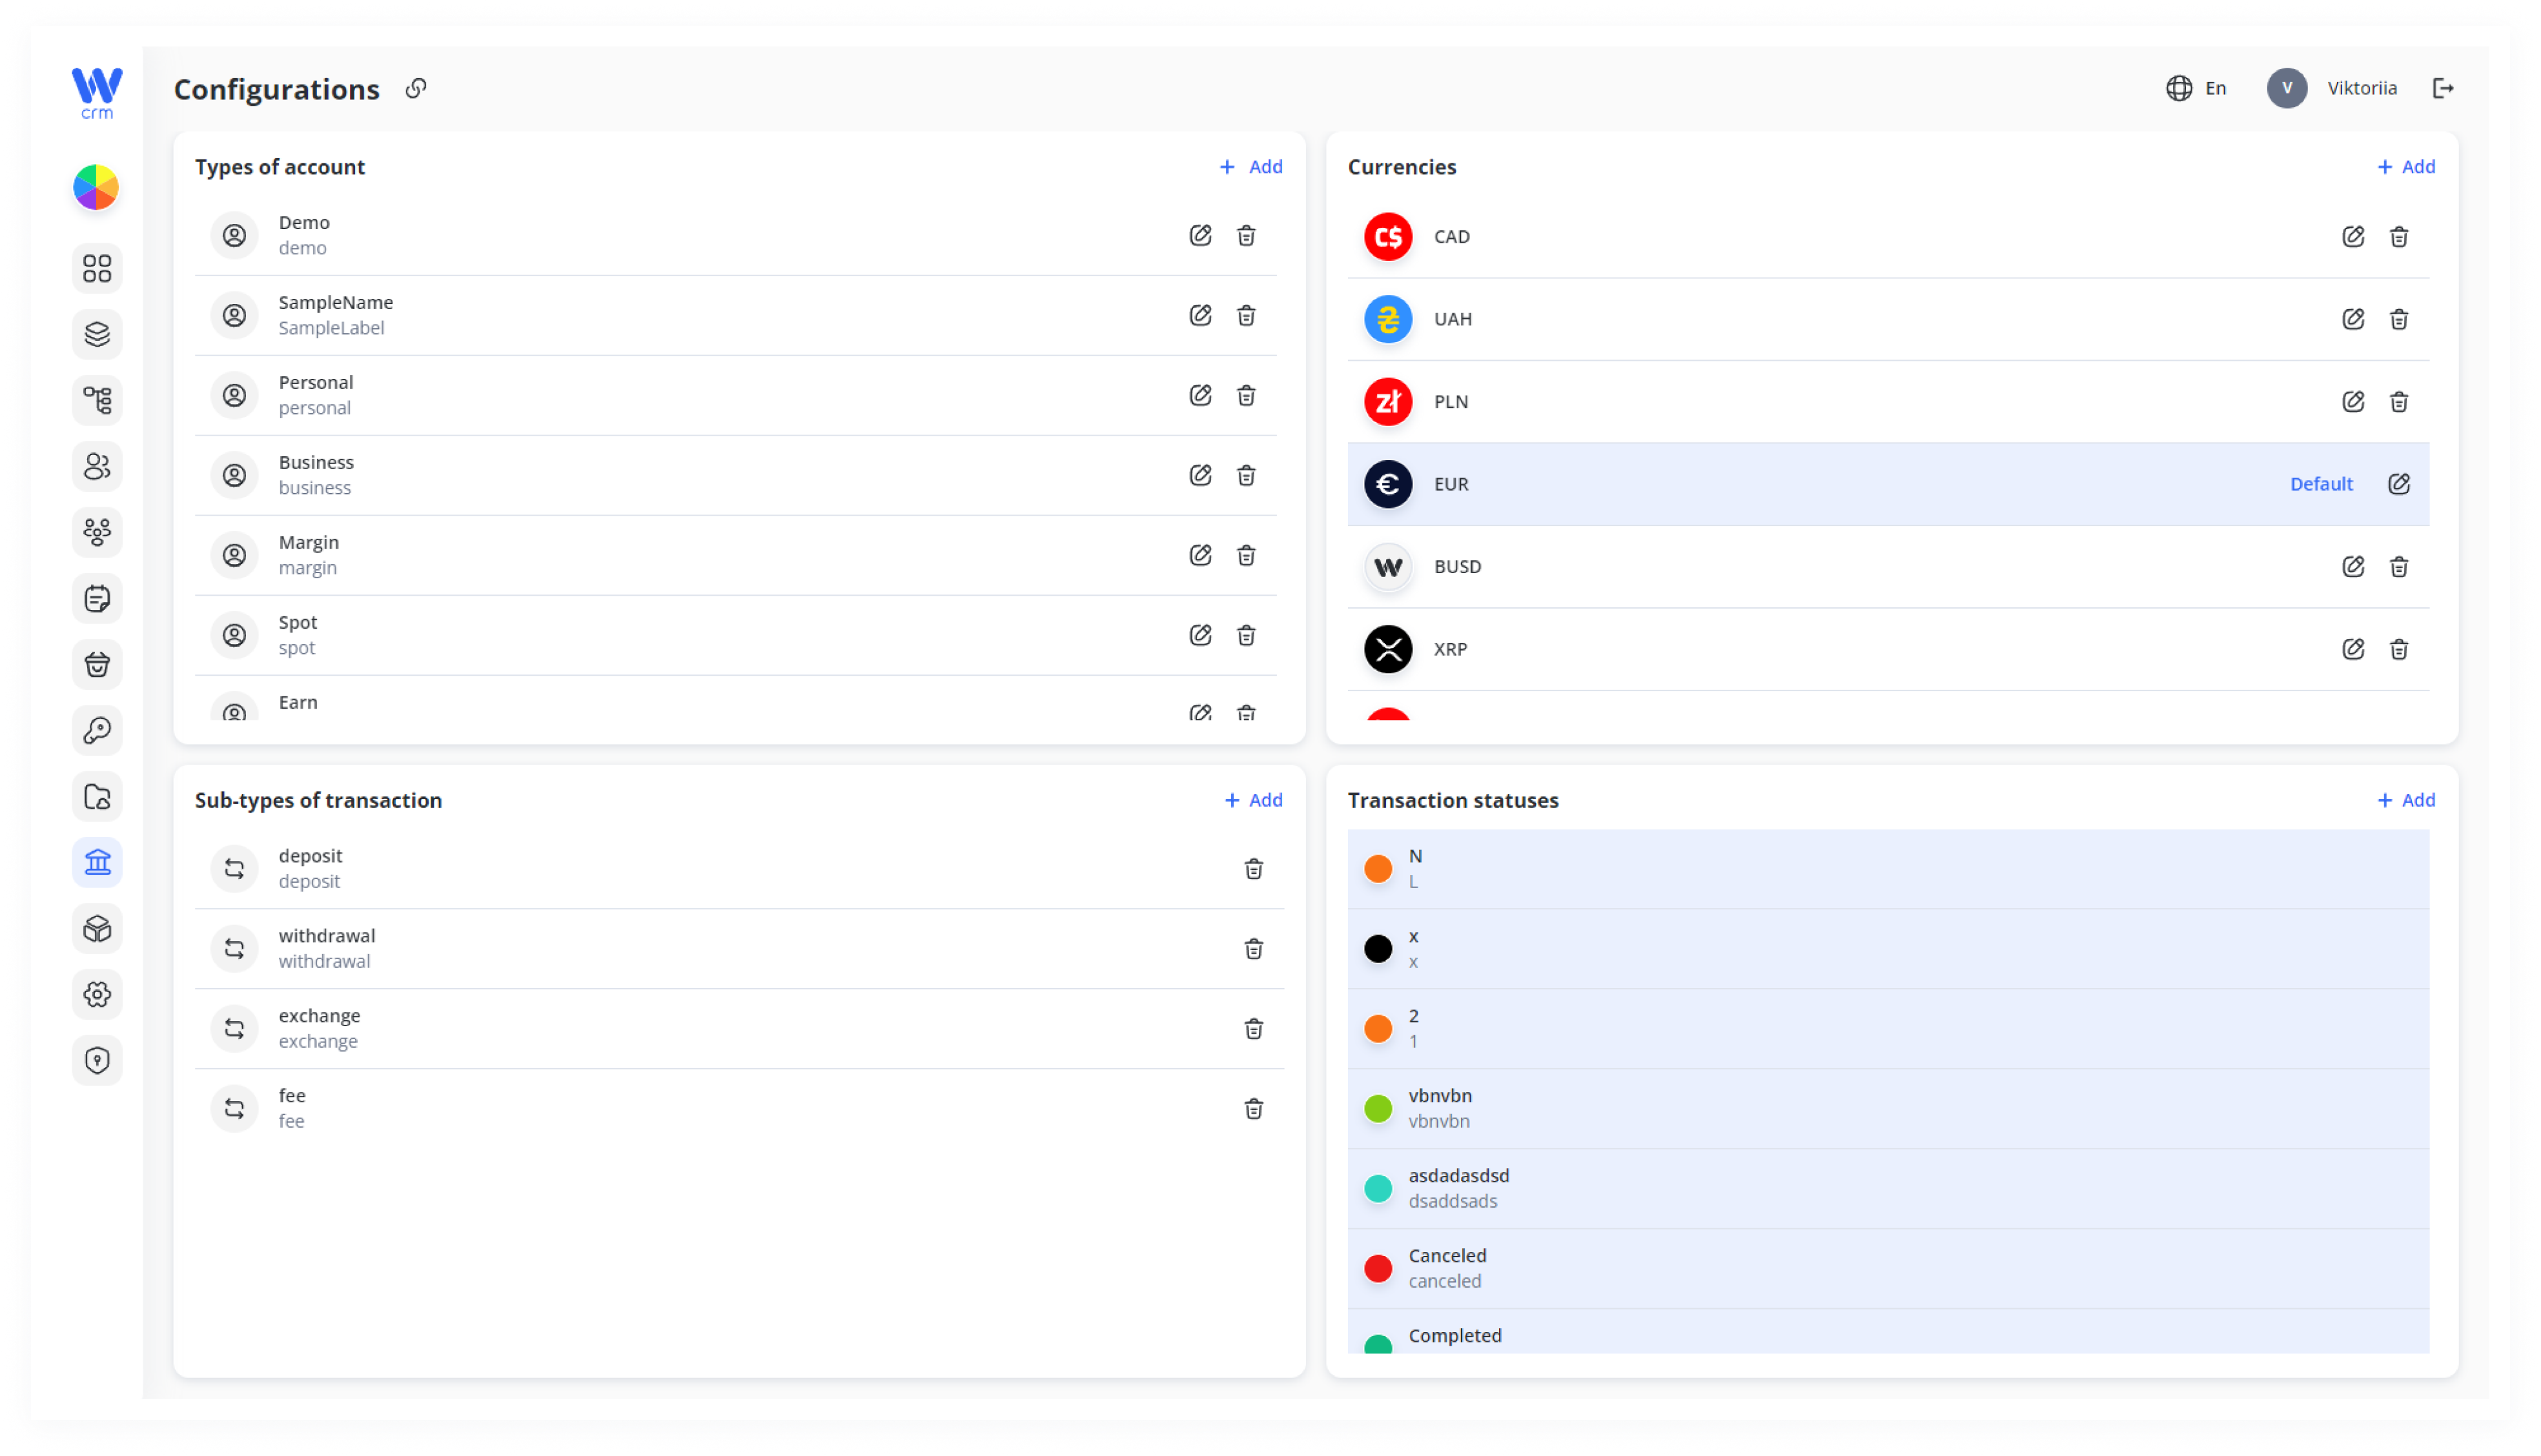
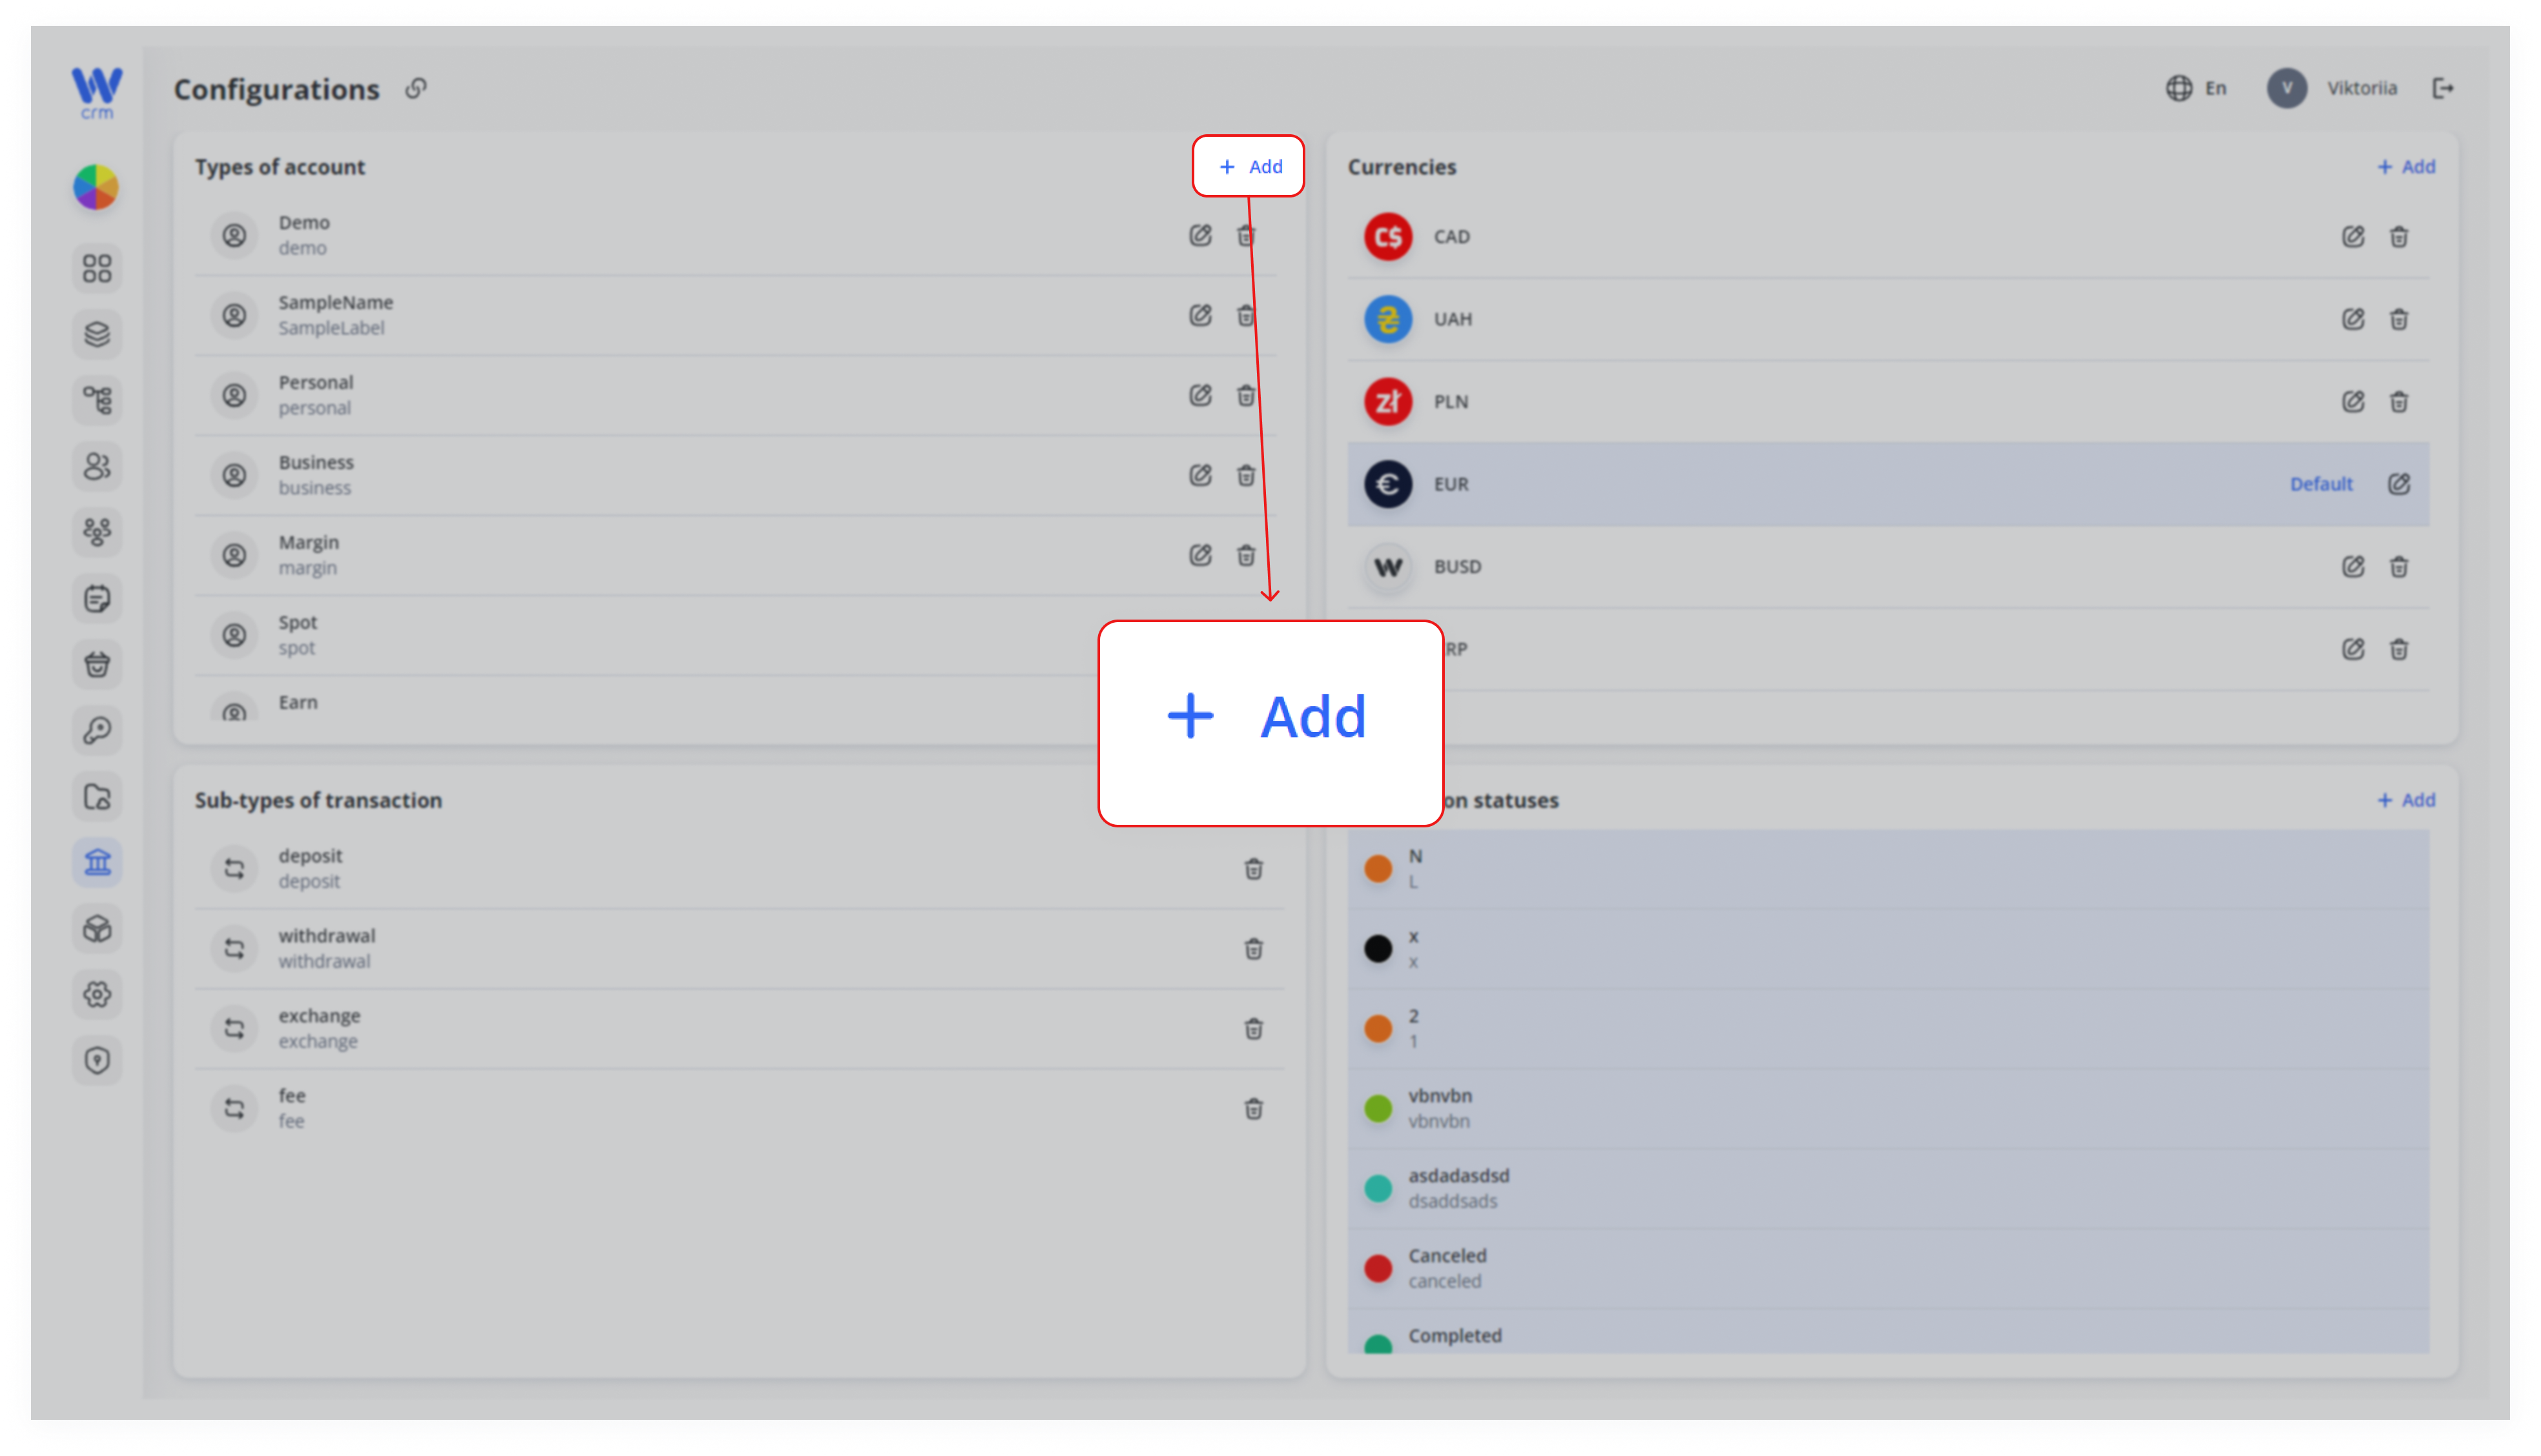
To add a type of account:
2. Enter a Label (a unique identifier for the type) and a Name.
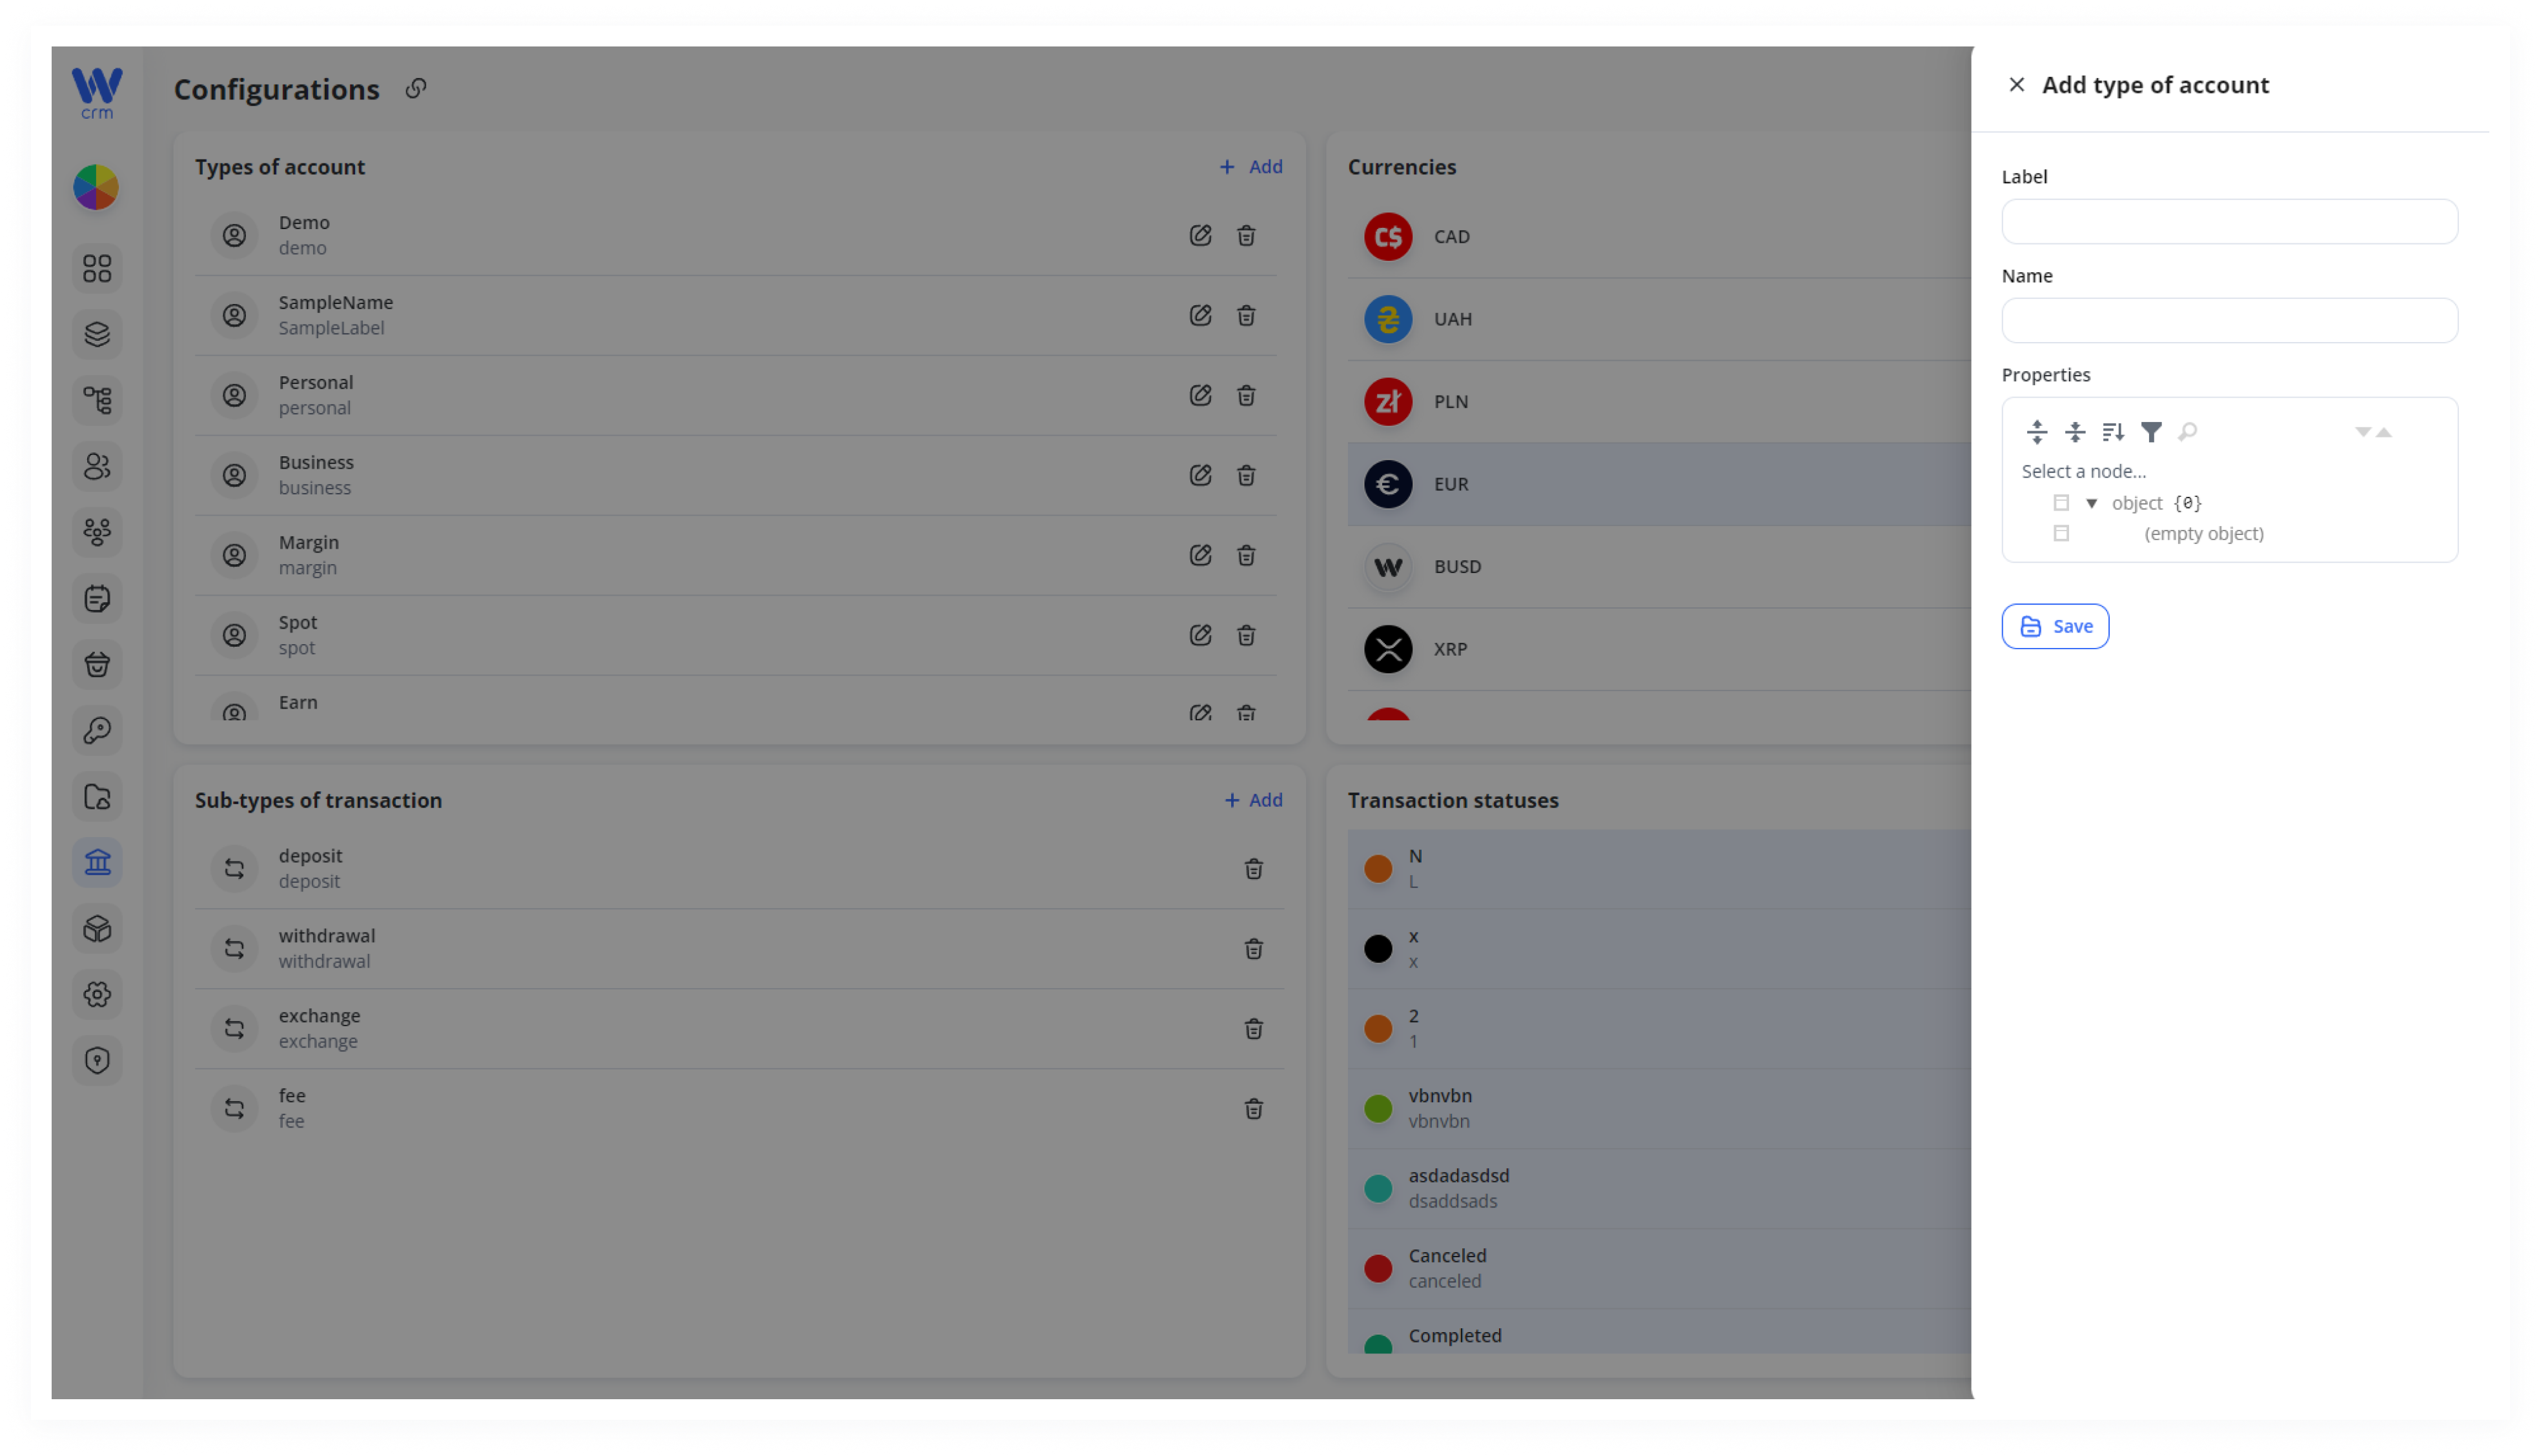
3. Optionally, add custom fields through the Properties block. The data entered here will be retrievable by the API for configuring custom logic.
4. Click Save to apply the changes.
To add a currency:
1. Click the Add button in the top right corner of the Currencies section.
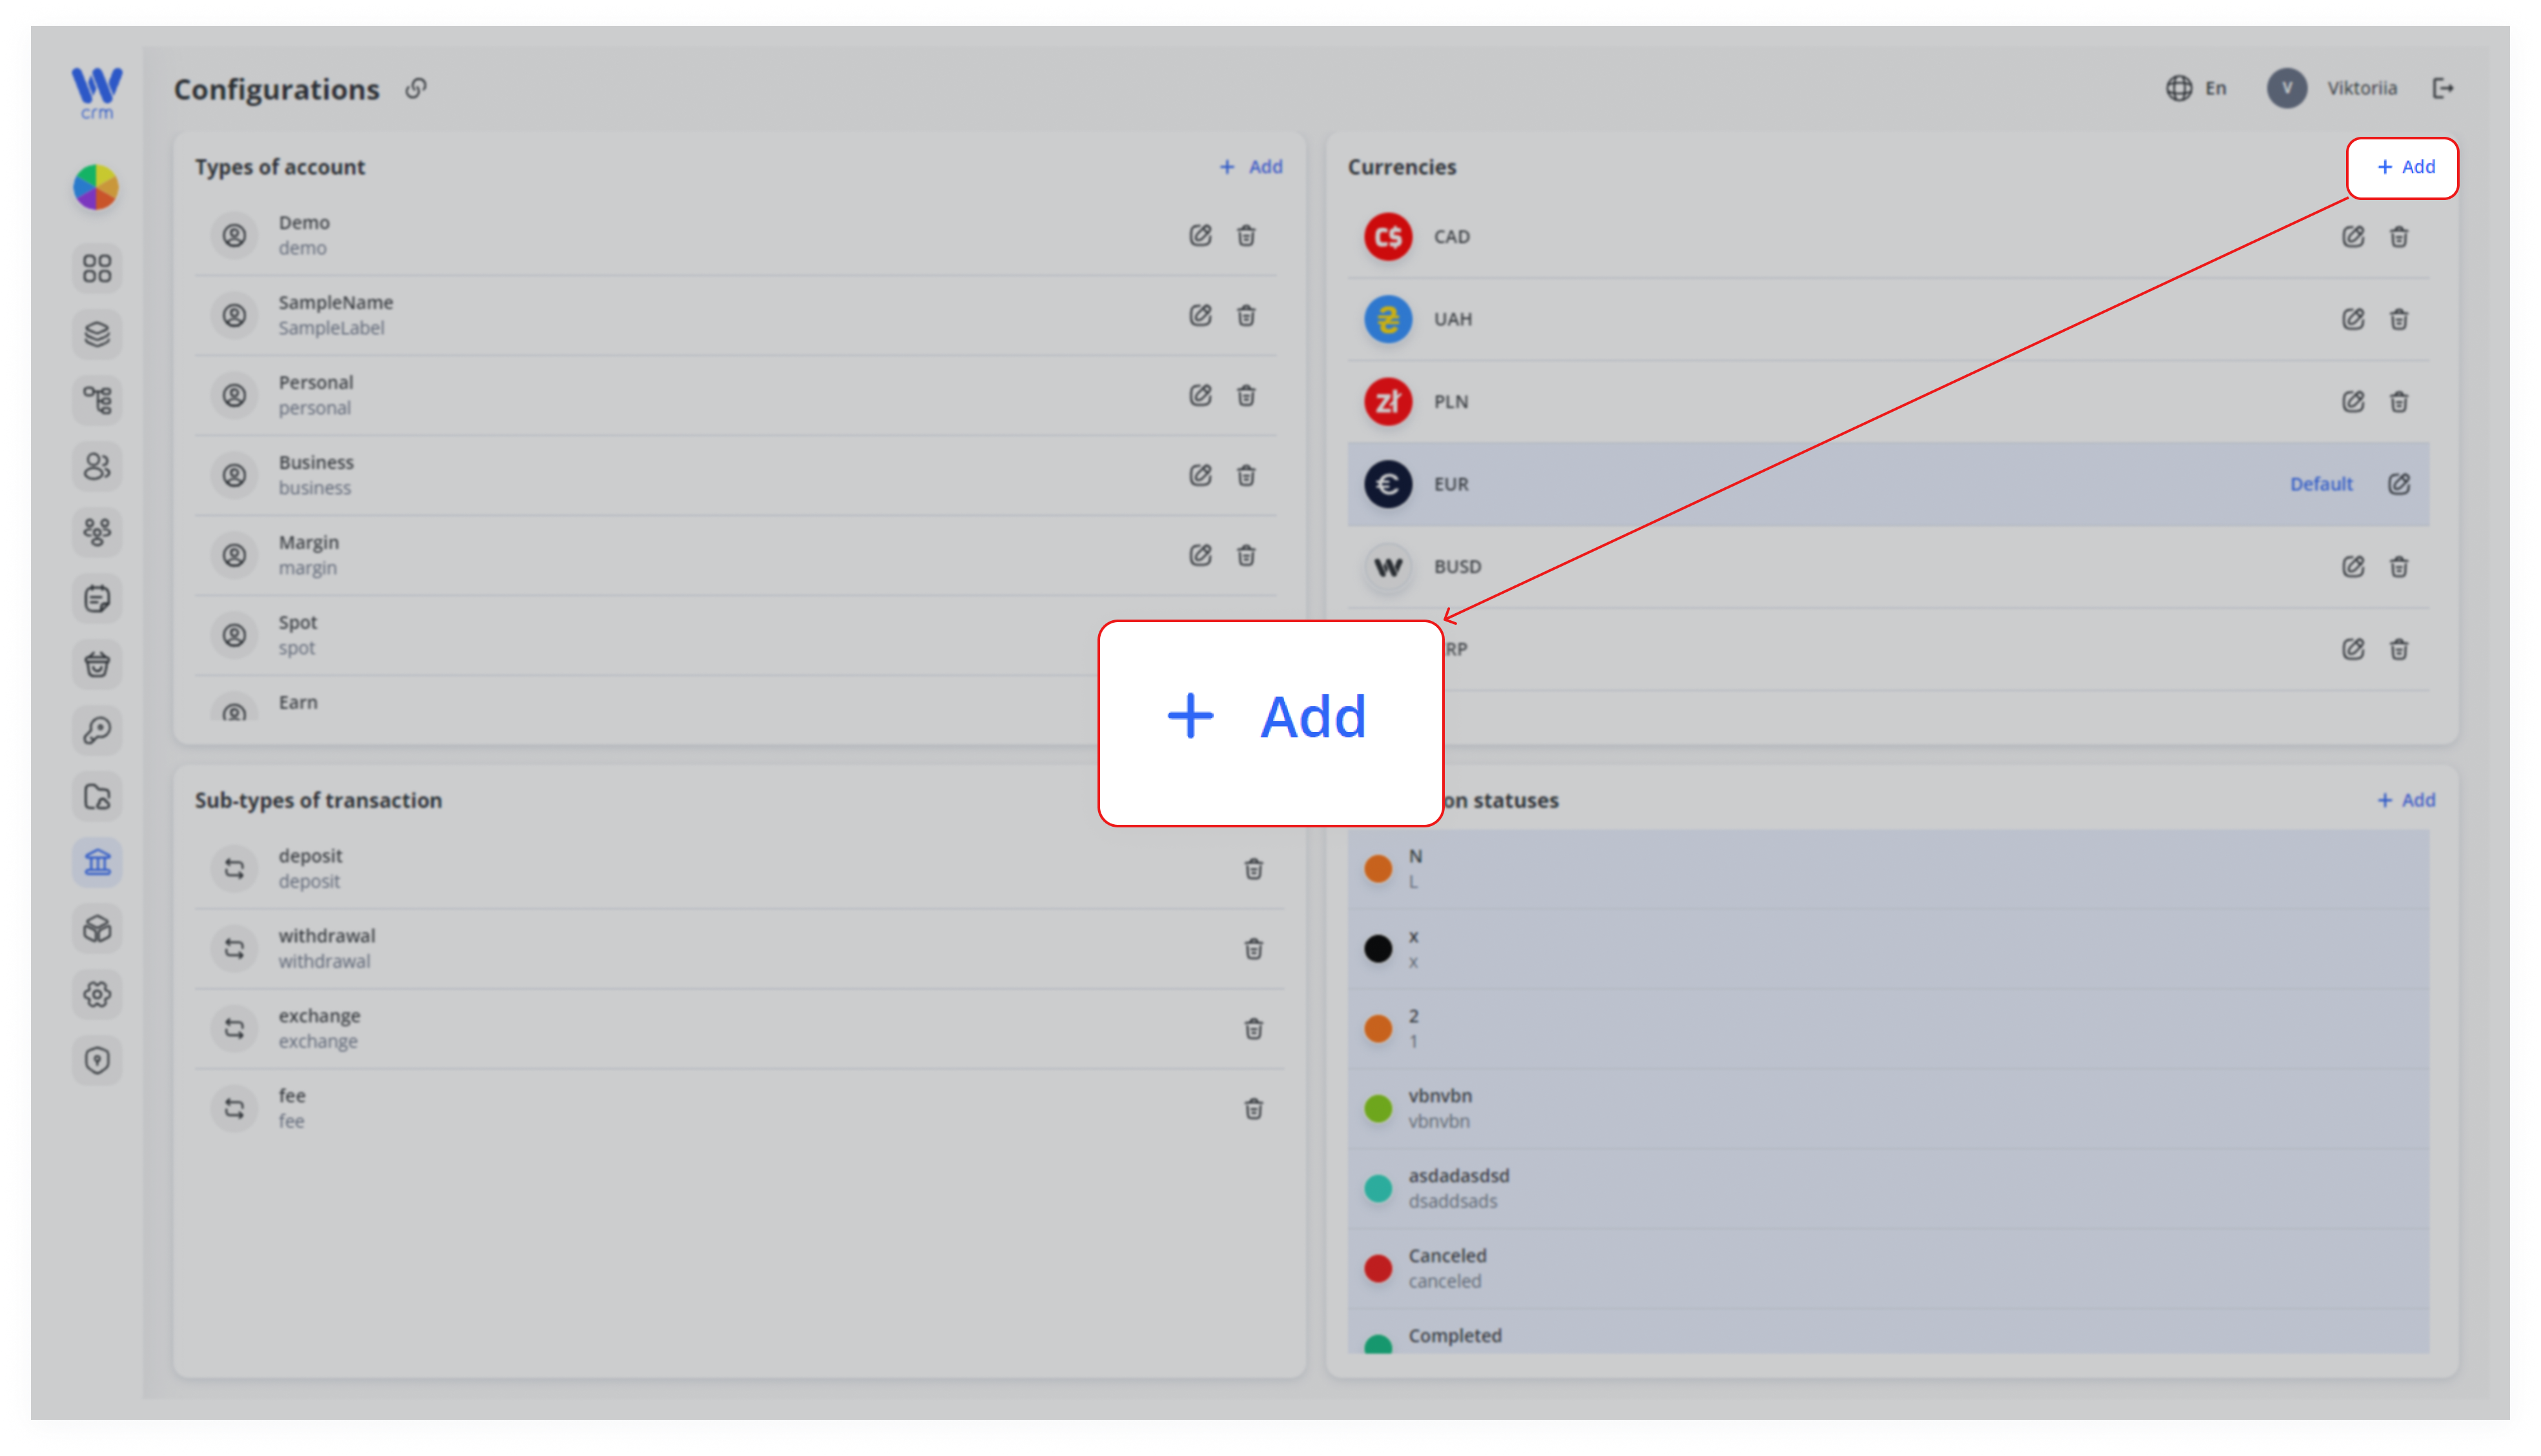
2. Select the type of currency (Fiat, Crypto, or Custom) from the drop-down menu.
3. For Fiat and Crypto, choose the specific currency from the list. For cryptocurrencies, you can also specify a Limit (minimum amount to process) and a Network fee. Transactions below the set limit will not be conducted, and the specified network fee (e.g. ERC20 for USDT) will be charged additionally for the transaction.
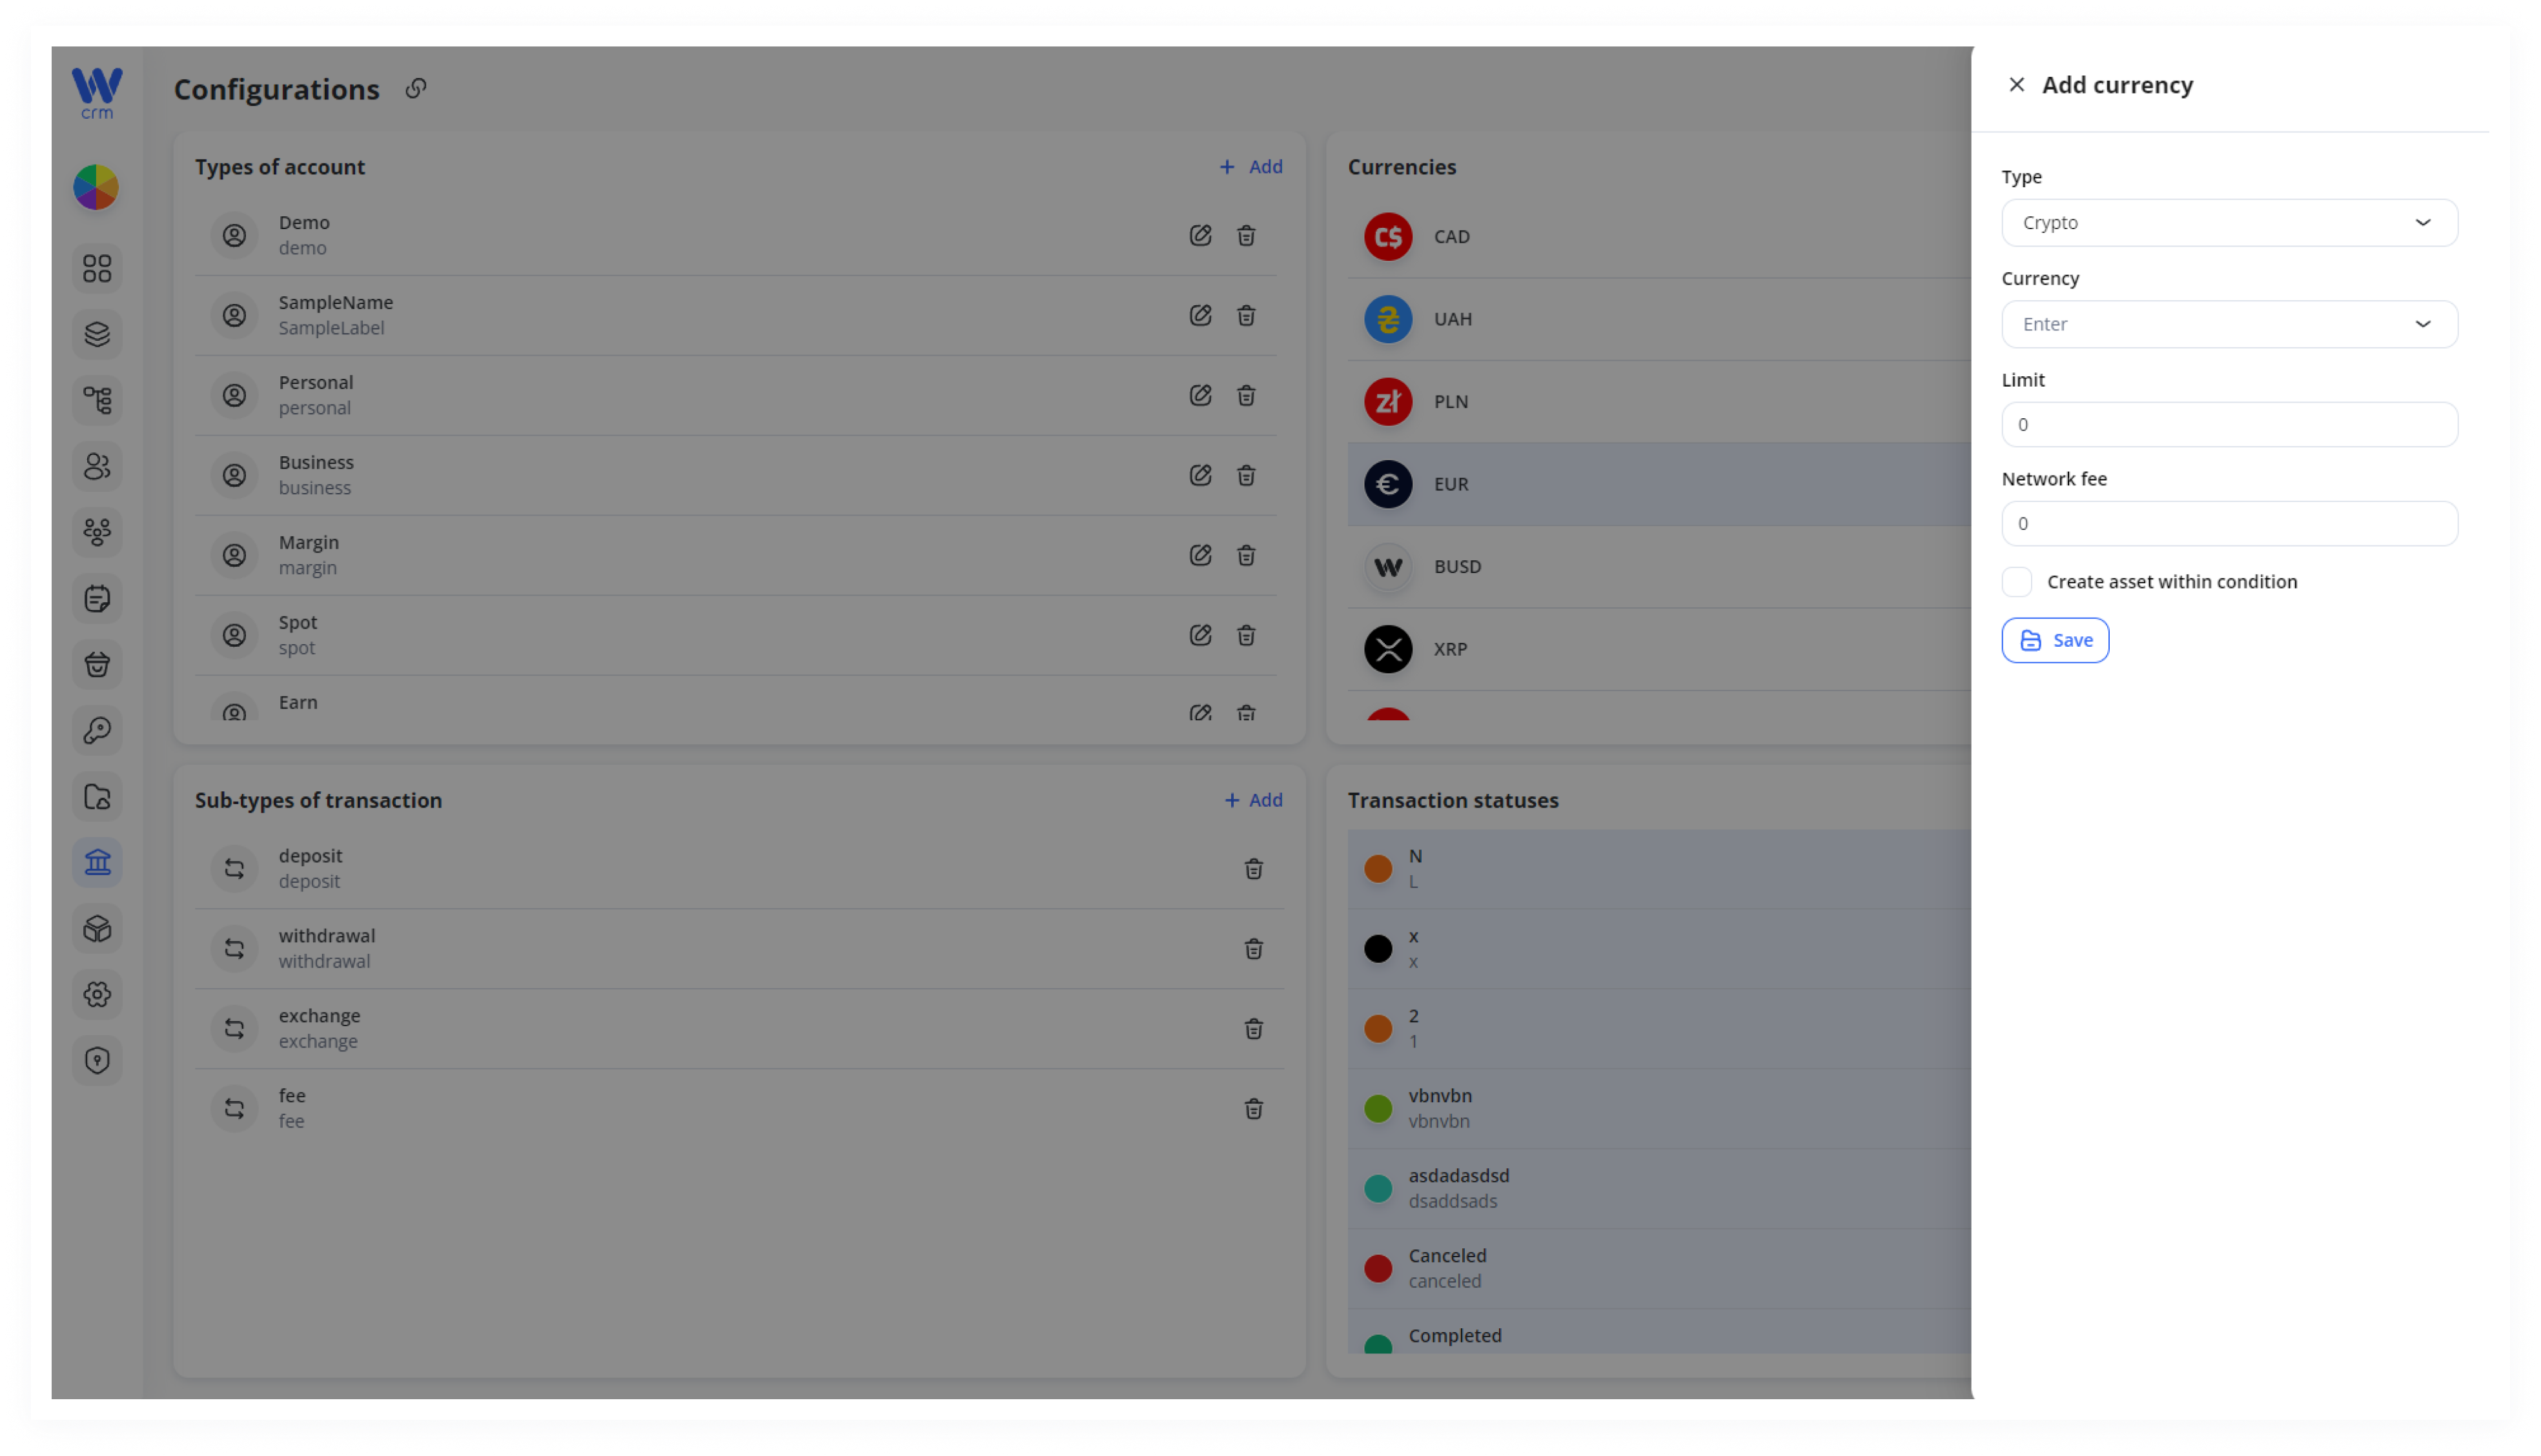
4. For Custom currencies, enter a Name, Label (unique ID), and an optional Description.
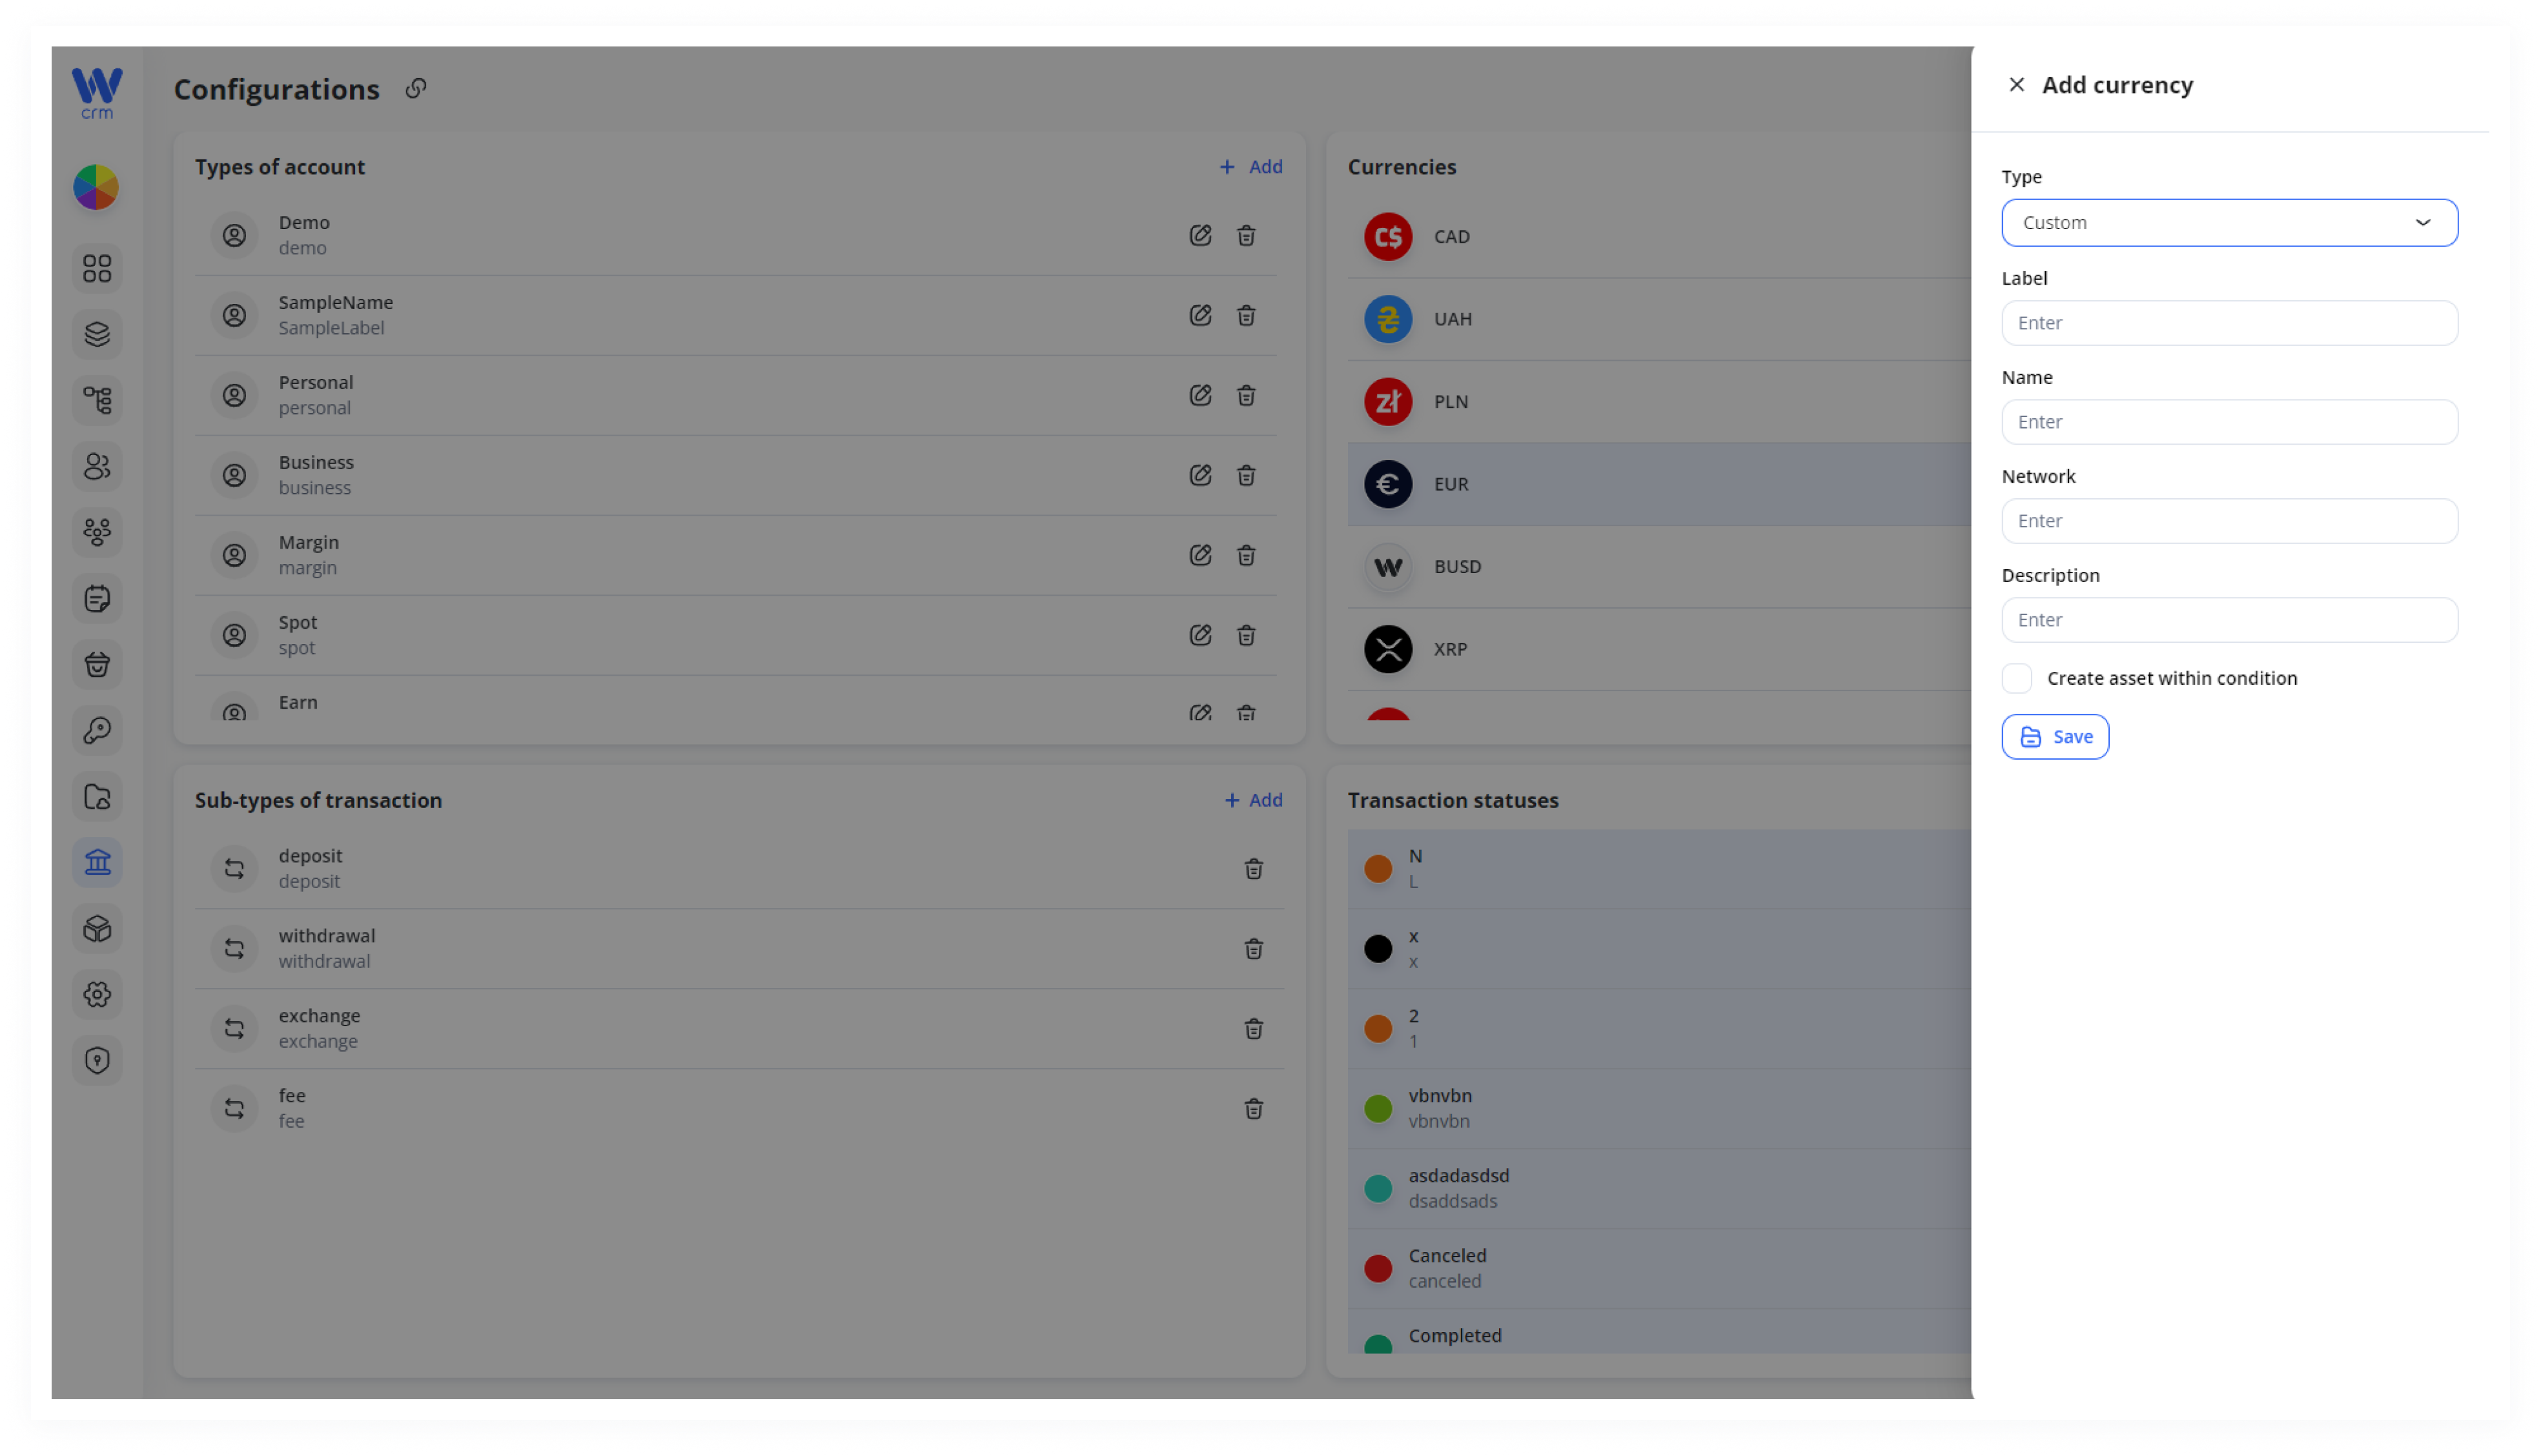
5. Click Save to apply the changes.
To add a sub-type of transaction:
1. Click on the Add button in the upper-right corner of the Sub-types of Transactions section.
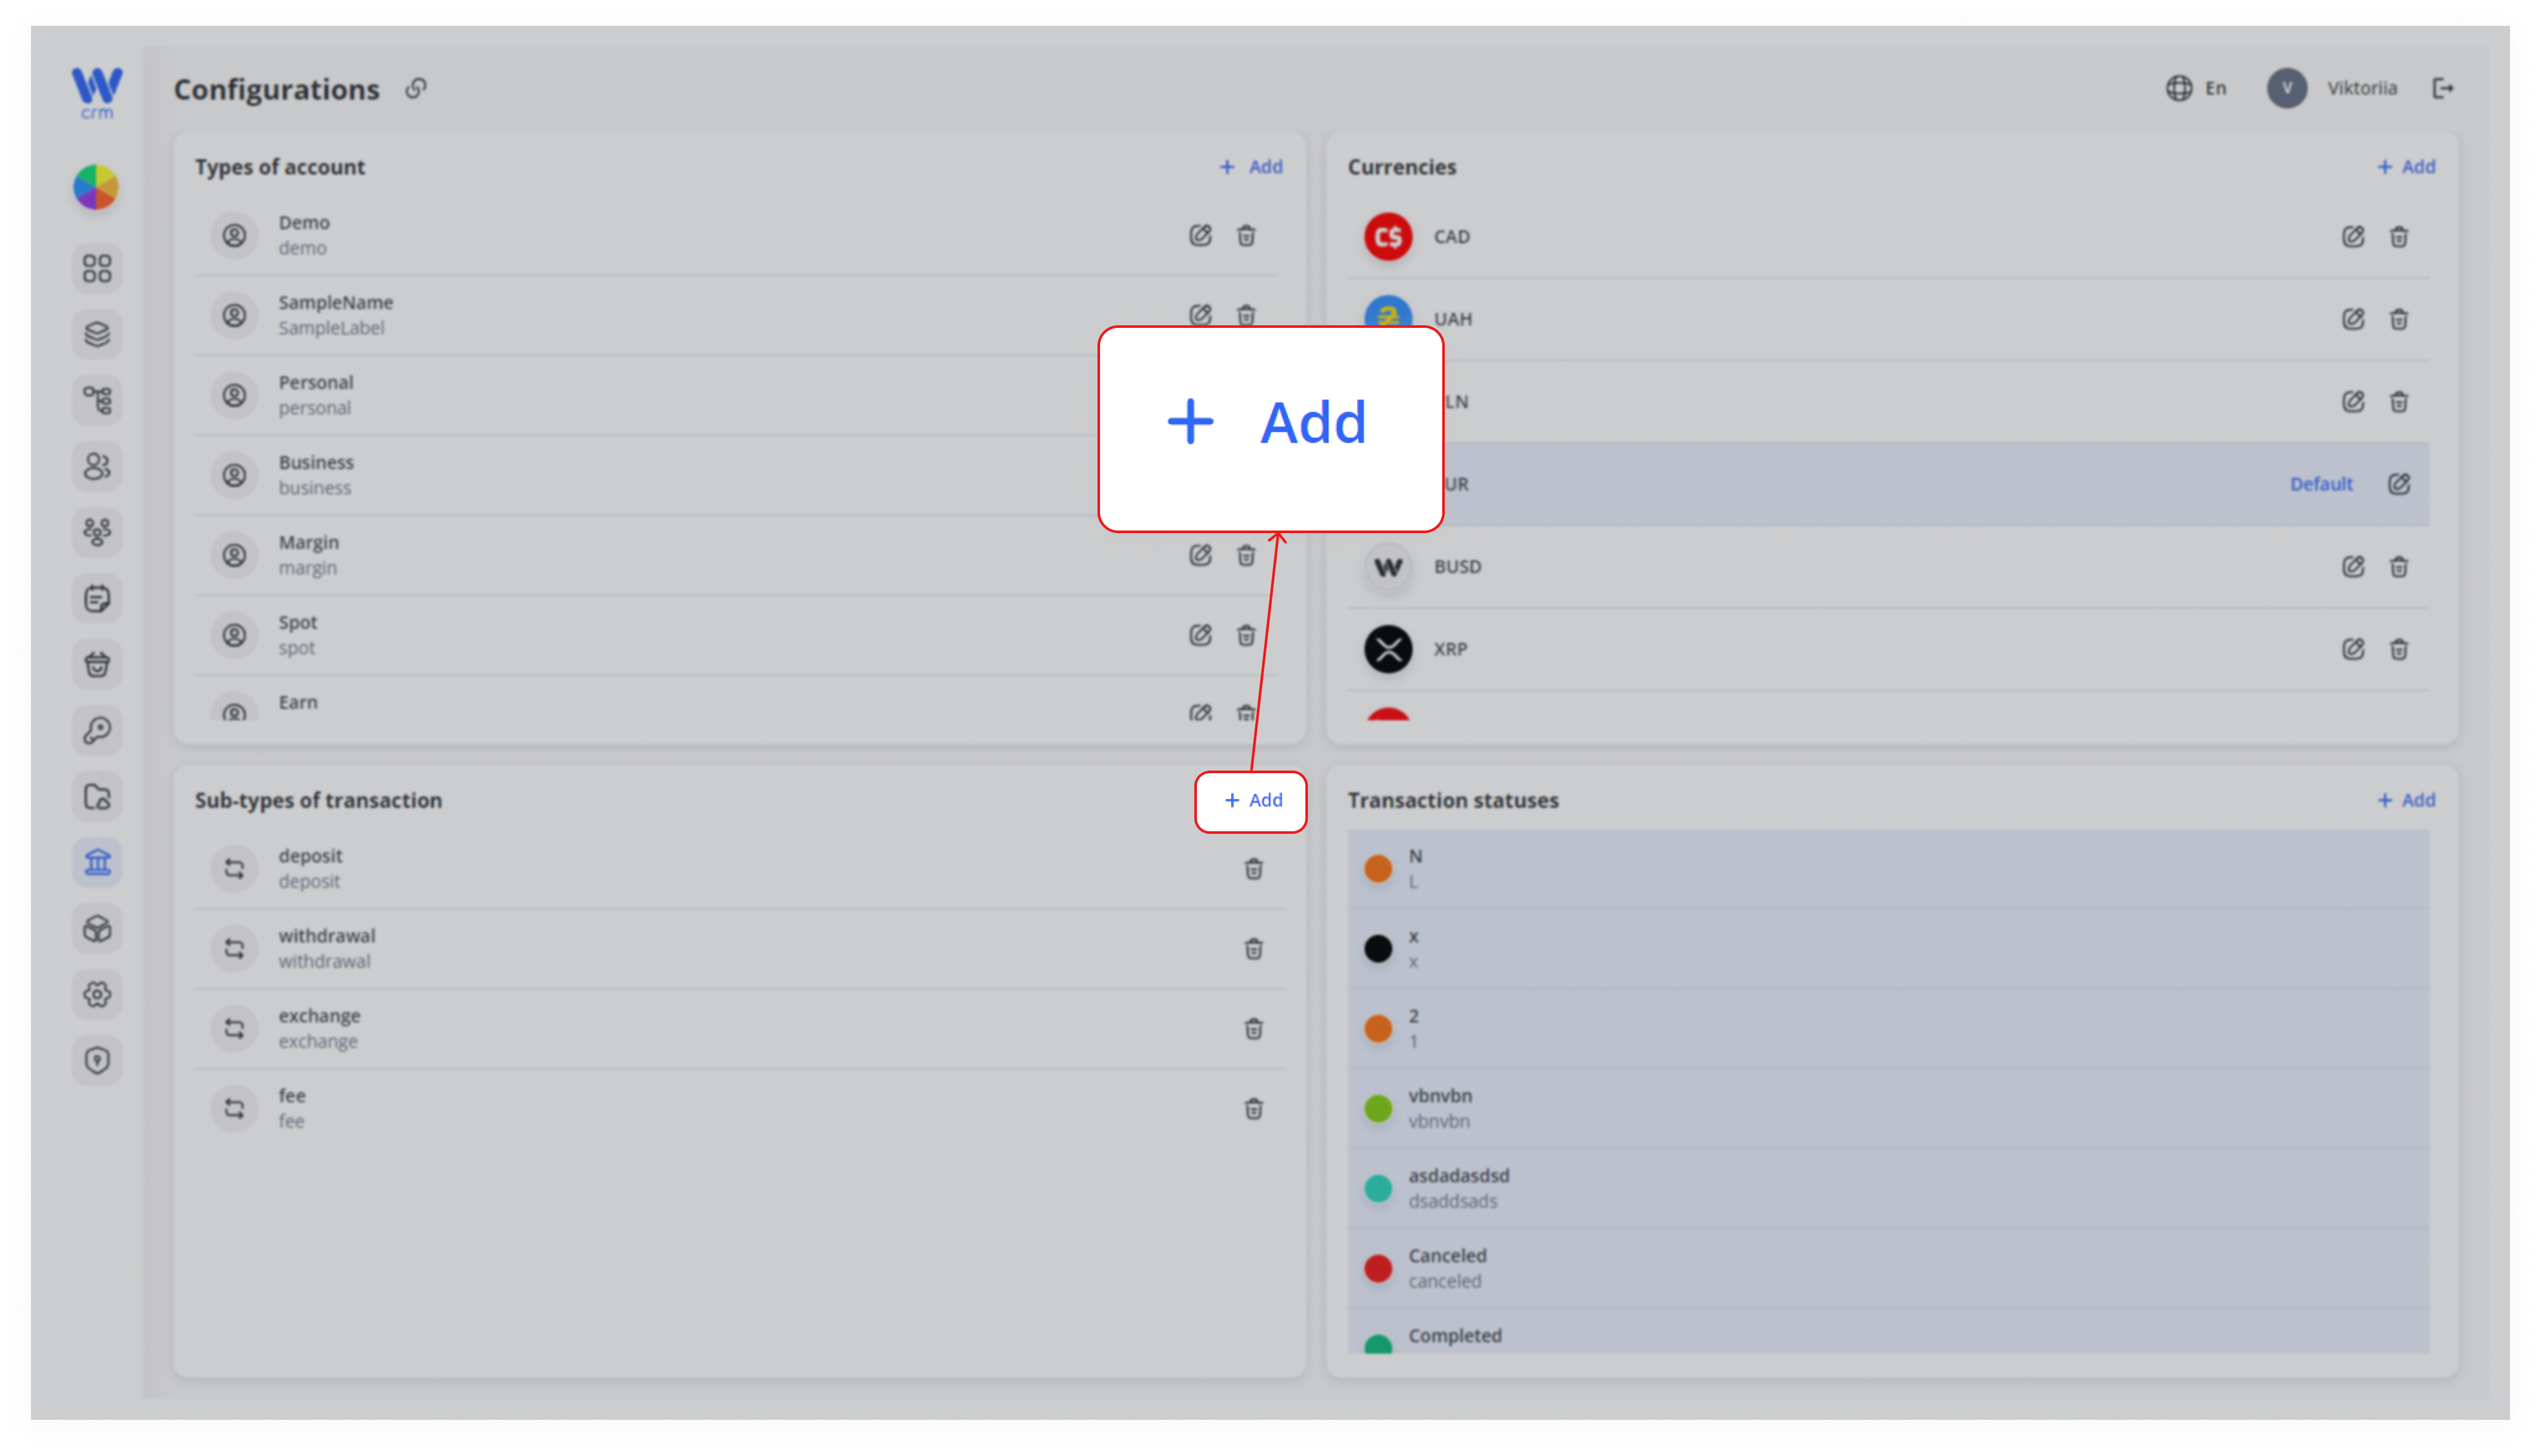
2. Enter a Label and a Name.
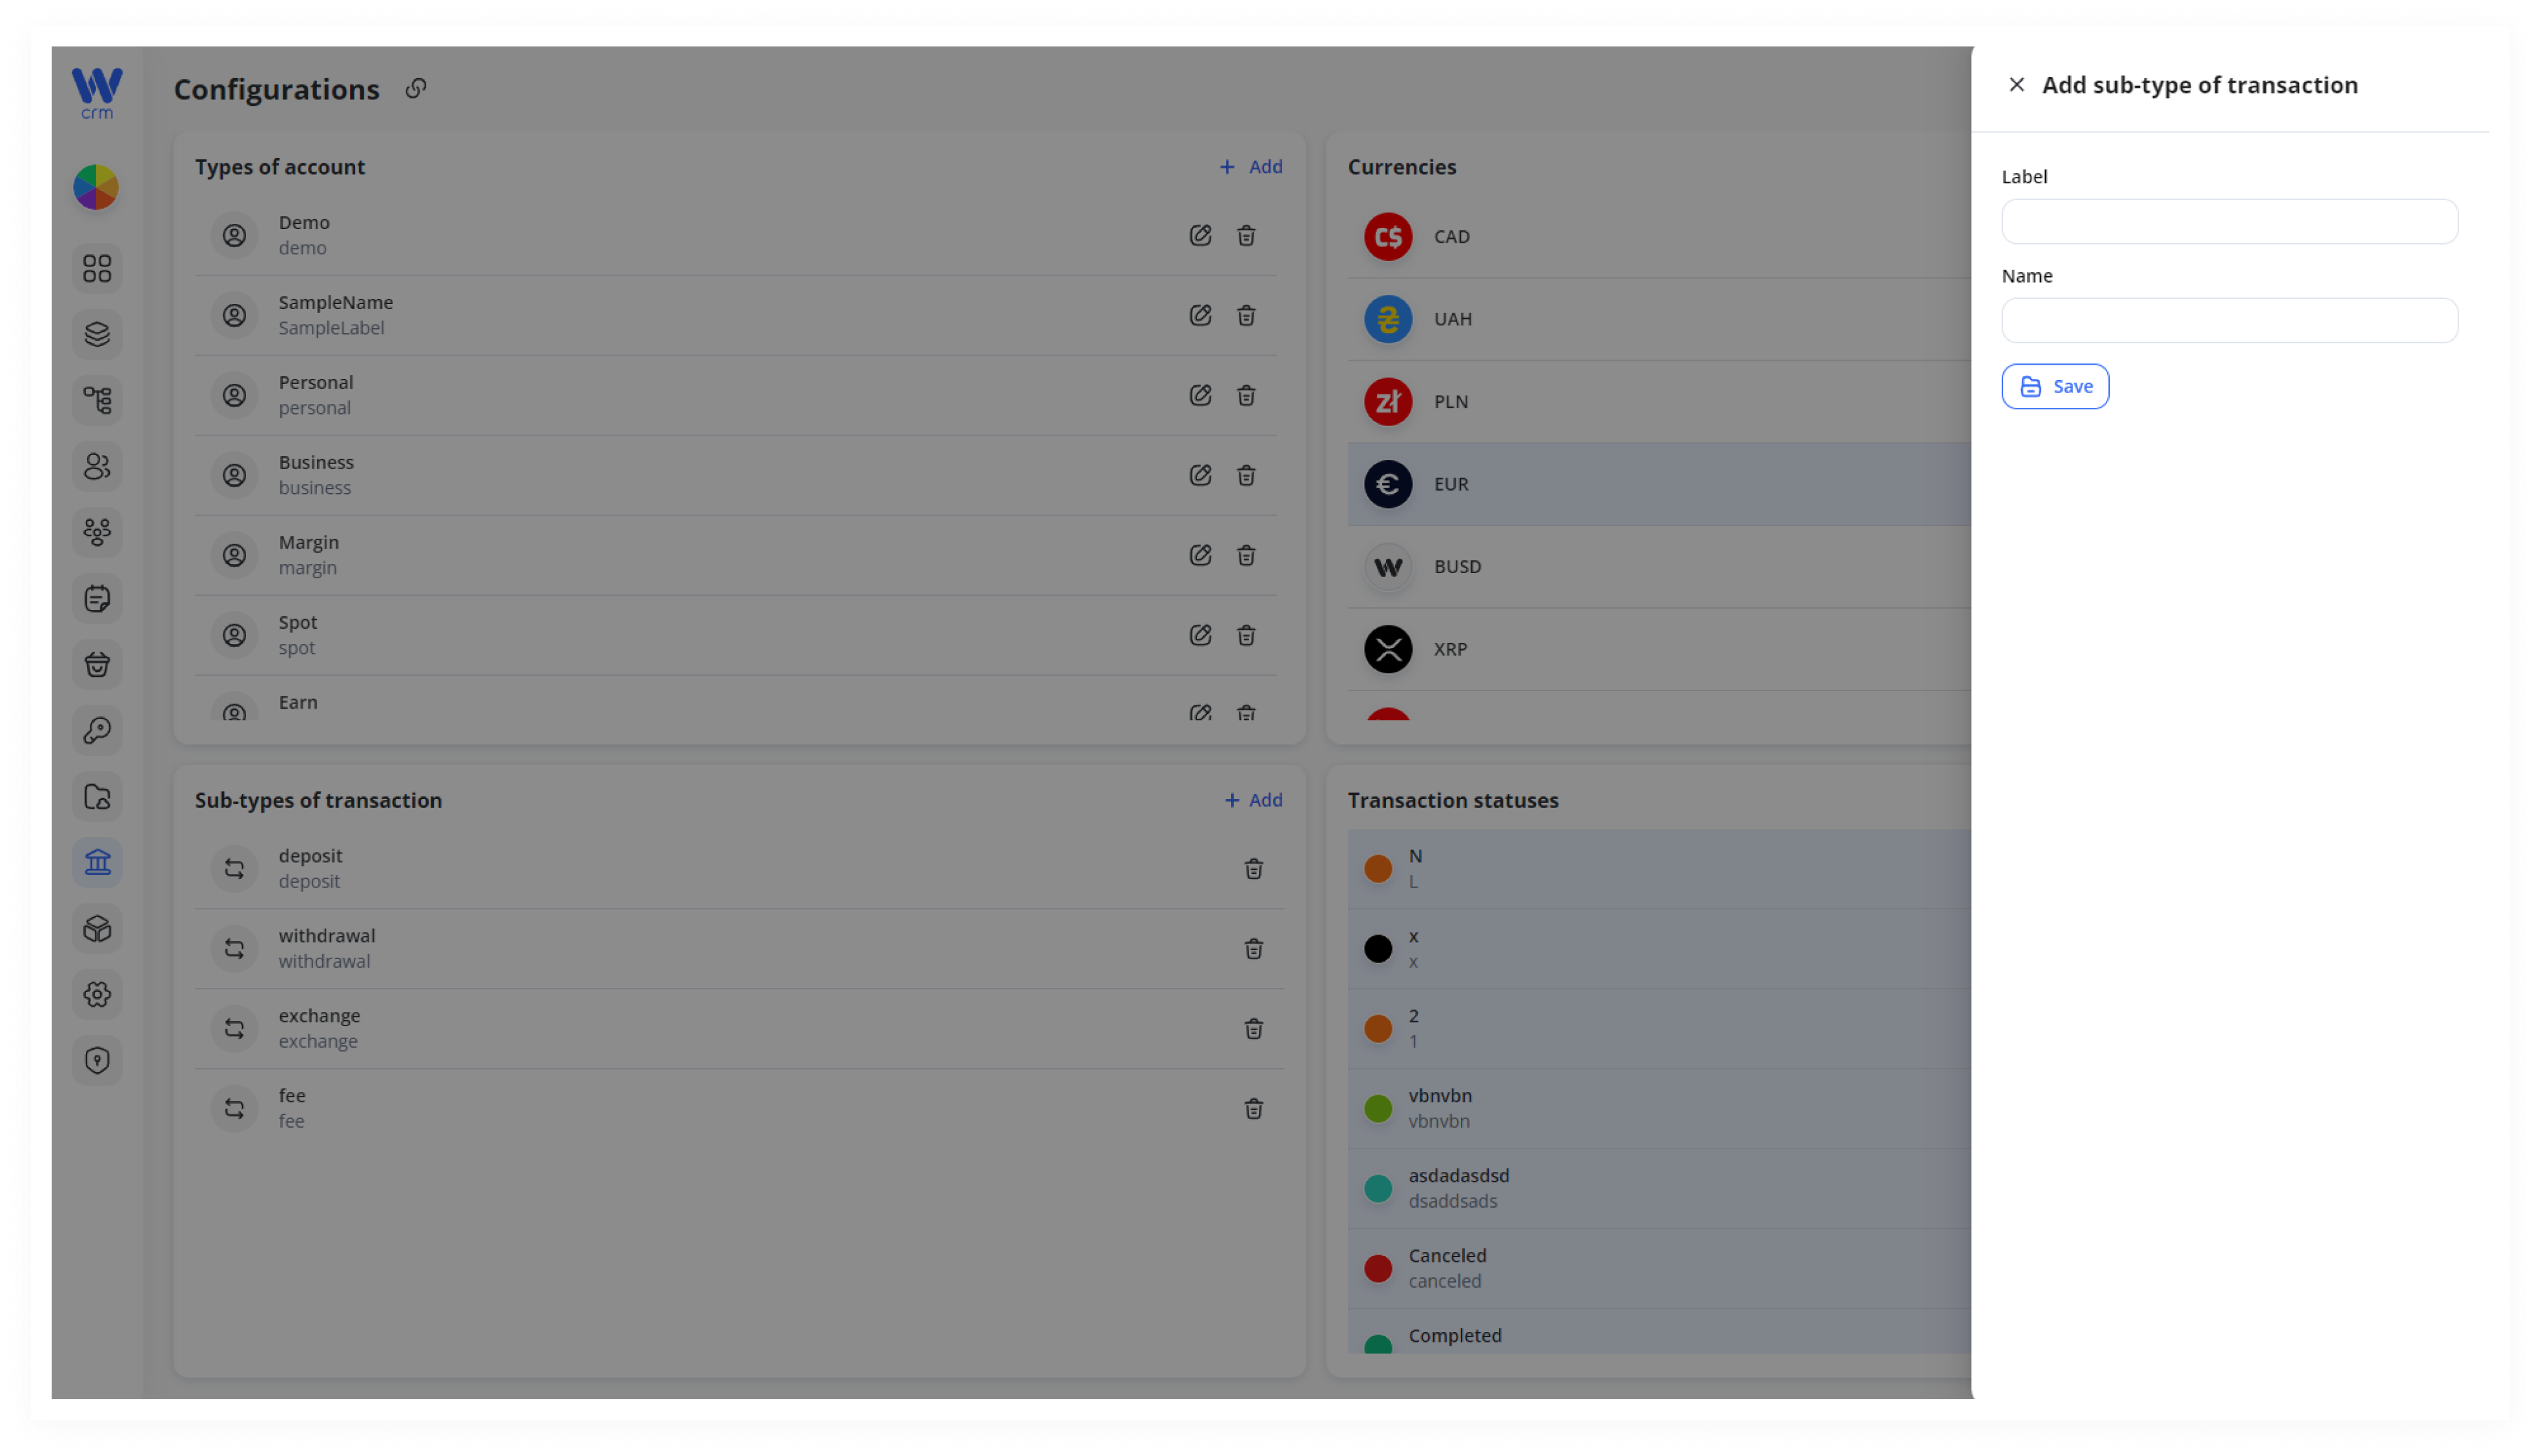
3. Click Save to apply the changes.
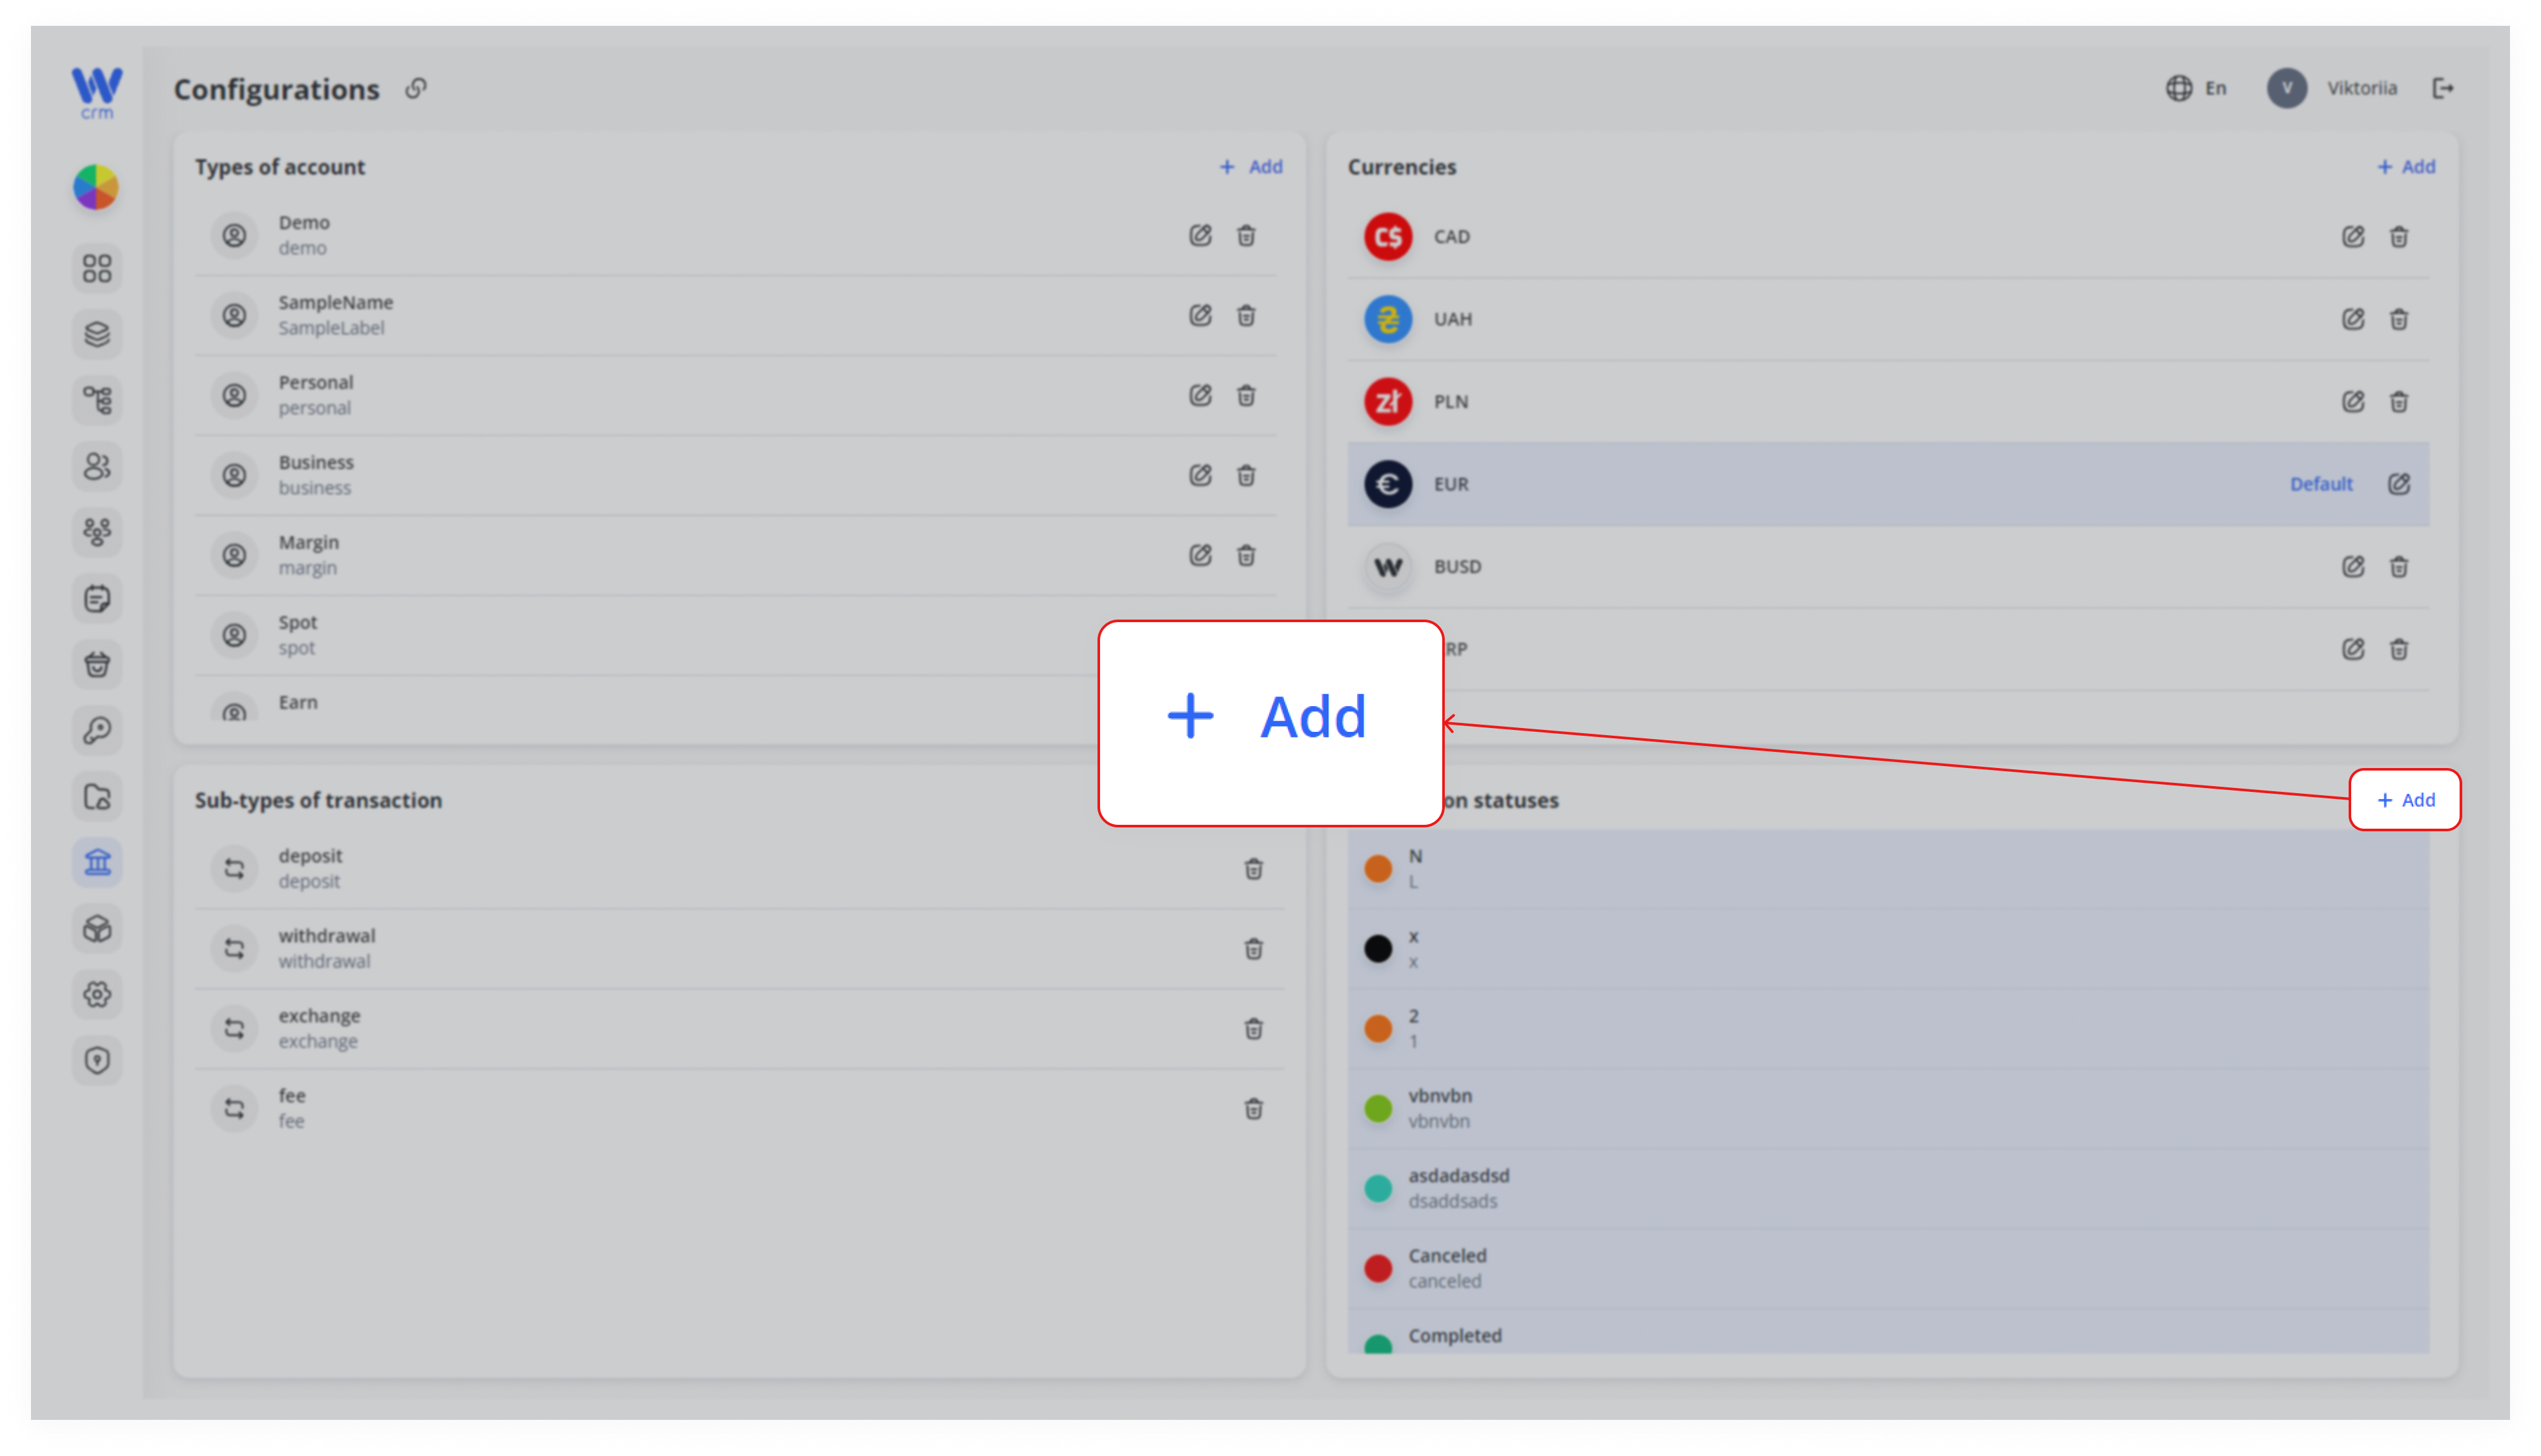
To add a transaction status:
1. Click on the Add button in the right top corner of the Transaction statuses section.
2. Enter a Label and a Name.
3. Optionally, select a color and choose whether to set the status as default by checking the corresponding box.
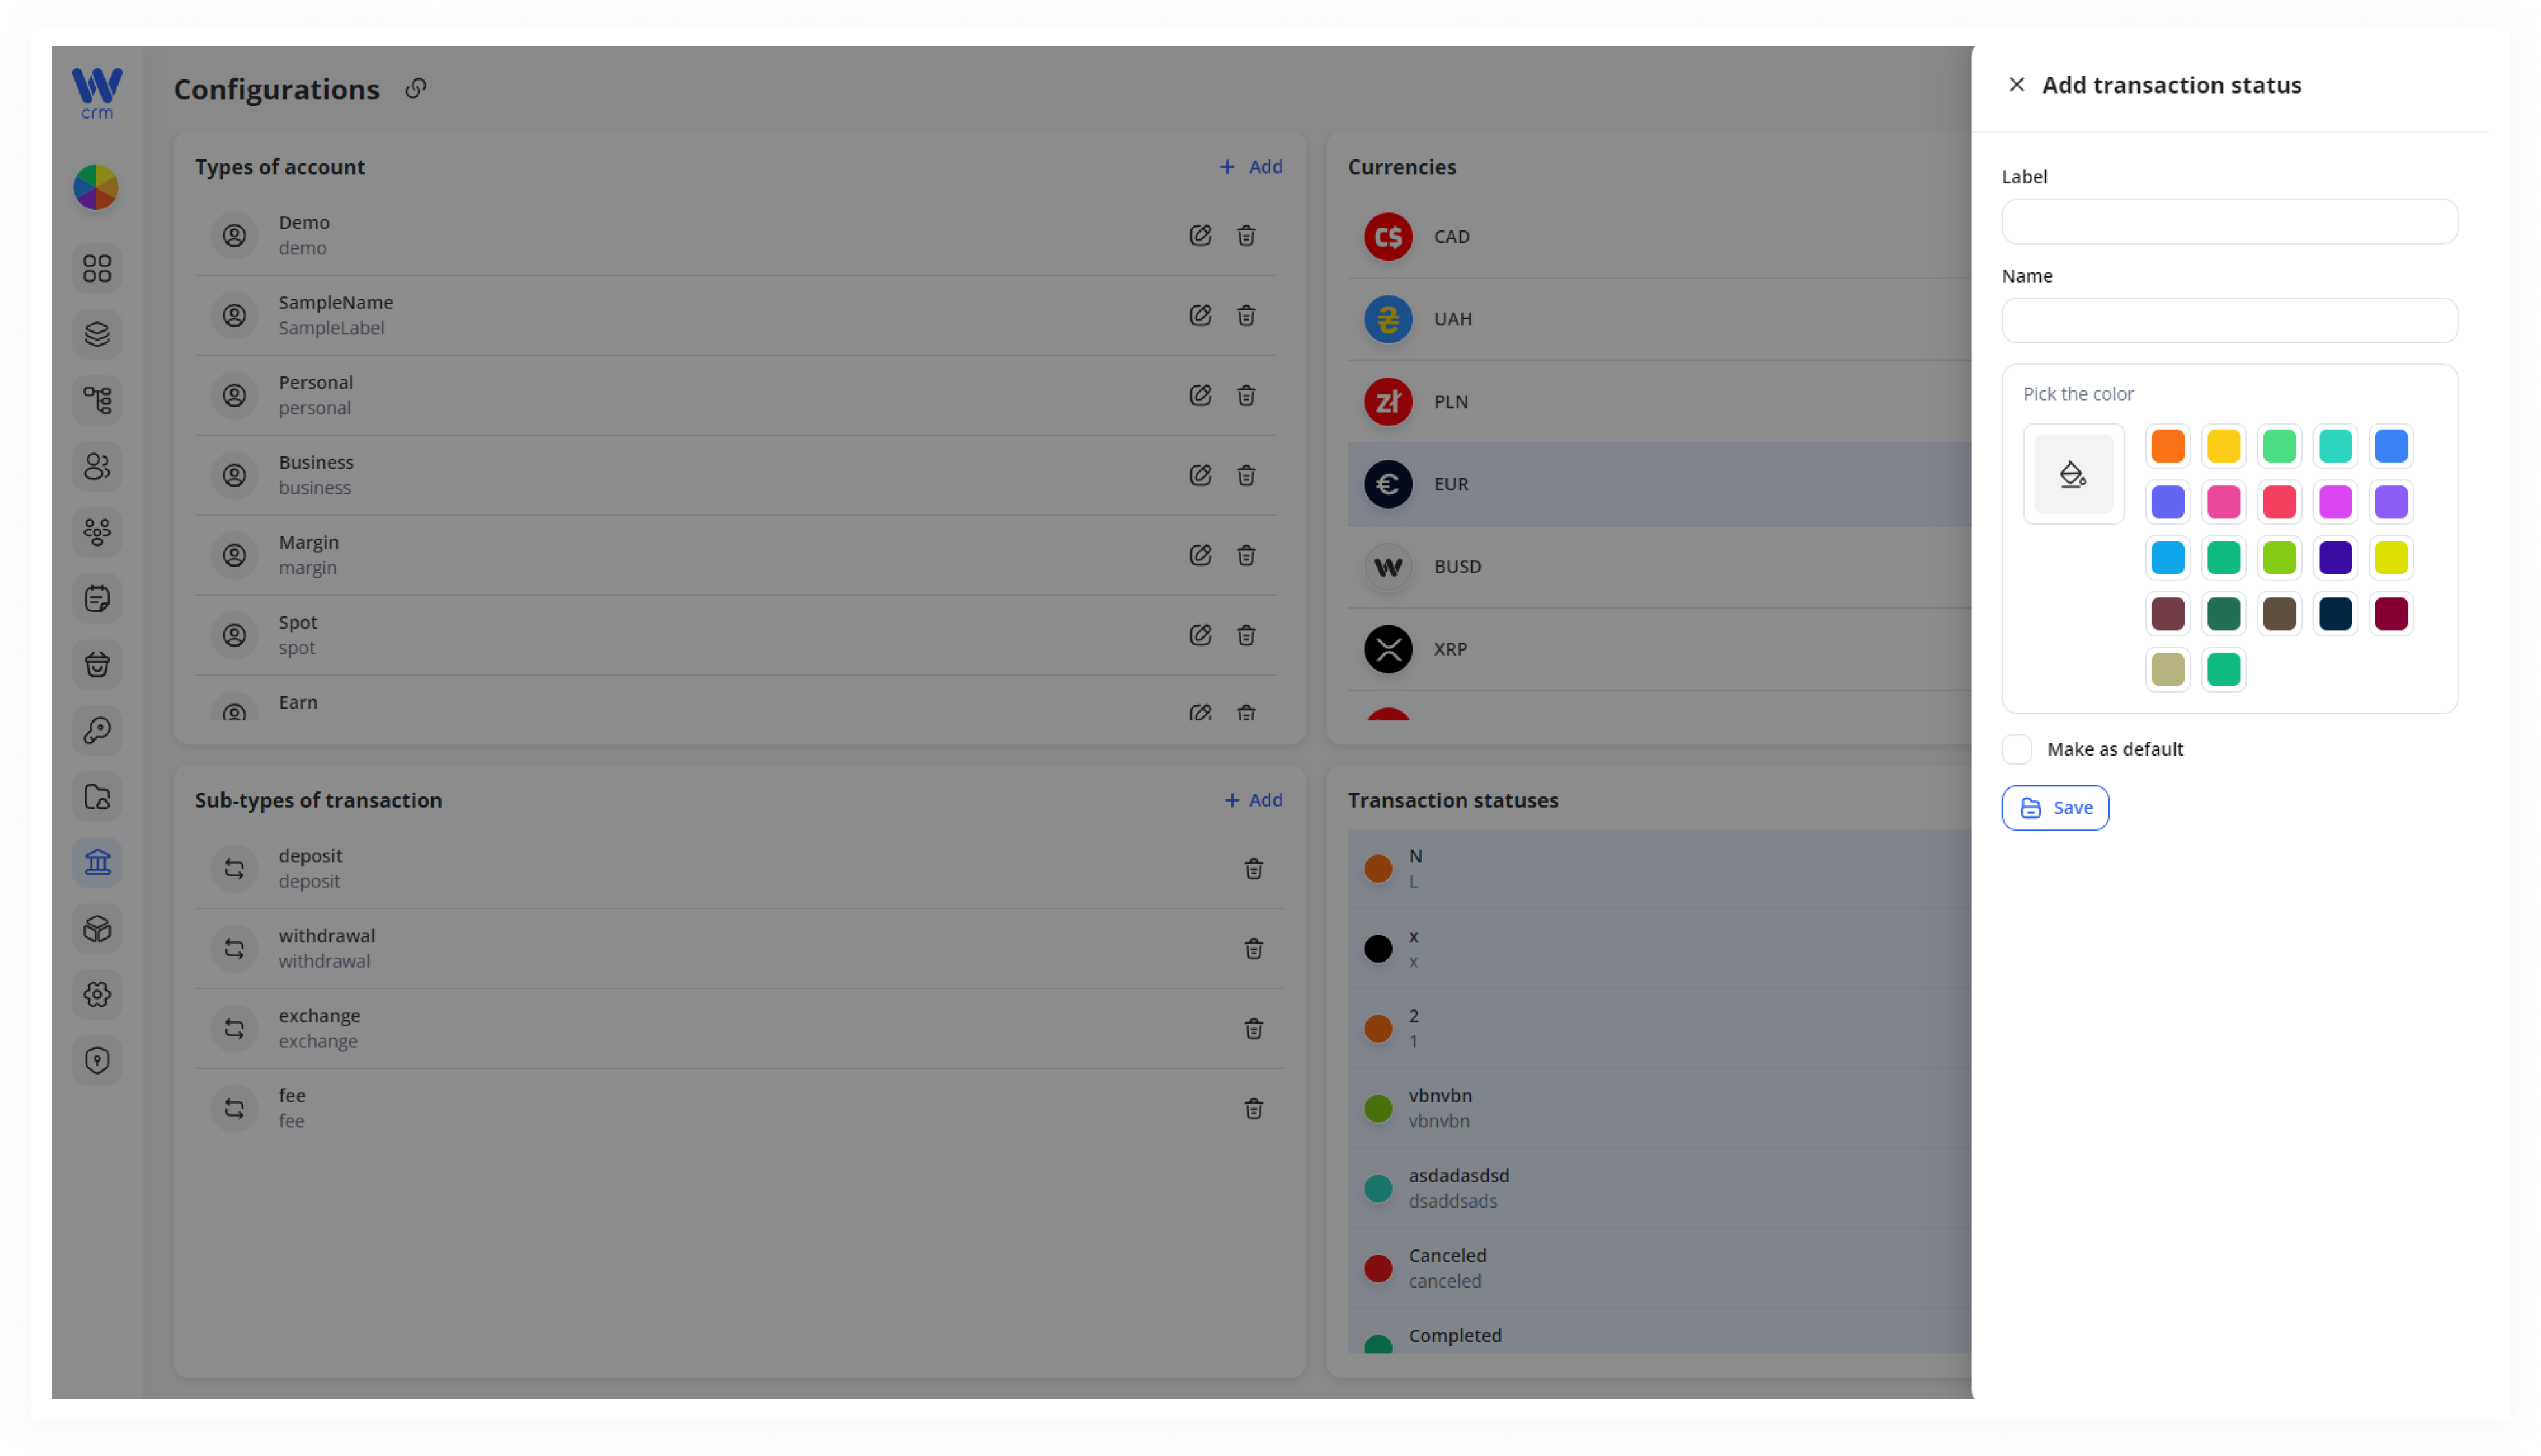
4. Click Save to apply the changes.
To edit an item:
-
Click the Edit icon in the corresponding row.
Note: Editing is not available for Sub-types of Transactions and Transaction Statuses.
To delete an item:
-
Click the Delete icon in the corresponding row.
Note: Deletion is not available for default Transaction Statuses.