
2. How to Configure Security and Authentication
ToA setrobust login rulessecurity and restrictions,authentication gosetup is fundamental to protecting sensitive customer data and ensuring that only authorized personnel can access your CRM. In the Settings > Configurations > General tab, you’ll define who can reach your system (via IP restrictions) and how users prove their identity (via session policies and multi-factor checks). ThisProperly opensconfiguring athese taboptions withhelps twoyou sections:meet compliance requirements, reduce the risk of unauthorized access, and tailor the login experience to your organization’s security posture.
- Cases
-
SecurityOffice-Only Access
Limit CRM access to your corporate network by whitelisting office IP ranges, preventing external login attempts from unknown locations. -
AuthenticationHigh-Security Environments
Require both password and biometric authentication (WebAuthn) for administrators or finance teams to meet stringent internal policies or regulatory frameworks. -
Adaptive Session Management
Enforce shorter session timeouts for contractors or guest users, while allowing longer idle periods for full-time staff—striking a balance between security and productivity.
Use
Automated Bot Prevention
Enable invisible reCAPTCHA on login screens to block scripted attacks without interrupting the legitimate user experience.
The SecurityGeneral sectiontab allowsunder Settings > Configurations is where you todefine restrictyour logonsystem’s core access and login policies. Here you’ll find two sections:
-
Security: Restrict which IP addresses can access the CRM.
-
Authentication: Control session duration, password-attempt limits, and multi-factor requirements.
Below is a detailed, step-by-step guide—complete with screenshots—on how to locate and configure each option.
1. Navigating to the General Configuration
Click the ⚙️ Settings icon in the sidebar.
Select Configurations.
Ensure the General tab (next to “Statuses” and “Languages”) is active.
2. Security: IP Whitelisting
Click “+ New IP”
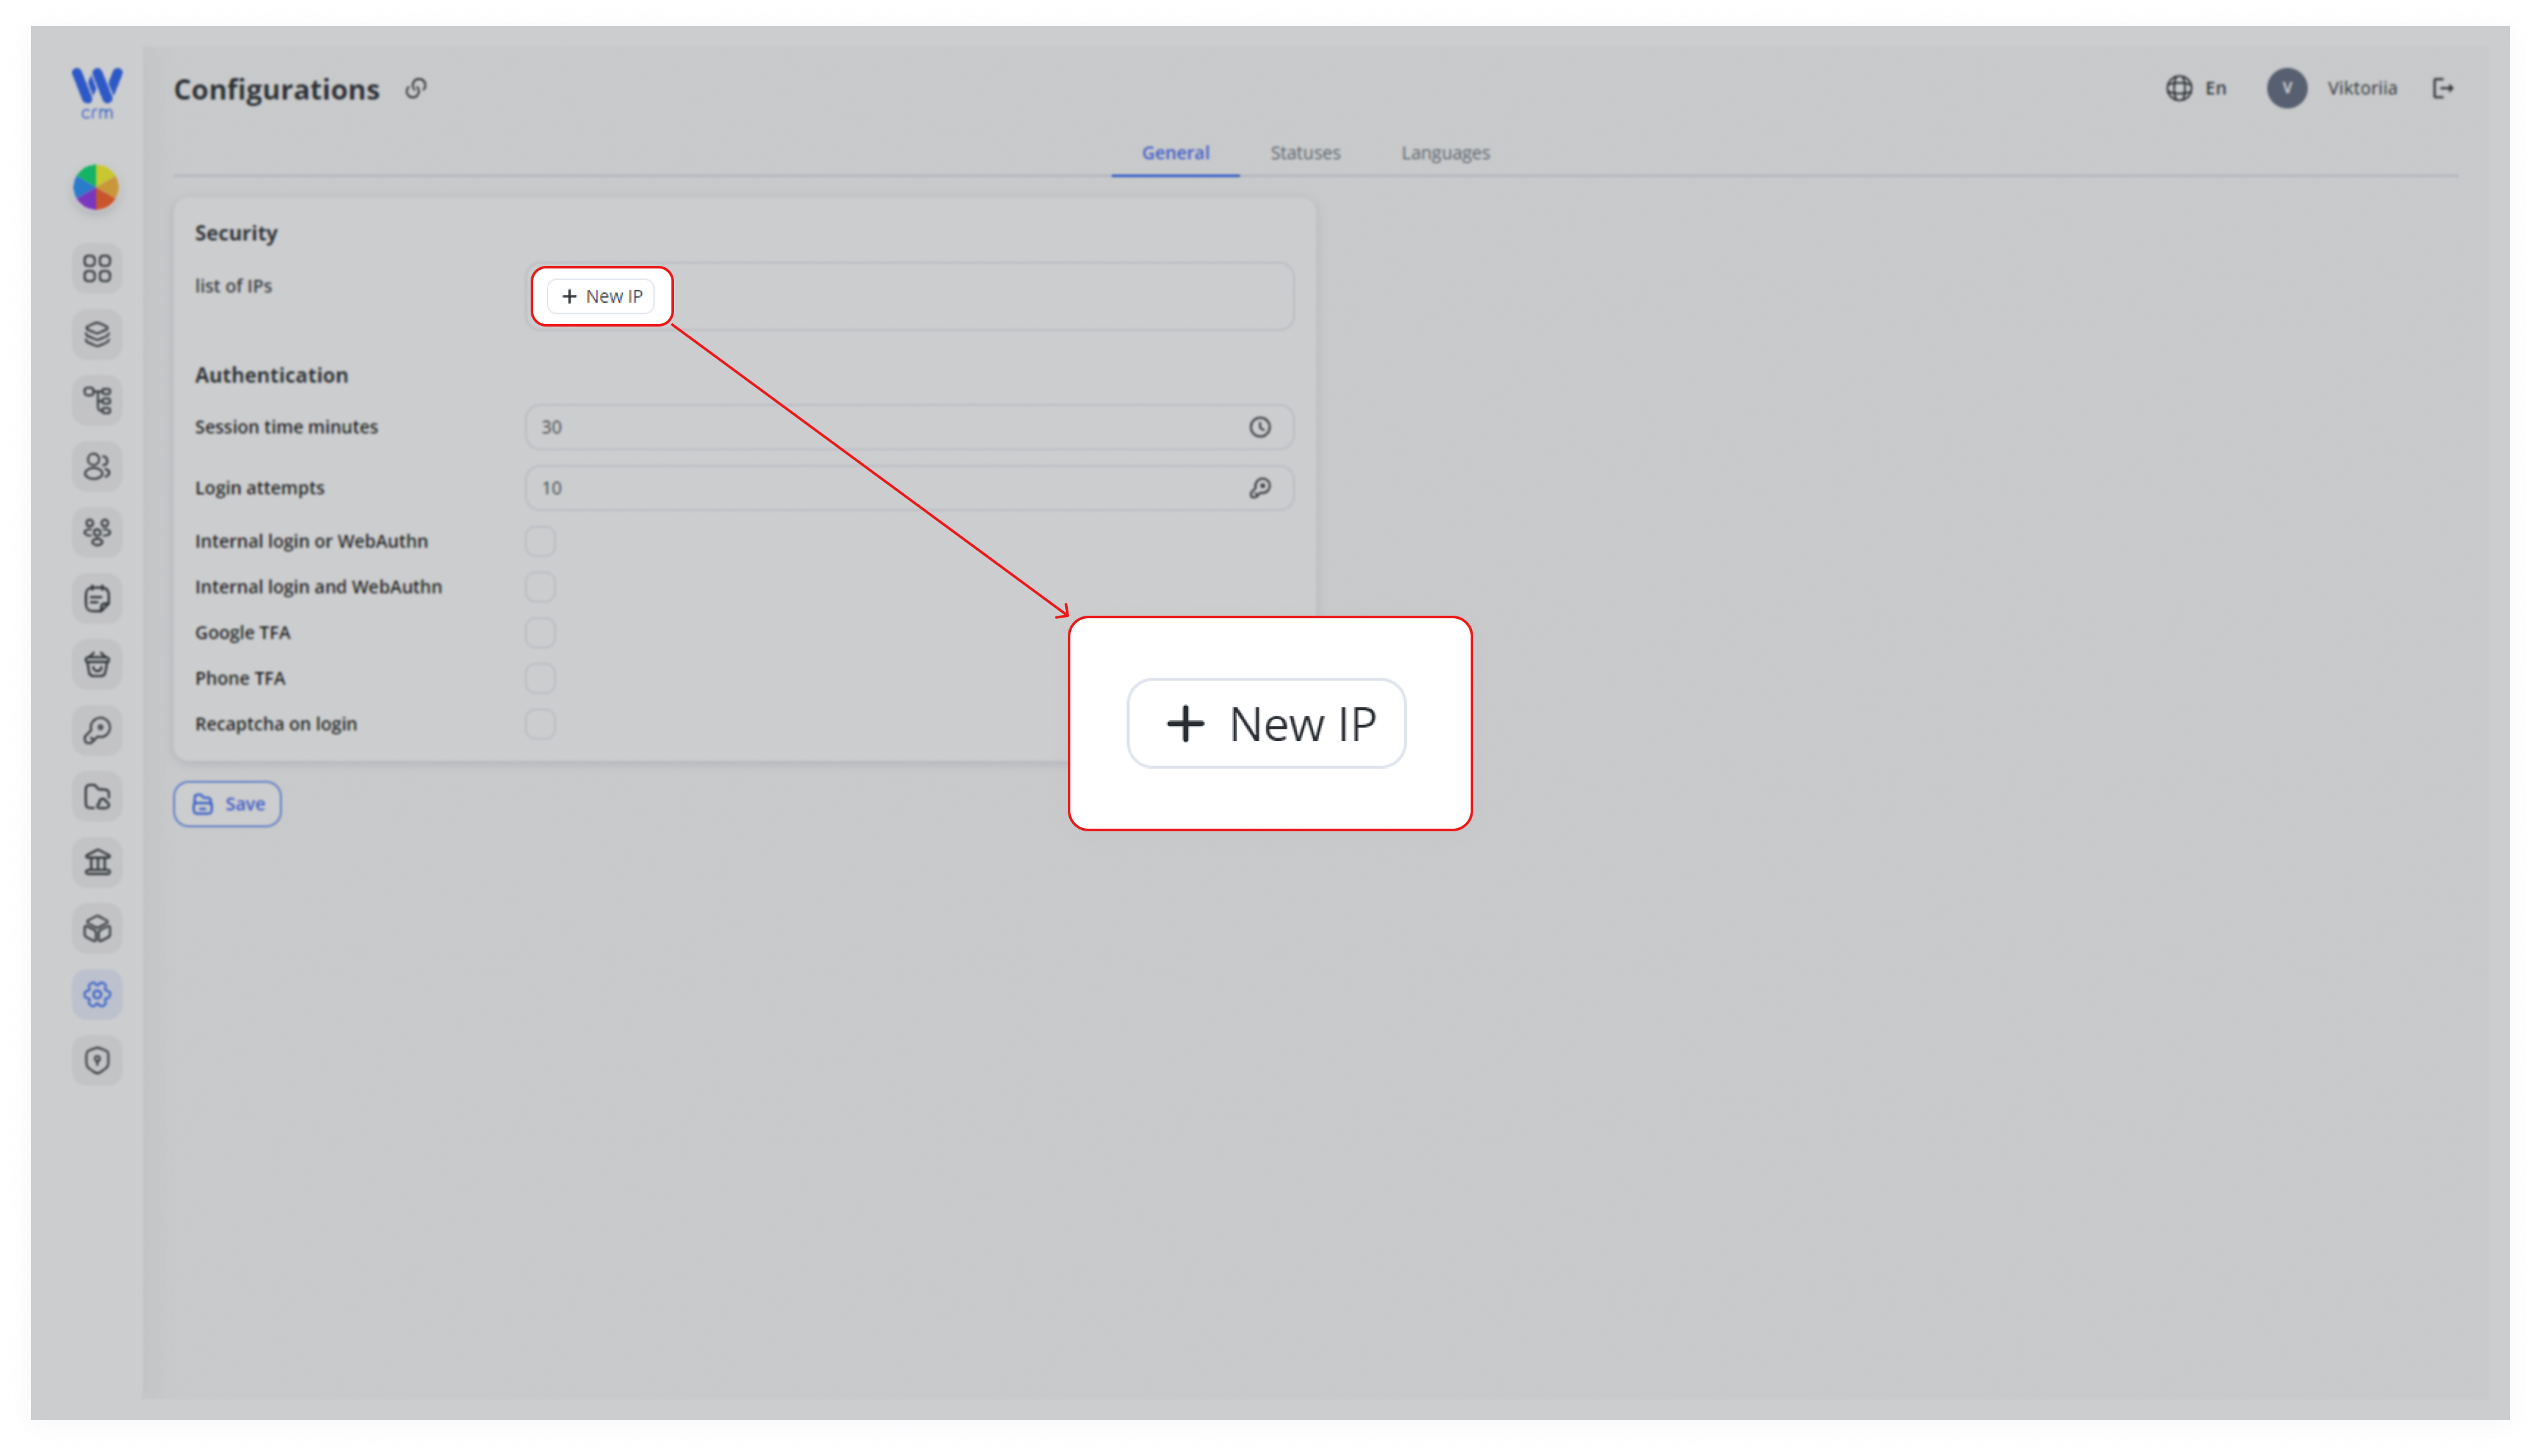
Enter a listvalid ofIP availableaddress (IPv4 or IPv6). Invalid entries highlight in red.
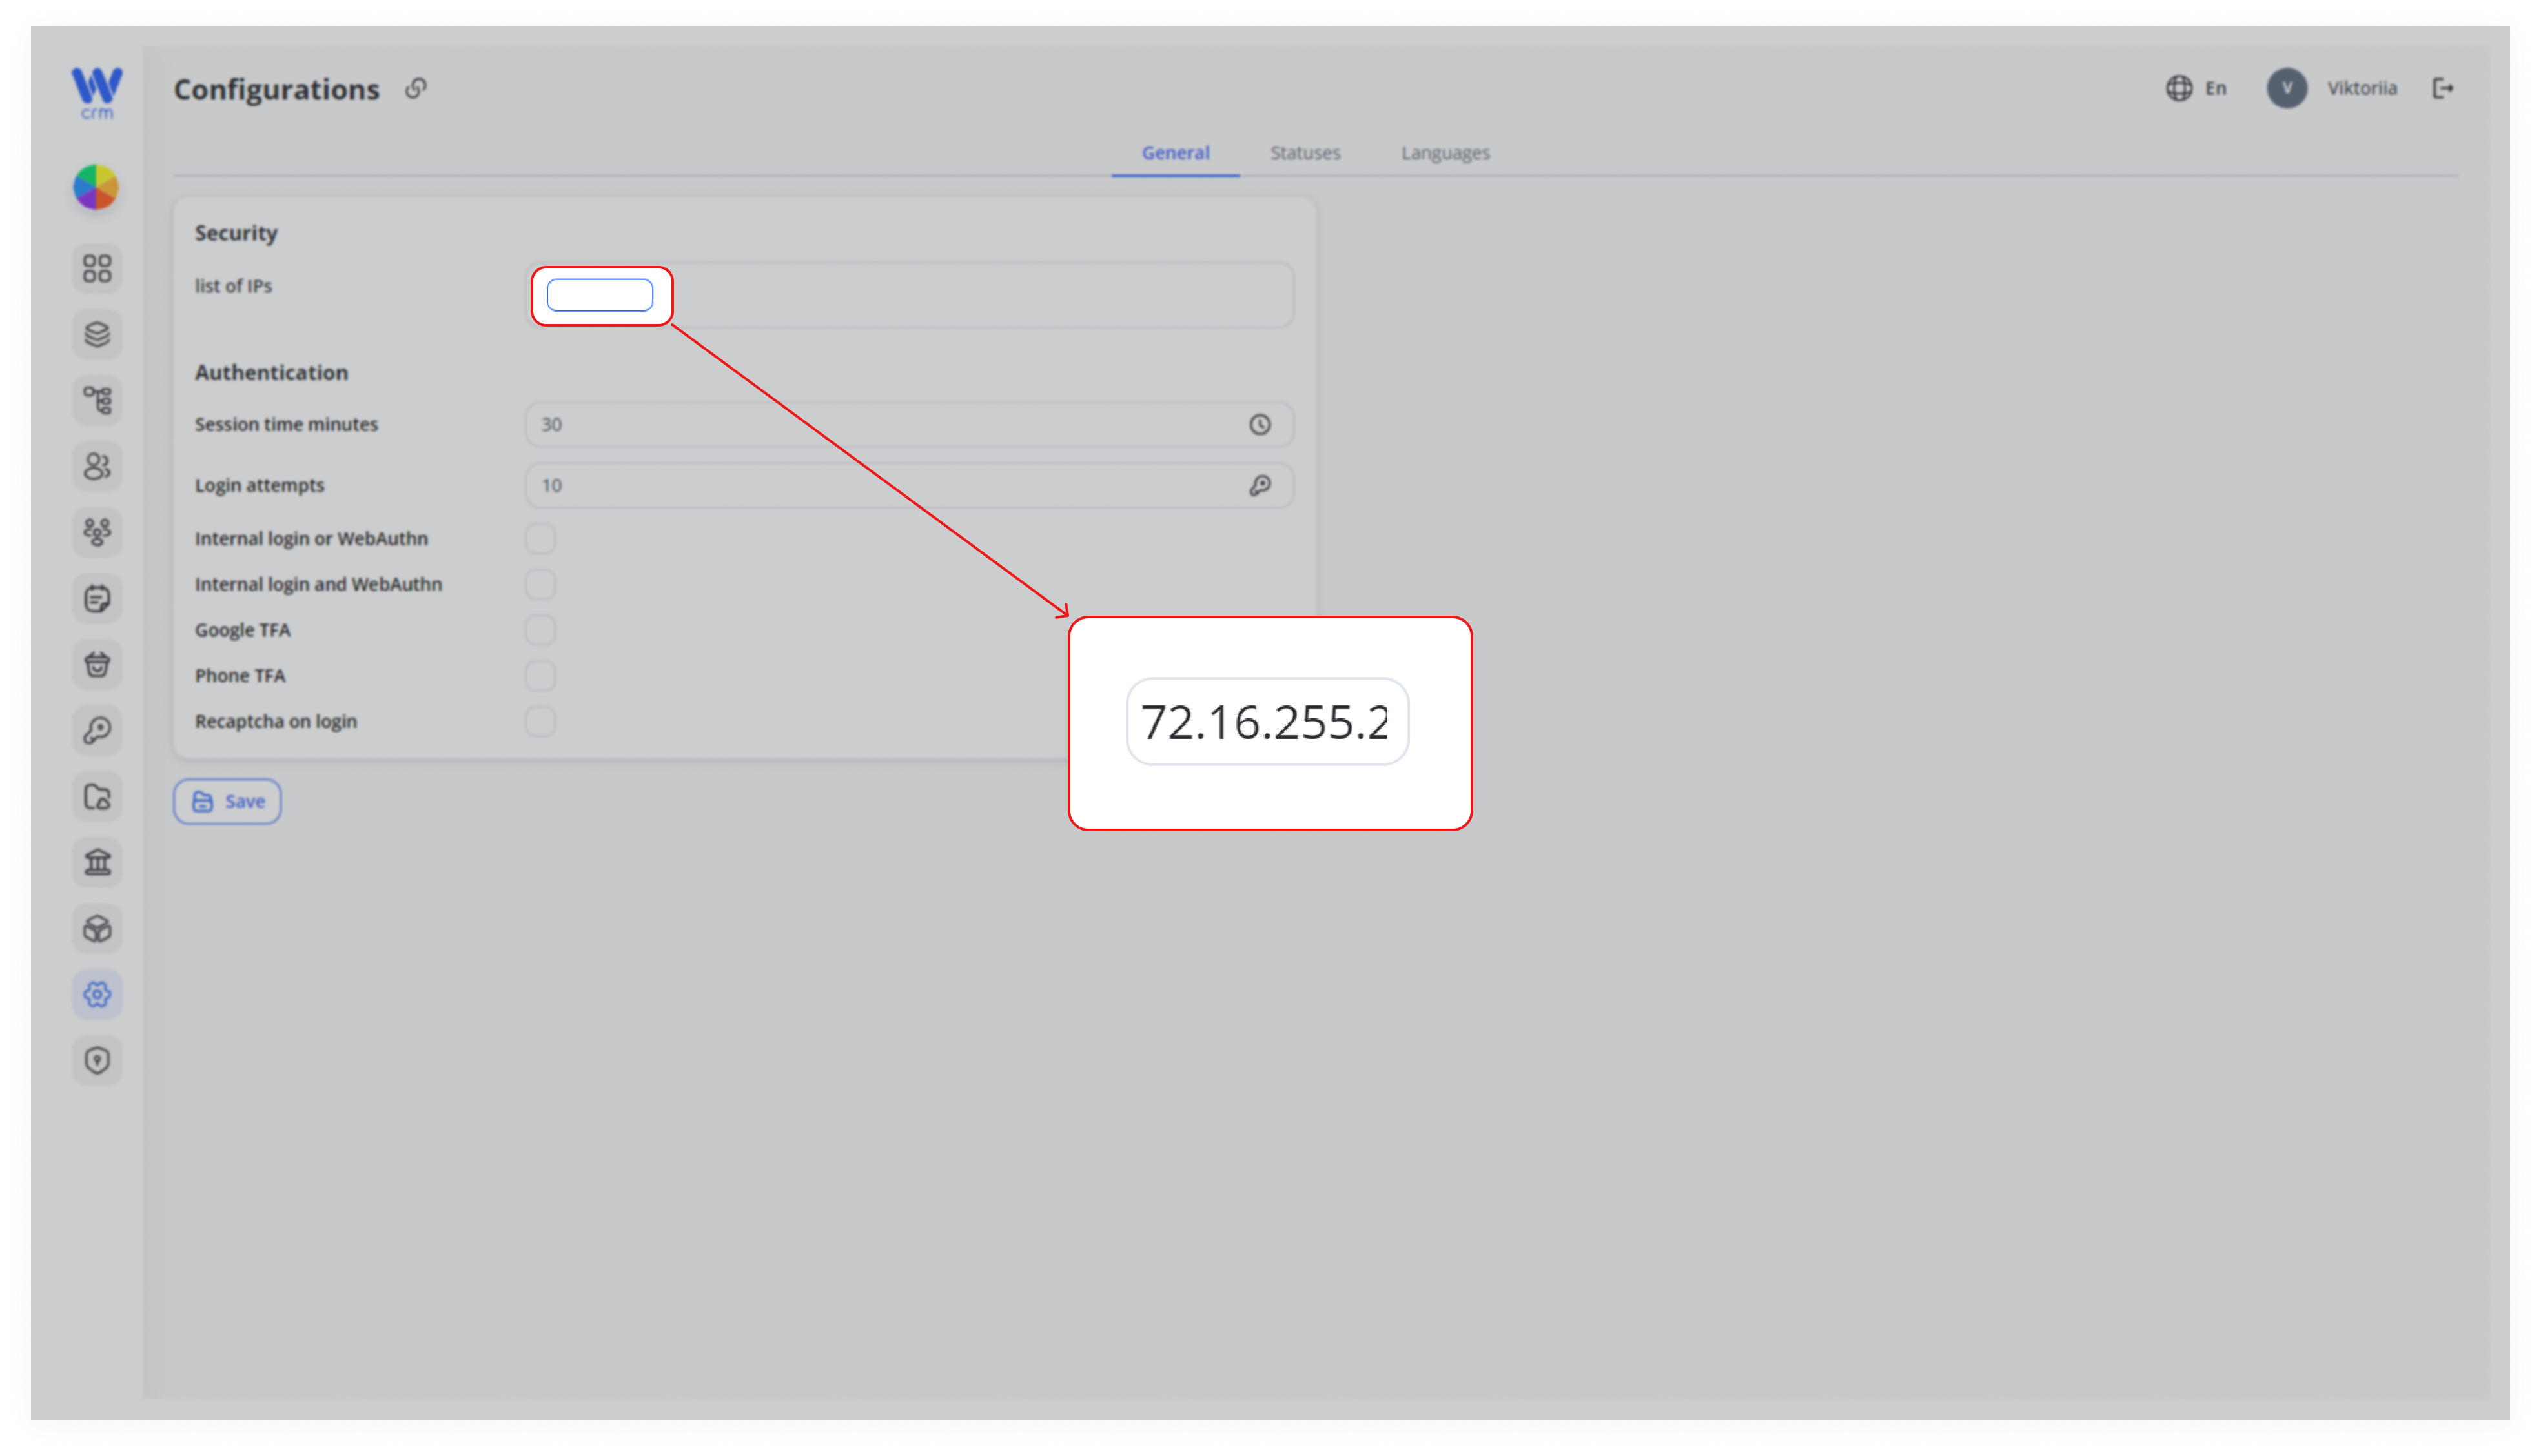
Press Enter to confirm the IP. Repeat steps to add more IPs.
To addRemove an IP toby thehovering list:
Near theclickingList of IPs×field, click the+ New IPbutton..
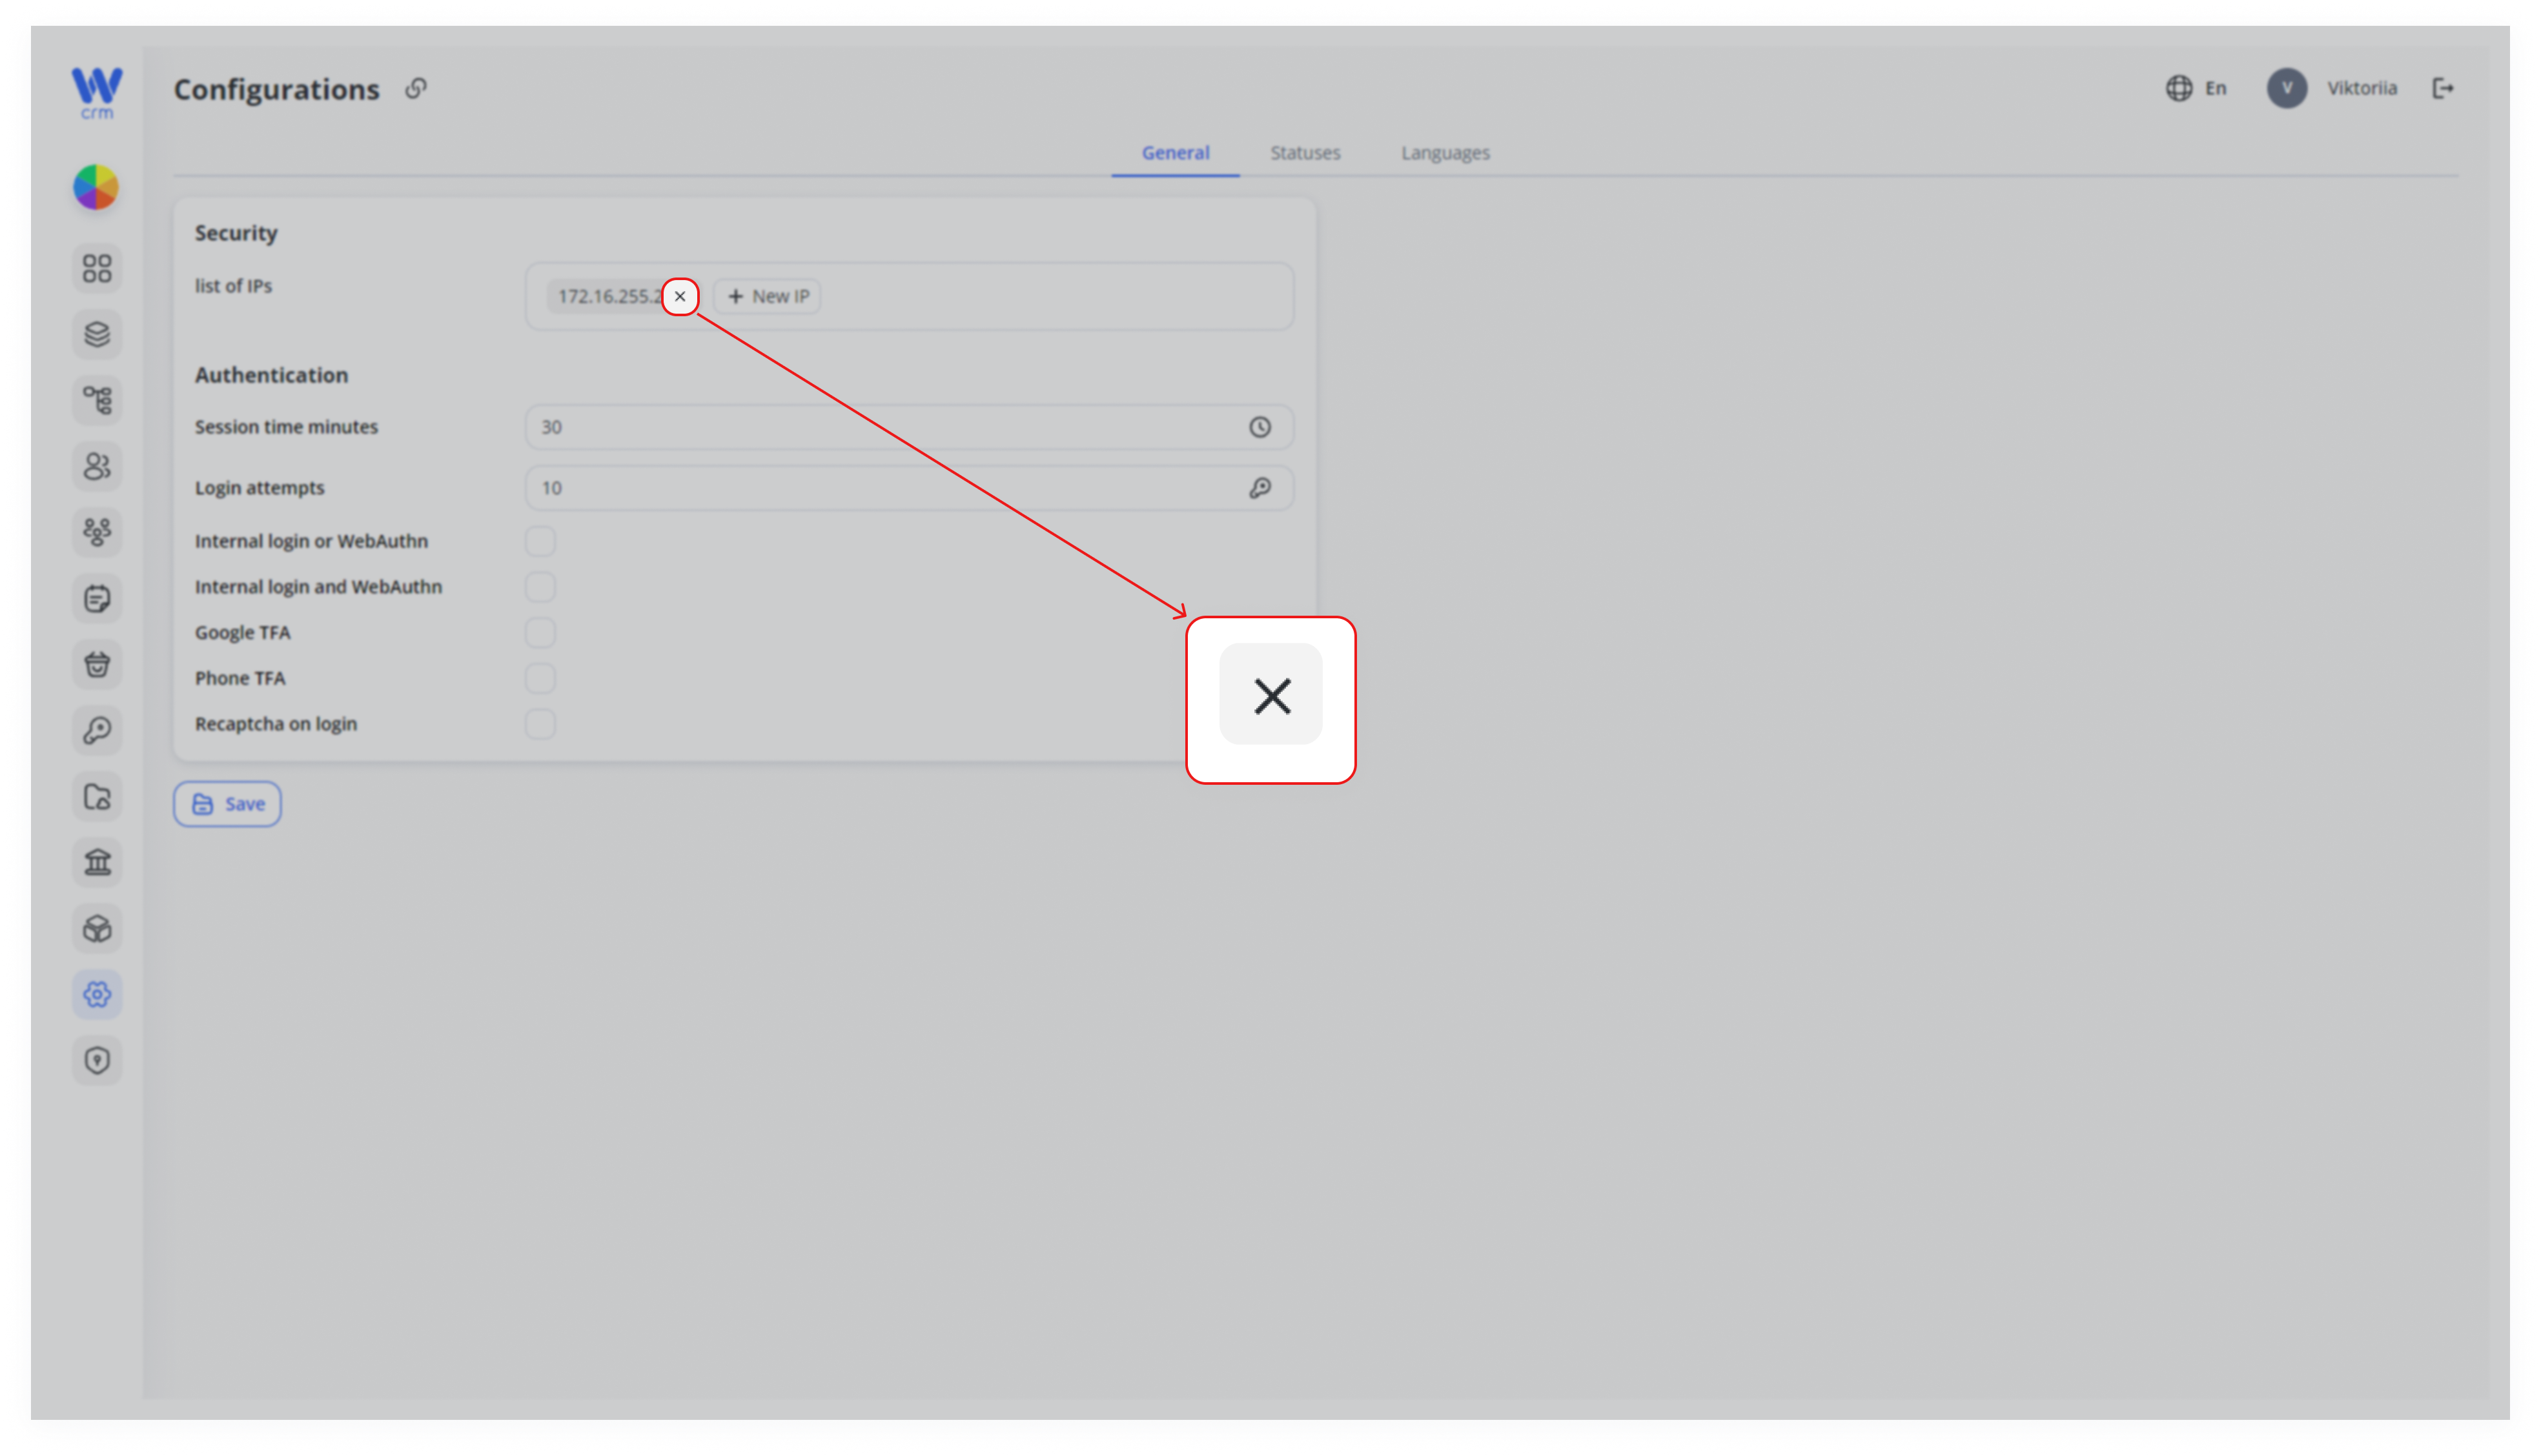
2.Click InSave to save the field that appears, enter the IP address.
Note: IP addresses are usually expressed in dotted decimal notation as four numbers separated by dots, e.g., 172.16.255.2, or as a set of 16-bit hexadecimals separated by colons, e.g., 2001:0000:130F:0000:0000:09C0:876A:130B If the field turns red, you have entered an invalid IP address.
3. PressAuthentication: EnterSession & Login Policies to confirm the IP. Repeat steps 1-3 to add more IPs.
4. To remove an IP from the list, hover over it and click x.
5. Click Save to save the list.
The Authentication section allows you to set logon and usage rules, including limited session times and additional logon checks.
To configure authentication:
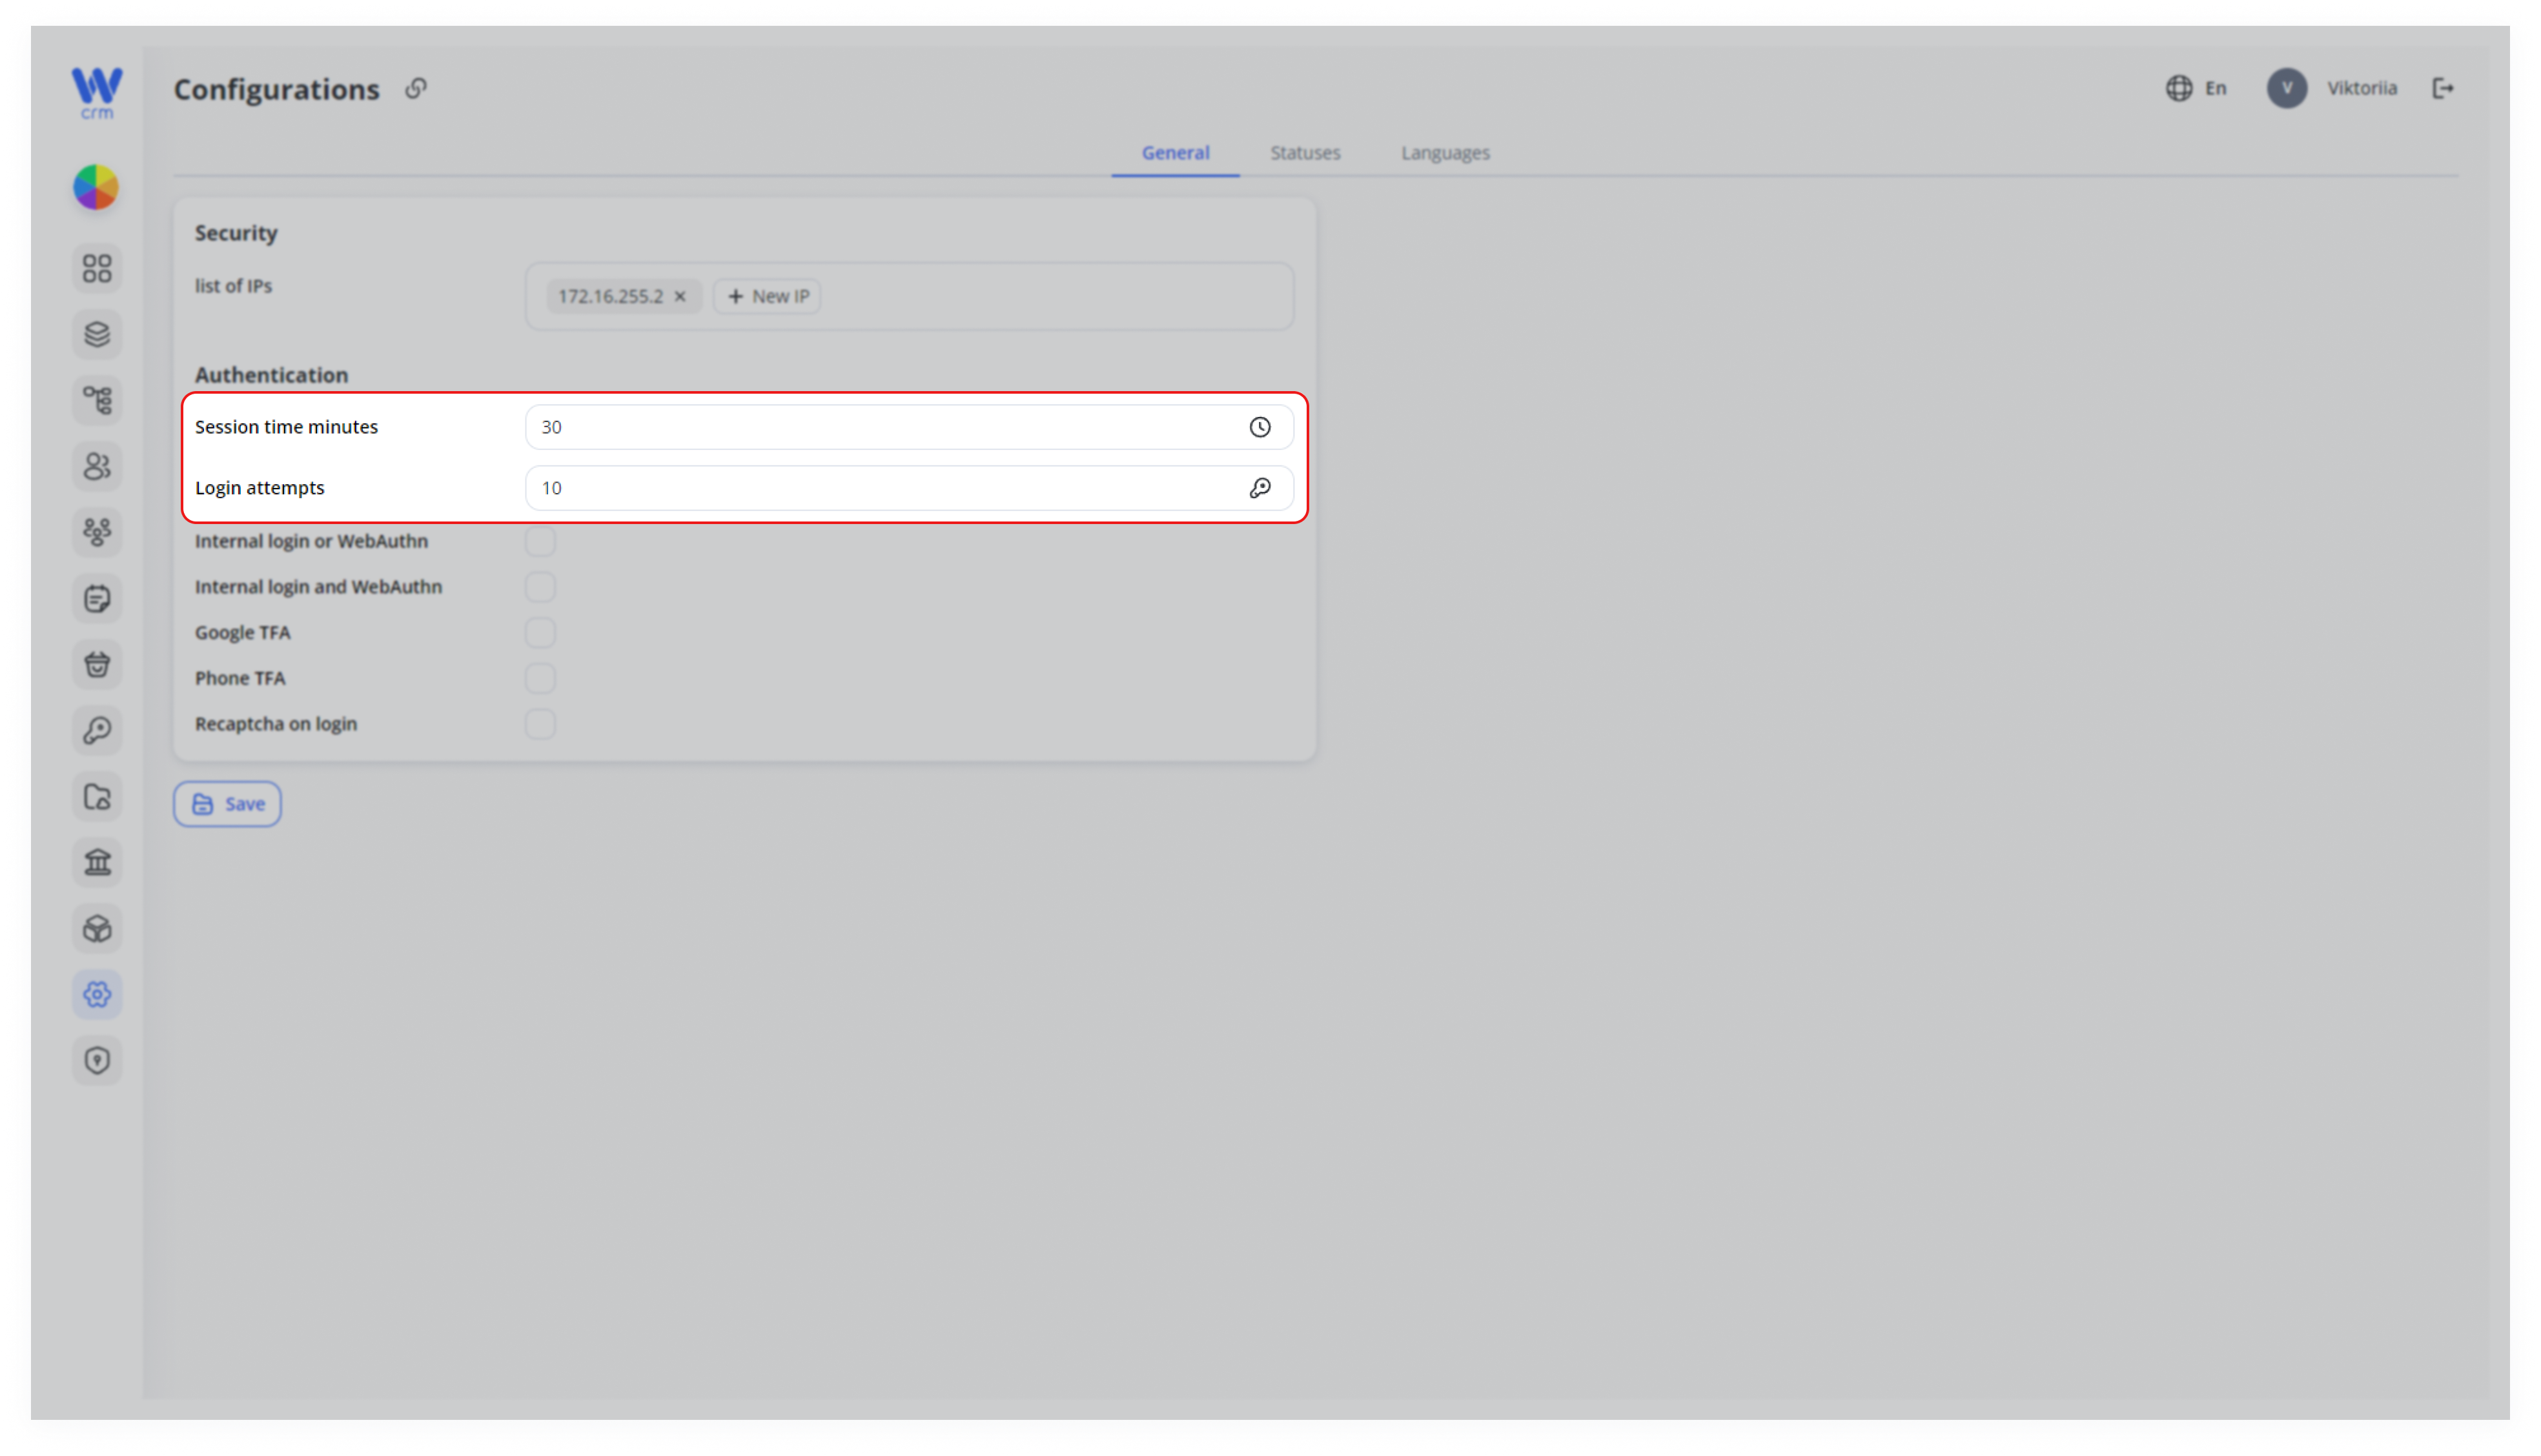
1. Fill in the following fields:
Session time minutes: Enter how many minutes after login the user is automatically unlogged from the system when idle. If the field is left blank, the default value of 60 minutes will be applied.
Login attempts: Enter the number of times the user can enter an incorrect password before being temporarily locked out (for 2 minutes). The default is 3.
2. Check one of the options (or leave them all blank):
Internal login or WebAuthn: If you want the user to use a choice of password or WebAuthn (biometric data) to log in.
Internal login and WebAuthn: If you want the user to use both a password and biometrics for additional security to log in.
Google TFA: If you want the user to use two-factor authentication through Google for additional security.
Phone TFA: If you want the user to use two-factor authentication via phone number for additional security.
Get more information about authentication types in WiWifox CRMBusiness Core Solution [here].
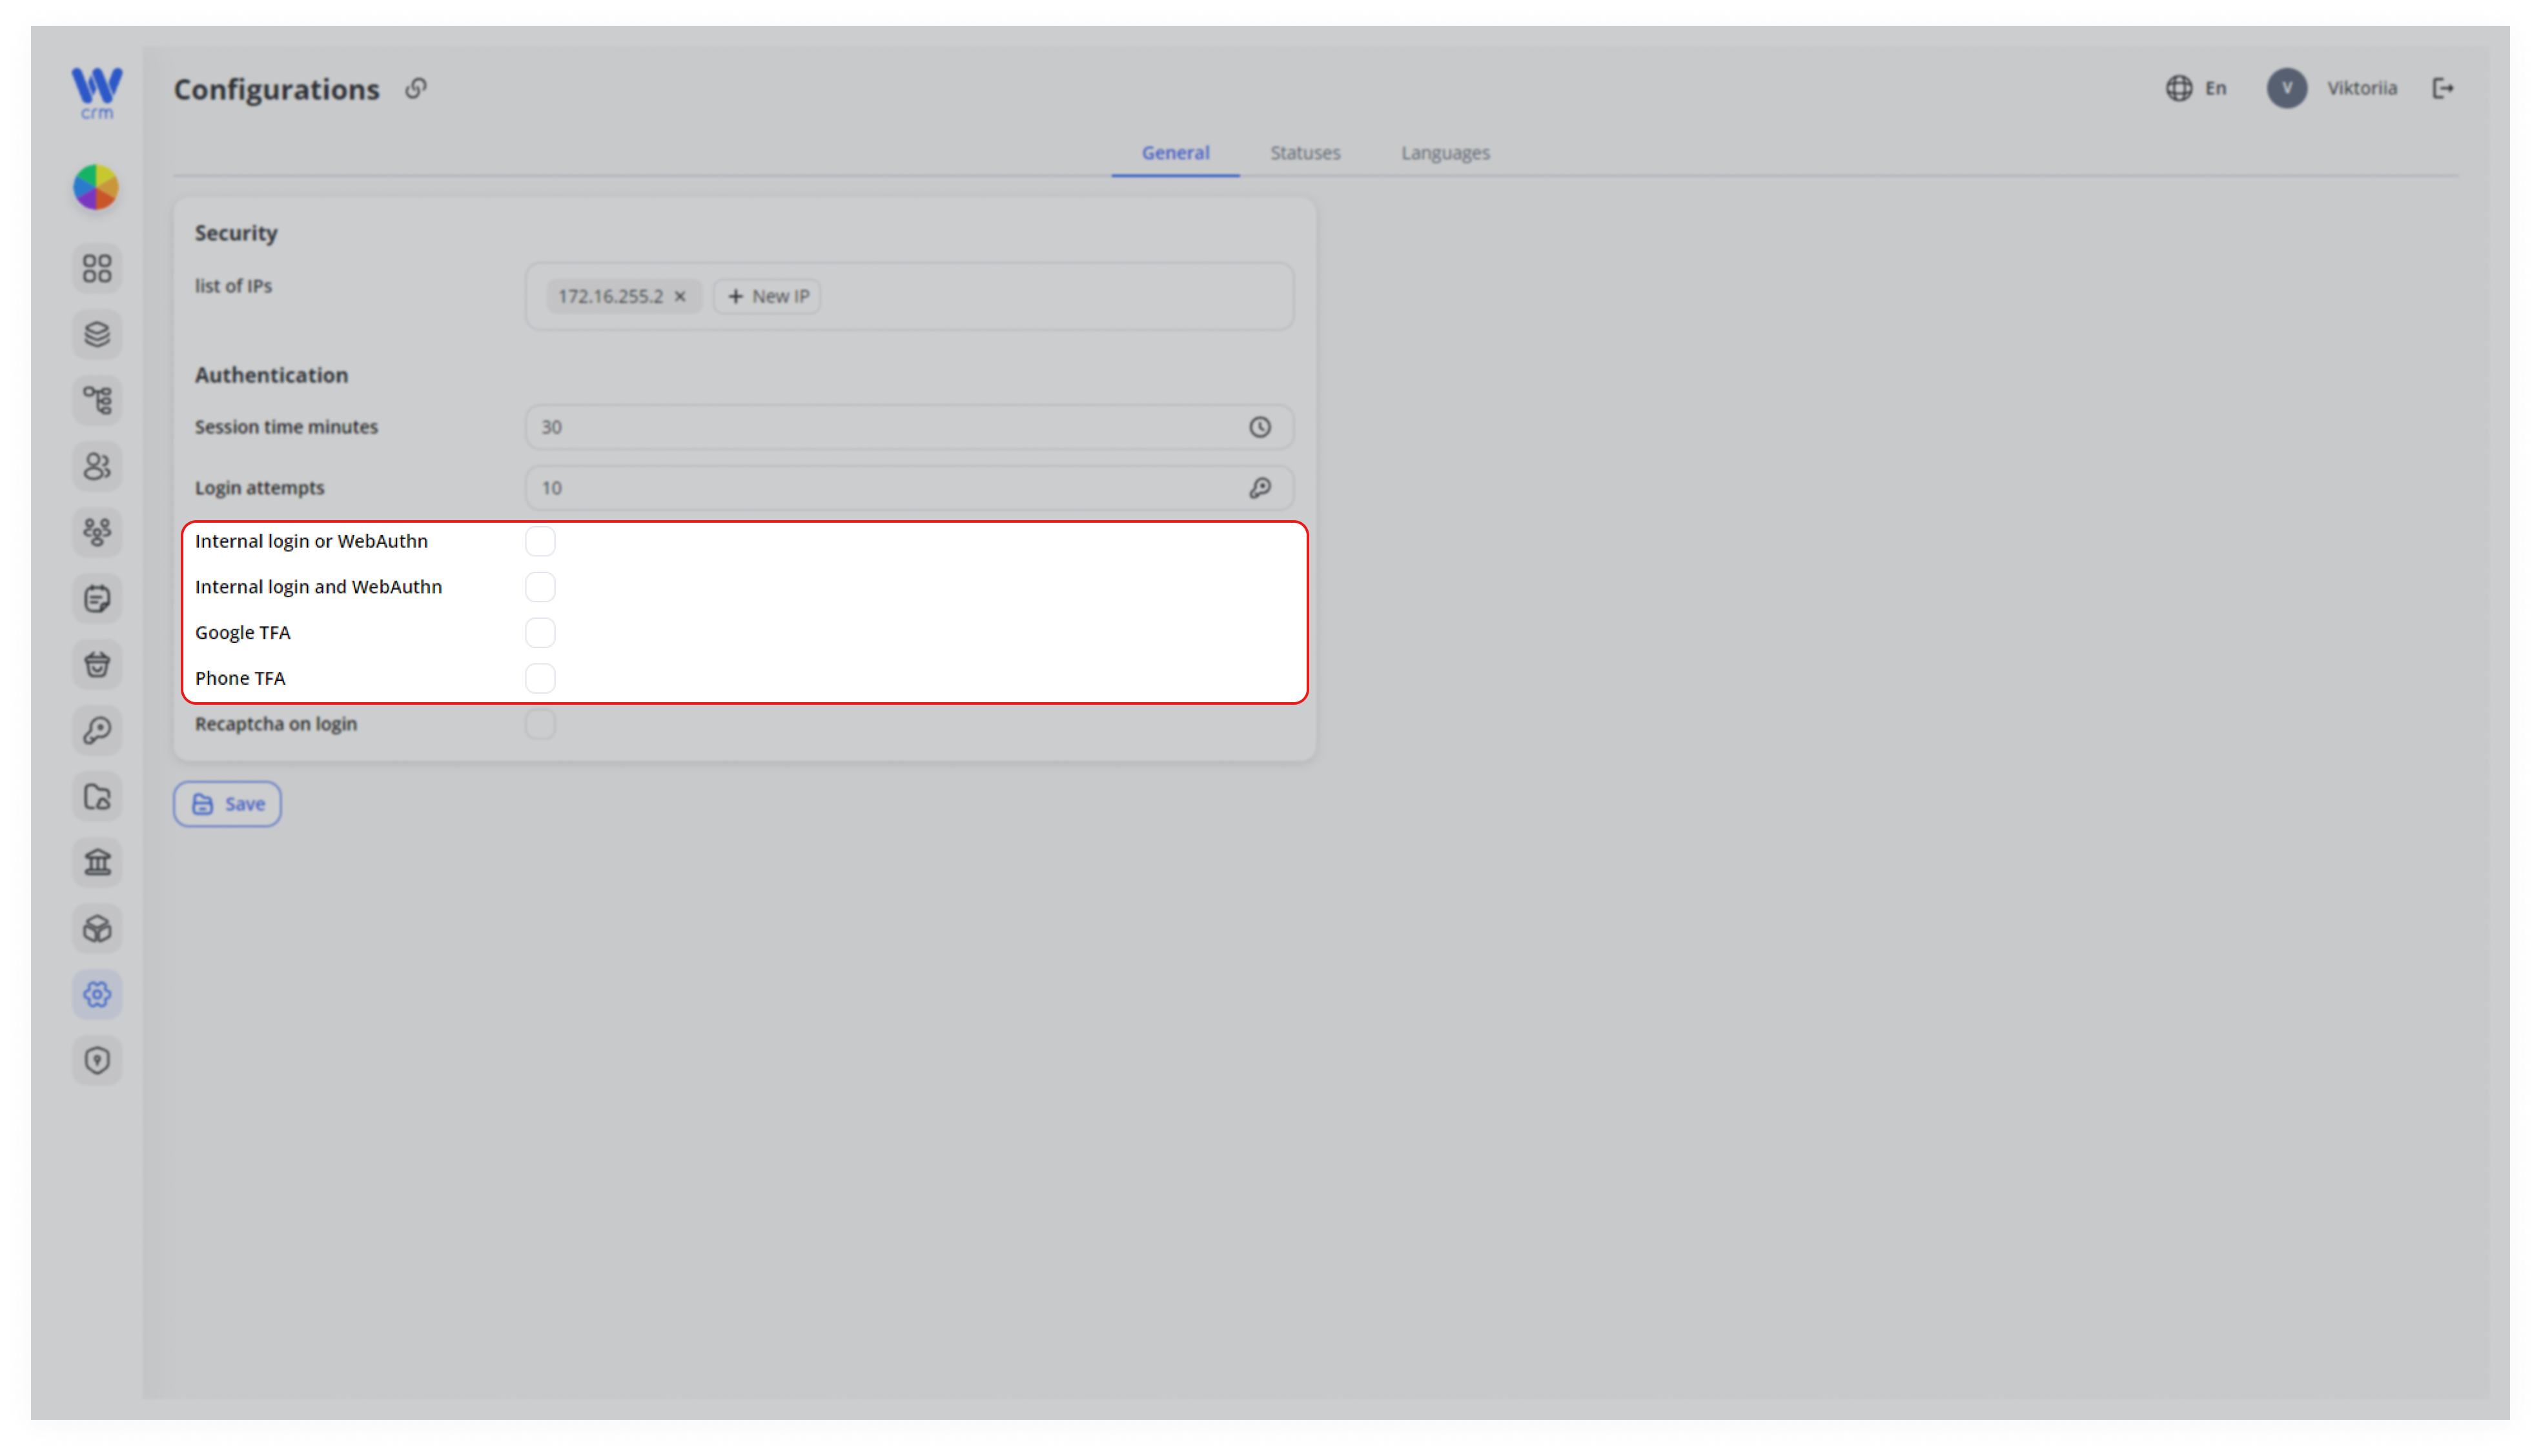
Note:Note: If you select one of the options, the others will be automatically disabled. Uncheck the selected box to enable other authentication options.
3. Check the box next to Recaptcha on login to use reCAPTCHA. We use reCAPTCHA v3, which means users will not notice this additional check.
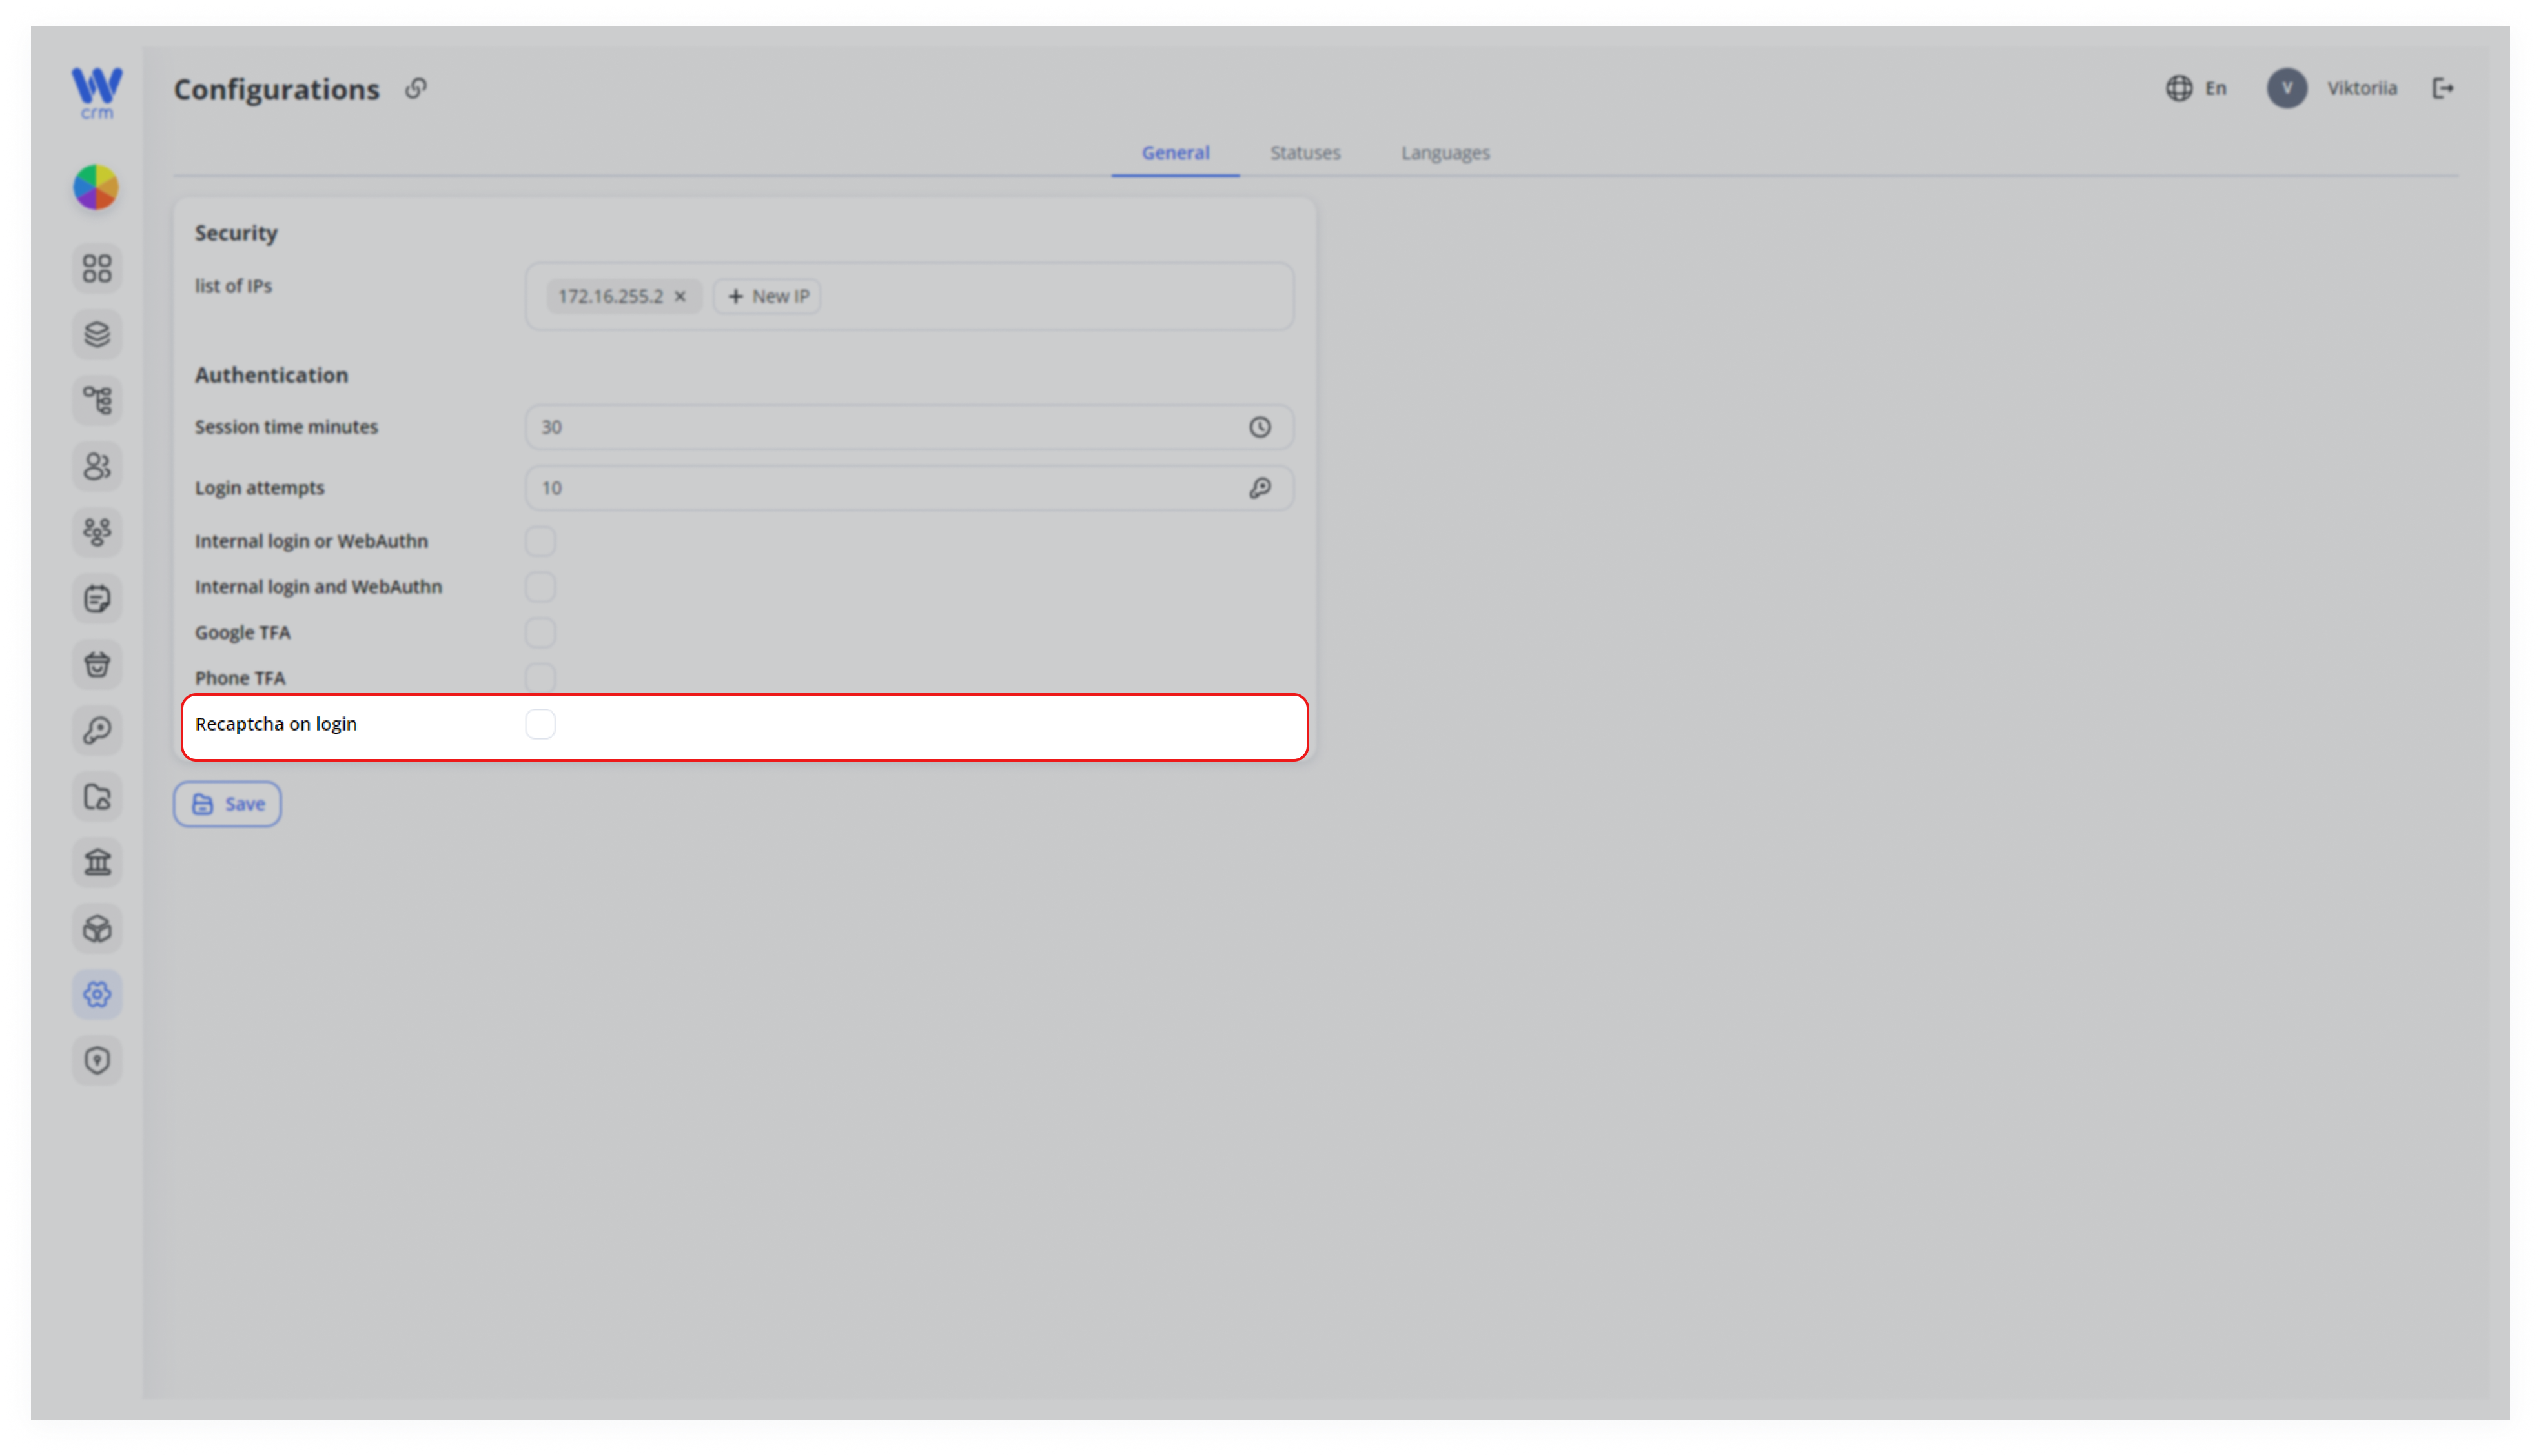
4. Click Save to save your settings.
By leveraging IP whitelisting and advanced authentication controls, you can significantly bolster your CRM’s defenses against unauthorized access and automated attacks. Regularly revisit these settings—especially after network changes or user-role updates—to maintain an optimal balance between security and usability.