
10. How to Manage Banks
The Banks section stores information about the details of the banks in use. This section is directly related to Assets. At the stage of adding an asset (provided that it is a fiat currency), you can (optionally) select the bank to which it belongs from a given list.
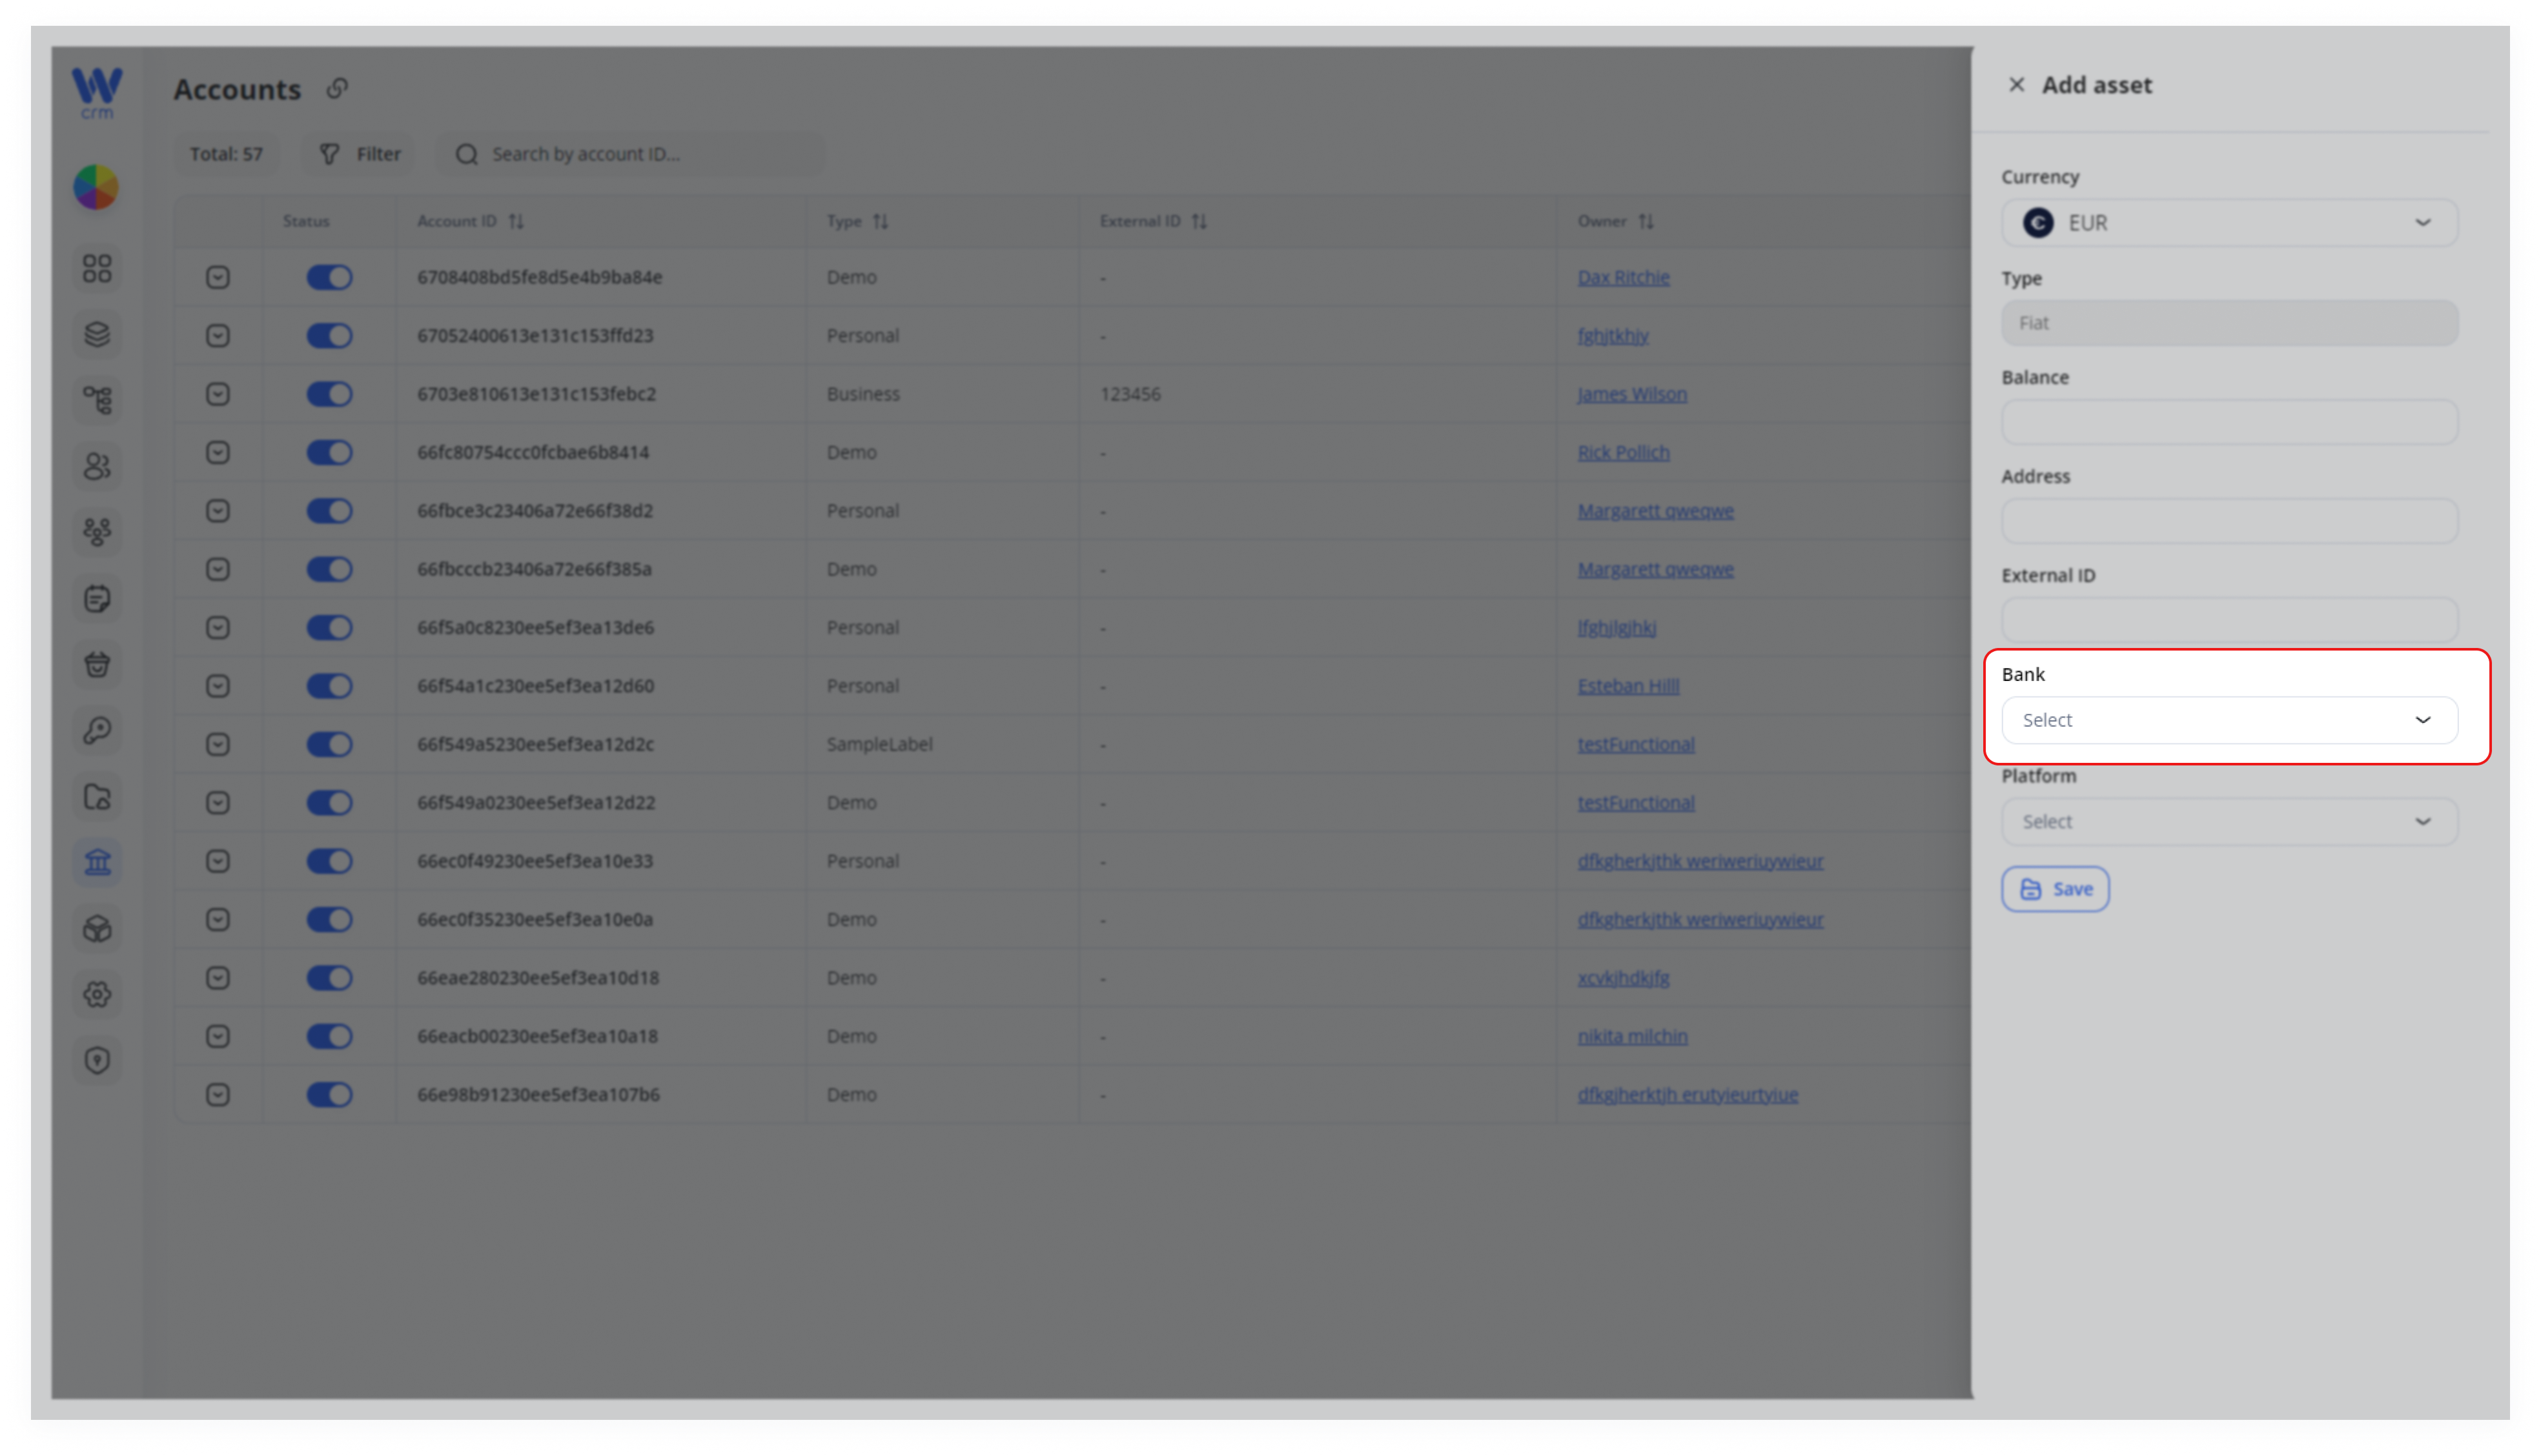
For example, you have a platform where a user can create an EUR asset with its own IBAN and select a banking system for it. You can use this functionality to identify which bank this asset's IBAN is from. Then you can divide assets across different banks, create integrations, and understand which bank and its credentials need to be queried from CRM and other systems.
Accessing the Banks Module
-
In the left-hand Core Banking sidebar, click the Banks.
-
The header shows “Banks” with:
-
A Total count of bank records.
-
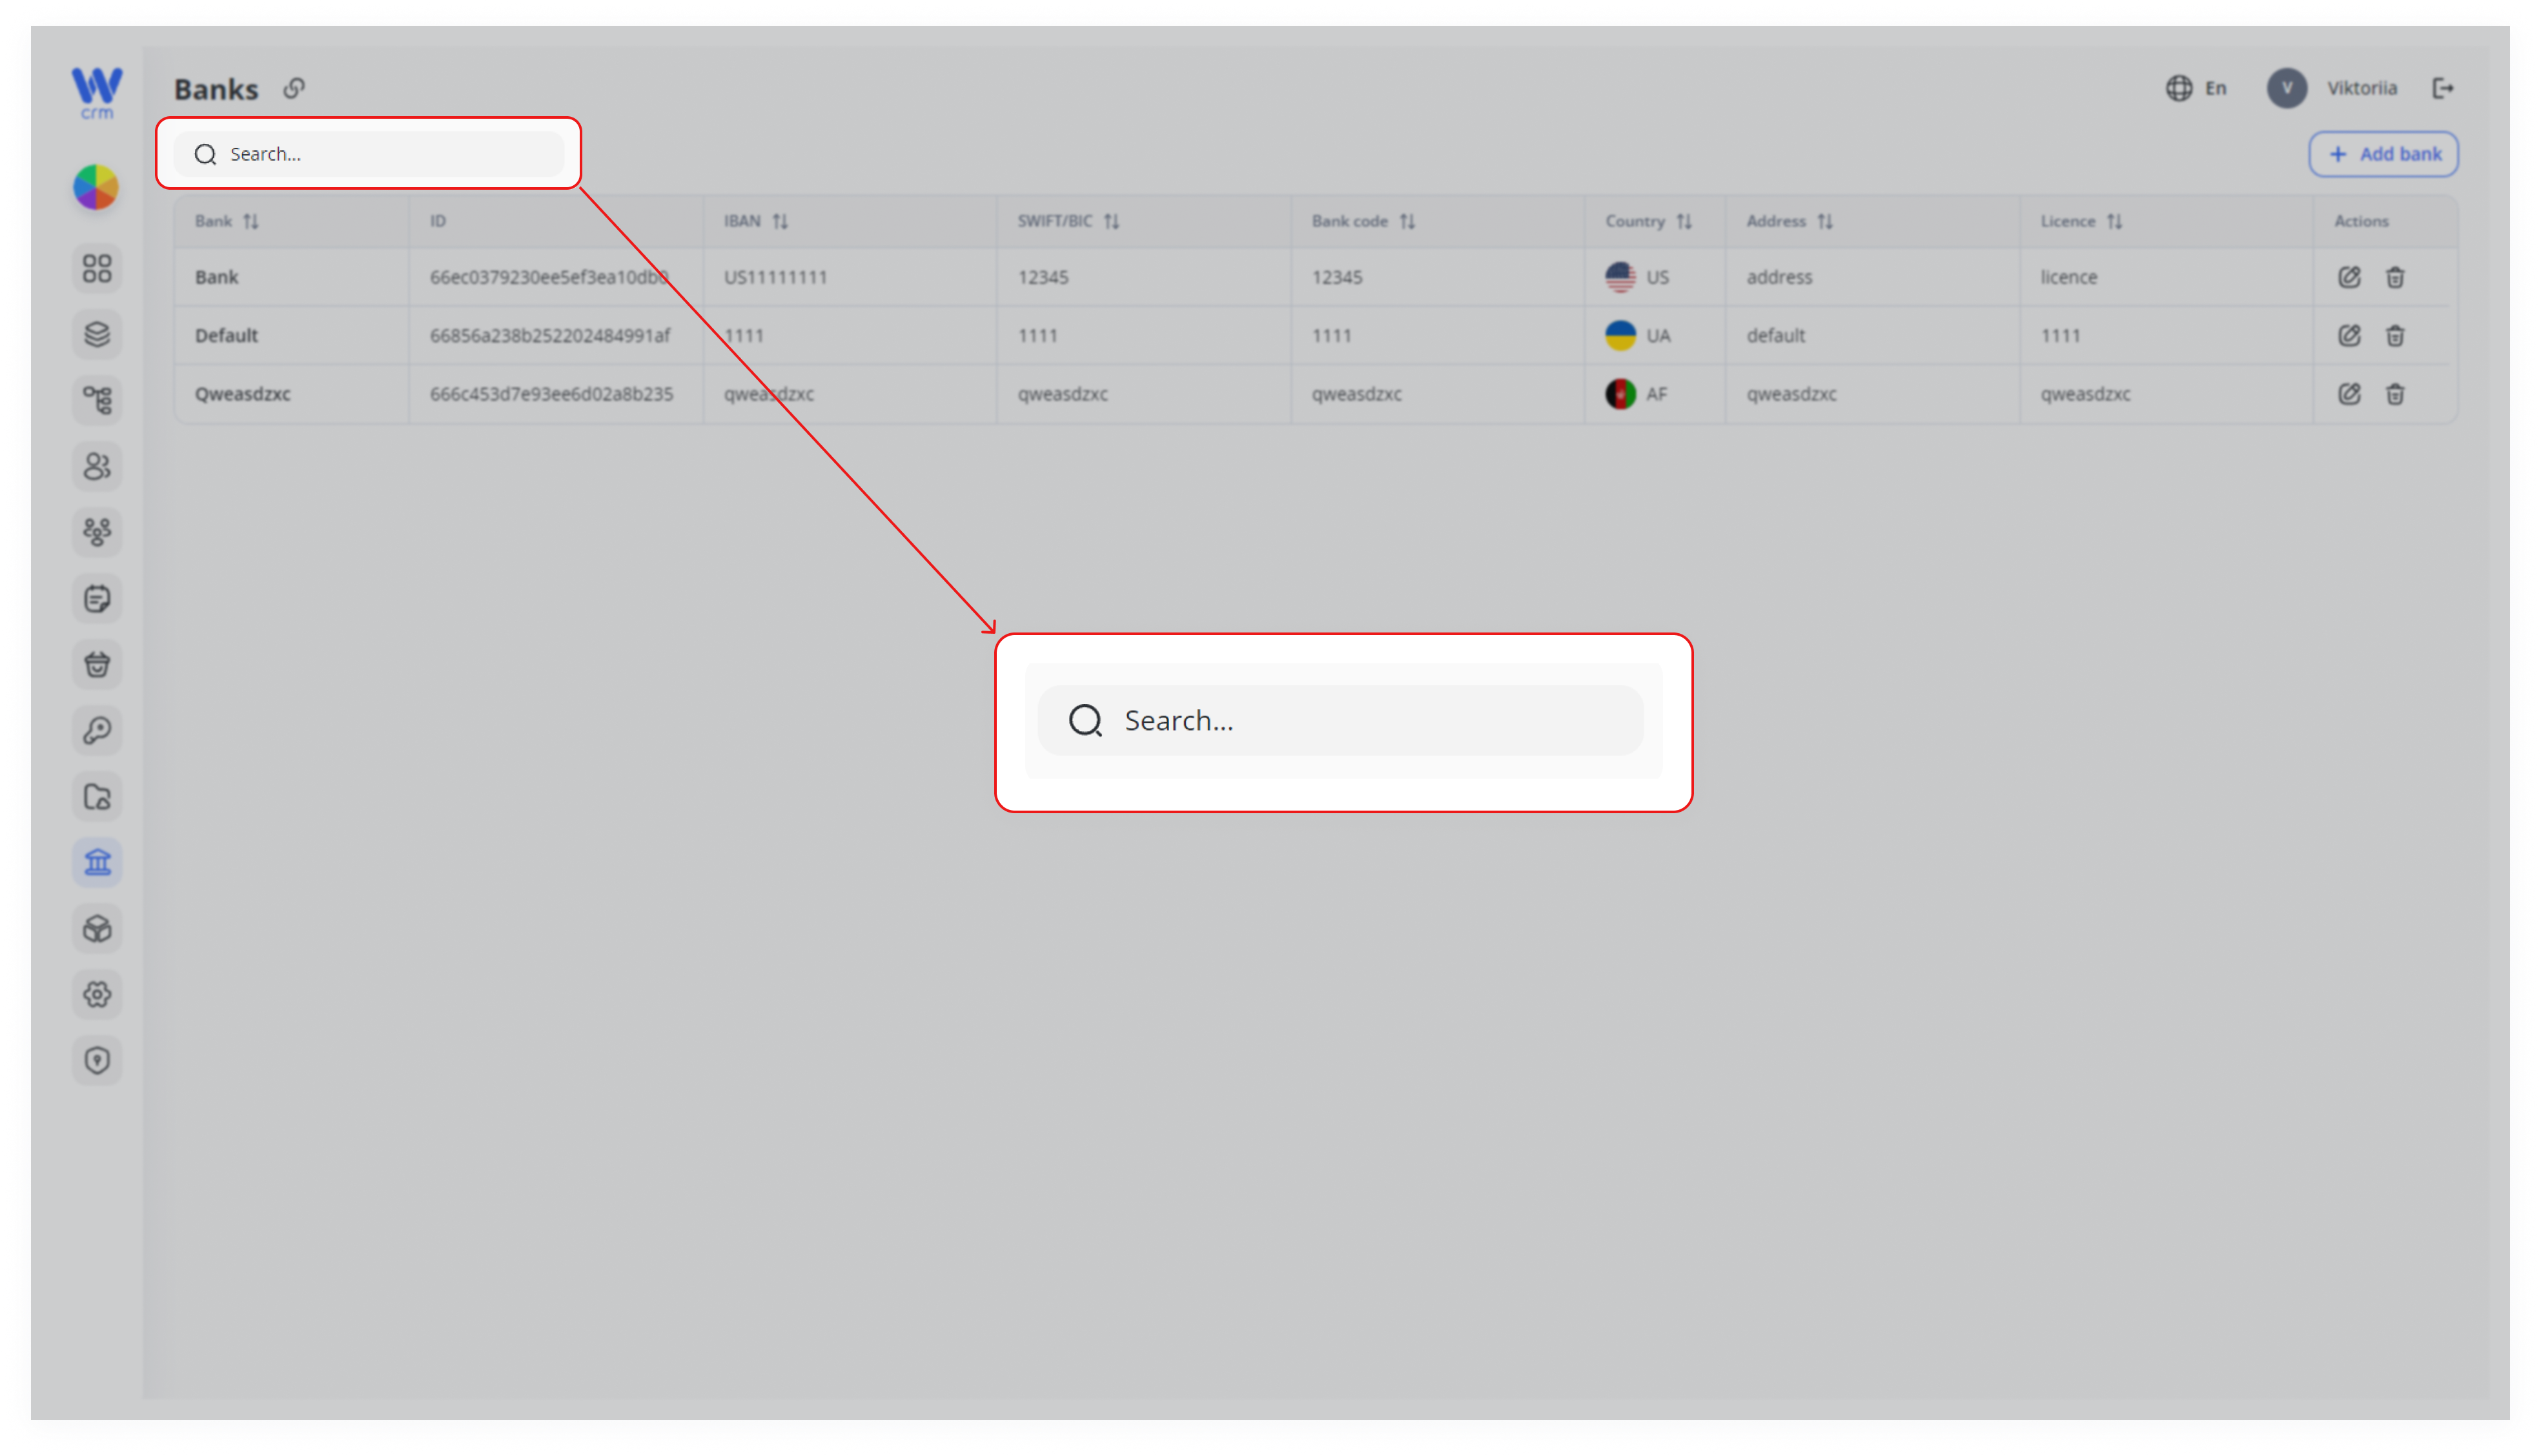
A Search field to quickly locate banks by any visible column.
-
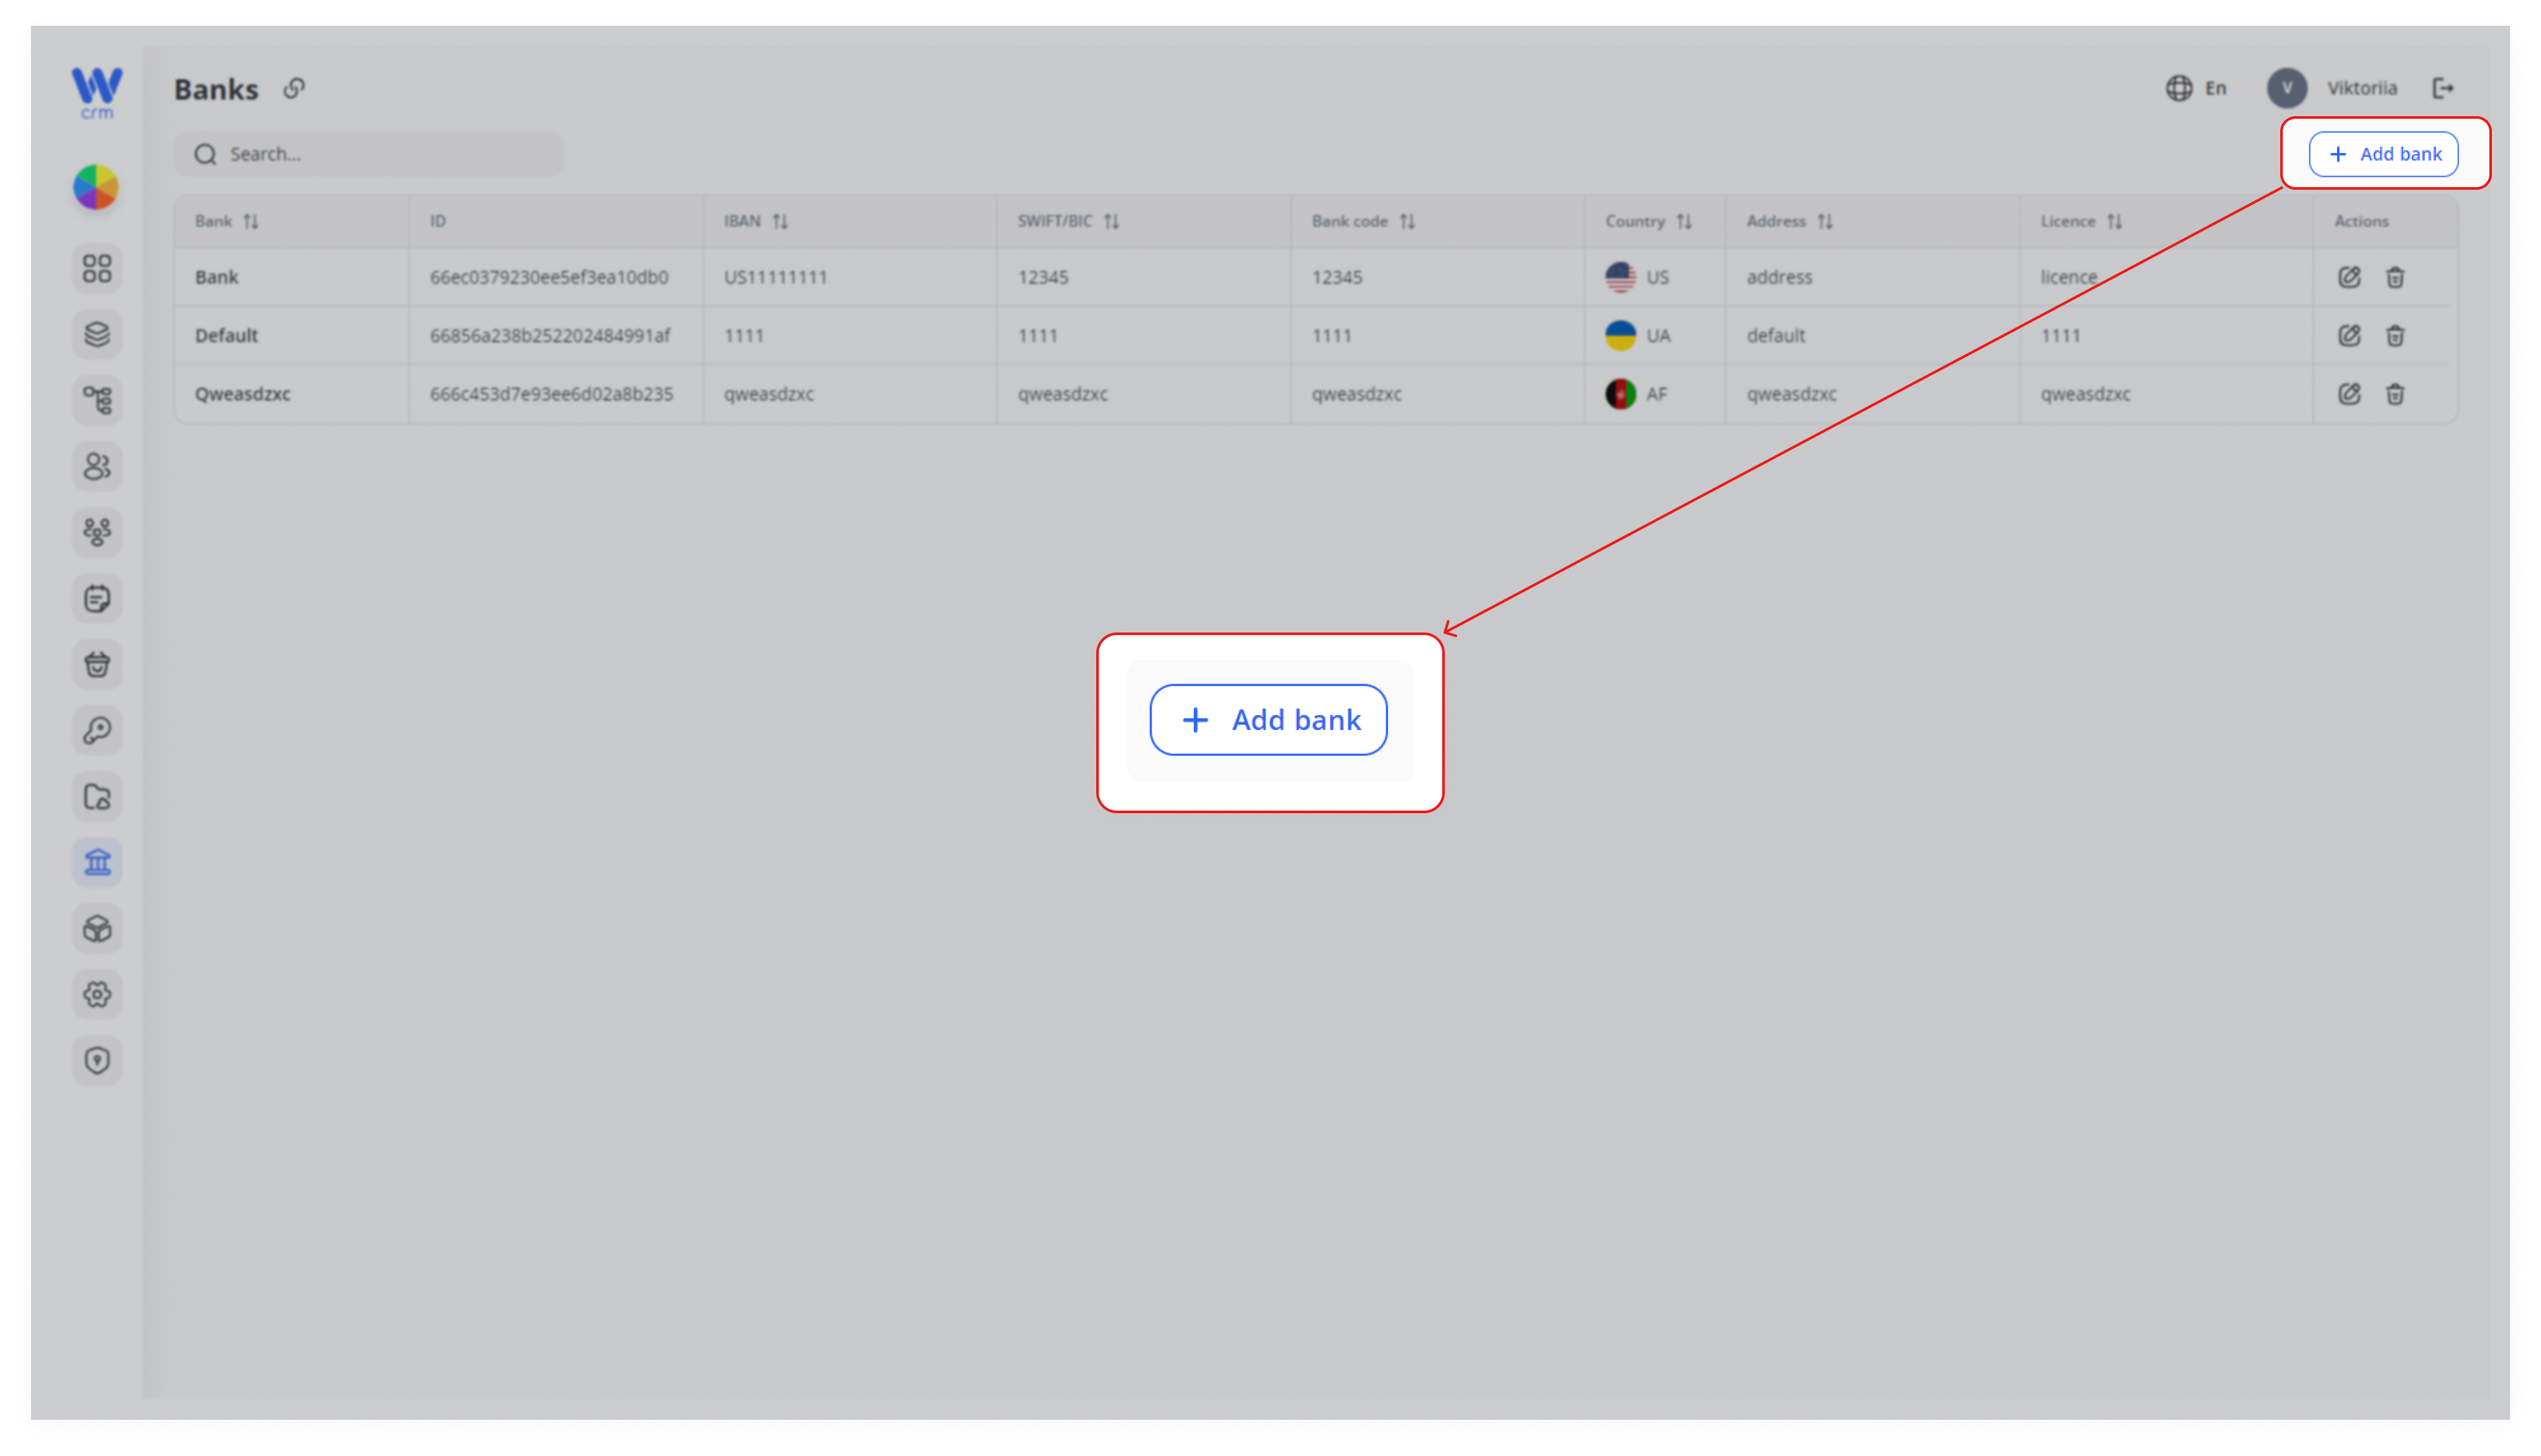
An Add bank button on the upper-right.
-
To add a bank:
-
-
Go to the Banks section.
-
Click the Add Bank button in the upper right corner of the tab.
-
3. Fill in the following fields:
- Label (Required): A short, unique identifier (e.g.,
Default,EuroBank). - Name (Required): Full legal name of the bank.
- Address: Street address or headquarters location.
- Country (Required): Select from the dropdown of country names/flags.
- Bank code (e.g., routing number).
- Licence: Regulatory licence number, if applicable.
- SWIFT/BIC: International bank code.
- IBAN: Default IBAN format for this bank (used when auto-populating assets).
- Make as default (checkbox): If checked, this bank is automatically pre-selected when adding new fiat assets (you can only have one default at a time).
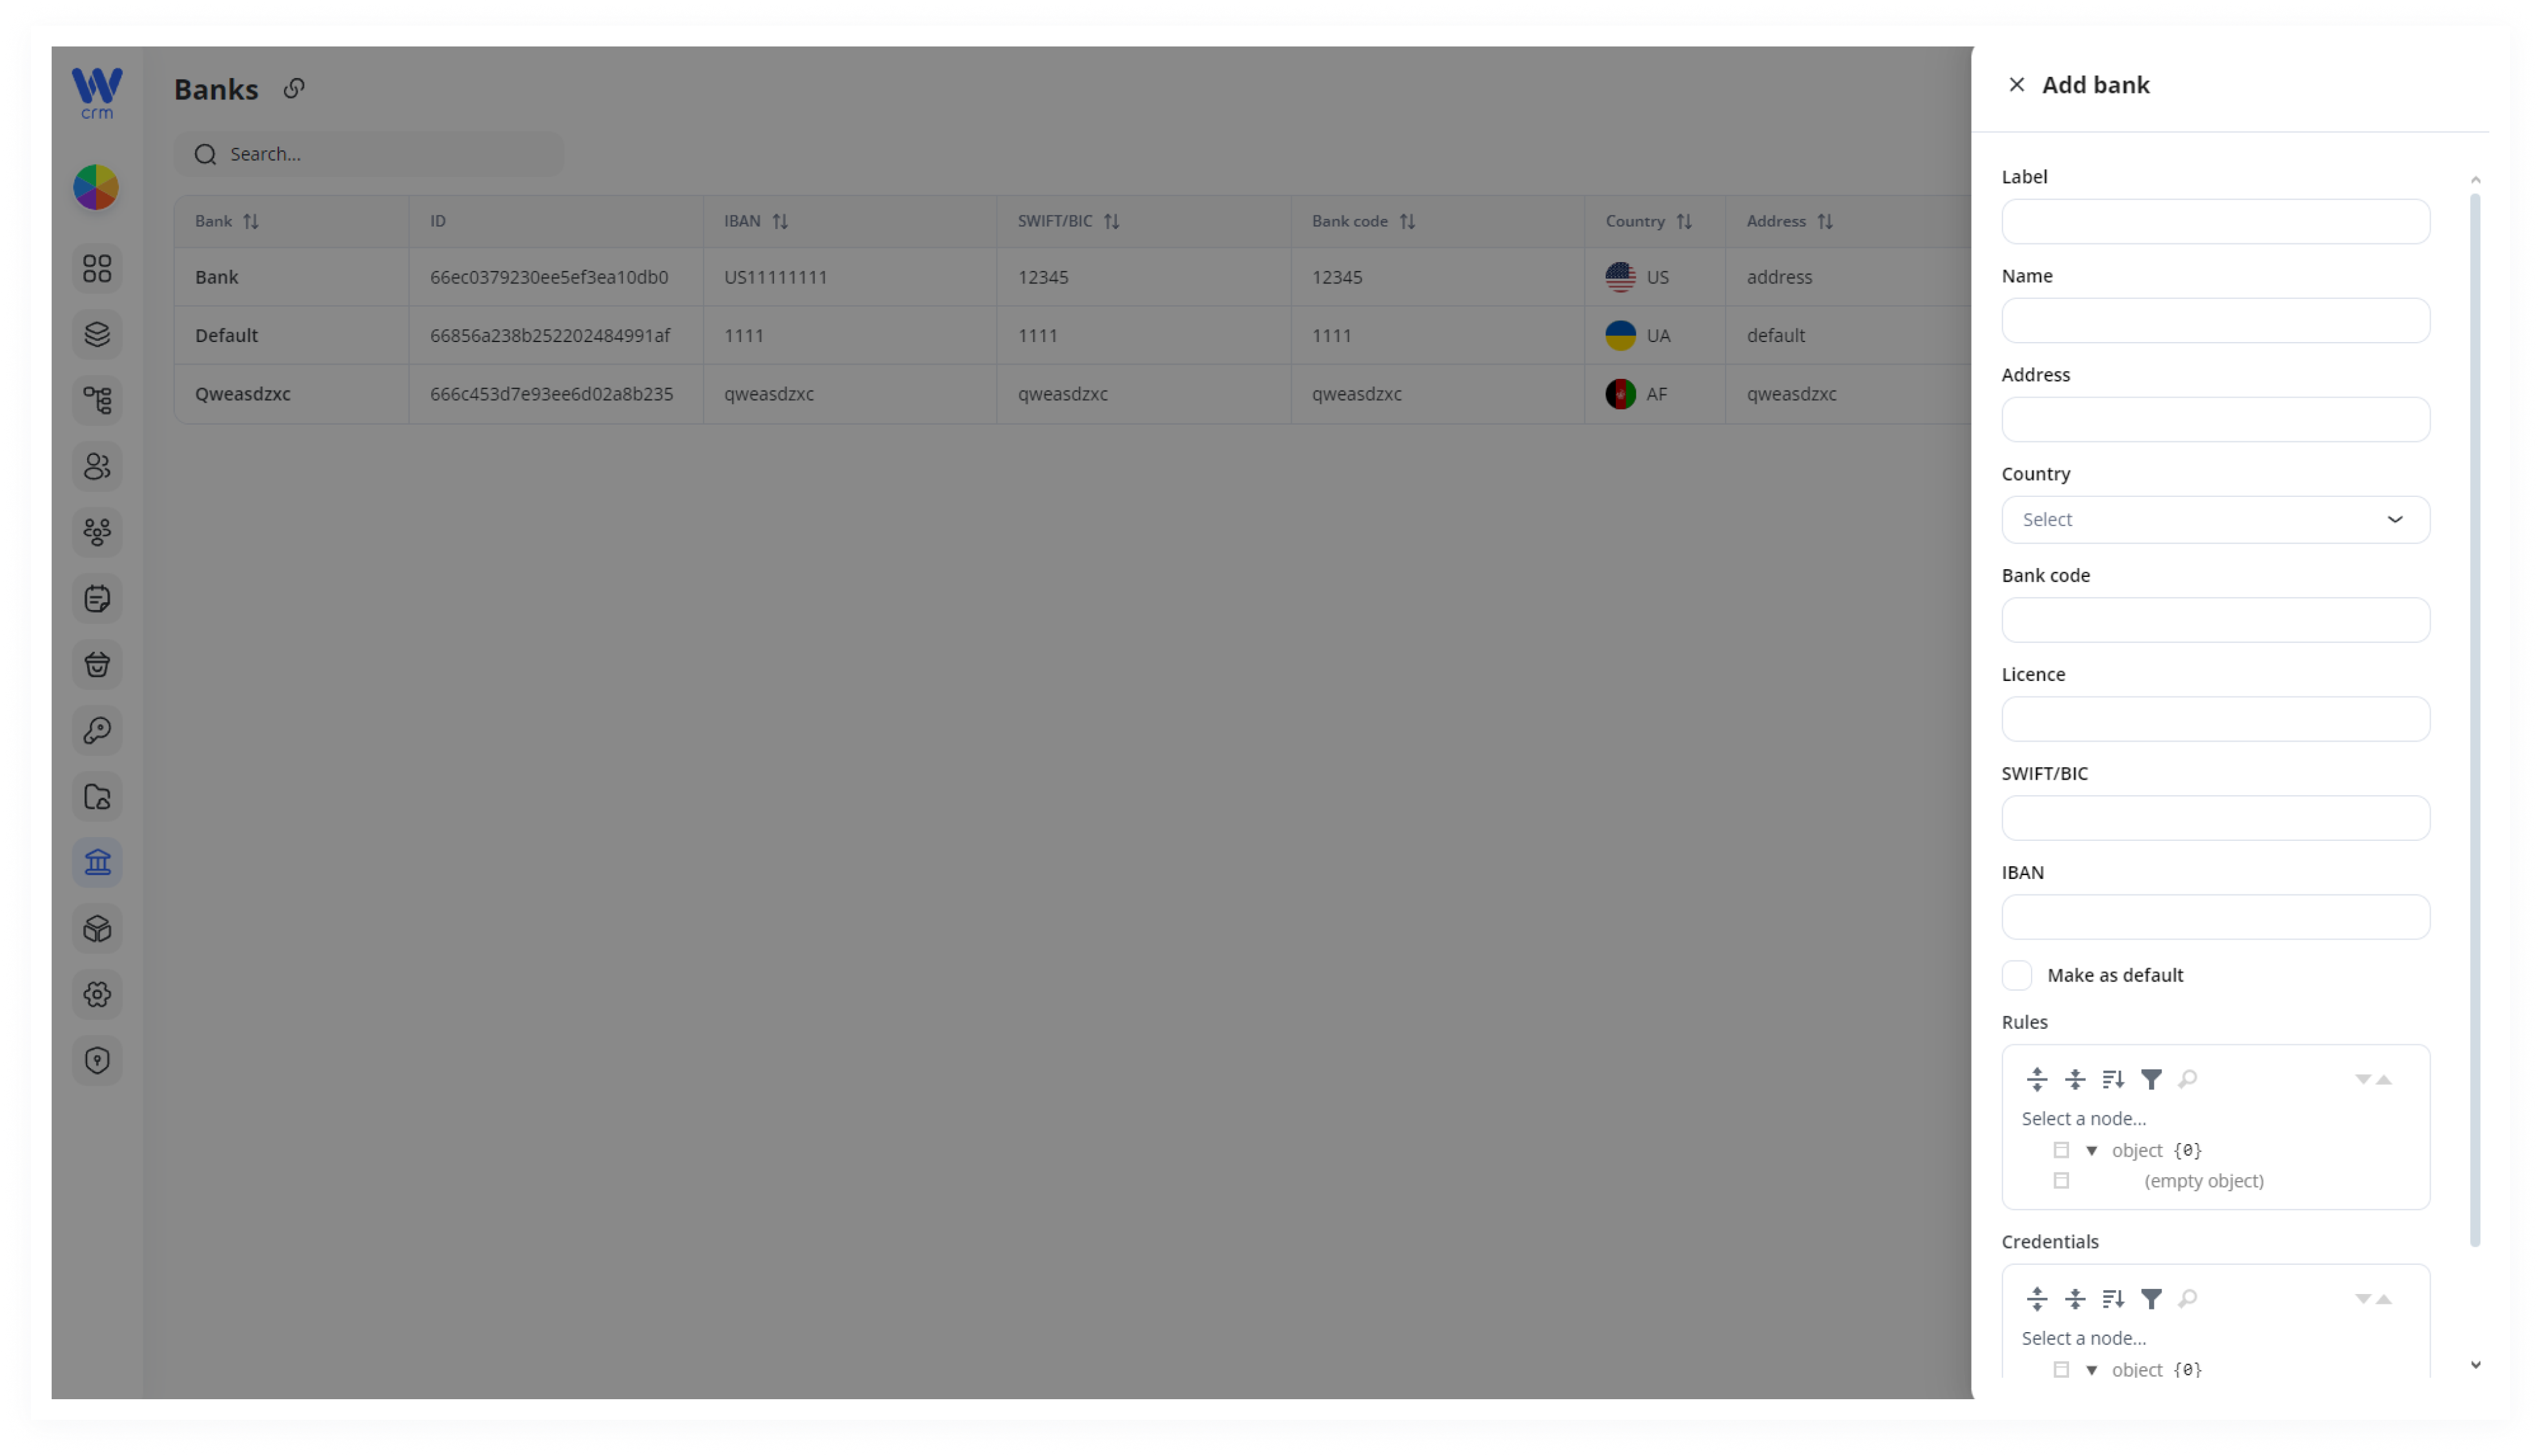
4. You can also make this bank the default bank. To do this, click the Make as default checkbox.
5. Optionally, fill in the Rules and Credentials fields for additional settings:
-
-
-
Rules: Custom rules. For example, you can define how to use a given bank on the platform, with what conditions.
-
Credentials: Developer field. Here you can save the bank's credentials for integration.
-
-
6. Click Save to apply the changes.
You can do following actions with all created banks:
-
-
Searching
-
Editing
-
Deletion
-
To search for a bank:
-
- Search: Begin typing any part of a bank’s Label, Name, IBAN, SWIFT/BIC, or Country ISO code. The list filters in real time.
-
Sorting: Click the ▲/▼ icon next to any column header (e.g., Bank, Country, Licence) to sort ascending/descending.
- Search: Begin typing any part of a bank’s Label, Name, IBAN, SWIFT/BIC, or Country ISO code. The list filters in real time.
Note: Banks cannot be “filtered” by advanced criteria—use the live Search and column sorting to narrow the list.
To edit a bank:
1. In the Actions column of the bank’s row, click the Edit (✏️) icon:
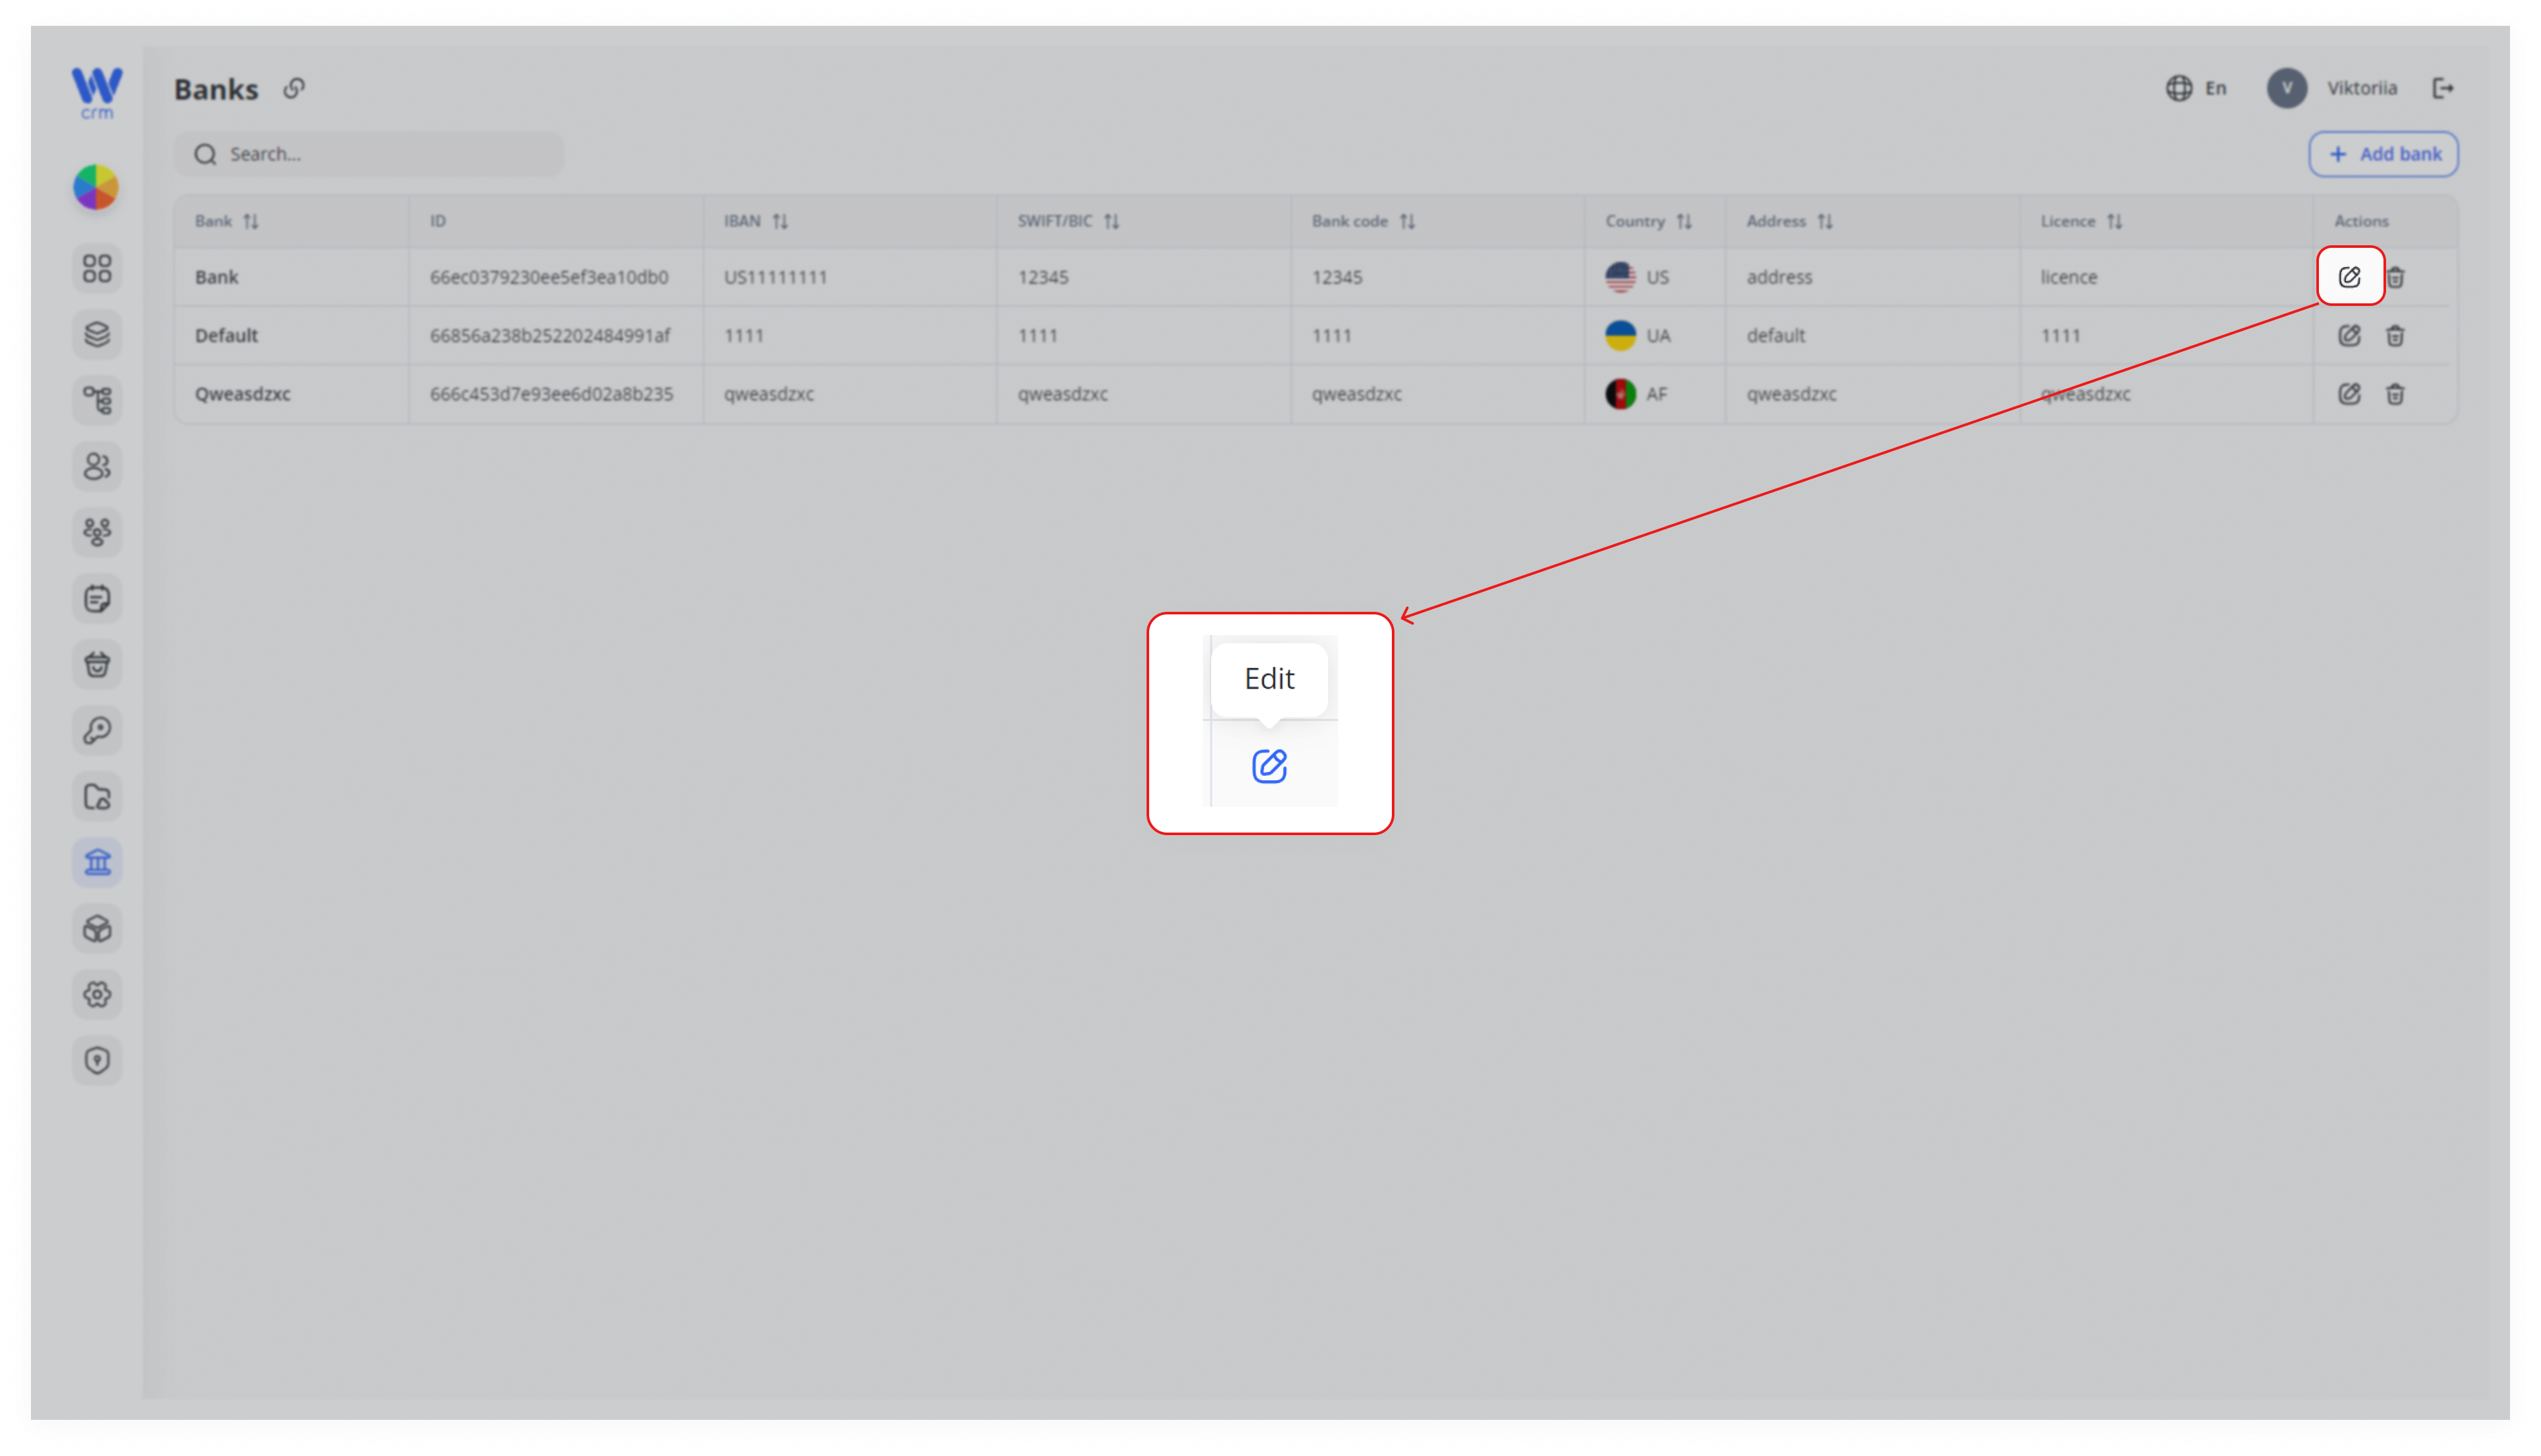
2. The same drawer appears, pre-populated with that bank’s details. Update any field—Label, Name, Codes, Rules, Credentials, etc.
3. Click Save to apply changes.
If you change Make as default, the previous default bank is automatically unset.
To delete a bank:
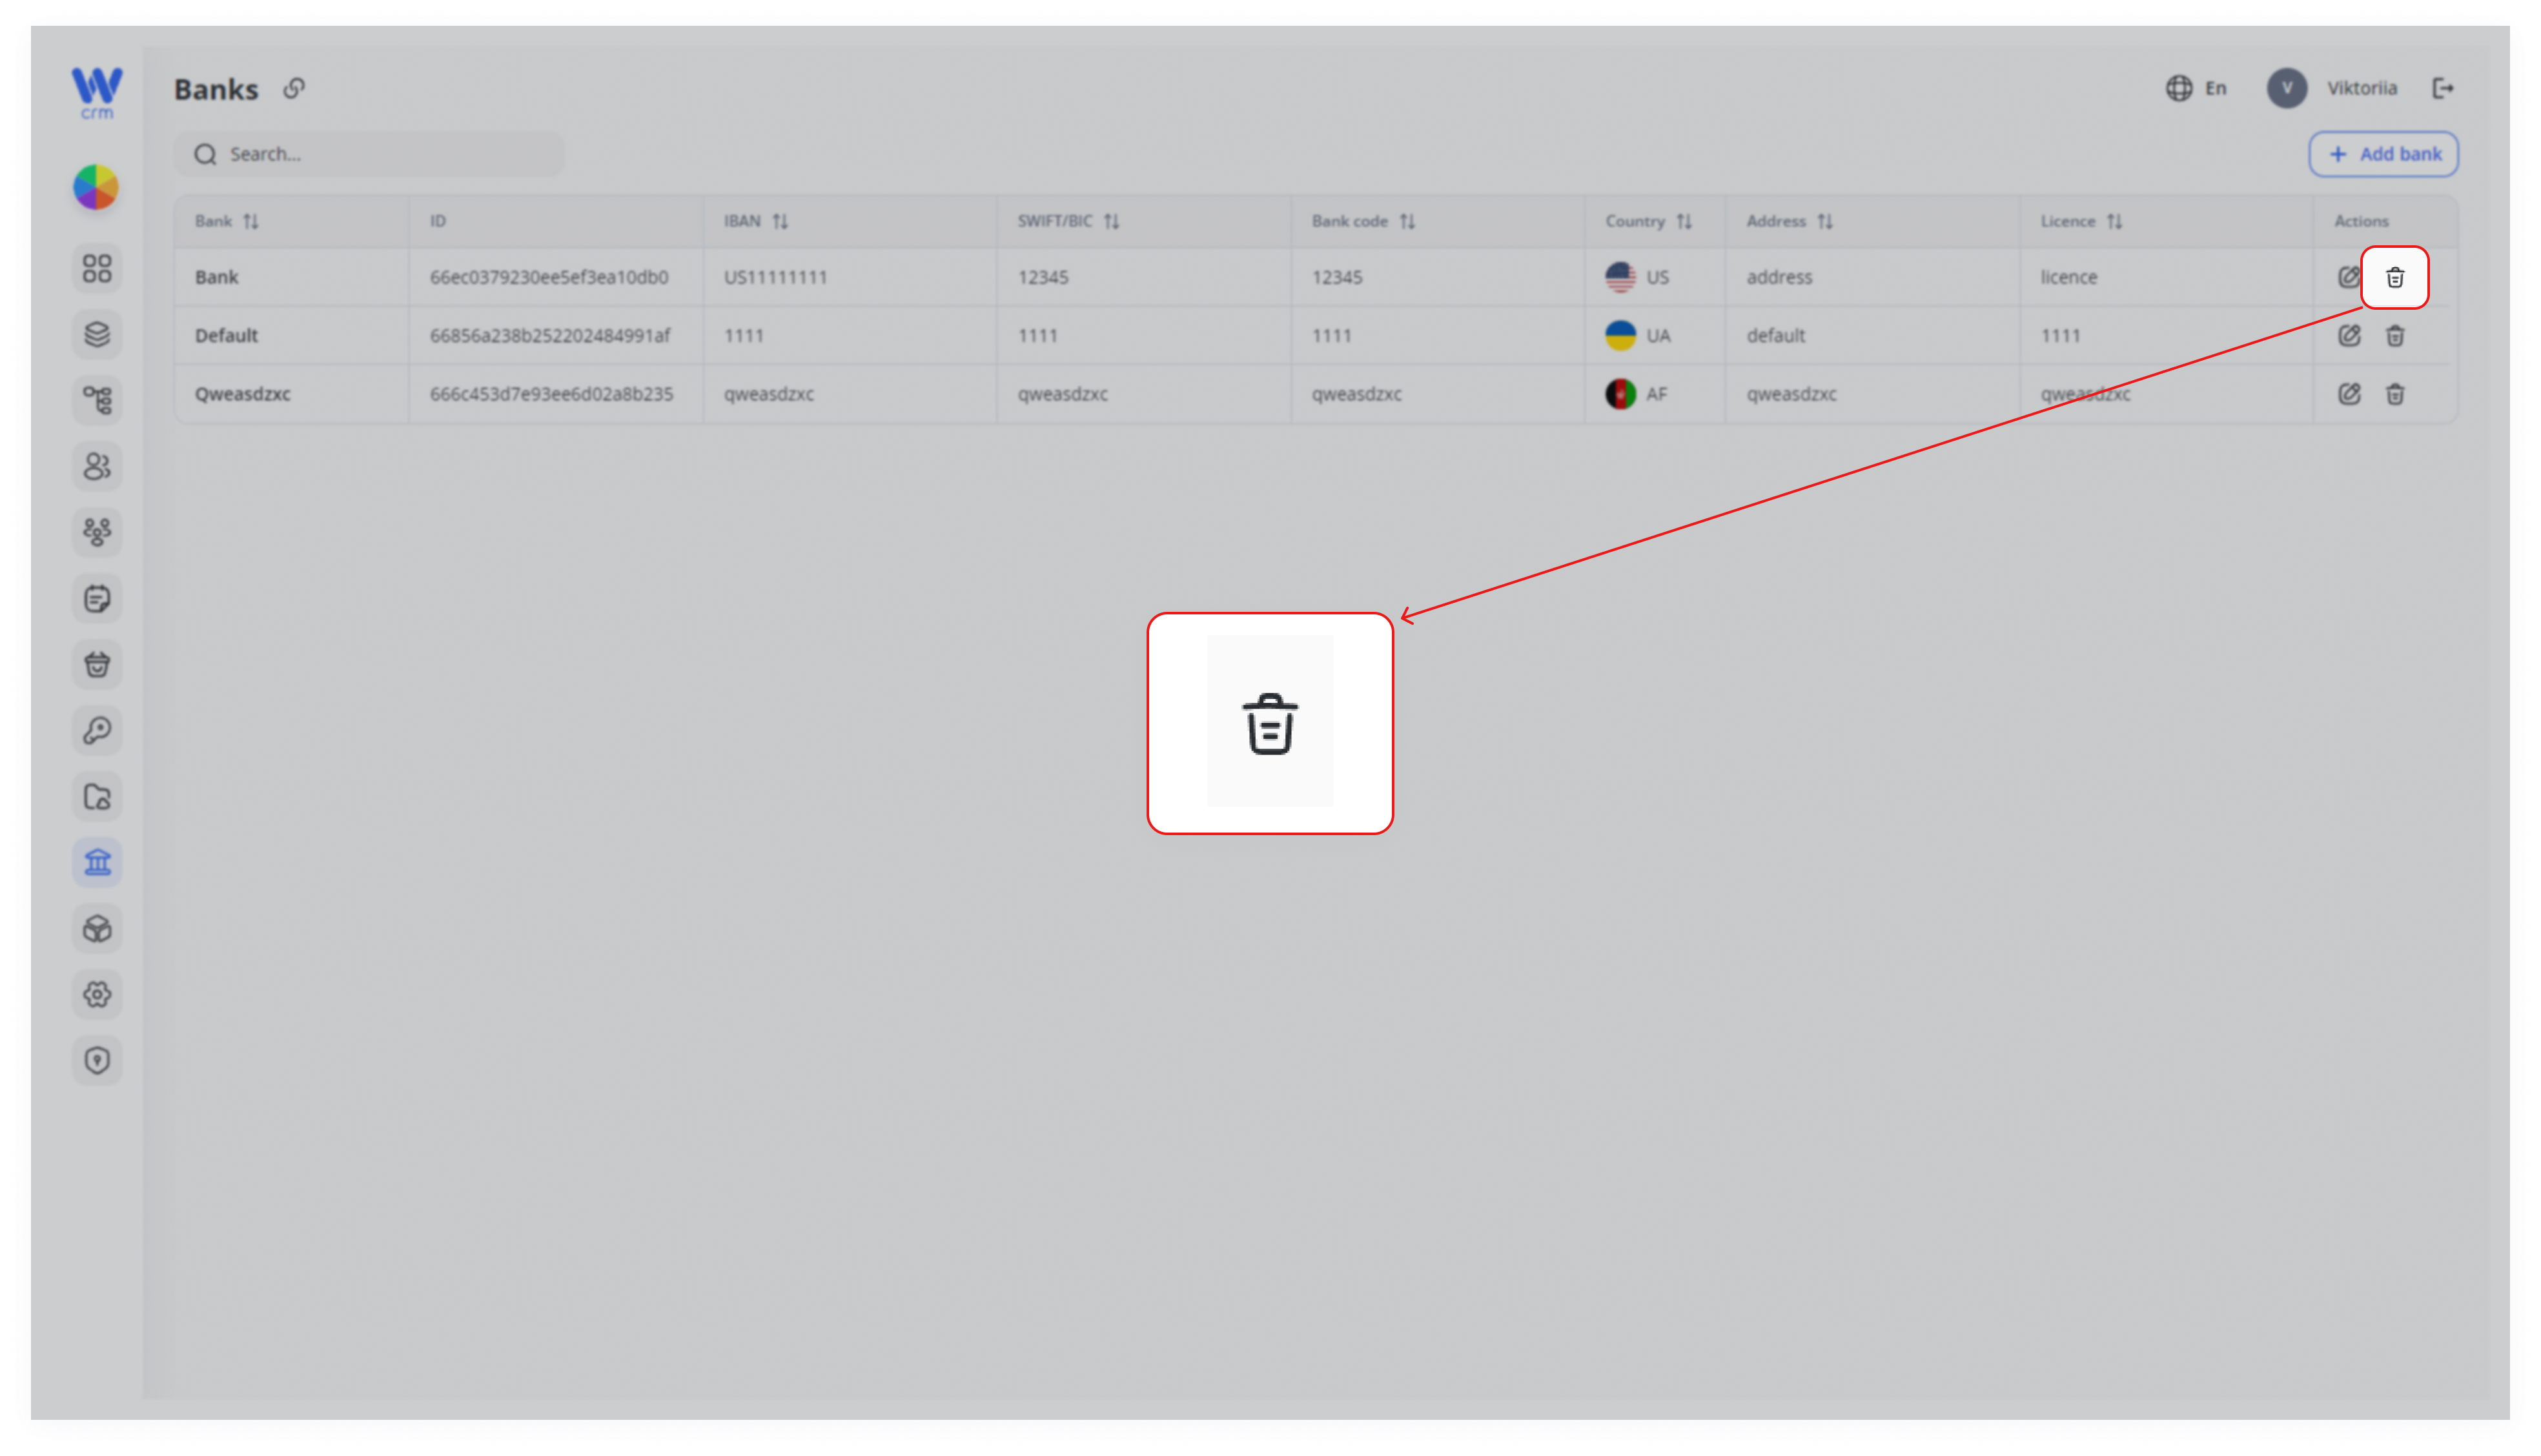
- Click the Delete (🗑️) icon in the Actions column.
-
Confirm the prompt.
Warning: Deletion is permanent. Any assets previously linked to this bank will lose their bank association (you’ll need to re-assign them manually).
Linking Banks to Assets
When you Add Asset (fiat) in the Accounts or Assets modules, the Bank dropdown lists every bank you’ve created—default first, then alphabetically. Selecting the correct bank ensures:
-
Automated IBAN validation (based on bank code).
-
Platform integrations (via the bank’s stored credentials).
-
Accurate reconciliation when querying external banking APIs.
Quick Tips
-
Default Bank: Always ensure you have one default bank for your most-commonly used fiat currency.
-
Rules & Credentials: Use these JSON editors to configure country-specific routing rules or to store sandbox/live API keys.
-
Audit Trail: All create/edit/delete actions appear in your system’s audit logs—perfect for compliance reviews.
With this setup, your platform can precisely route fiat deposits and withdrawals, segment assets by banking partner, and leverage integrations seamlessly.