
8.9. How to Manage Banks
The Banks section stores information about the details of the banks in use. This section is directly related to Assets. At the stage of adding an asset (provided that it is a fiat currency), you can (optionally) select the bank to which it belongs from a given list.
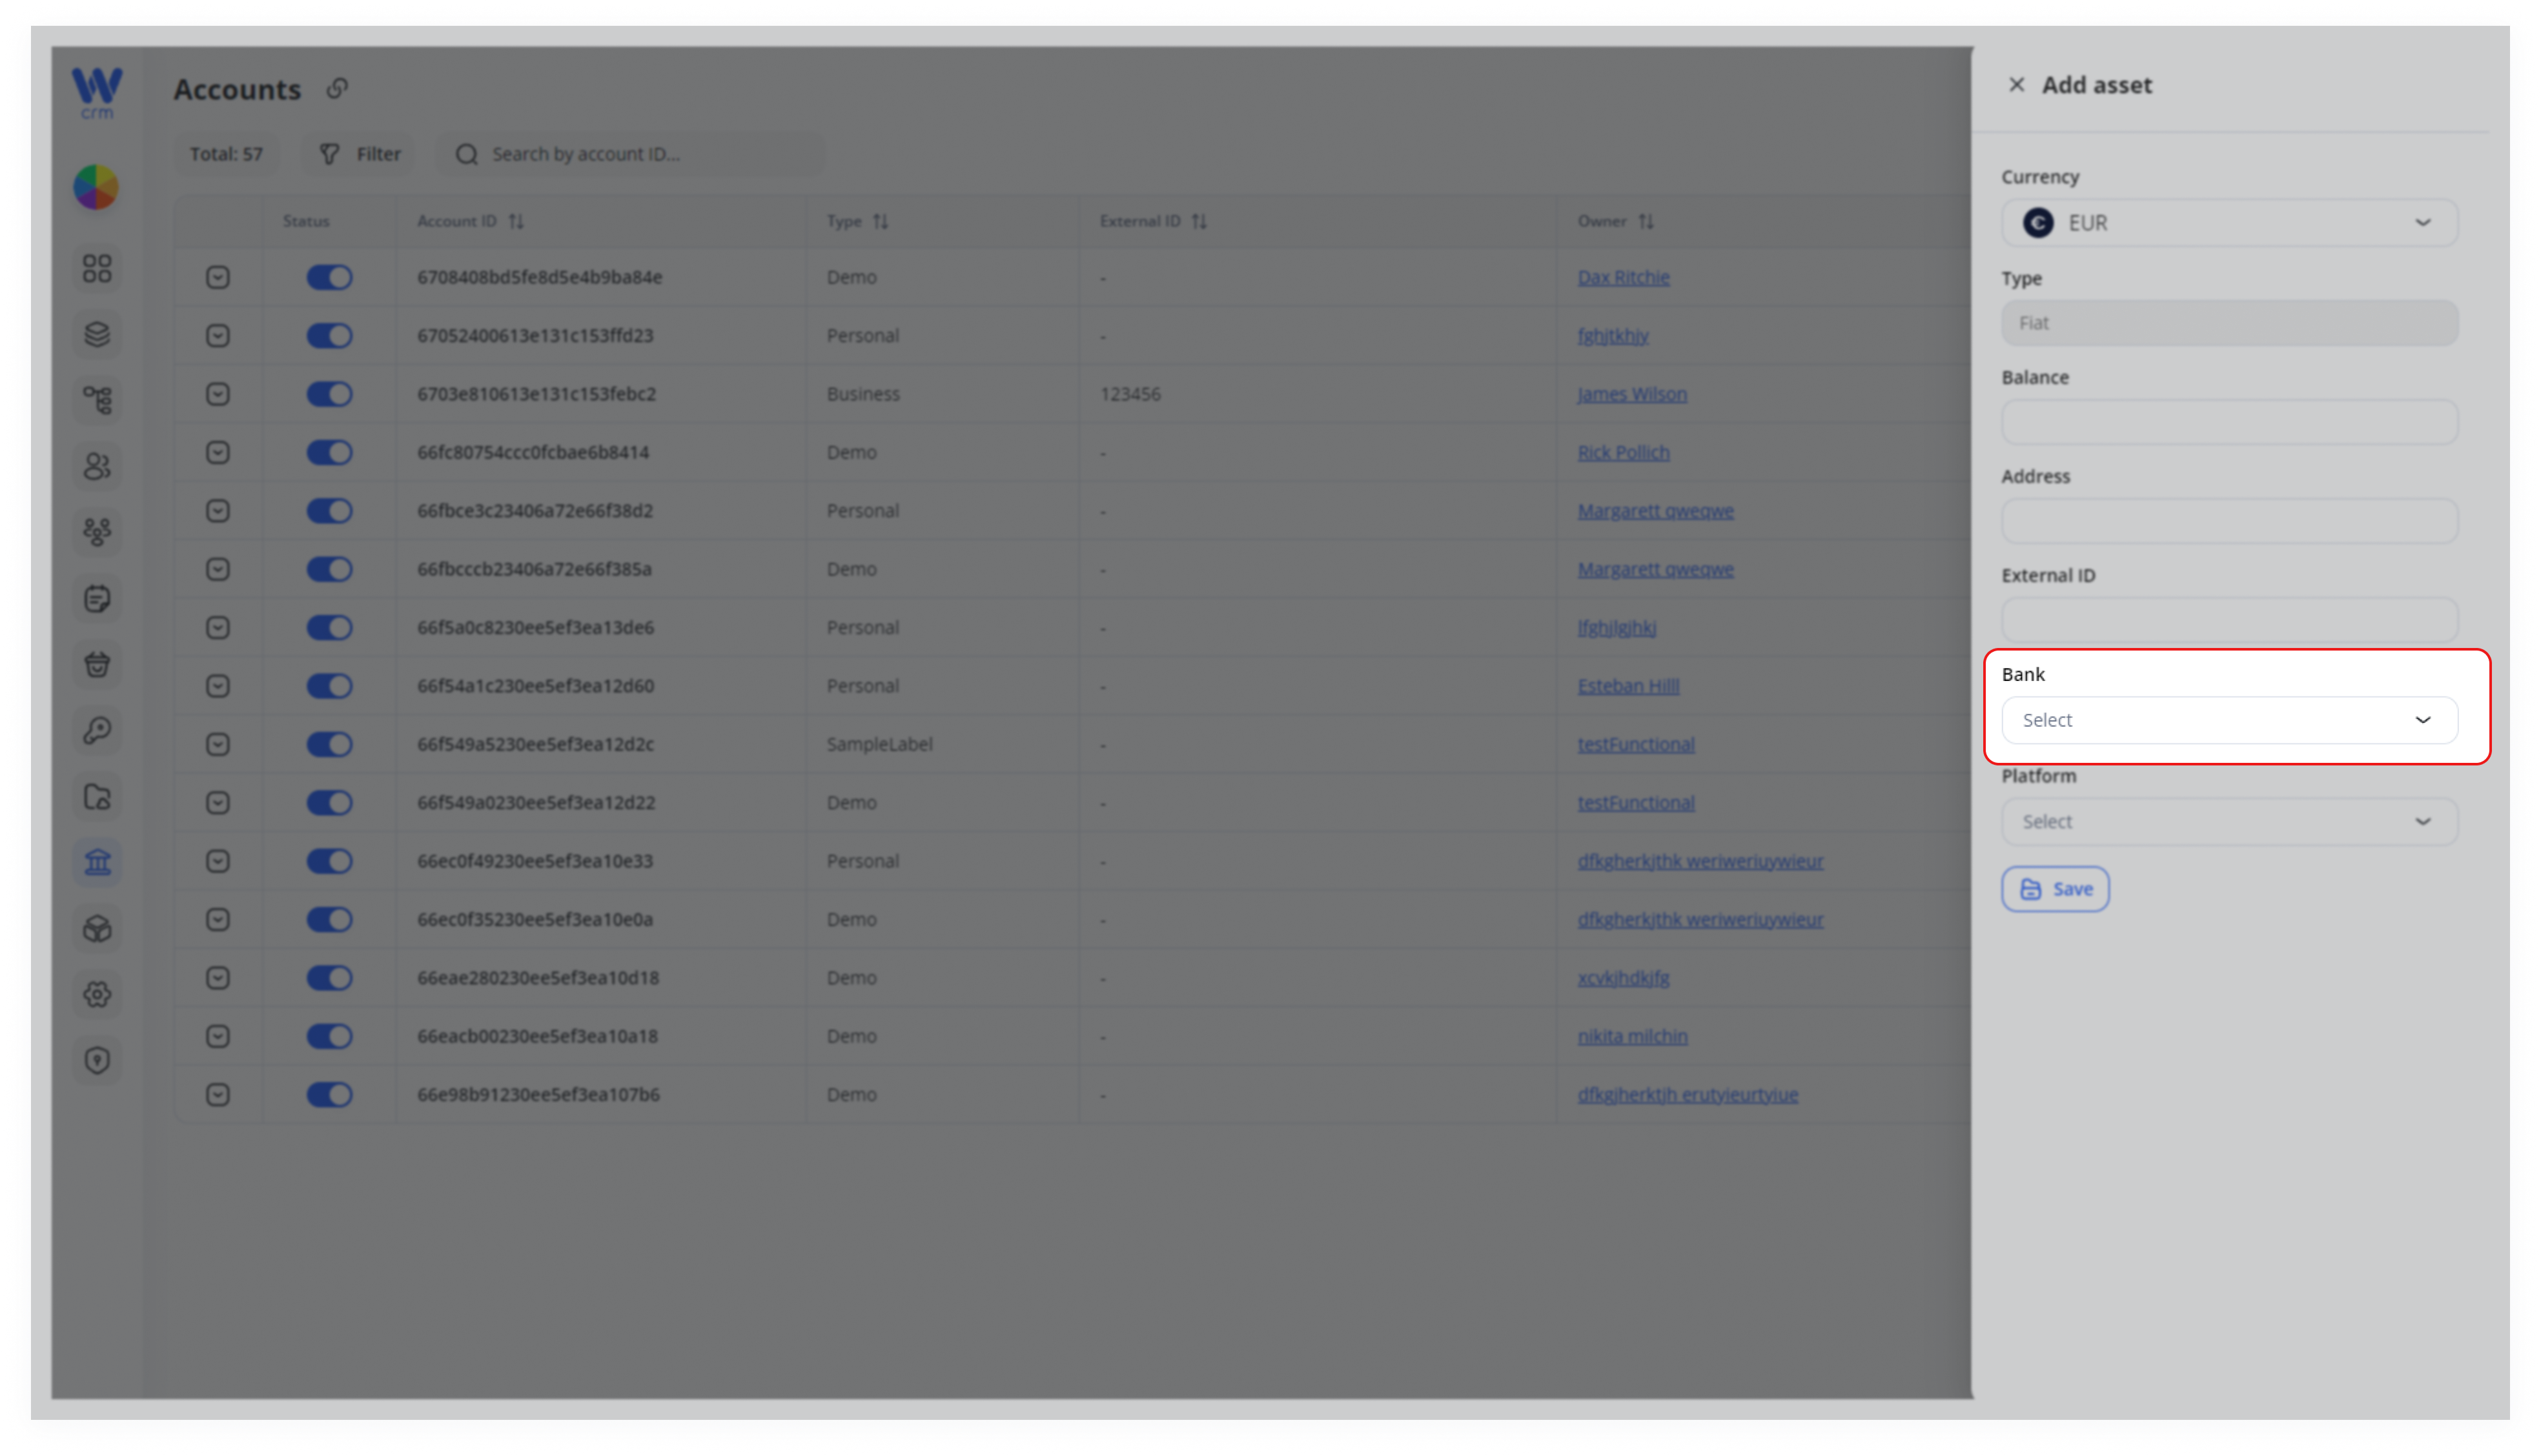
For example, you have a platform where a user can create an EUR asset with its own IBAN and select a banking system for it. You can use this functionality to identify which bank this asset's IBAN is from. Then you can divide assets across different banks, create integrations, and understand which bank and its credentials need to be queried from CRM and other systems.
To add a bank:
-
-
Go to the Banks section.
-
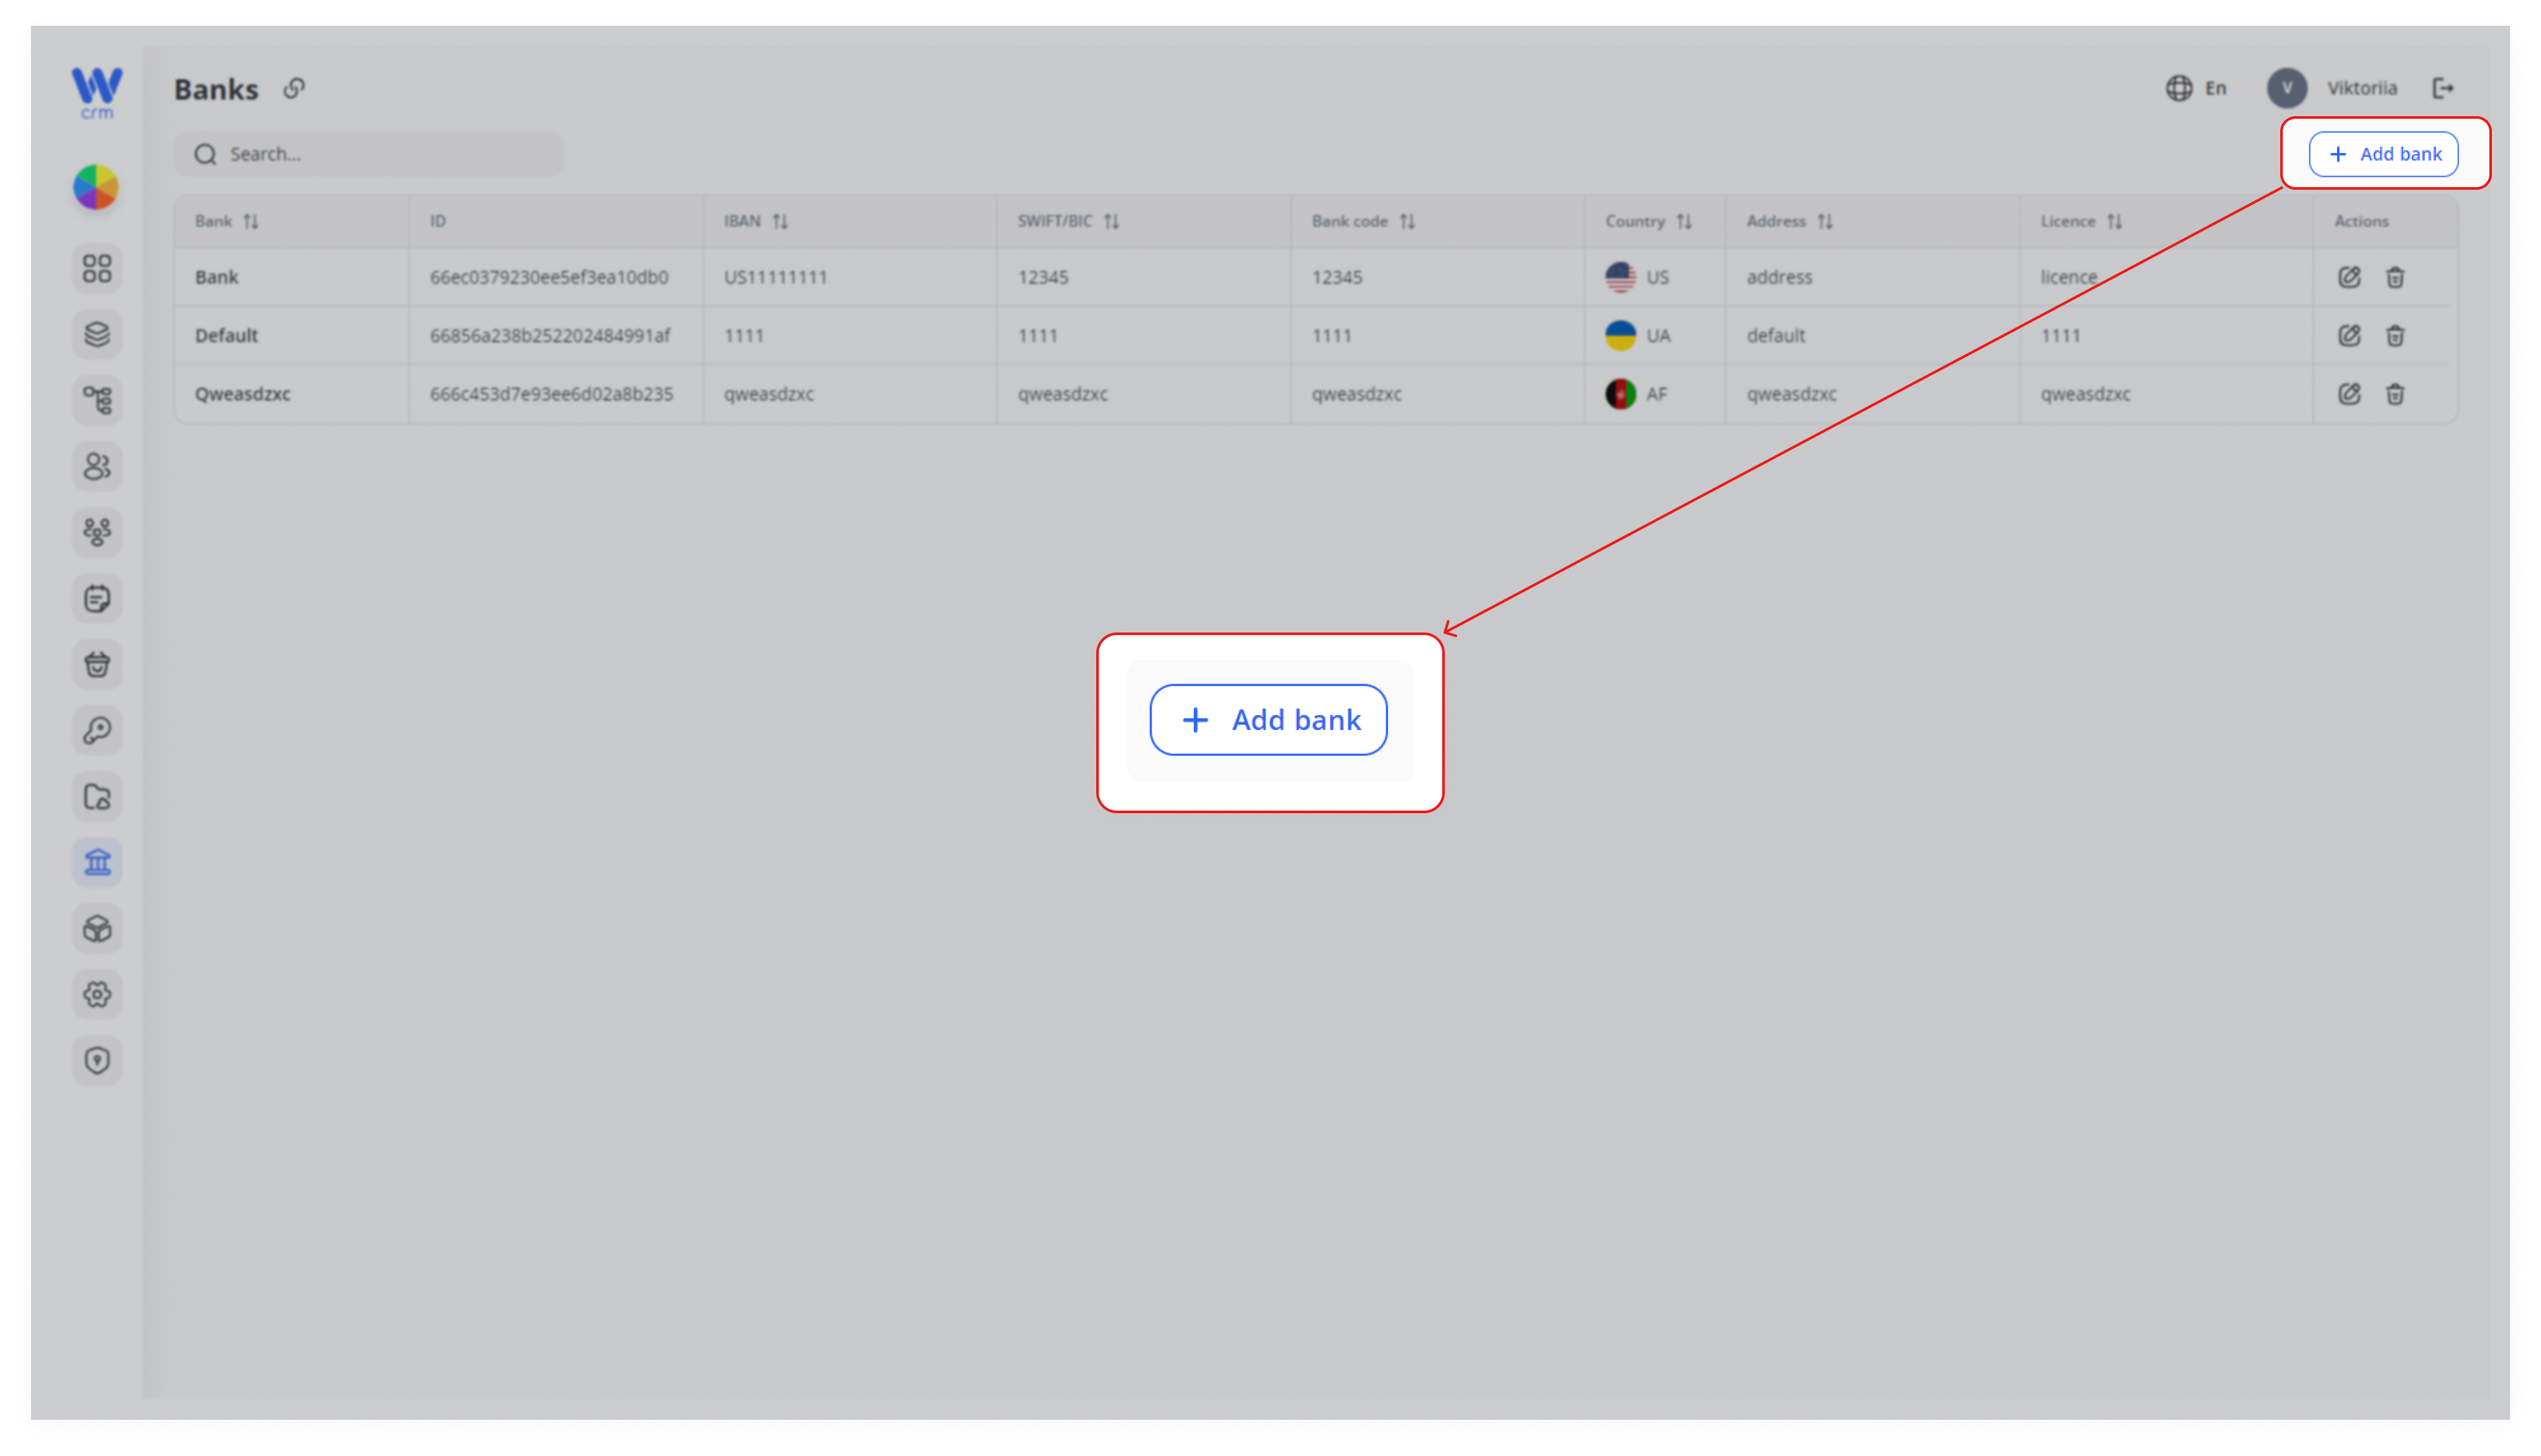
Click the Add Bank button in the upper right corner of the tab.
-
3. Fill in the following fields:
-
-
-
Label: The unique identifier of the bank.
-
Name
-
Address
-
Country
-
Bank code
-
Licence
-
SWIFT/BIC
-
IBAN
-
-
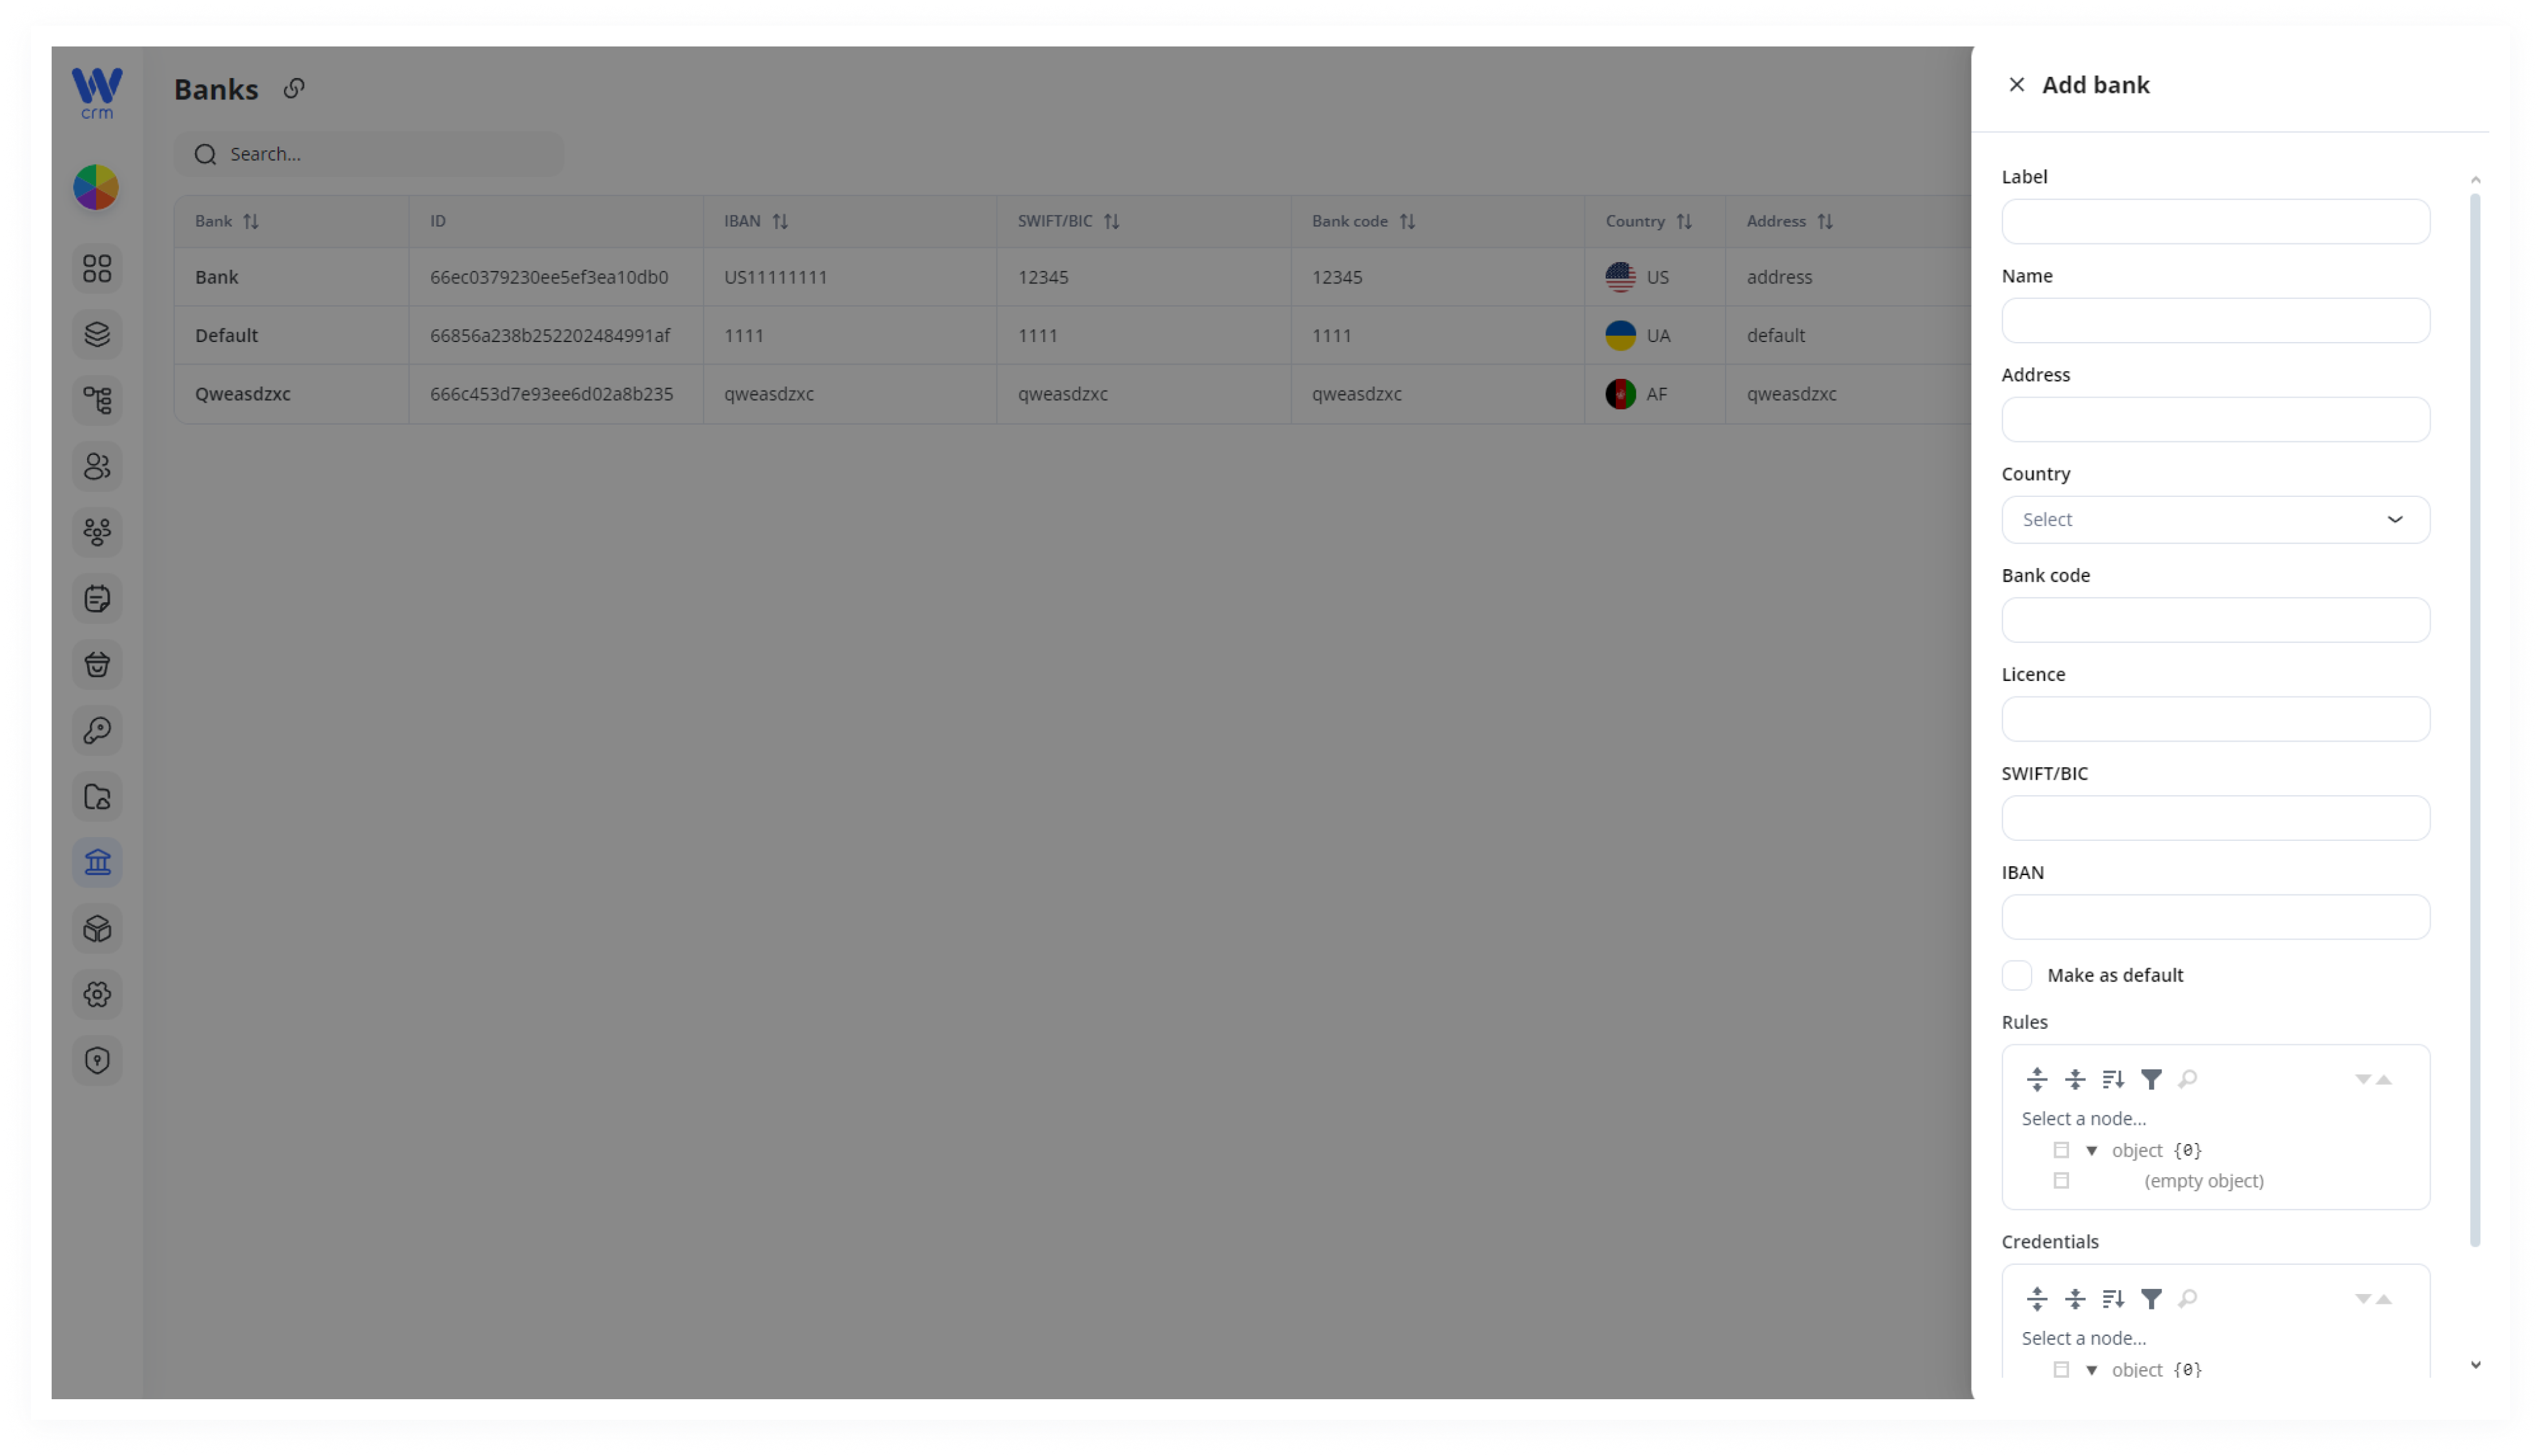
4. You can also make this bank the default bank. To do this, click the Make as default checkbox.
5. Optionally, fill in the Roles and Credentials fields for additional settings:
-
-
-
Rules: Custom rules. For example, you can define how to use a given bank on the platform, with what conditions.
-
Credentials: Developer field. Here you can save the bank's credentials for integration.
-
-
6. Click Save to apply the changes.
You can do following actions with all created banks:
-
-
Searching
-
Editing
-
Deletion
-
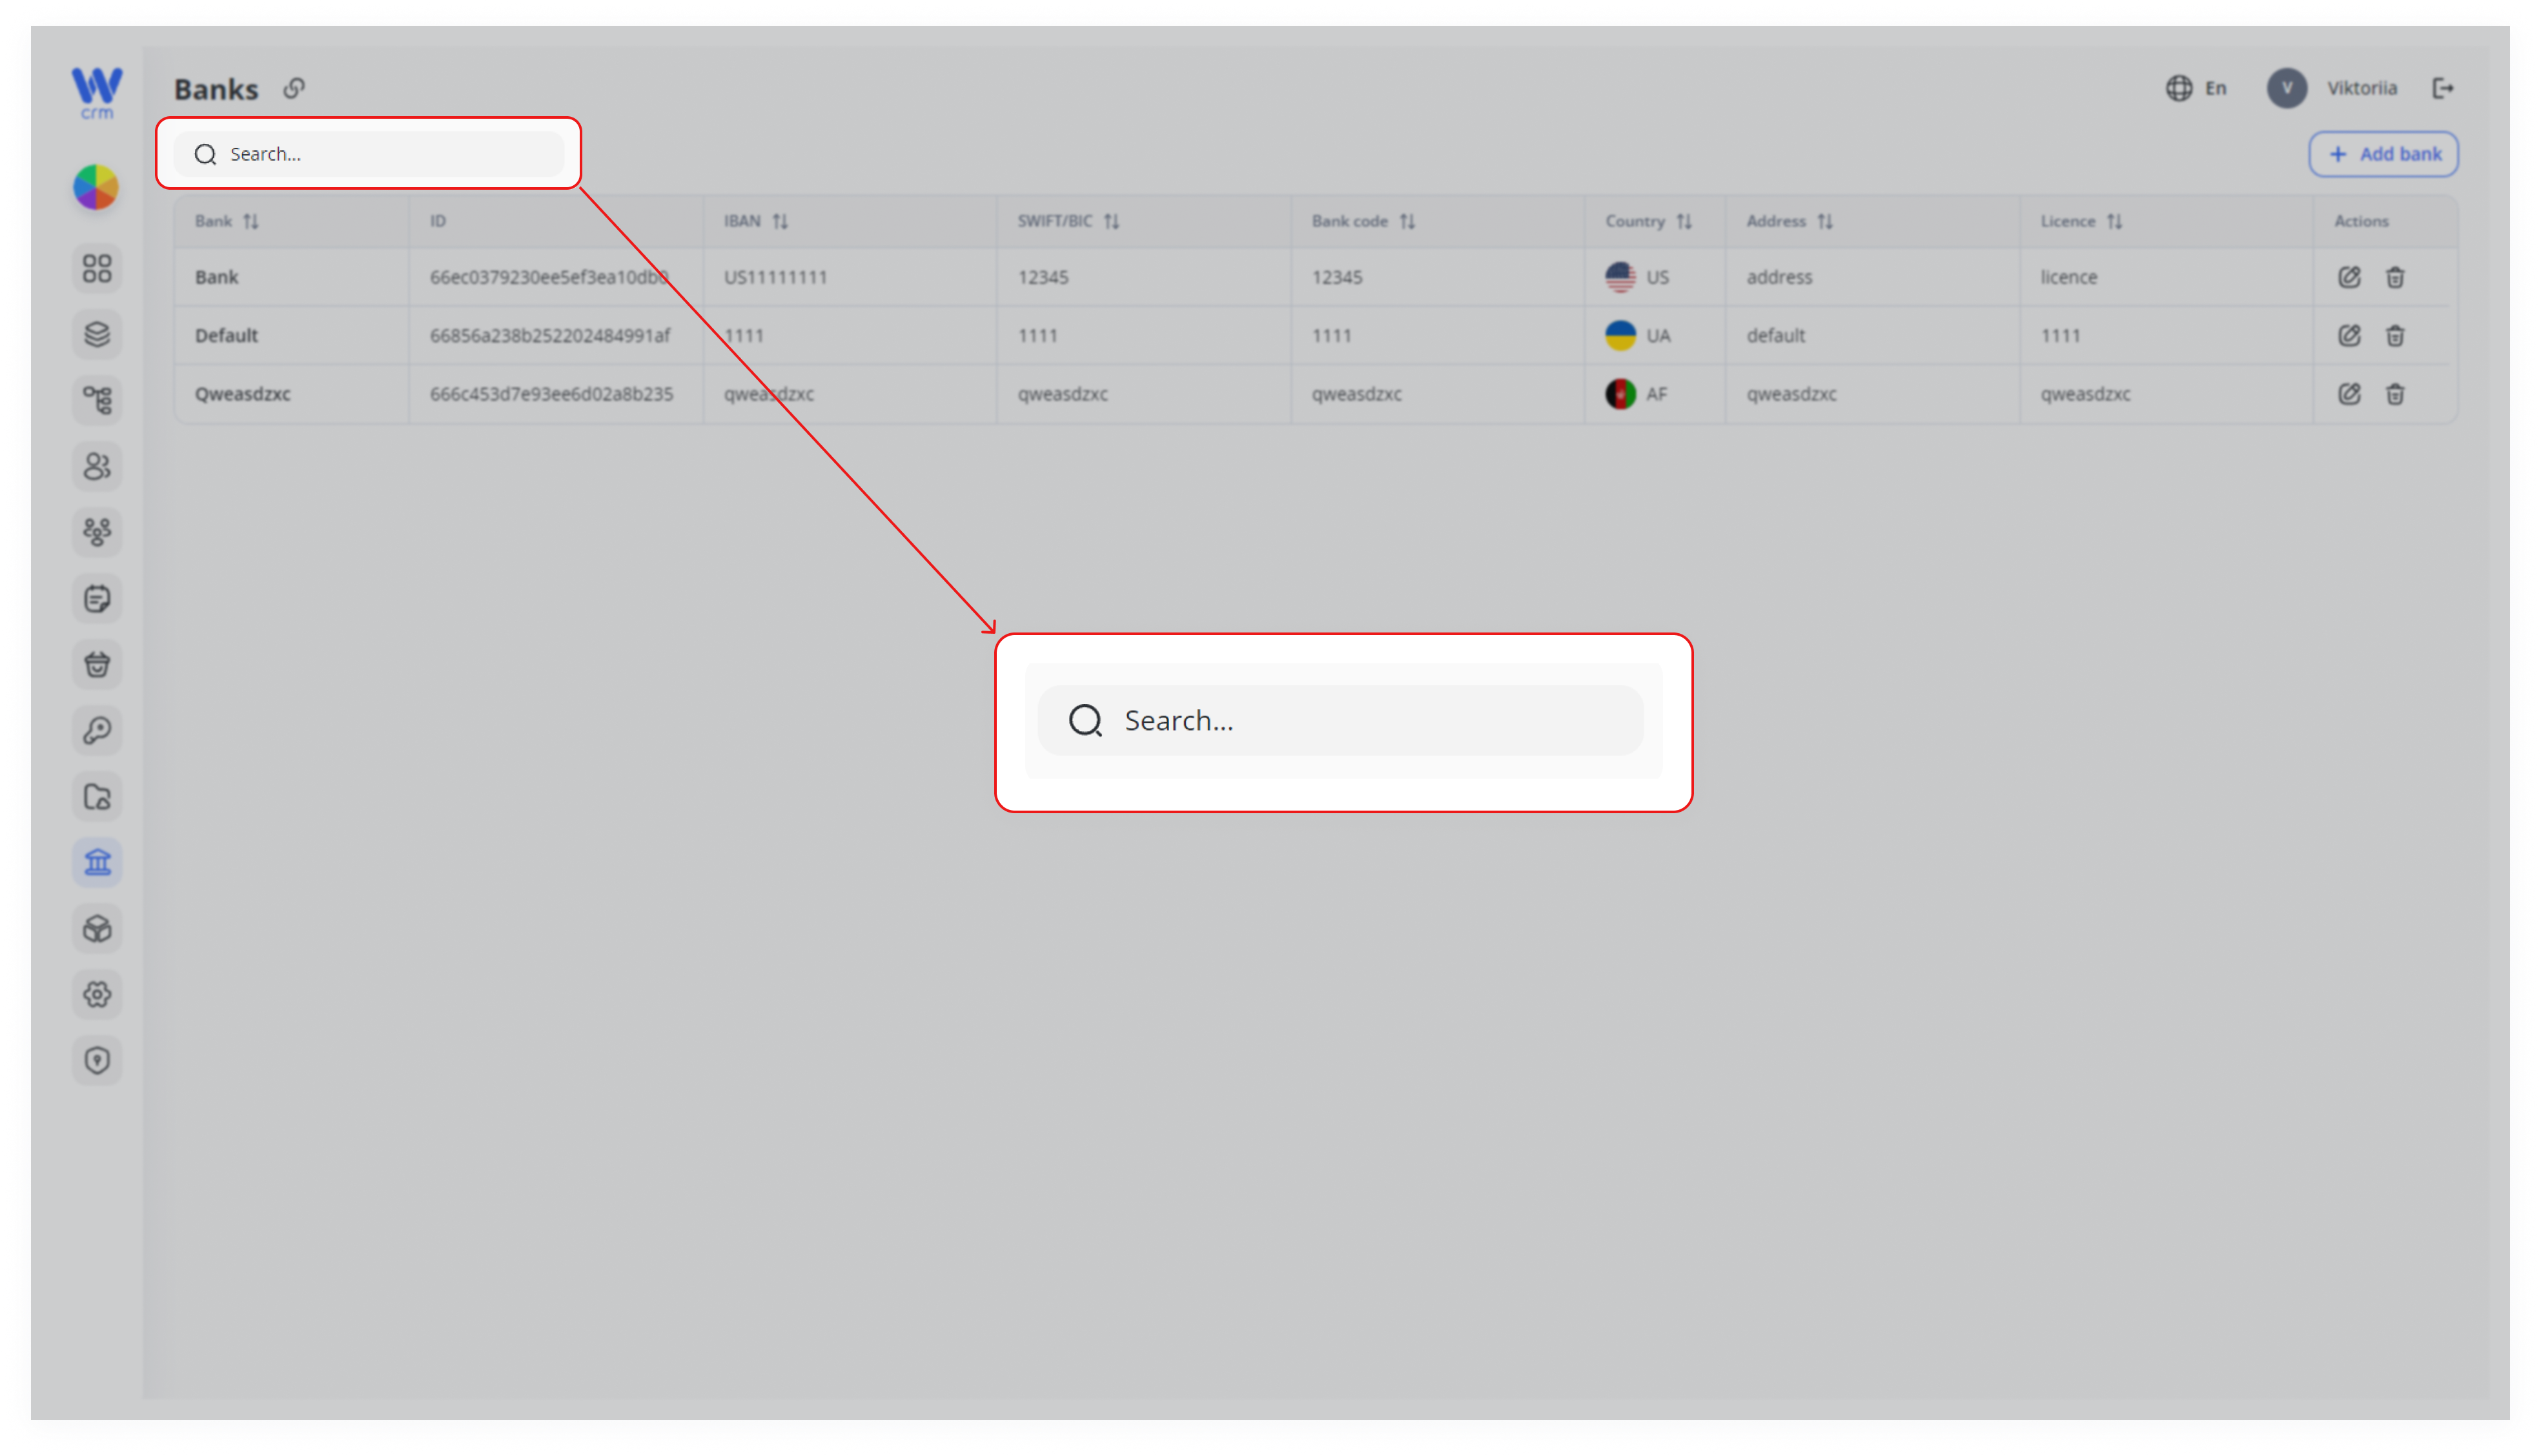
To search for a bank:
-
- Start typing its name in the Search field:
To edit a bank:
1. Click the Edit icon in the corresponding row:
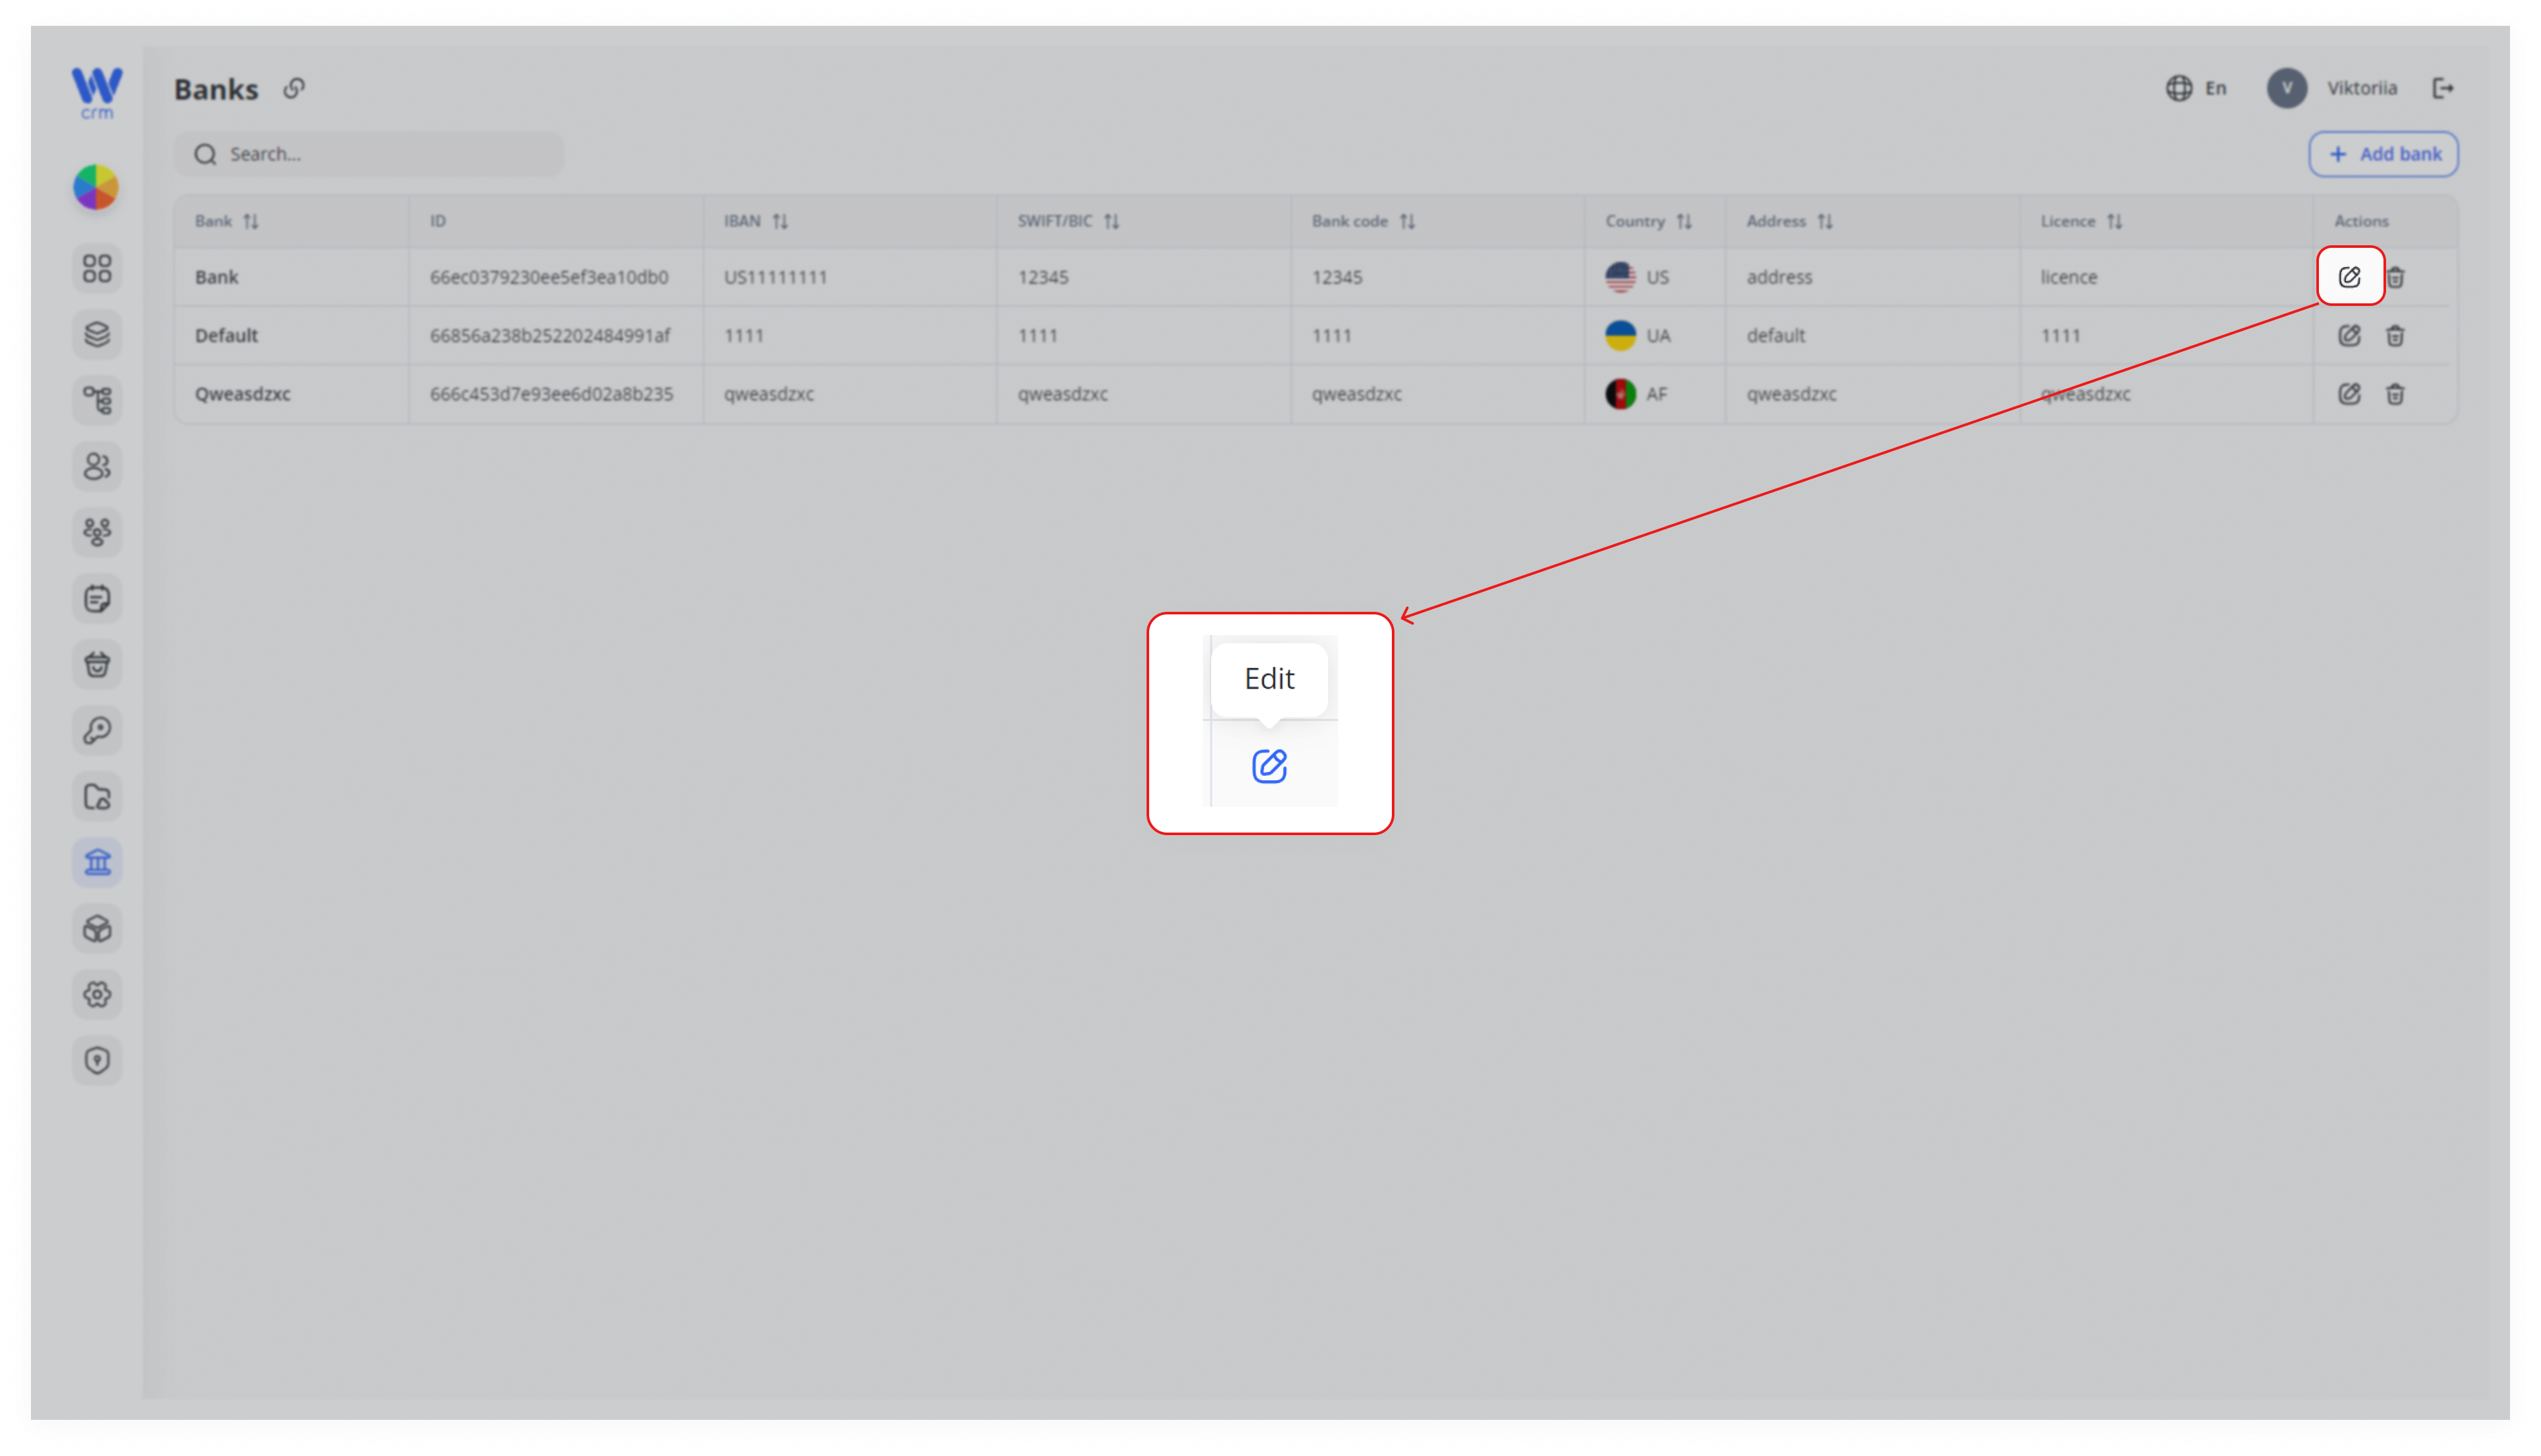
2. All fields in the opened window are changeable.
To delete a bank:
-
- Click the Delete icon in the corresponding row.
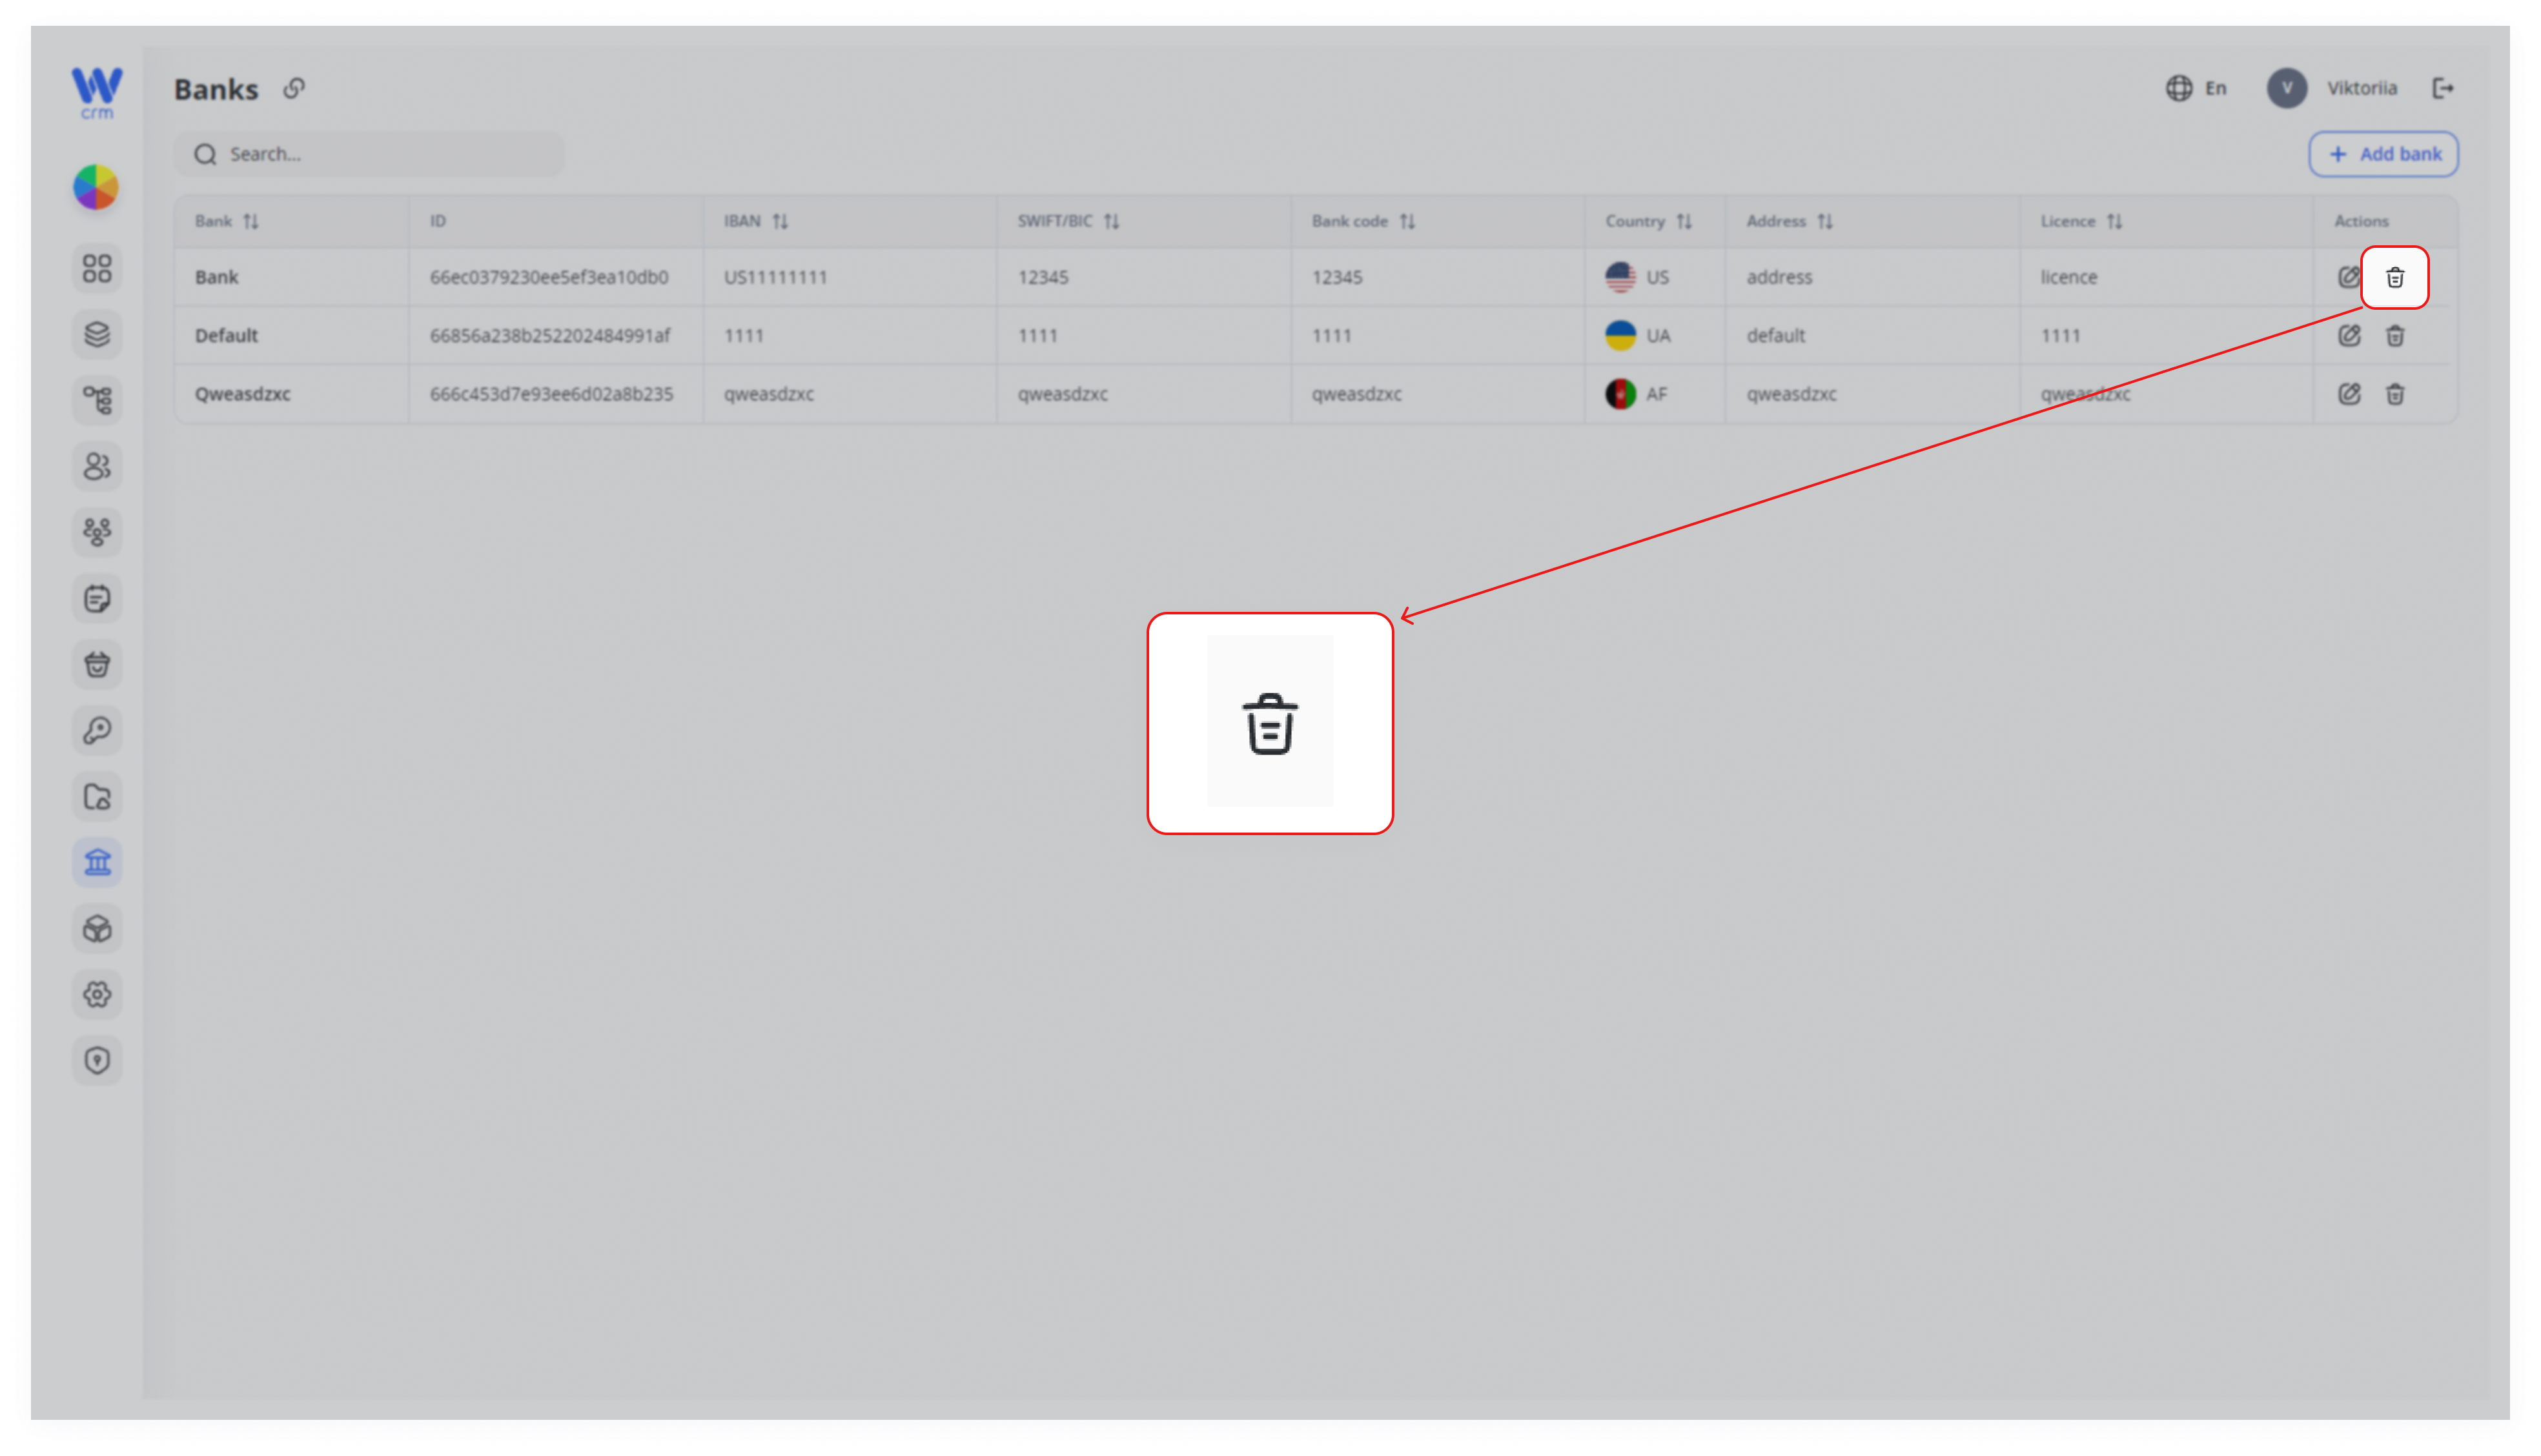
Warning: Deleted banks are not restored.