
9. How to Customize Columns
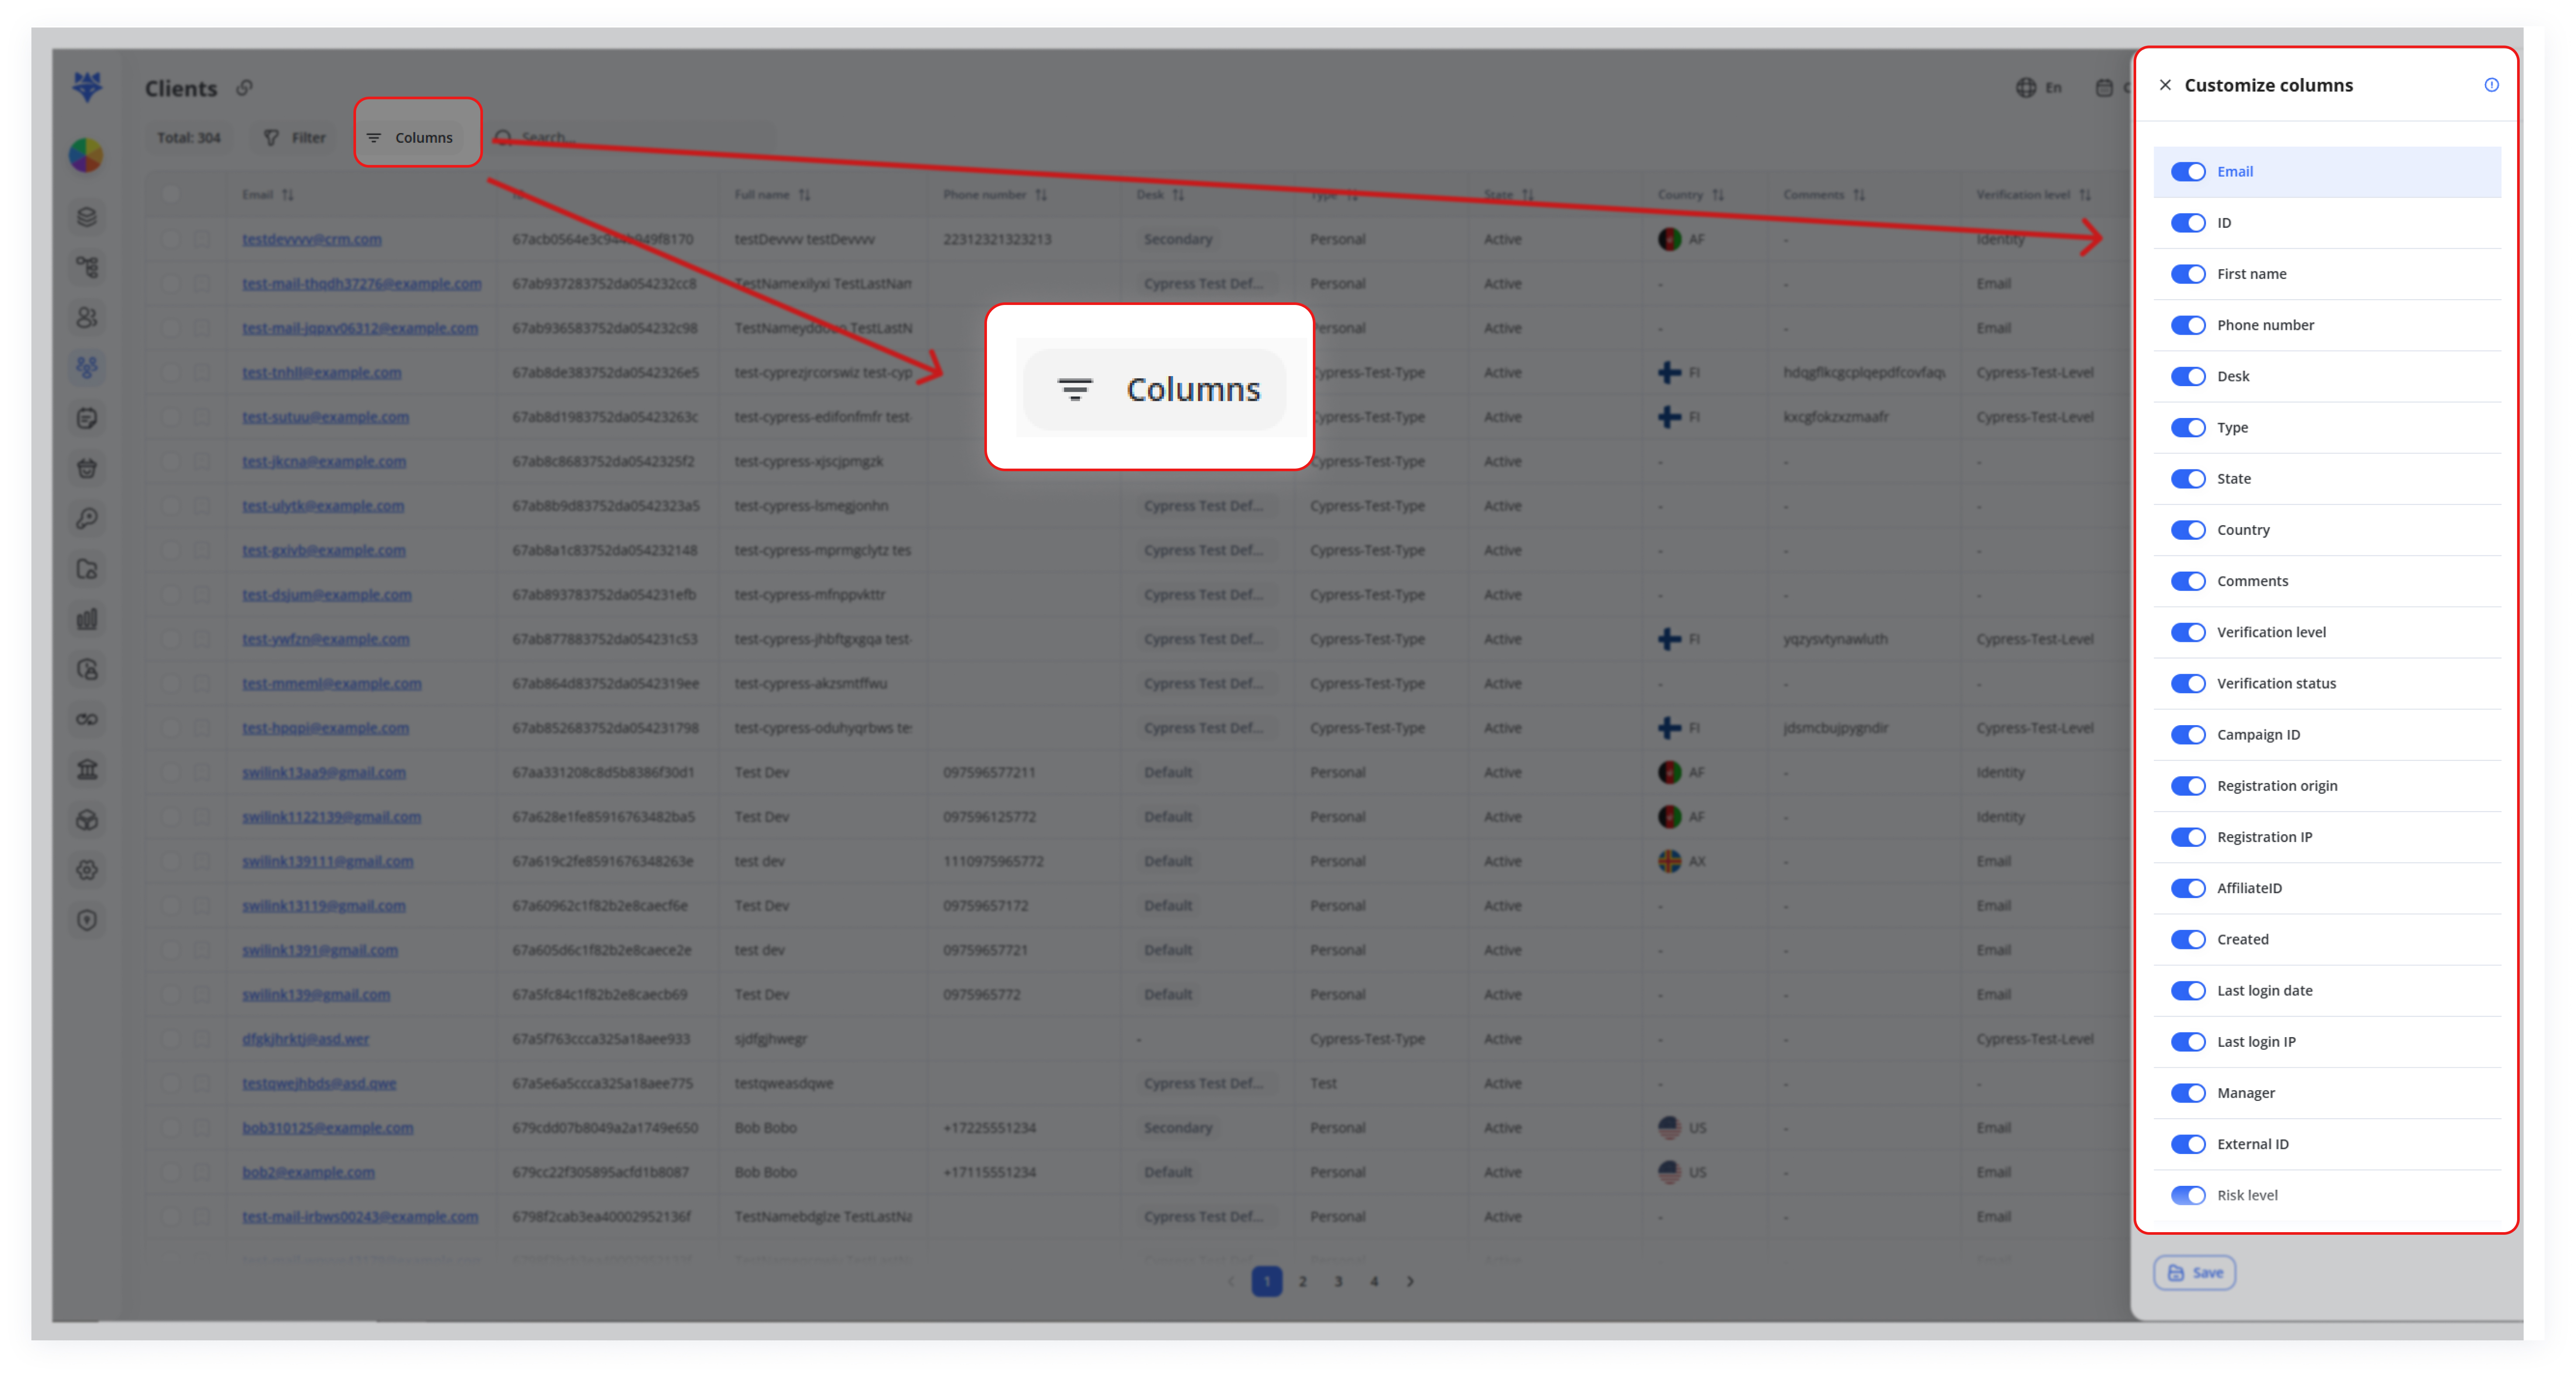
The Columns customization allows you to customize the order and visibility of columns. This helps you focus on specific data fields (e.g., ID, Country, Type) that are most relevant to you.
Use Cases
-
Focus on Relevant
Data:DataShow
Display onlytheessential fieldsyou(e.g.,need (for example,ID, Email, Phonenumber)number) to streamline yourworkflow.workflow and reduce clutter. -
Improve
Readability:Readability
Hiding unnecessary columnscan make theenhances table clarity, making data easier toreadscan and navigate. -
Custom
Order:OrderIf your workflow depends on seeing certain
Arrange fieldsfirstin a preferred sequence (e.g., Email before Phonenumber),number)dragbythemdraggingintocolumnsthetosequencematchthatyourbestworkflowsuits you.needs.
1. Access the Columns Panel
Locate the Columns button at the top (see the red arrow in the screenshot labeled “Columns” button).
2. Show/Hide Columns Using Toggles
In the Customize columns panel, each field has a toggle switch (On/Off).

When the toggle is blue (On), that column will be displayed in the Clients table.
Switch the toggle Off for any columns you do not want to see.
3. Reorder Columns
Some columns display a “dotted handle” icon to the left of their label.
Note: You can often click and drag this handle to rearrange the order in which columns appear in the Clients table.
4. Save Your Changes
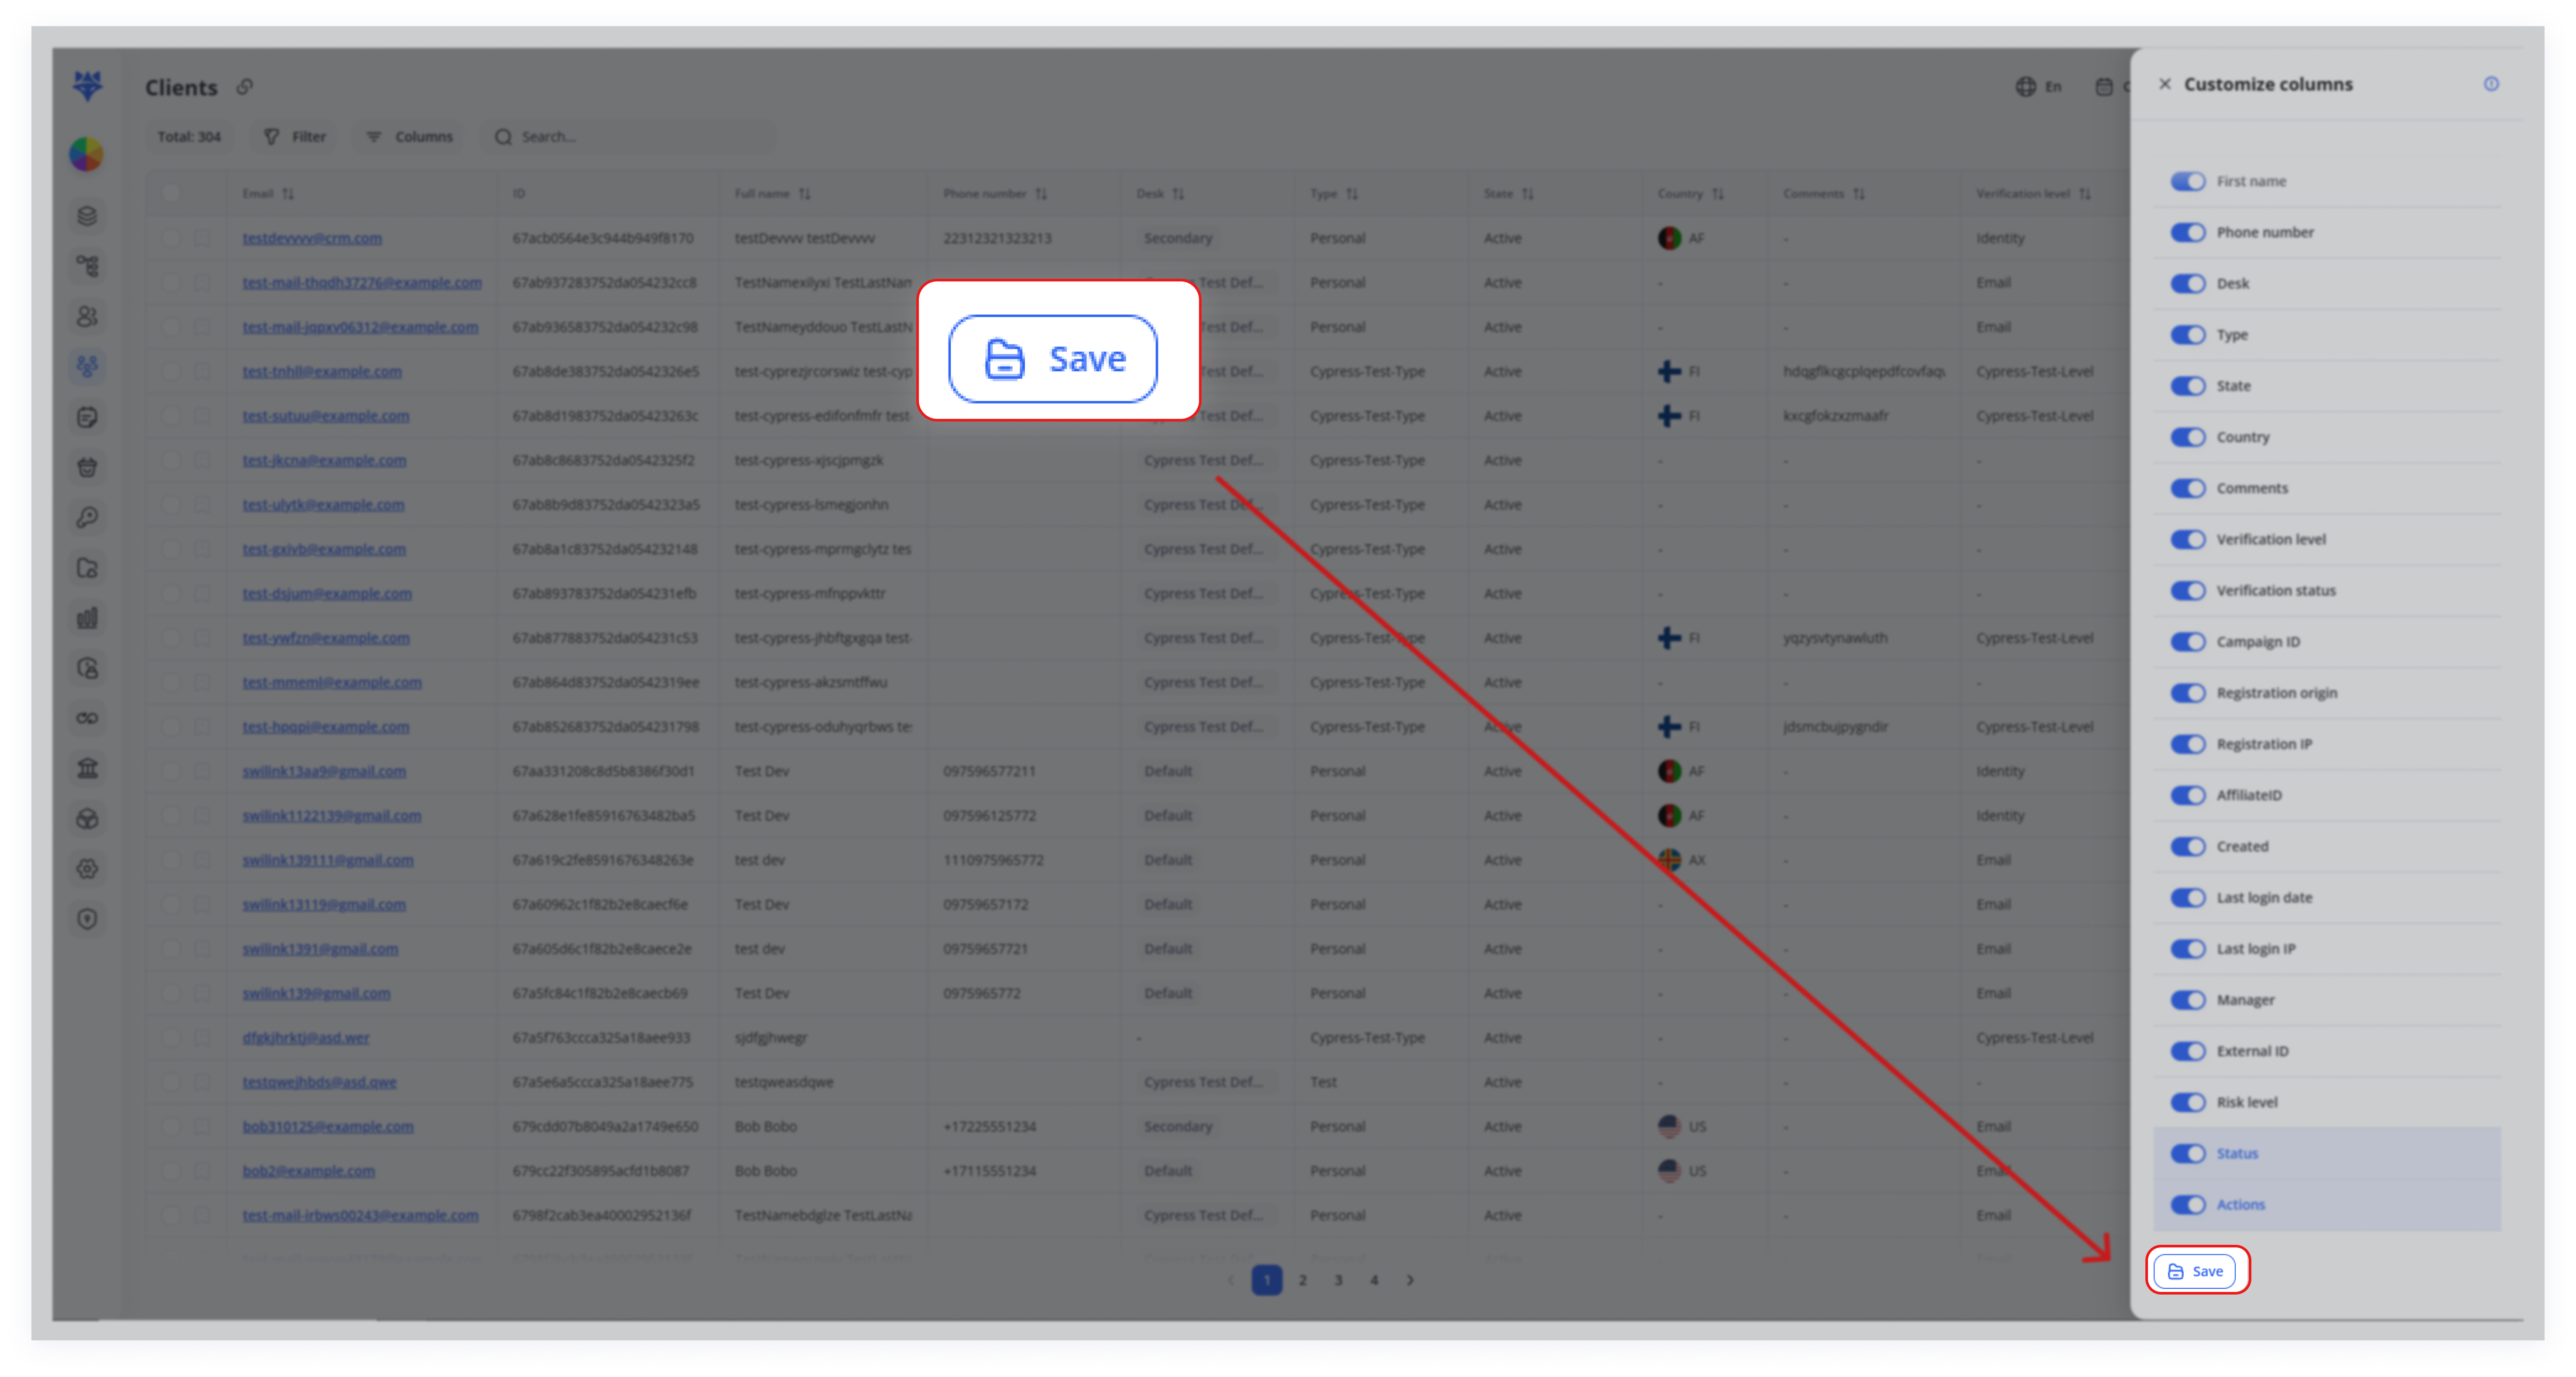
After adjusting the toggles (and reordering if needed), remember that some columns are unable to move because of their fixed position in the table (these columns are marked accordingly).
Note: Once you’ve made your changes, click the Save button at the bottom of the panel. This ensures your customized layout is applied.
5. Instant Table Update
Once you click Save, the Clients table immediately refreshes to reflect your chosen columns and their new order. Fixed columns remain in their designated places.
In summary, the Columns Action gives you full control over what information is displayed for each client entry and allows you to arrange it in the order that makes the most sense for your tasks. Open the Columns panel, toggle fields on or off, optionally reorder them, and click Save. The Clients page updates instantly to match your custom configuration.