User Management
1. User Management: Overview
The User Management section in Wifox Business Content Solution provides tools for managing both user accounts and role-based permissions. In the Users section, administrators can create, edit, and activate/deactivate user accounts, each tied to a specific role. The Roles section allows for defining custom access levels using Read-Only (RO) or Read-Write (RW) permissions across different modules, ensuring secure and tailored access control for every team member.
2. Users List
The Users List section in Wifox Business Content Solution is designed to manage users who need access to the system. Each user is assigned a role (created in the Roles section), which defines their permissions and access levels. This section is where administrators can create, edit, and manage users' accounts, ensuring proper roles and activity status are set for system usage.
Use Case Example
An administrator creates a new user named "Developer" with the role of Developer, providing their email and setting a secure password. Later, the admin updates the user’s name to "Lead Developer" and toggles the Active checkbox to ensure the user has access to the system.
Key Features of the Users List
1. User Creation
Create new users with specific roles, names, email addresses, and passwords.
Ensure the user is set to Active status to allow system access.
2. Role Assignment
Assign users a role that defines their permissions. Roles are either pre-existing or custom-created in the Roles section.
3. Editing User Details
Update user details such as name, email, password, and assigned roles.
4. User Activity Management
Toggle the Active checkbox to enable or disable user access to the system.
How to Add a New User
Access the Users List section in Wifox Business Content Solution .
2. Fill in User Details

Name: Enter the user’s full name (e.g., "Developer").
Email: Provide the user’s email address.
Password: Set a secure password for the user’s account.
Role: Select a role from the dropdown menu that defines the user's access level.
Active: Check the Active box to grant system access to the user.
3. Submit
Click Submit to save the new user. The user is now added to the system and can log in.
How to Edit a User
1. Select the User
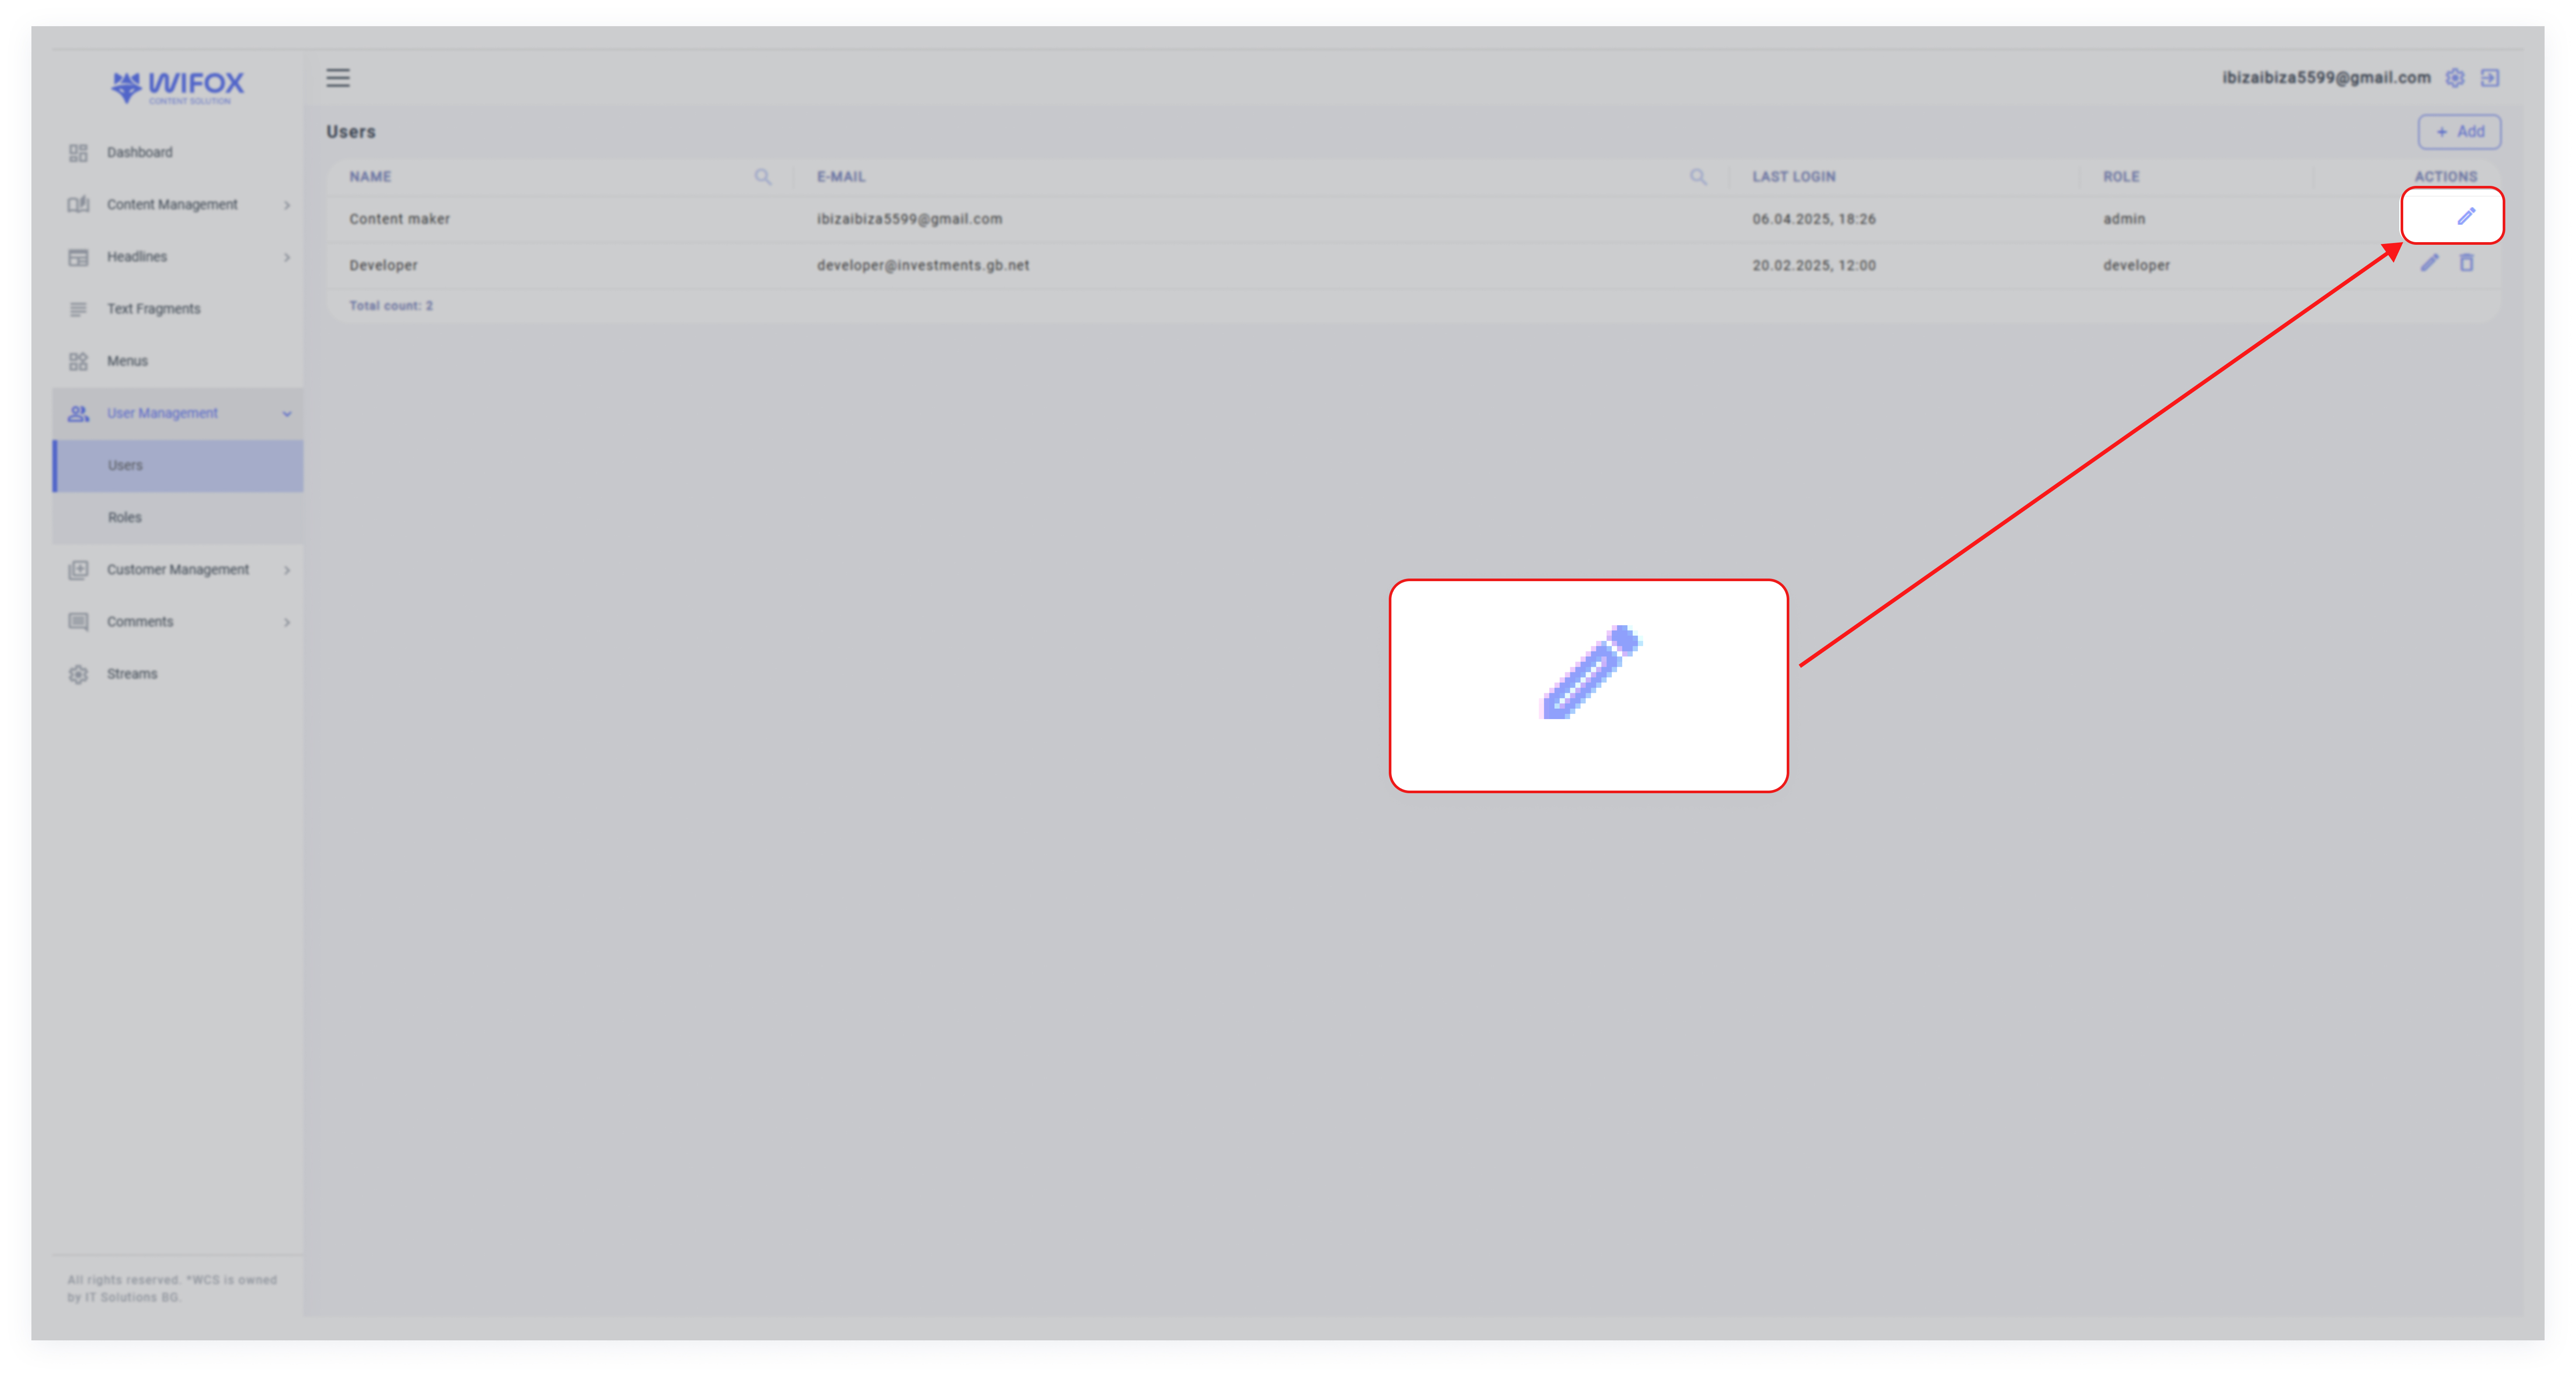
Locate the user in the Users List and click the pencil icon to open the editing menu.
2. Update Details
Modify any required fields, such as name, email, role, or password.
Toggle the Active checkbox to activate or deactivate the account.

3. Submit Changes
Click Submit to apply the updates.
How to Delete a User
1. Locate the User
Find the user in the Users List.
2. Delete the User
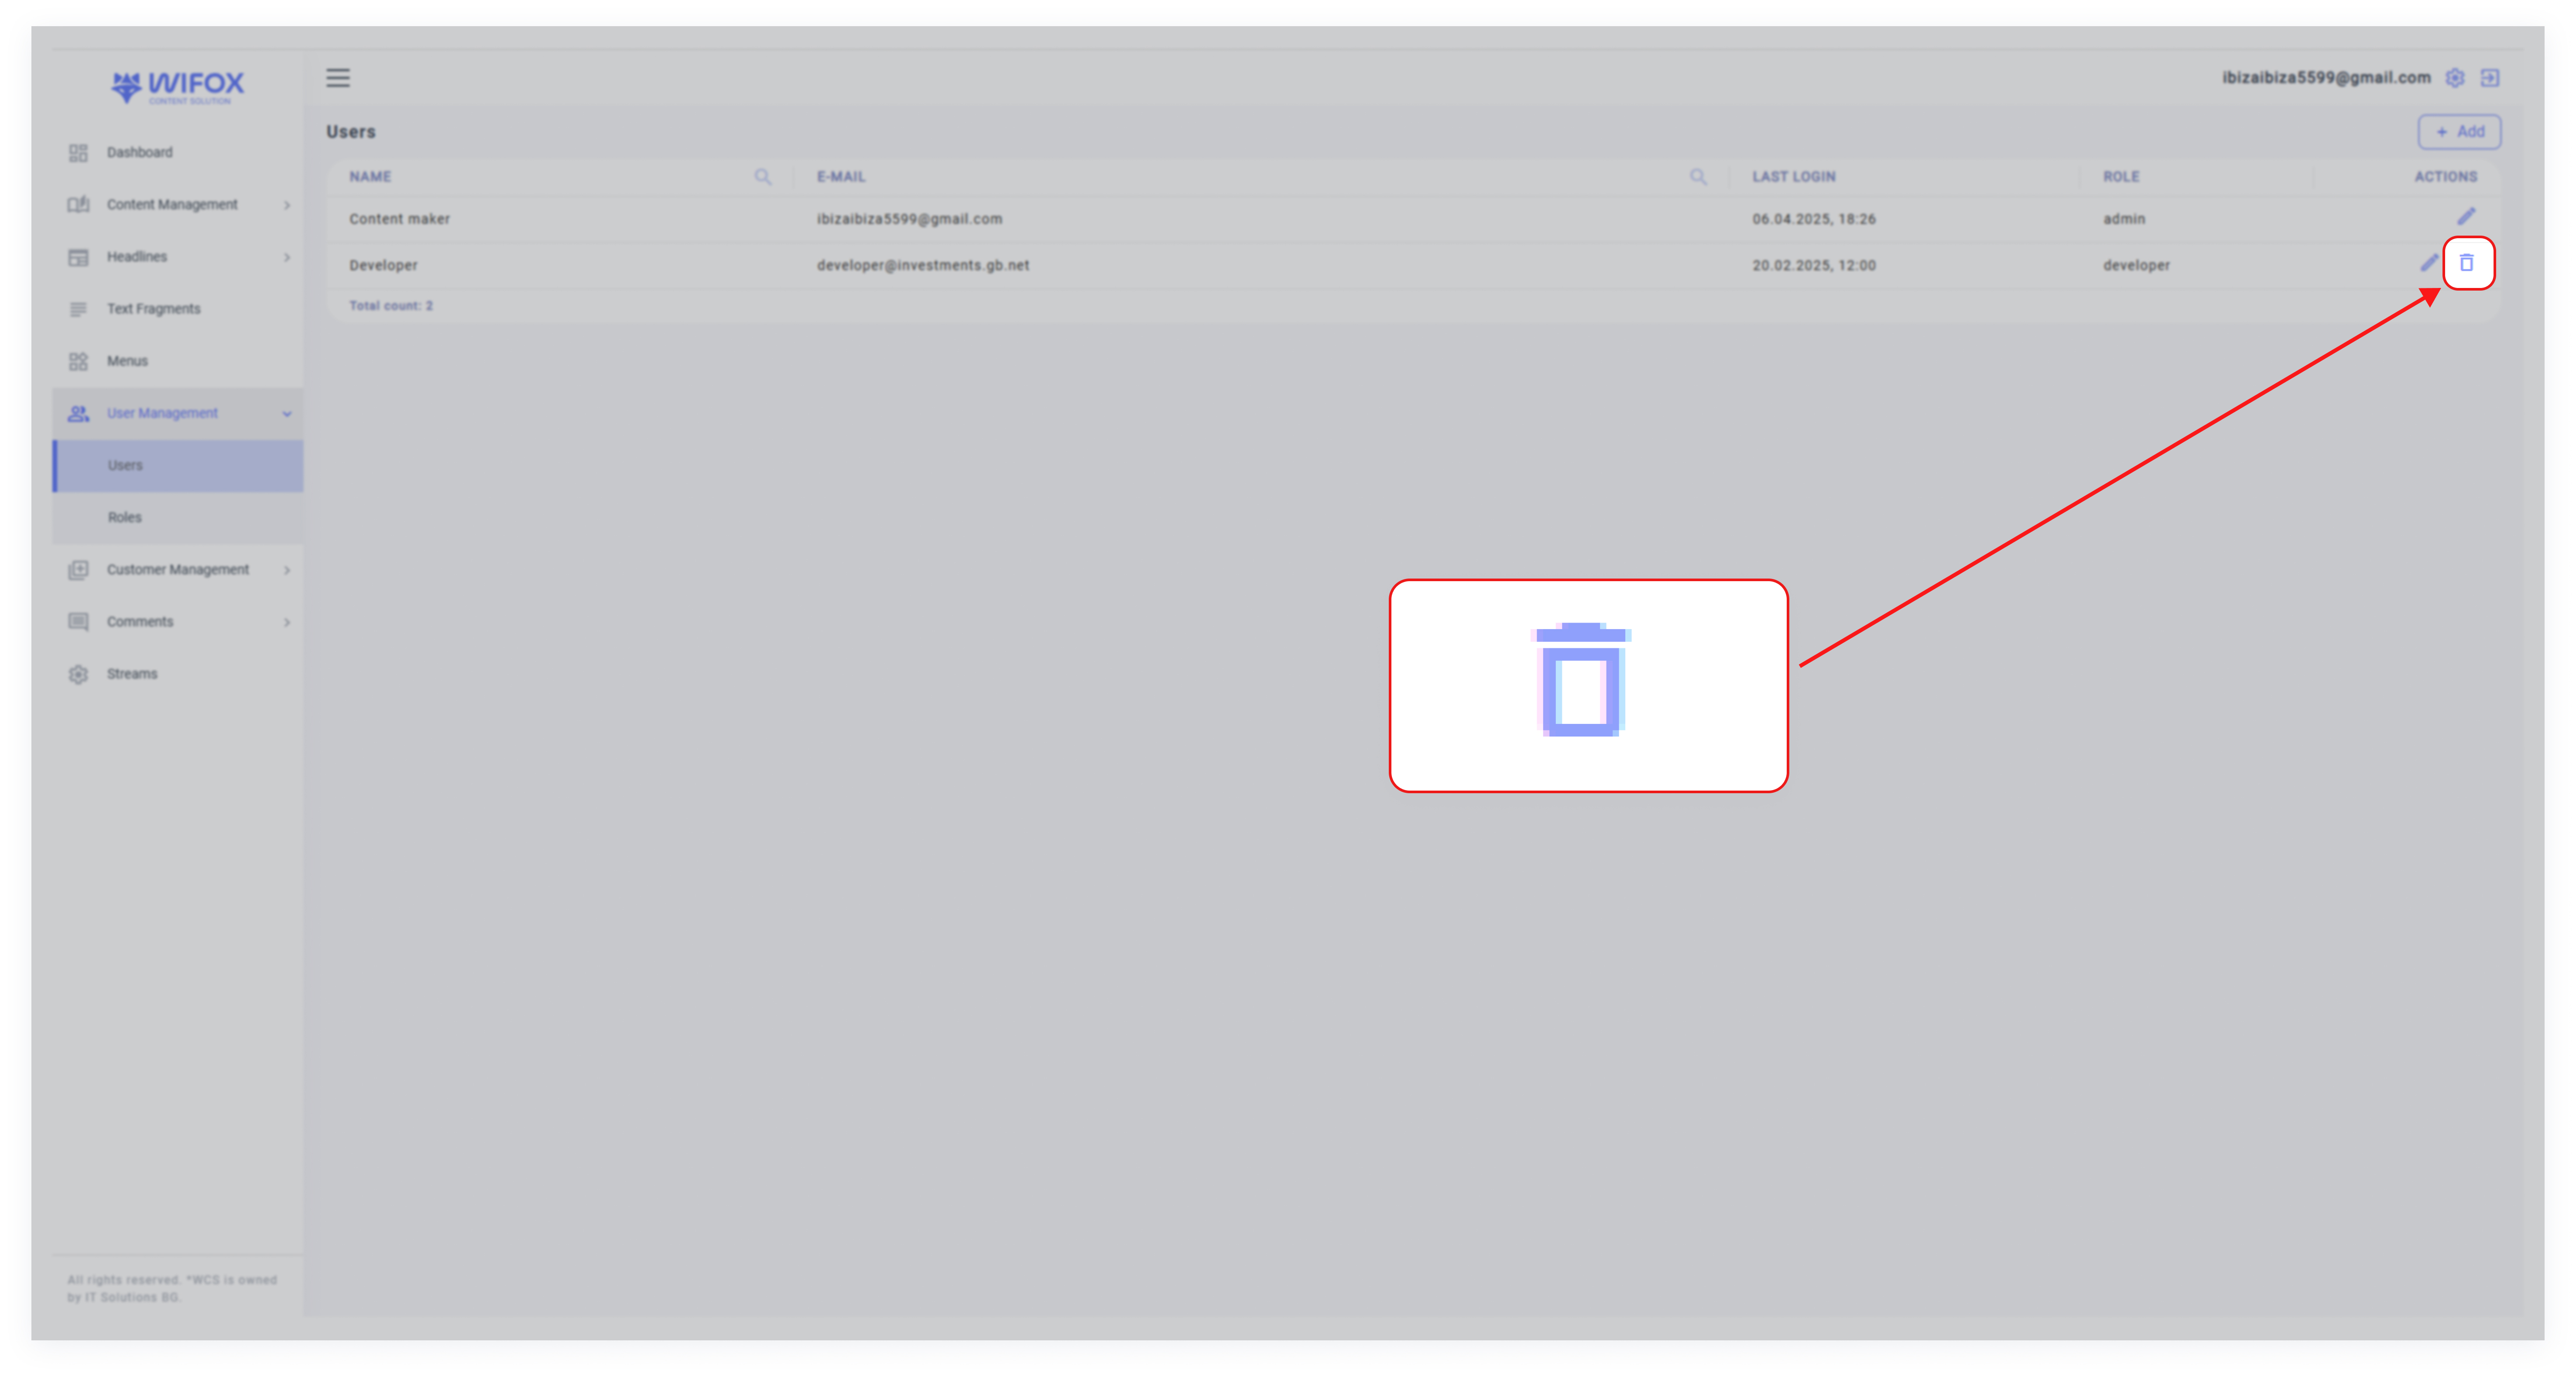
Click the trash icon next to the user’s name.
3. Confirm Deletion
Confirm the action by clicking OK. The user will be permanently removed from the system.
Special Notes
- Root User: There is one Root User in the system with full administrative privileges. This account cannot be deleted but can create and manage other users.
- Roles Assignment: Ensure the role you assign to the user is configured correctly for their access needs.
The Users List section simplifies user account management, ensuring secure and organized system access for all team members.
3. User Roles
The User Roles section in Wifox Business Content Solution allows administrators to manage and define roles with specific access levels for different modules. This section supports Read-Only (RO) and Read-Write (RW) permissions, offering precise control over what users can view and edit.
Use Case Example
A company creates a "Content Manager" role with Read-Write access to modules like Text, CMS, and News, and Read-Only access to sensitive modules like Configuration. This role ensures the user can manage content effectively while maintaining system security.
What Do RO and RW Mean?
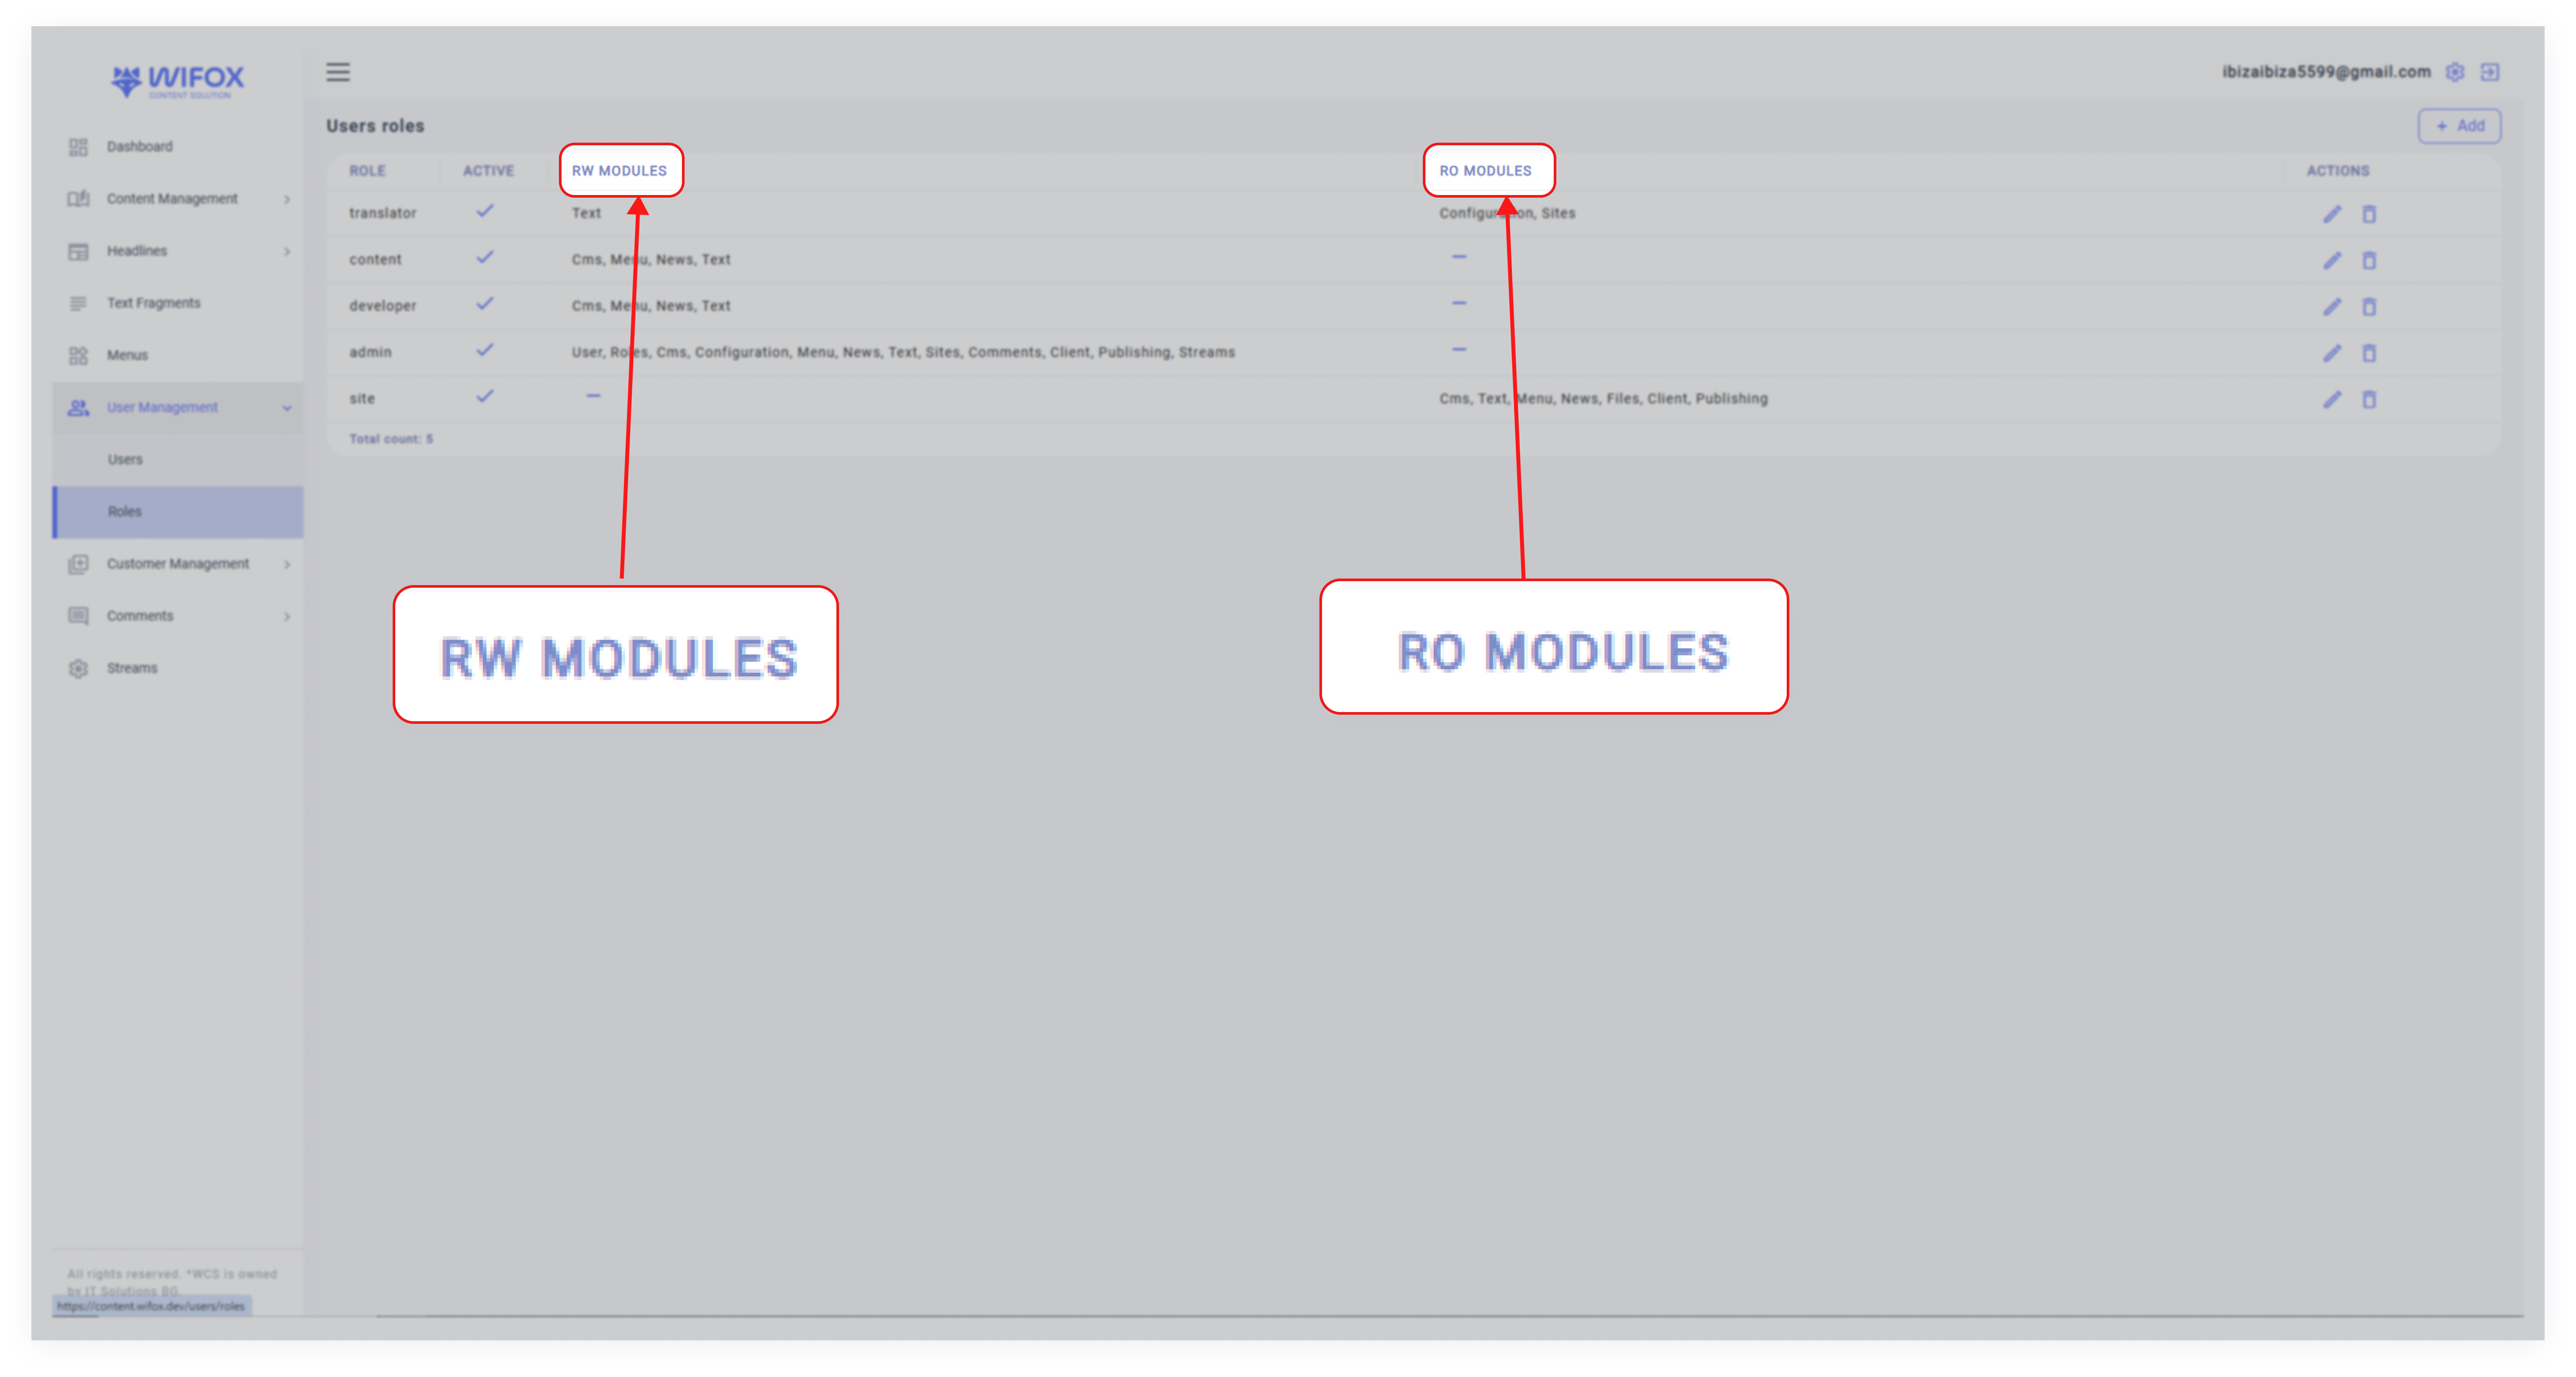
- Read-Only (RO): Allows users to view and read content within the module but prevents them from making changes.
- Read-Write (RW): Grants users full access to read, edit, delete, and manage content within the module.
Key Features of User Roles
1. Flexible Permissions
Assign permissions dynamically by dragging and dropping modules or selecting them with a click.
2. Granular Control
Specify Read-Only or Read-Write access for each module, ensuring tailored access for different users.
3. Active/Inactive Toggle
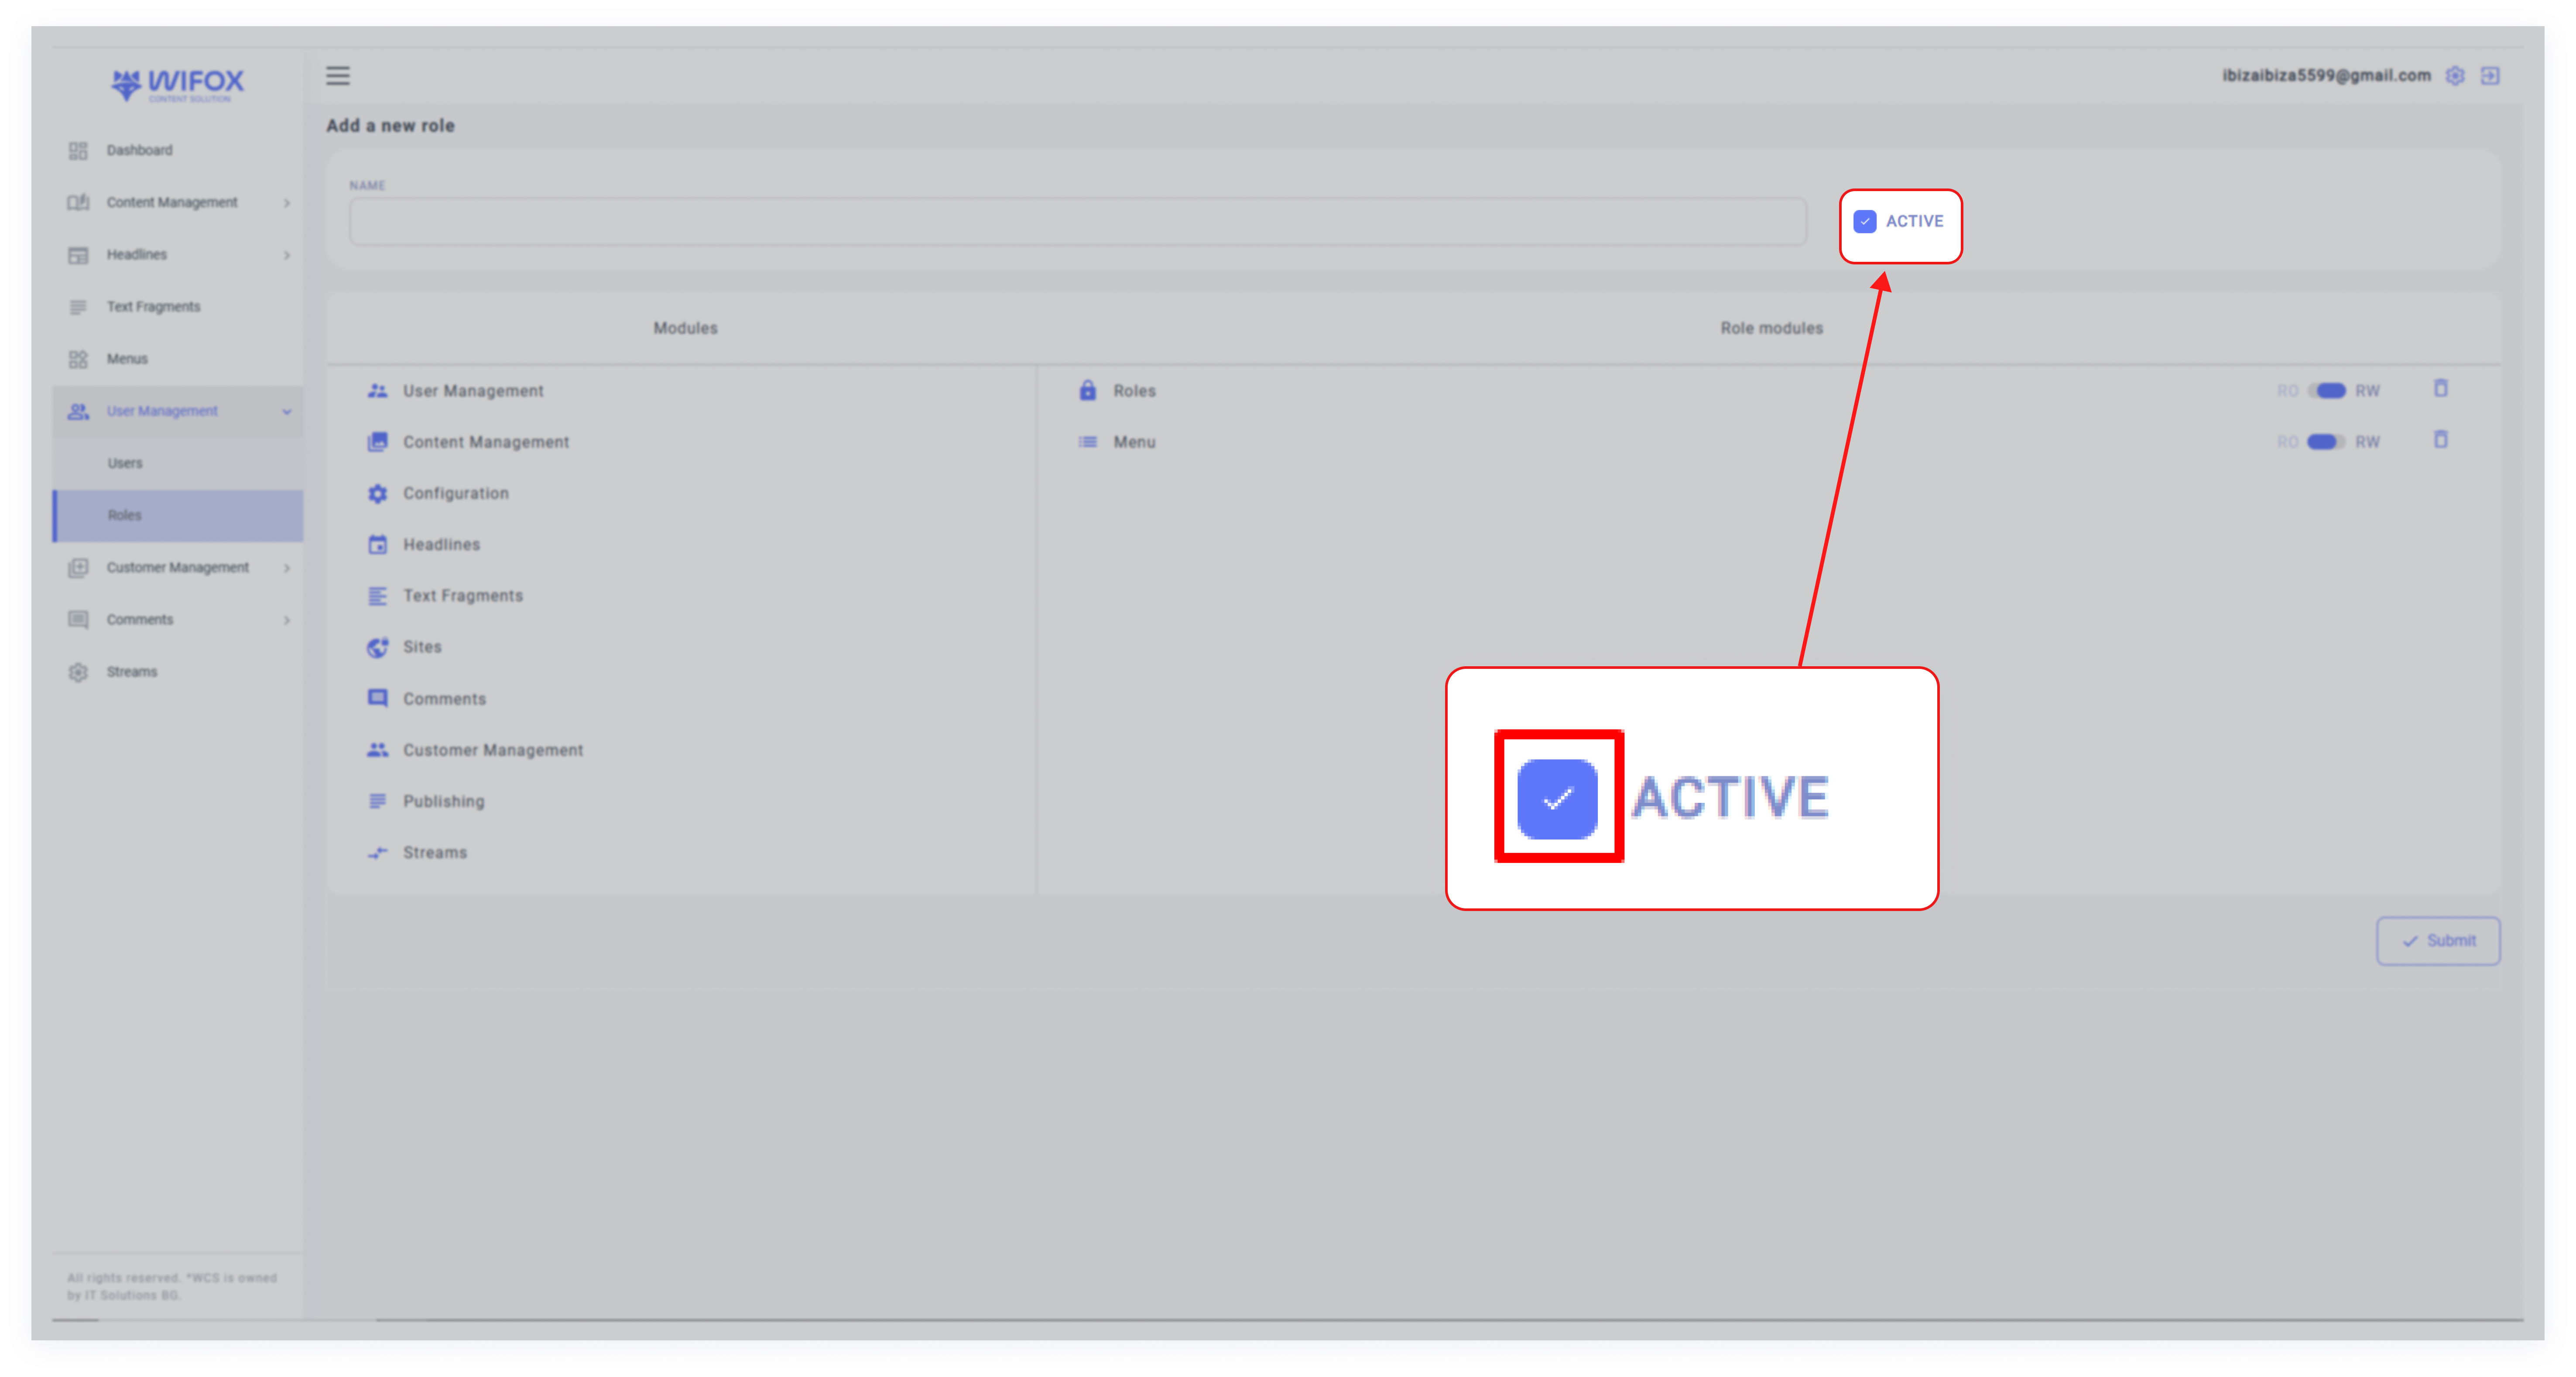
Instantly activate or deactivate roles by checking or unchecking the Active box.
4. Comprehensive Role Management
Easily add, edit, or delete roles to match the changing needs of your organization.
How to Add a New Role
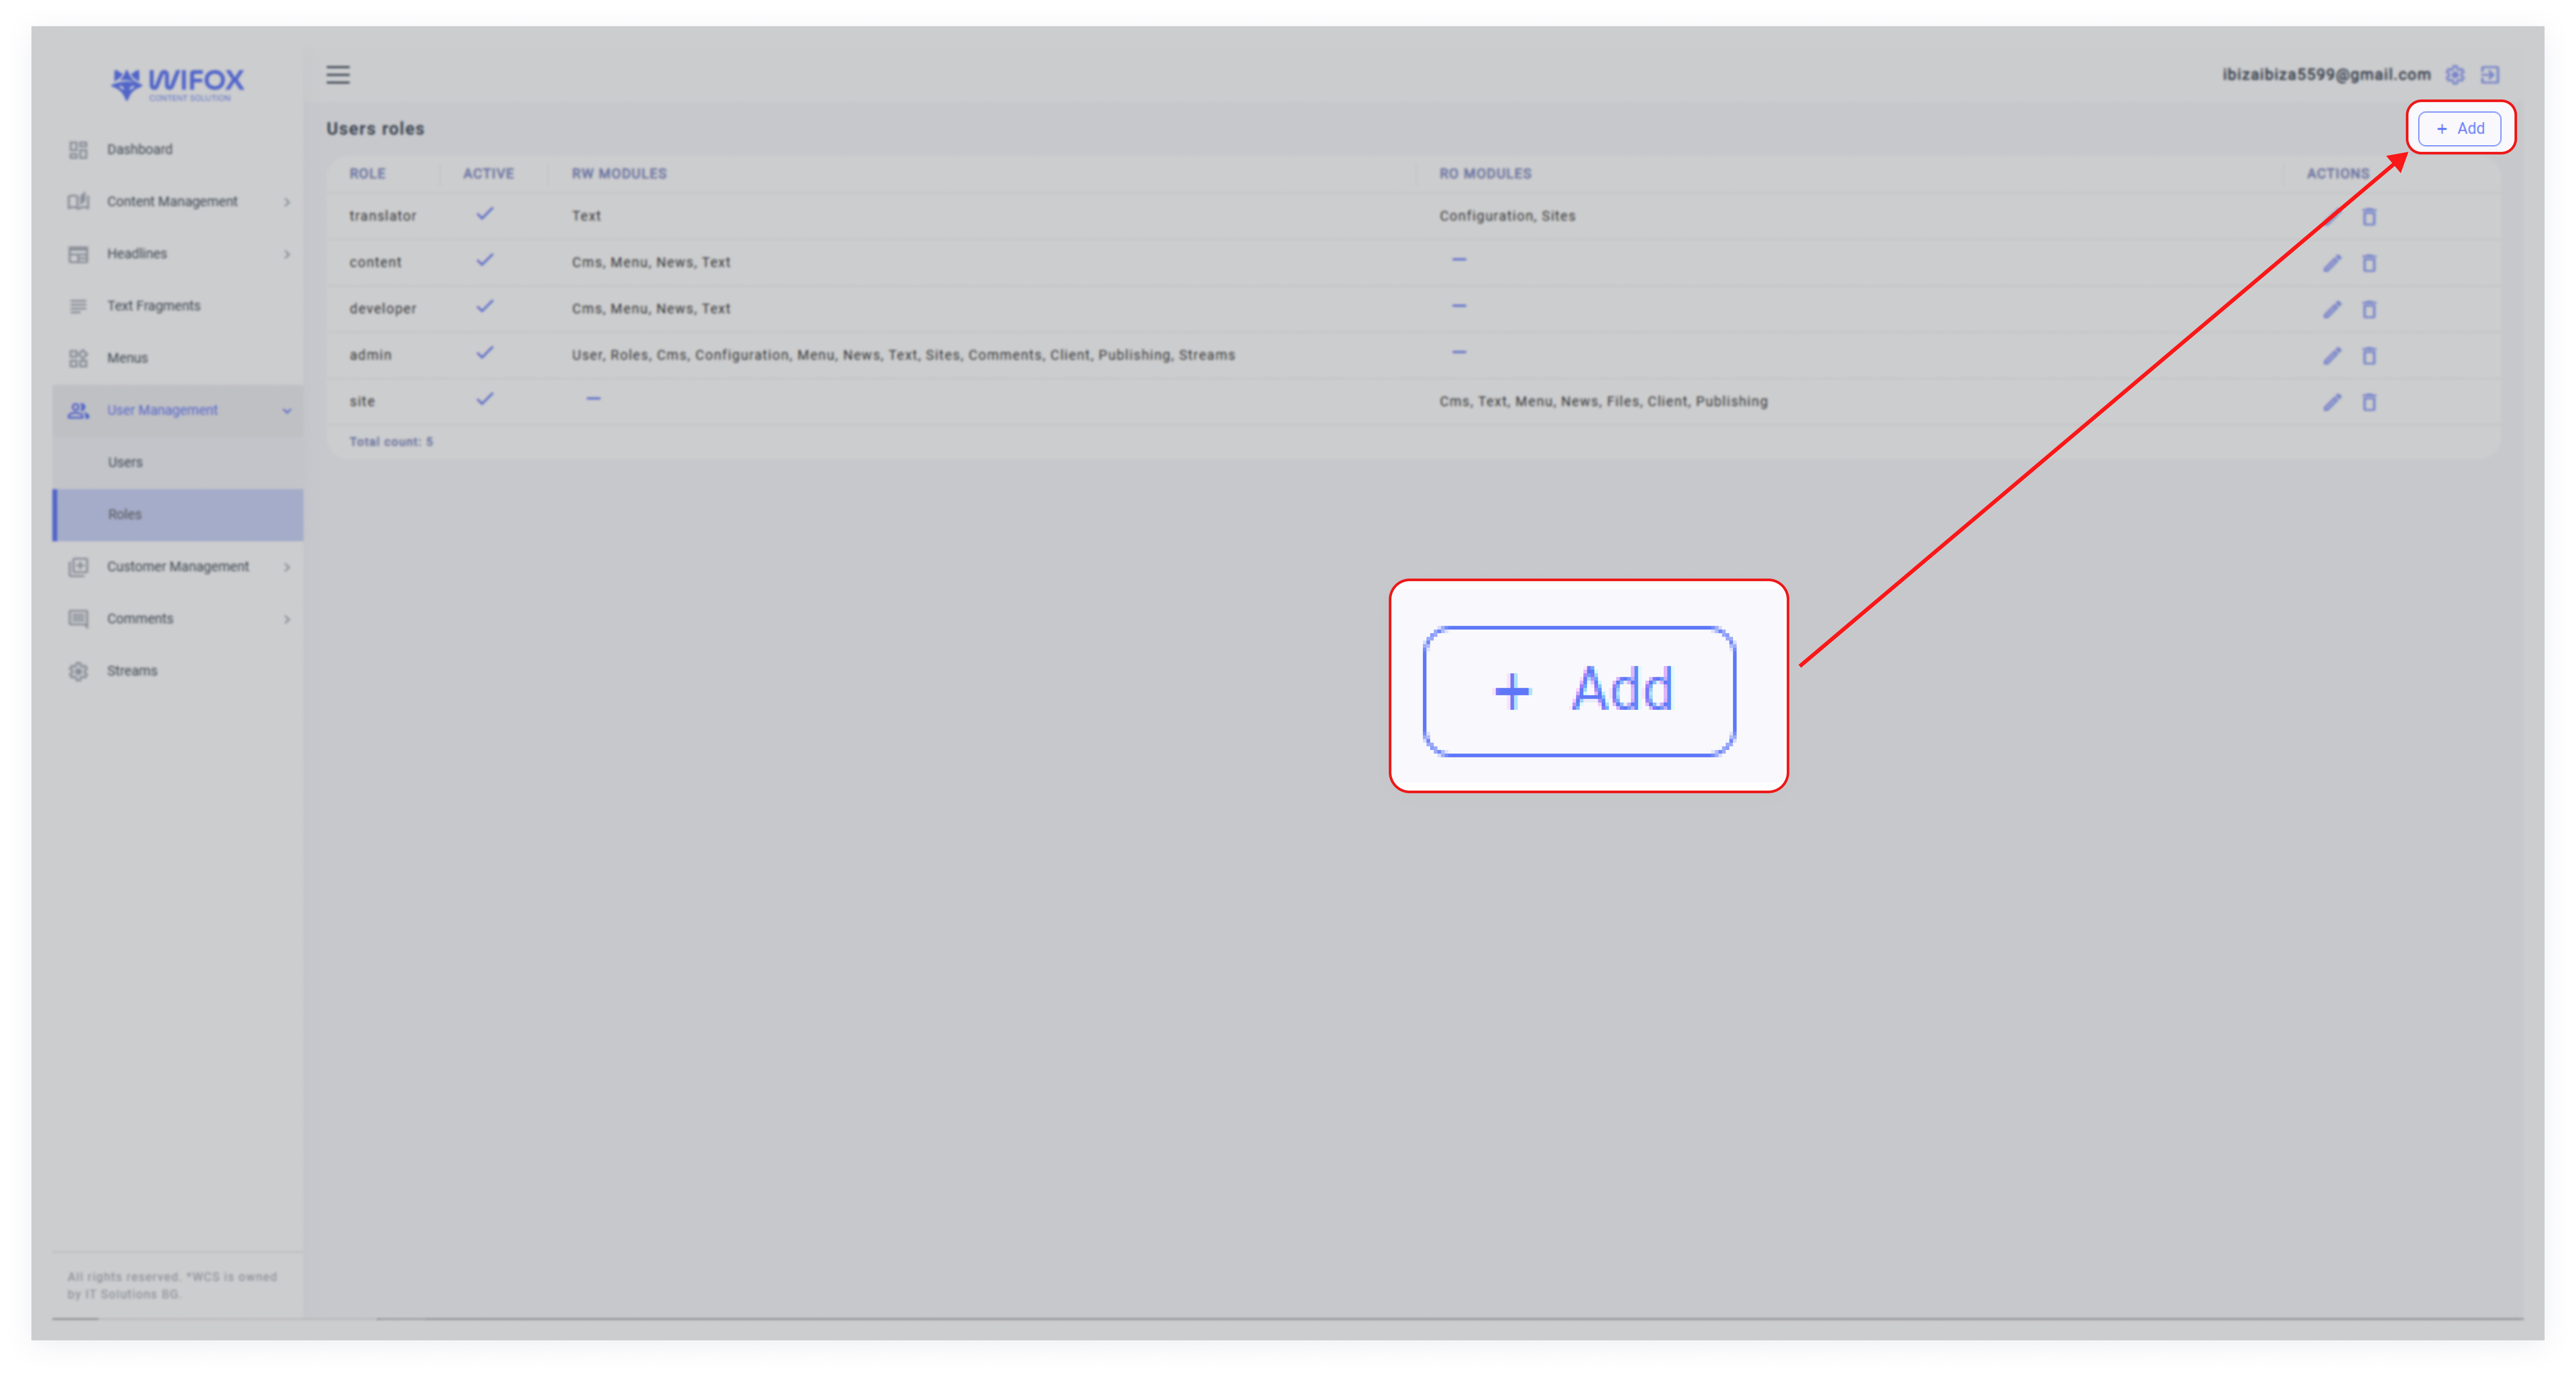
1. Click Add Role
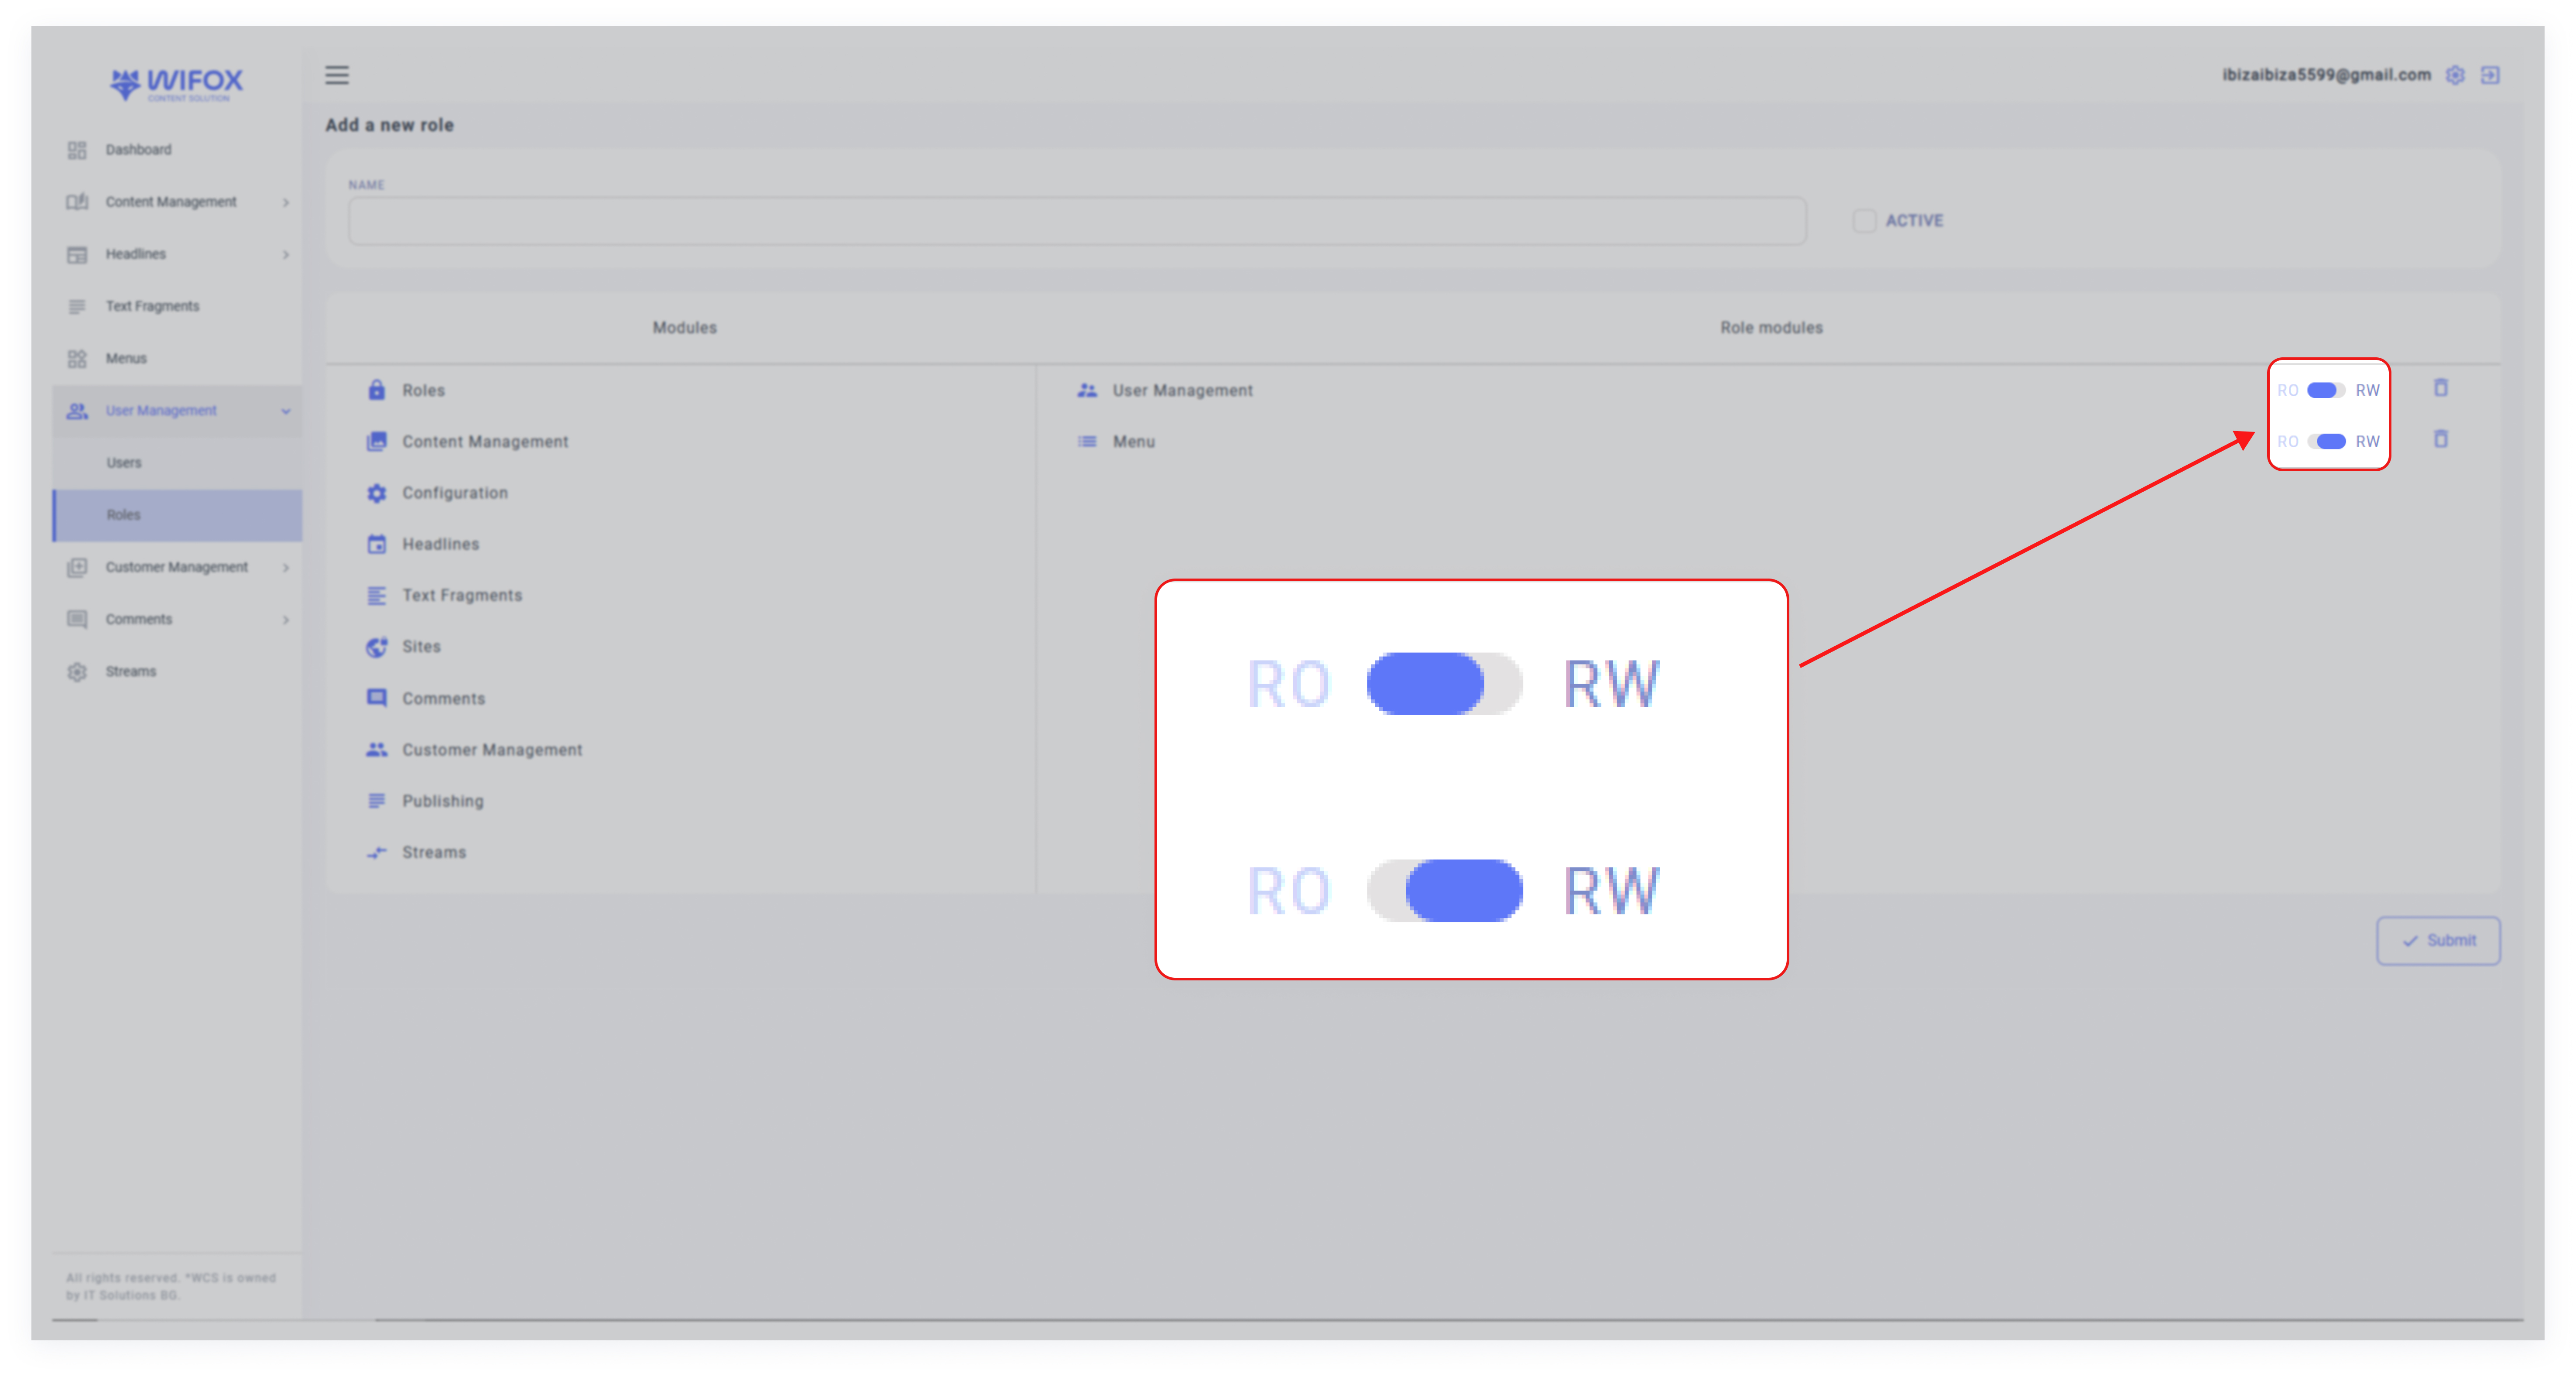
2. Fill in Details
Name: Enter the role's name (e.g., "Translator" or "Admin").

Set Permissions:
Drag and drop modules from the list or click on them to assign permissions.
Select either RO (Read-Only) or RW (Read-Write) for each module using the toggle.
3. Set Active Status
Check the Active box to activate the role immediately.
4. Submit
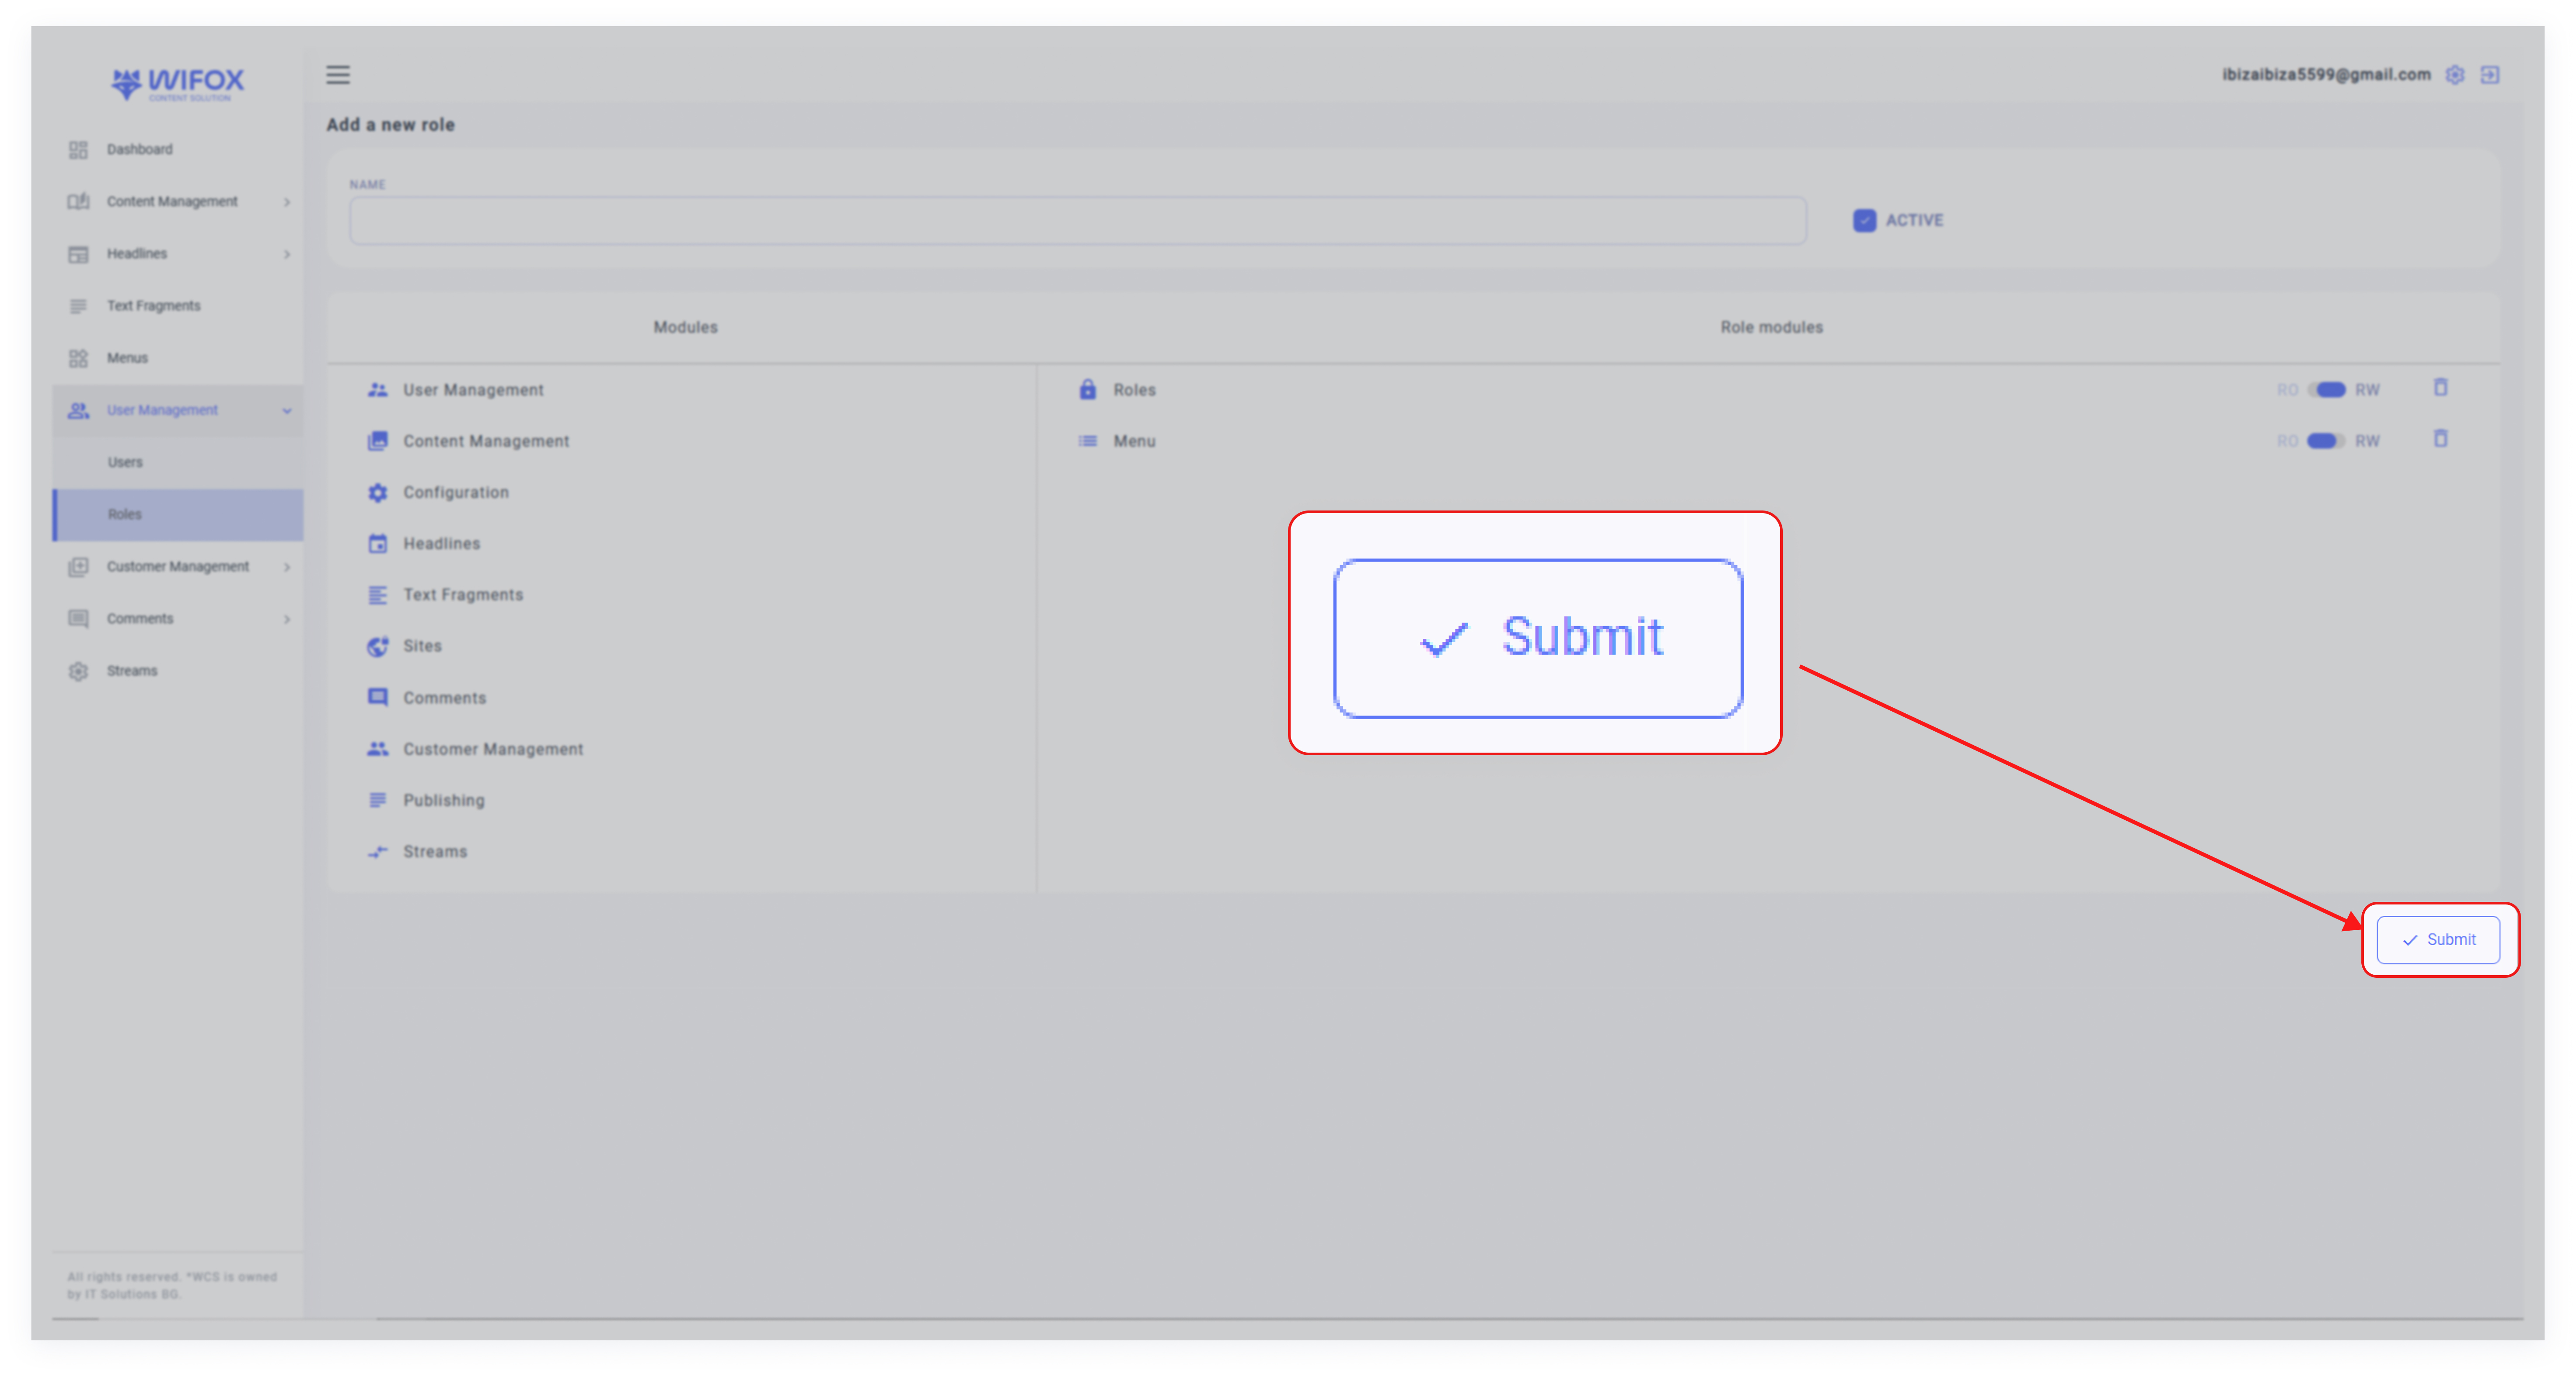
Once all details are completed, click Submit to save the new role.
How to Edit a Role
1. Select the Role
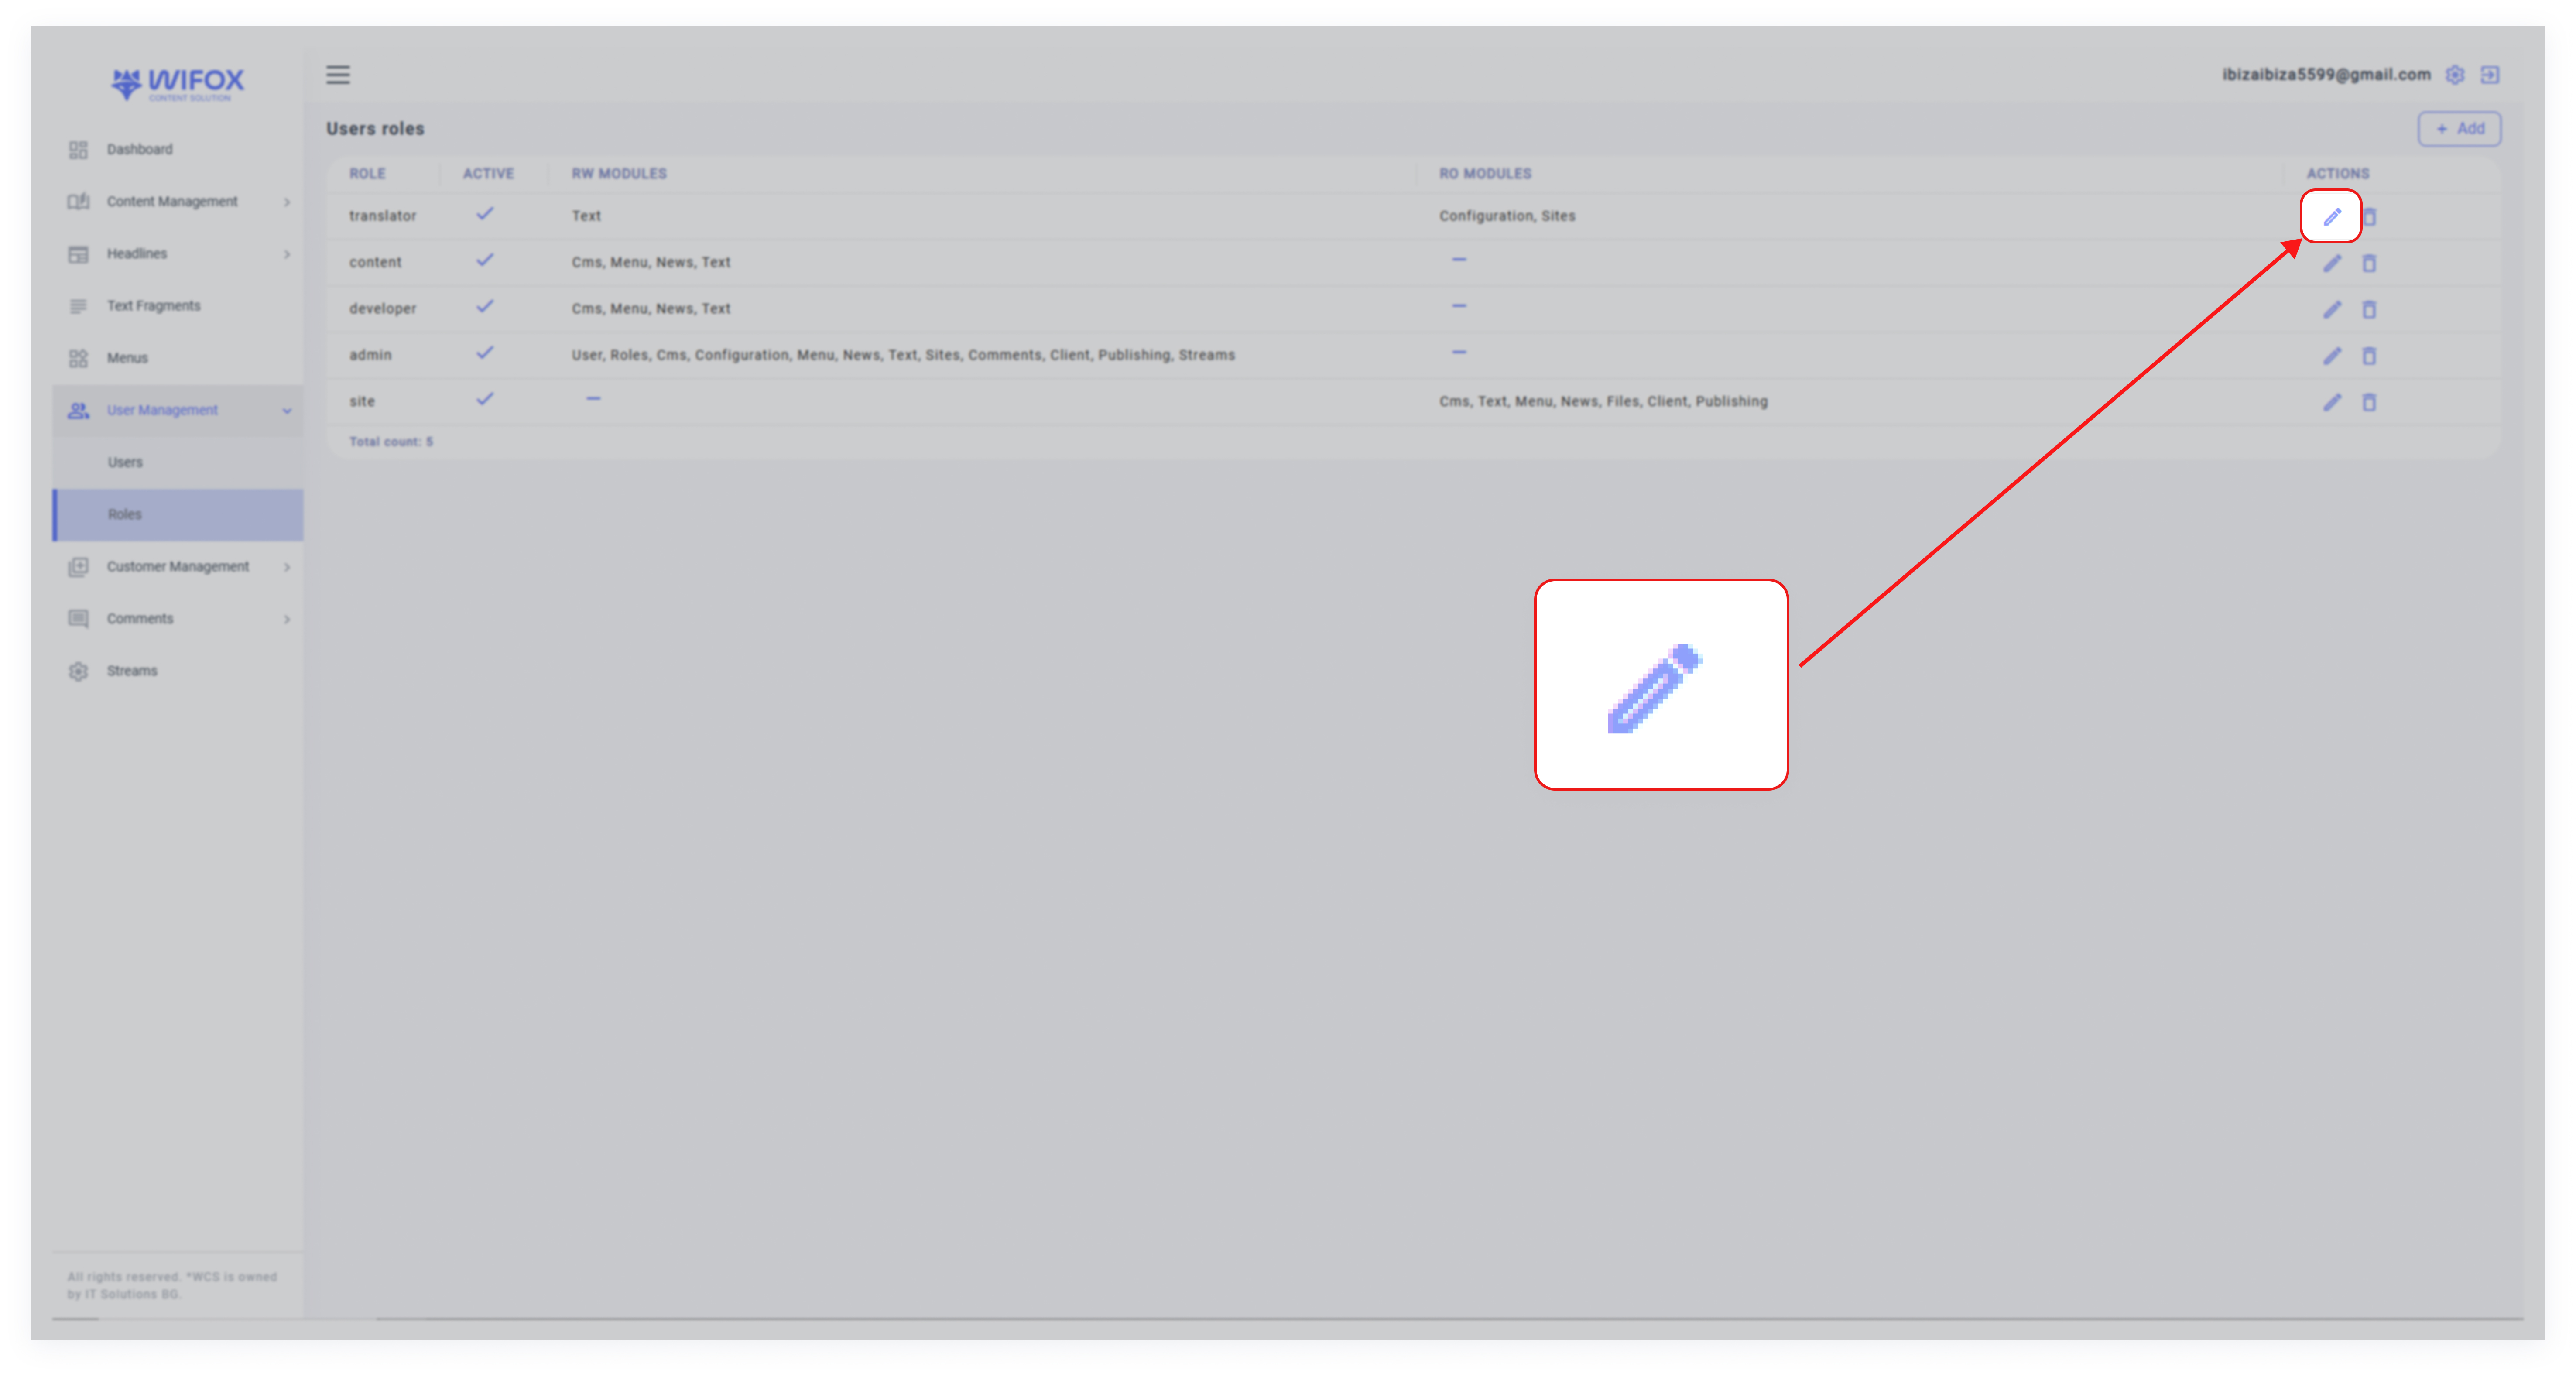
Find the role you wish to edit in the Users Roles list and click the pencil icon.
2. Update Details
Modify the role name, permissions, or module access by dragging/dropping or clicking to toggle permissions between RO and RW.
Adjust the Active status if needed.
3. Submit Changes
After making the updates, click Submit to save changes.
How to Delete a Role
1. Locate the Role
Find the role you wish to remove in the Users Roles list.
2. Delete the Role
Click the trash icon next to the role.
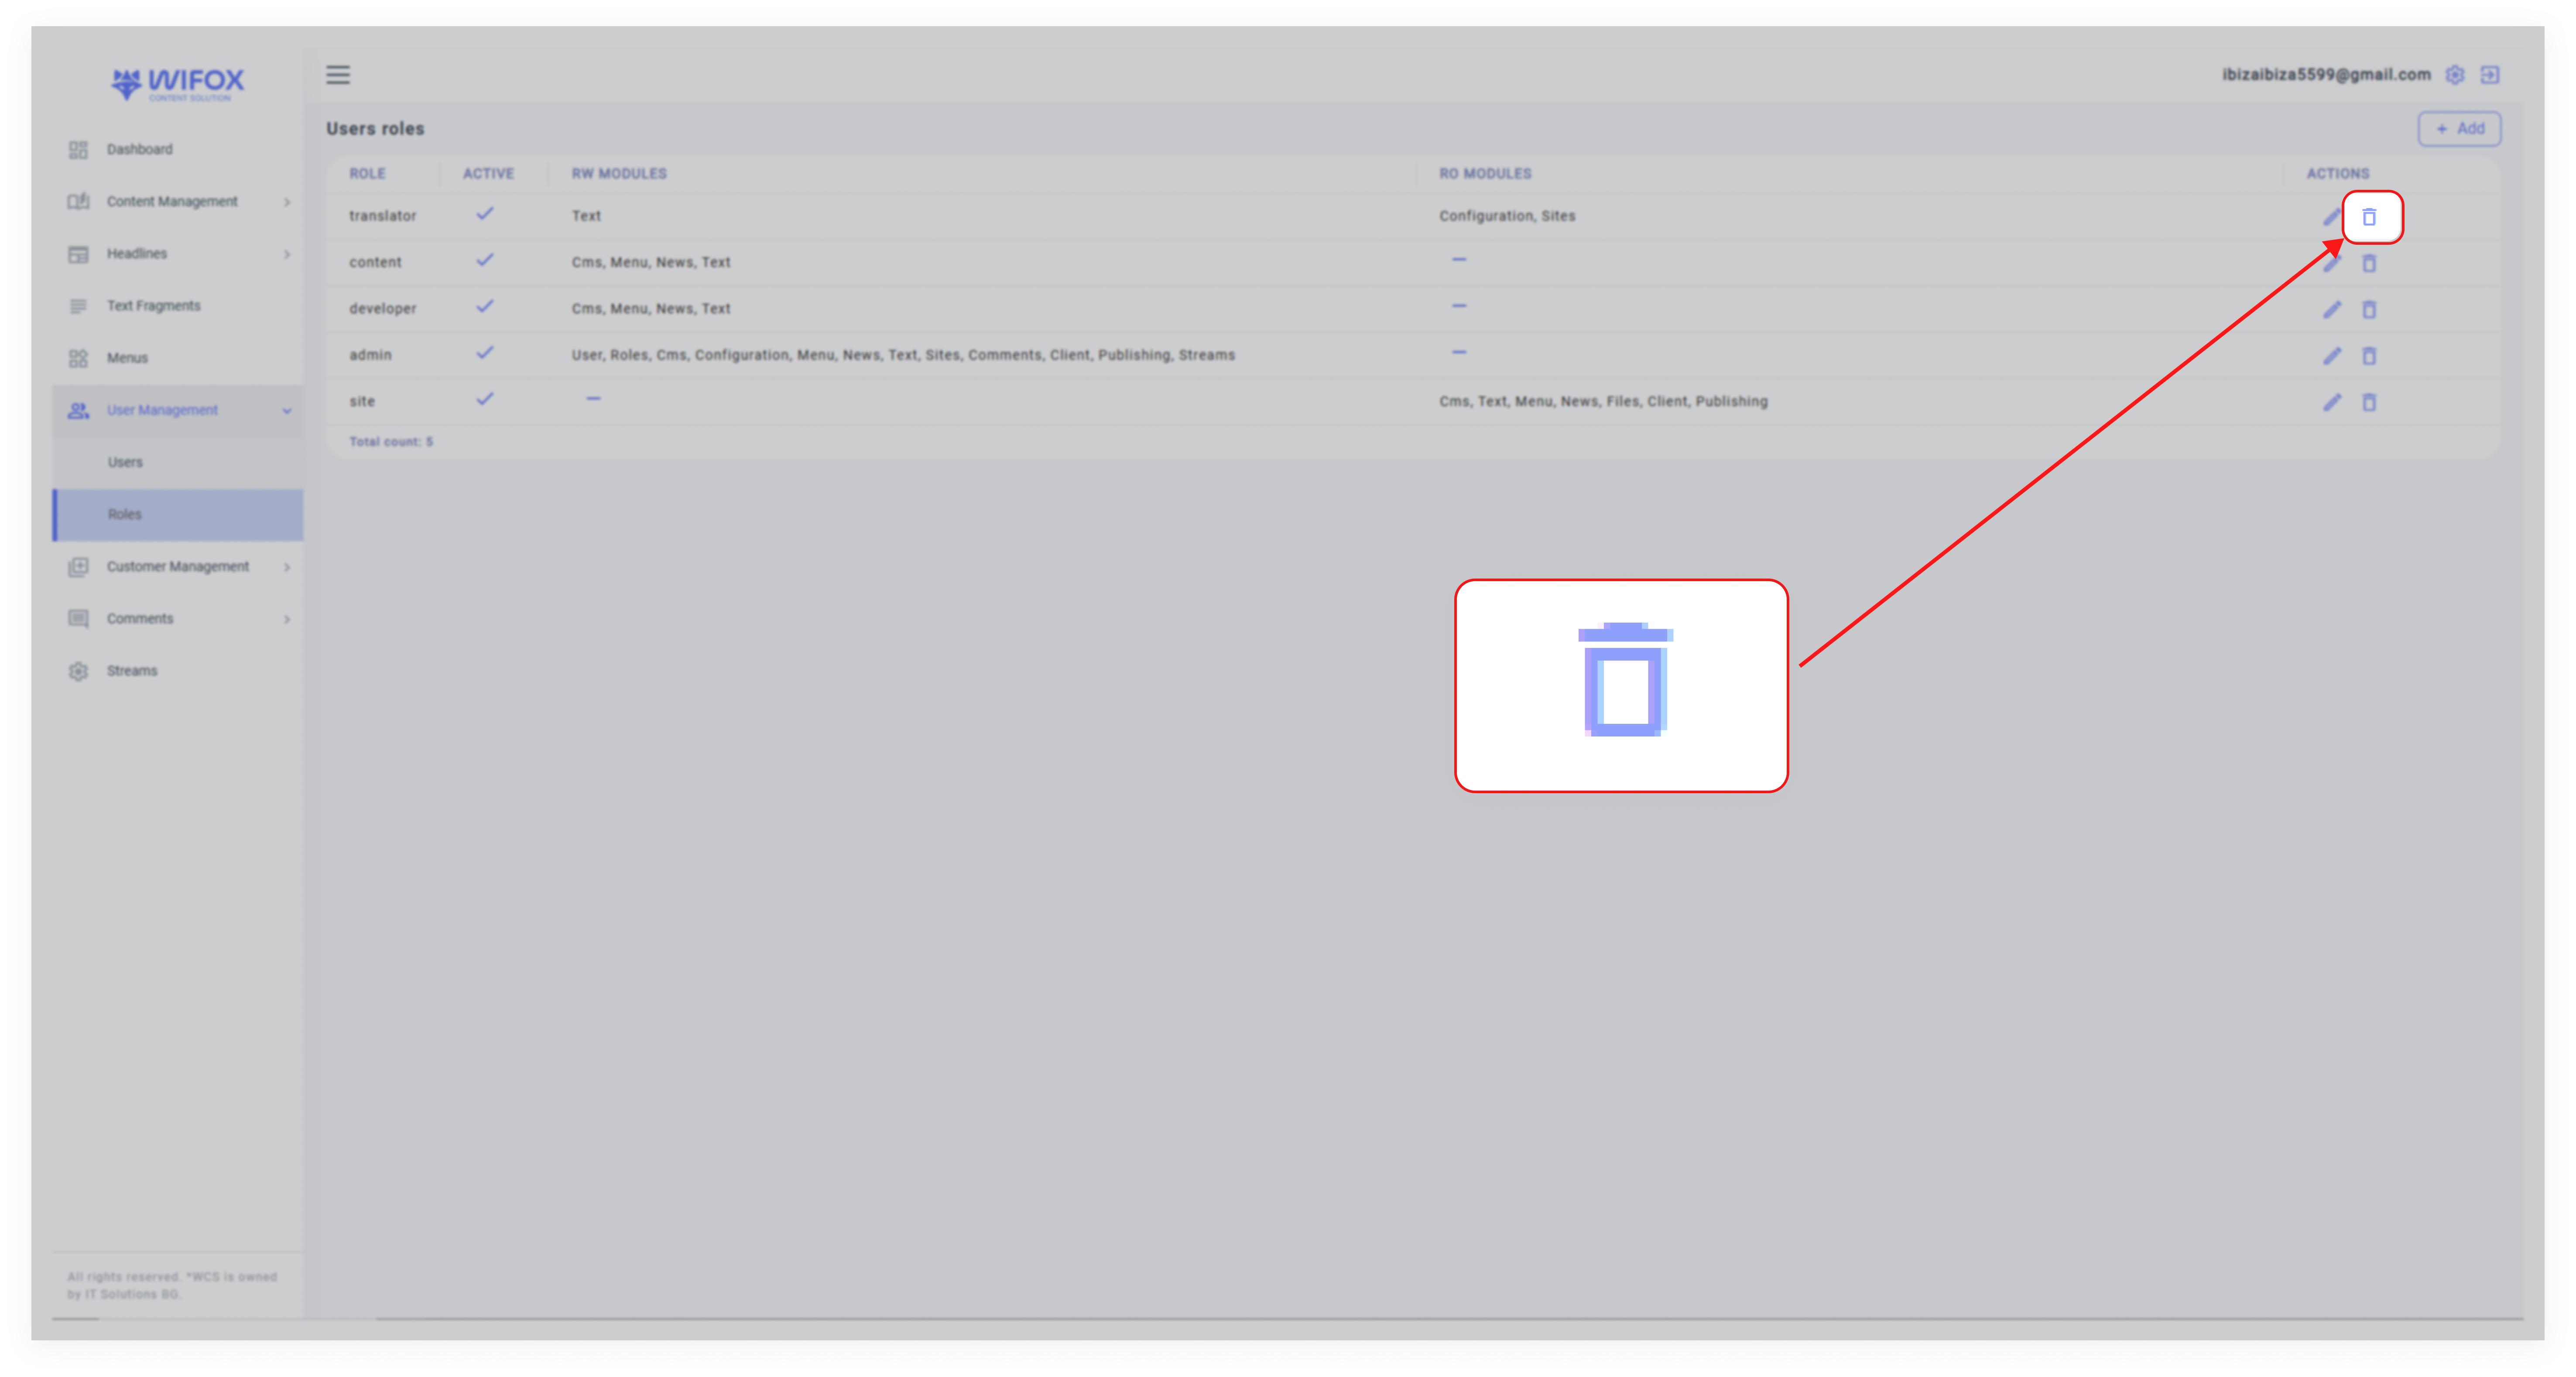
3. Confirm Deletion
Confirm the action by clicking OK to permanently delete the role.

With intuitive drag-and-drop or click-based permissions and a streamlined interface for role creation and editing, the User Roles section in Wifox Business Content Solution provides precise control over access management.